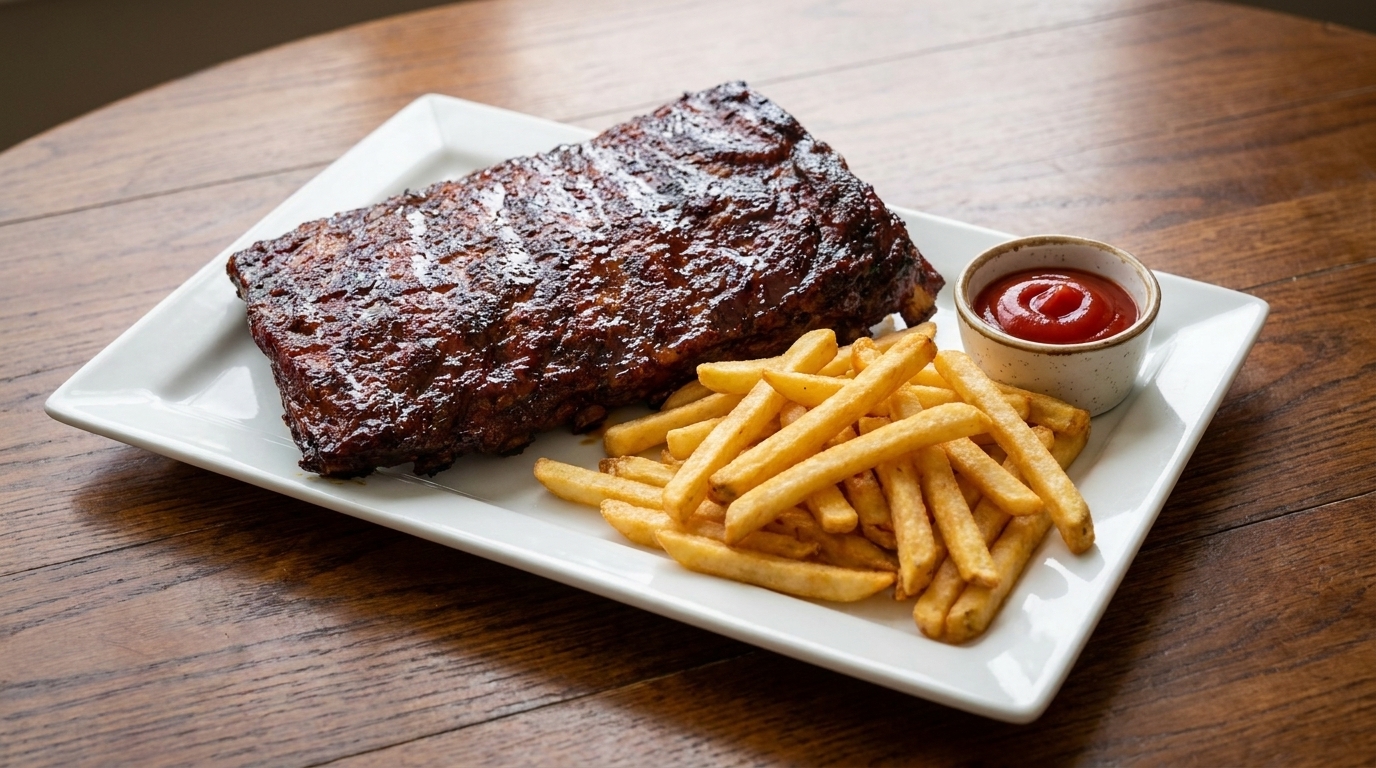
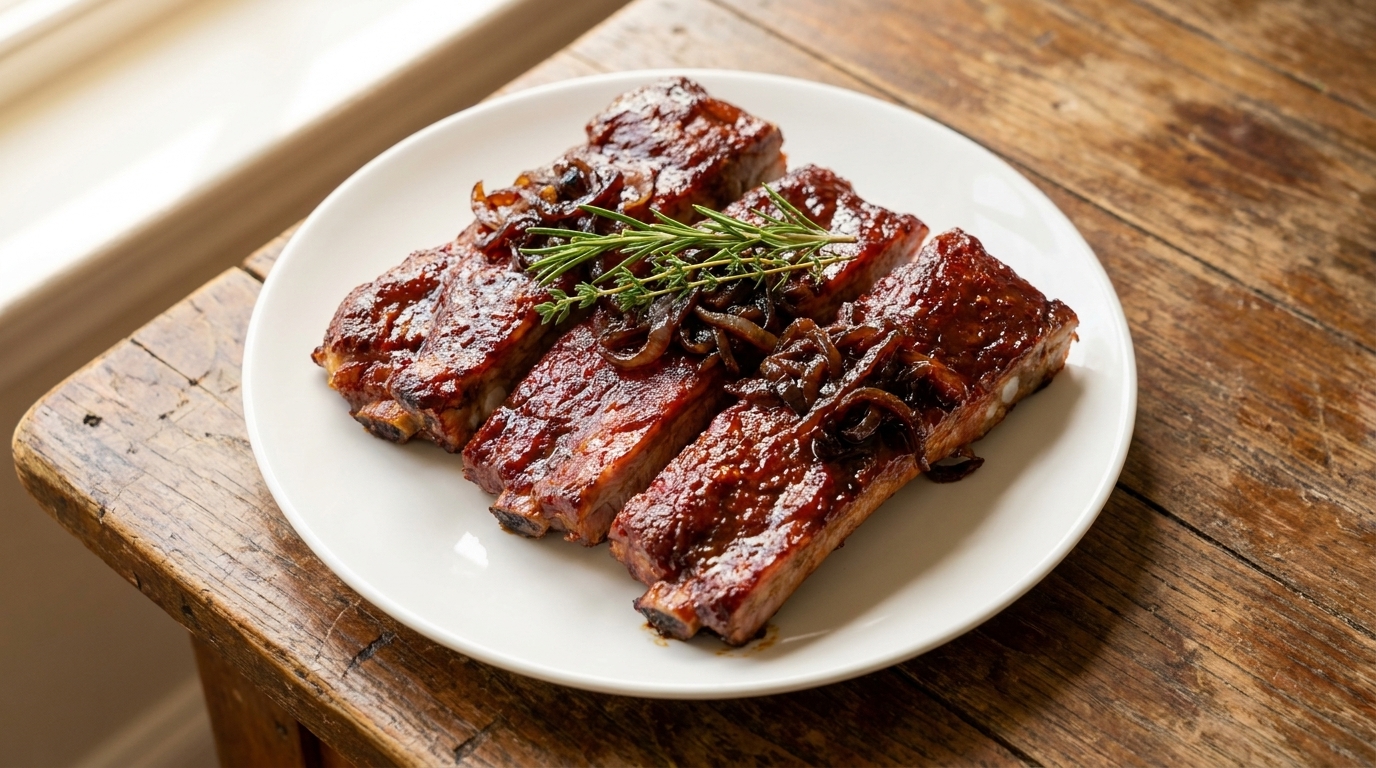
Classic American 3-2-1 BBQ Pork Ribs
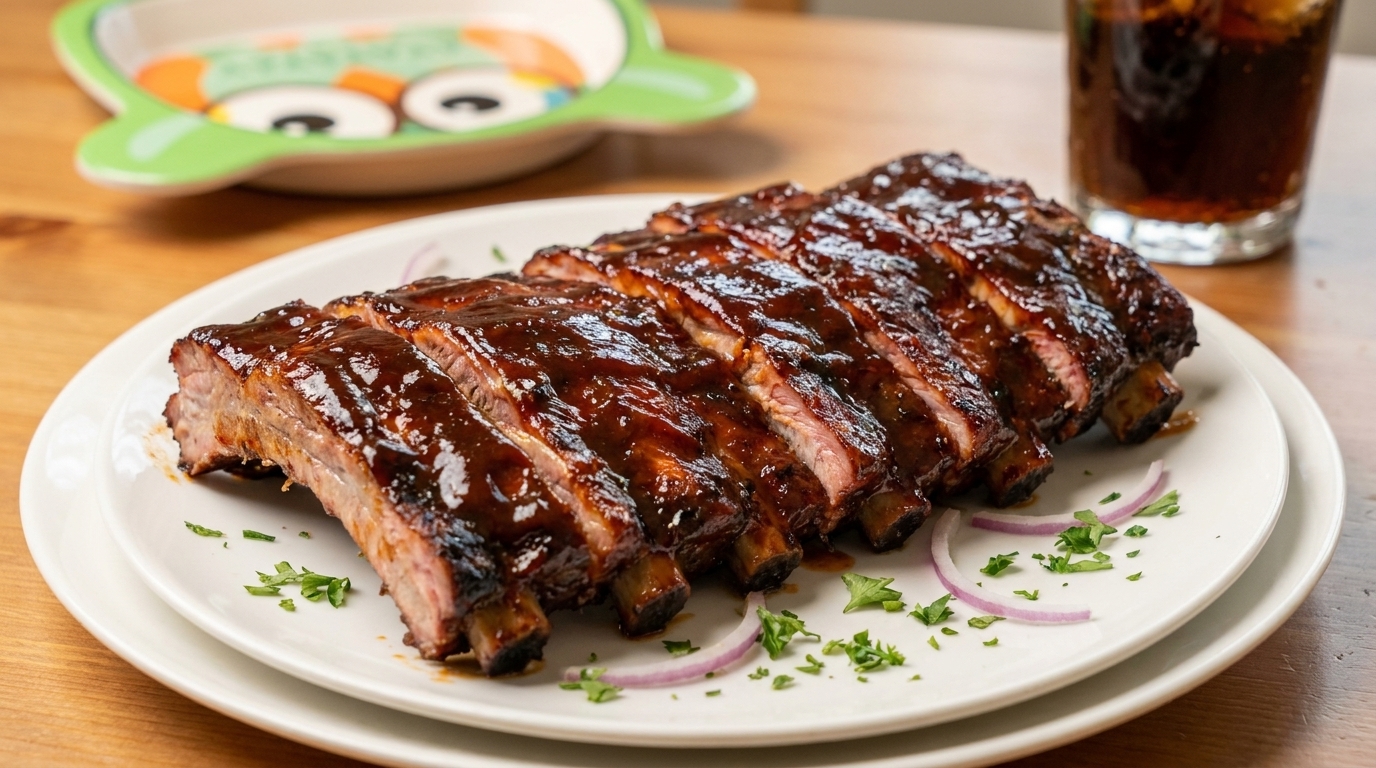
Master the 3-2-1 method for fall-off-the-bone BBQ ribs. This technique combines low-and-slow smoking with a buttery braise for the ultimate smoky flavor.
The 3-2-1 rib method is a favorite among backyard pitmasters for its consistent, foolproof results. By breaking the cooking process into three hours of smoke, two hours of braising, and one hour of glazing, you achieve the perfect balance of smoke penetration, tender texture, and a sticky, caramelized bark. It is a reliable technique that delivers competition-style flavor right from your own smoker.
Ingredients
- 1 rack pork ribs
- 2 tbsp yellow mustard
- 1 tbsp apple juice
- 0.5 cup BBQ dry rub
- 0.5 cup brown sugar
- 4 tbsp unsalted butter
- 0.25 cup BBQ sauce
Instructions
- 1Remove the silverskin
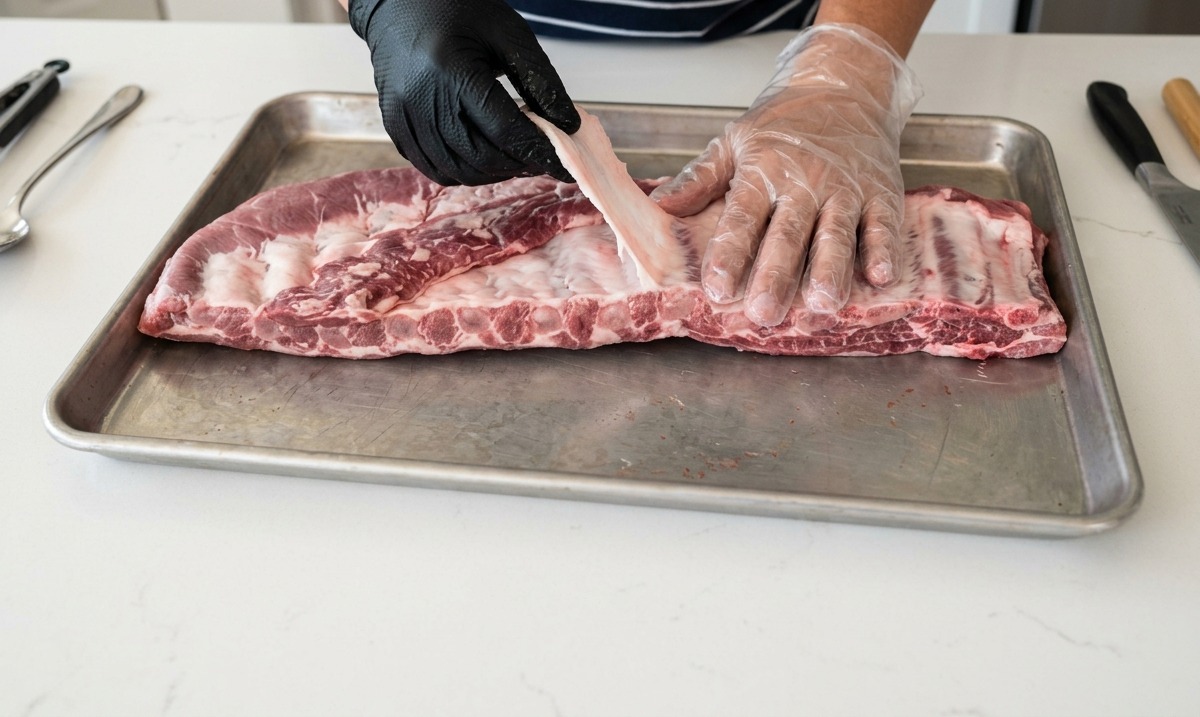
Flip the rack of ribs over and locate the silverskin membrane on the back. Use a paper towel to get a good grip on the corner of the membrane, then pull firmly to peel it off the entire rack to ensure proper seasoning and smoke penetration.
Tip: Use a paper towel to grip the slippery membrane—it will make peeling it off much easier. - 2Prepare the mustard binder
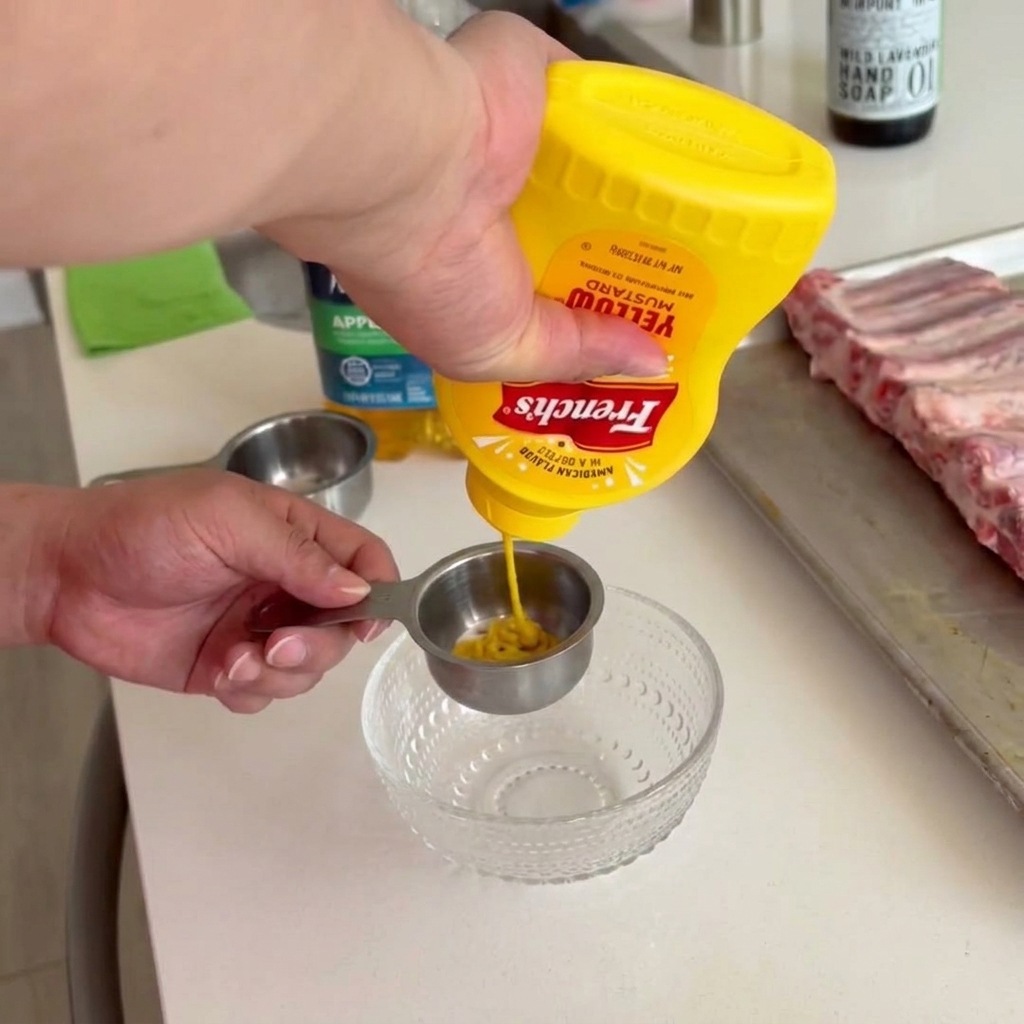
In a small container, squeeze in yellow mustard and mix it with a splash of apple juice to create a binder. The mustard acts as an adhesive to hold the dry rub in place, while the apple juice adds a subtle hint of moisture and sweetness.
Tip: Dont worry about the mustard flavor—it cooks out completely in the smoker, leaving only a perfect bark behind. - 3Apply the binder
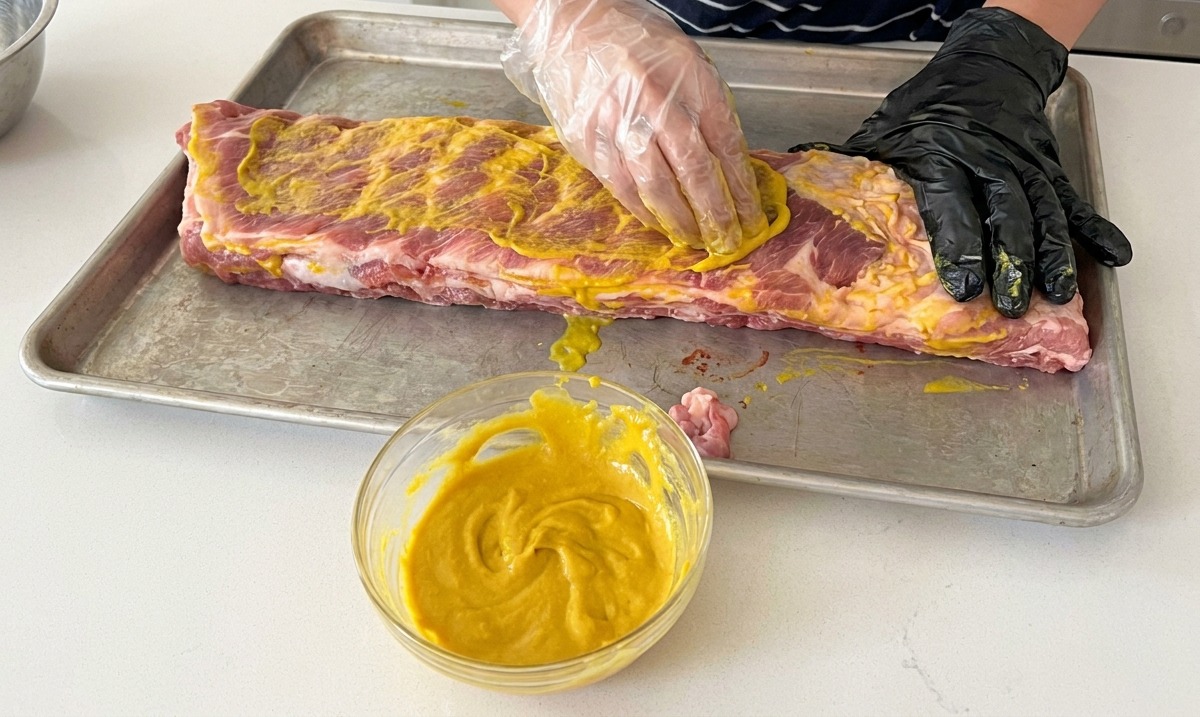
Pour the mustard and apple juice mixture over the rack of ribs. Use your hands to gently massage the binder across the entire surface of the meat, making sure both the top and bottom sides are completely covered in a thin, even layer.
Tip: Wearing disposable cooking gloves makes applying the wet binder and dry spices a much cleaner process. - 4Season thoroughly
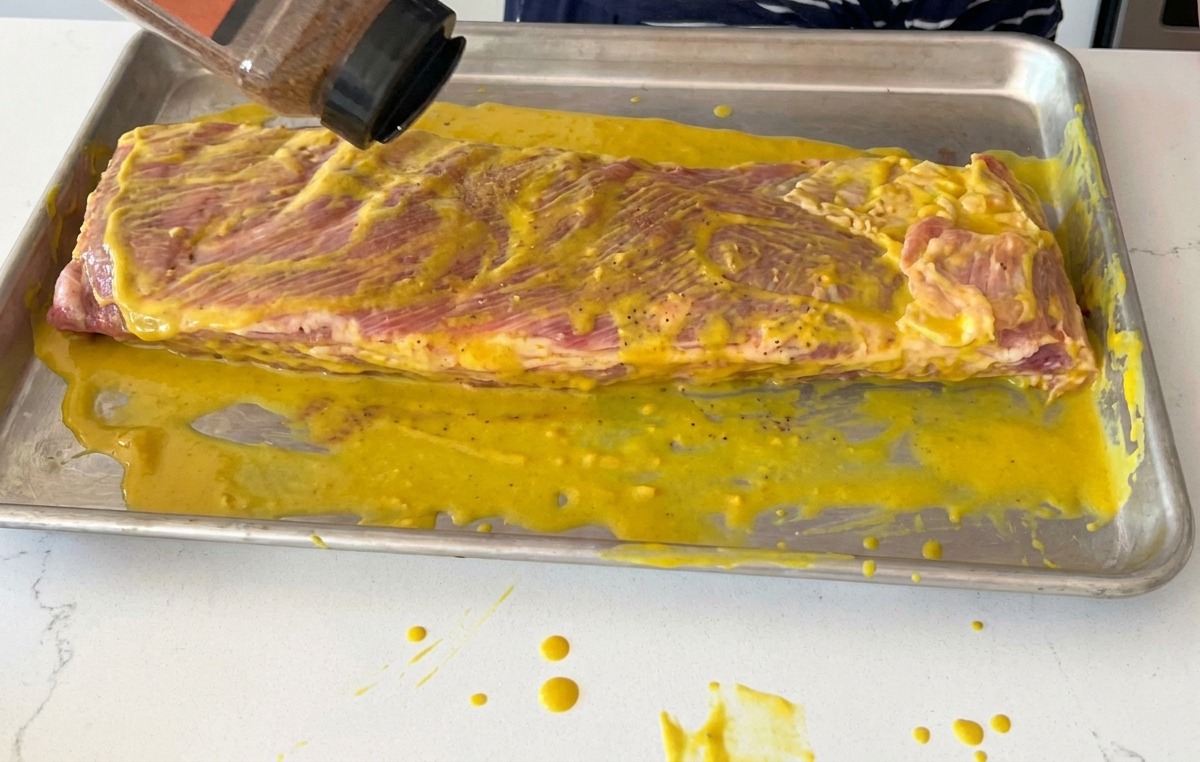
Sprinkle your BBQ dry rub generously over the entire rack, ensuring the sides are covered as well. Use your hands to pat the rub into the mustard binder, creating an even coating for the best flavor and bark formation.
Tip: Hold your seasoning shaker a few inches above the meat to achieve an even distribution of spices without clumping. - 5Smoke the ribs
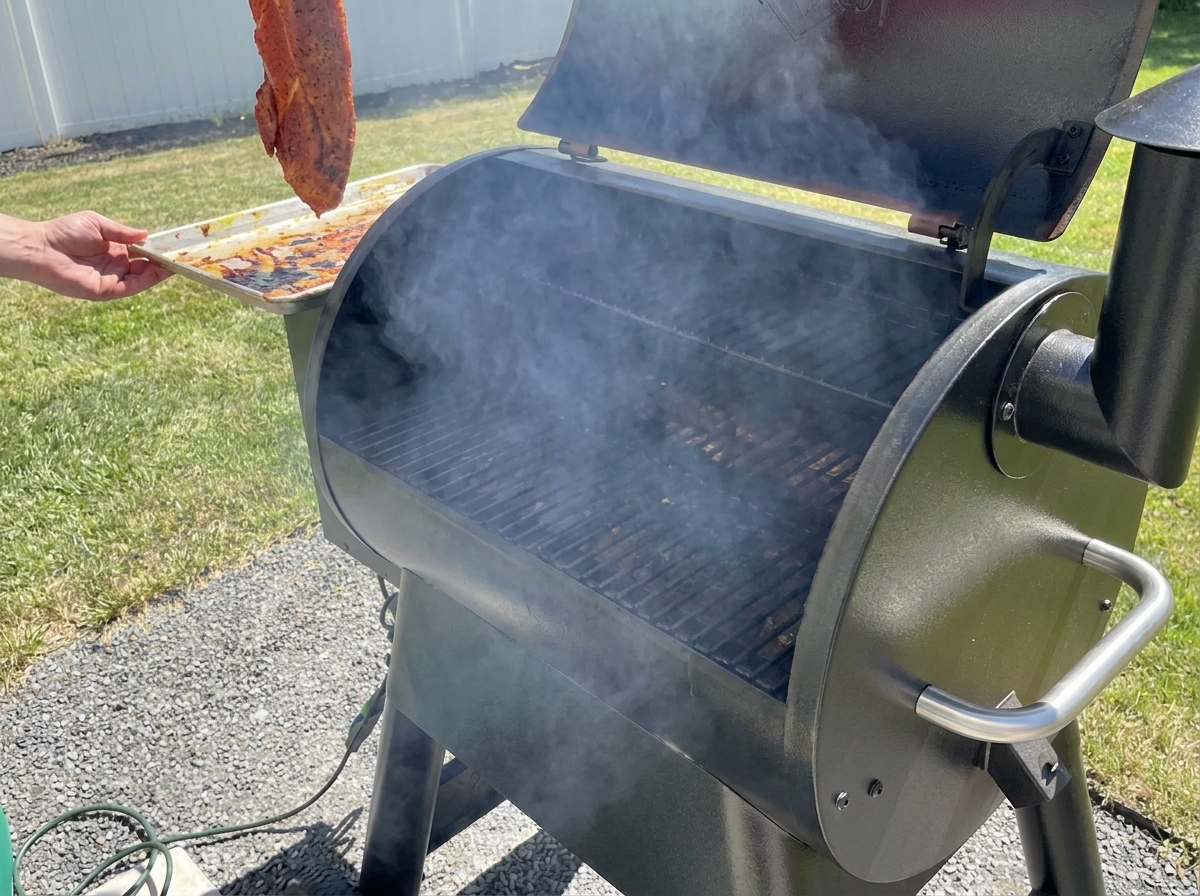
Transfer the heavily seasoned ribs directly onto the grates of your preheated smoker. Close the lid and let the ribs cook uncovered for the first 3 hours. This initial smoking phase sets the bark and infuses the meat with a deep, smoky flavor.
Tip: Place the thicker end of the rib rack closer to the primary heat source in your smoker for more even cooking. - 6Prepare the braising base
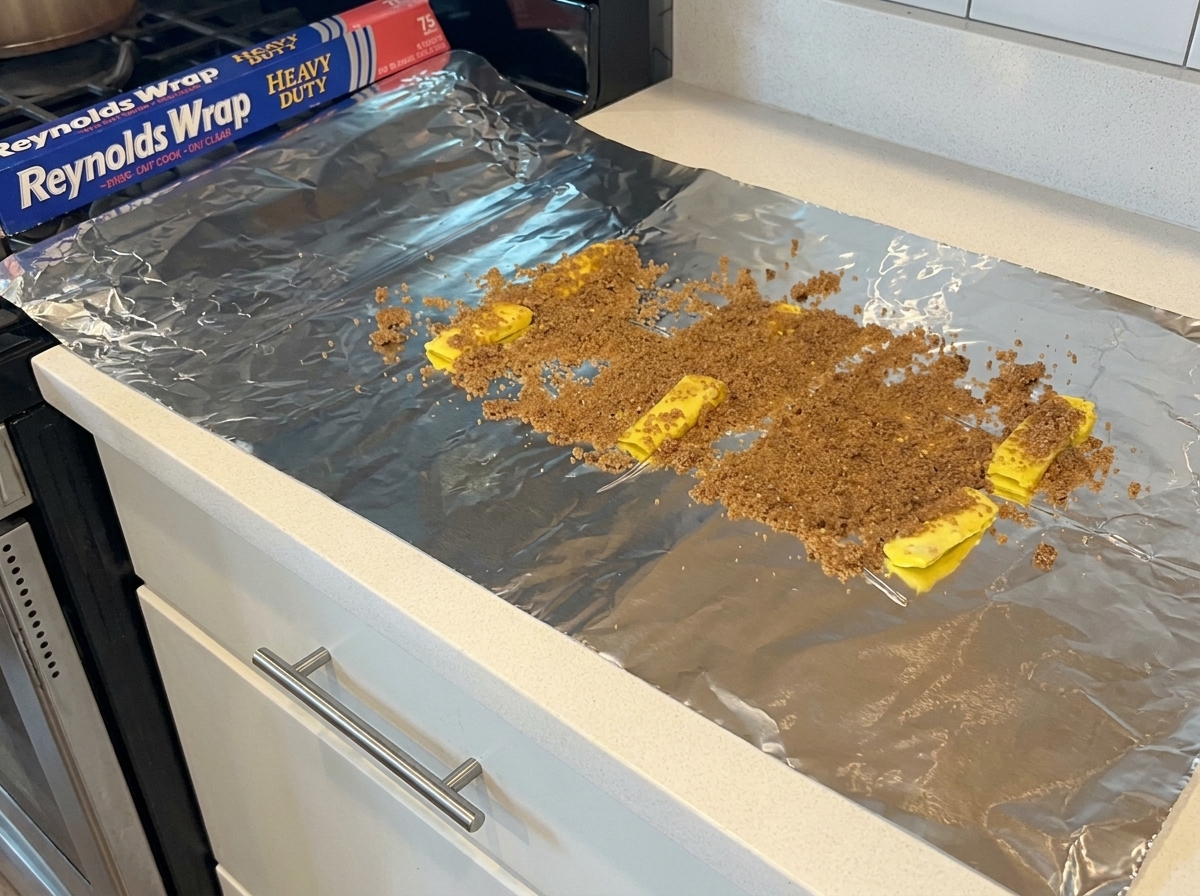
Lay out a large piece of heavy-duty aluminum foil. Create a bed for the ribs by spreading brown sugar and placing slices of butter along the area where the ribs will sit, providing a sweet and savory environment for the braising stage.
Tip: Always use heavy-duty foil or double up regular foil to prevent the rib bones from poking through and leaking the braising juices. - 7Prepare the foil wrap
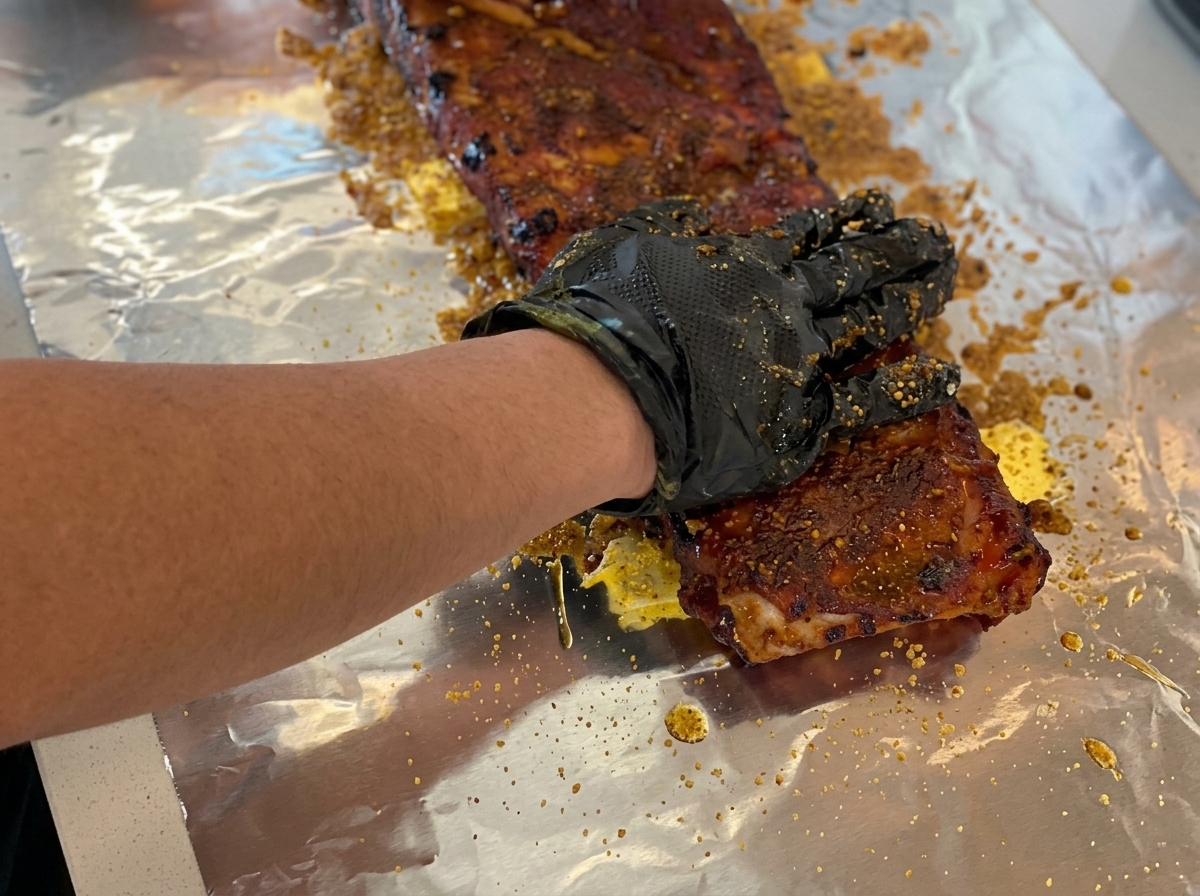
Lay out a large sheet of aluminum foil and create a base layer using brown sugar and butter. Carefully place the pre-cooked, seasoned ribs on top of this mixture. This will help braise the ribs, keeping them moist and tender during the next stage of cooking.
Tip: Make sure the foil is large enough to create a tight, leak-proof seal around the ribs. - 8Add liquid and seal
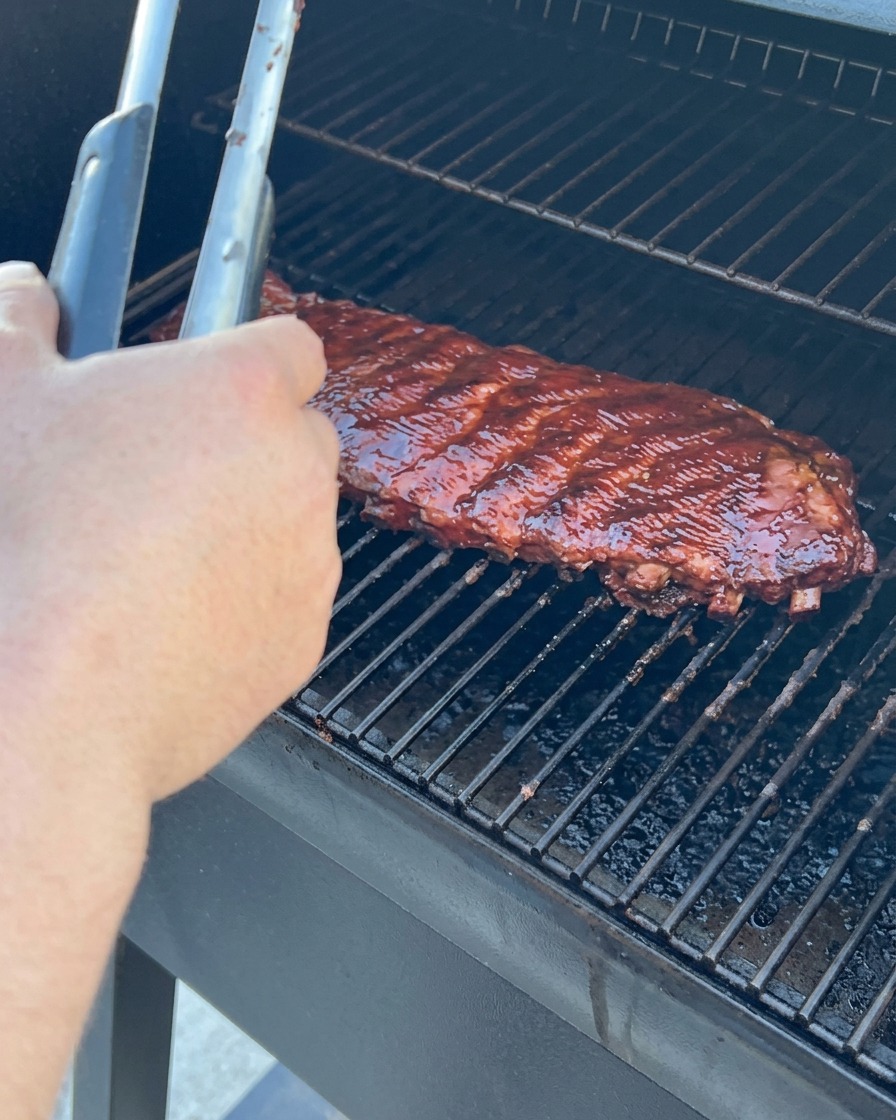
Pour a small amount of apple juice into the foil packet over the ribs. Fold the edges of the aluminum foil together tightly to create a sealed pouch. This keeps the moisture inside and allows the ribs to braise in the flavorful liquid mixture.
Tip: Be careful not to tear the foil while folding it, as you want to keep all the liquid inside the pouch. - 9Return to the smoker
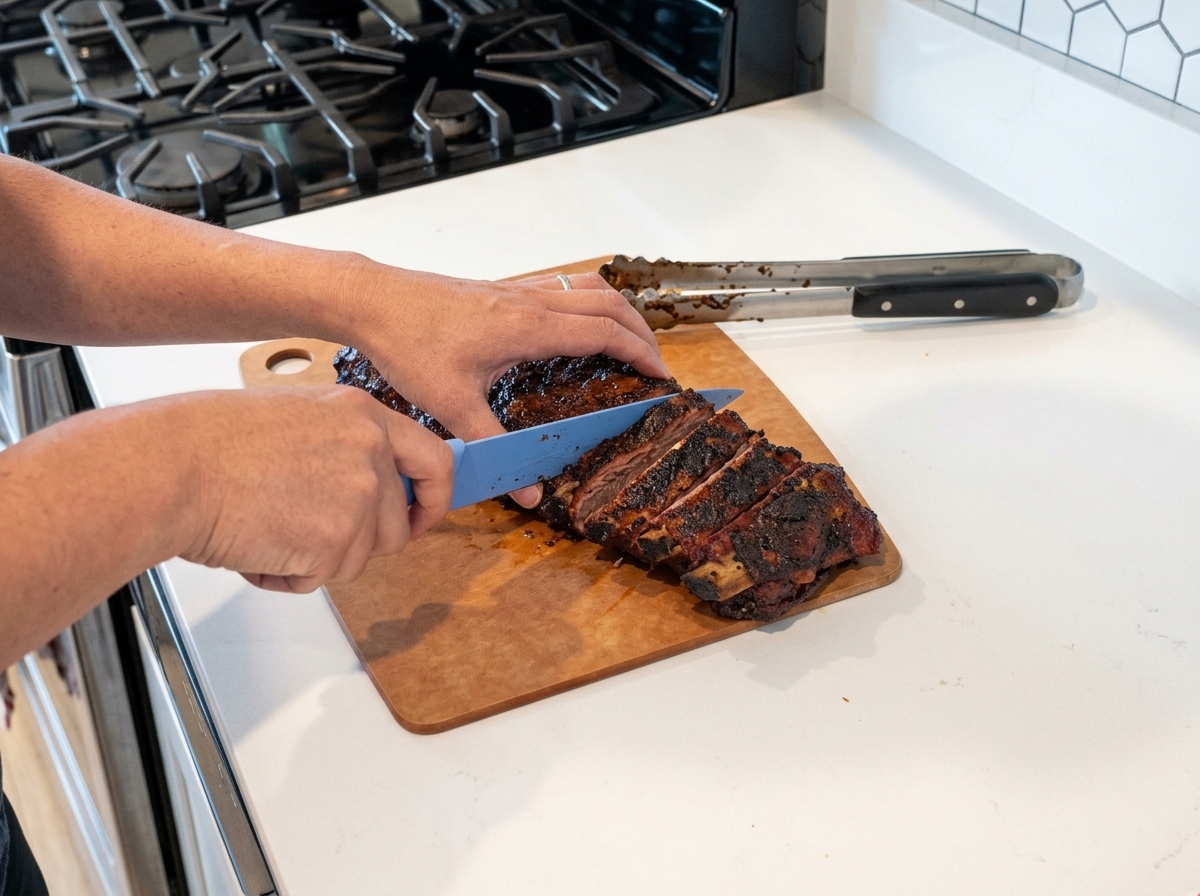
Place the tightly sealed foil packet containing the ribs back onto the smoker grill. Maintain a steady temperature and smoke for another 2 hours. This phase ensures the meat becomes tender and absorbs the flavors of the brown sugar, butter, and apple juice.
Tip: Keep the smoker lid closed as much as possible to maintain a consistent cooking temperature.