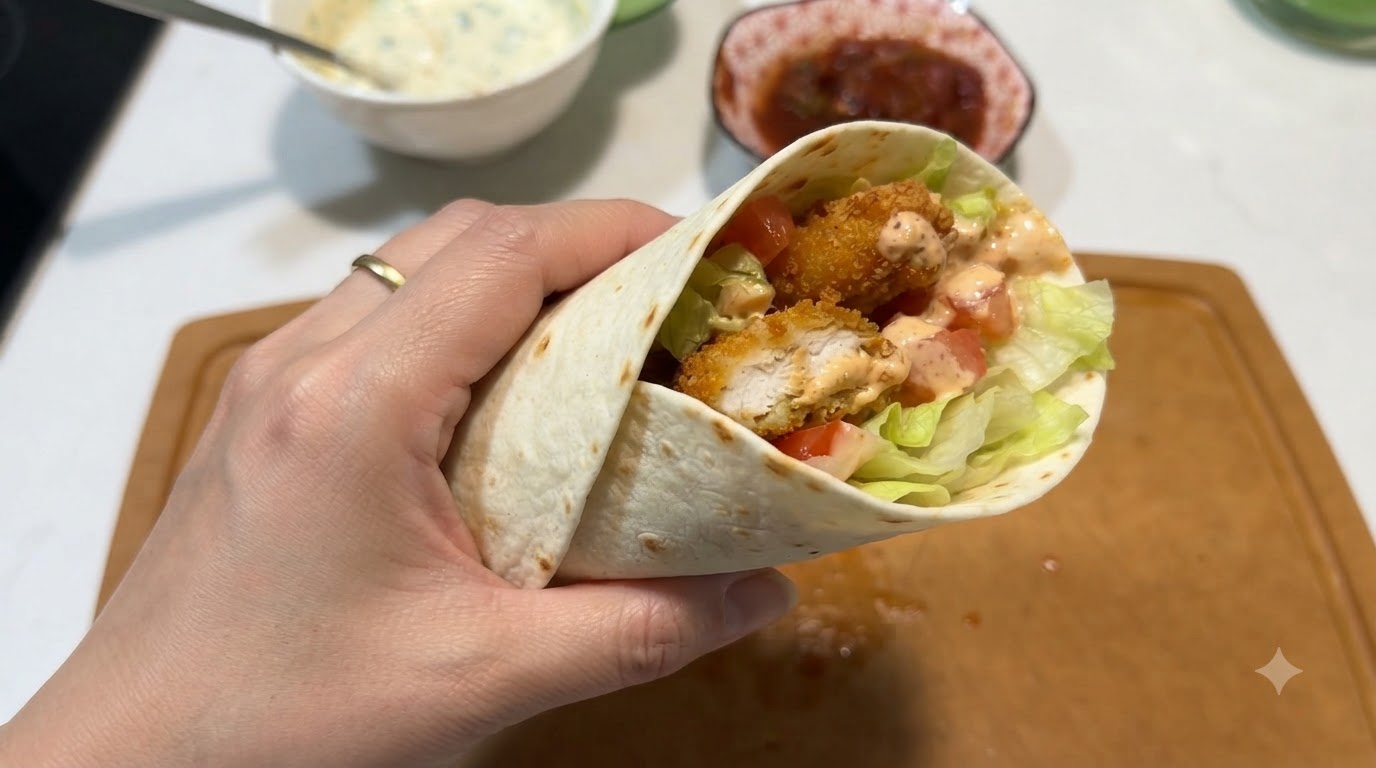
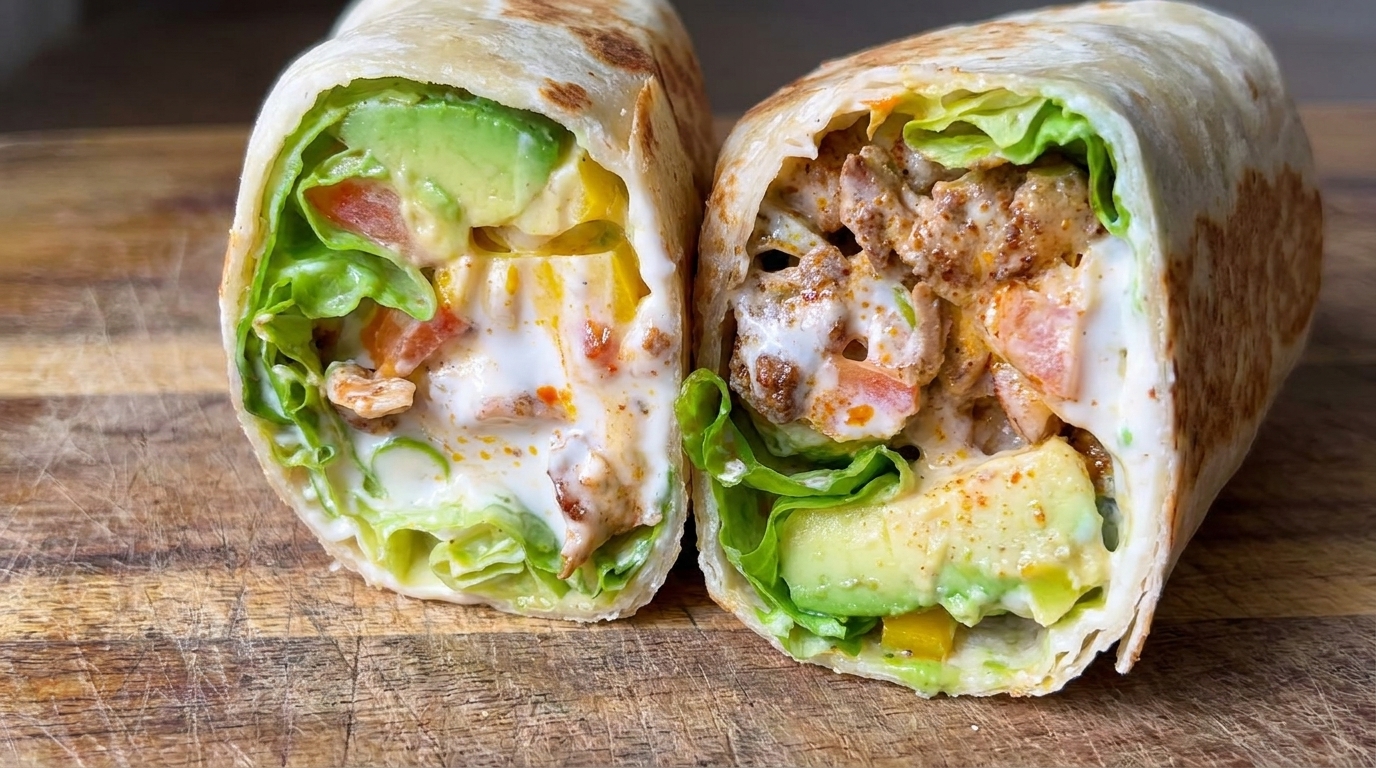
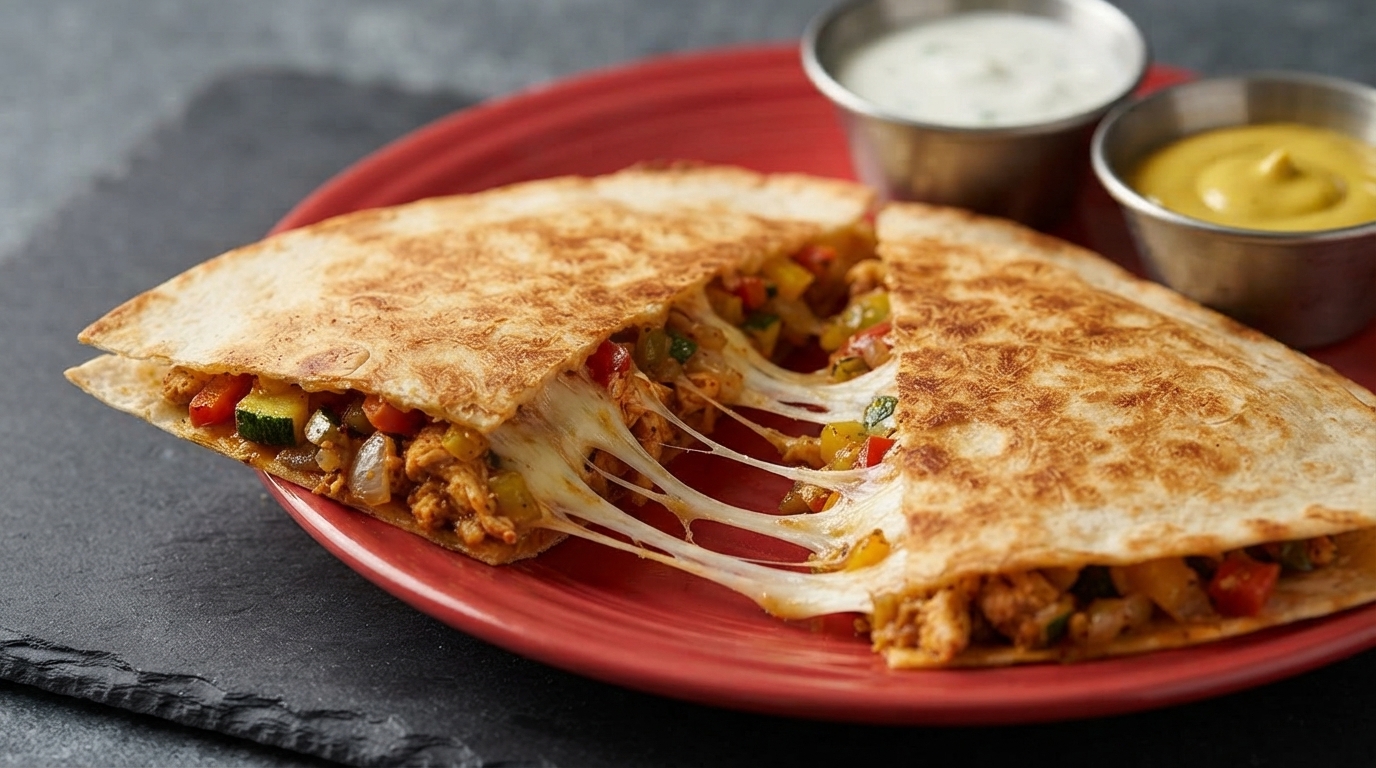
Homemade Mexican Chicken Roll Flatbread Tortillas
Make soft, pliable flatbread tortillas at home with simple ingredients and no yeast proofing required. Perfect for chicken rolls, wraps, and quick breakfasts.
These homemade flatbread tortillas bridge the gap between unleavened wraps and soft breads by incorporating a touch of yeast. Adding yeast modifies the flours structure so the cooked flatbread remains wonderfully soft while retaining a satisfying chew. They cook in about a minute per piece in a dry pan, making them quick and convenient for wraps, burritos, and breakfast rolls.
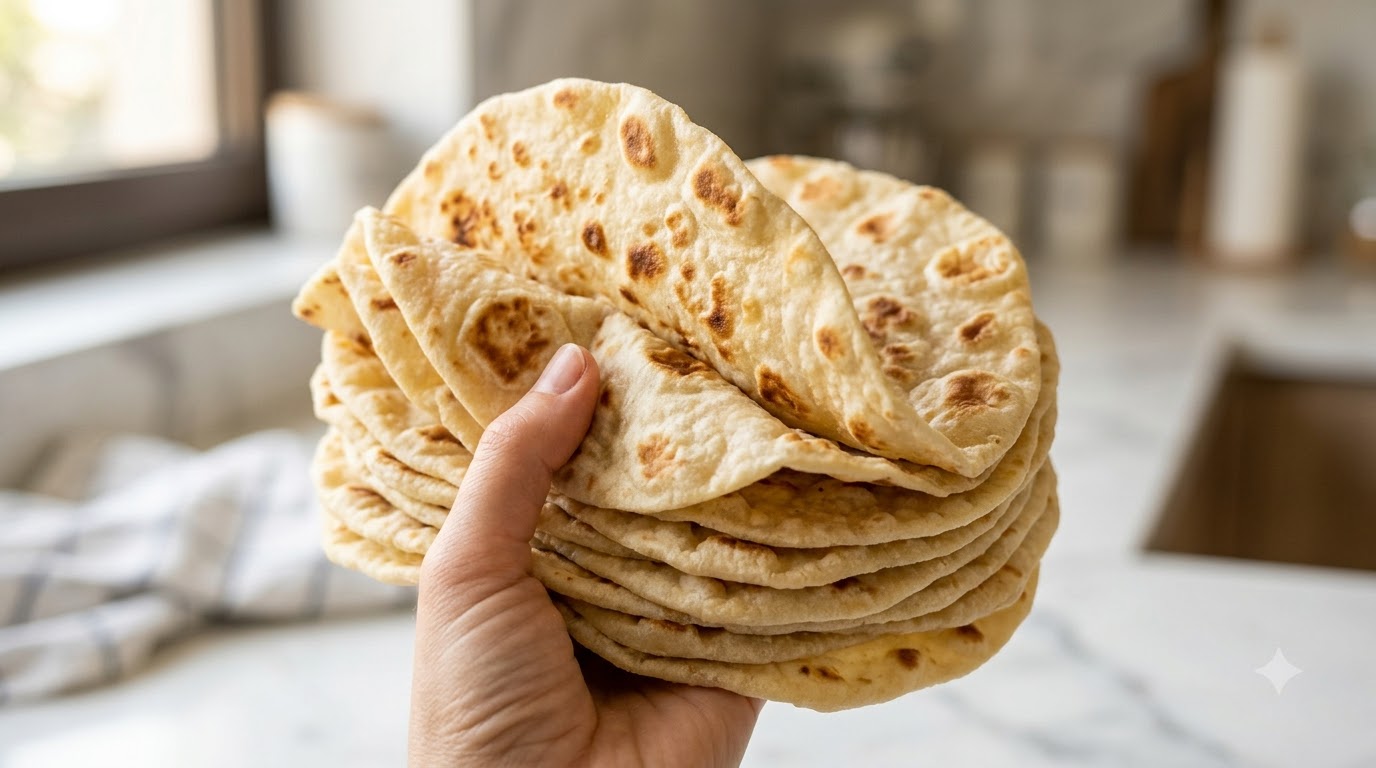
Ingredients
- 250 g all-purpose flour
- 1 g salt
- 1 g baking powder
- 5 g fresh yeast
- 150-160 g cold water
- 13 g oil
- to taste dry flour for dusting
Instructions
- 1Measure and combine ingredients
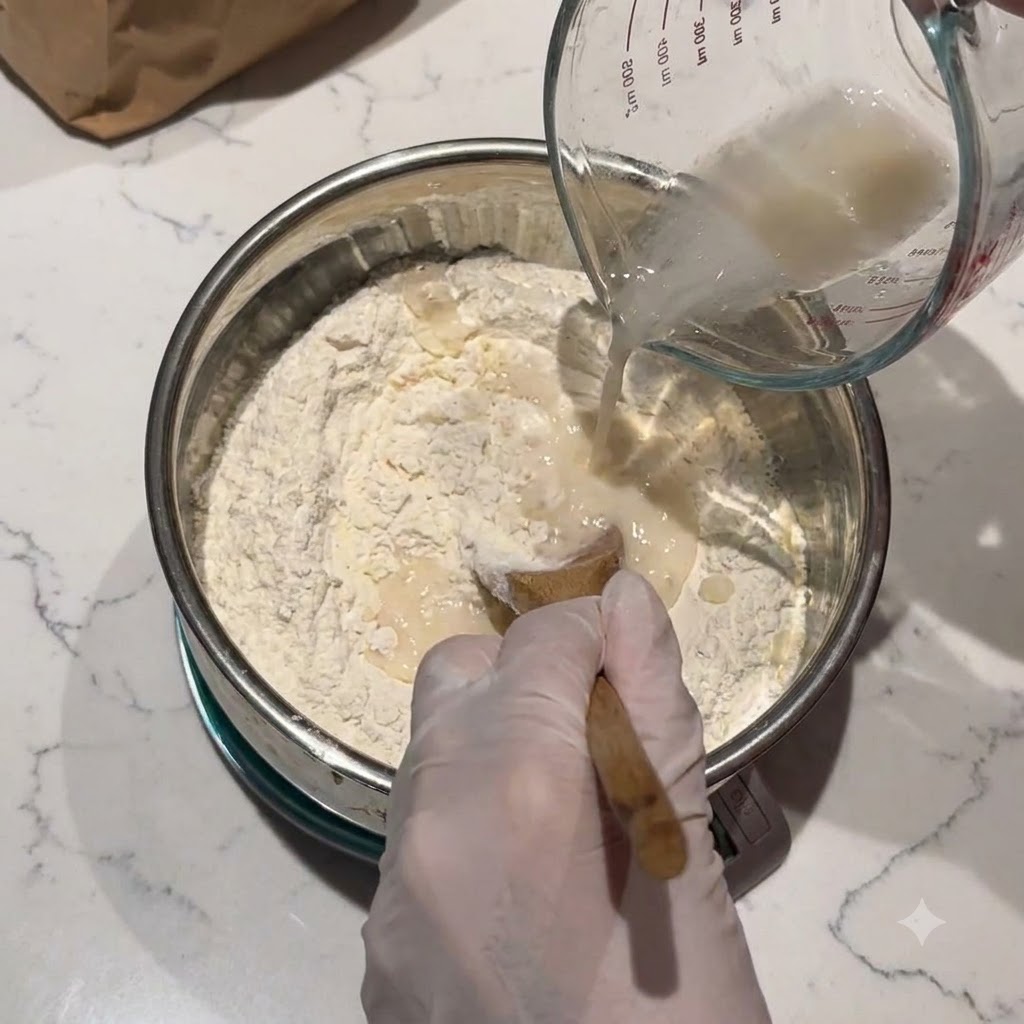
Pour water and oil into a bowl containing the flour, salt, baking powder, and yeast placed on a kitchen scale.
Tip: Use cold water to control the yeast activity and dough temperature. - 2Knead into a smooth dough
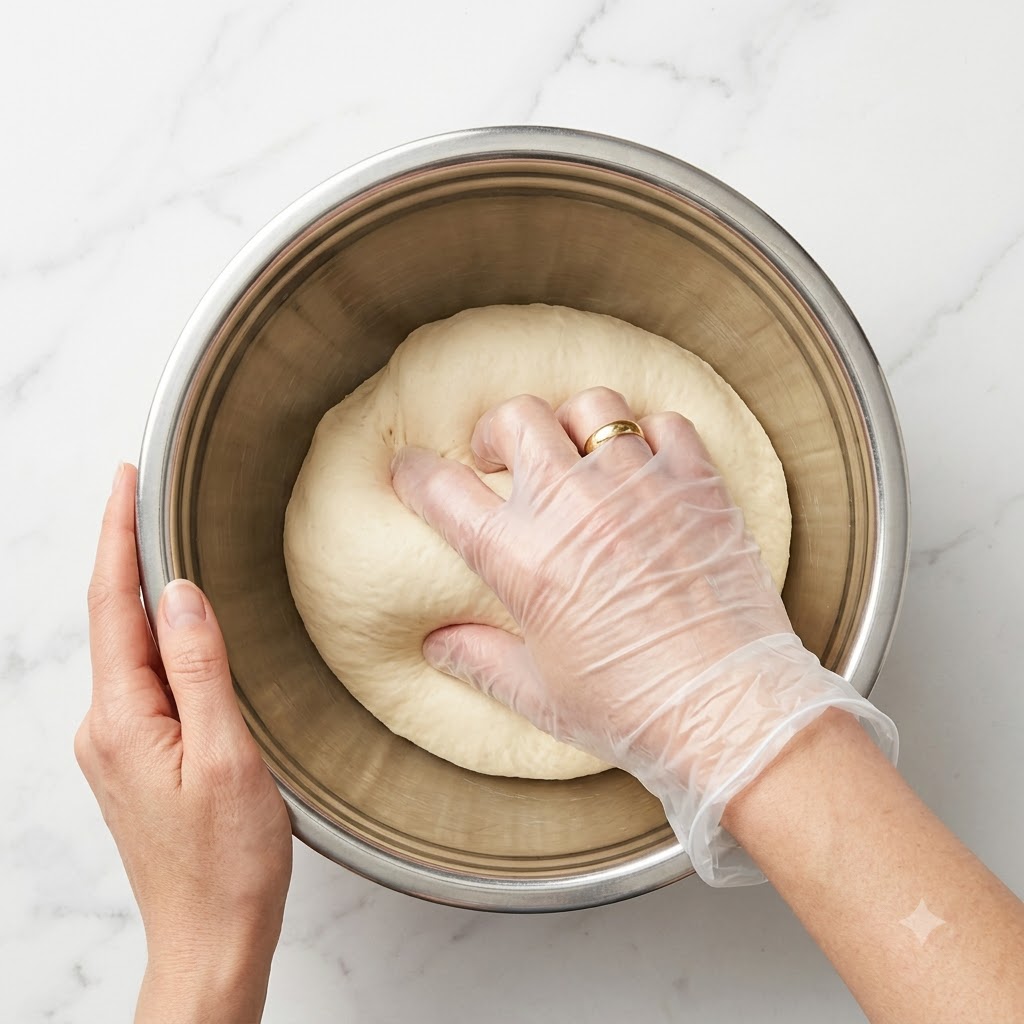
Knead the ingredients directly inside the metal bowl using a gloved hand until the dough becomes smooth.
Tip: There is no need to knead it extensively or let it proof at this stage. - 3Roll into a long strip
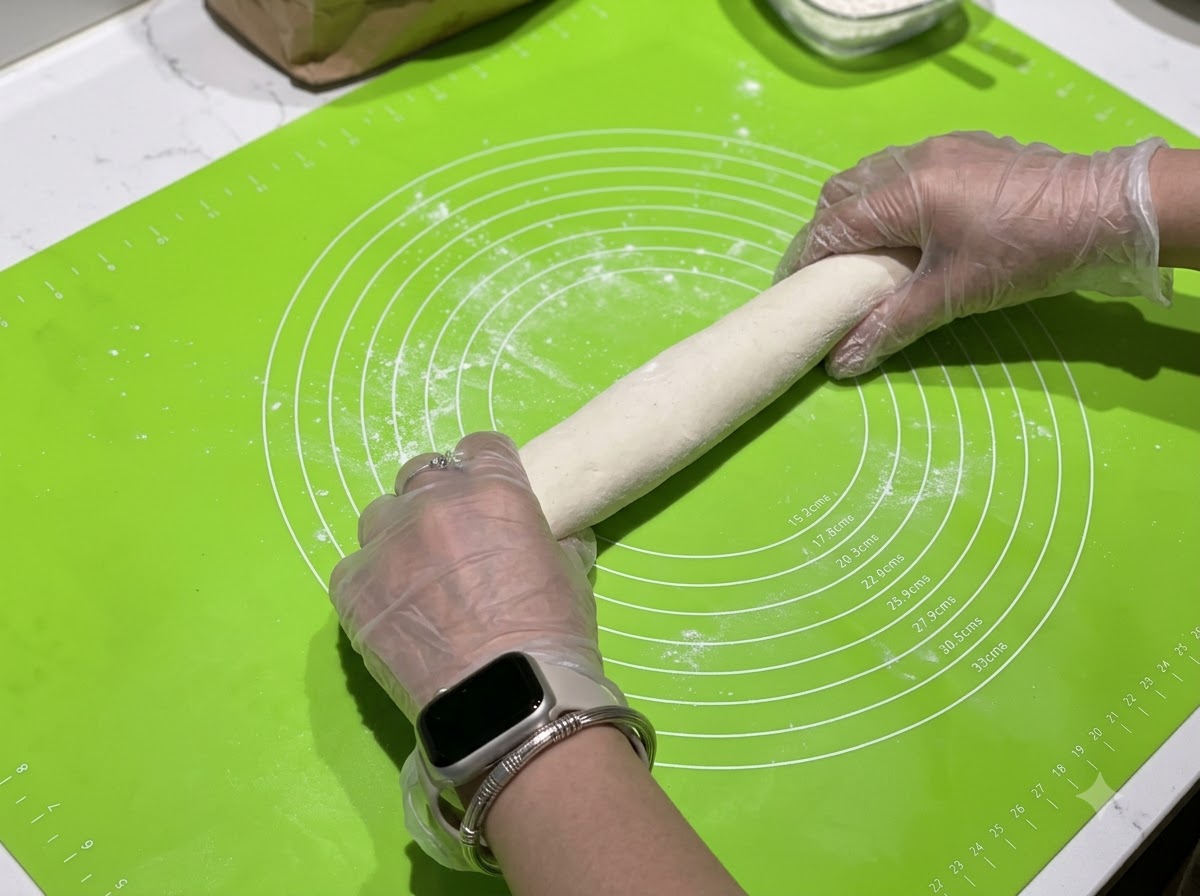
Take the smooth dough and roll it into a long cylindrical strip on a green silicone baking mat.
Tip: Keep the thickness uniform along the strip for easy portioning. - 4Divide into portions
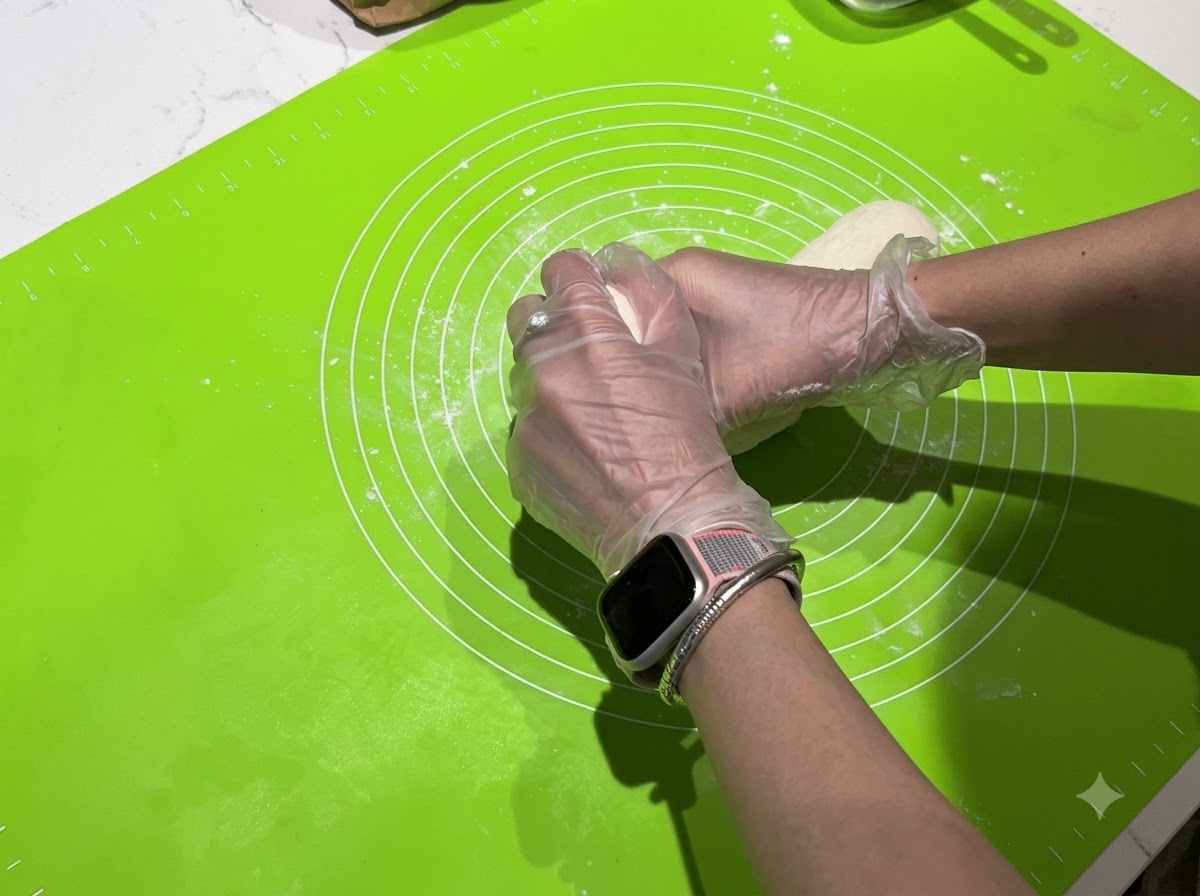
Divide the long dough strip into smaller, manageable portions for individual flatbreads.
Tip: Cut cleanly to ensure each piece can be shaped evenly. - 5Round and rest the dough
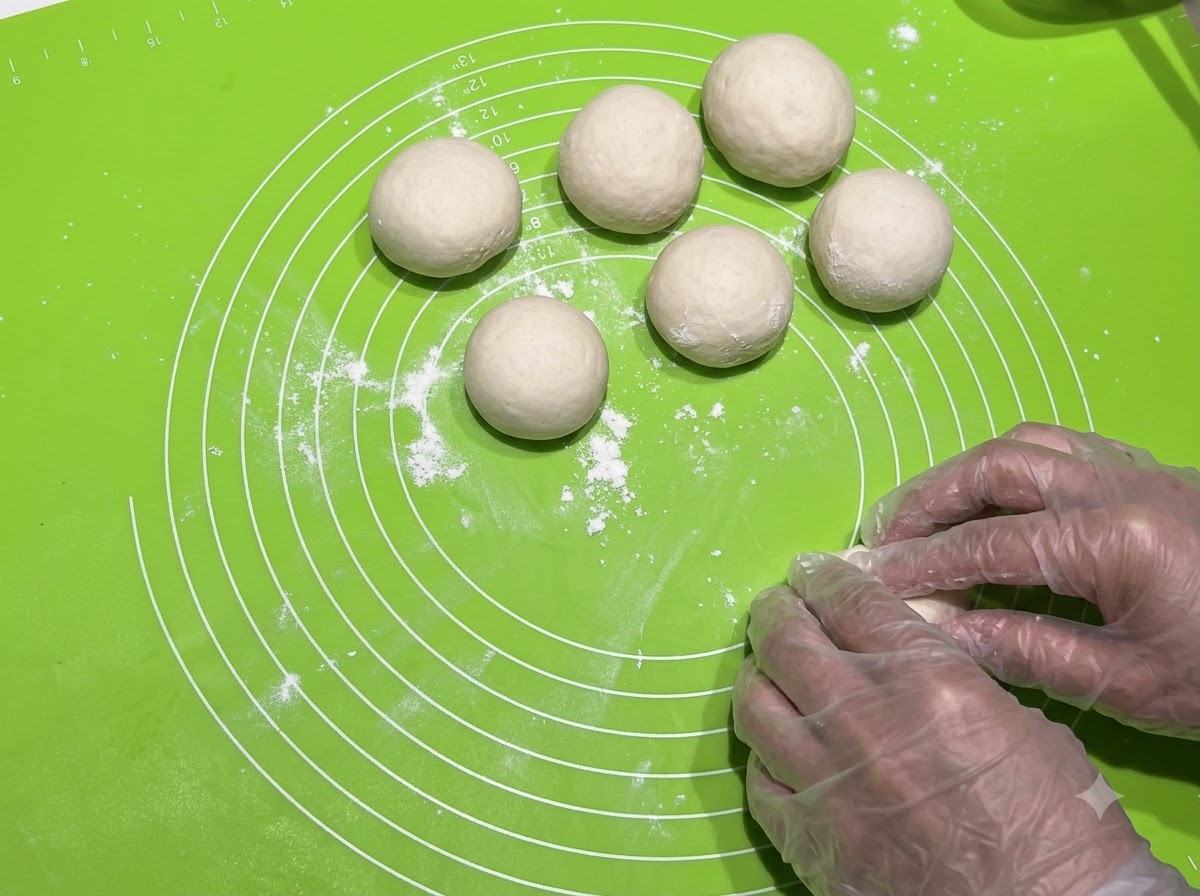
Round each small dough portion into a smooth ball, cover them with a cloth, and let them rest.
Tip: Let rest for 10-15 minutes so the gluten relaxes before rolling. - 6Roll out thin wrappers
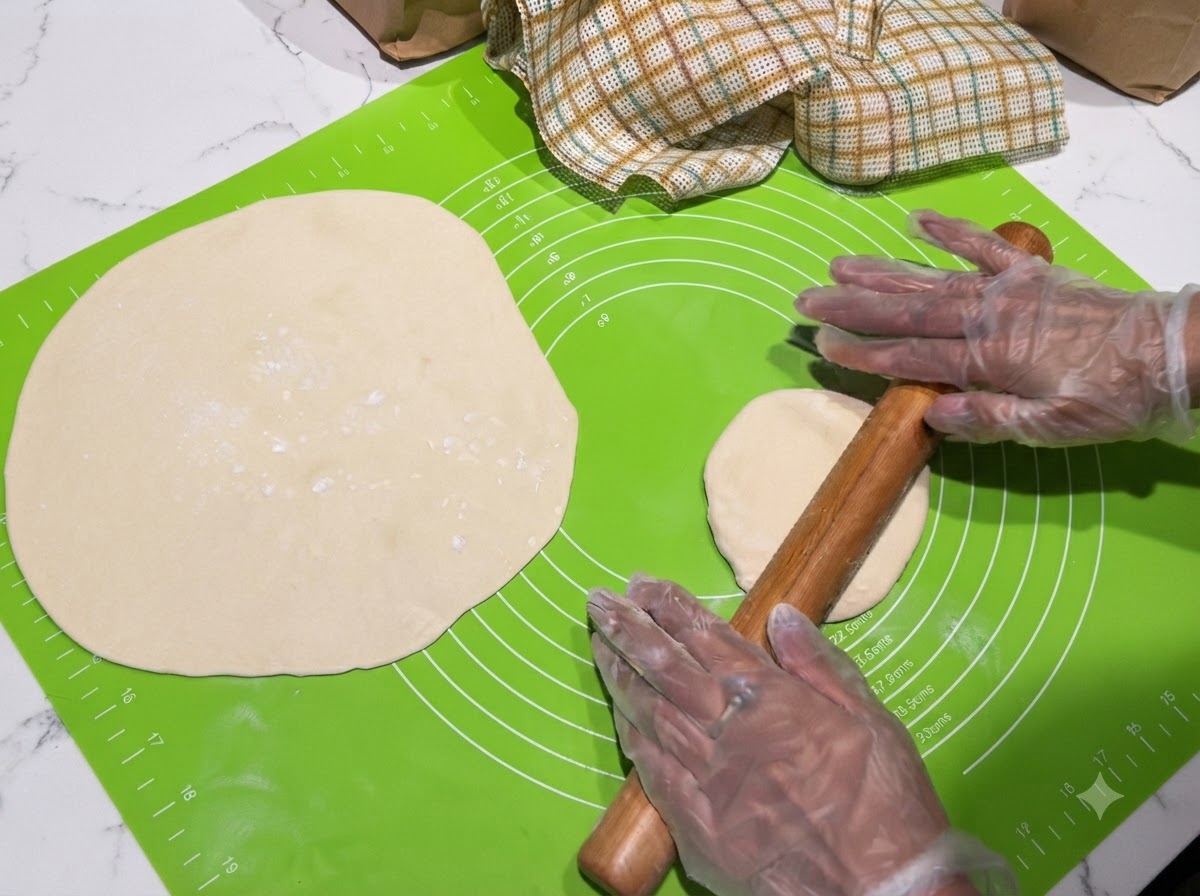
Dust the surface with dry flour and roll out each dough portion as thin as possible using a wooden rolling pin.
Tip: Dont worry if its not perfectly round; just make sure it is rolled very thin. - 7Stretch the dough sheet
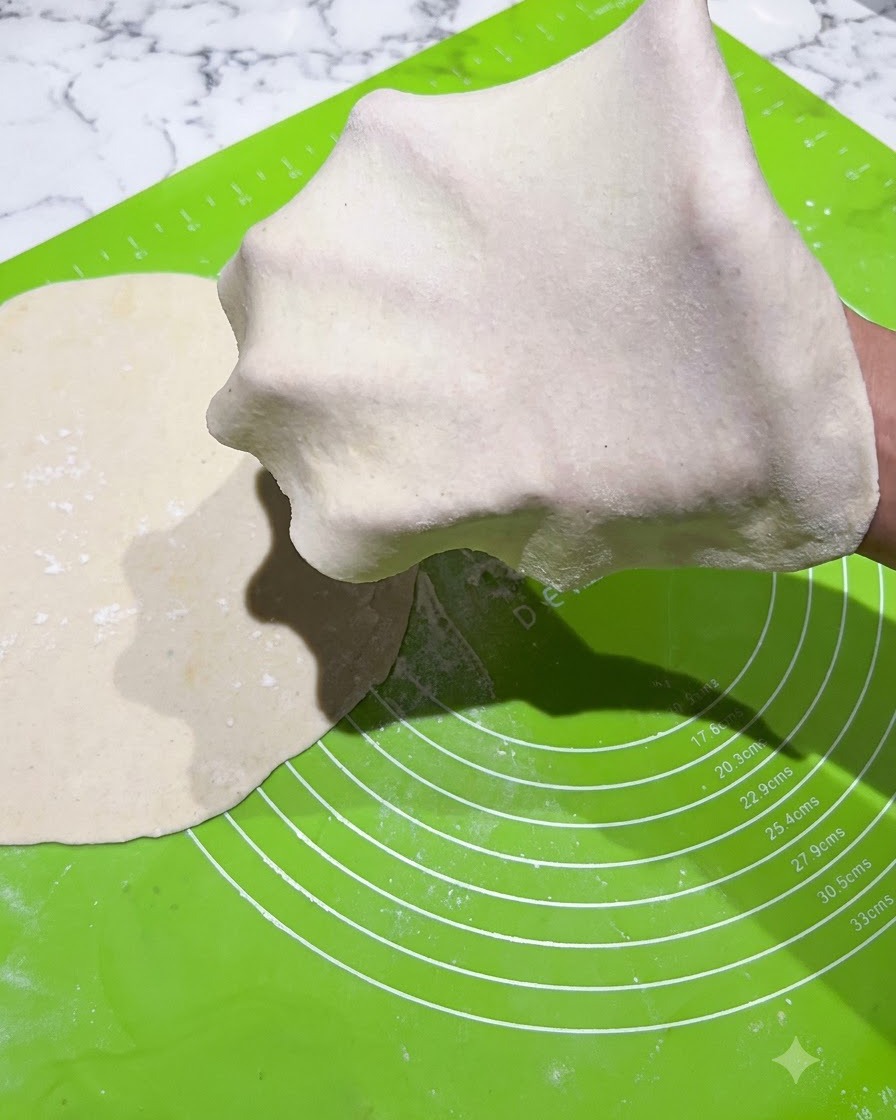
Take a rested portion of dough and gently stretch it over your gloved hand to demonstrate how thin and translucent the sheet can become without tearing.
Tip: Keep the dough dusted lightly with dry flour to prevent sticking while stretching. - 8Place dough into the pan
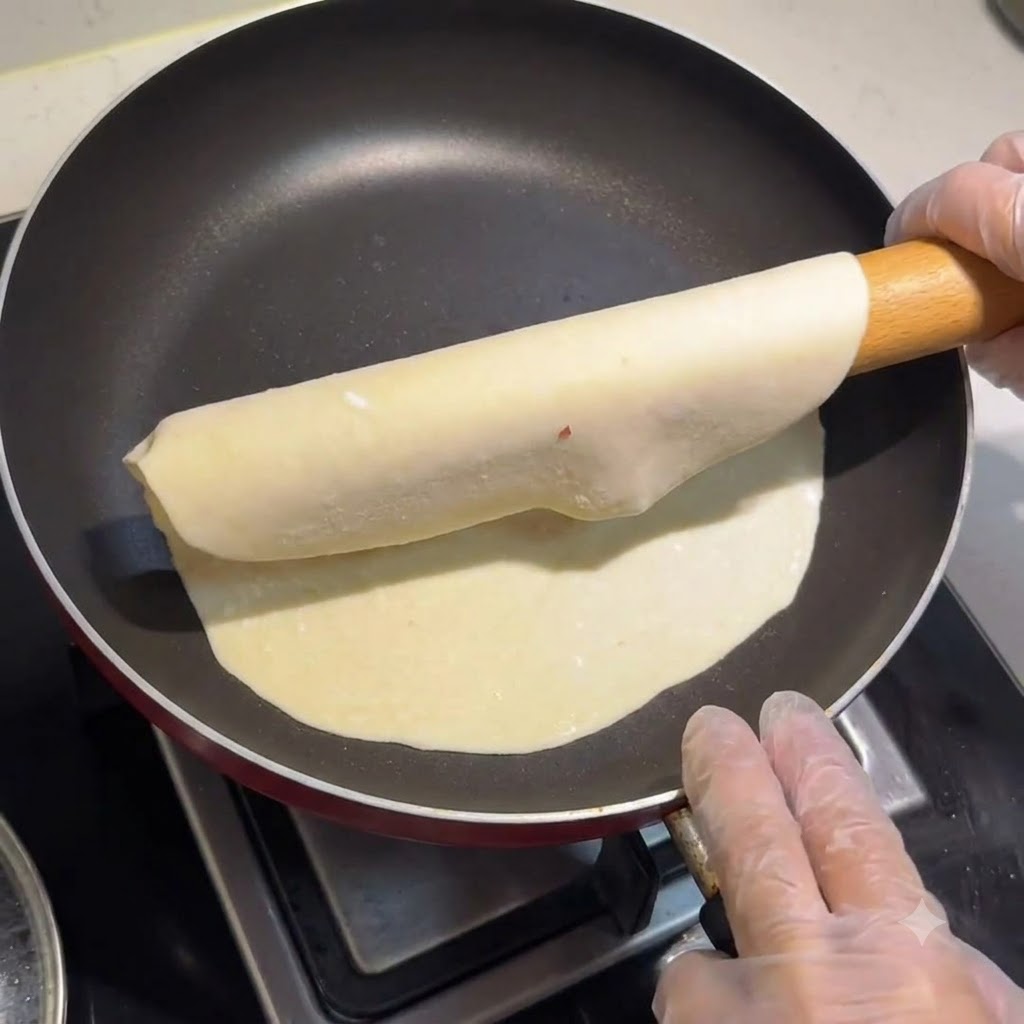
Carefully pick up the rolled dough sheet and place it directly into a dry, preheated frying pan without using any oil.
Tip: Ensure the pan is properly preheated on medium-high heat so the flatbread cooks quickly and stays soft. - 9Flip the flatbread
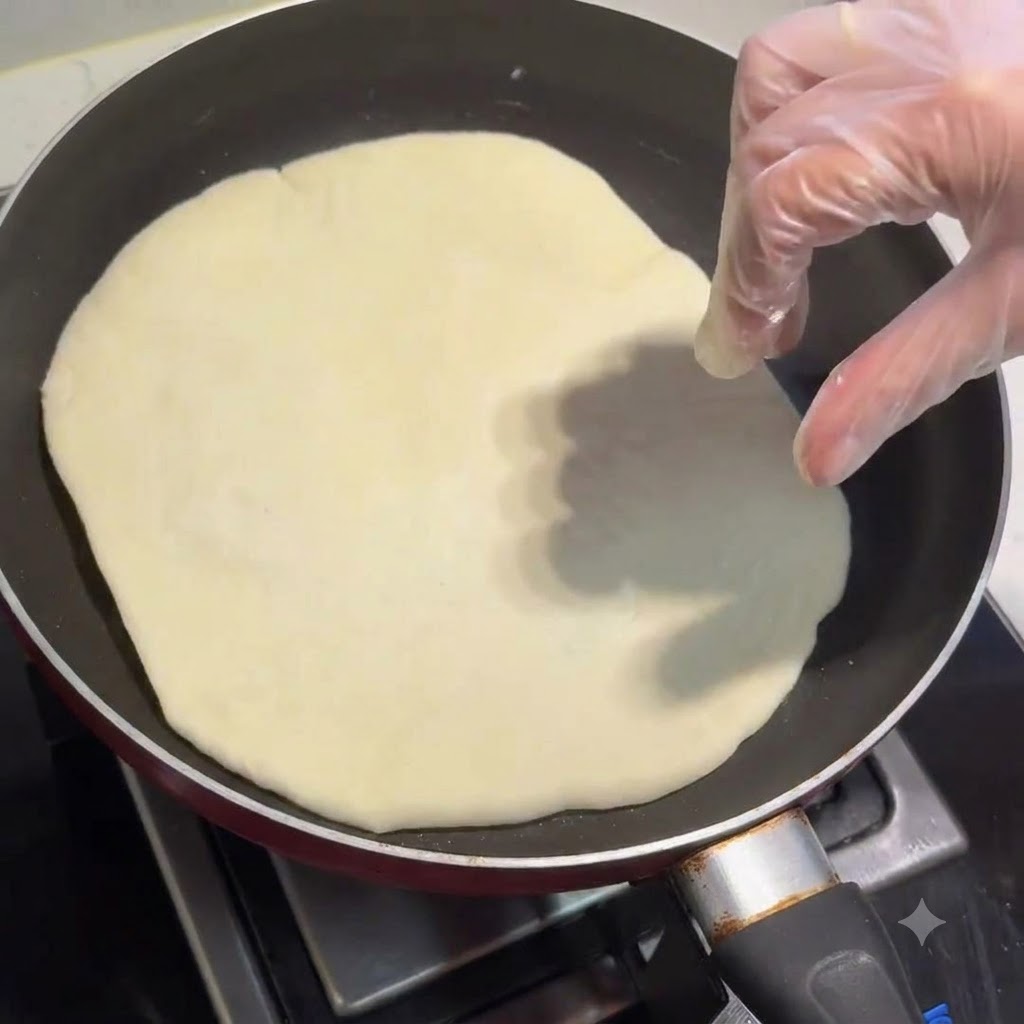
After about ten seconds in the pan, use your hand or a spatula to flip the flatbread over to cook the other side evenly.
Tip: Do not wait too long before the first flip to prevent burning and to help it puff up nicely. - 10Press and cook the flatbread
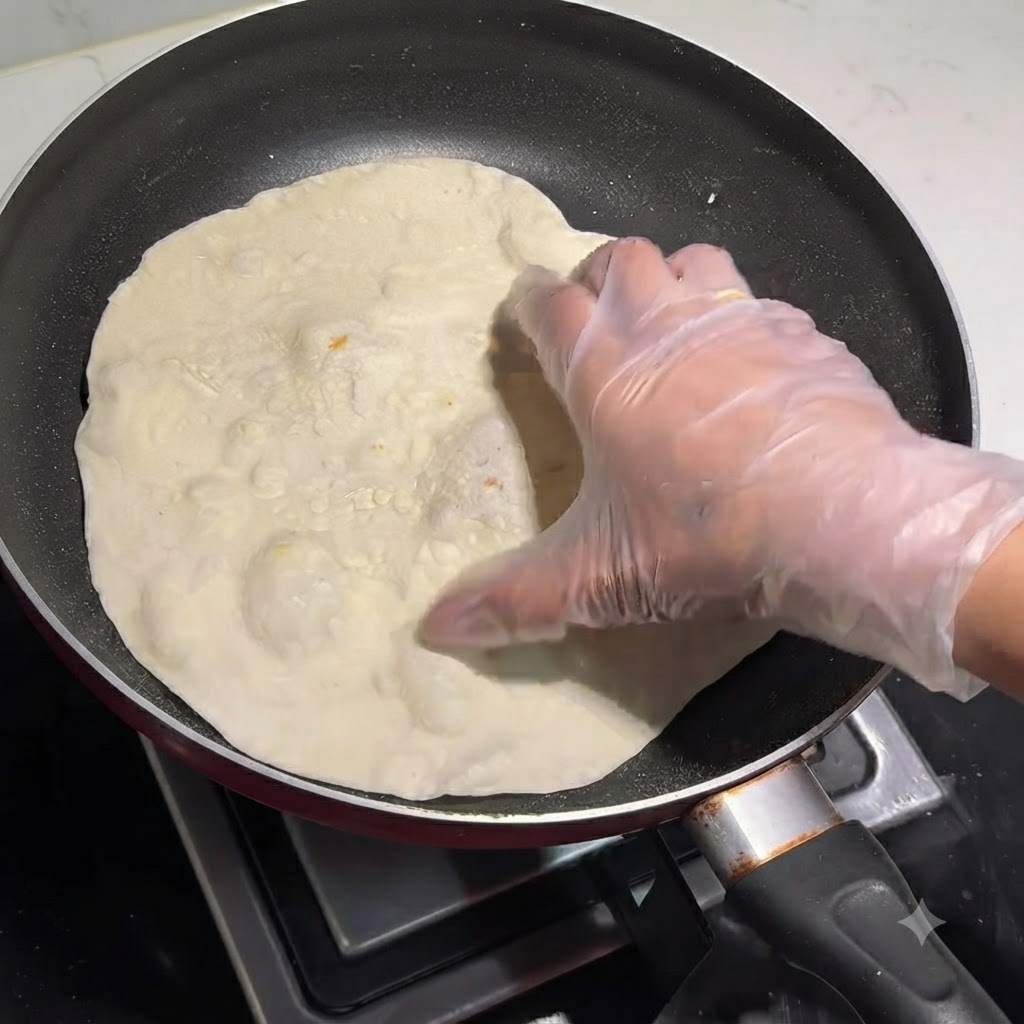
Place the rolled flatbread into a preheated pan without oil. Cook on medium-high heat, flipping after about ten seconds, and gently press the surface as it bubbles and puffs up to ensure even cooking.
Tip: Do not overcook the flatbread, or it will become too dry and hard.