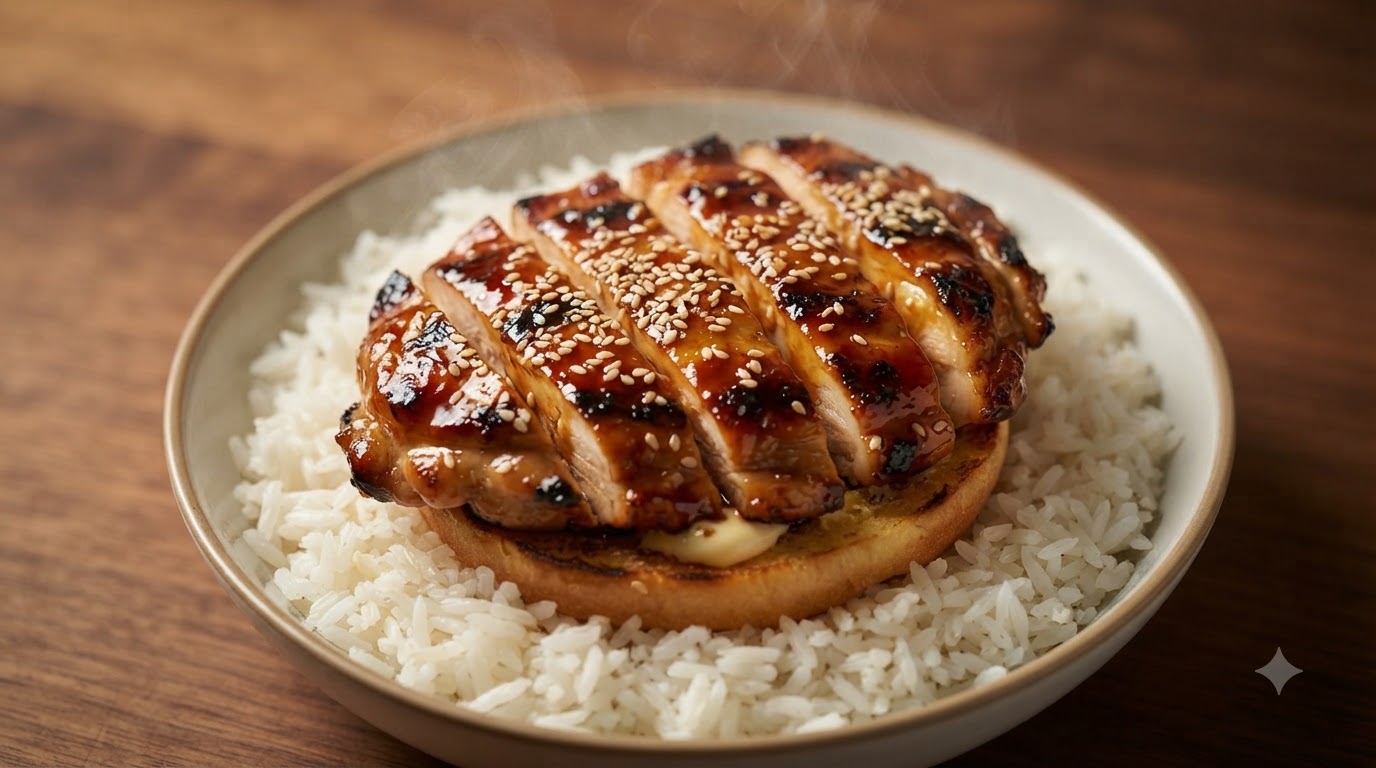
Crispy Garlic Butter Chicken Chop
Golden, ultra-crispy chicken chops coated in a rich garlic butter and honey glaze. Ready in under 45 minutes for a weeknight masterpiece.
Crispy garlic butter chicken chop brings together aromatic Asian-inspired marinade techniques with a rich, glossy Western-style glaze. Marinated with ginger and five-spice for deep flavor, the chicken is pan-fried to golden perfection and tossed in bubbling garlic butter, honey, and soy sauce. It offers a harmonious balance of crunchy texture, savory depth, and sweet garlic richness.
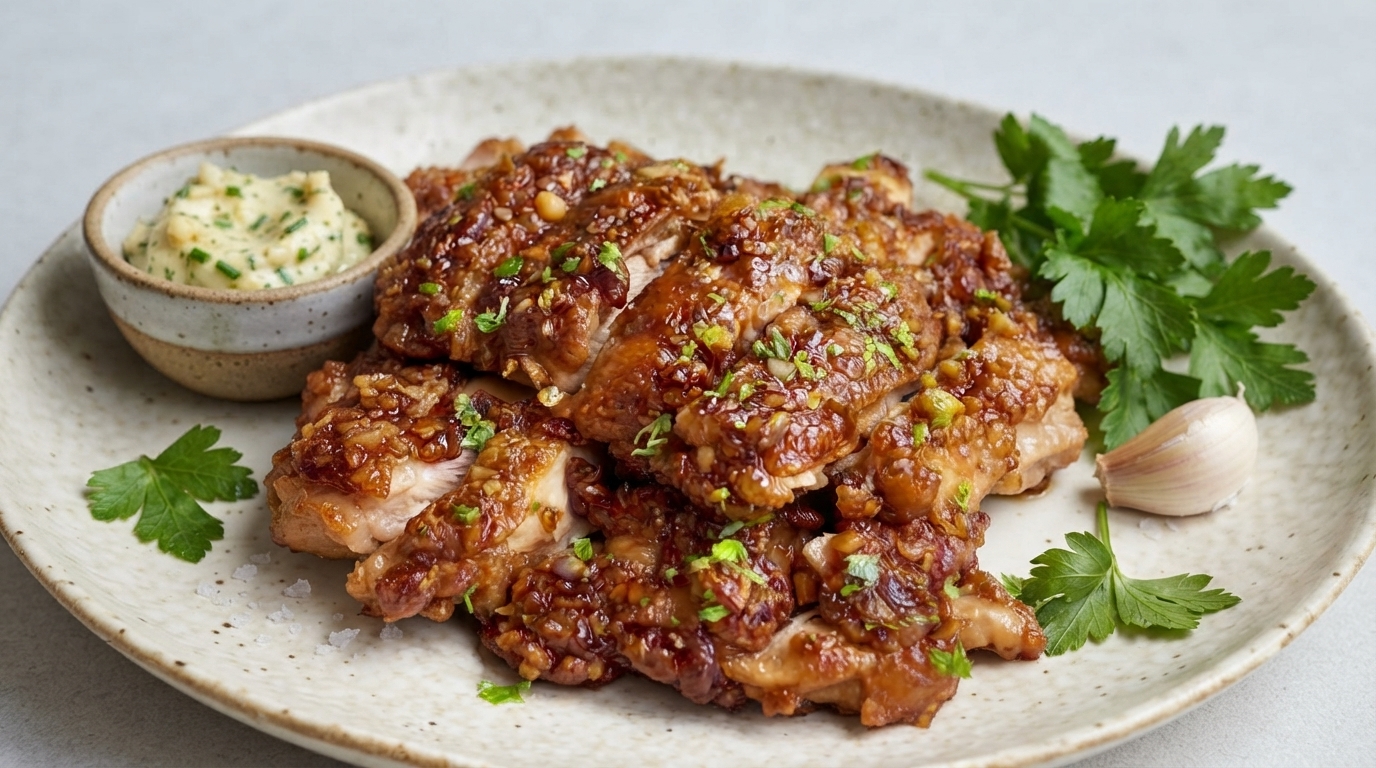
Ingredients
- 500 g chicken thighs
- 3 slices ginger
- 1/2 tsp white pepper powder
- 1/4 tsp five-spice powder
- 1 tbsp oyster sauce
- 1 tbsp light soy sauce
- 1 tsp dark soy sauce
- 5 g sugar
- 4 cloves garlic
- 1/2 cup cornstarch
- 2 tbsp cooking oil
- 30 g butter
- 1 tbsp honey
- to taste chopped green parsley
Instructions
- 1Marinate the chicken thighs
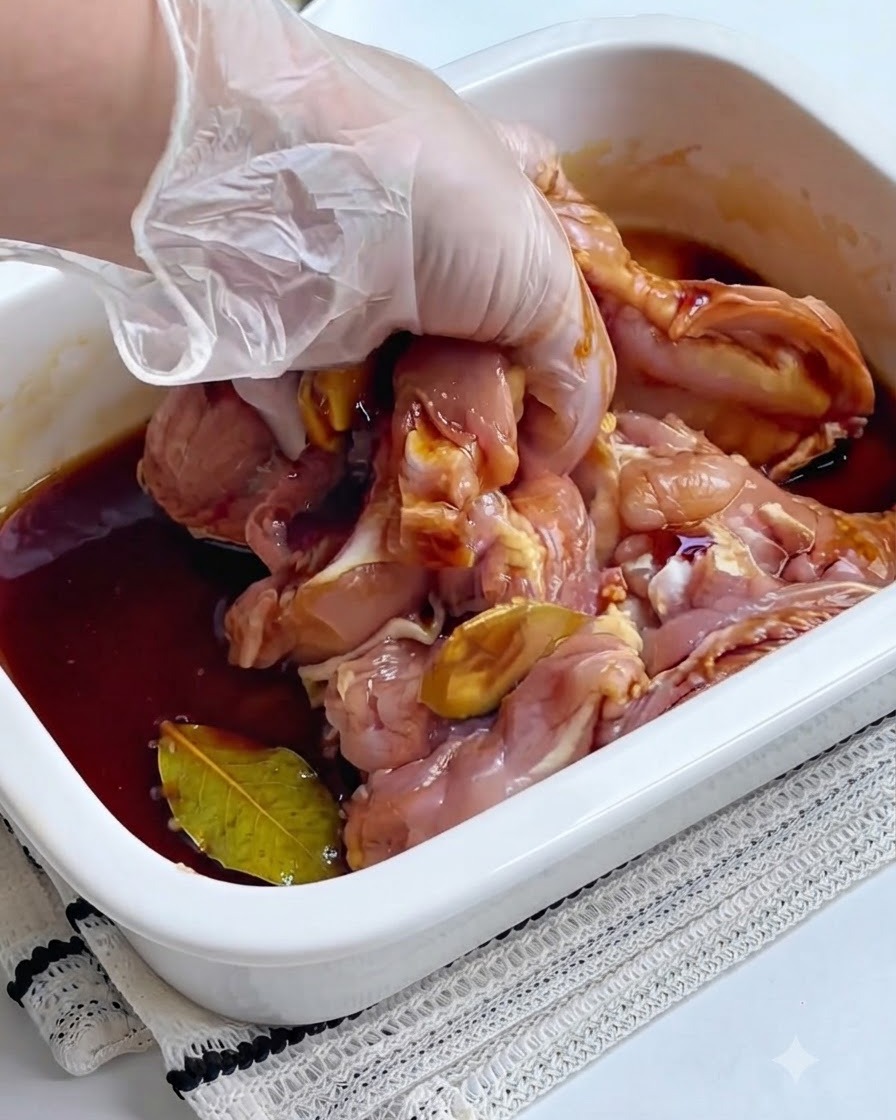
Using a gloved hand, thoroughly massage the marinade ingredients—ginger, white pepper, five-spice, oyster sauce, light and dark soy sauces, and sugar—into the chicken thighs to ensure every piece is evenly coated. Let them marinate for 30 minutes to absorb the deep flavors.
Tip: Massage the marinade well into the meat, especially around the folds and skin, to ensure maximum flavor penetration. - 2Mince the garlic
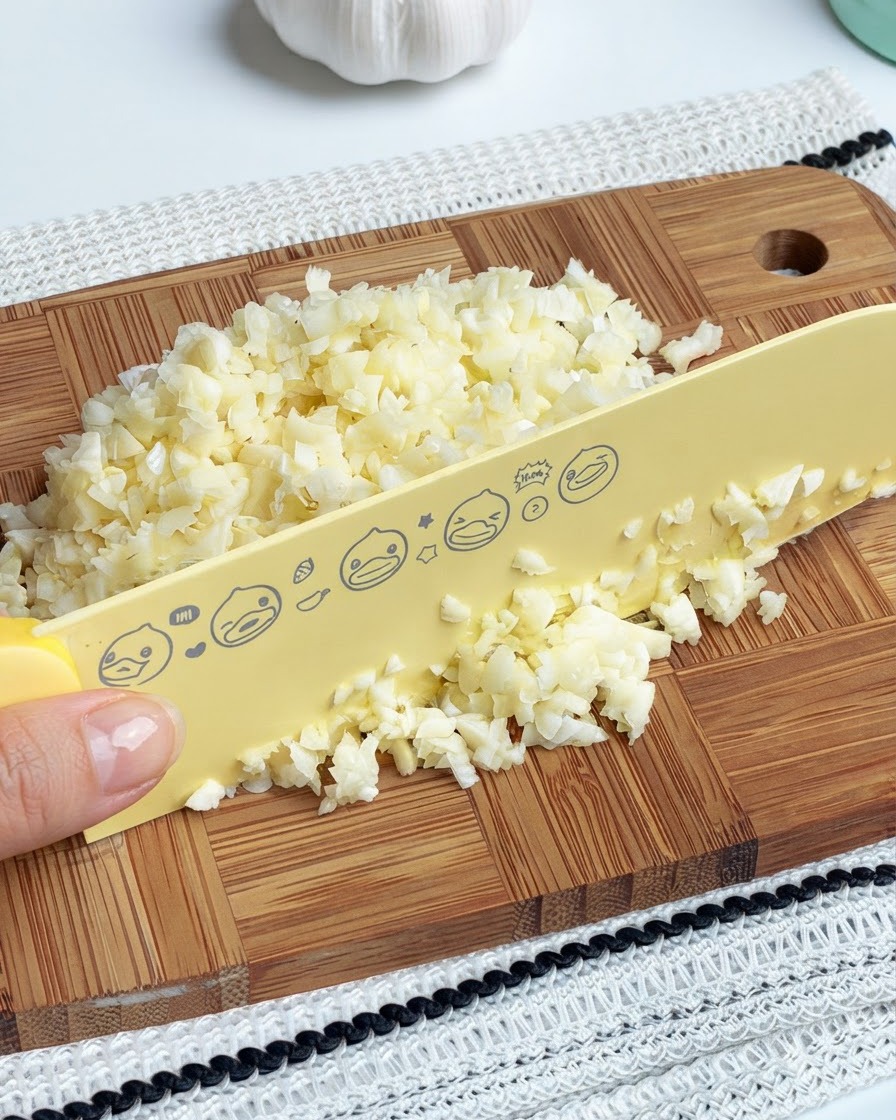
Finely mince the peeled garlic cloves on a clean wooden cutting board using a sharp knife. Ensure the pieces are evenly chopped so they release their aromatic flavors thoroughly when sautéed.
Tip: Keep your fingertips tucked inward while chopping to protect your hands and maintain a steady rhythm. - 3Coat with cornstarch
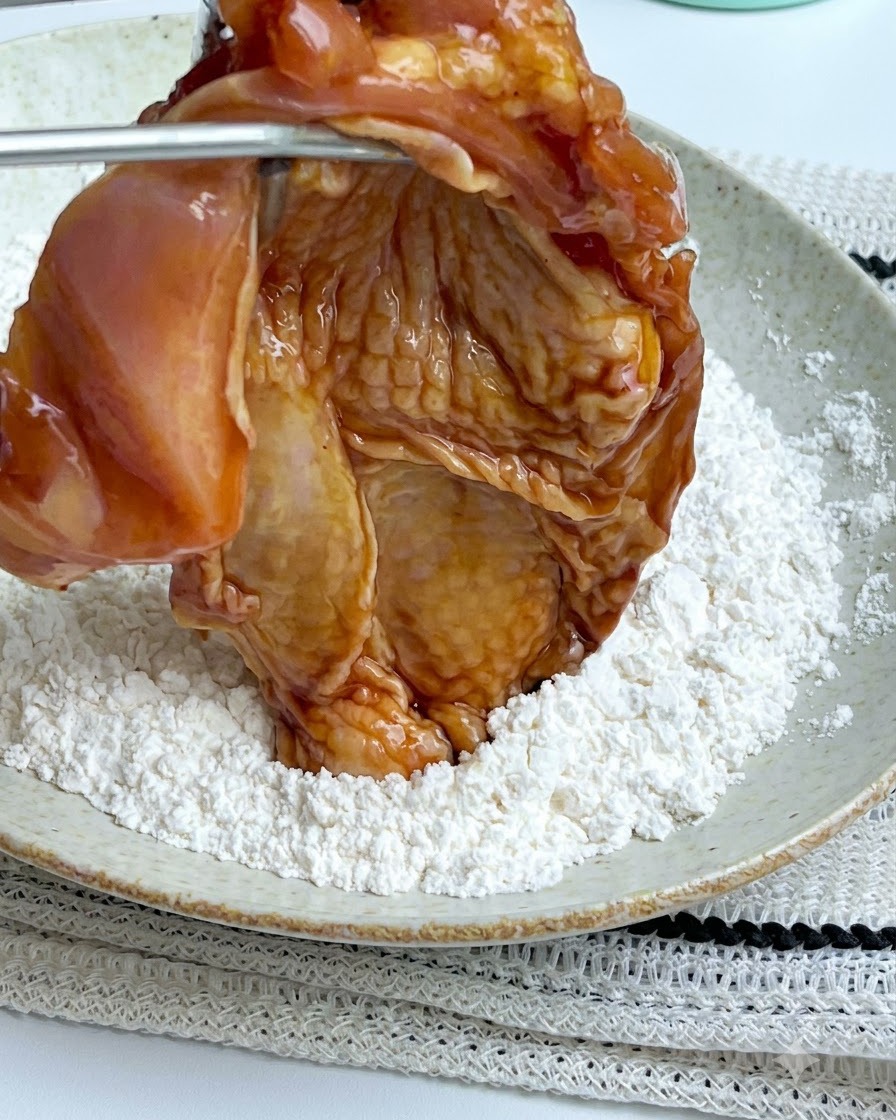
Take each piece of marinated chicken and coat it thoroughly on both sides with dry cornstarch, gently shaking off any excess starch before cooking. This creates a protective barrier that seals in the juices and results in a wonderfully crispy exterior when fried.
Tip: Shake off excess starch so it forms a light, even coating rather than a thick, gummy layer. - 4Fry the chicken
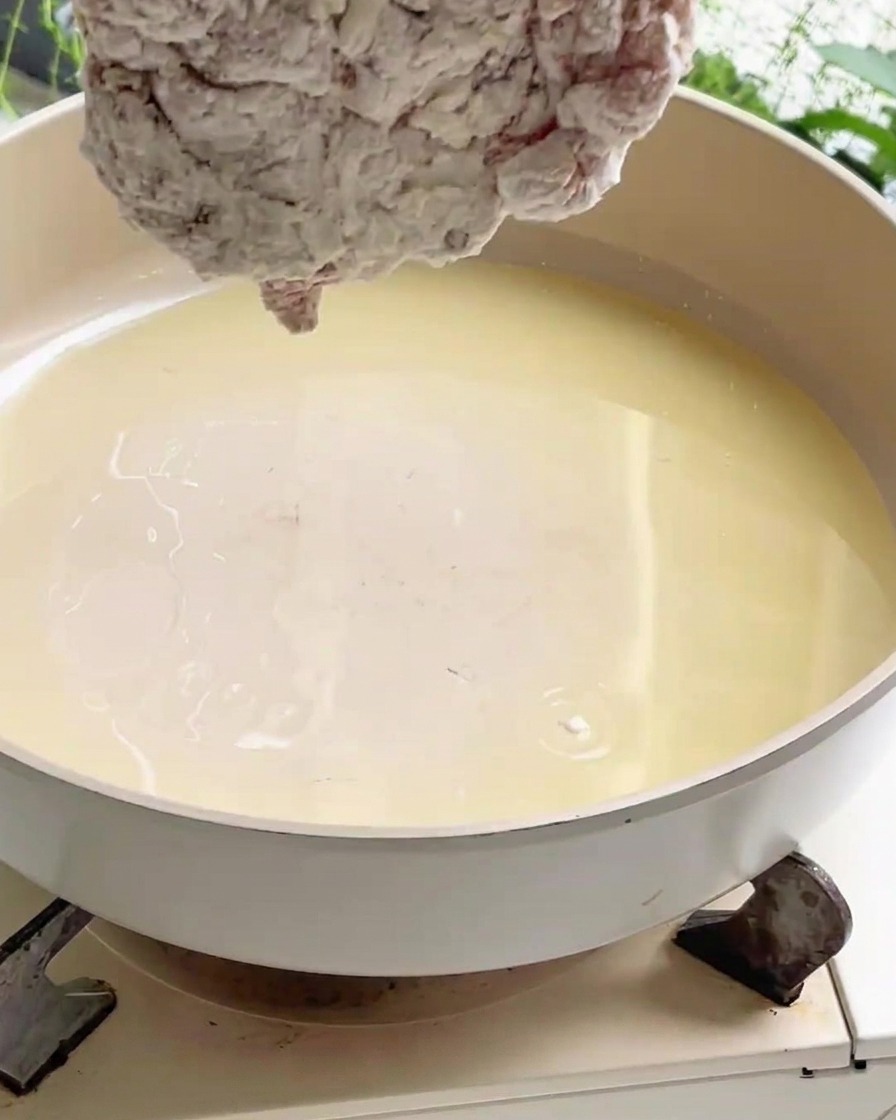
Place the cornstarch-coated chicken pieces into a pan with preheated oil over medium-low heat. Fry until golden brown, flipping to cook both sides evenly for 4 to 5 minutes per side until they become crispy and fully cooked, then remove from the pan.
Tip: Keep the heat at medium-low to ensure the chicken cooks through completely without burning the cornstarch coating. - 5Fry until golden and crispy
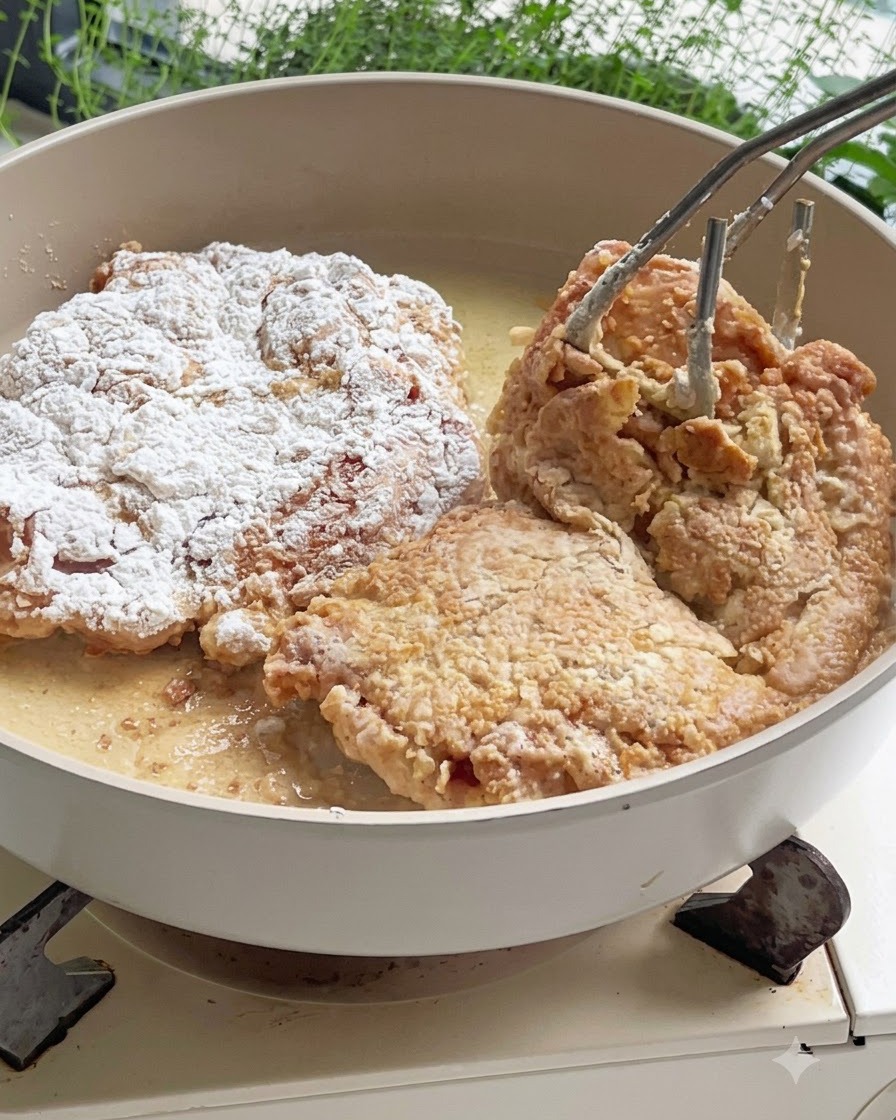
Continue frying the chicken pieces in the pan, turning them periodically until both sides achieve a deep golden brown and crispy texture. Once done, remove them from the oil and set aside.
Tip: Drain the fried chicken briefly on a wire rack or paper towels if needed to maintain crispiness before saucing. - 6Remove the fried chicken
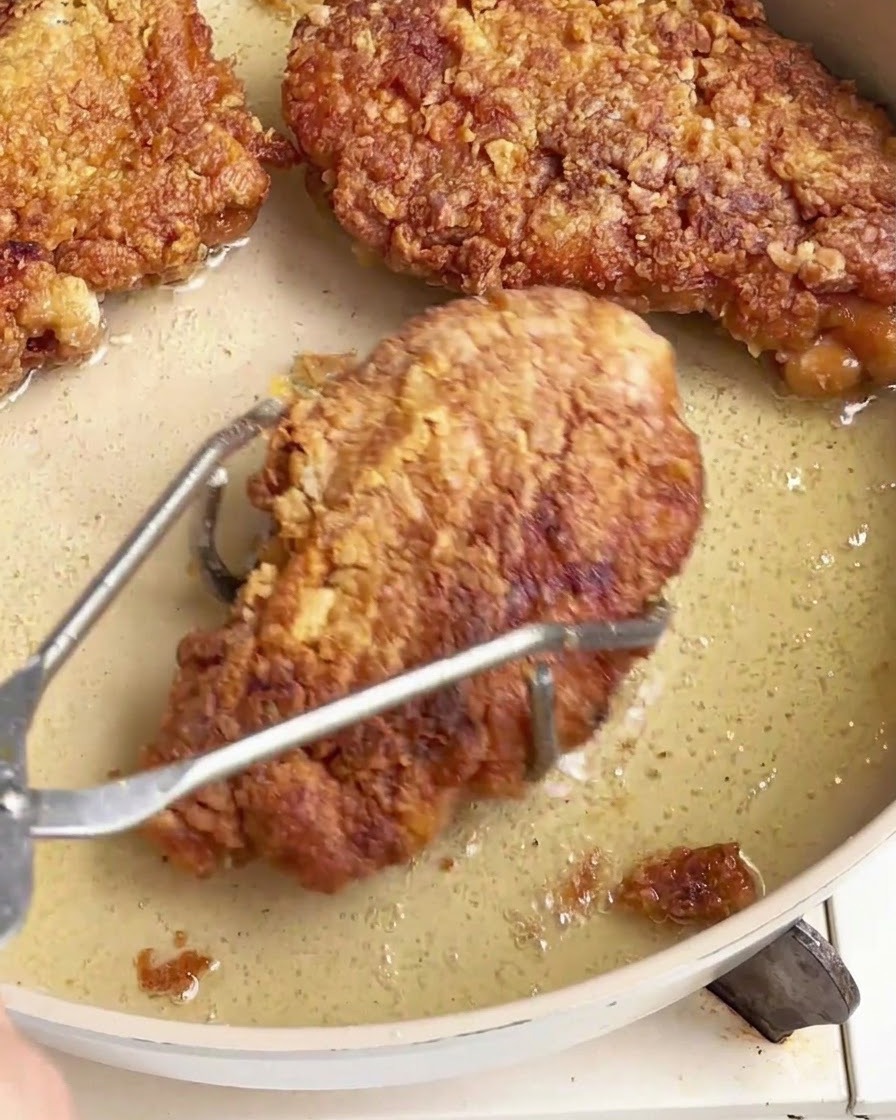
Once both sides of the chicken chops are cooked to a golden and crispy perfection, use a pair of tongs to carefully remove them from the pan.
Tip: Ensure the chicken is fully cooked and crispy before removing to achieve the ideal texture. - 7Melt the butter
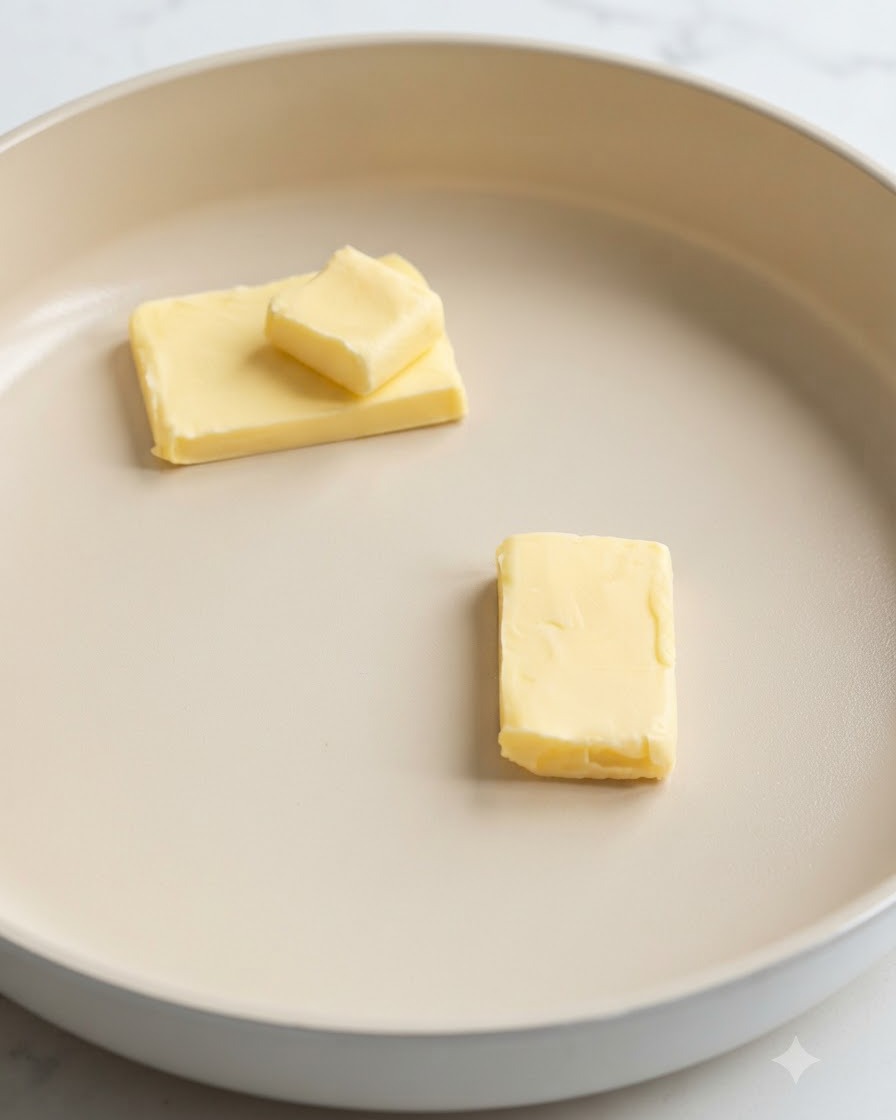
Place blocks of butter directly into the pan and allow them to melt completely over moderate heat.
Tip: Keep the heat controlled so the butter melts smoothly without burning. - 8Sauté the minced garlic
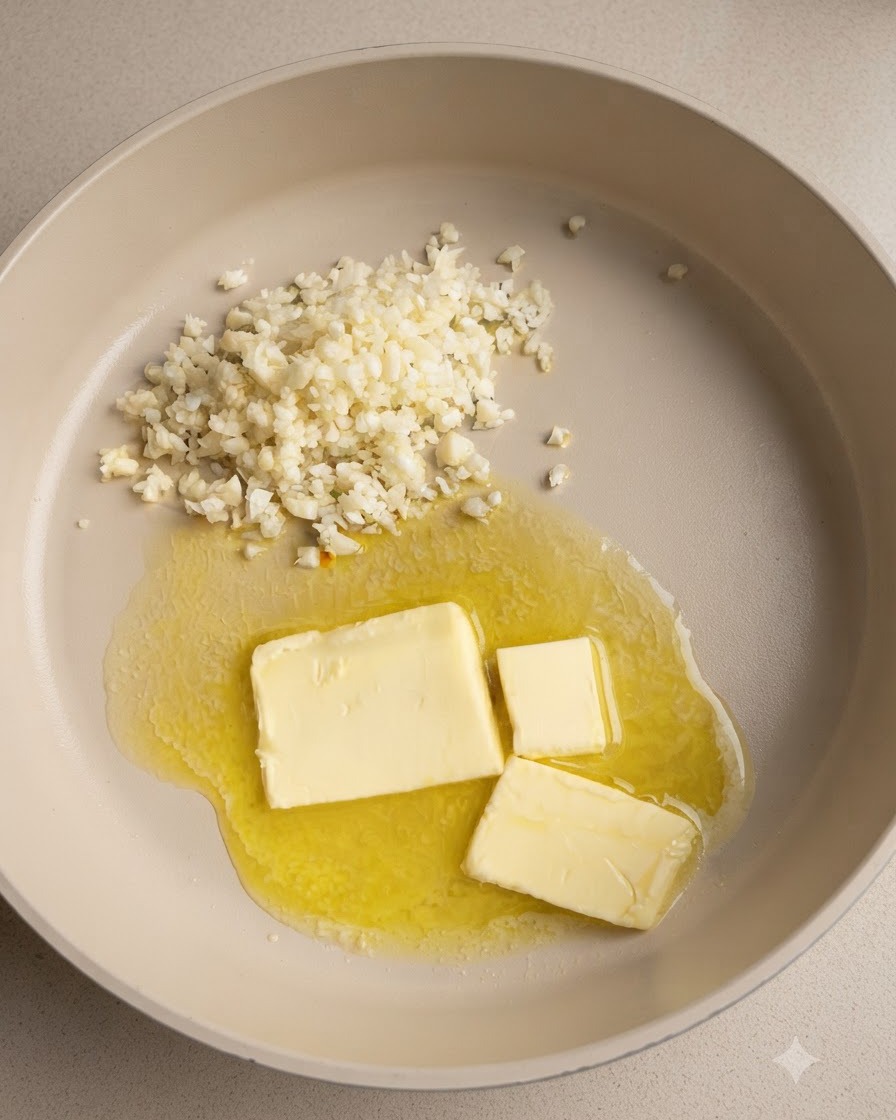
Add the freshly minced garlic into the melted butter in the pan, stirring continuously and sautéing until fragrant and lightly golden.
Tip: Sauté on low-medium heat to prevent the minced garlic from turning bitter or burning too quickly. - 9Create the sauce mixture
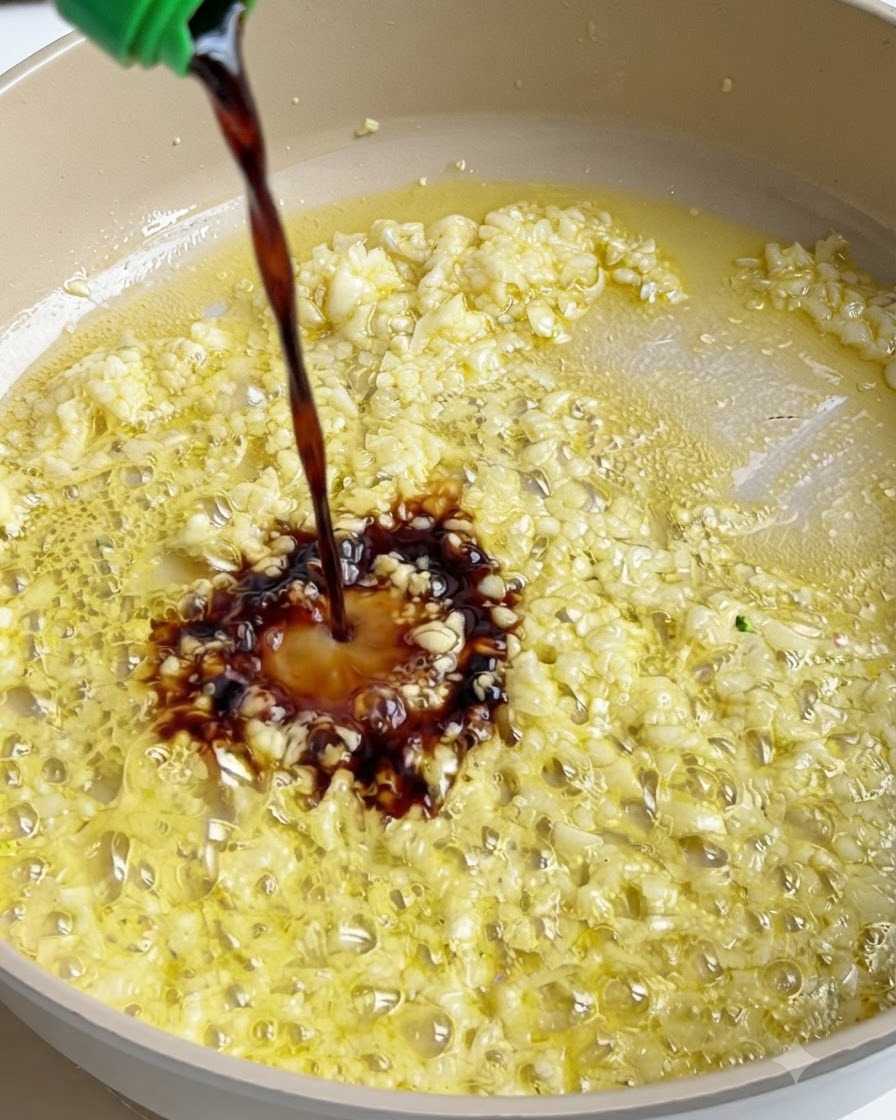
Pour light soy sauce, honey, and oyster sauce directly into the garlic butter mixture, cooking and stirring over low heat until fully combined and melted into a rich sauce.
Tip: Maintain a low heat when incorporating honey and sauces to prevent burning or excessive reduction. - 10Coat the chicken in sauce
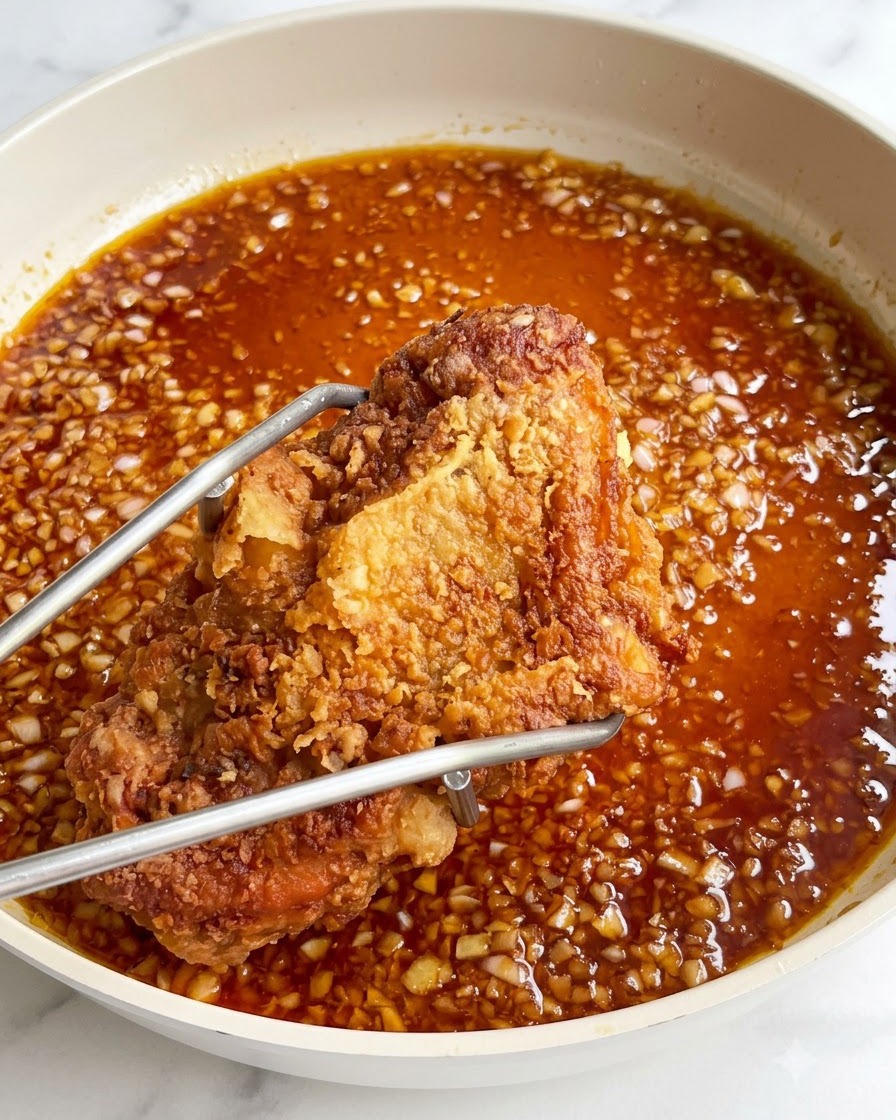
Place the previously fried chicken chops directly into the prepared sauce mixture in the pan, turning them to ensure both sides are evenly coated.
Tip: Coat the chicken just long enough to absorb the rich flavors while keeping the outer coating crispy.