Triple Smash Burger
Roasted Green Pepper Sauce & Crispy Onions
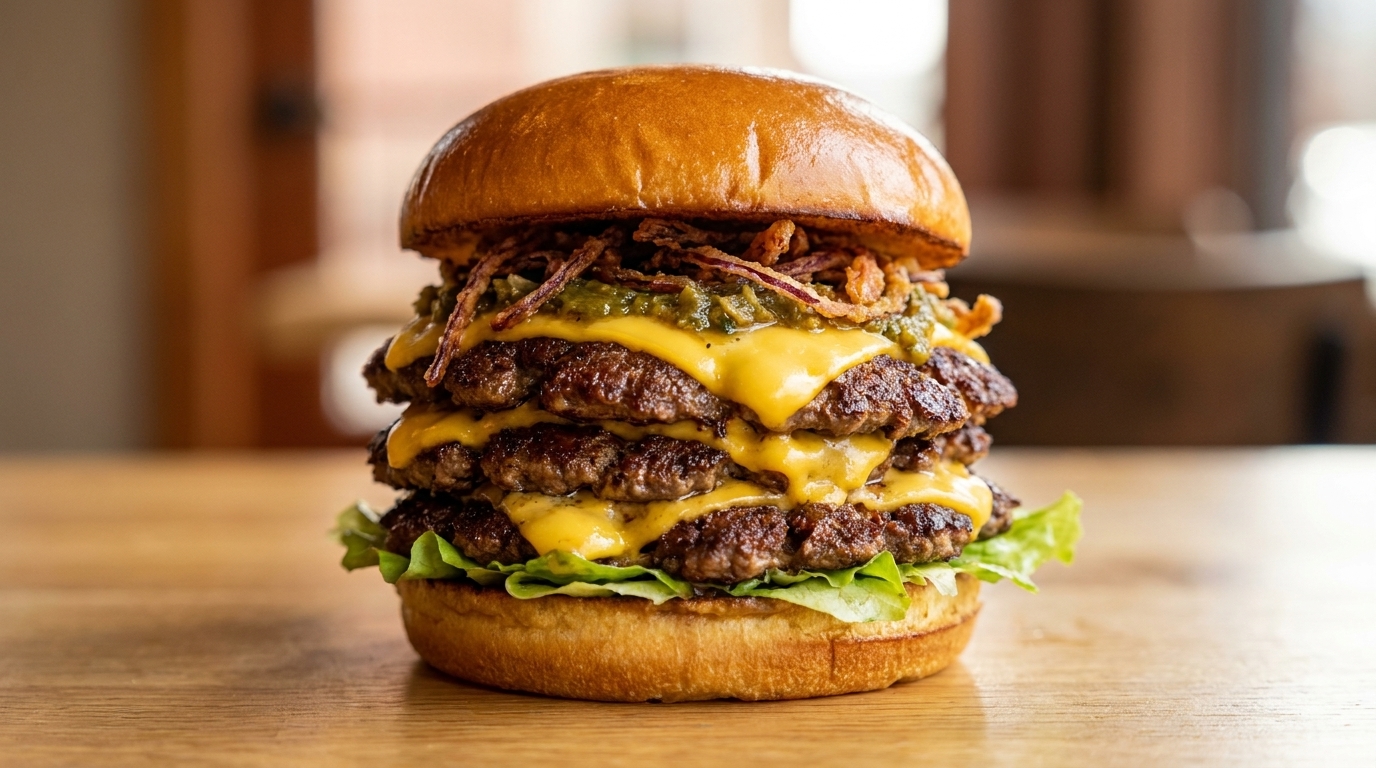
A decadent triple-stacked smash burger featuring deeply seared beef, melted American cheese, a smoky air-fried roasted pepper sauce, and golden-brown crispy onions.
The smash burger is a culinary exercise in the Maillard reaction, where high heat creates a savory, caramelized crust. This elevated version balances the rich, juicy beef with a rustic roasted pepper sauce and the sweet crunch of oil-fried red onions. It is a satisfying, texture-heavy meal that brings professional gastropub flavors into your home kitchen.
Ingredients
- 400 g ground beef (8020 lean-to-fat ratio)
- 2 brioche buns
- 6 slices American cheese
- 1 large red onion
- 4 green and red chili peppers
- 1 ripe tomato
- 2 cloves garlic
- 1 tbsp oyster sauce
- optional fresh lettuce
- to taste salt and black pepper
Instructions
- 1Score the tomato
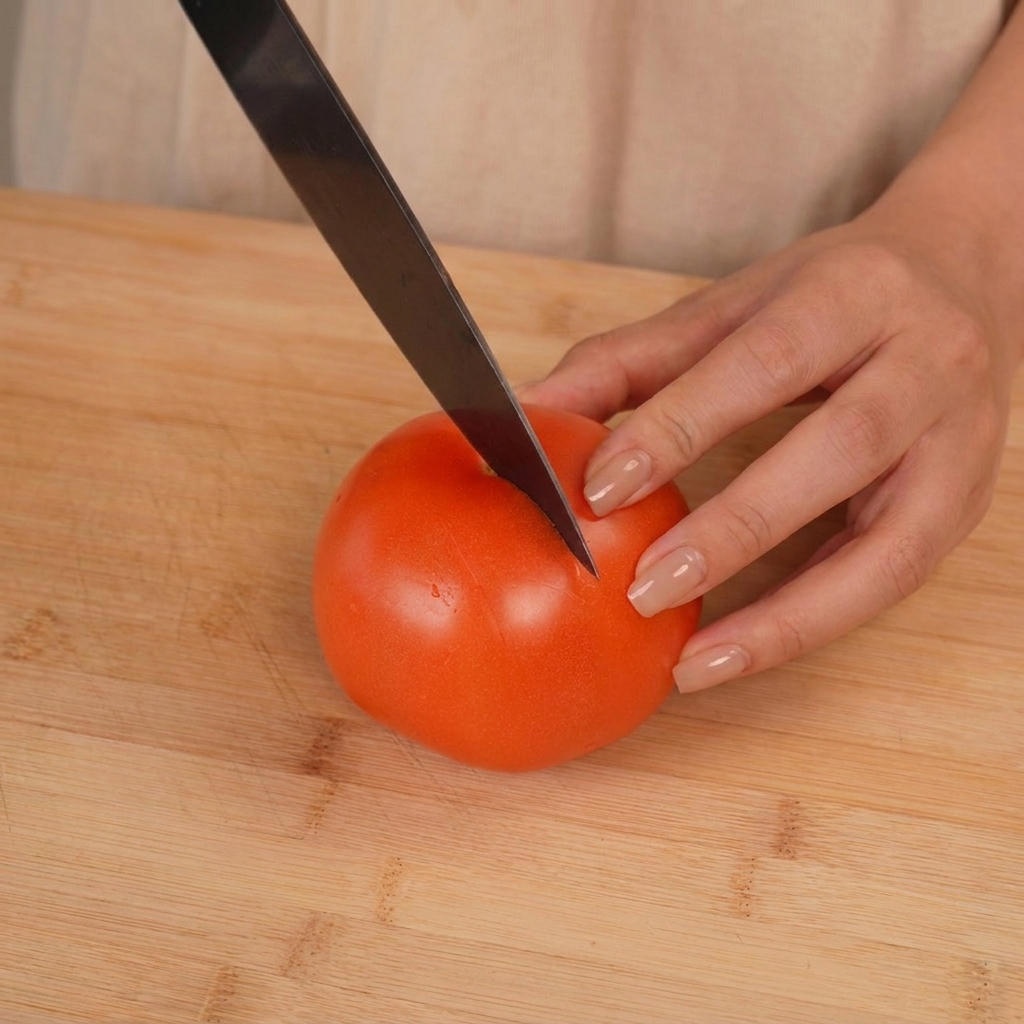
Begin by cleaning a fresh red tomato and using a sharp knife to carefully score a shallow X or cross on the top. This simple prep step helps the skin blister and peel more easily during the roasting process ensuring a smoother sauce later.
Tip: Do not cut too deep as you only want to pierce the skin and not slice into the flesh of the tomato. - 2Oil the peppers
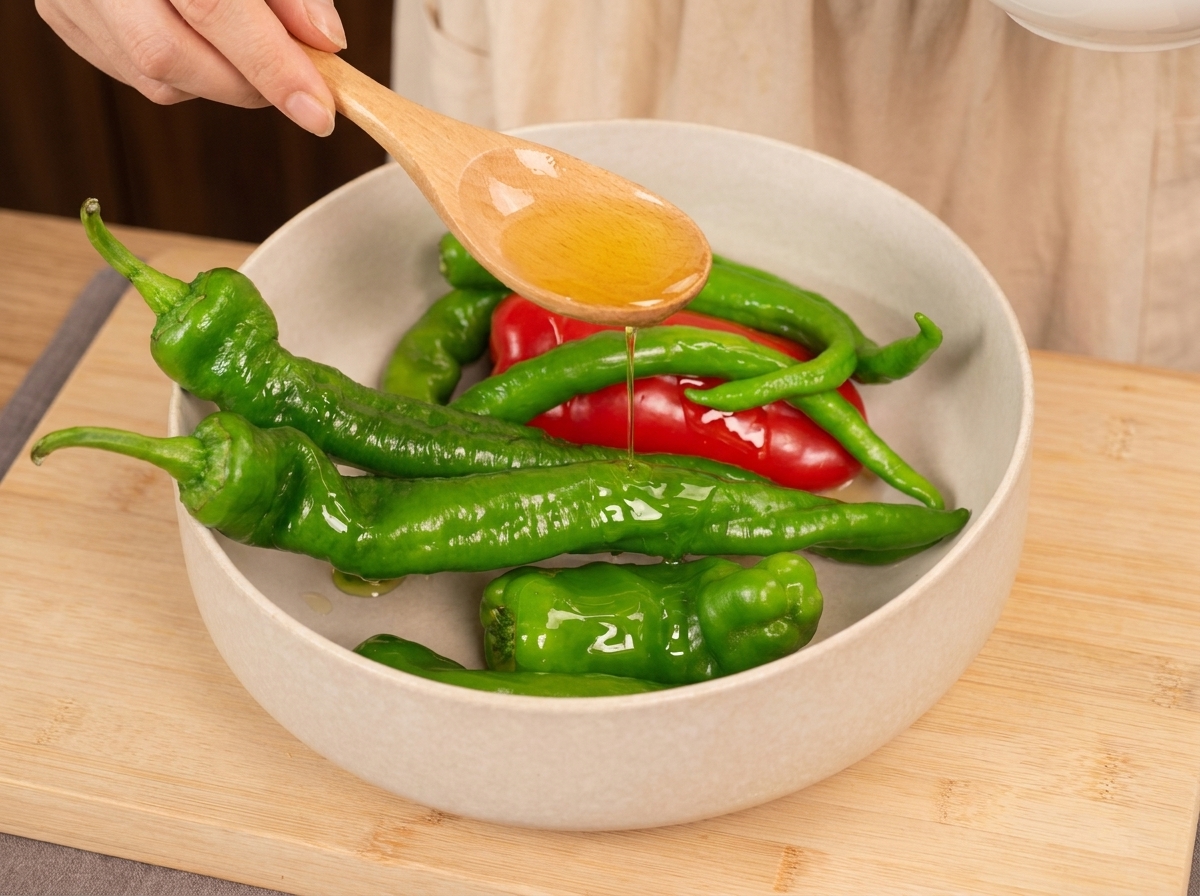
Place your selected green and red peppers into a bowl and drizzle them with a light coating of cooking oil. Use your hands or a spoon to ensure every pepper is evenly coated; this oil is essential for achieving a perfectly blistered and charred skin in the air fryer.
Tip: You can use any high-smoke point oil like avocado or grapeseed oil to help the peppers roast beautifully without burning too quickly. - 3Arrange for roasting
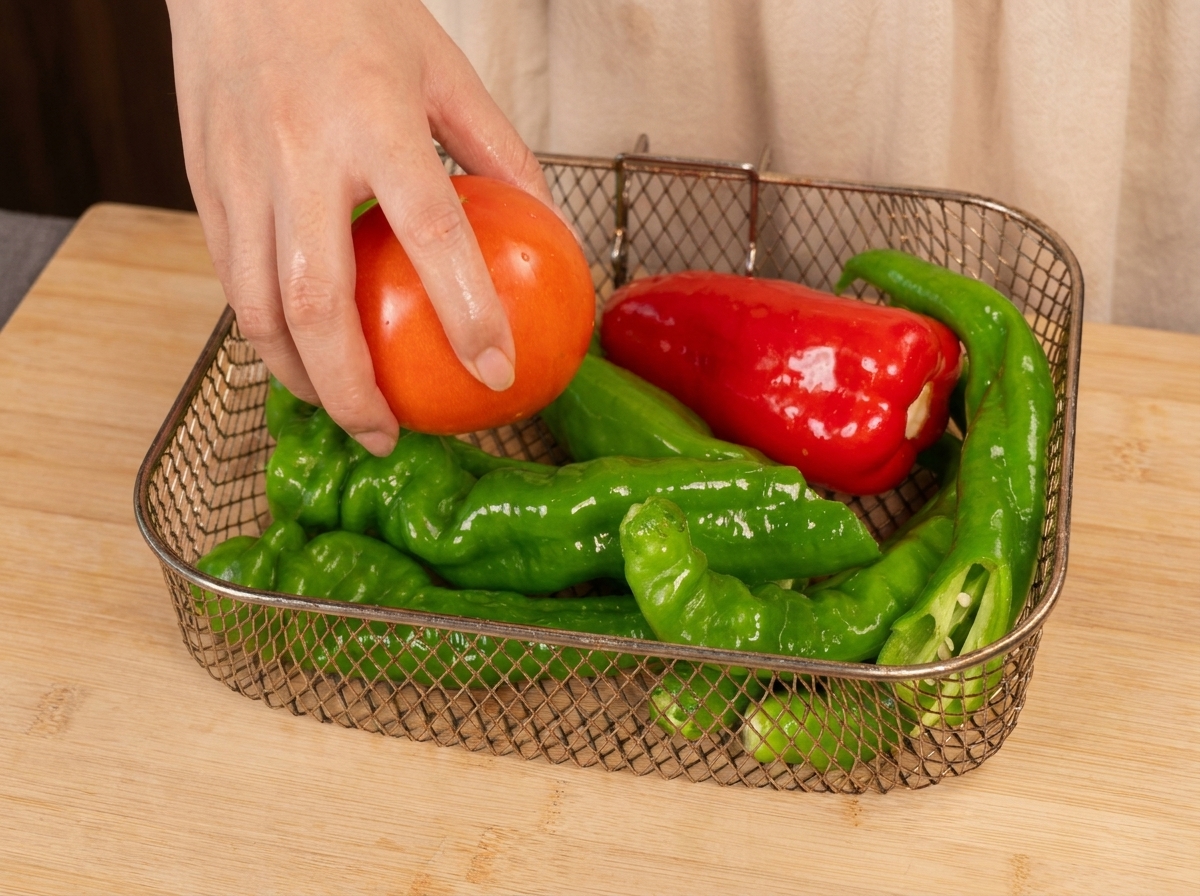
Transfer the oiled peppers and the scored tomato into a wire air fryer basket. Spread them out in a single layer to ensure even heat distribution. Air fry the vegetables at 180°C for approximately 15 minutes, or until the skins are soft and blistered.
Tip: Try not to overcrowd the basket so the hot air can circulate freely around each vegetable for a consistent roast. - 4Remove roasted vegetables
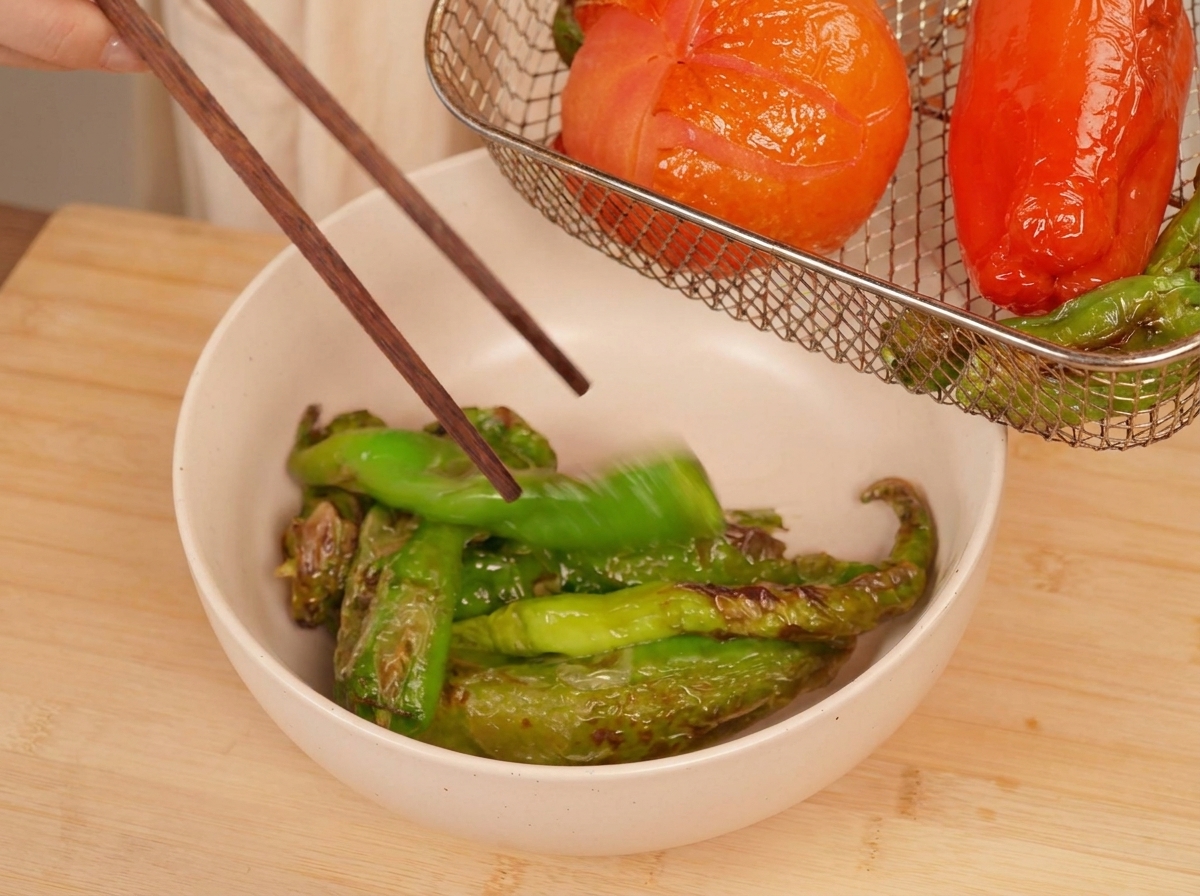
Once the vegetables are roasted and the skins have visible char marks, use chopsticks or tongs to carefully move them from the hot air fryer basket into a clean mixing bowl. The vegetables should be soft and aromatic.
Tip: Letting the vegetables sit in the bowl for a few minutes while hot can help the skins loosen further from the steam. - 5Season the sauce base
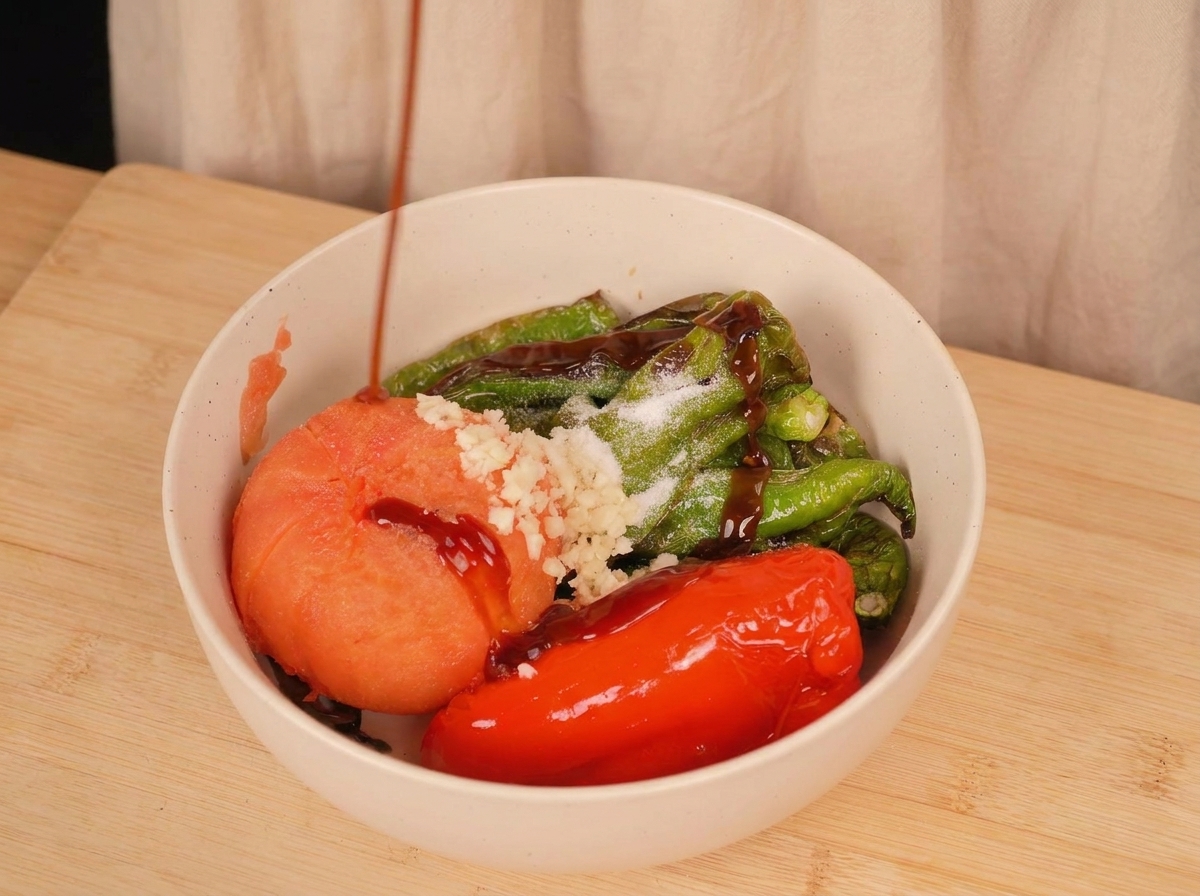
Top the roasted peppers and tomato with a generous amount of minced garlic and a pinch of salt. Drizzle oyster sauce over the mixture to provide a savory, umami-rich base that perfectly complements the sweetness of the roasted vegetables.
Tip: If you prefer a spicier kick, you can add some chili flakes or a dash of hot sauce at this stage. - 6Blend to desired consistency

Use an immersion blender to combine the roasted vegetables and seasonings into a thick sauce. Pulse the blender to maintain a slightly chunky texture, which adds a rustic feel and great mouthfeel to your smash burger topping.
Tip: If you dont have an immersion blender, you can also finely chop the roasted vegetables with a knife before mixing in the seasonings. - 7Fry the red onions
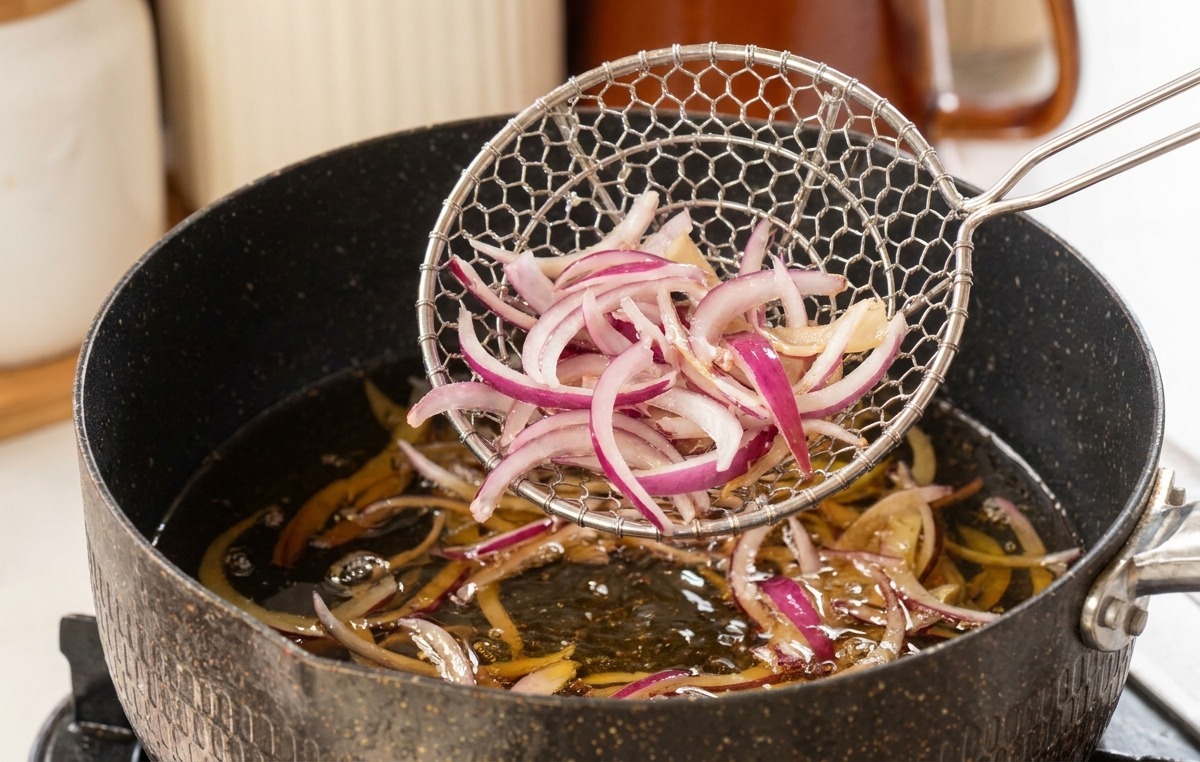
Heat a pan with oil and carefully drop in the thinly sliced red onions. Using a skimmer or wire mesh tool helps lower the onions gently to avoid splashing hot oil. Keep the temperature at medium-low to ensure the onions cook through without burning too quickly.
Tip: Uniformly thin slices will ensure all onion pieces crisp up at the same time. - 8Cook onions until golden
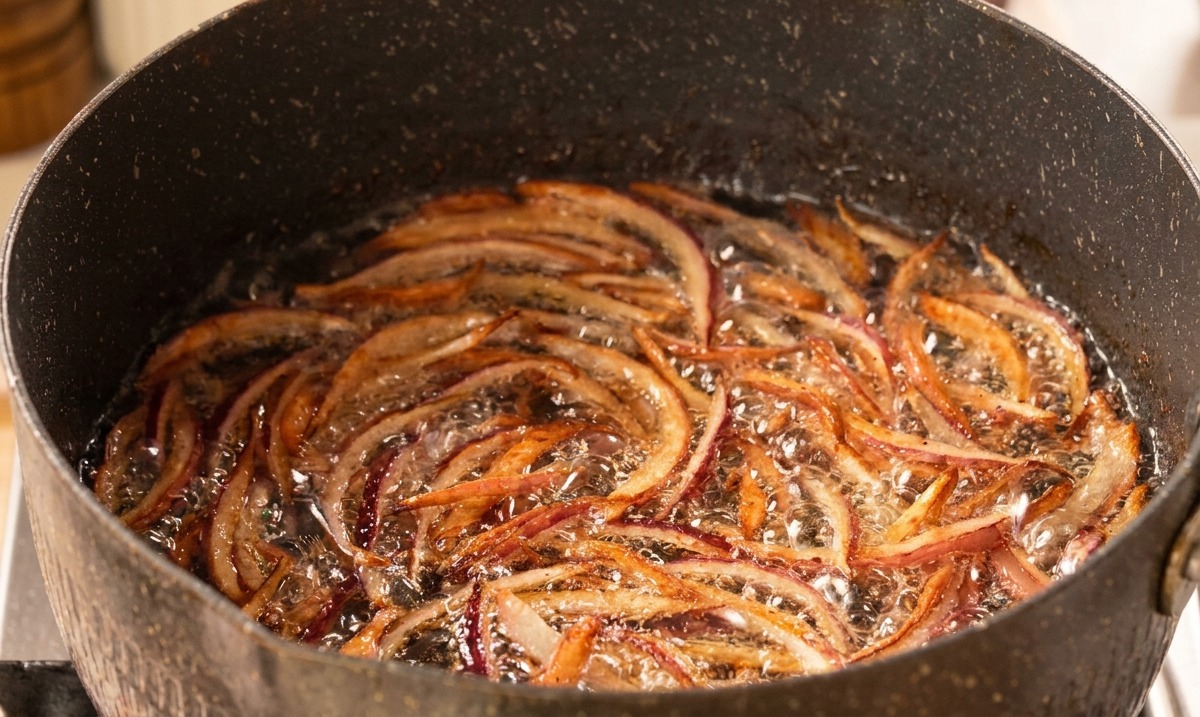
Continue frying the onions, stirring occasionally to prevent sticking and ensure even browning. Once they reach a deep golden-brown color and look visibly crispy, they are ready. The bubbles will subside slightly as the moisture is cooked out of the onions.
Tip: Remove the onions just before they reach your desired darkness, as they will continue to darken slightly from residual heat. - 9Shape the beef meatballs
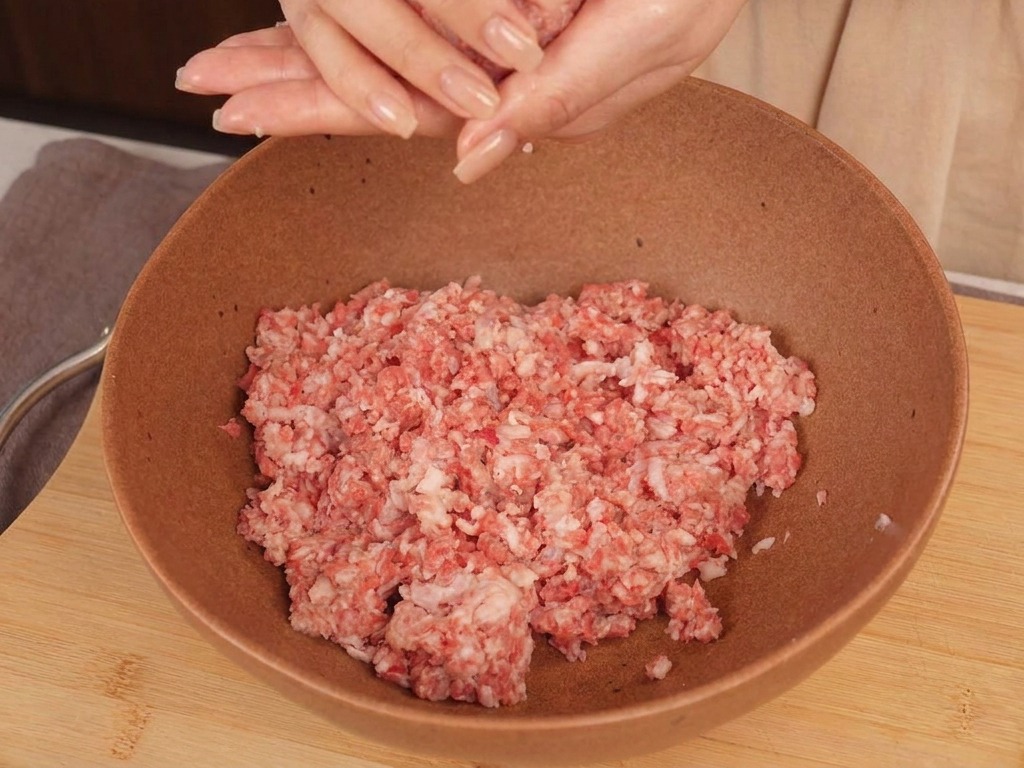
Take a portion of the ground beef and gently shape it into a round ball. Toss the meat back and forth between your palms a few times to help the meat stick together. Avoid overworking the beef so the texture remains light and juicy once cooked.
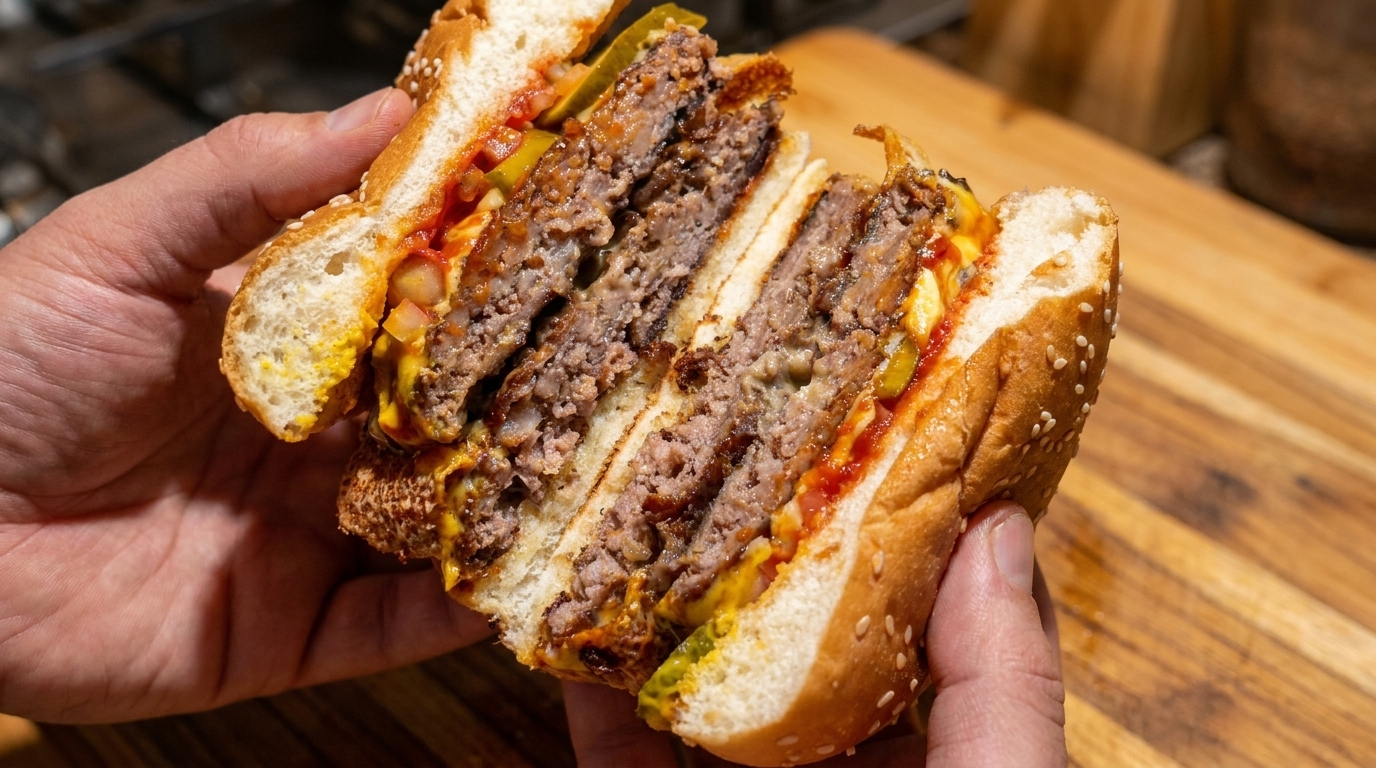
Tip: Keep the meatball chilled until the moment you are ready to cook to help develop a better crust. - 10Smash and sear
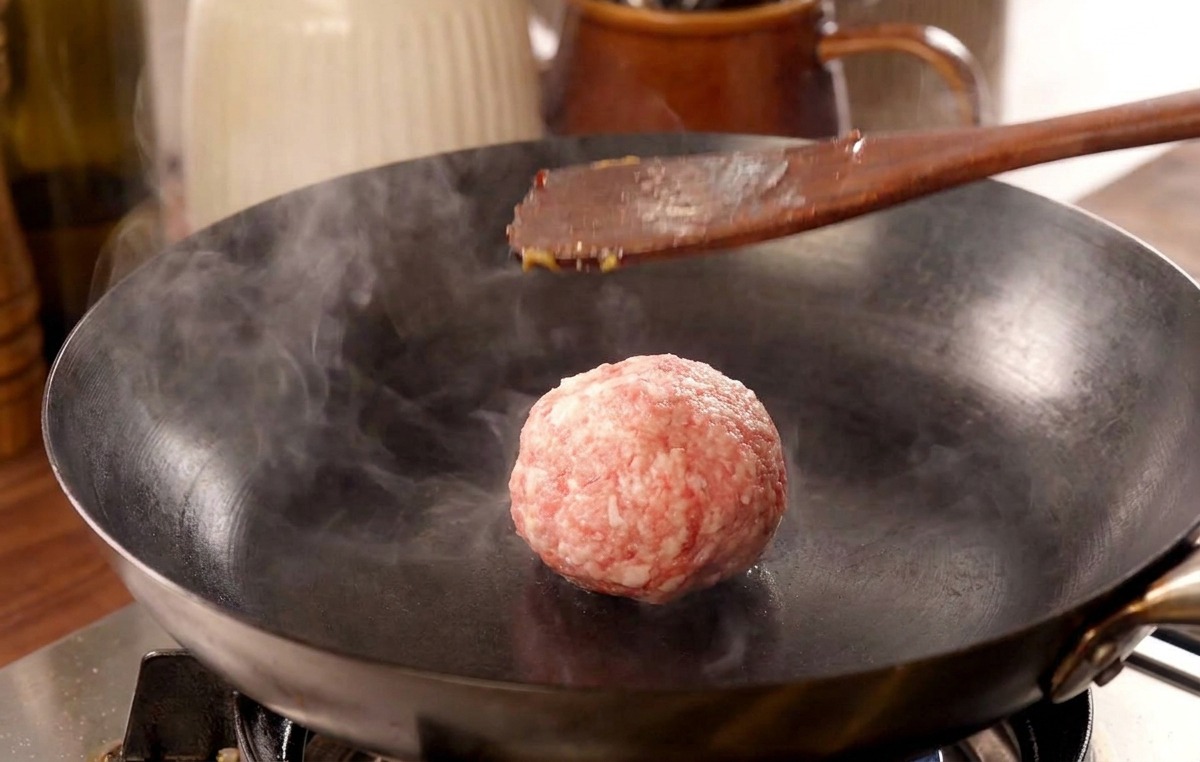
Place the meatball into a preheated, very hot iron pan. Use a heavy spatula or a dedicated burger press to immediately flatten the meat as thin as possible. This creates maximum surface contact for a deeply seared, flavorful crust.
Tip: Open a window or turn on your range hood, as smashing meat on a high-heat pan creates a significant amount of smoke and steam. - 11Melt the cheese
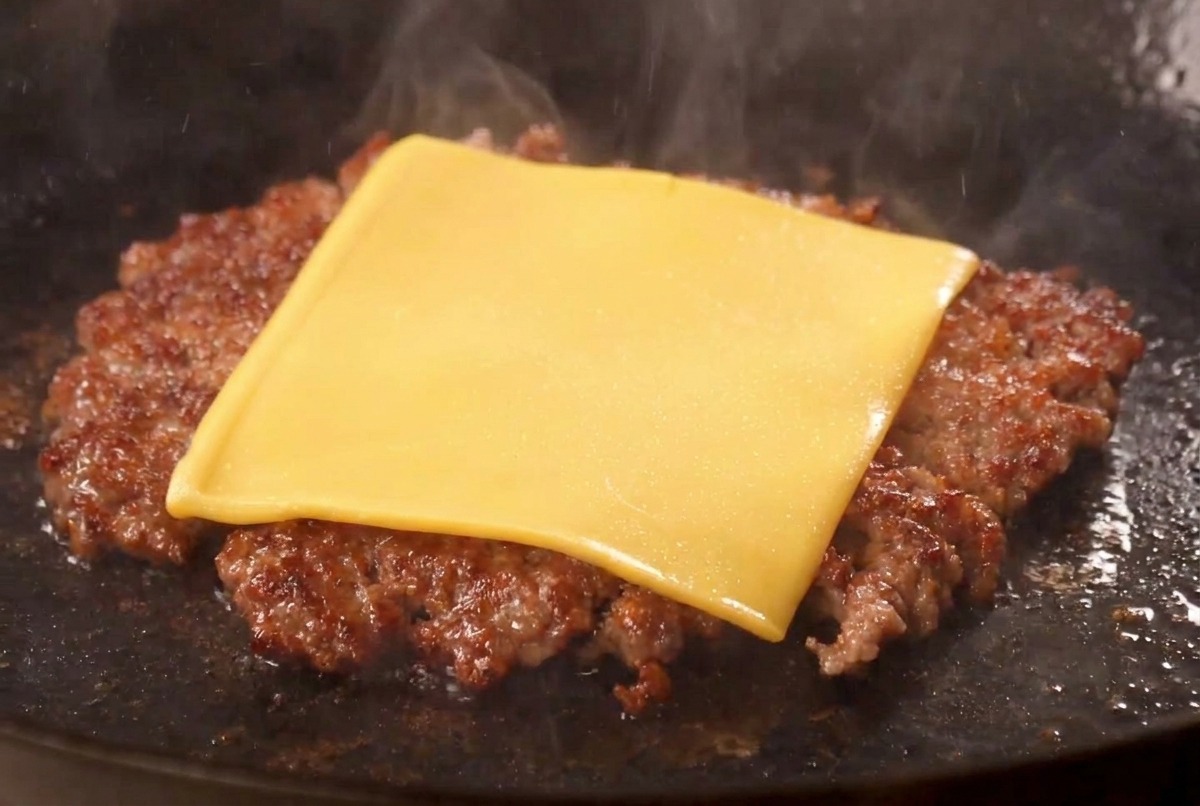
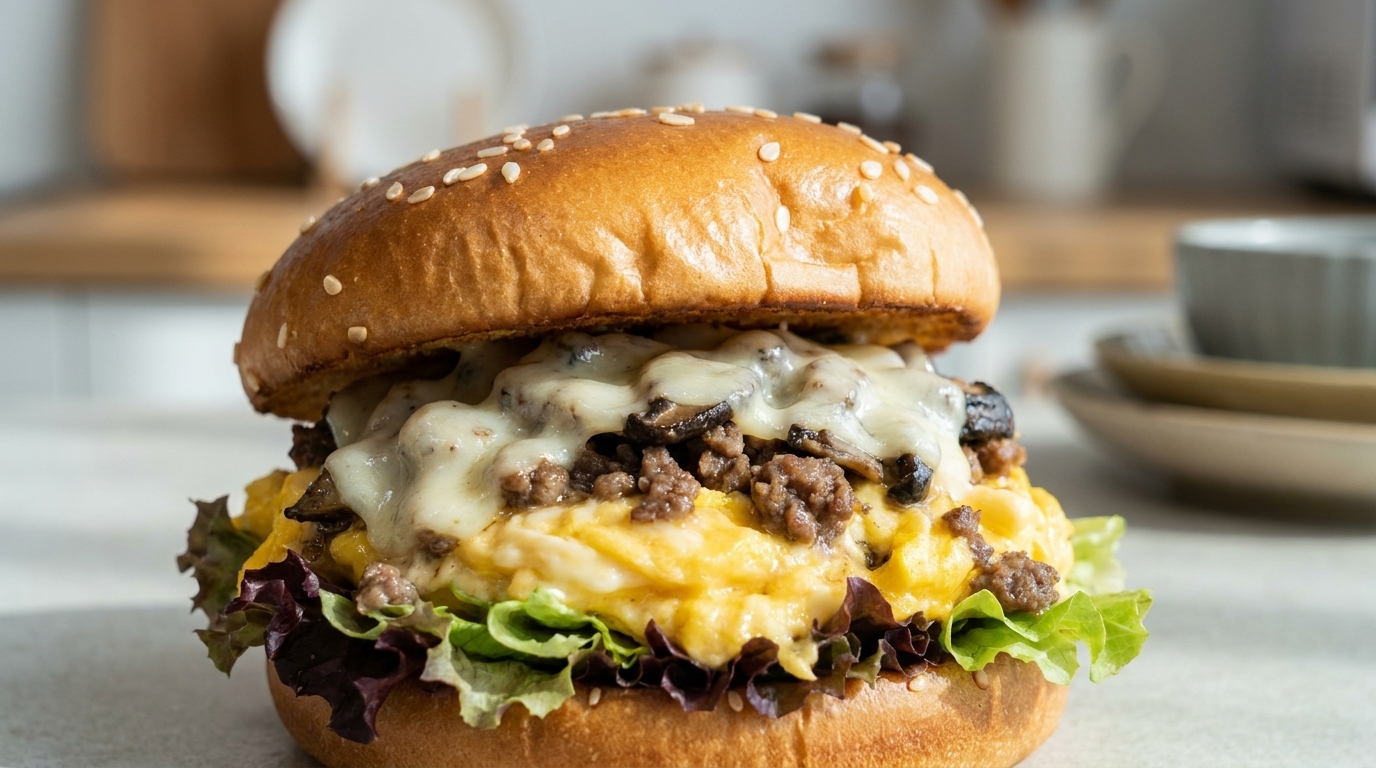
After the patty has been seared and flipped, place a square slice of yellow cheese on top. The heat from the cooked beef will melt the cheese rapidly, allowing it to bond to the crispy surface of the patty.
Tip: For an even better melt, add a tiny drop of water to the pan and cover it with a lid for 10 seconds to create steam. - 12Assemble the burger
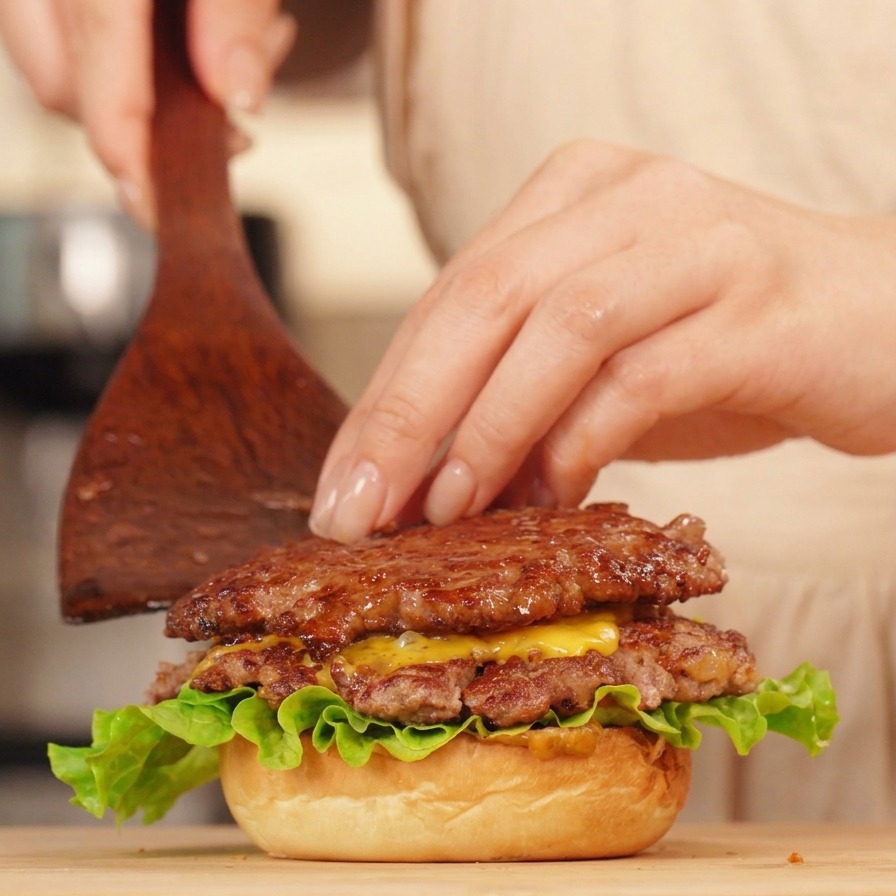
Begin assembling your burger by placing a leaf of fresh green lettuce on the bottom bun. Carefully stack your cooked cheeseburger patties on top. Using multiple thin patties creates more surface area for that delicious seared crust and melted cheese.
Tip: Lightly toast your buns with a little butter before assembly to provide a sturdy base that will not go soggy. - 13Top with roasted pepper sauce
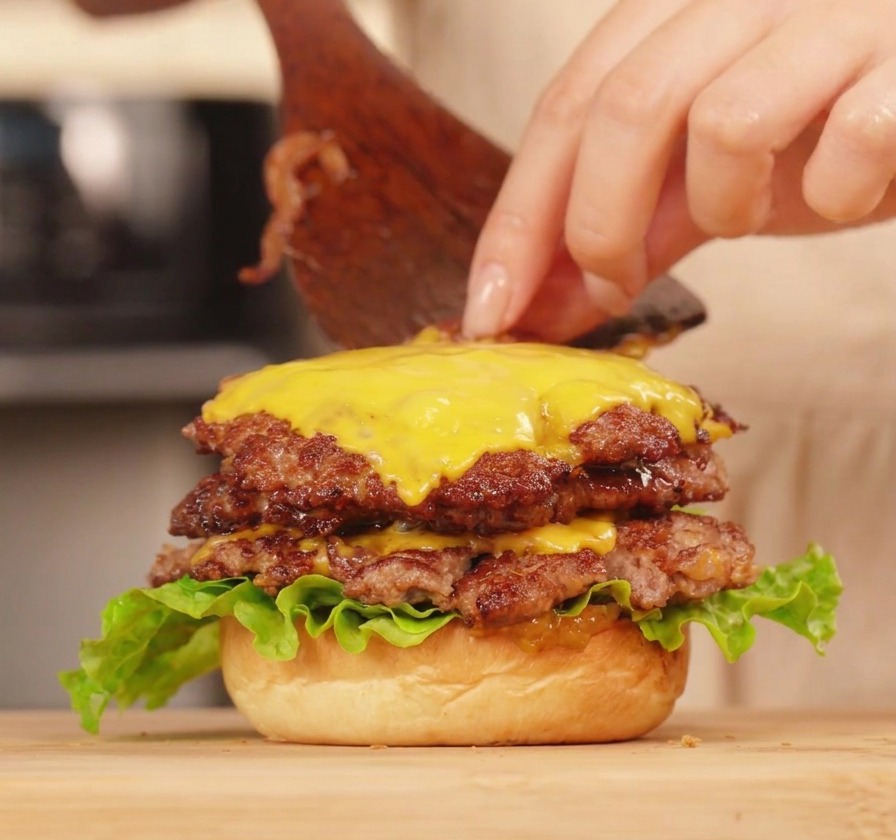
Once your beef patties are perfectly stacked with melted cheese, spoon a generous layer of the homemade roasted pepper sauce over the top. The smoky, vibrant sauce acts as the primary seasoning, binding the rich beef and crispy onions together.
Tip: For the best flavor, use peppers that have been charred until the skin is blistered and blackened before blending them into the sauce.