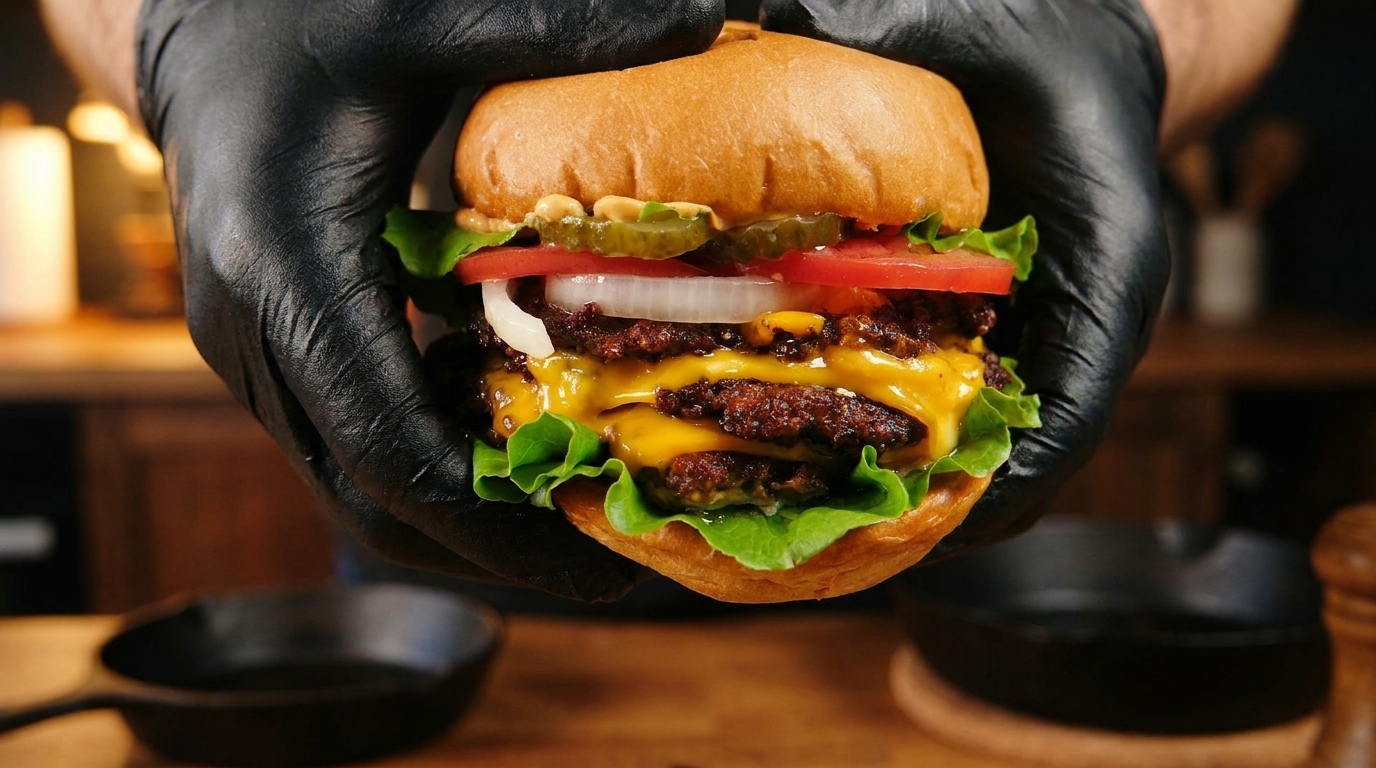
Ultimate Classic American Triple Cheeseburger
Master the ultimate classic American cheeseburger with a custom 60/40 beef blend, triple-smashed patties with crispy caramelized edges, and a tangy homemade burger sauce.
The secret to a truly great American cheeseburger lies in the meat-to-fat ratio and the cooking technique. By using a 60% lean to 40% fat blend and firmly smashing the patties into a smoking hot cast-iron skillet, you trigger a profound Maillard reaction. This creates an irresistible, savory crust that locks in juiciness, elevated by gooey melted cheddar and fresh, crisp vegetables.
Ingredients
- 1 kg ground beef chuck (60% lean, 40% fat blend)
- 4 tbsp mayonnaise
- 4 tbsp yellow mustard
- 2 tbsp ketchup
- 3 tbsp garlic powder
- 1 tbsp fennel powder
- to taste Tabasco hot sauce
- 4 brioche burger buns
- 2 tbsp butter
- 12 slices cheddar cheese
- 1 head green lettuce
- 1 large red tomato
- 1 large white onion
- 16 slices crinkle-cut pickles
- to taste flake salt and black pepper
Instructions
- 1Mix the ground beef
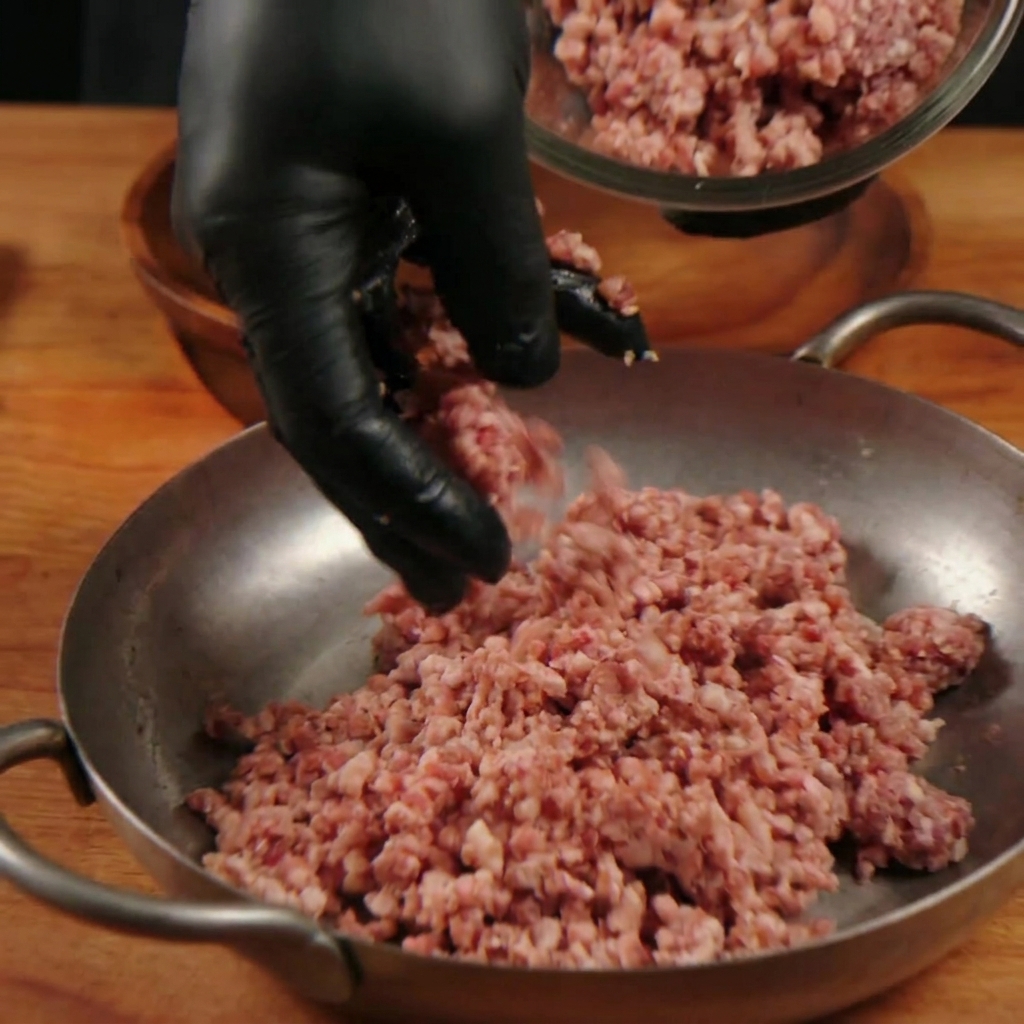
Place the grain-fed beef chuck in a metal pan or bowl. For the juiciest burger, ensure you have a ratio of four parts fat to six parts lean meat. Gently mix the beef by hand to distribute the fat evenly without overworking the meat.
Tip: A 4:6 fat-to-lean ratio is the secret to a perfectly juicy and flavorful burger patty. - 2Shape the beef patties

Divide the ground beef and gently shape it into loose, round patties with your hands. Slow down and use a soft touch—avoid pressing the meat together too tightly. A loosely formed patty will retain its tender texture when cooked.
Tip: Do not overwork or densely pack the meat, as tightly pressed patties can become tough during cooking. - 3Slice the tomatoes
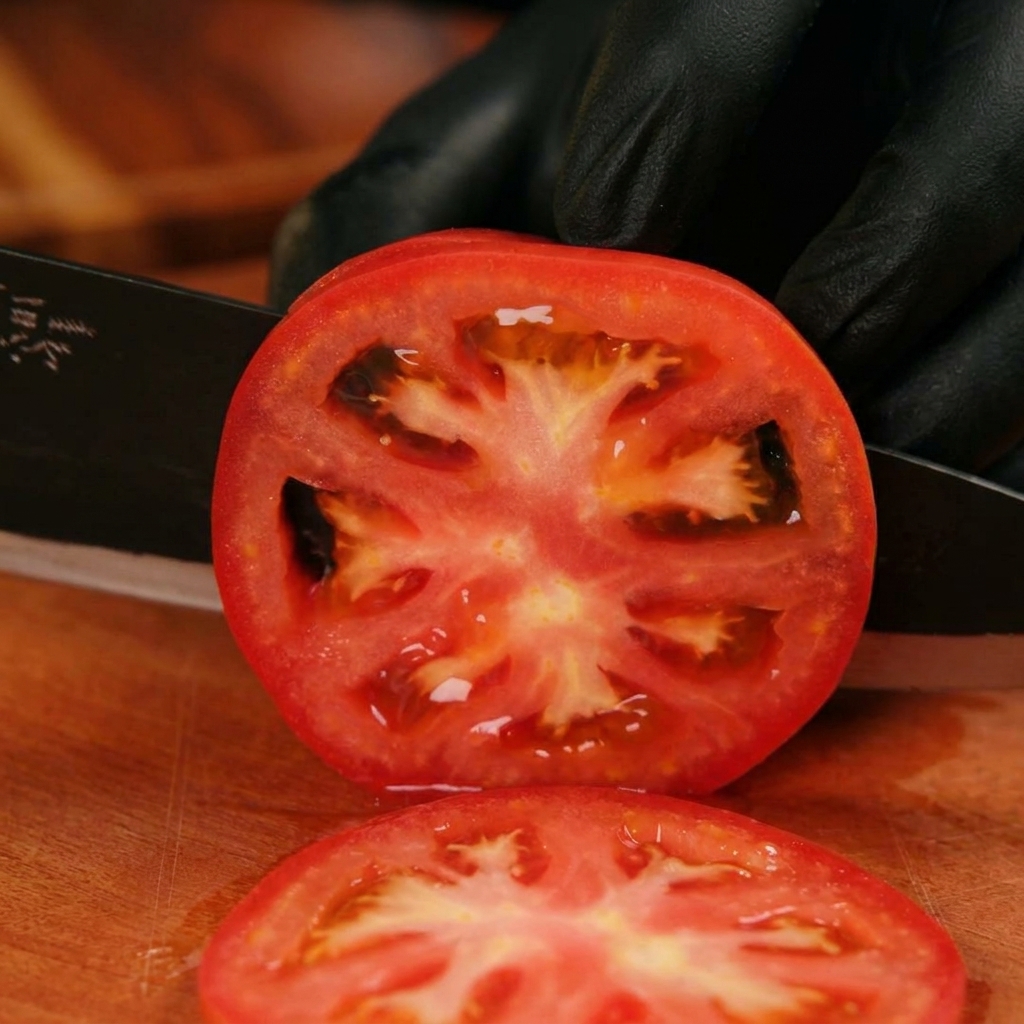
Using a sharp knife, carefully slice the fresh red tomato into even, round slices on a wooden cutting board. Set these slices aside for assembling the burger later.
Tip: Use a serrated knife or a very sharp chefs knife to slice tomatoes cleanly without crushing their delicate flesh. - 4Slice the onions
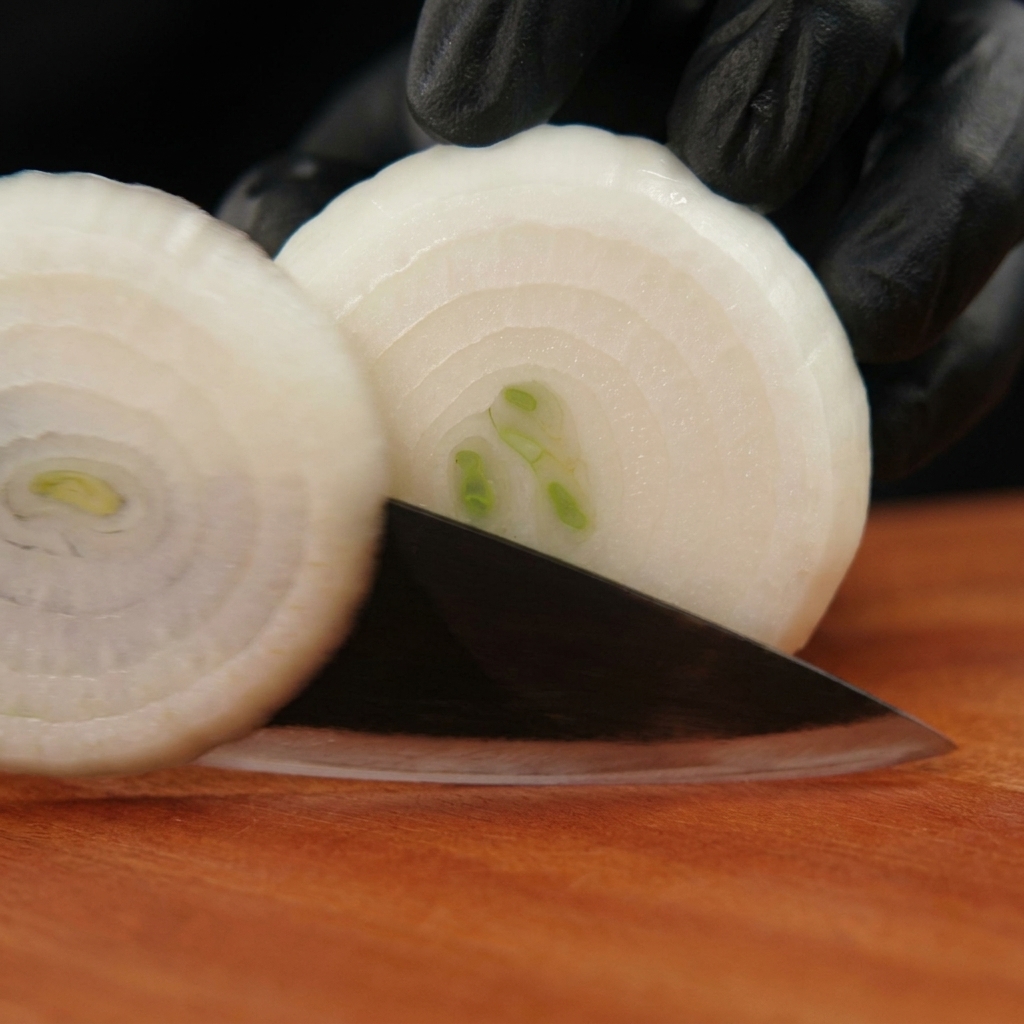
Take a white onion and slice it into even rings on your cutting board. These crisp onion slices will add a sharp, fresh bite and textural contrast to the rich meat and cheese of the finished burger.
Tip: Chilling the onion in the refrigerator for 15 minutes before cutting can help reduce eye irritation. - 5Mix the burger sauce

In a clear glass bowl, combine four spoons of mayonnaise, two spoons of ketchup, four spoons of yellow mustard, and a splash of Tabasco sauce. Add three spoons of garlic powder and one spoon of fennel powder, then stir everything together until smooth and well blended.
Tip: Let the sauce sit for a few minutes after mixing to allow the dried garlic and fennel powders to fully hydrate and release their flavors. - 6Toast the burger buns
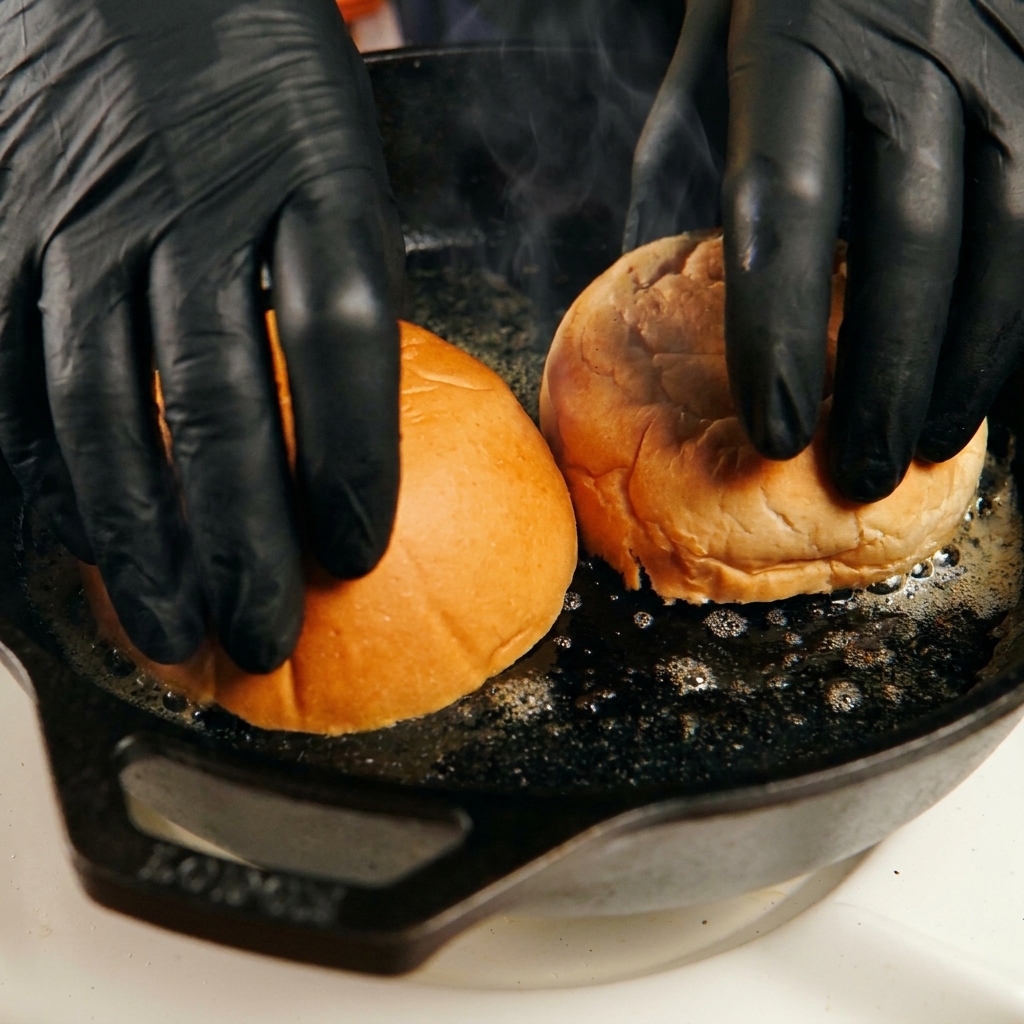
Melt a pat of butter in a cast-iron skillet over medium heat. Place the brioche bun halves face down into the sizzling butter and toast them until they develop a deep, golden-brown color and absorb the rich buttery aroma.
Tip: Toasting the buns not only adds flavor but also creates a protective barrier that keeps the sauce and meat juices from making the bread soggy. - 7Smash the beef patties
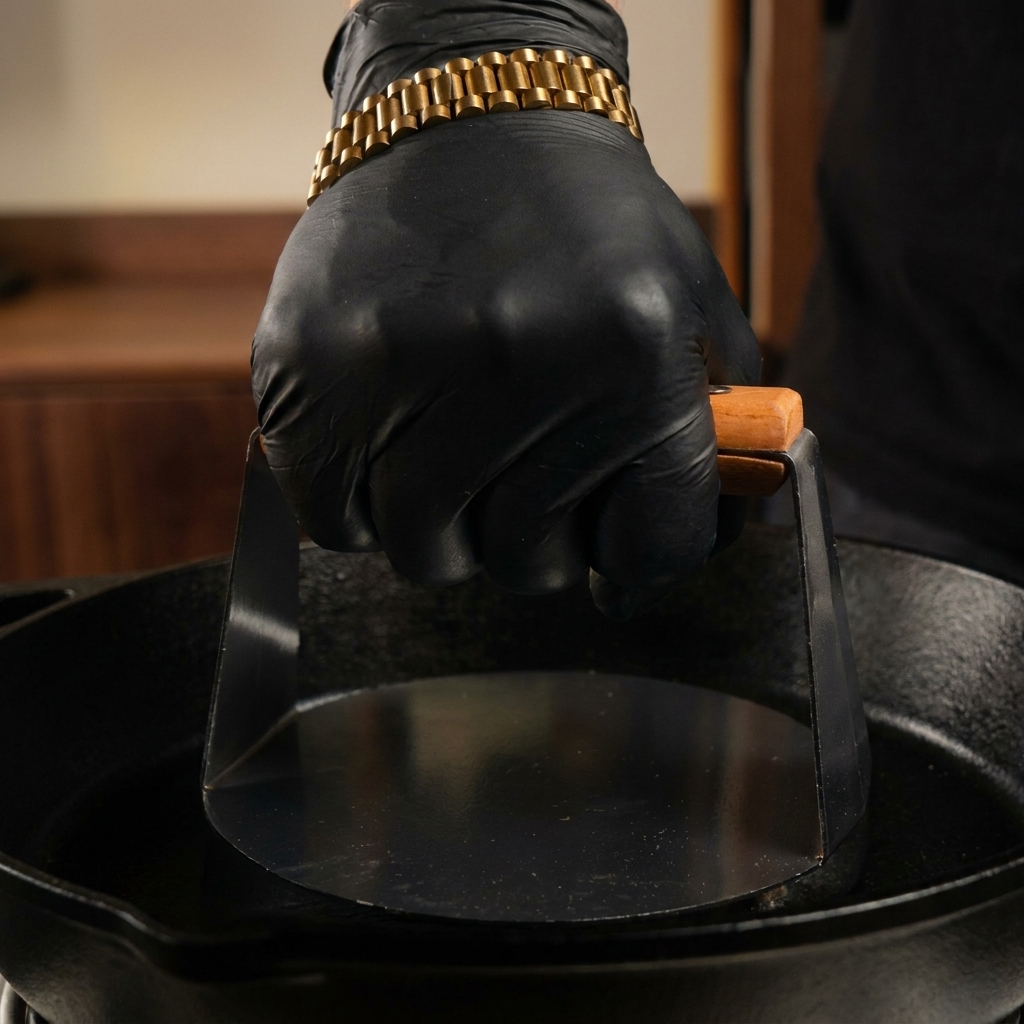
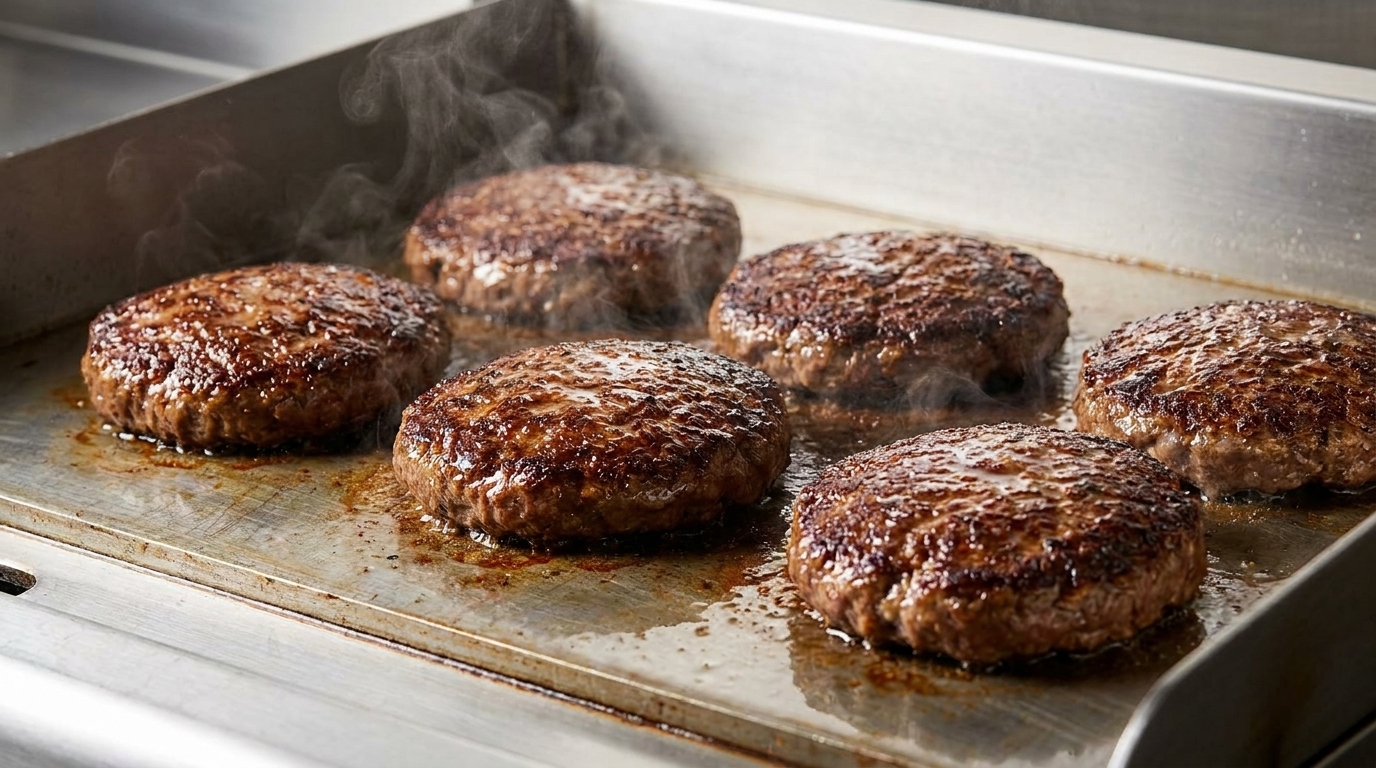
Place the raw ground beef ball onto a smoking hot cast-iron skillet. Using a heavy flat burger press or a sturdy spatula, firmly press down on the meat to smash it flat. This maximizes contact with the hot surface, triggering the Maillard reaction for a deep, caramelized crust.
Tip: Do not press the patty again after the initial smash, as this will squeeze out the delicious juices and dry out the burger. - 8Season the meat
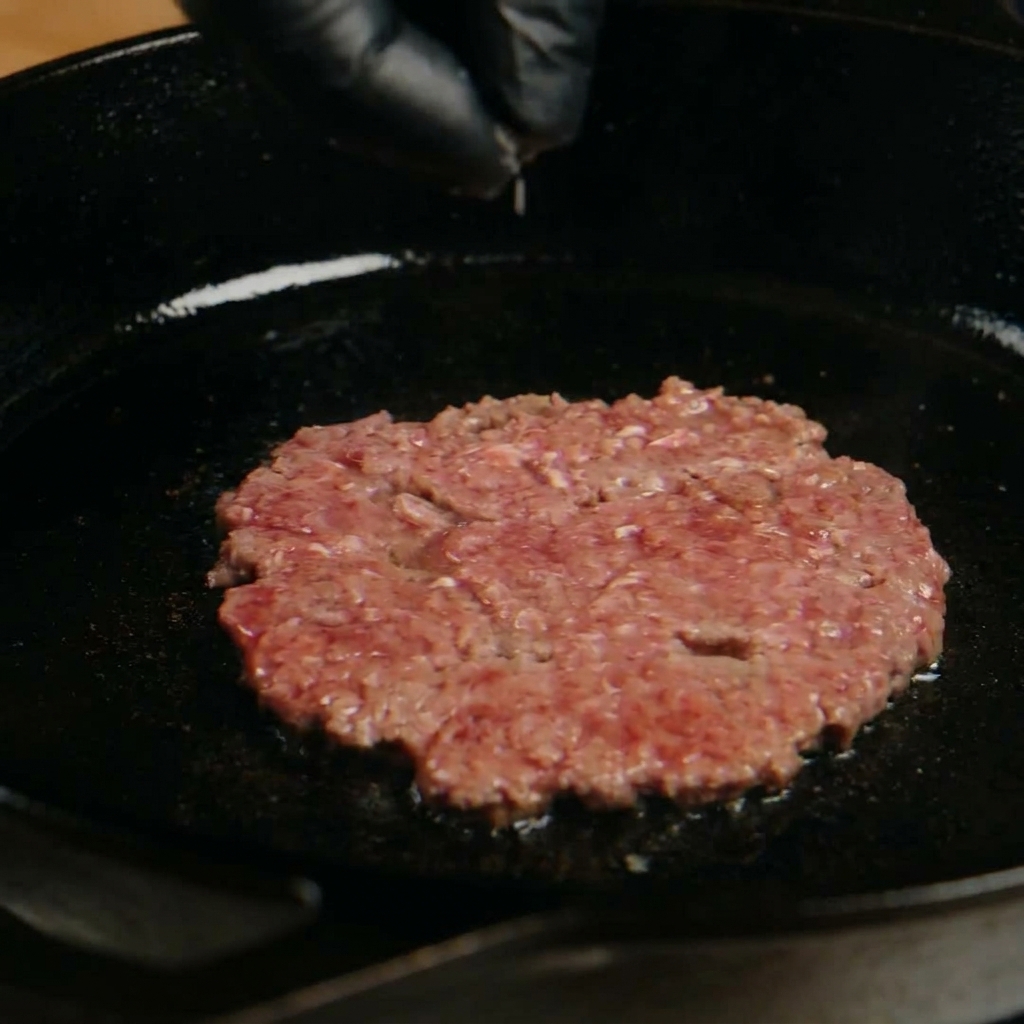
While the beef patty is searing and beginning to brown around the edges, generously sprinkle it with black pepper and flake salt. Seasoning the meat directly in the pan helps build a savory, crispy crust as the natural fats render out.
Tip: Wait until the patty is smashed before seasoning to ensure the salt and pepper stay on the surface and bake into the crust. - 9Flip the patties
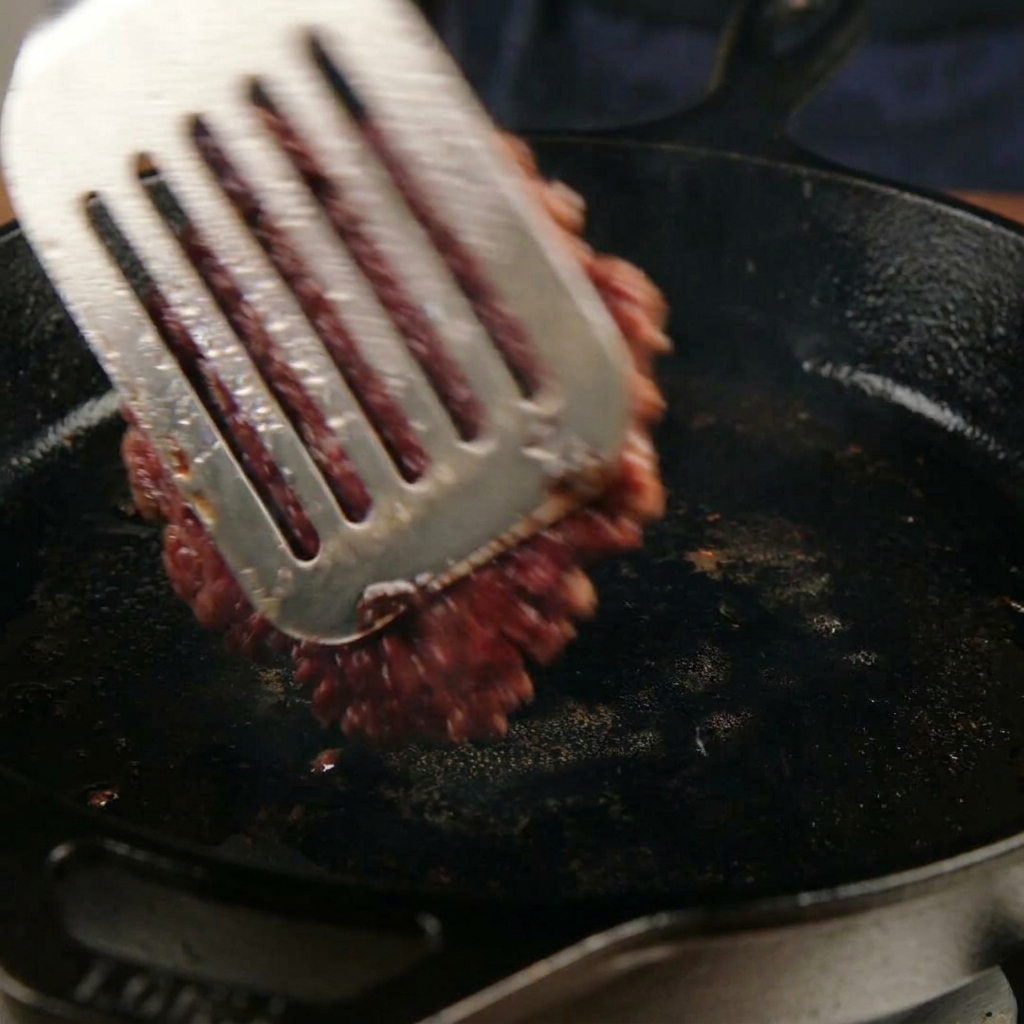
Once the bottom of the patty has developed a deep, dark brown crust, firmly slide a slotted metal spatula underneath and cleanly flip it over. You should see a highly caramelized, crispy surface that locks in the flavor.
Tip: Make sure your spatula has a thin edge to scrape the delicious browned bits off the bottom of the pan without tearing the meat. - 10Melt the cheddar cheese
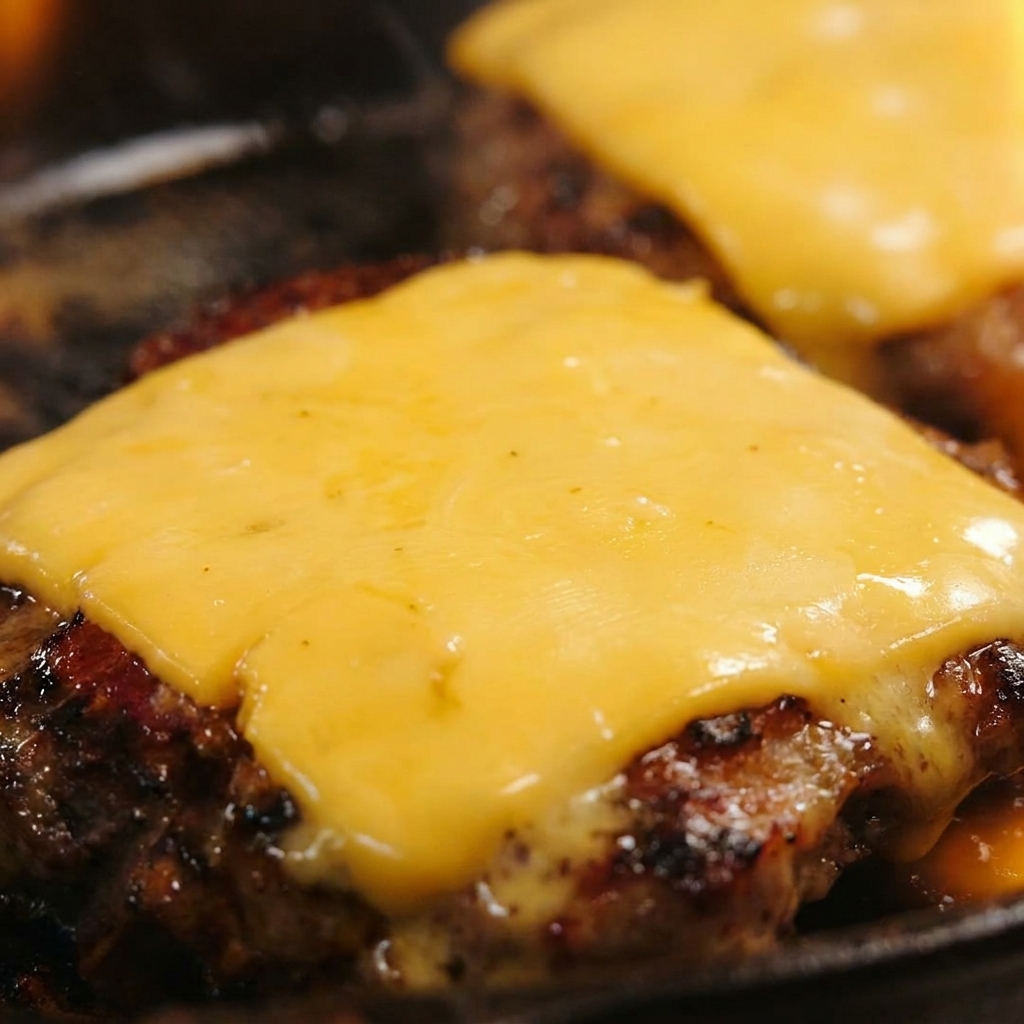
Immediately after flipping the patty, place a slice of cheddar cheese on top of the hot meat. Use a kitchen blowtorch to quickly blast the top, melting the cheese until it becomes incredibly gooey and drapes over the edges like lava.
Tip: If you do not have a blowtorch, simply place a lid over the skillet for about 30 seconds to let the trapped steam melt the cheese perfectly. - 11Stack the burger patties
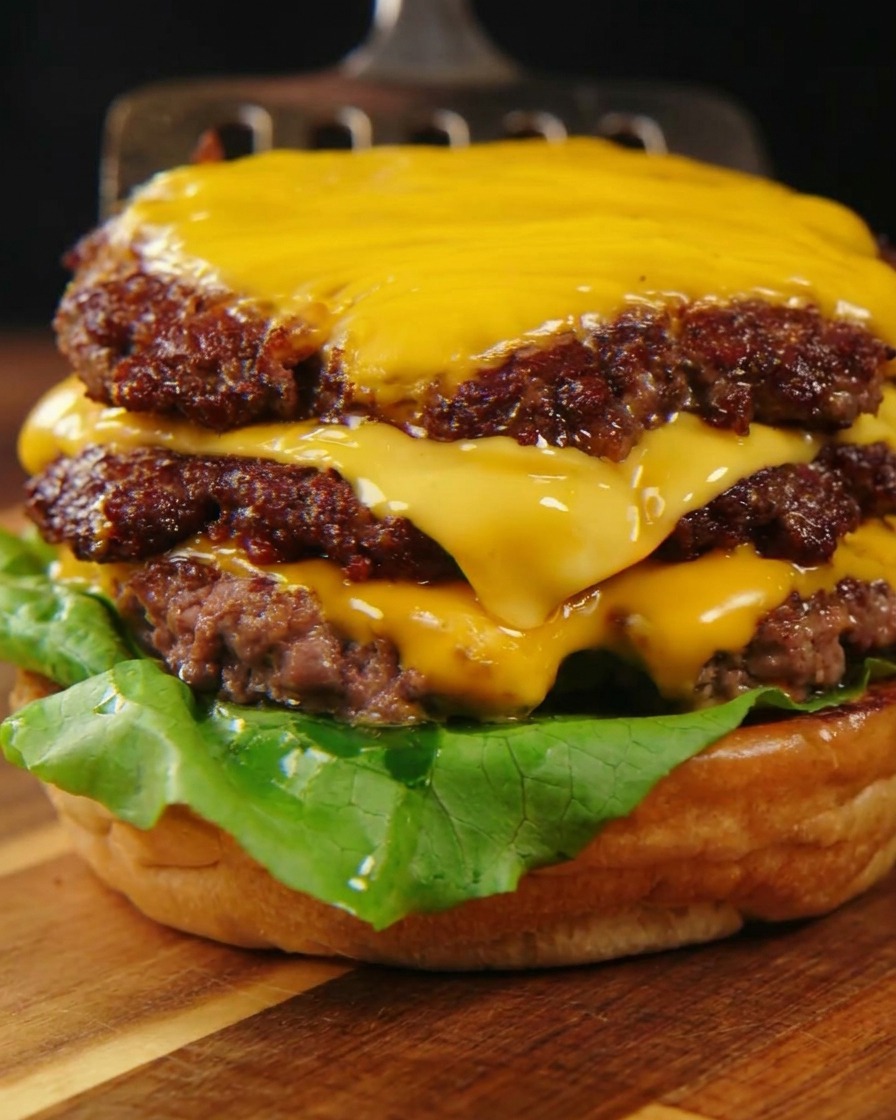
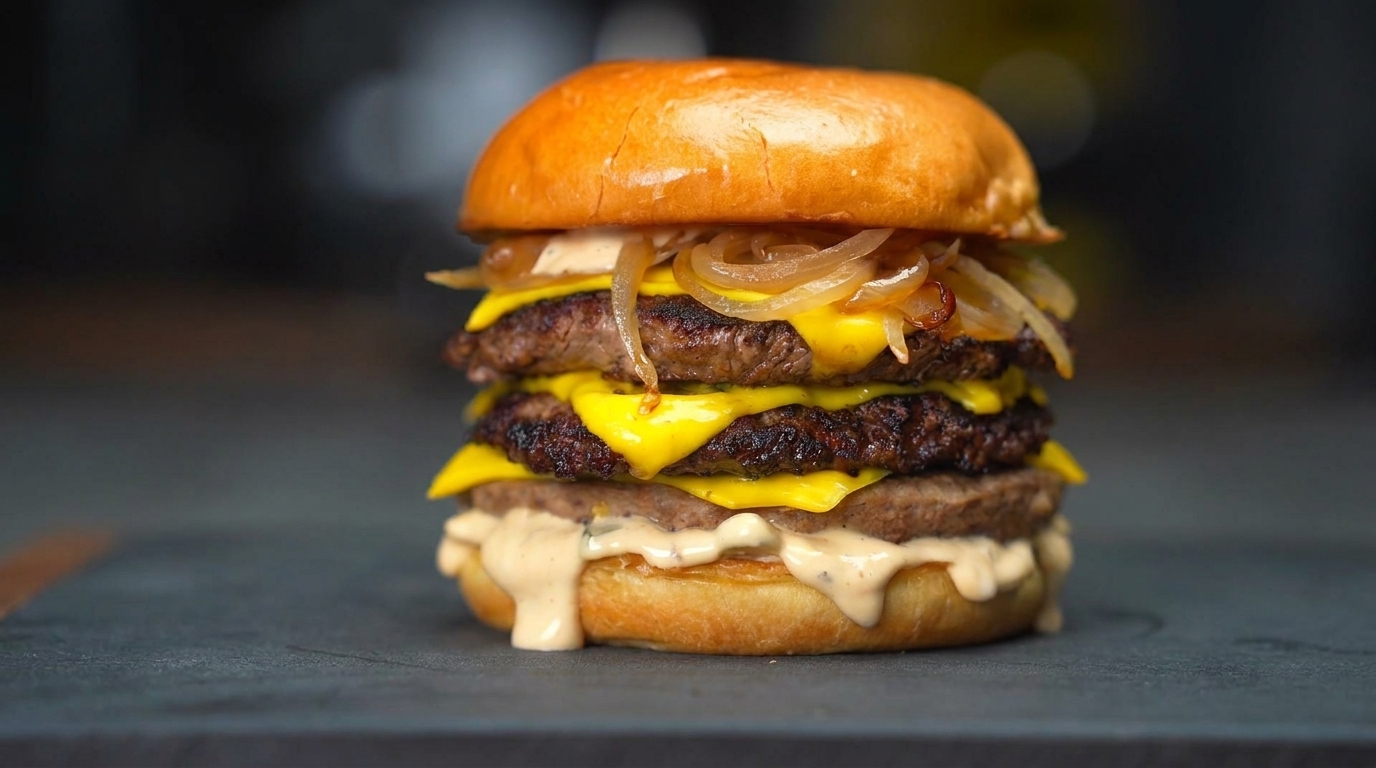
Take the toasted bottom half of the burger bun and layer it with fresh green lettuce. Carefully use a spatula to lift and stack three of the cooked, cheese-topped beef patties, placing them directly onto the lettuce to build the core of your burger.
Tip: Placing the lettuce on the bottom bun acts as a moisture barrier, preventing the rich meat juices from making the toasted bread soggy. - 12Add the fresh toppings
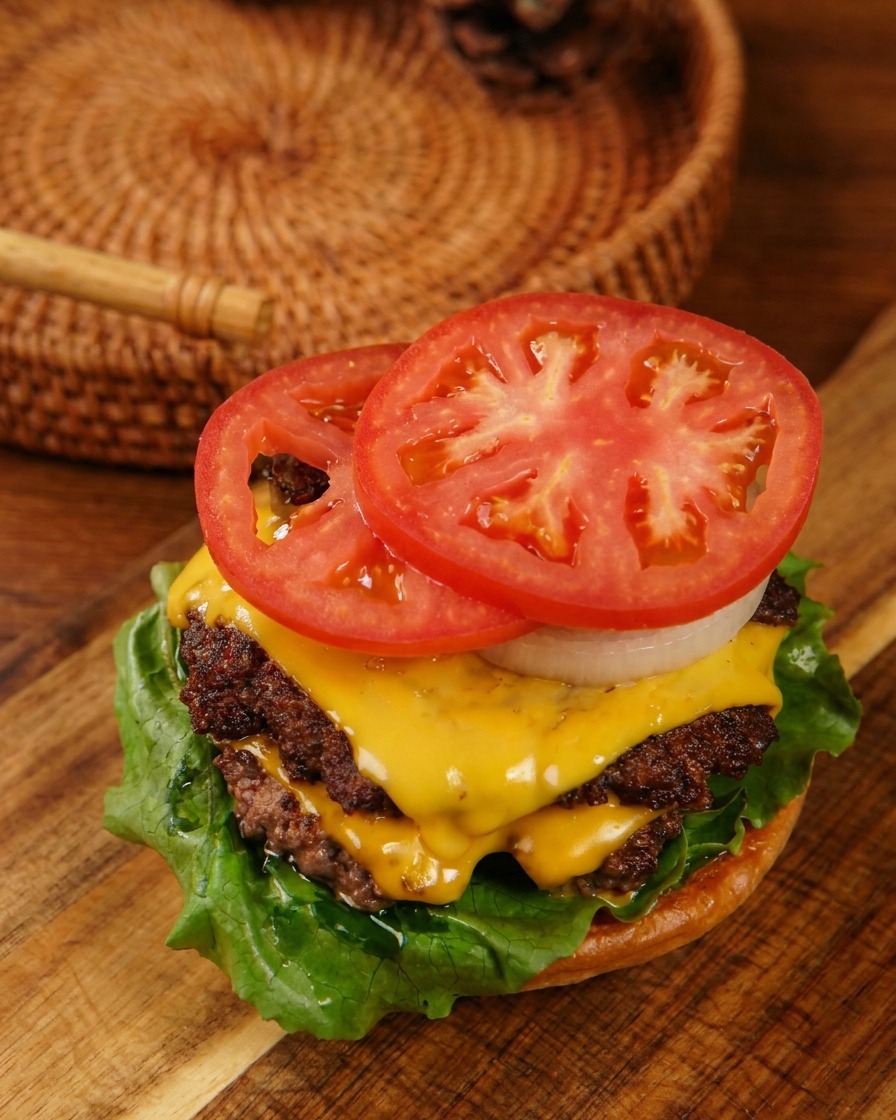
On top of the hot, stacked cheese patties, add a layer of freshly sliced white onions followed by two thick slices of fresh tomato. These fresh ingredients add crunch, acidity, and balance to the rich and savory beef stack.
Tip: Gently pat the tomato slices with a paper towel before adding them to remove excess moisture and prevent the burger layers from sliding. - 13Add the pickles
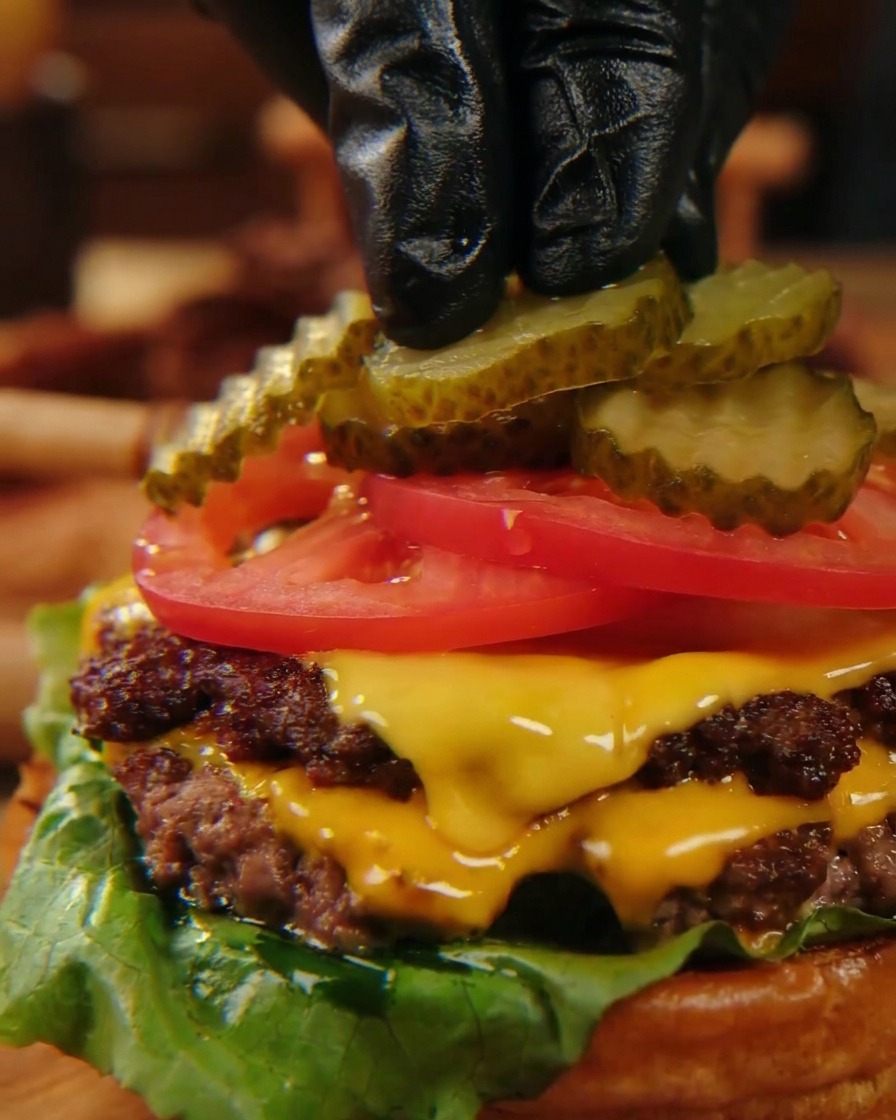
Layer four slices of crinkle-cut pickles directly on top of the fresh tomato slices. The sharp acidity and crisp bite of the pickles will cut through the richness of the melted cheese and beef patties, perfectly balancing the burgers flavor profile.
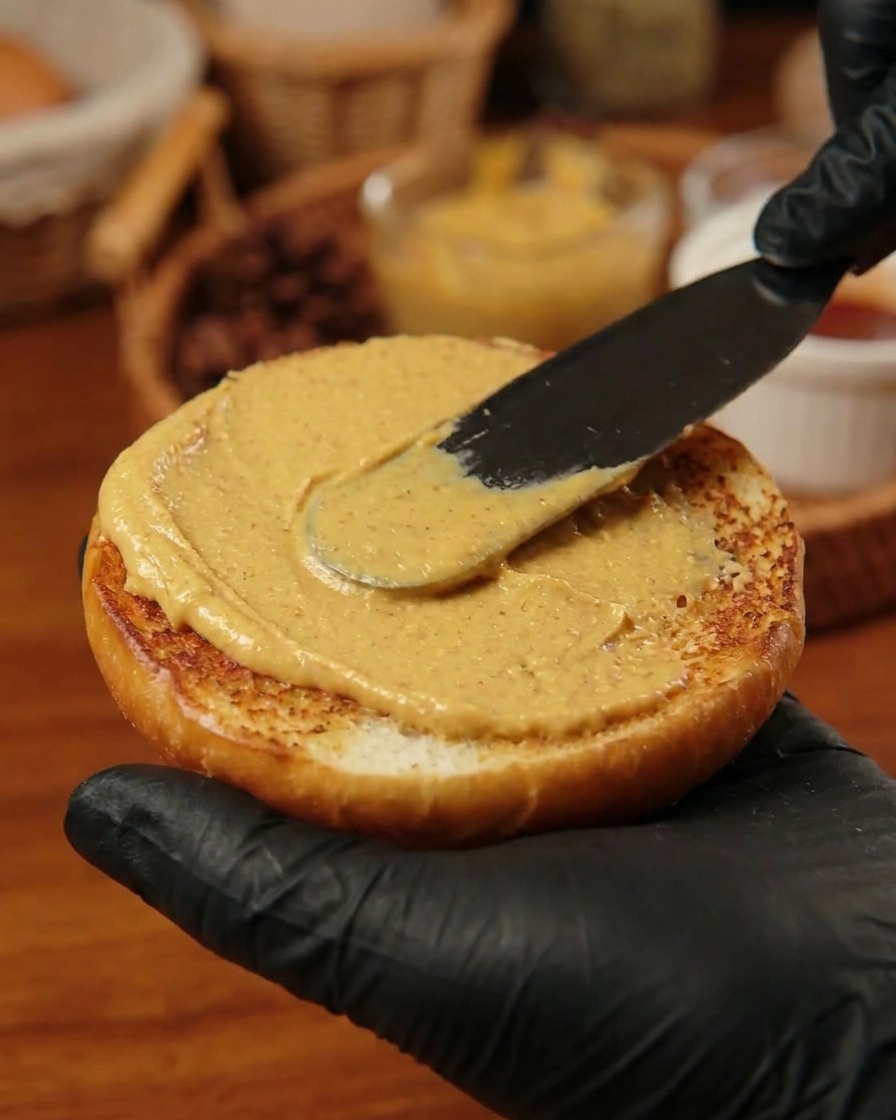
Tip: Lightly pat the pickle slices dry with a paper towel before adding them to prevent excess juice from making the burger slippery. - 14Sauce the top bun
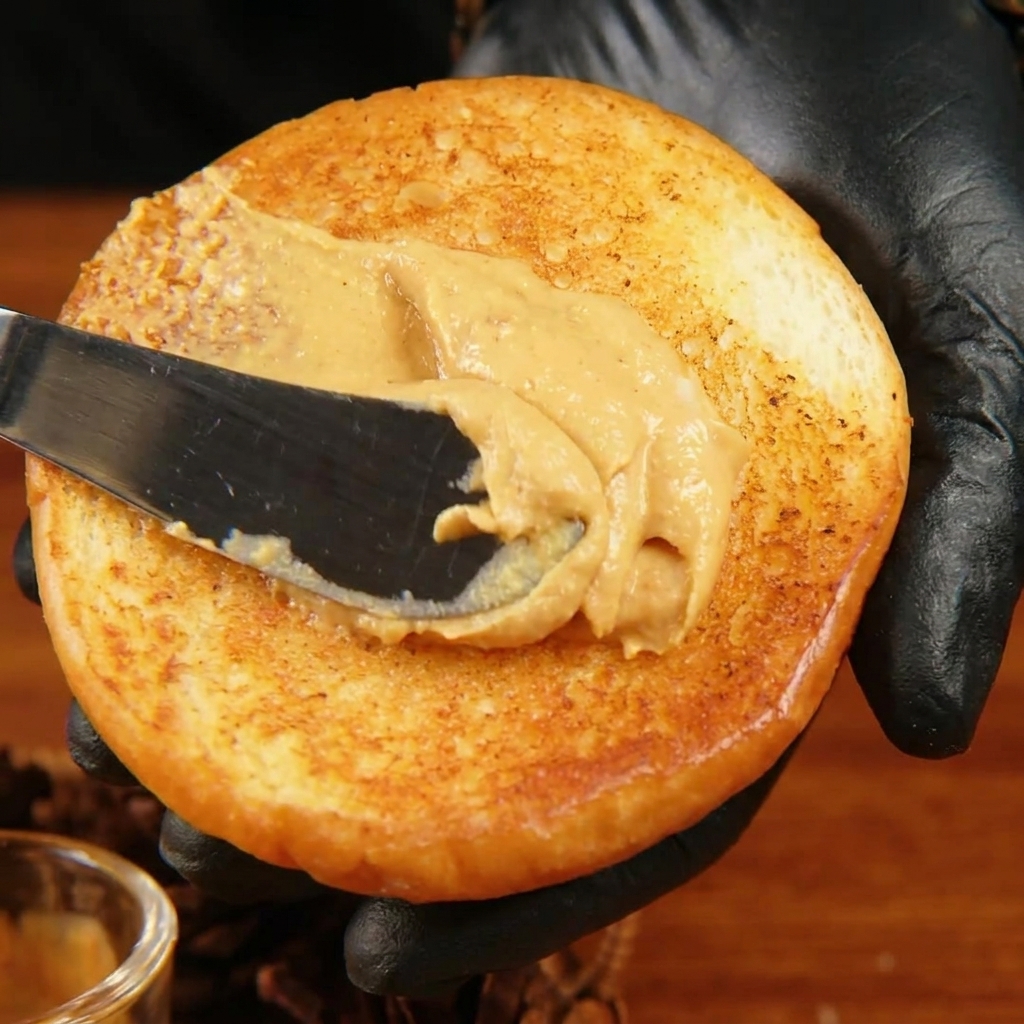
Take the toasted top half of the burger bun and generously spread the prepared orange sauce over its inner surface. Use a spatula to spread it evenly all the way to the edges, ensuring every bite is packed with that tangy, creamy flavor.
Tip: Applying the sauce to a well-toasted bun creates a barrier that keeps the bread soft without turning soggy from the vegetable juices. - 15Crown the burger
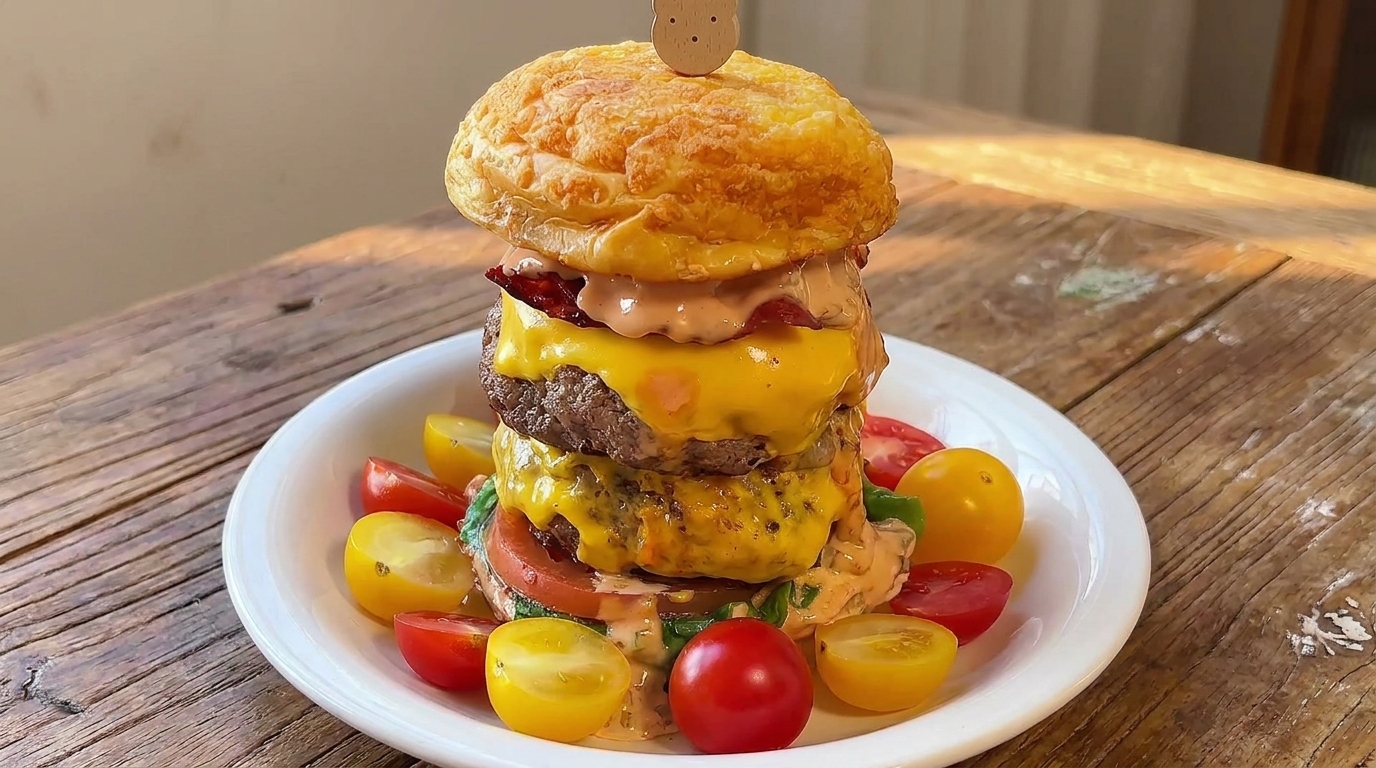
Carefully place the sauce-coated top bun onto your stacked patties and vegetables to finish assembling the burger. Secure the towering layers together by inserting a sturdy burger pick straight down the middle.
Tip: A wooden skewer or burger pick is essential for keeping tall, multi-patty burgers stable while serving and eating.