Ultimate Homemade Teriyaki Chicken Burgers
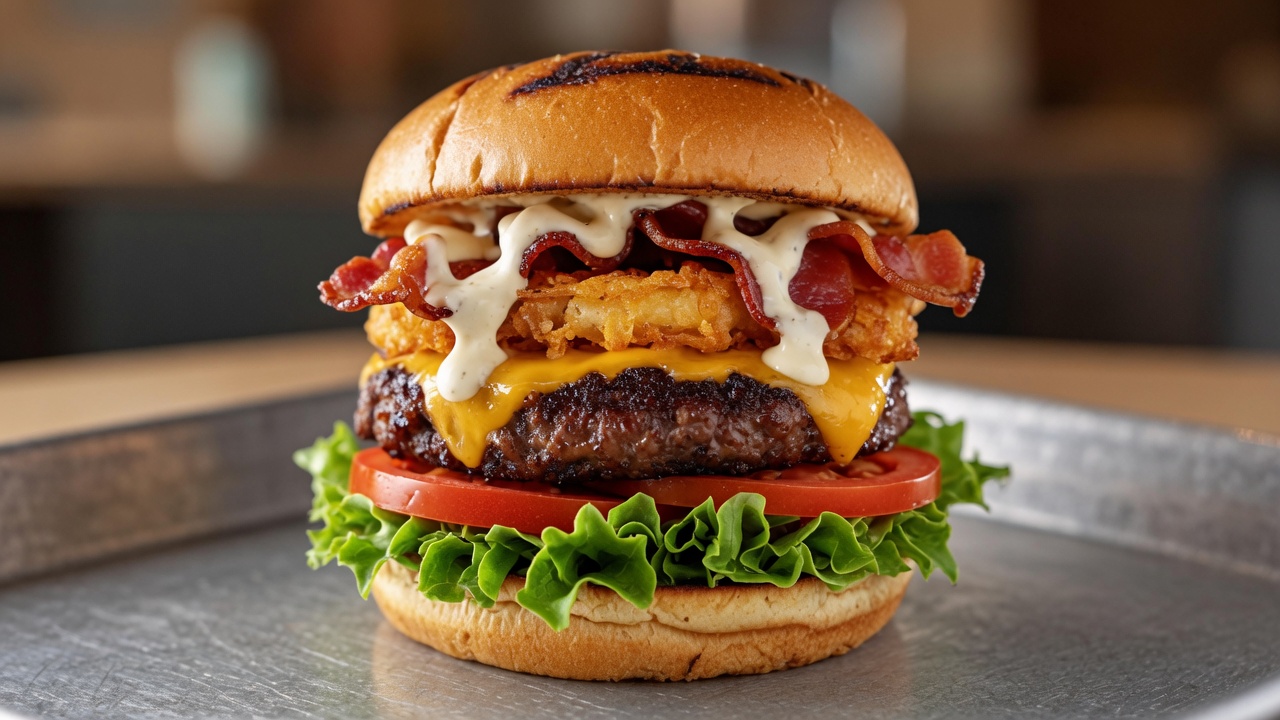
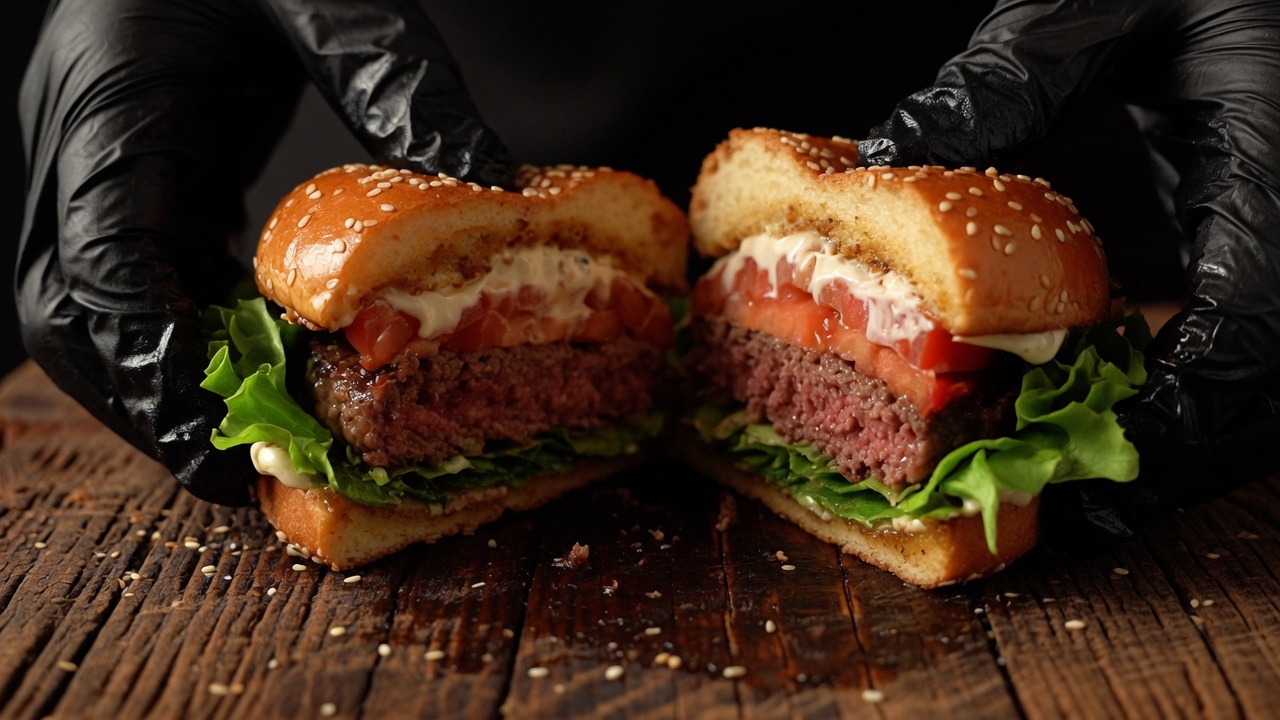
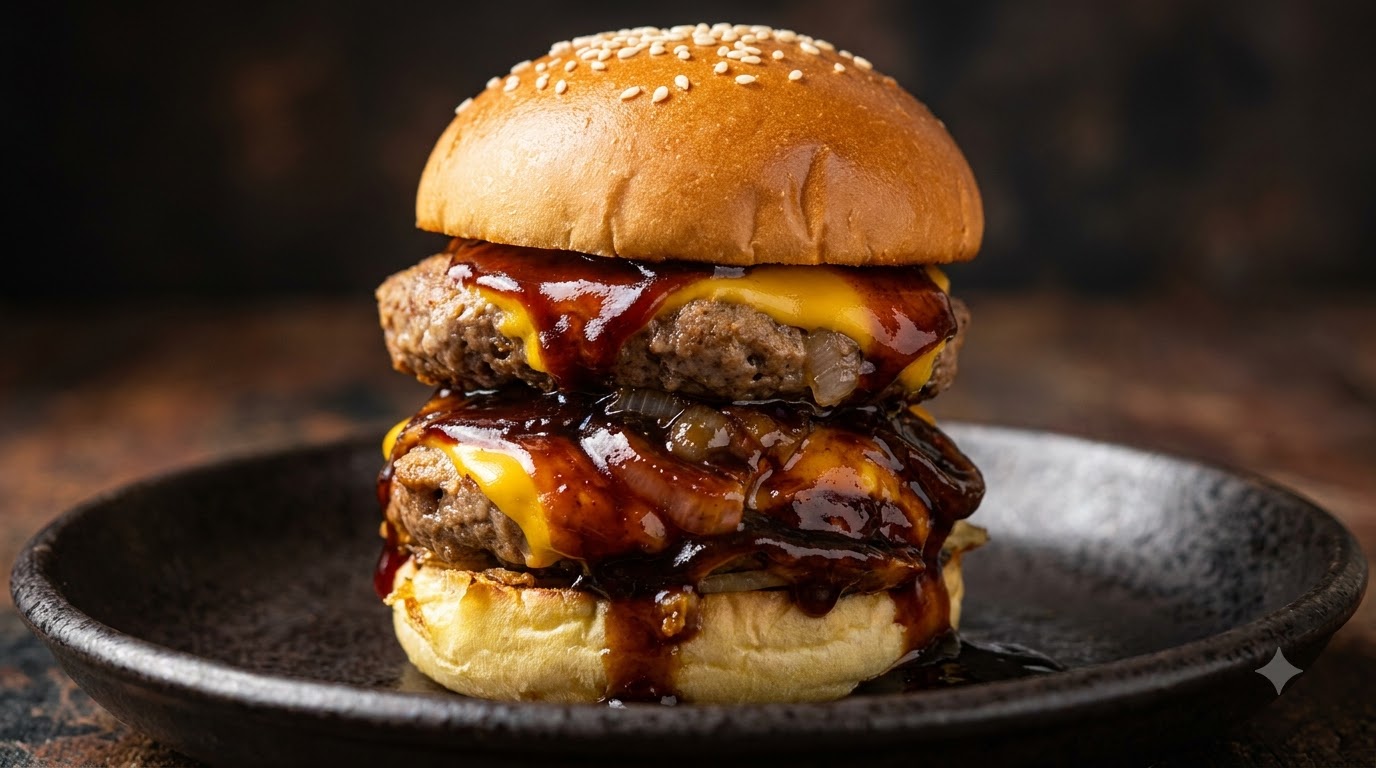
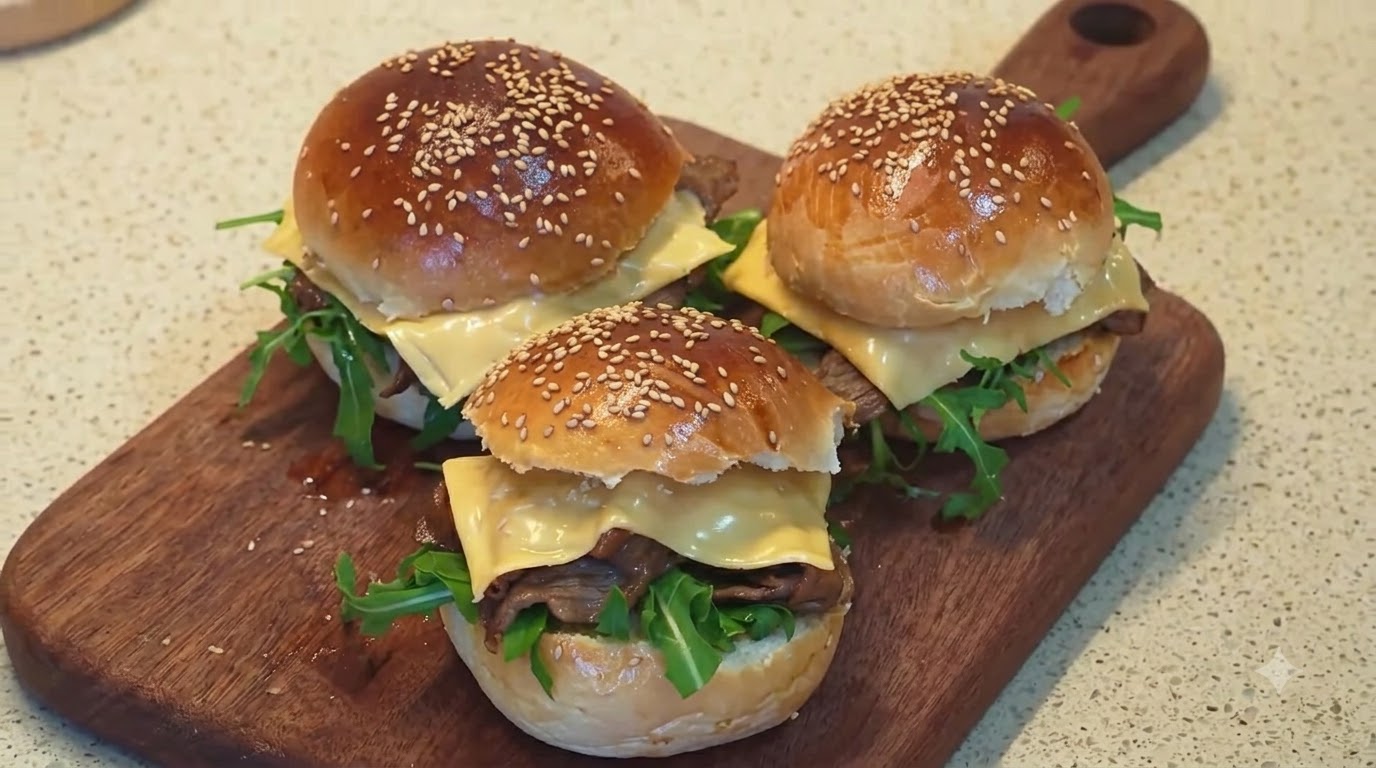
Skip the takeout with these incredibly tender and juicy teriyaki chicken burgers. Featuring perfectly charred chicken thighs glazed in a savory-sweet homemade sauce, nestled in soft, freshly baked buns.
There is something undeniably satisfying about building a burger entirely from scratch. This recipe elevates the classic teriyaki chicken sandwich by pairing deeply savory, overnight-marinated chicken thighs with pillowy, homemade milk bread buns. The addition of a crispy fried egg and fresh lettuce balances the rich, sticky glaze, creating a perfect harmony of textures and flavors in every bite.
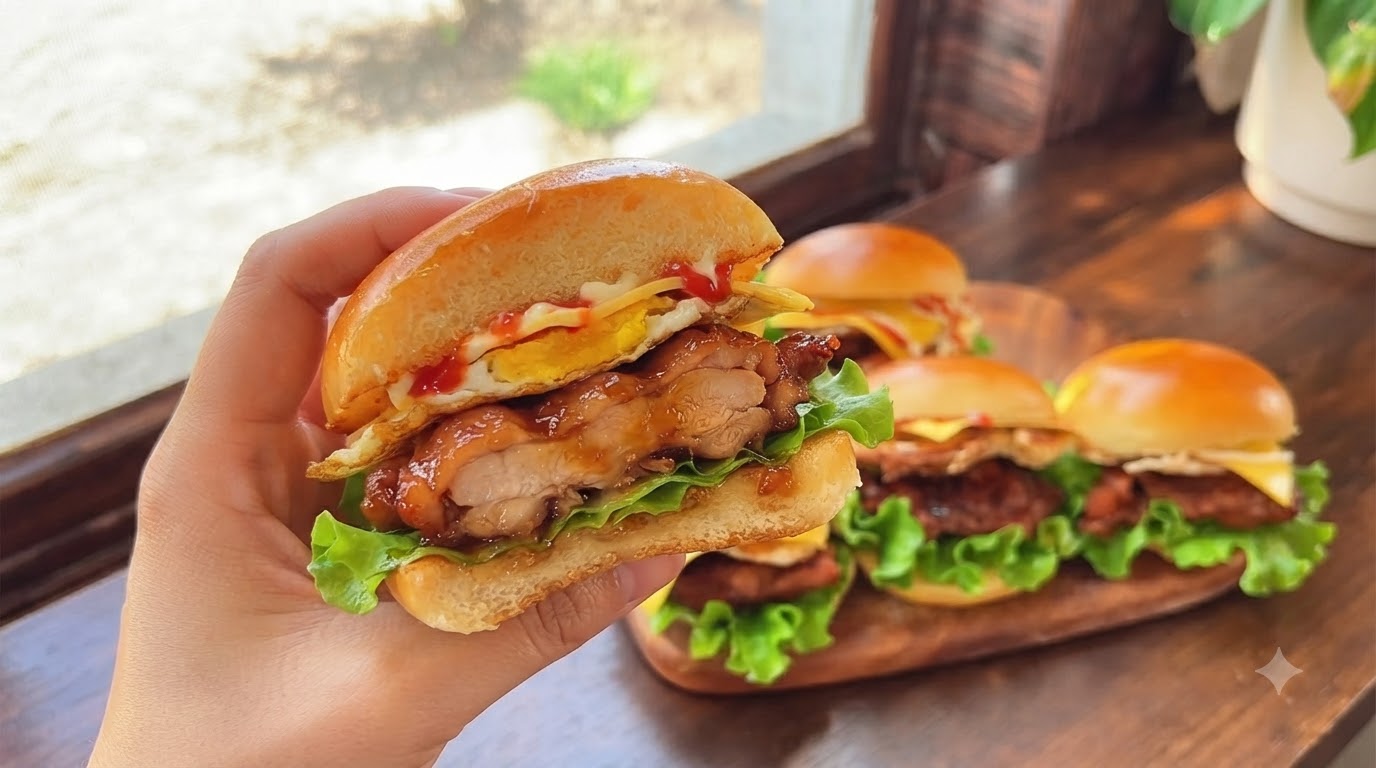
Ingredients
- 6 whole chicken legs (deboned)
- 1 bunch scallions
- 1 thumb ginger
- 4 cloves garlic
- 1/2 medium red onion
- to taste black pepper, sugar, and MSG
- 2 tbsp honey (divided)
- 2 tbsp light soy sauce
- 1 tbsp dark soy sauce
- 1 tbsp oyster sauce
- 300 g high-gluten flour
- 1 tsp dry yeast
- 2 tbsp sugar (for dough)
- 150 ml milk
- 1 whole egg (for dough)
- 1 tbsp milk powder
- 1/2 tsp salt
- 30 g butter (for dough)
- 1 whole egg (beaten, for egg wash)
- 1 tbsp butter (for frying)
- 6 whole eggs (for frying)
- 6 leaves green lettuce
- 6 slices cheese
- to taste mayonnaise and ketchup
Instructions
- 1Debone the Chicken Leg
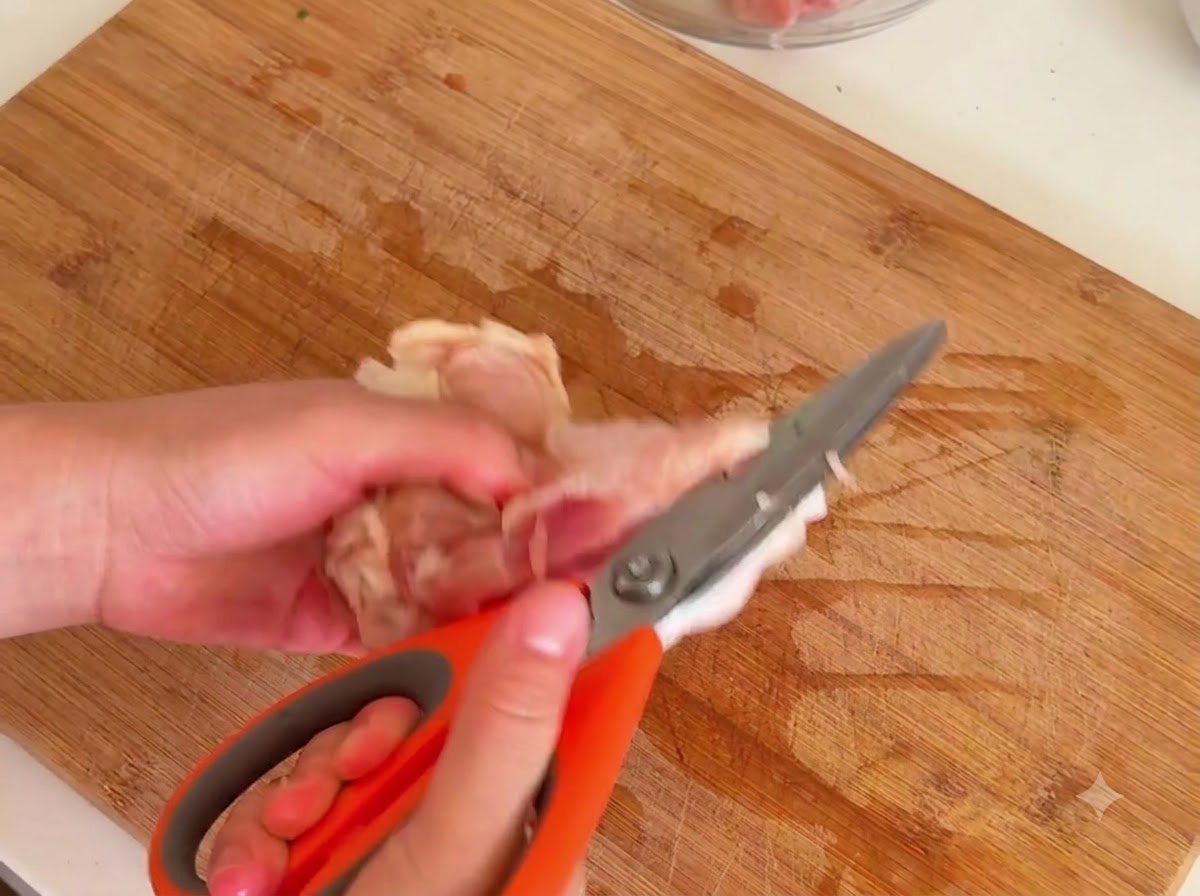
Use kitchen scissors to cut along the bone of the raw chicken leg, carefully separating the meat from the bone until fully removed on a wooden cutting board.
Tip: Scissors give you precise control and prevent you from accidentally slicing through the skin. - 2Add Aromatics
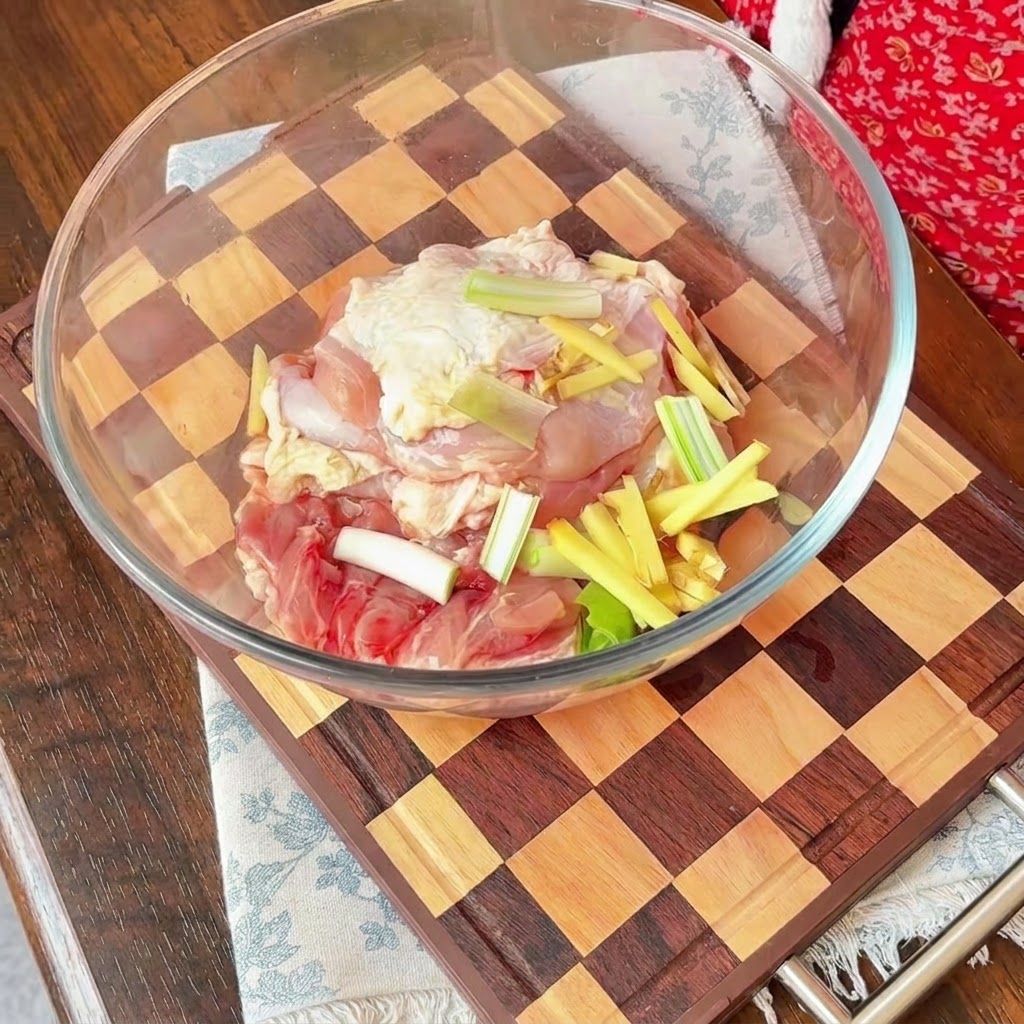
Place the deboned chicken pieces into a glass mixing bowl along with chopped scallions, ginger, garlic, and sliced red onions to build flavor.
Tip: Fresh ginger and garlic are essential for neutralizing any gaminess in the chicken. - 3Marinate the Chicken
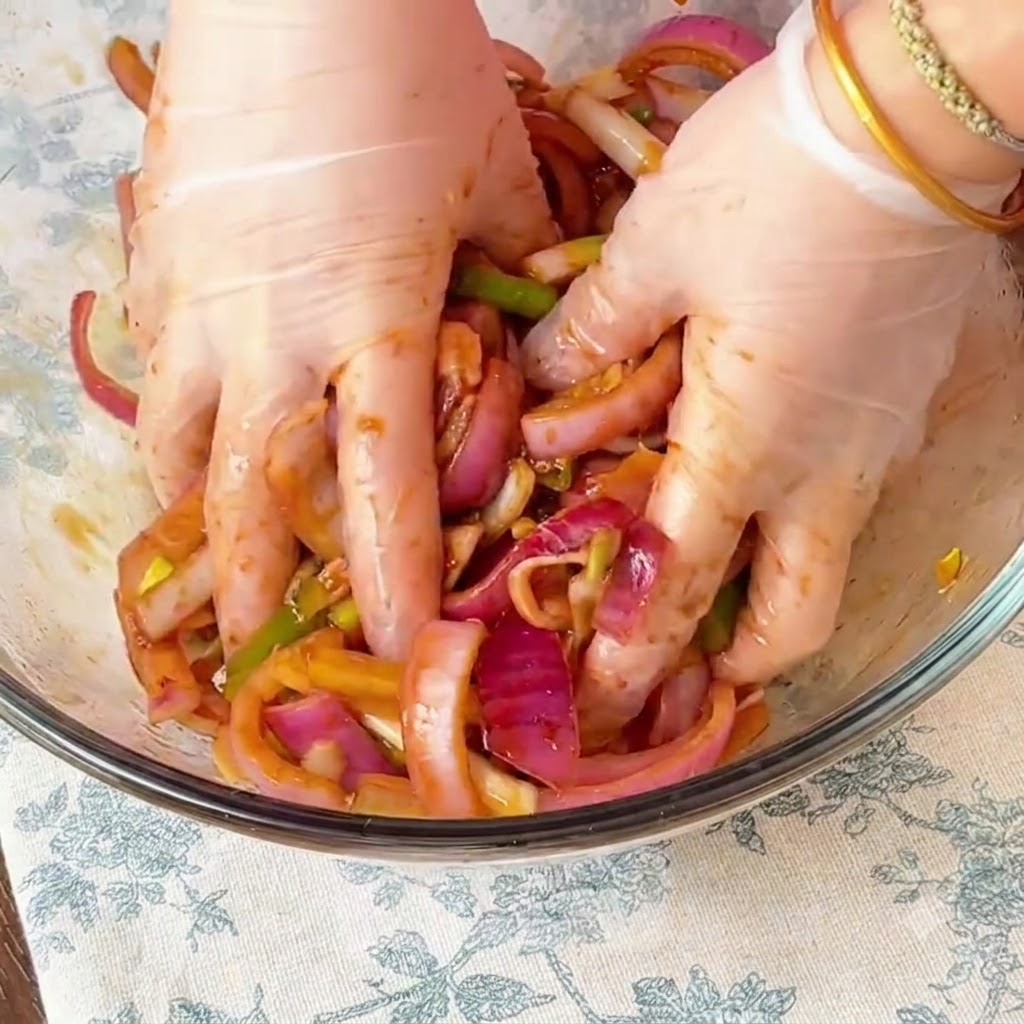
Pour in pepper, sugar, MSG, honey, light soy sauce, dark soy sauce, and oyster sauce. Mix everything thoroughly by hand and let it marinate in the fridge overnight.
Tip: Letting it marinate overnight ensures the deep savory-sweet teriyaki flavors penetrate completely. - 4Prepare Burger Bun Dough
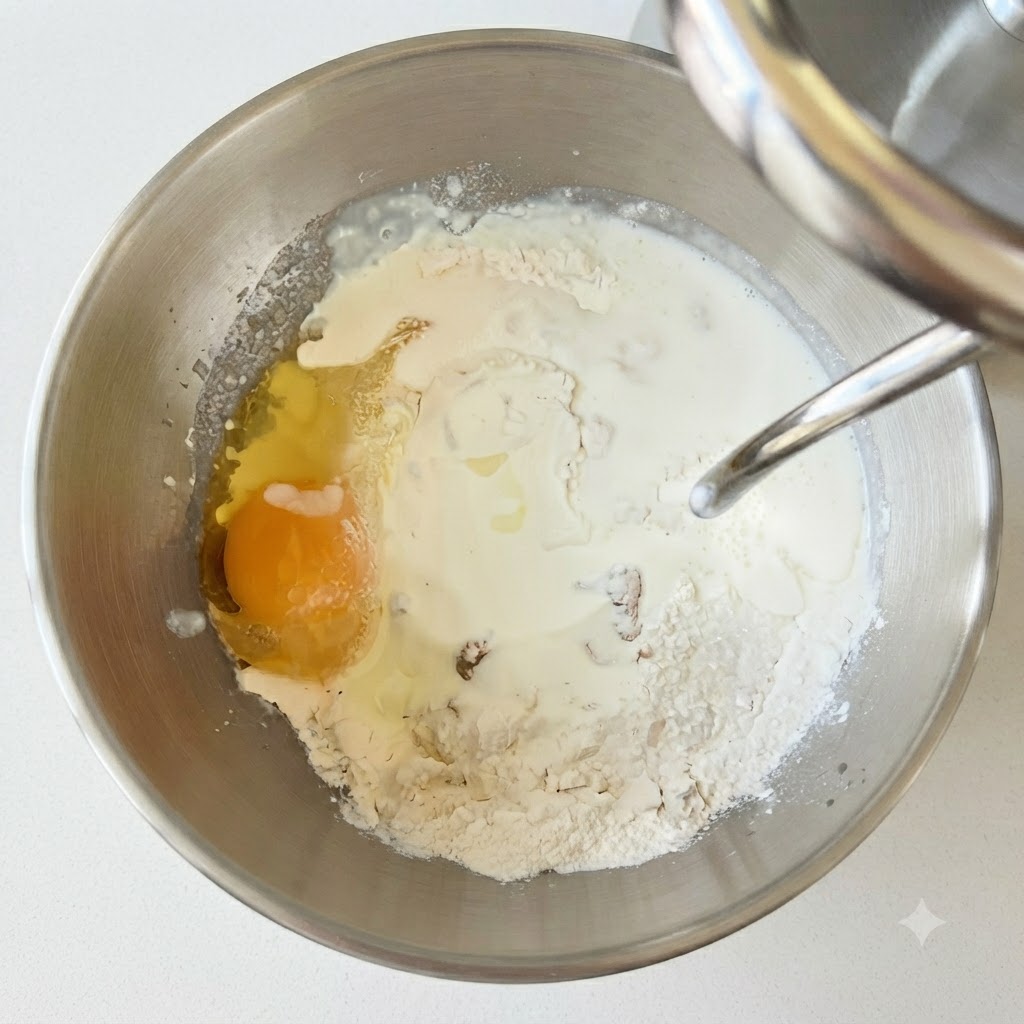
In a stand mixer bowl, combine high-gluten flour, yeast, sugar, milk, an egg, and milk powder, preparing to mix for the burger buns.
Tip: Using milk instead of water adds richness and a softer crumb to the baked buns. - 5Knead to Windowpane Stage
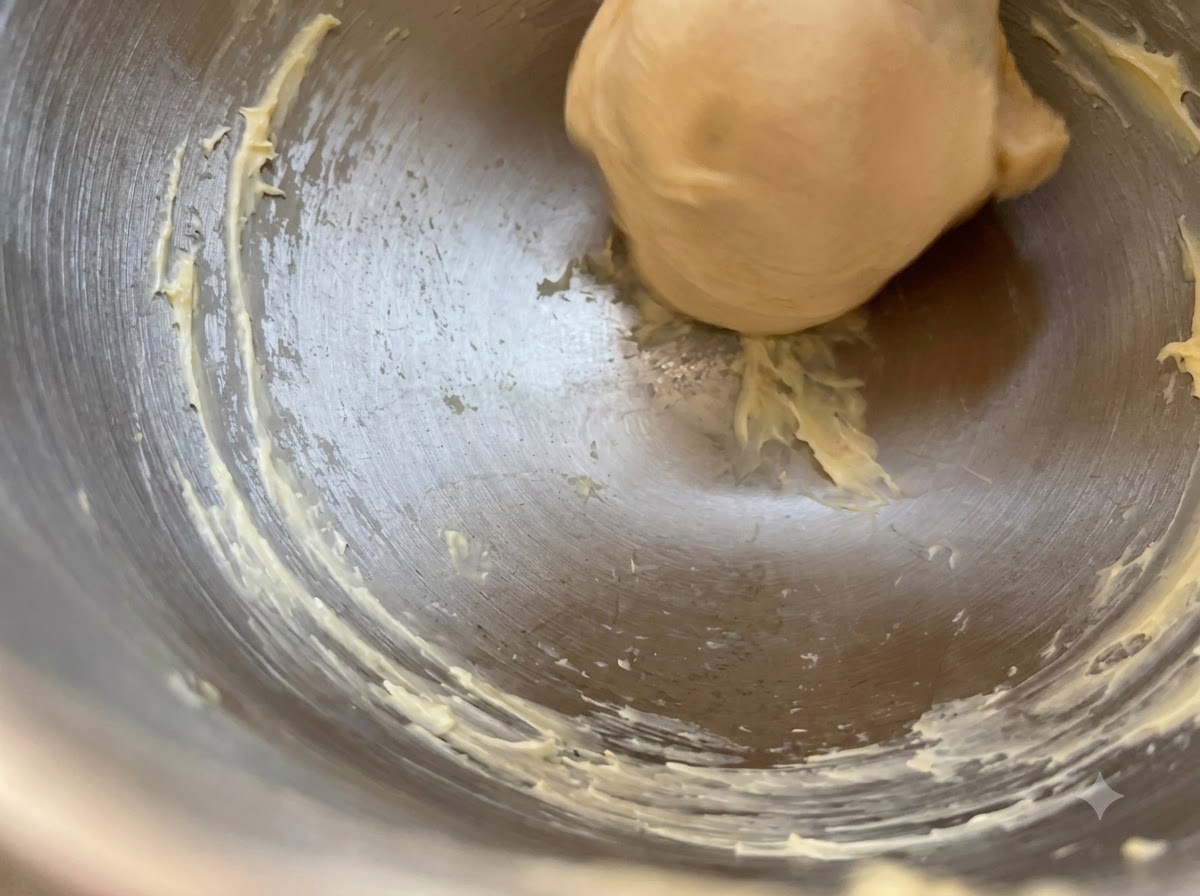
Continue kneading the dough with added salt and butter until smooth, then stretch a piece by hand to test for the translucent windowpane membrane.
Tip: Reaching the windowpane test stage ensures your burger buns will rise light and fluffy. - 6Divide the Dough
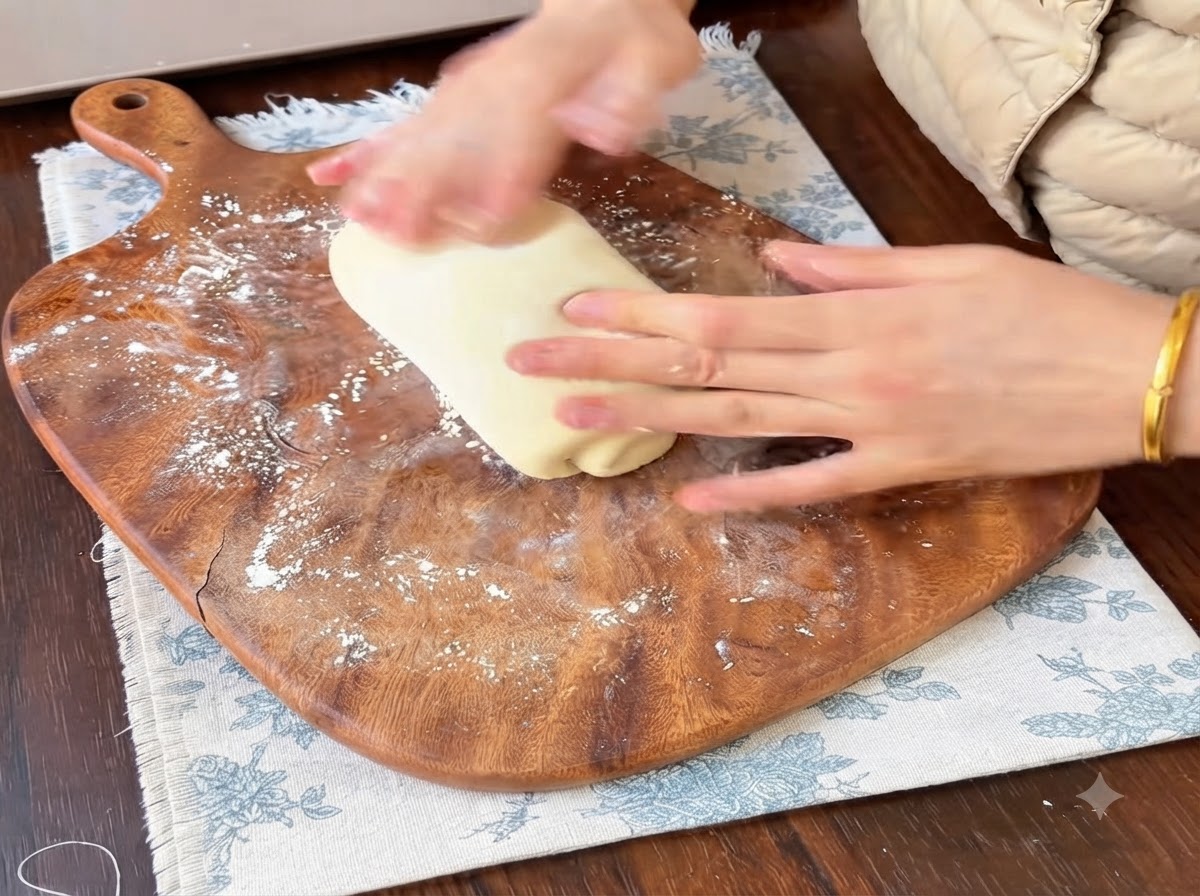
Turn out the fermented dough onto a floured wooden cutting board and divide it into six equal pieces, rolling them into smooth balls for the next stage.
Tip: Keep the pieces covered with a damp towel while shaping to prevent them from drying out. - 7Shape the Dough Balls
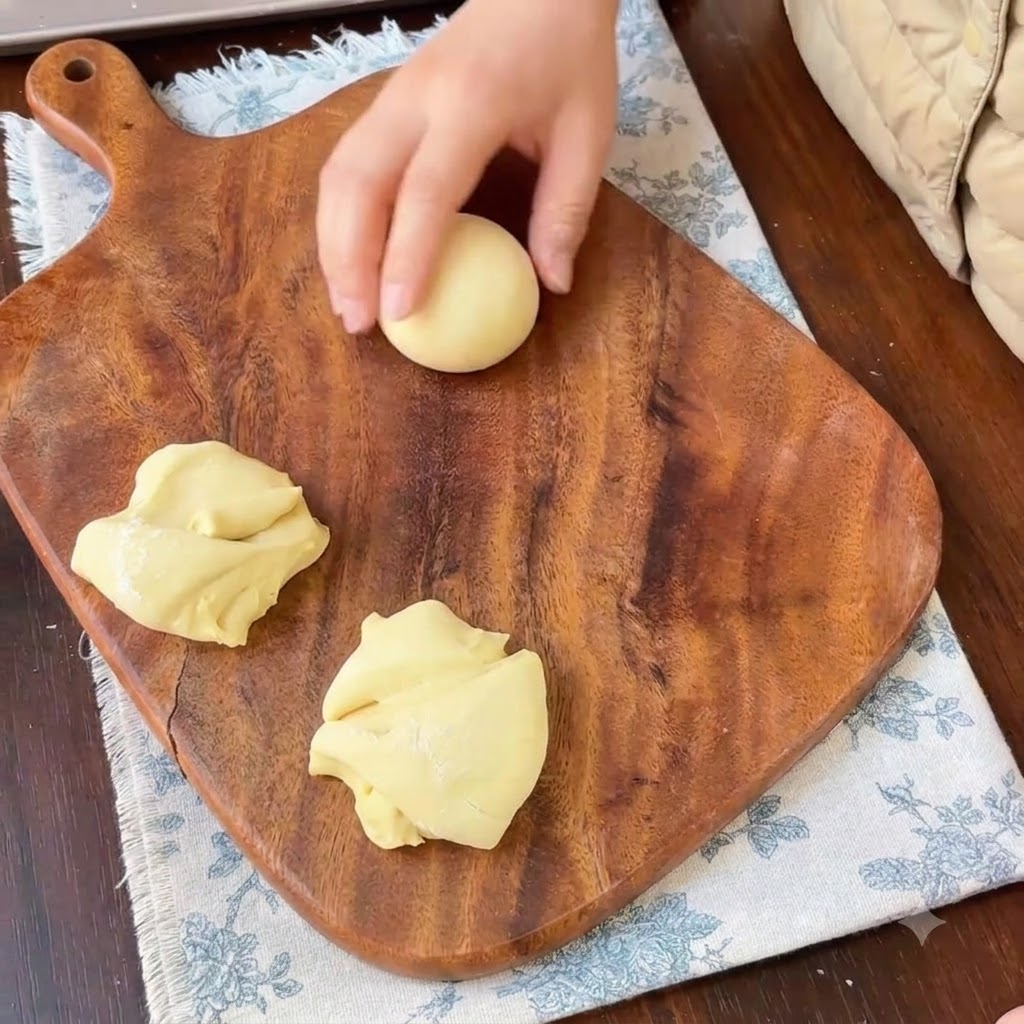
Take the divided pieces of dough and roll them firmly against the board into smooth, round balls.
Tip: Roll with a cupped hand to create surface tension for a nice rise. - 8Apply Egg Wash
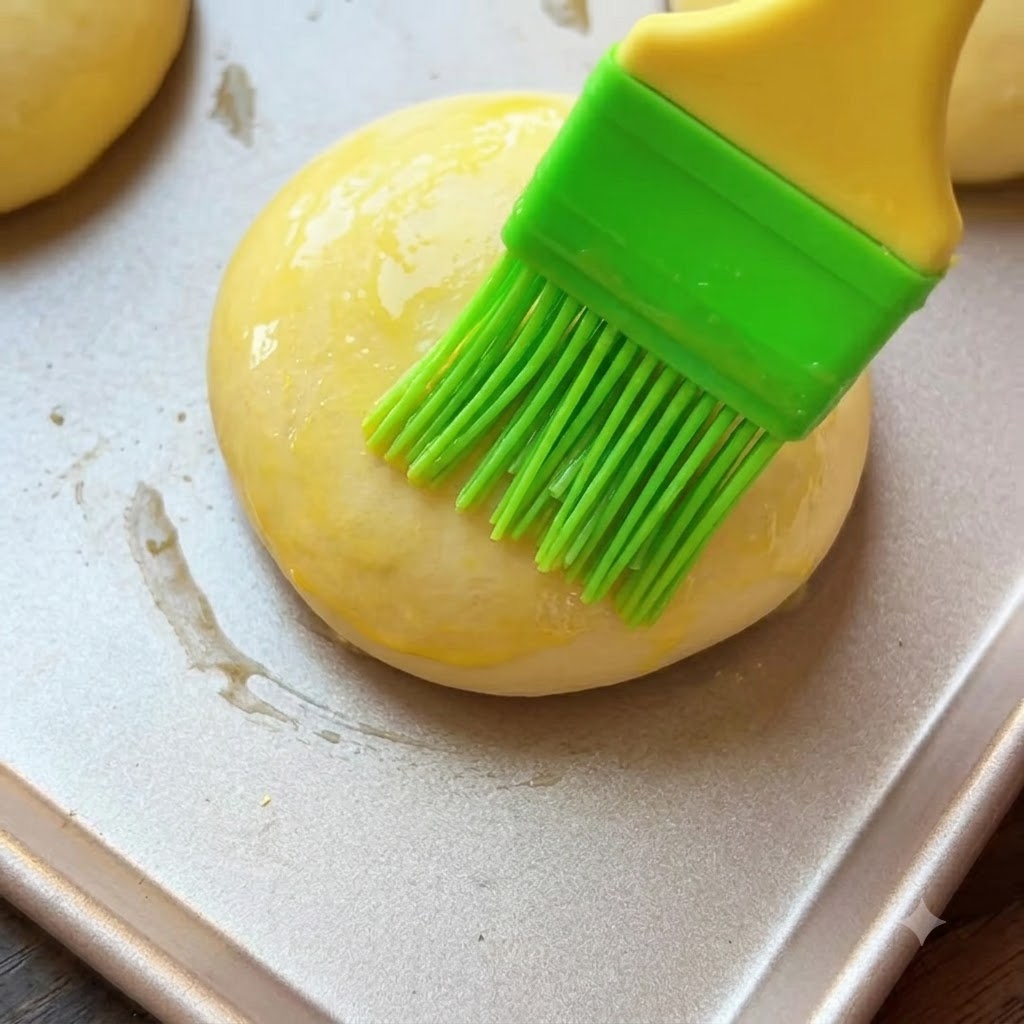
Brush a light, even layer of beaten egg over the surface of each proofed dough ball to give them a shiny golden finish when baked.
Tip: Apply gently so you do not deflate the proofed dough. - 9Bake the Burger Buns
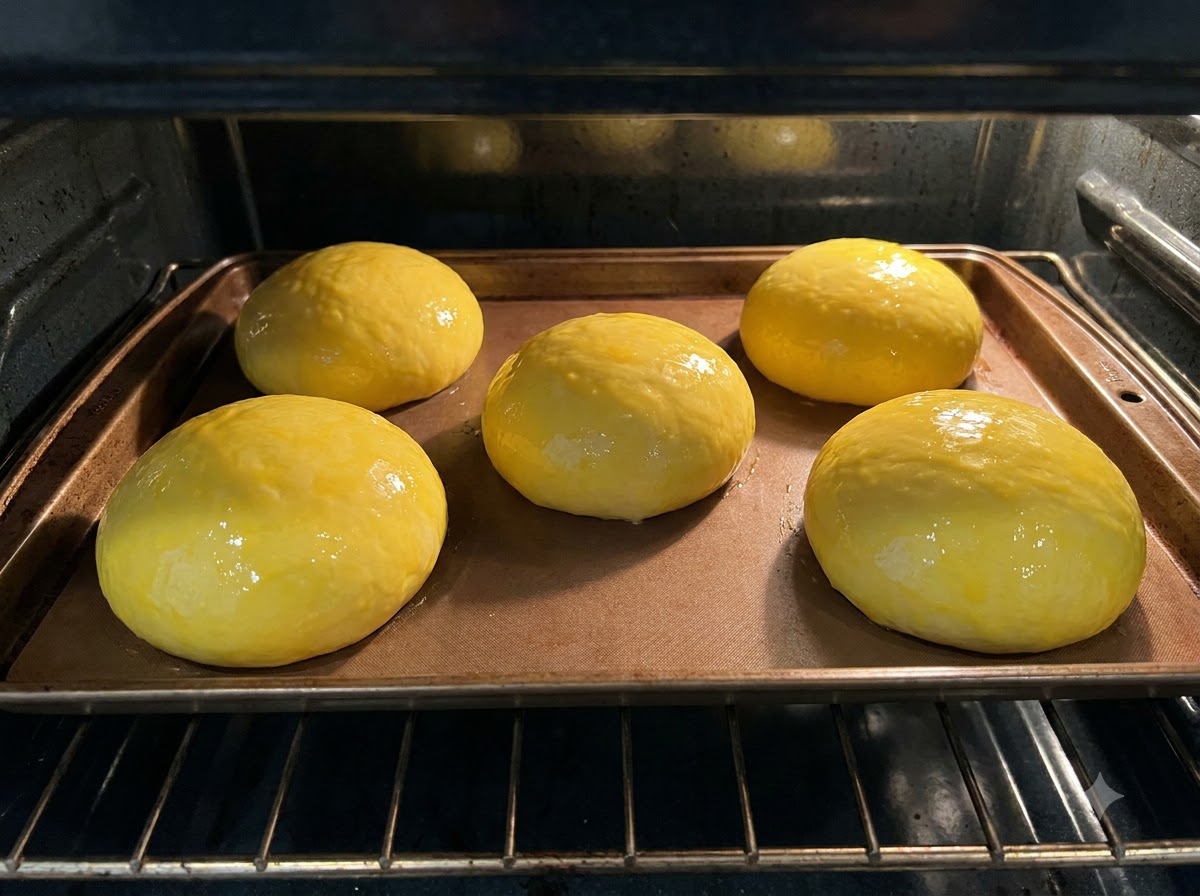
Place the tray into the preheated oven and bake at 180 degrees Celsius for 16 to 18 minutes until the tops turn a deep golden brown.
Tip: Keep an eye on the color near the end to prevent over-browning. - 10Melt Butter in the Pan
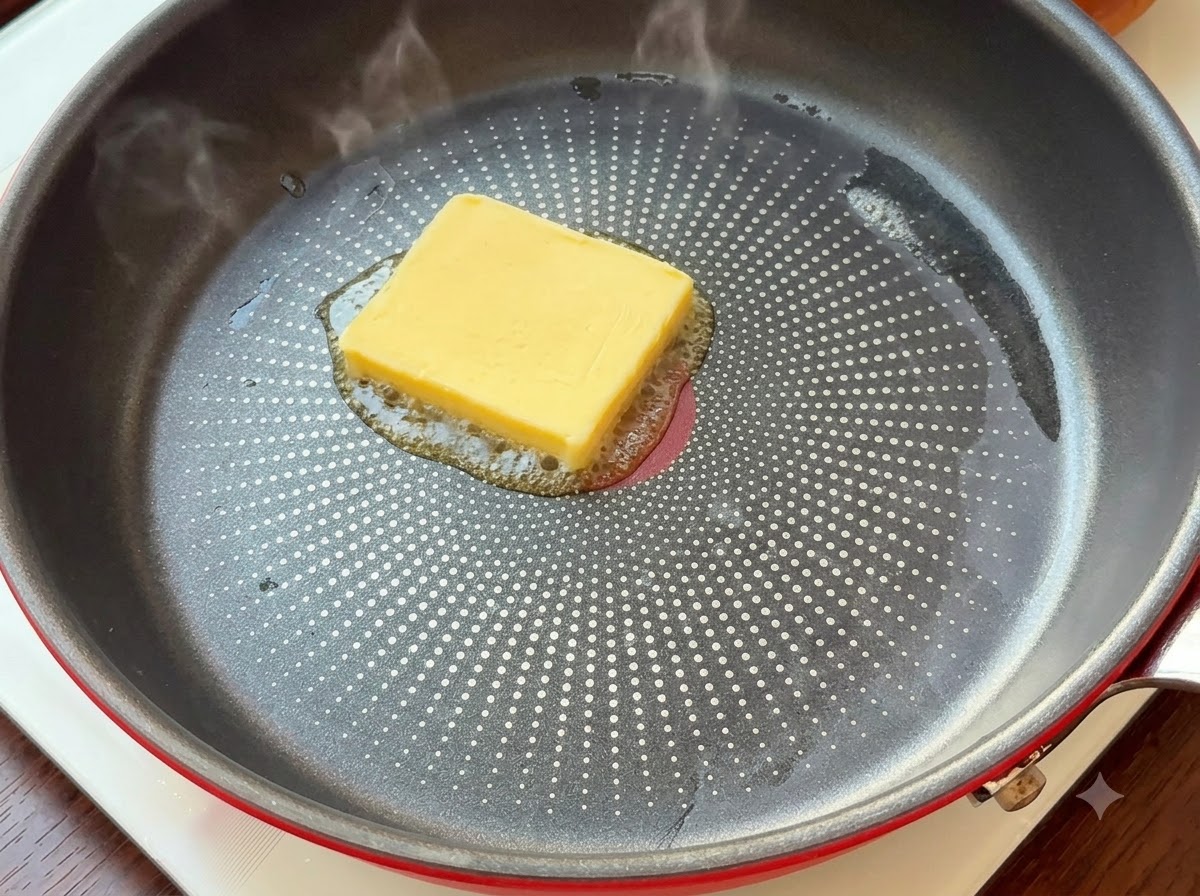
Heat a frying pan over medium heat and place a square of butter inside, allowing it to melt and coat the surface completely.
Tip: Melt just until foaming begins, taking care not to burn the butter. - 11Pan-Fry the Chicken
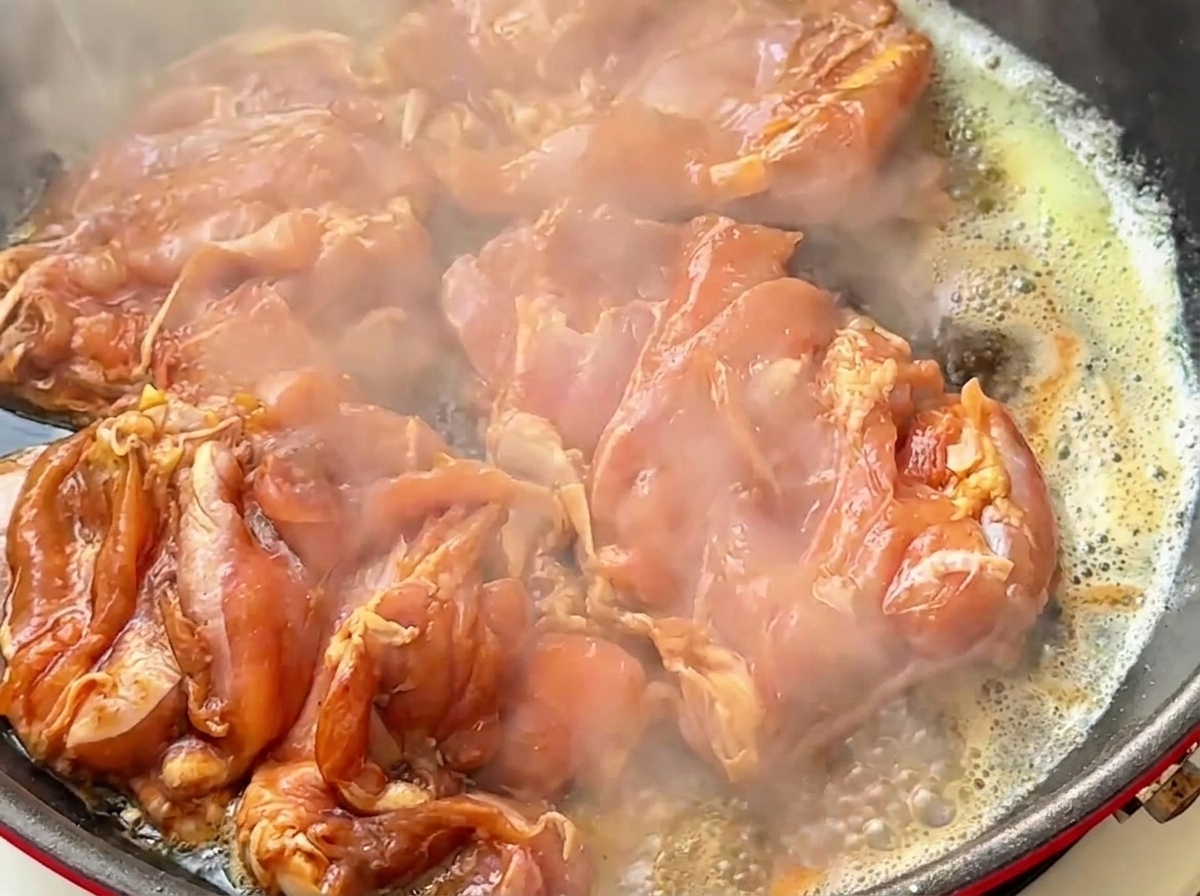
Arrange the marinated chicken pieces neatly into the hot pan with melted butter to begin cooking.
Tip: Lay them down skin-side first for the best sear. - 12Flip the Chicken
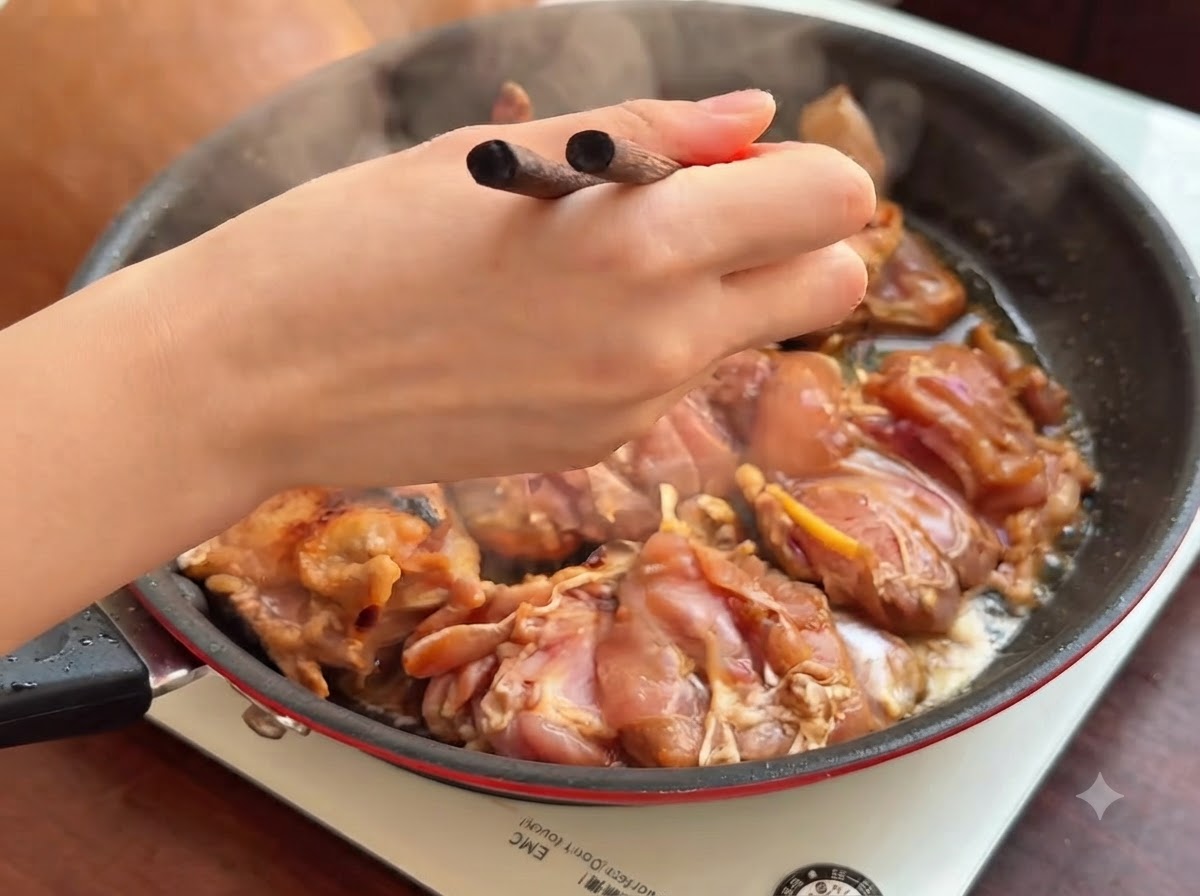
Use chopsticks or tongs to carefully flip each piece of chicken over, showing a lightly charred and golden seared surface.
Tip: Flip only after a nice crust has formed to lock in the juices. - 13Pour the Teriyaki Glaze
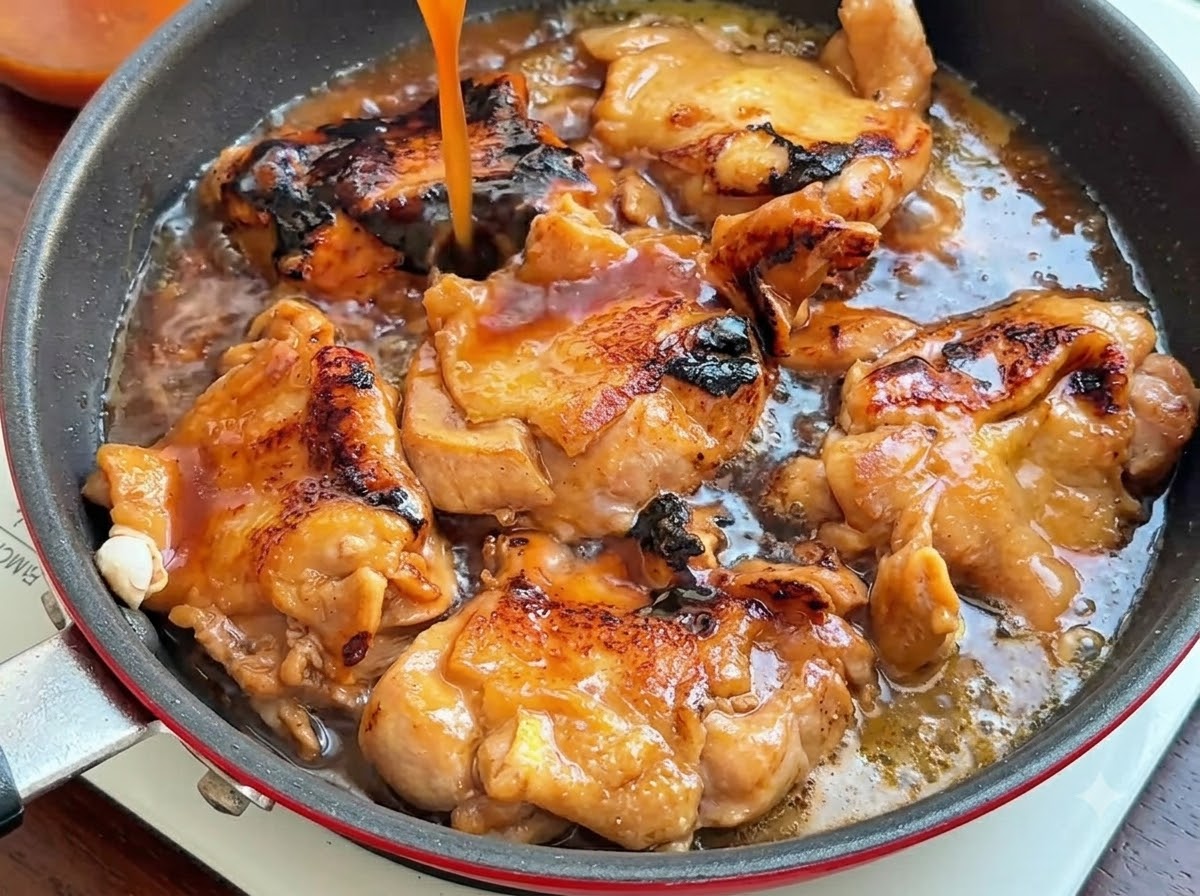
Mix the leftover marinade with half a bowl of water and a little more honey, then pour the liquid mixture evenly over the browned chicken pieces in the pan.
Tip: Adding a bit more honey to the leftover marinade enhances the glaze and gives the chicken a rich, sticky coating. - 14Simmer the Chicken
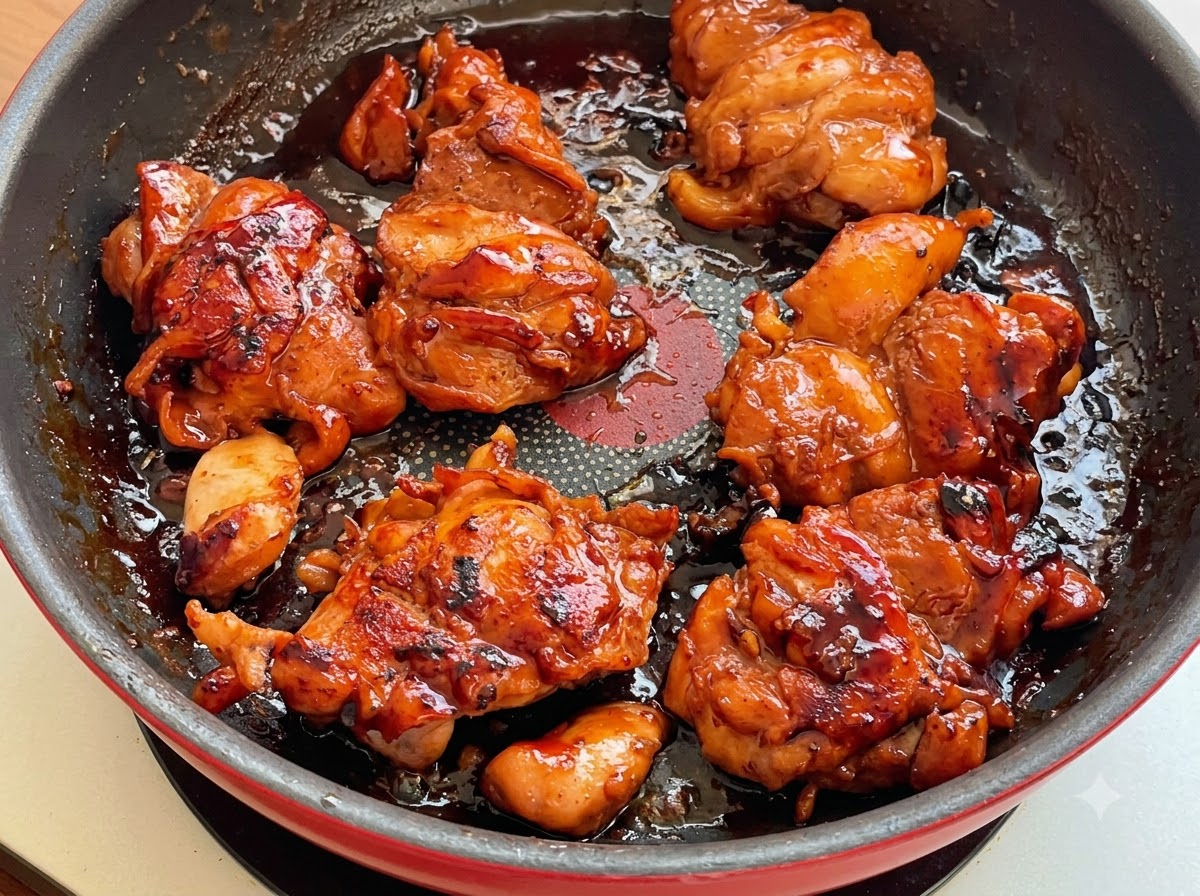
Simmer the chicken pieces in the poured sauce over medium-low heat until the liquid reduces, thickens, and thoroughly coats each piece of chicken with a glossy finish.
Tip: Keep the heat at medium-low so the sugars in the marinade reduce and caramelize without burning too quickly. - 15Fry the Eggs
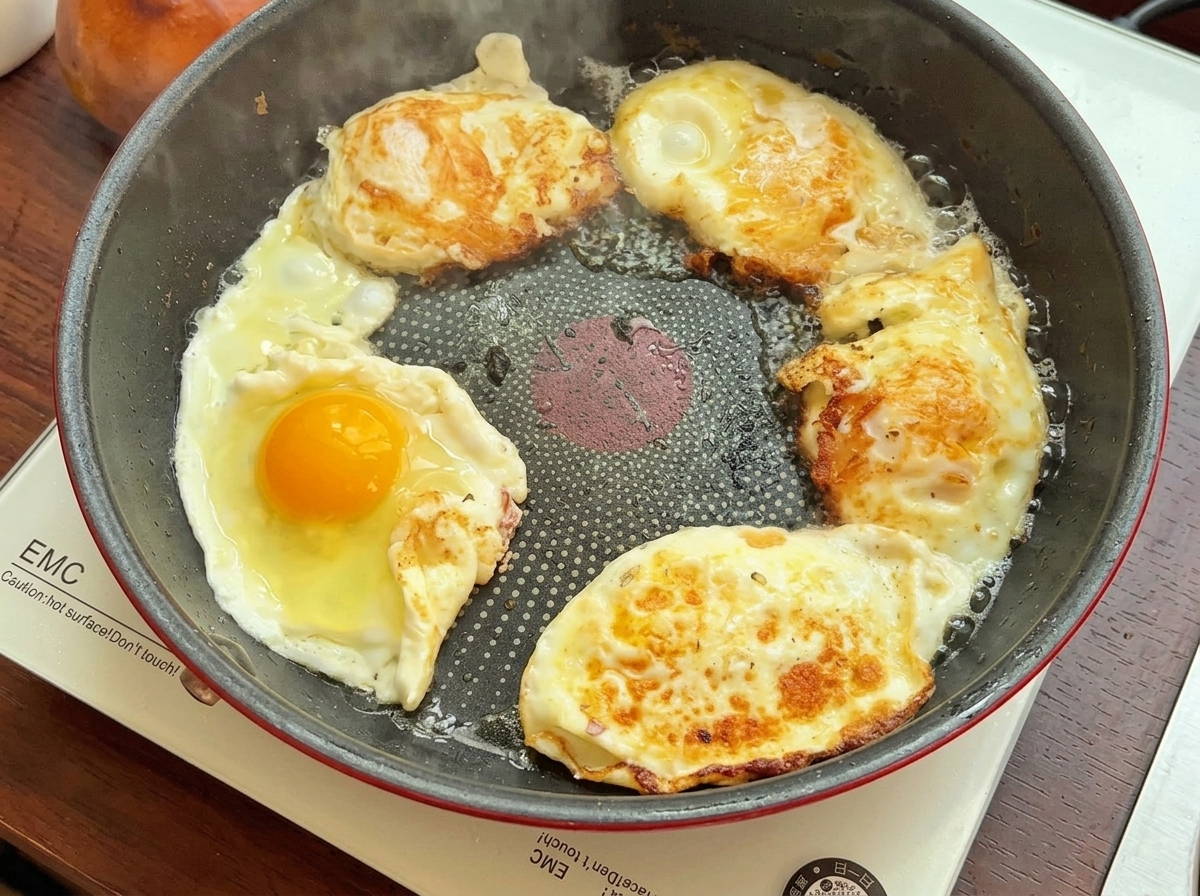
Crack and fry six eggs in a hot pan, cooking them until the whites are fully set and the edges are lightly golden and crispy.
Tip: Cook on medium heat to get a nice crispy edge on the egg whites while keeping the yolks tender if desired. - 16Slice the Burger Buns
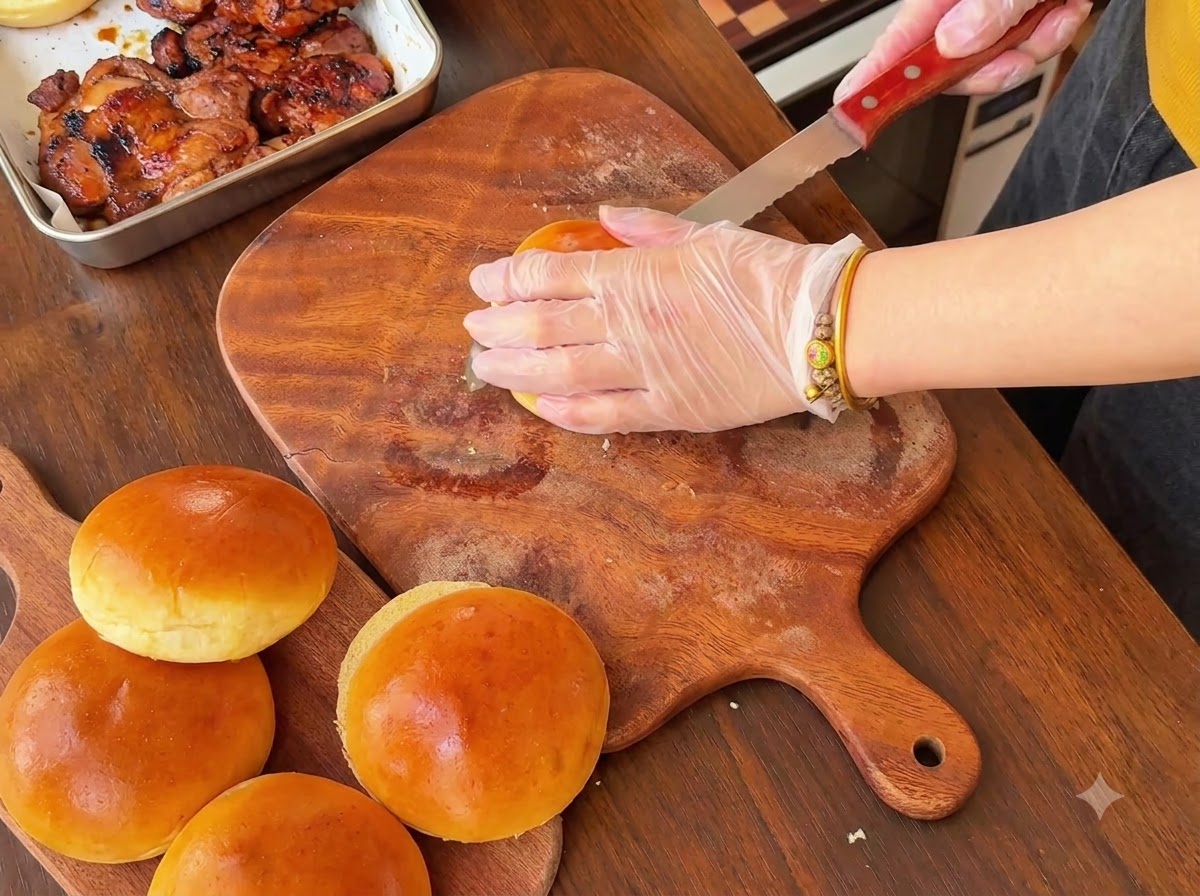
Take the cooled, golden-brown baked burger buns and slice each one cleanly in half horizontally using a bread knife on a wooden cutting board.
Tip: Ensure the buns are completely cooled before slicing to prevent them from compressing or tearing. - 17Assemble the Burger Base
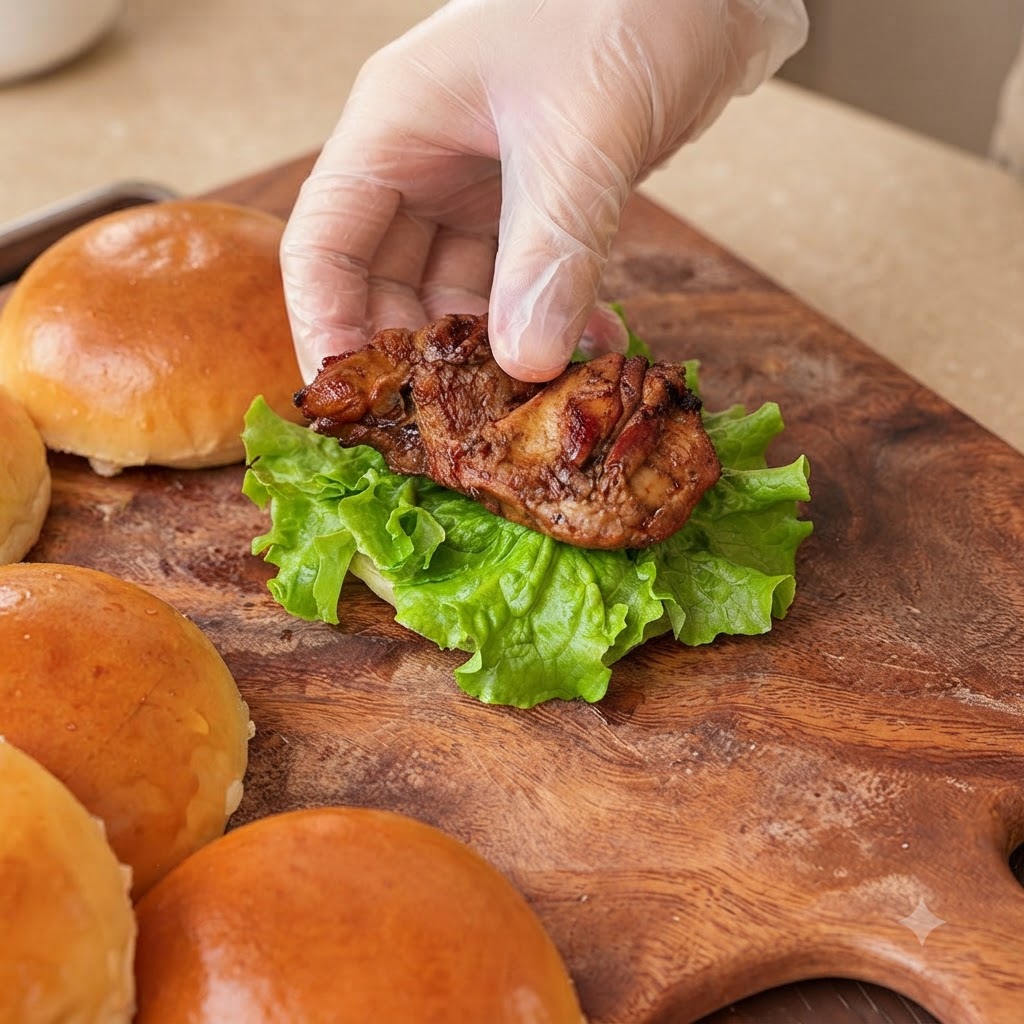
Start assembling the burgers by placing a fresh leaf of crisp green lettuce onto the bottom half of a sliced burger bun, then top it with a warm piece of cooked teriyaki chicken.
Tip: Pat the lettuce dry before assembling to keep the bun from becoming soggy. - 18Add Sauces and Top Bun
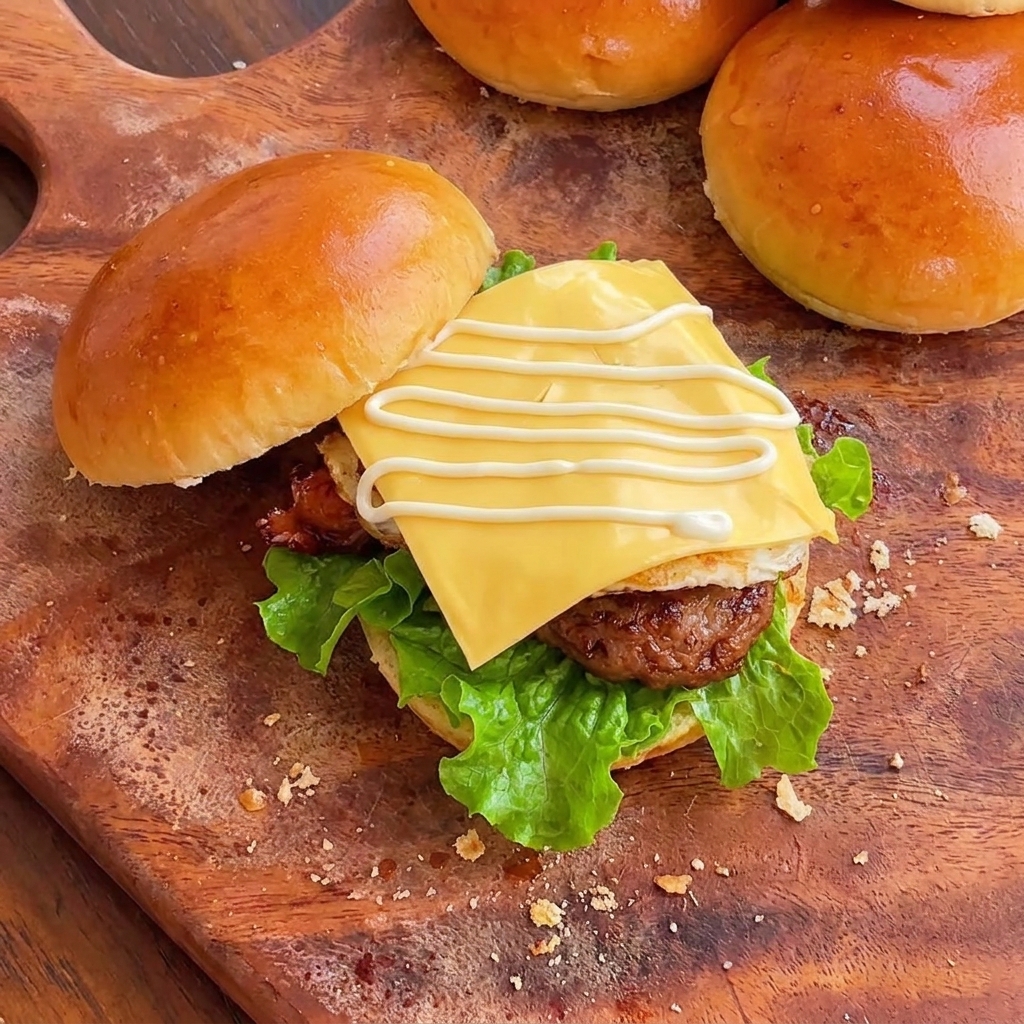
Layer a fried egg and a slice of cheese over the chicken, then squeeze zig-zags of mayonnaise and ketchup across the top before finishing with the upper half of the burger bun.
Tip: Squirt the sauces in a neat zig-zag pattern to ensure even distribution of flavor in every bite.