Japanese-Style Miso Braised Pork Belly (Buta no Kakuni)
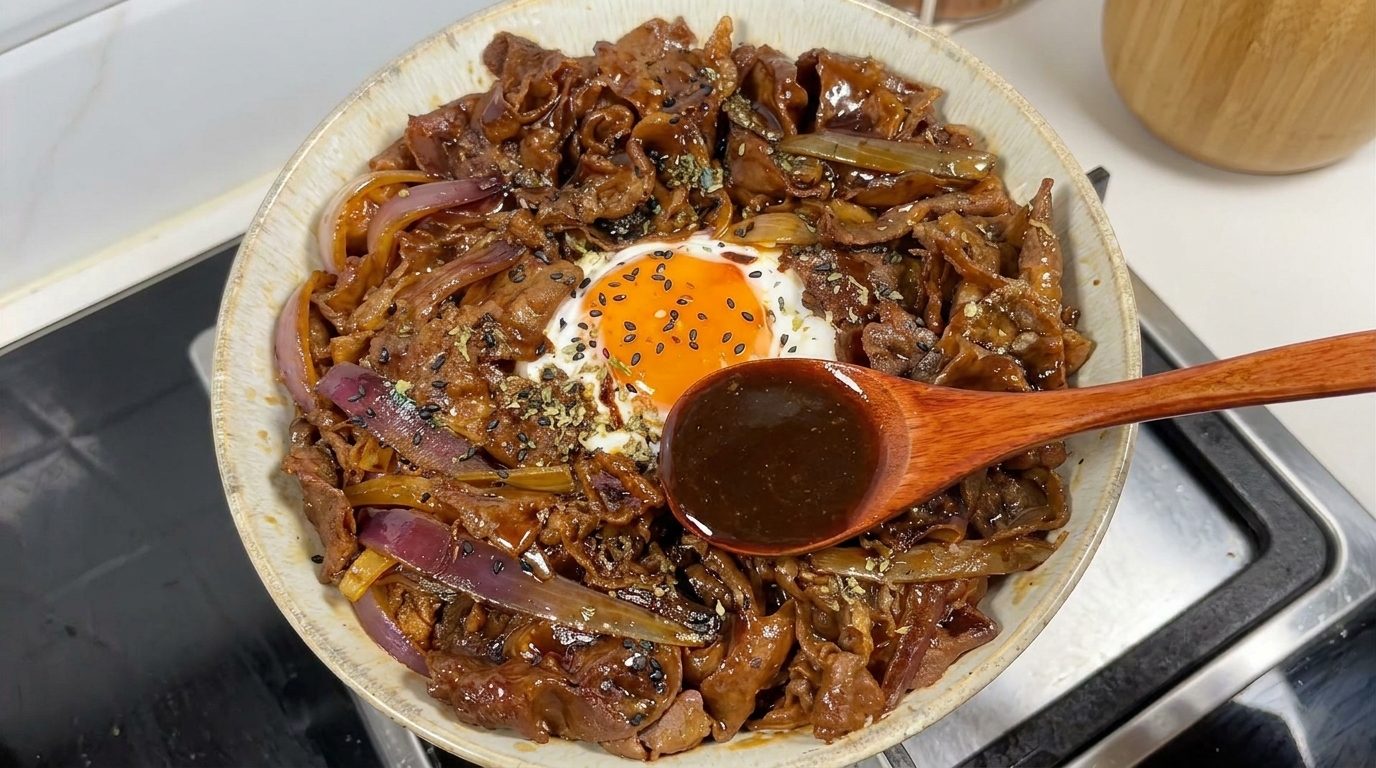
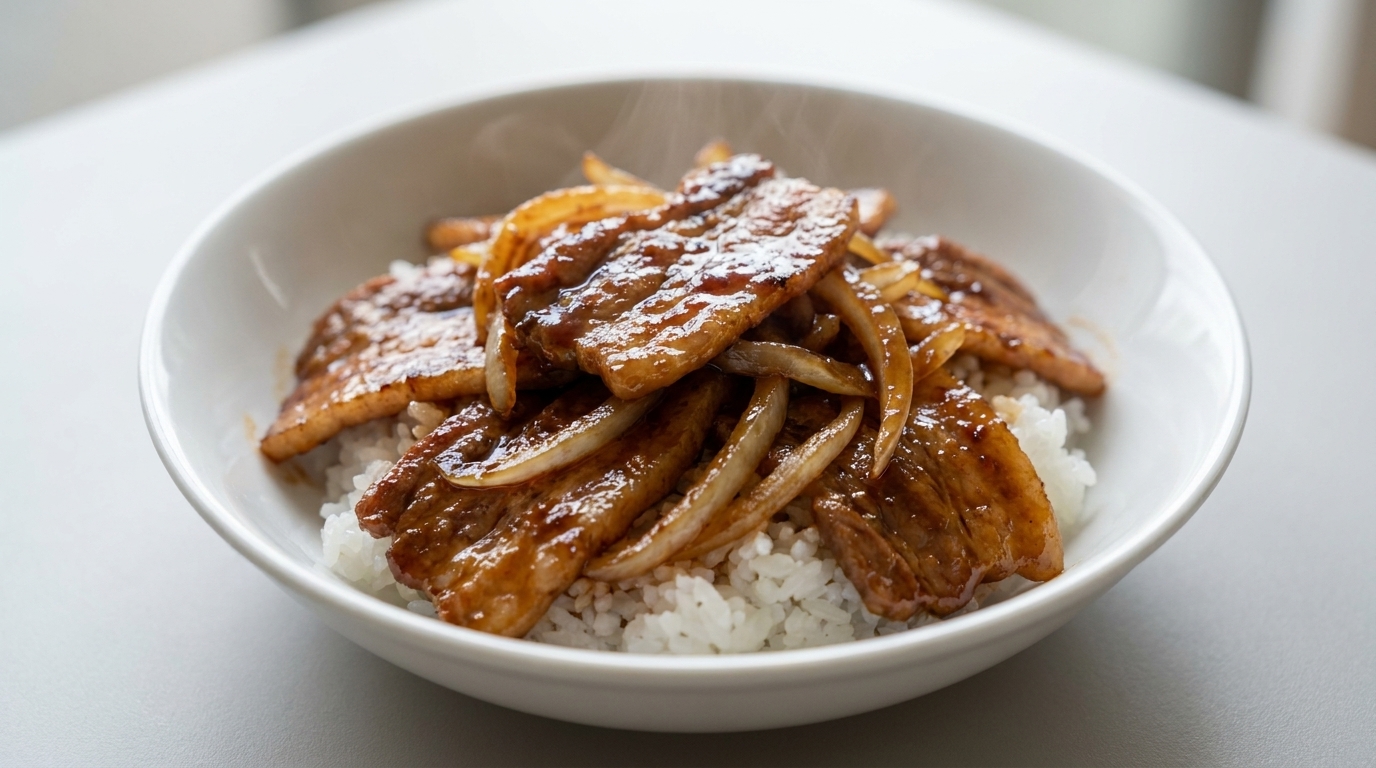
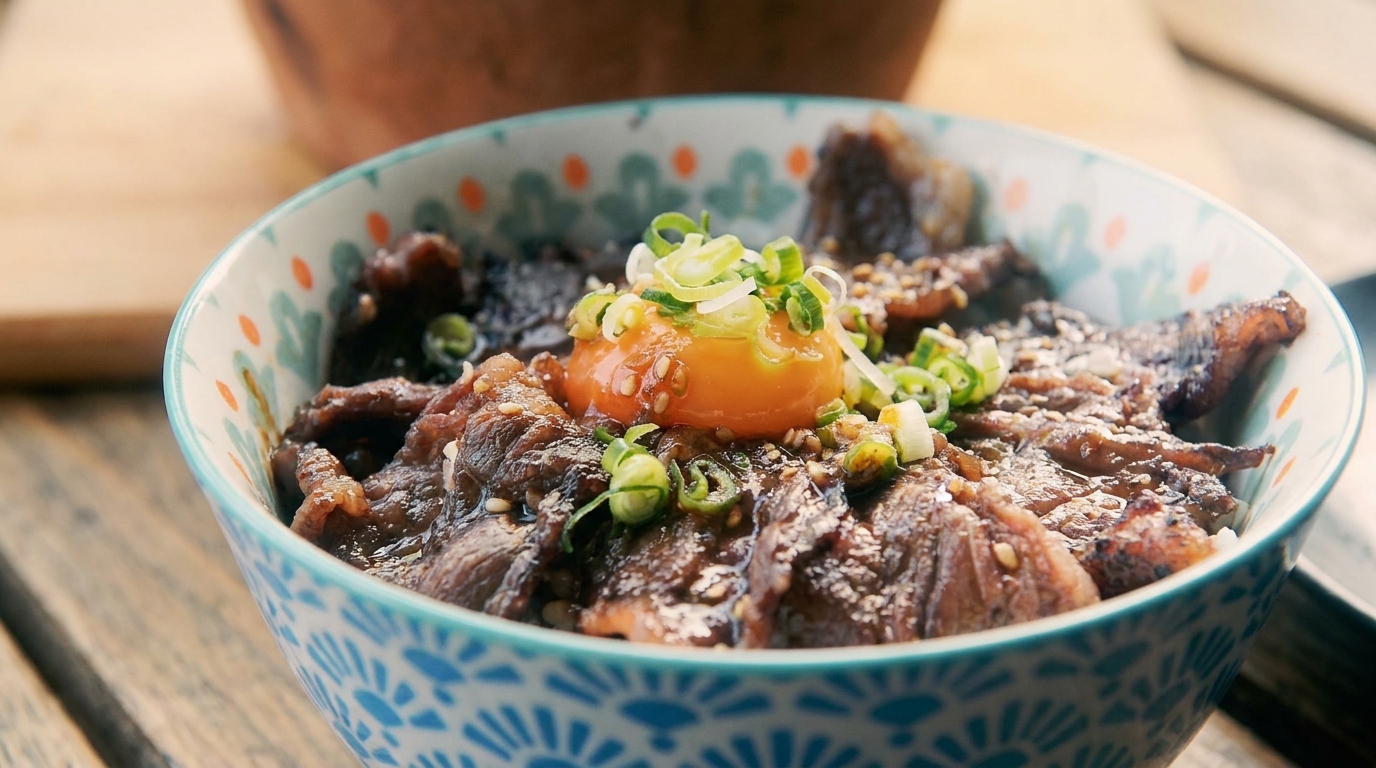
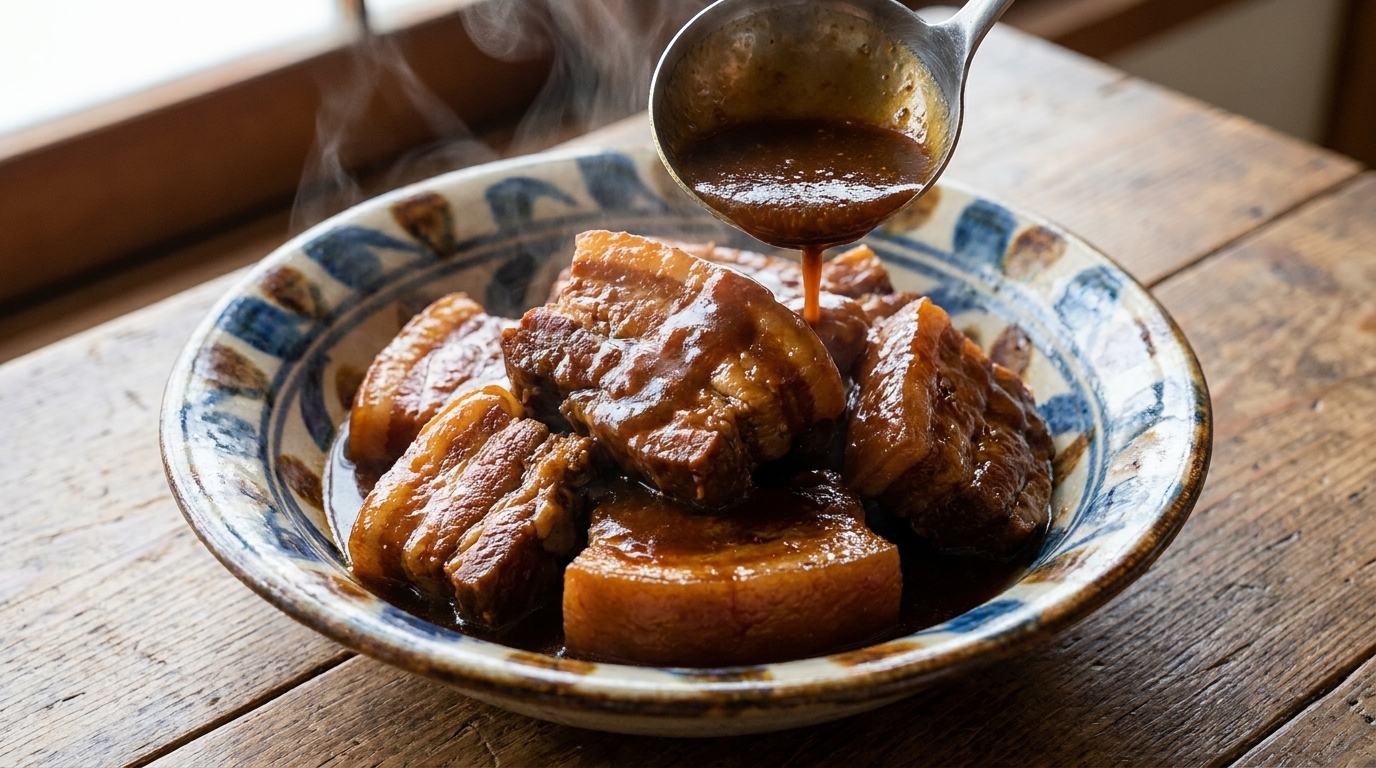
A masterclass in comfort, this pork belly is slowly braised in a savory-sweet miso glaze until tender enough to melt in your mouth.
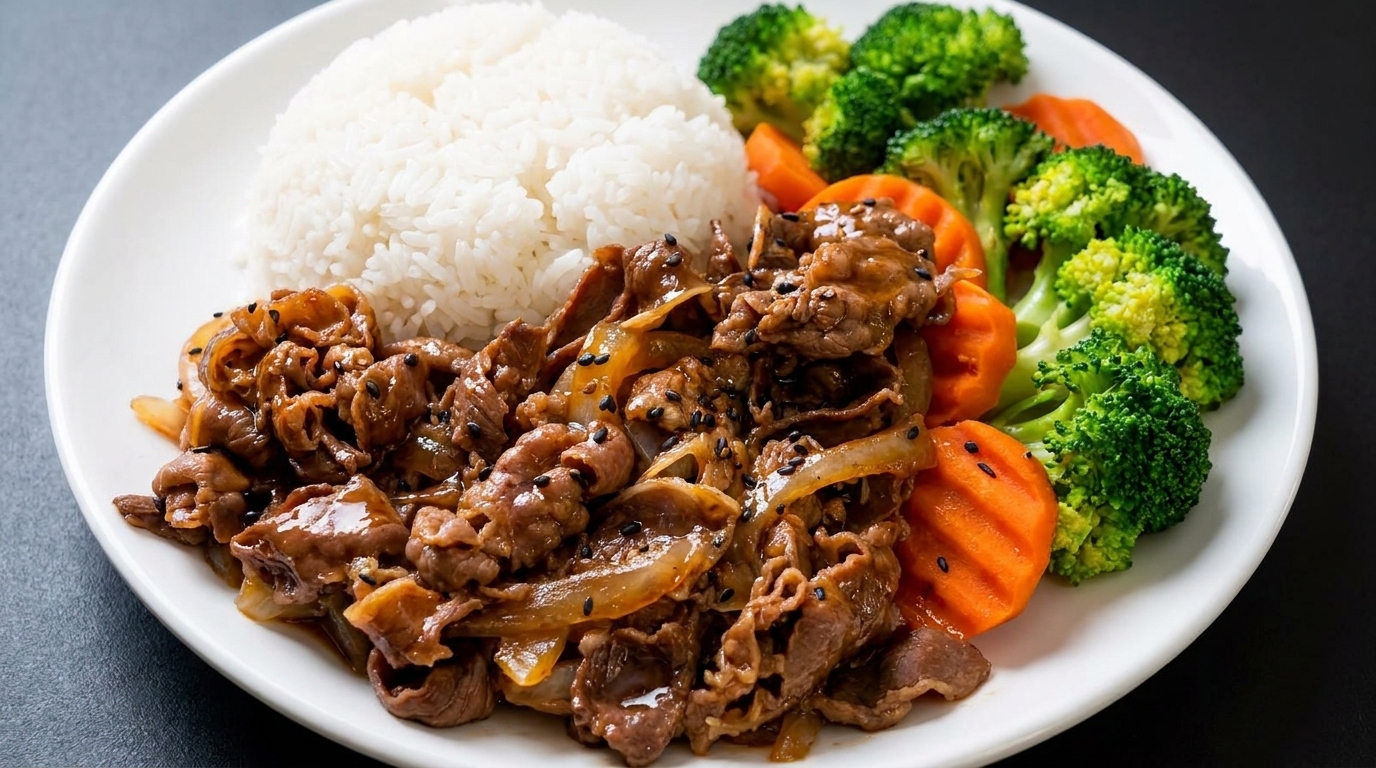
Buta no Kakuni is a beloved Japanese classic, showcasing the beauty of slow-cooking. By braising pork belly in a rich mixture of sake, mirin, and miso, the meat becomes incredibly succulent while the sauce reduces into a glossy, umami-packed glaze. It is the ultimate pairing for a steaming bowl of white rice.
Ingredients
- 500 g pork belly
- 2 stalks green onion
- 3 slices ginger
- 2 tbsp cooking wine
- 100 ml sake
- 50 ml mirin
- 2 tbsp sugar
- 3 tbsp miso paste
- 2 tbsp soy sauce
- to taste water
Instructions
- 1Blanch the pork belly
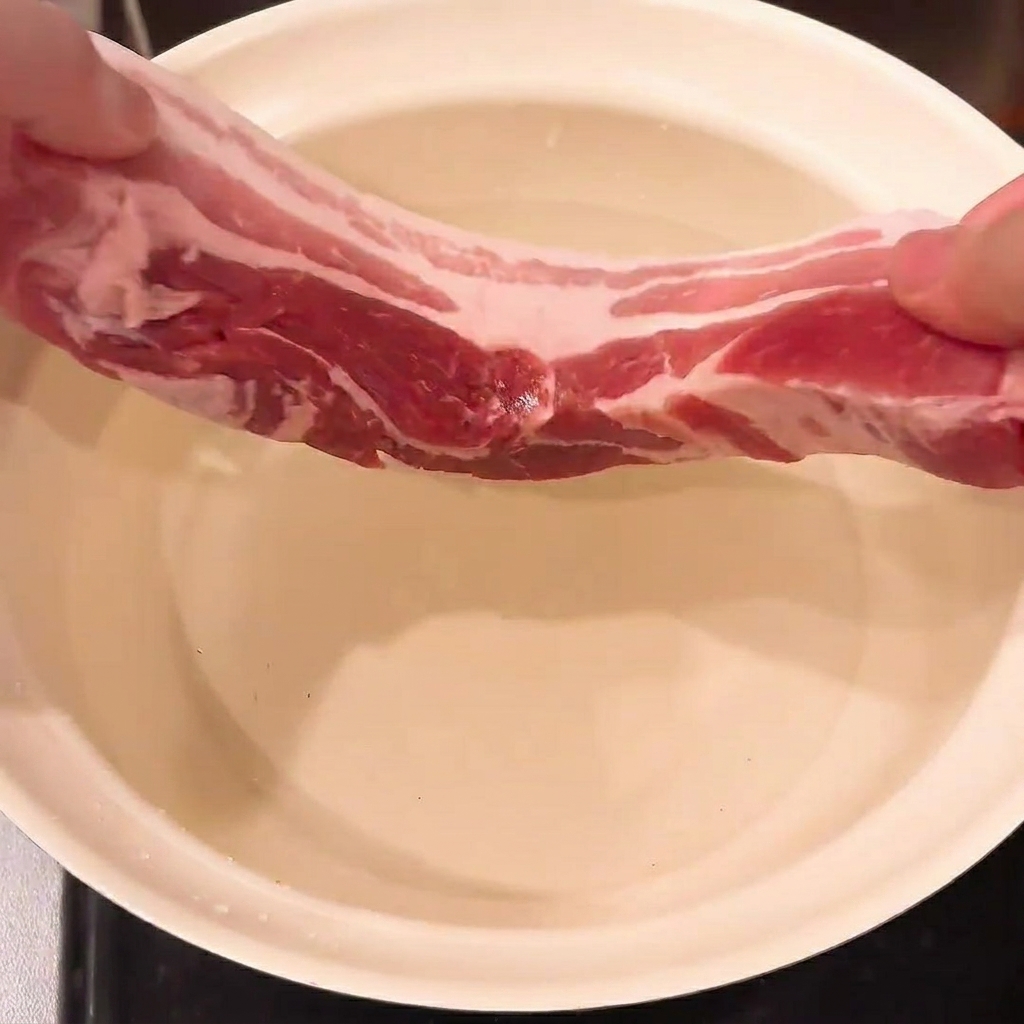
Place the pork belly into a pot filled with water, green onion, and ginger slices. Bring to a boil along with a splash of cooking wine to effectively blanch the meat and remove any impurities.
Tip: Blanching is essential for a clean-tasting broth; be sure to skim off any foam that rises to the surface. - 2Add cooking wine
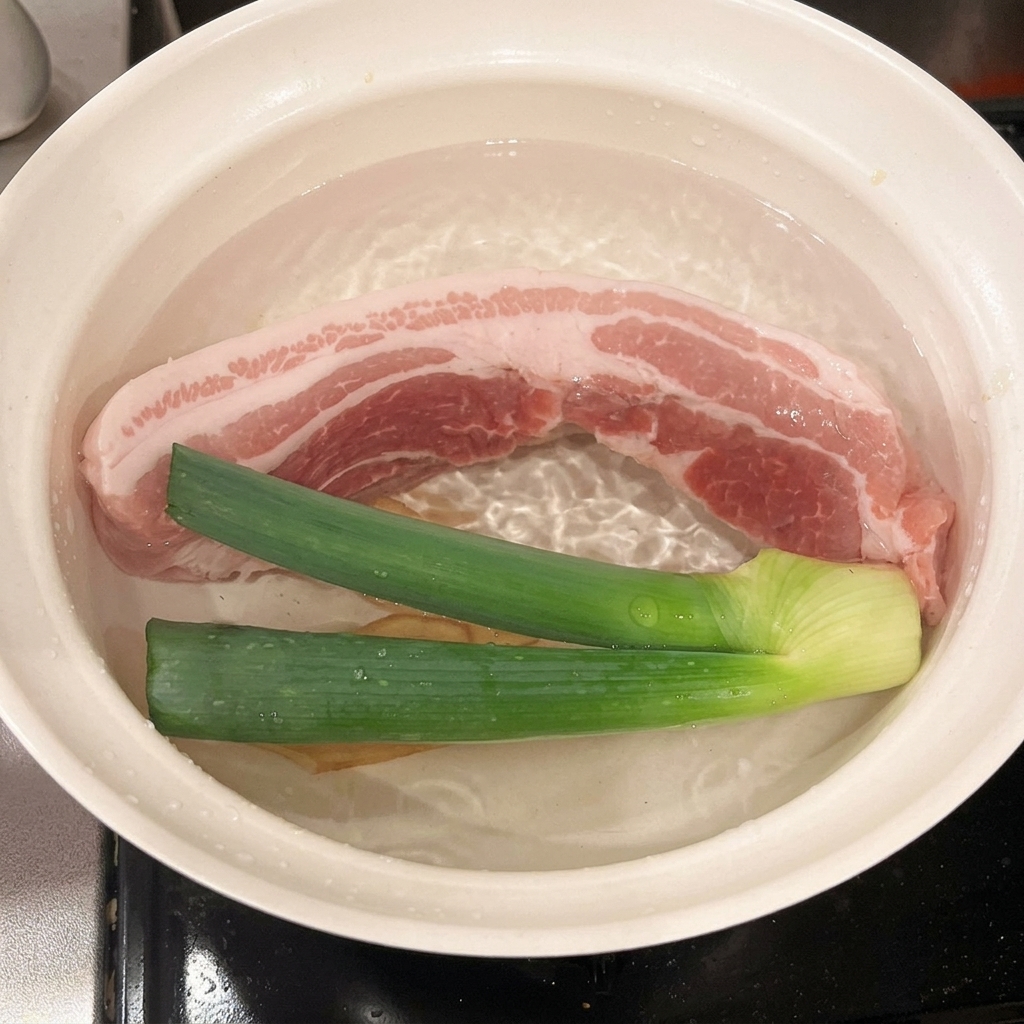
Pour cooking wine over the pork belly, green onion, and ginger in the pot. This helps to neutralize the natural scent of the pork during the blanching process.
Tip: The alcohol in the wine will evaporate while cooking, leaving behind only the depth of flavor. - 3Prepare the braising liquid
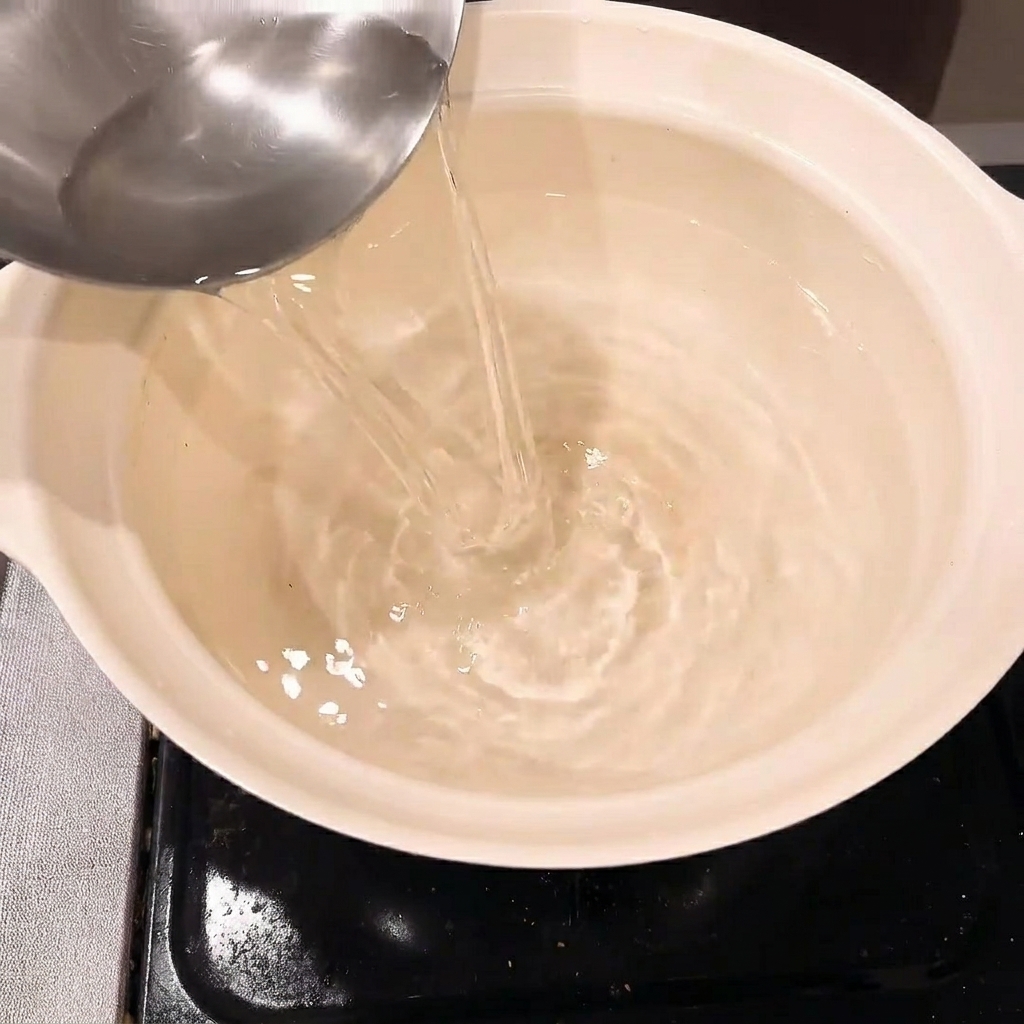
In a clean pot, combine water, sake, mirin, sugar, miso paste, and soy sauce. Whisk these ingredients together thoroughly to create a flavorful, savory-sweet braising base for the pork.
Tip: Ensure the miso paste is completely dissolved into the liquid to avoid any lumps in your sauce. - 4Add pork to the braise
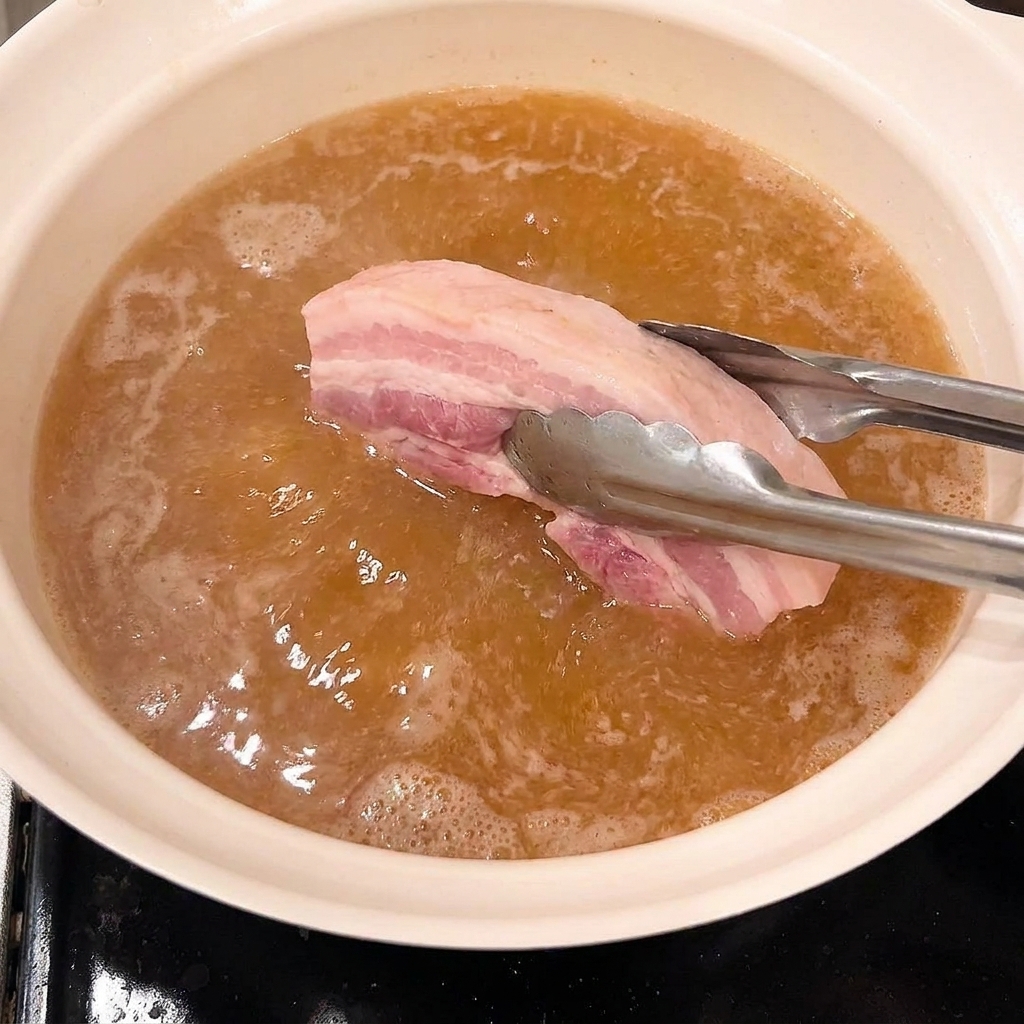
Carefully place the blanched pork pieces into the prepared braising liquid. Ensure the pieces are fully submerged so they can absorb the flavors evenly during the long cooking time.
Tip: Using tongs allows you to place the meat gently into the hot liquid without splashing. - 5Simmer the pork
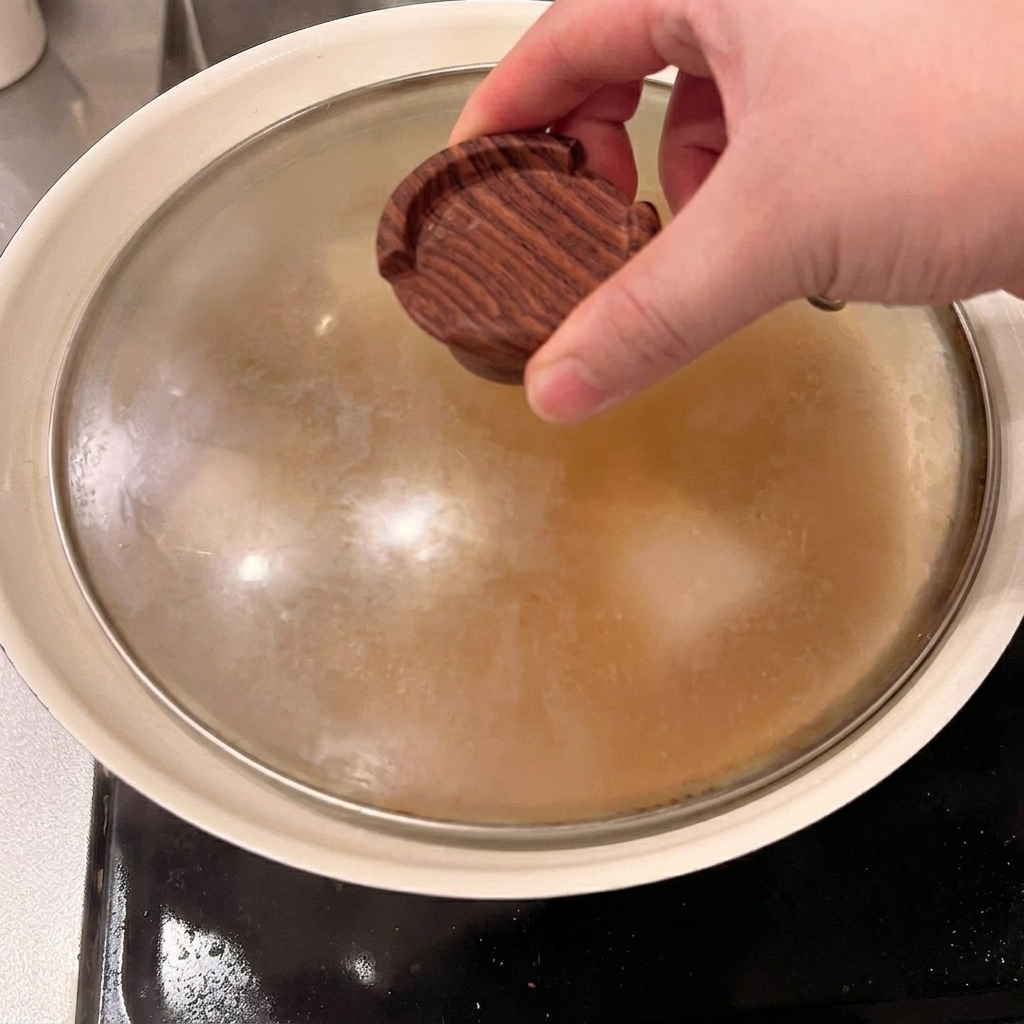
Cover the pot with a lid and set the stove to low heat. Allow the pork to simmer gently for approximately one and a half hours, which will tenderize the meat and infuse it with the miso-based sauce.
Tip: A tight-fitting lid is crucial here to keep the moisture in and ensure the pork cooks evenly. - 6Reduce the sauce
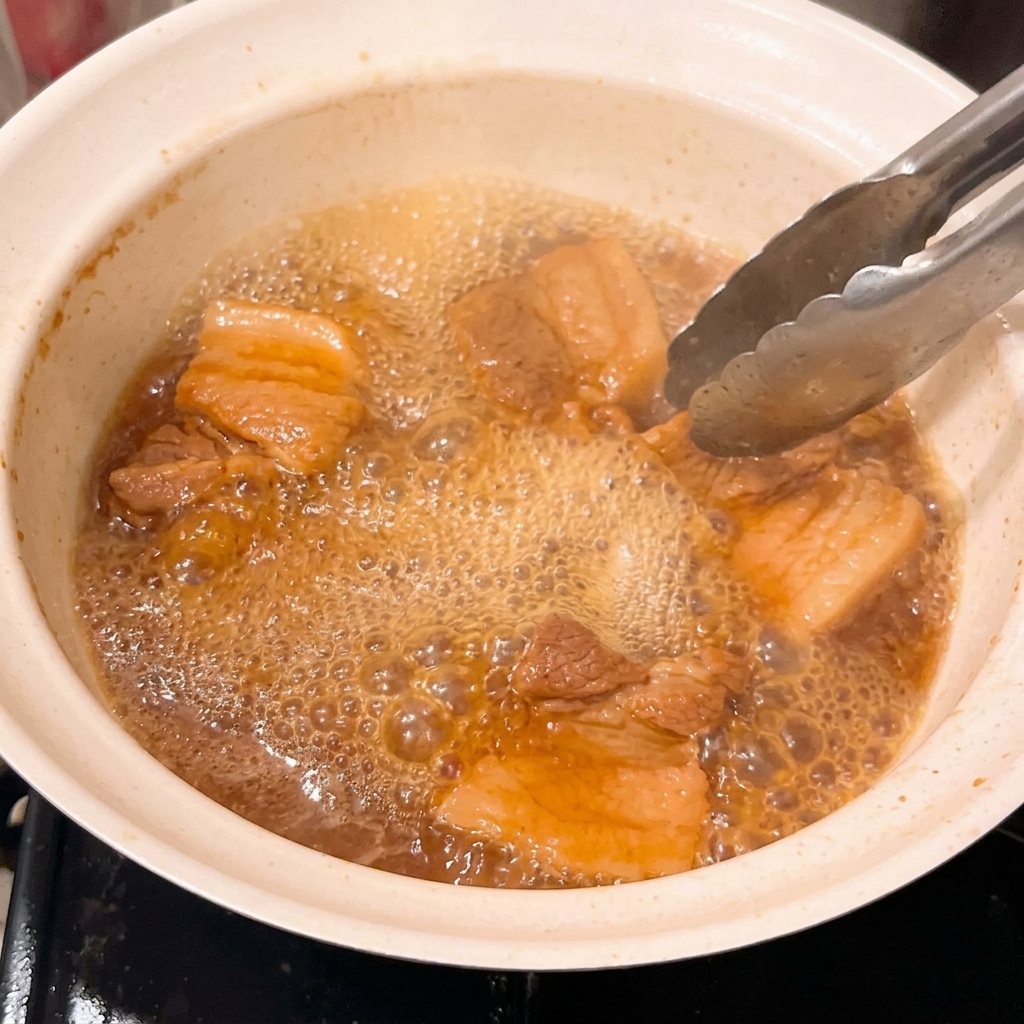
Remove the lid and increase the heat slightly if necessary to let the sauce bubble and reduce. Continue cooking until the sauce thickens and glazes the pork pieces perfectly.
Tip: Keep a close eye on the pot during the final reduction stage to prevent the miso sauce from burning.