Korean Grilled Rice Ball (Jumeok-bap)
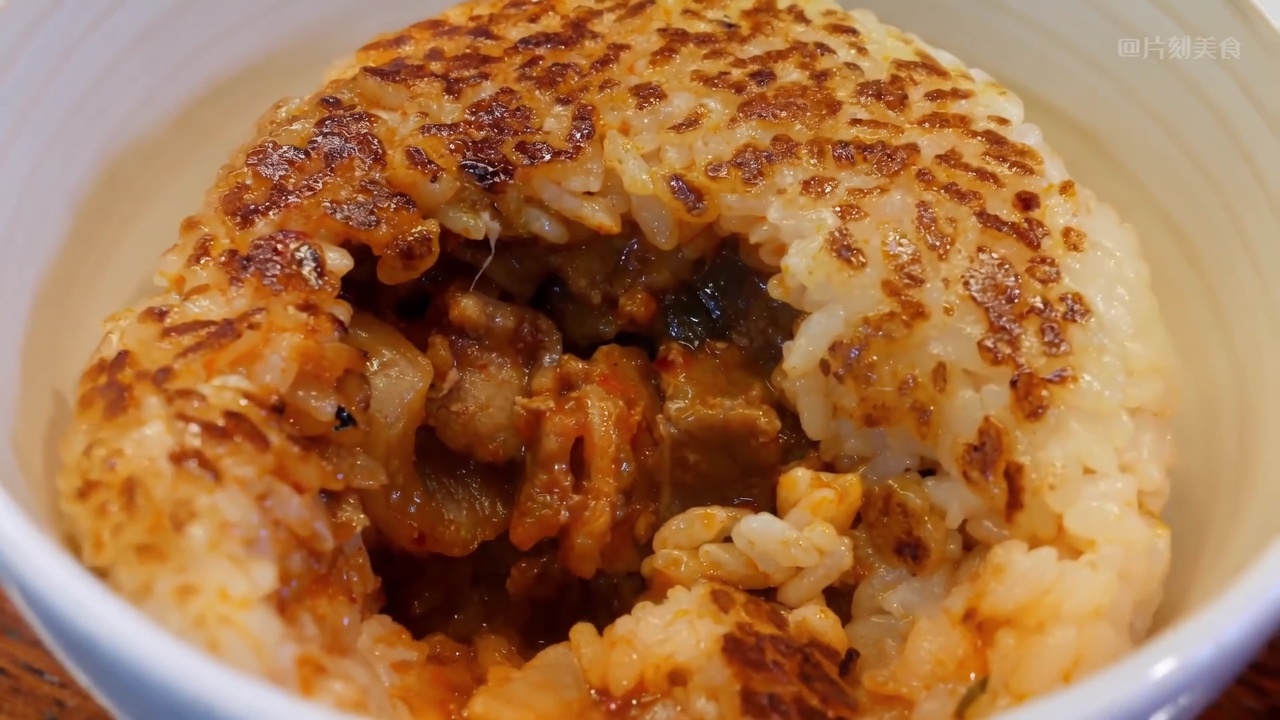
These savory, golden-brown rice balls feature a spicy kimchi and pork belly center, seared on a hot griddle for a satisfying, crispy crunch in every bite.
Jumeok-bap, or Korean rice balls, are a beloved comfort food, often transformed from a simple snack into a popular street food delicacy when grilled. By searing the rice on a griddle with a savory secret sauce, the exterior develops a golden, crunchy crust that perfectly contrasts the soft, chewy rice and the spicy, savory filling inside. It is an efficient, delicious, and deeply satisfying treat that captures the heart of Korean street-side culinary ingenuity.
Ingredients
- 500 g cooked sticky rice
- 150 g pork belly, finely chopped
- 150 g kimchi, chopped
- 2 tbsp secret savory sauce
- 1 tsp salt
- 1 tbsp toasted sesame seeds
- 4 sheets dried seaweed, cut into squares
Instructions
- 1Season the rice
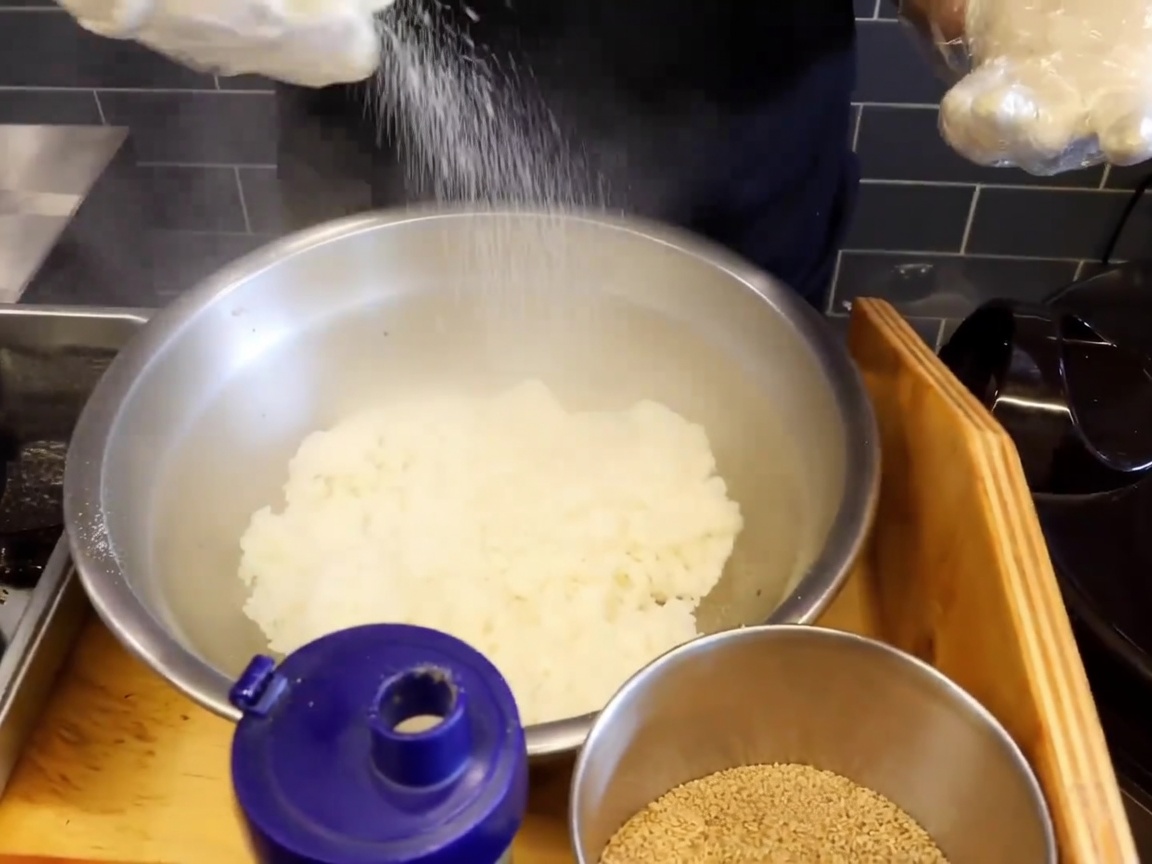
While the sticky rice is still steaming hot, the chef adds a generous amount of salt and sesame seeds directly over the rice in a large mixing bowl. This ensures the seasoning is evenly distributed for a balanced, savory flavor in every bite.
Tip: Seasoning while the rice is steaming hot helps the grains absorb the flavors more effectively. - 2Mix the rice
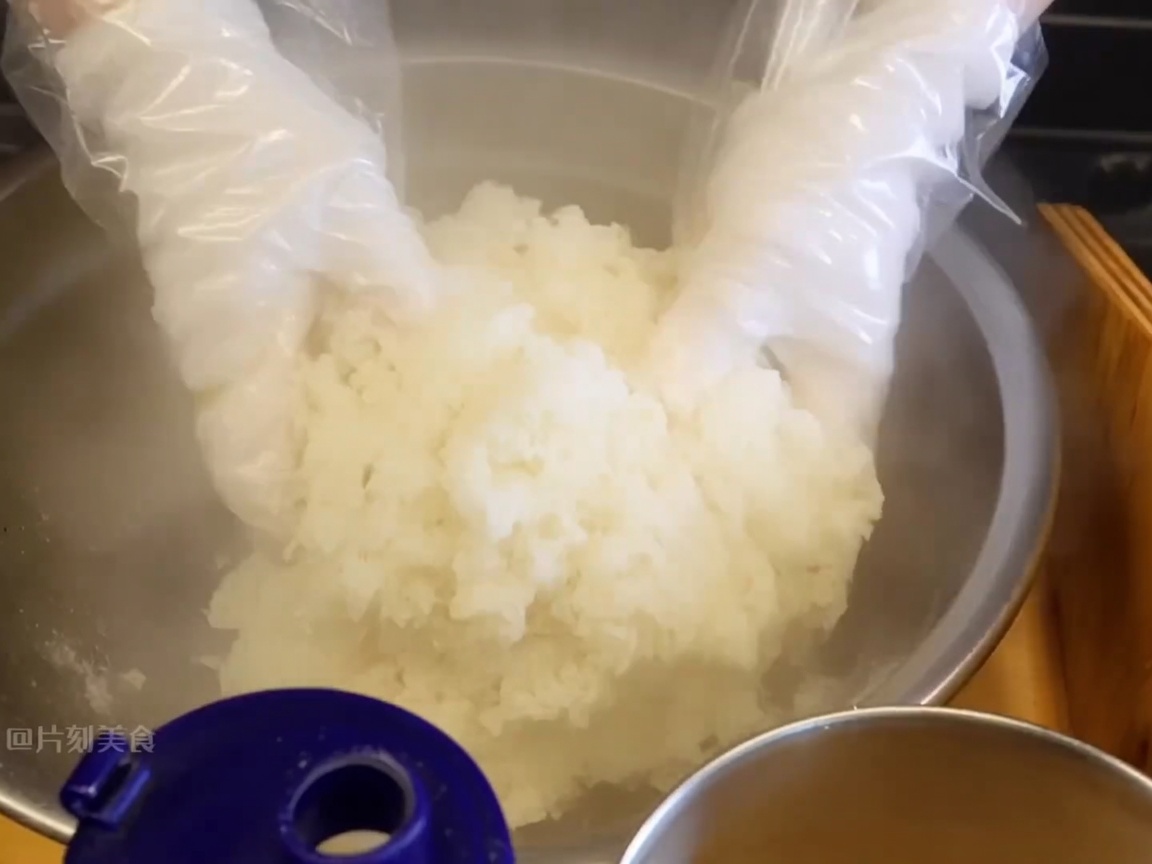
Wearing gloves for hygiene, the chef thoroughly mixes the hot rice with the salt and sesame seeds. He works quickly to incorporate the seasonings completely while the rice maintains its ideal temperature for shaping.
Tip: Using food-safe gloves allows for effective, rapid mixing while protecting hands from the heat of the freshly steamed rice. - 3Shape rice patties
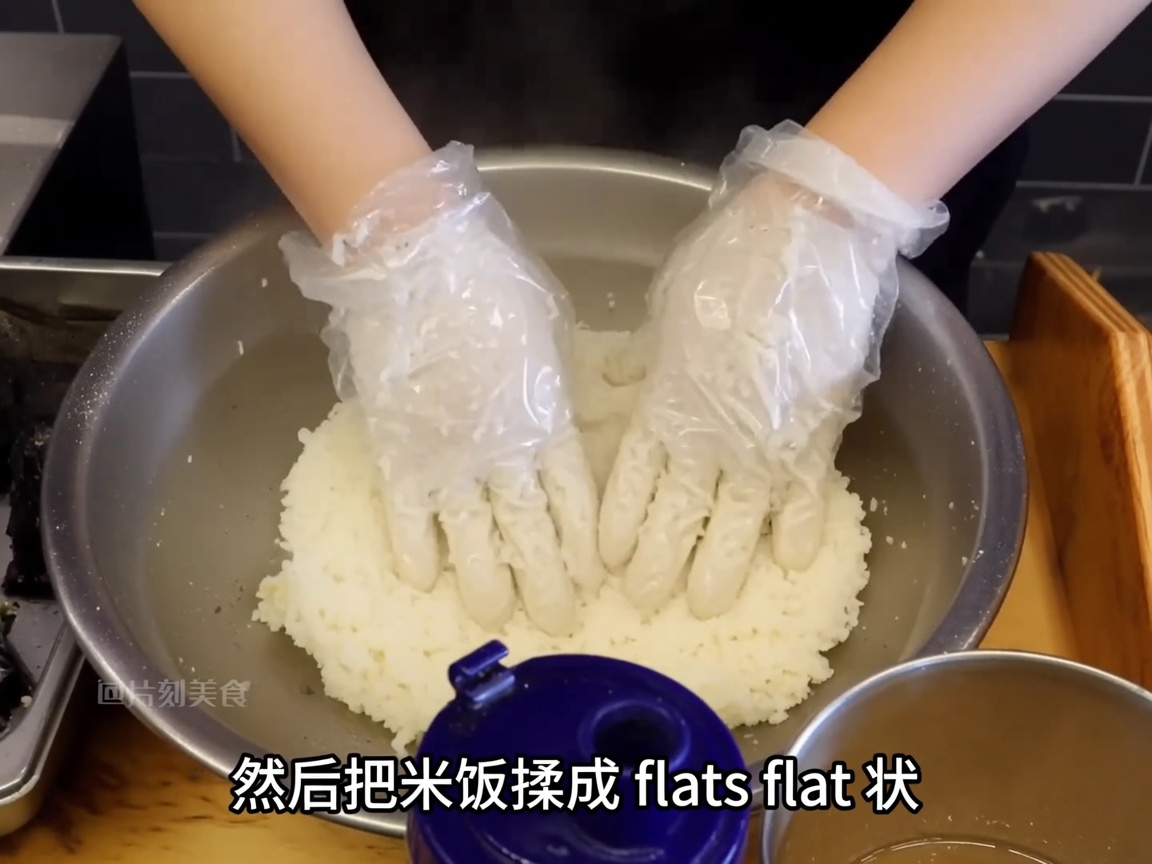
The chef takes portions of the seasoned rice and presses them between his gloved hands to form flat, round patties. These patties serve as the base for the kimchi and pork belly filling.
Tip: Keep your gloves slightly damp to prevent the sticky rice from adhering to them while you work. - 4Stuff the rice balls
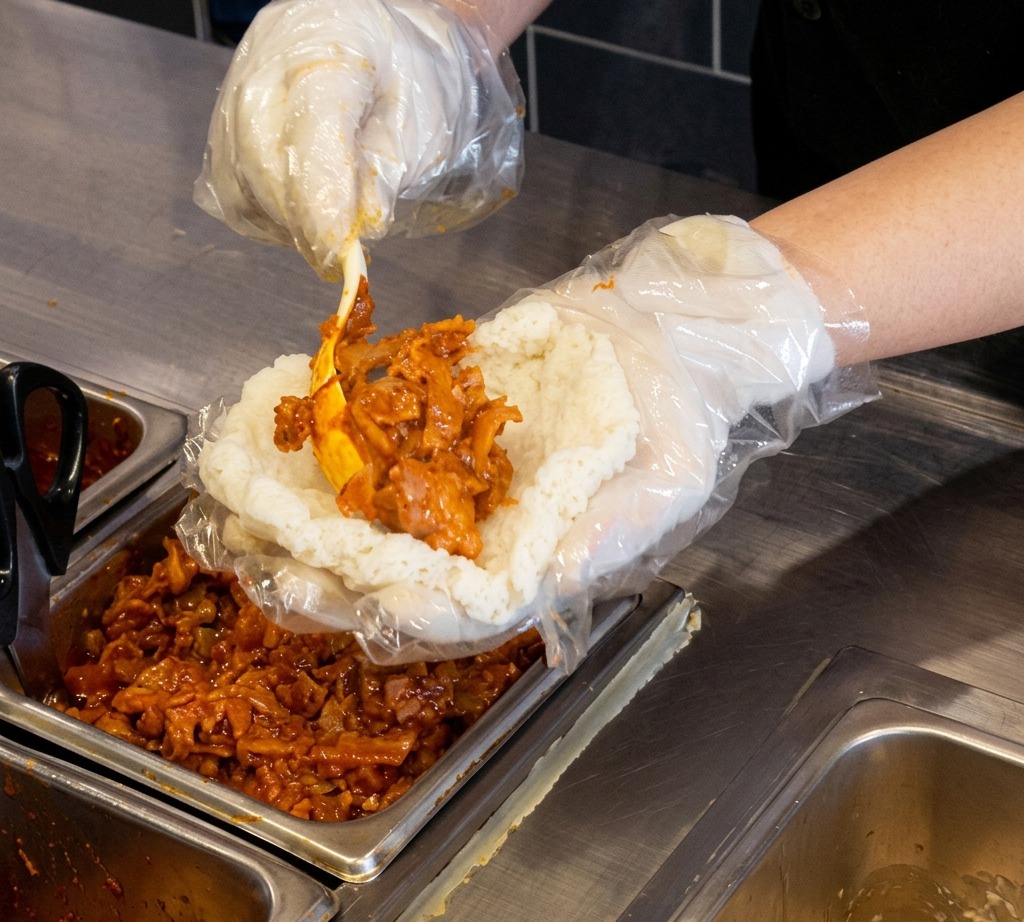
Using a spoon, the chef places a generous dollop of spicy kimchi and pork belly mixture onto the center of a rice patty. He then carefully folds the edges of the rice up and over the filling, sealing it completely to form a compact, stuffed rice ball.
Tip: Be careful not to overfill the patty, as it might become difficult to seal the rice properly. - 5Garnish with seaweed
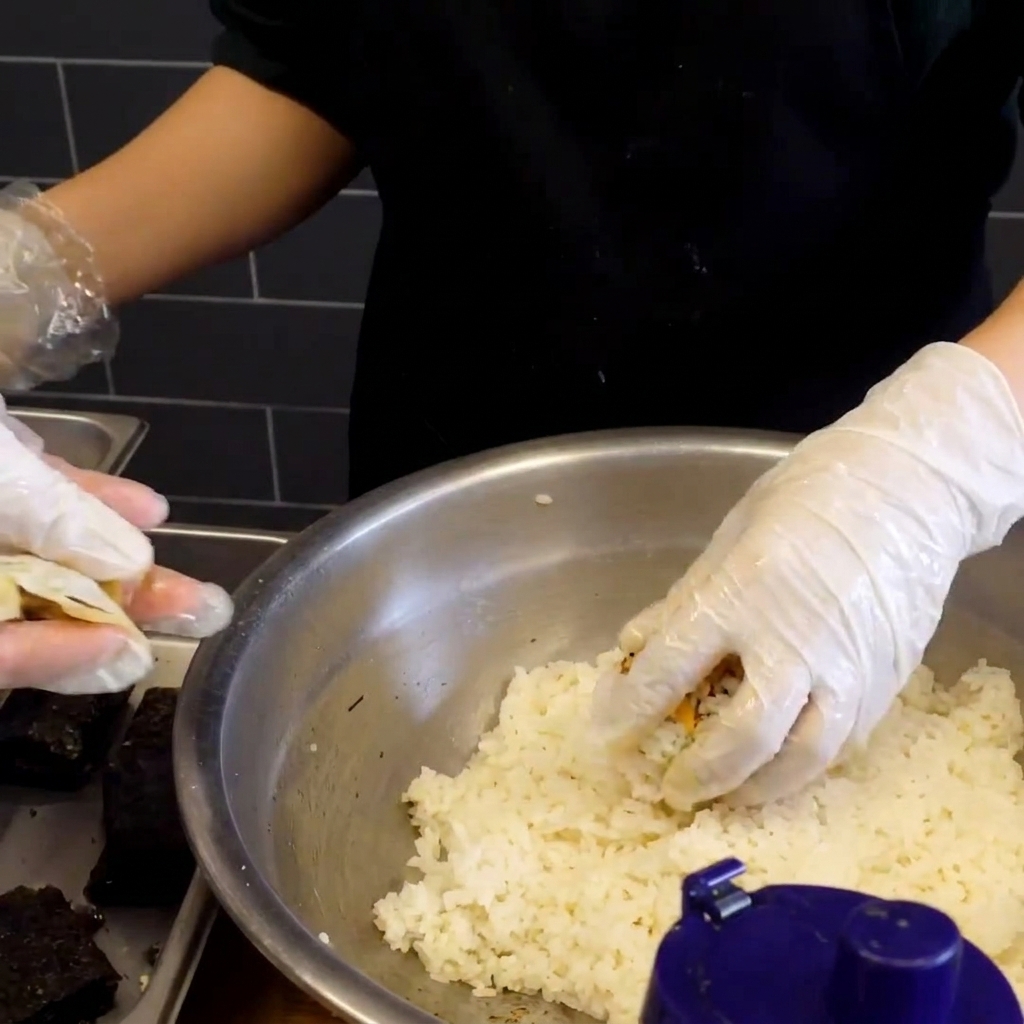
Once the rice ball is shaped and the filling is sealed, the chef attaches a small, crisp square of dried seaweed to the side of the rice ball. The seaweed adds a contrasting texture and a savory, umami-rich flavor to the finished dish.
Tip: Applying the seaweed just before the final grilling step helps it stay crisp and prevents it from getting too soggy. - 6Glaze and grill
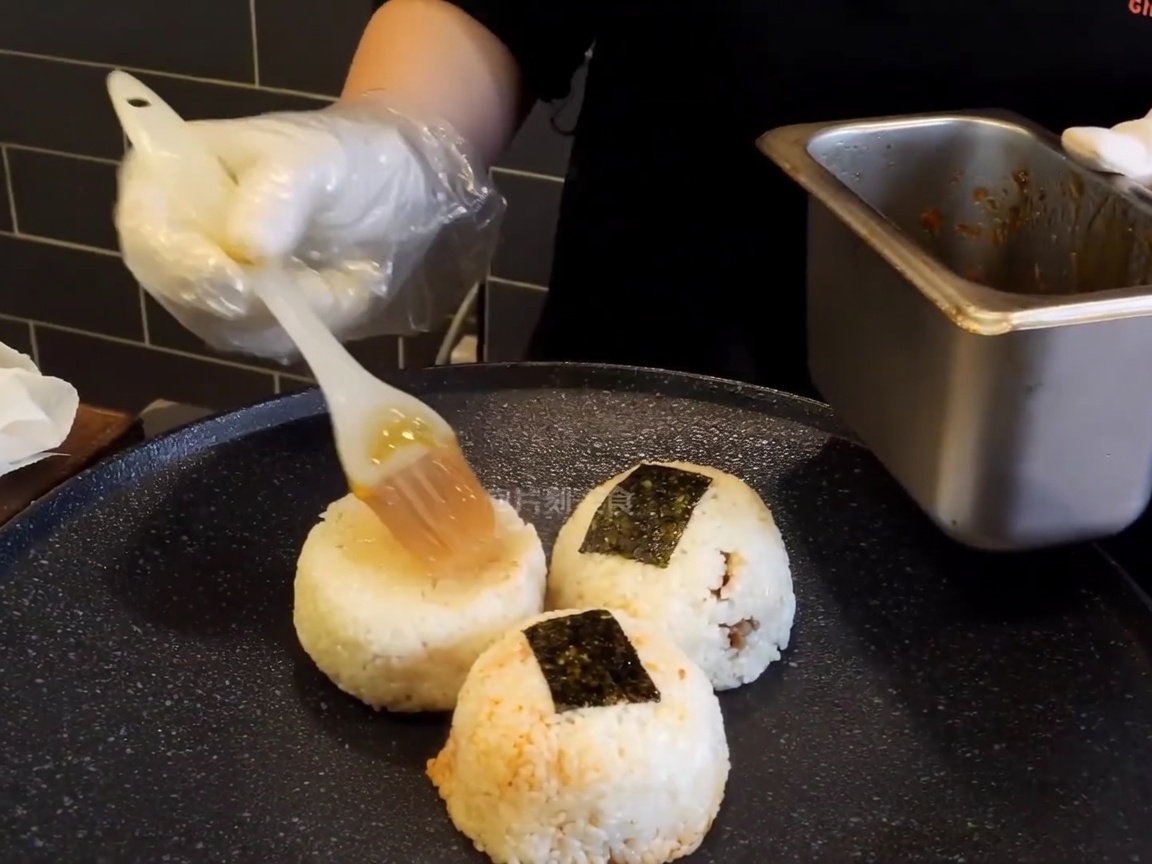
The chef places the rice balls onto a hot griddle and brushes each one with a generous layer of savory secret sauce. The sauce caramelizes as it hits the hot griddle, creating a golden, crispy, and flavorful crust on the rice.
Tip: Ensure the griddle is hot before adding the rice balls to get that perfect, charred, crunchy exterior. - 7Sear the rice balls
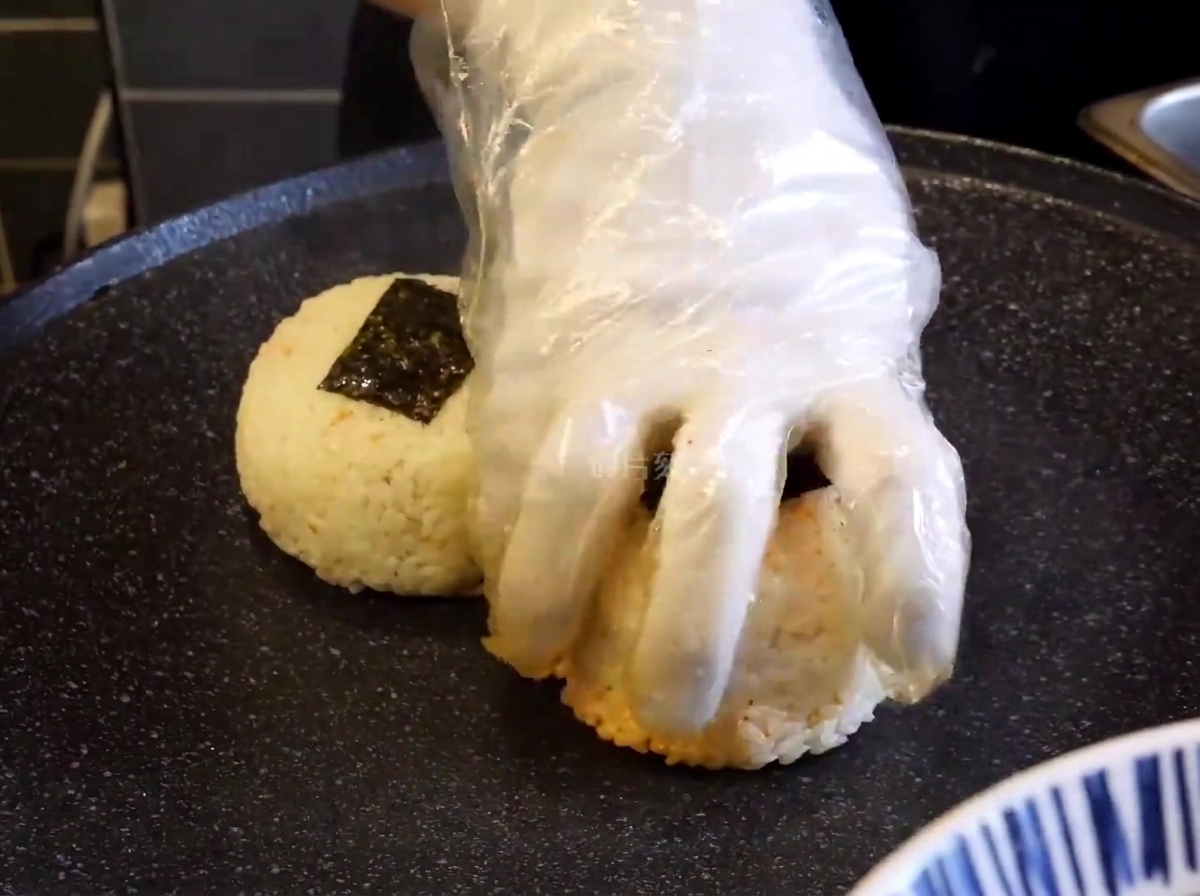
Place the shaped rice balls onto a preheated griddle. Use your hand, protected by a plastic glove, to press down firmly on each ball. This ensures even contact with the heat source, allowing the secret sauce to caramelize and the rice to develop a golden, crispy, and crunchy crust.
Tip: Apply steady, firm pressure to ensure the entire surface browns evenly for that signature texture.