Red Wine Glazed Pork Belly
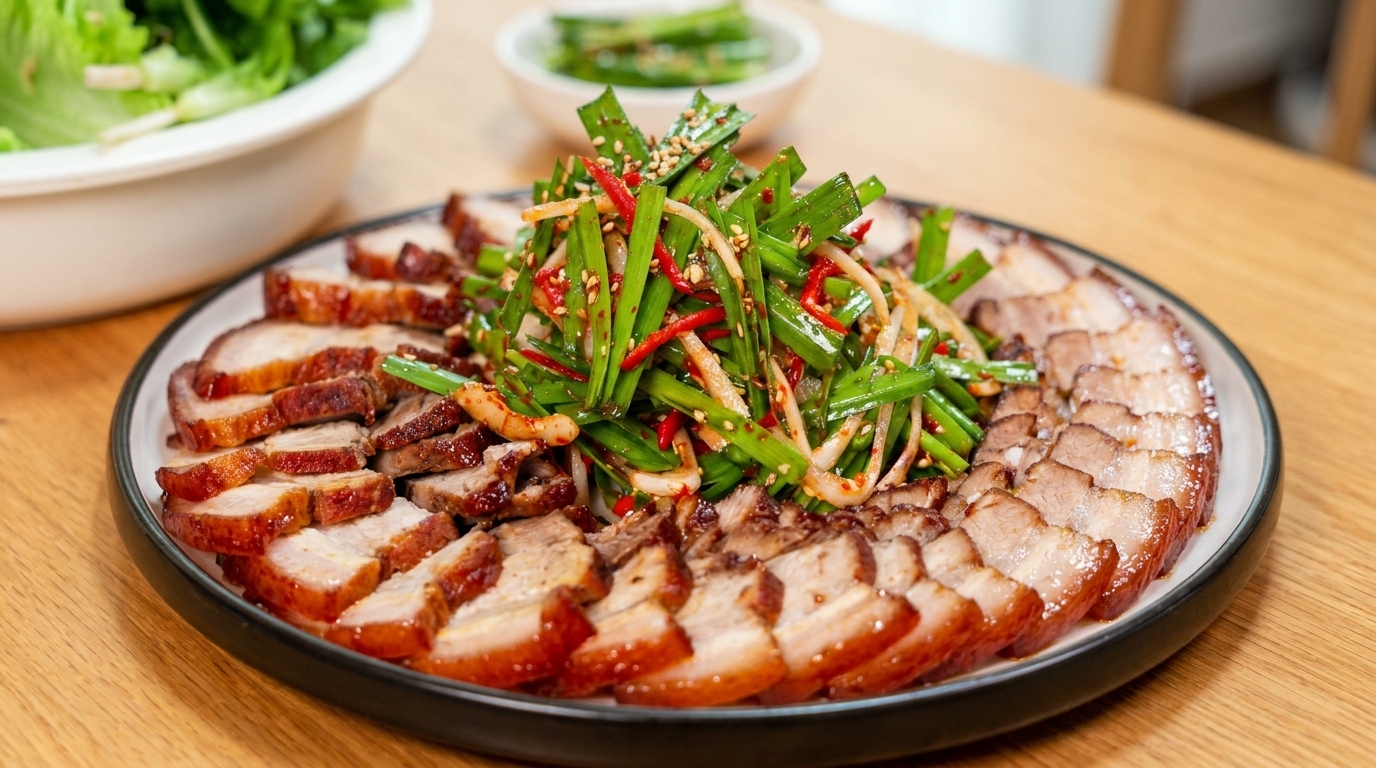
Elevate your pork belly with this aromatic red wine reduction. Pan-seared until golden and braised in a savory, glossy sauce, it is a masterclass in texture.
This Red Wine Pork Belly is a sophisticated twist on a classic comfort dish, bringing together the deep, complex notes of red wine with the savory, melting richness of slow-cooked pork. The process of pan-searing the belly first creates a wonderful foundation of flavor, while the addition of aromatics like star anise and ginger ensures the final glaze is perfectly balanced and fragrant. It is an ideal dish for those who appreciate the harmony between chewy, caramelized edges and tender, succulent meat.
Ingredients
- 500 g pork belly
- 150 ml red wine
- 100 ml mirin
- 6 tbsp soy sauce
- 2 tbsp honey
- 150 ml water
- 1 tsp ginger powder
- 1 whole star anise
- 1 whole onion
- 3 stalks green onions
- 1 whole red chili
- 5 cloves garlic
- optional fresh coriander
Instructions
- 1Sear the pork belly
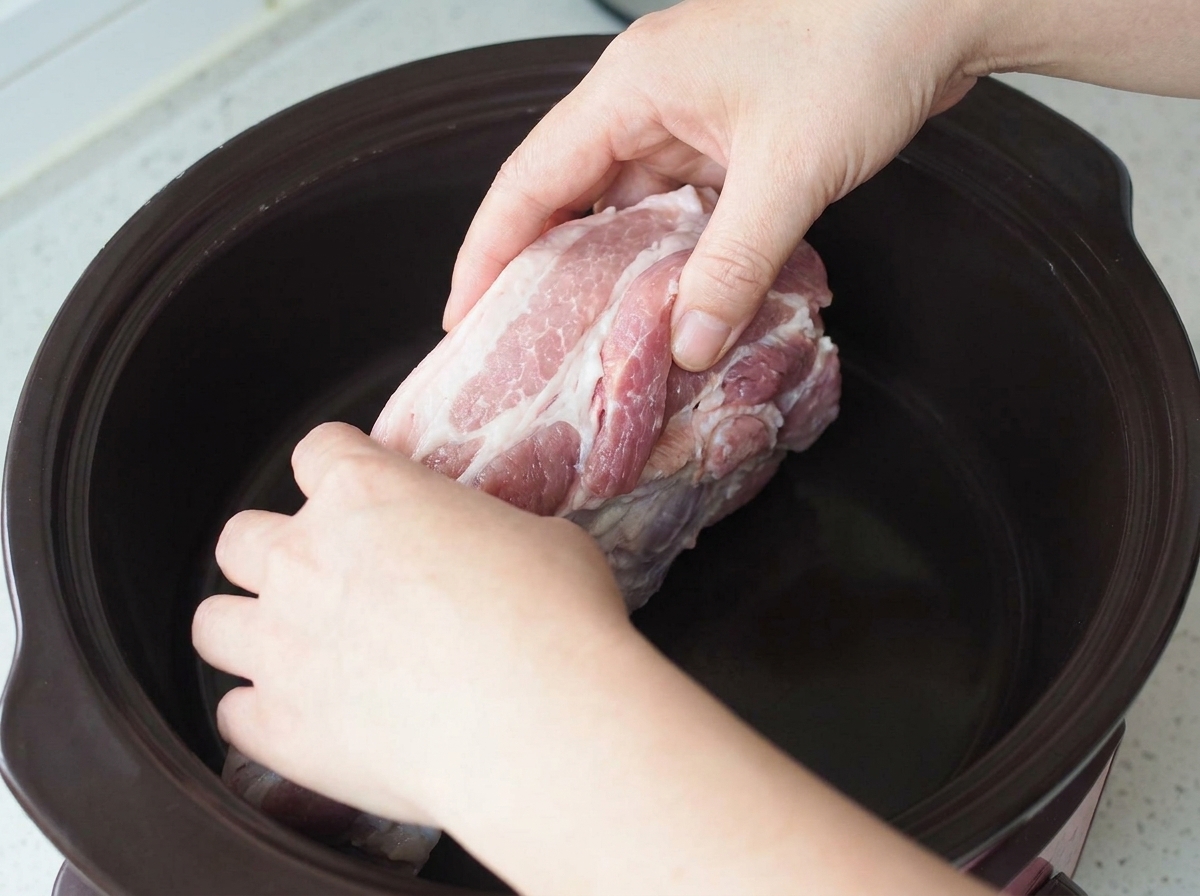
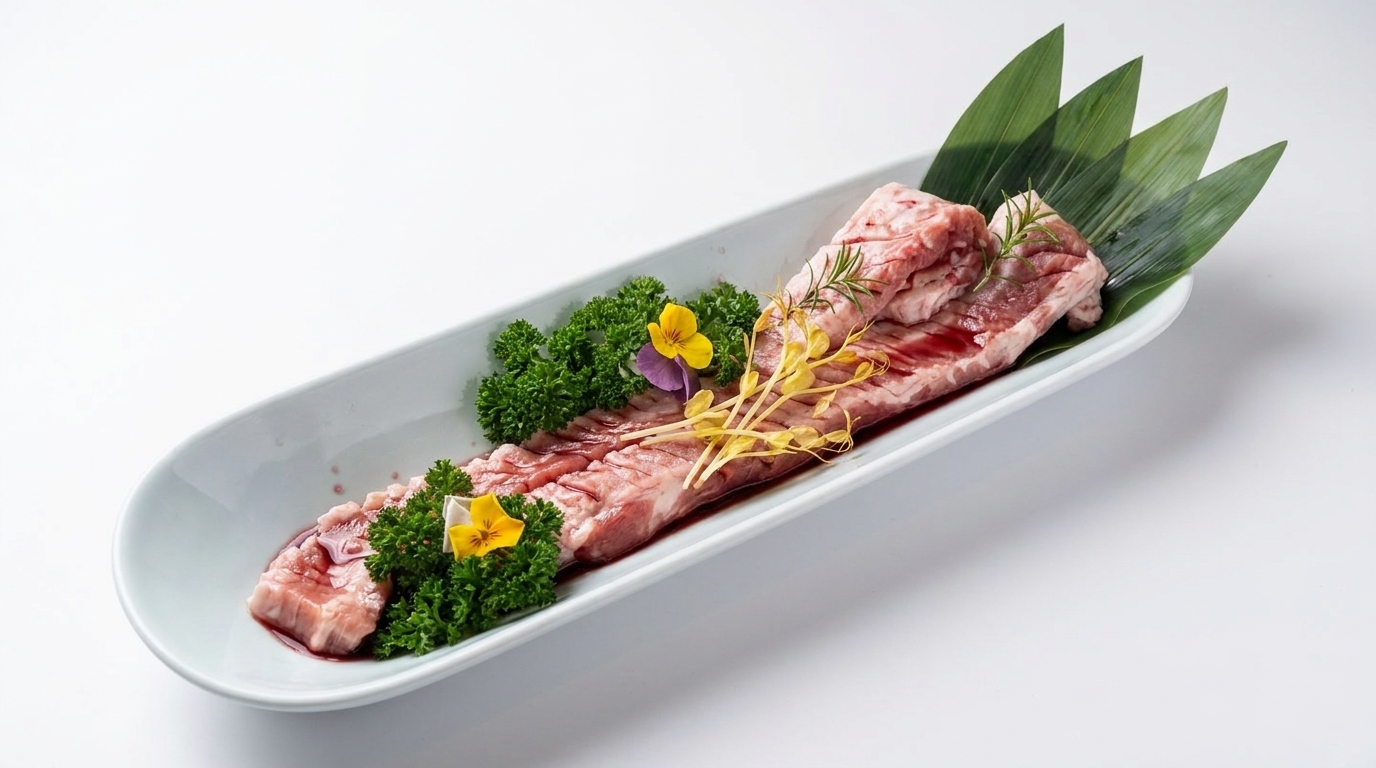
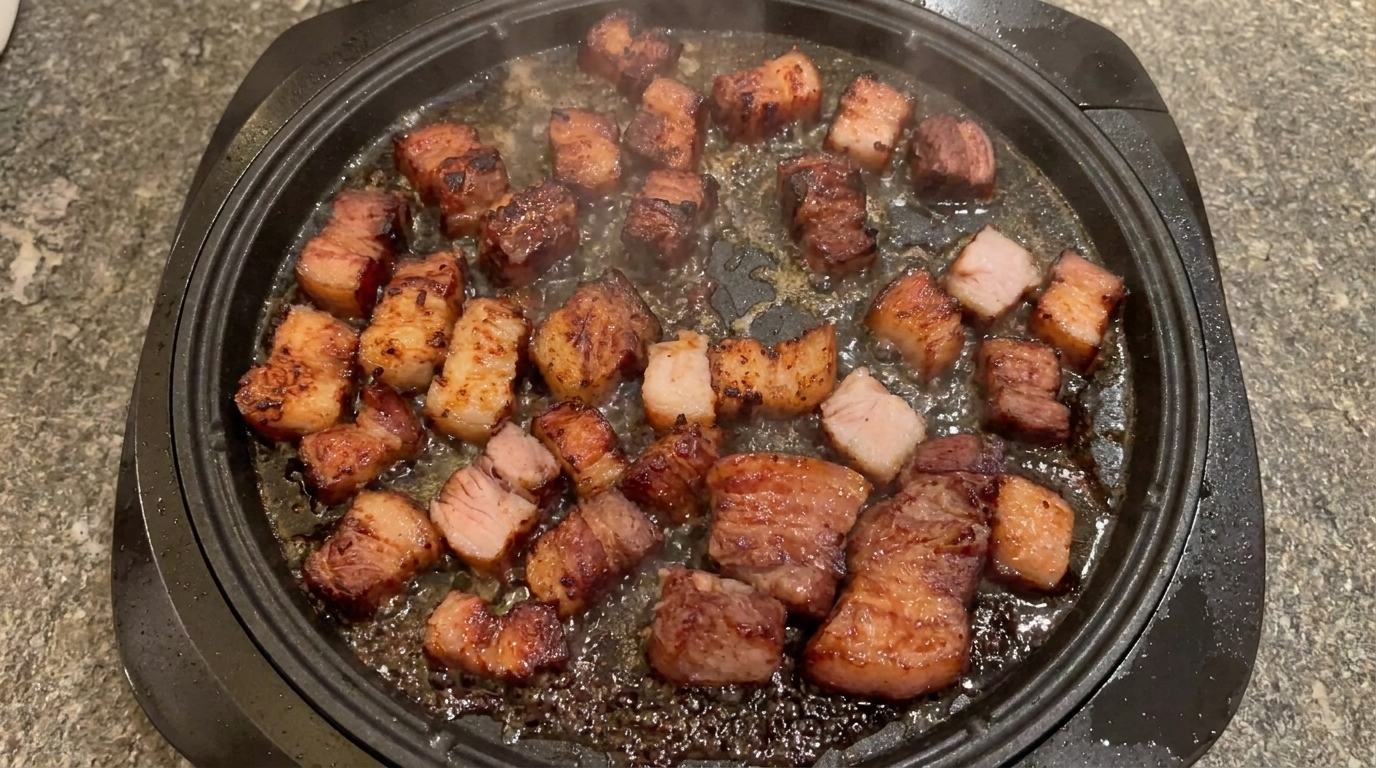
Begin by placing the clean, flour-washed raw pork belly strips into a pan. Pan-fry the meat over medium heat to slowly render the fat and develop a nice golden brown crust on the outside.
Tip: If your pork belly piece is very wide, you can cut it into narrower strips to make it easier to handle and cook evenly. - 2Prevent Oil Splatters
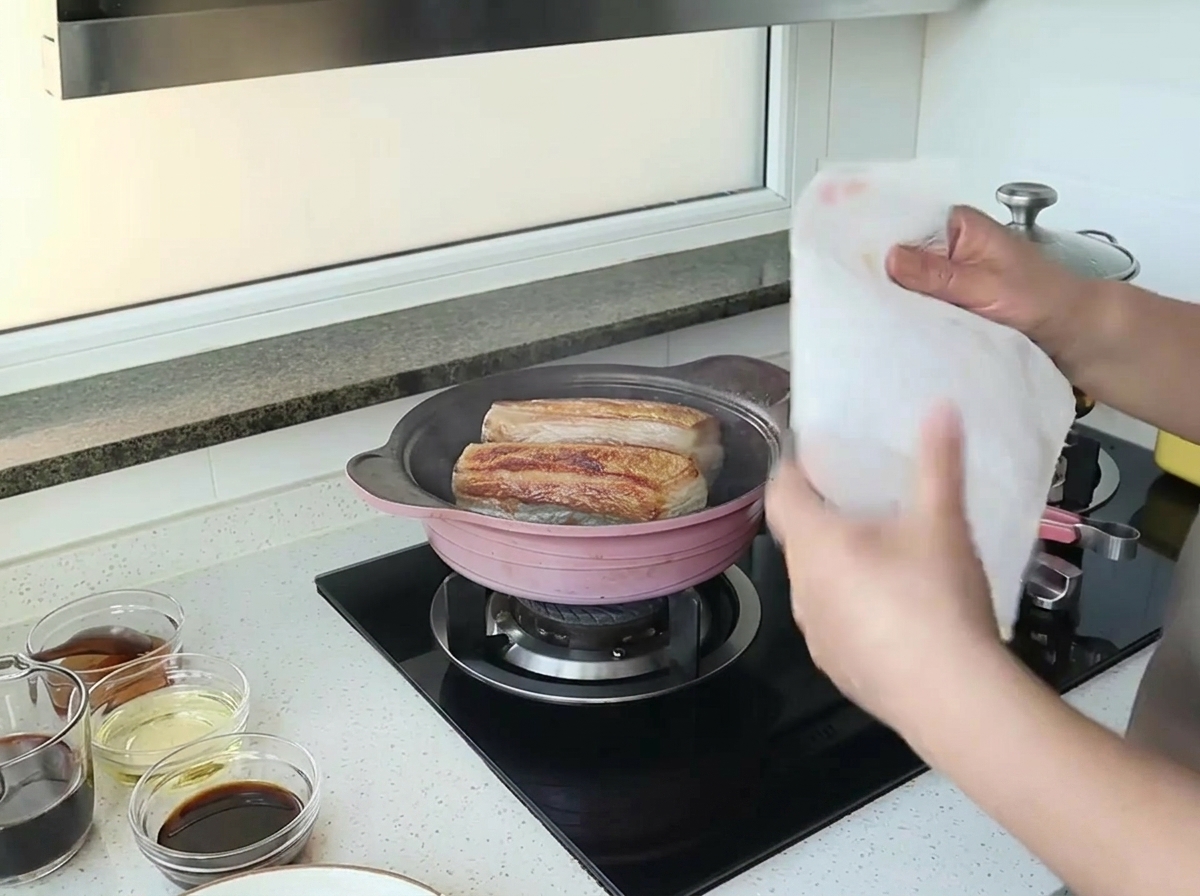
Place a sheet of kitchen paper towel over the pan while searing the pork belly. This simple trick catches the splattering oil while allowing steam to escape, ensuring the pork belly browns nicely without creating a mess on your stovetop.
Tip: Avoid covering the pan completely with a tight lid, as this traps steam and will boil the meat rather than searing it. - 3Remove the browned pork
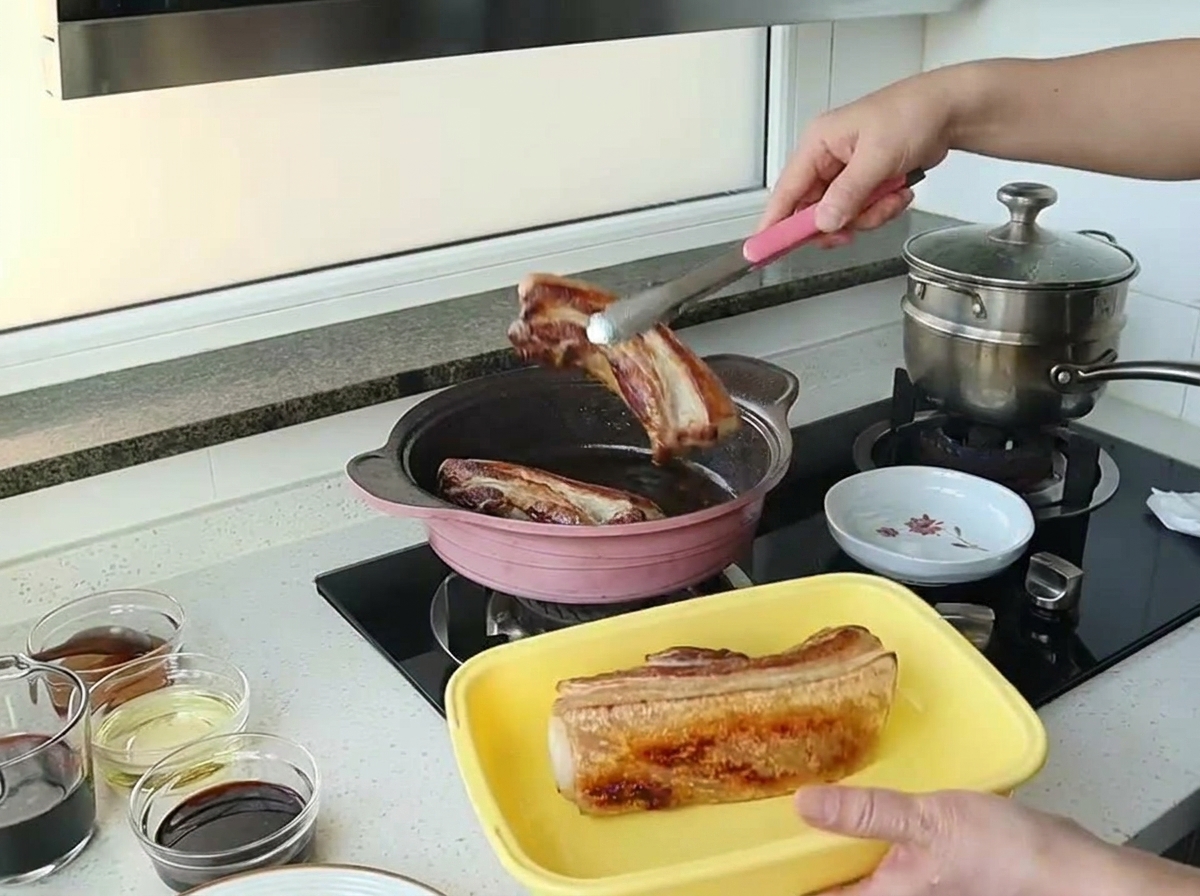
Once the pork belly has pan-fried to a deep golden brown color on all sides, use tongs to carefully remove the meat from the pan and set it aside.
Tip: Achieving a rich golden brown crust is crucial as it adds deep flavor and better texture to the final braised dish. - 4Wipe the pan
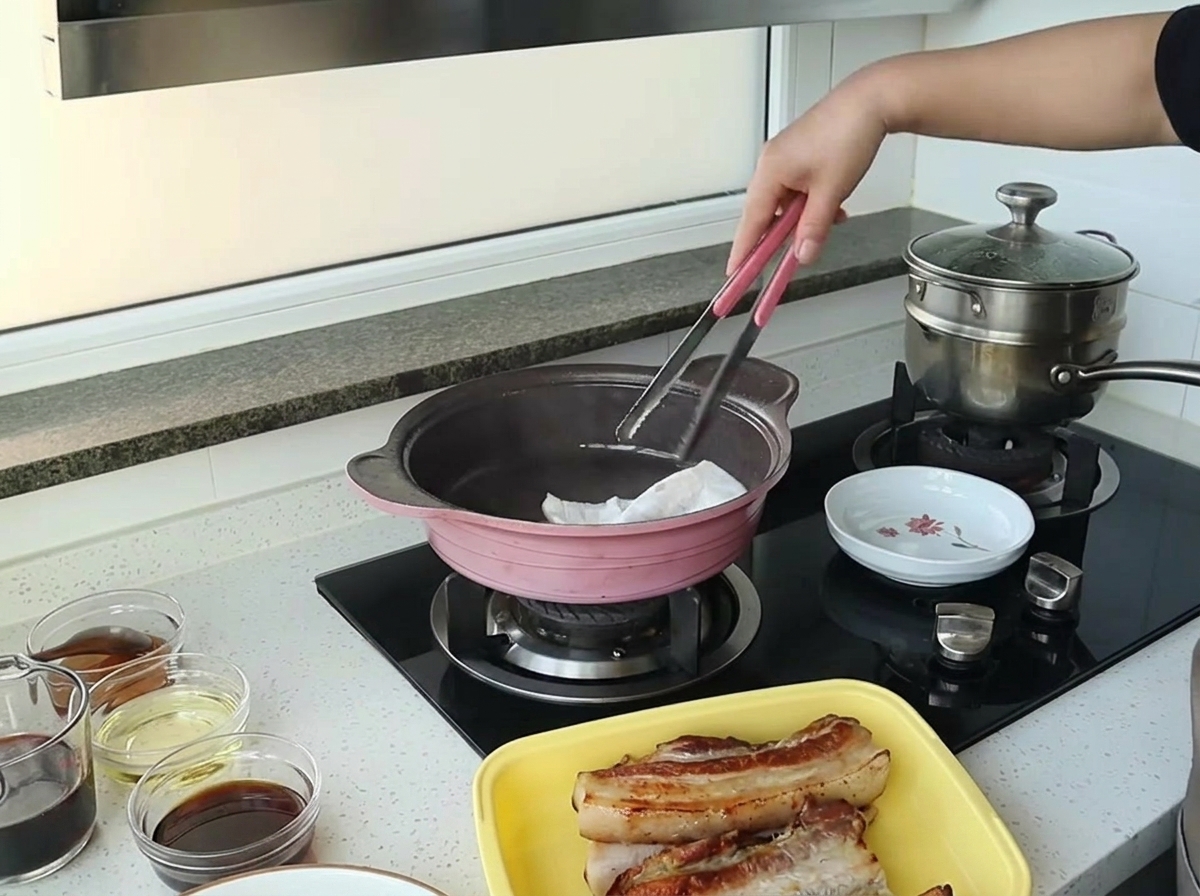
After searing the meat, there will be excess rendered fat left in the pan. Use tongs to grip a piece of kitchen paper towel and carefully wipe out the excess oil to prevent the sauce from becoming overly greasy.
Tip: Leave just a thin layer of oil in the pan to sauté the aromatics in the next step. - 5Sauté the aromatics
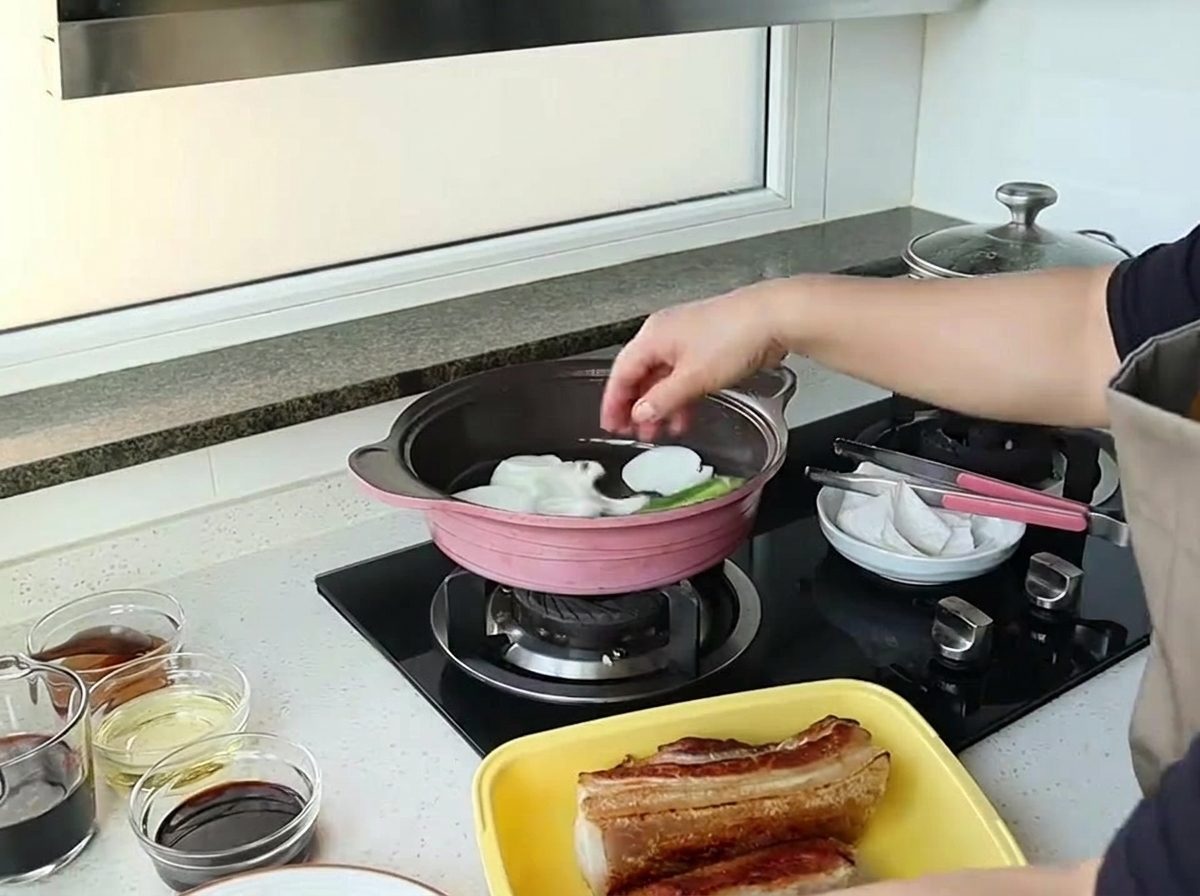
Cut the onions into large chunks and add them into the pan. Toss in the green onions as well, and fry everything gently until the aromatics soften and become fragrant.
Tip: Using the same pan allows the aromatics to pick up the rich, savory pork flavor left behind from searing the meat. - 6Add the braising liquids
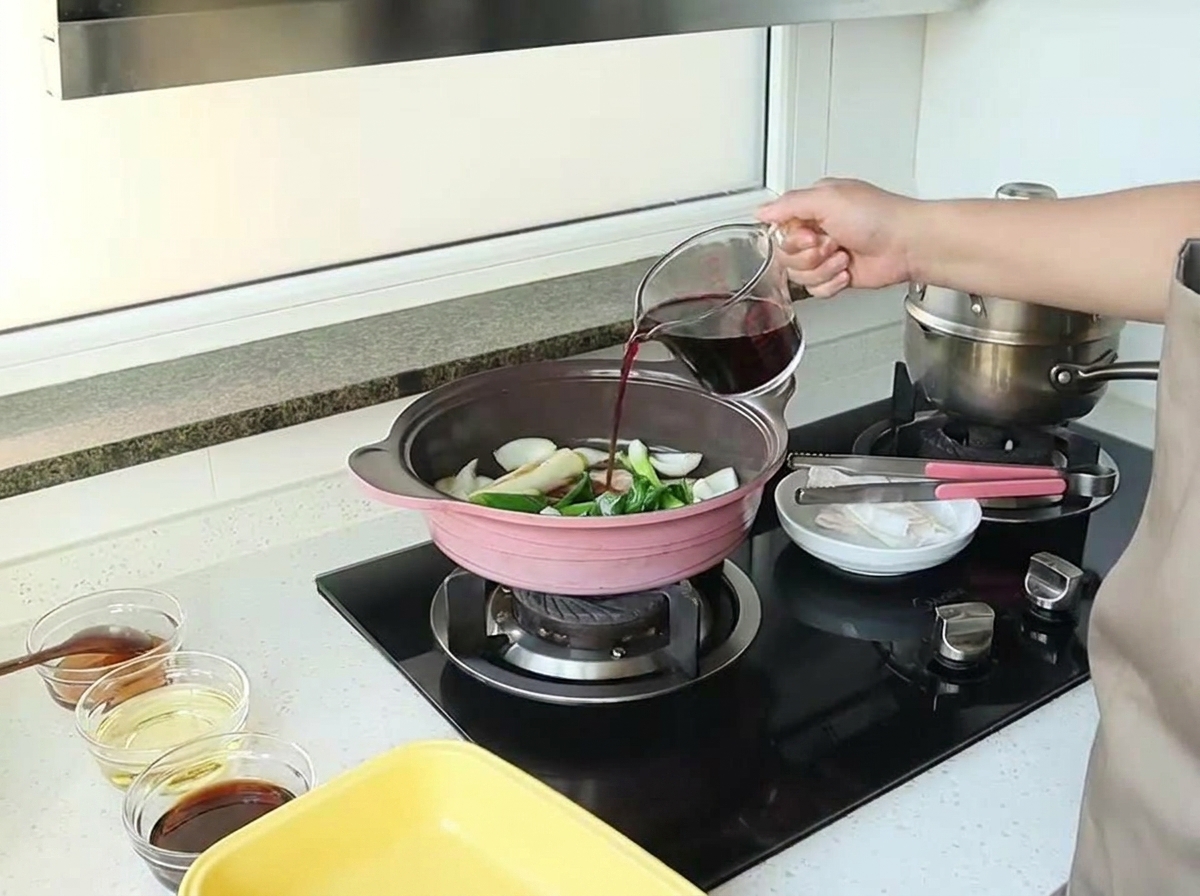
Pour in the braising liquids, starting with 150ml of red wine, followed by 100ml of mirin, 6 spoons of soy sauce, 2 spoons of honey, and 150ml of water. This mixture creates the rich, flavorful base for the sauce.
Tip: Red wine not only adds a beautiful color to the pork but also helps tenderize the meat while providing a unique depth of flavor. - 7Add Honey
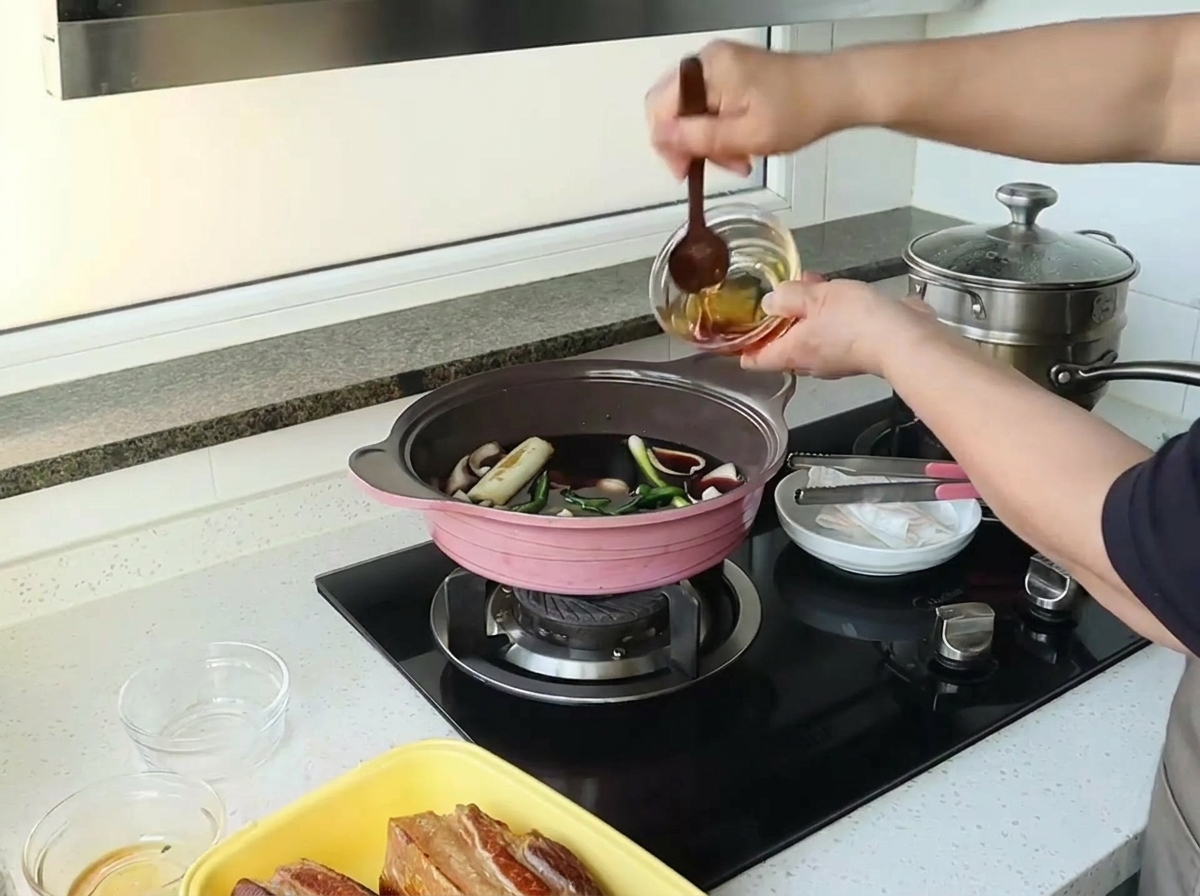
Pour the honey into the pan with the soy sauce, mirin, water, and aromatics. The honey adds a rich sweetness that balances the savory soy sauce and helps create a glossy, thick glaze as the liquid reduces later on.
Tip: You can adjust the amount of honey based on your preference for a sweeter or more savory braise. - 8Season the Braising Liquid
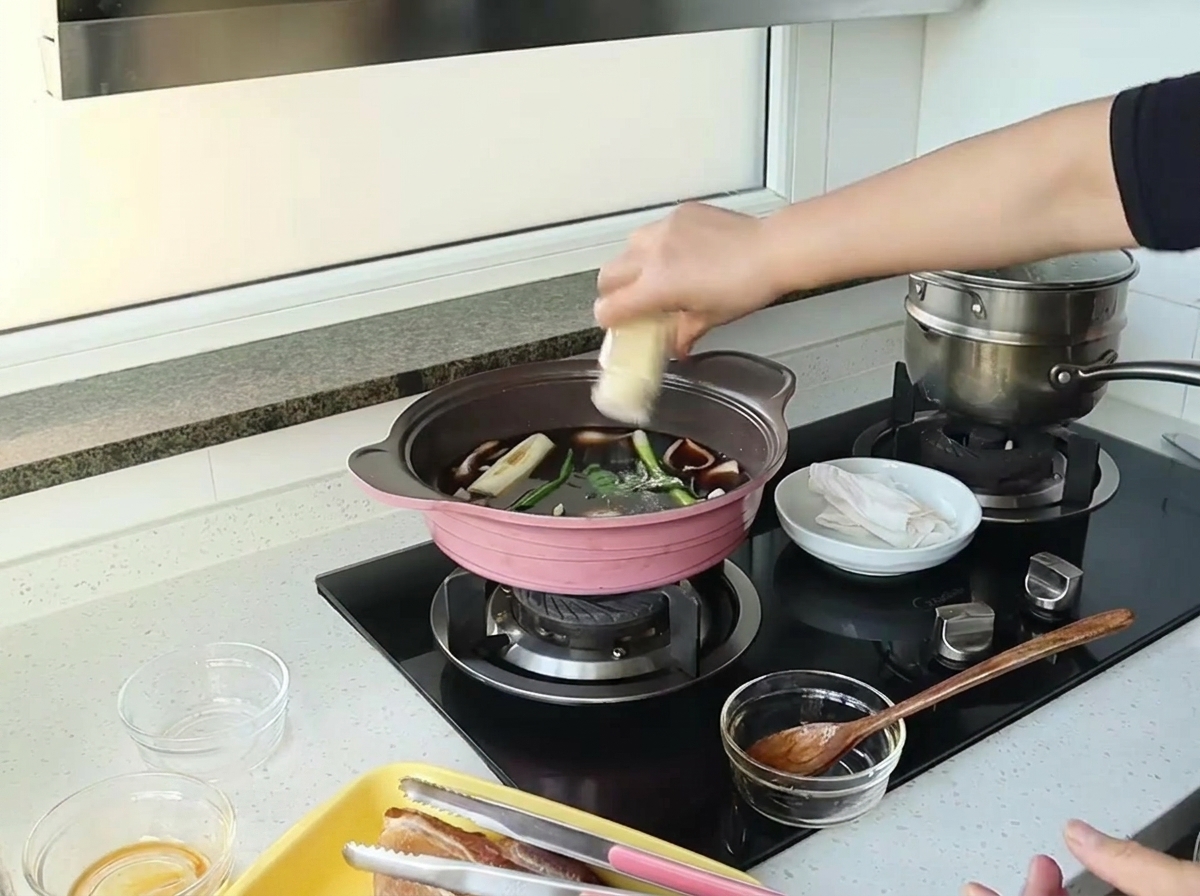
Sprinkle ginger powder and add a star anise into the braising mixture. These spices infuse the liquid with warm, earthy notes that pair perfectly with the red wine and pork belly, neutralizing any meaty odors.
Tip: If you dont have ginger powder, fresh ginger slices work just as well and can be added earlier with the onions. - 9Return Pork to the Pan
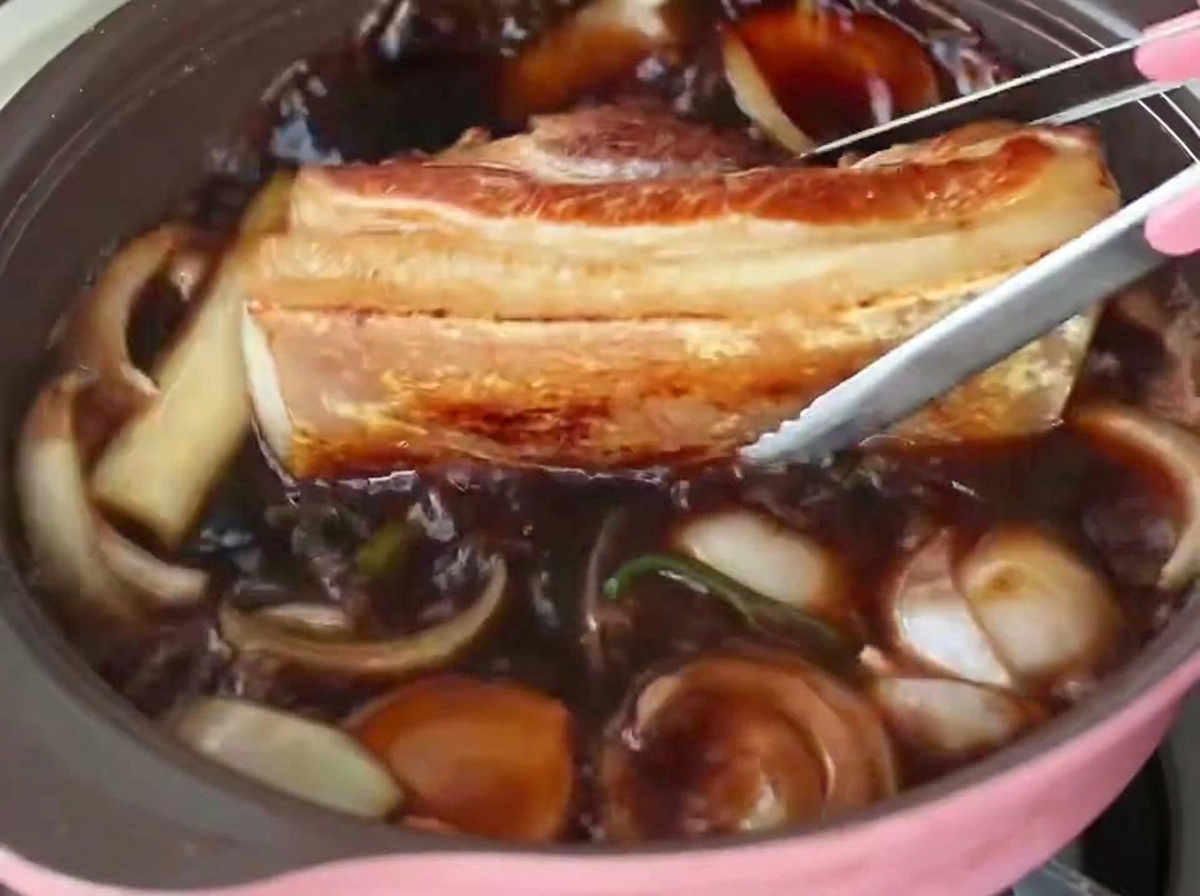
Use tongs to gently lower the seared pork belly pieces back into the bubbling braising liquid. Ensure the meat is nestled among the aromatics so it can absorb the flavors evenly as it simmers.
Tip: Keep the heat at a steady simmer to slowly tenderize the meat without boiling it too aggressively. - 10Flip to Cook Evenly
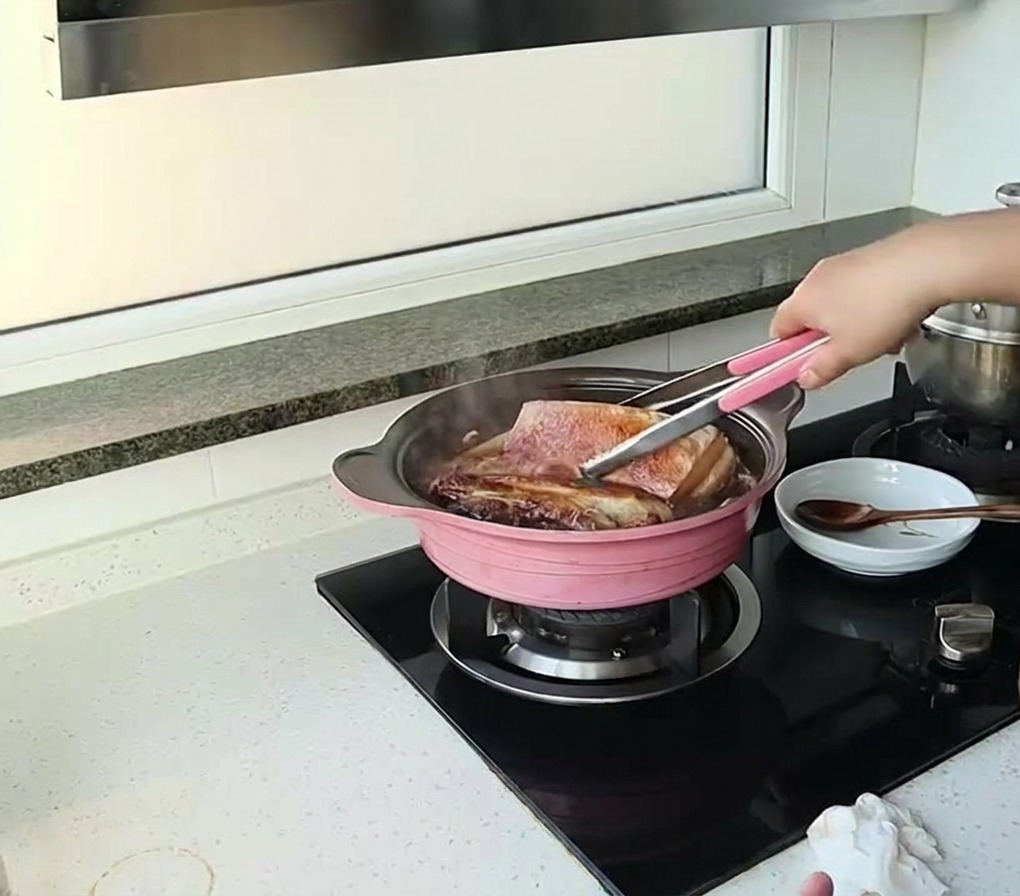
As the pork belly simmers, periodically use tongs to flip the pieces over. This ensures that both sides of the meat cook evenly and absorb the rich color and flavor of the red wine braising sauce.
Tip: Frequent turning also prevents the bottom of the meat from sticking and burning as the sauce thickens. - 11Remove the Aromatics
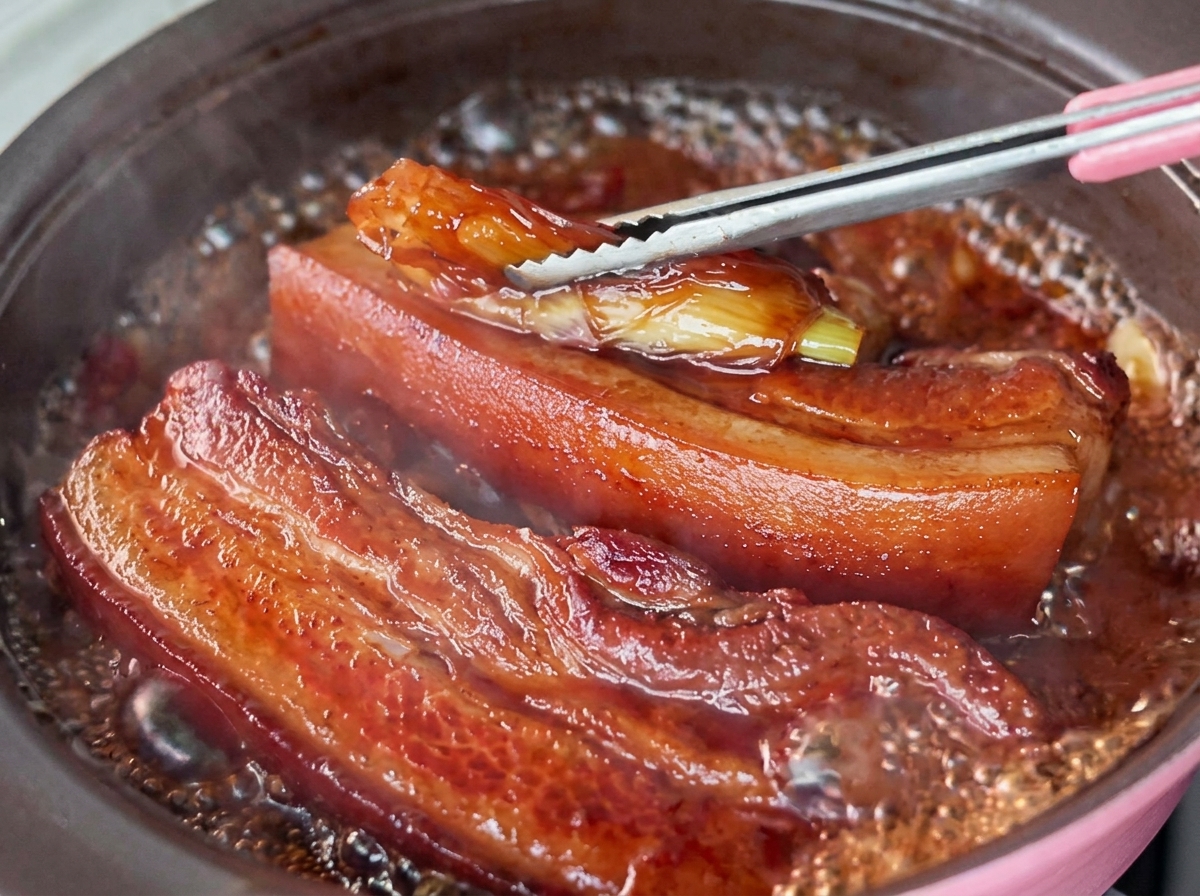
Once the green onions and other aromatics have fully softened and released their flavors into the sauce, use tongs to carefully extract them from the pan. Removing them now keeps the final presentation clean and the sauce smooth.
Tip: Take them out before they break down completely into the sauce, which could make the finished dish muddy. - 12Add garlic to the braise
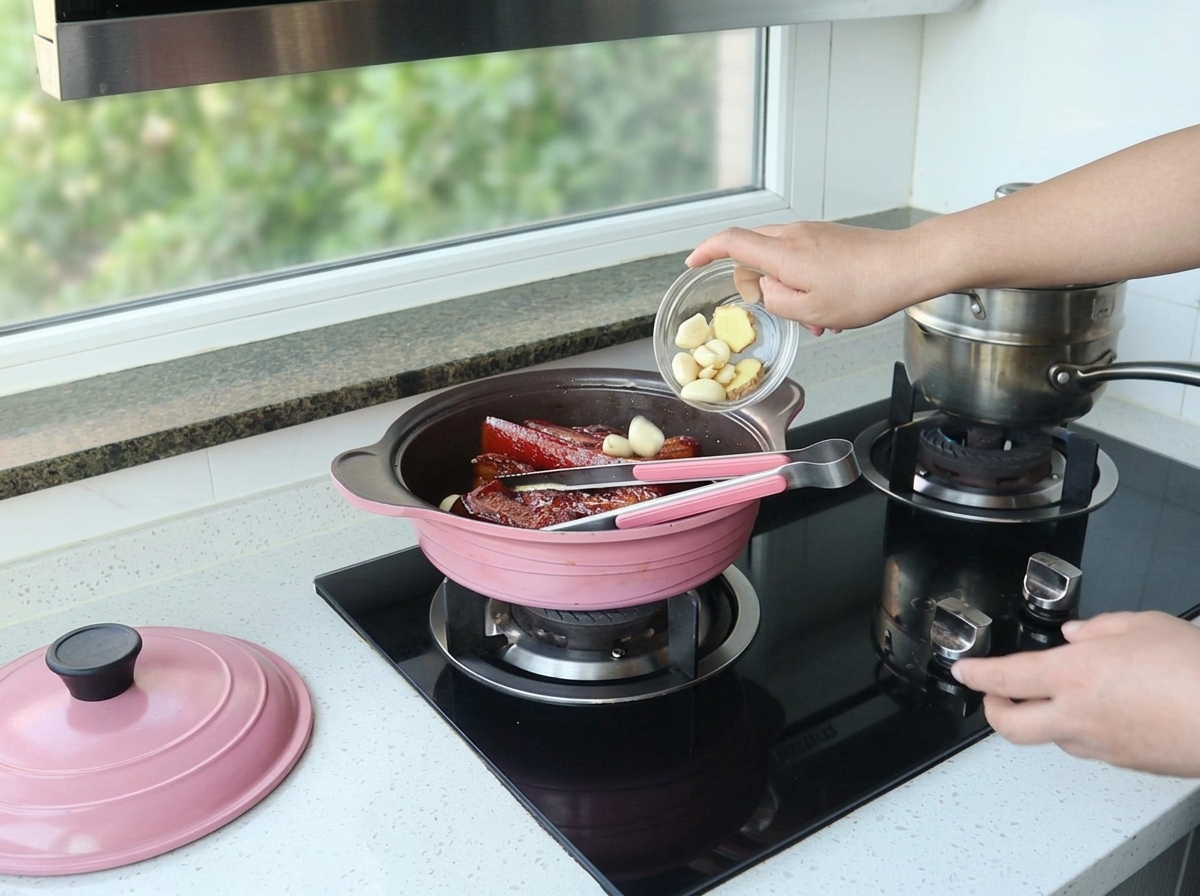
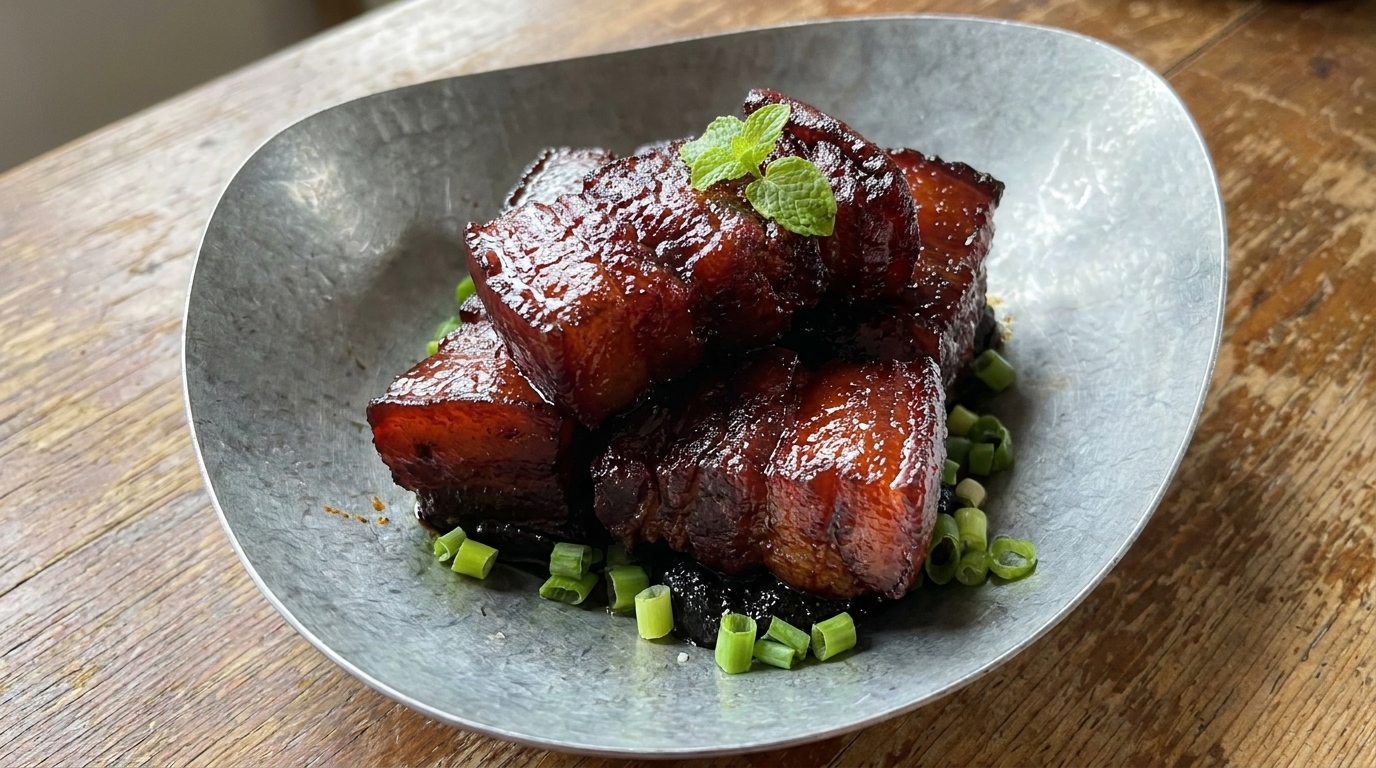
Once the red wine sauce has reduced significantly, add whole peeled garlic cloves into the pan. Continue to simmer until the garlic is fully cooked and soft, allowing its flavor to infuse into the thick glaze coating the pork belly.
Tip: Adding garlic towards the end prevents it from overcooking and becoming mushy, while still imparting a fresh, pungent flavor to the reduced sauce. - 13Slice the pork belly
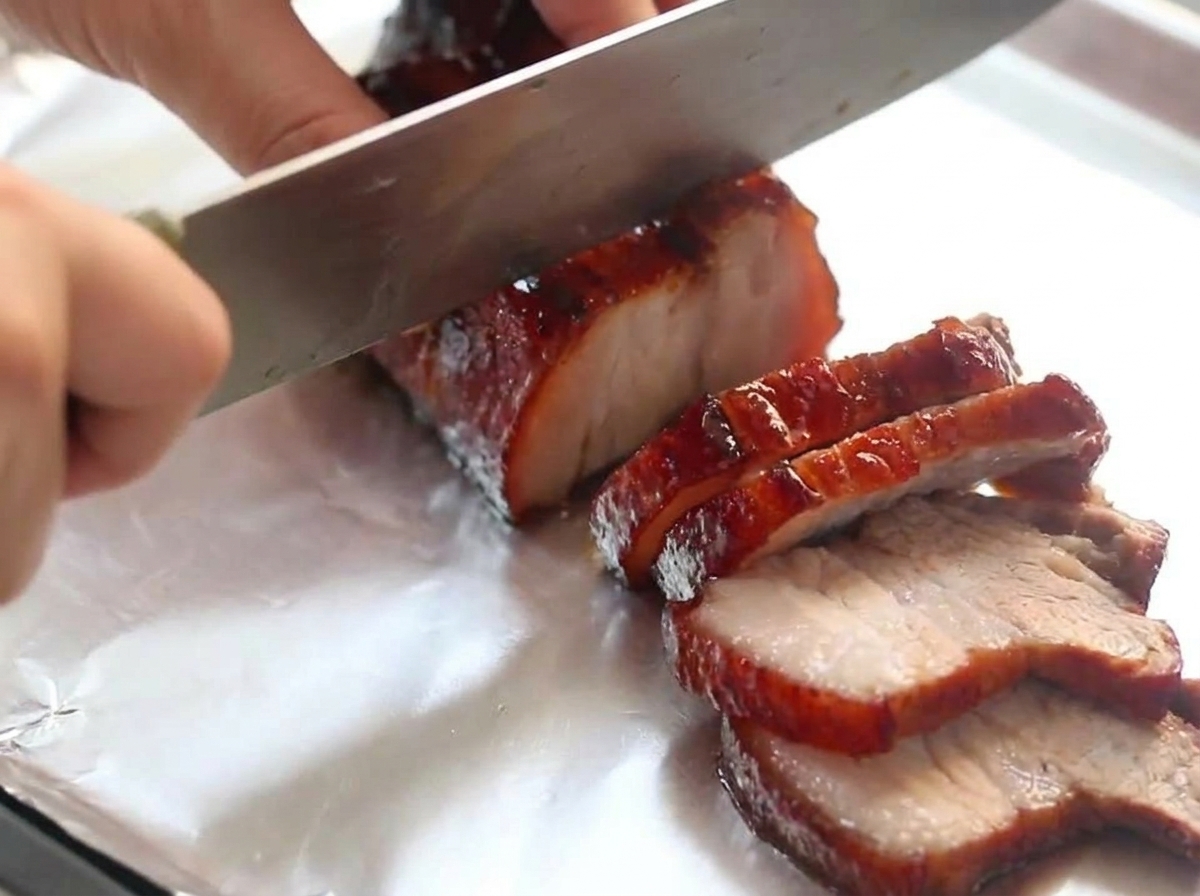
Remove the glazed pork belly from the pan and let it rest for a moment on a cutting board or sheet of foil. Use a sharp knife to carefully slice the meat into bite-sized pieces, separating the lean and fat parts if preferred.
Tip: Letting the meat rest slightly before slicing helps it retain its juices and makes it easier to cut cleanly. - 14Plate and serve
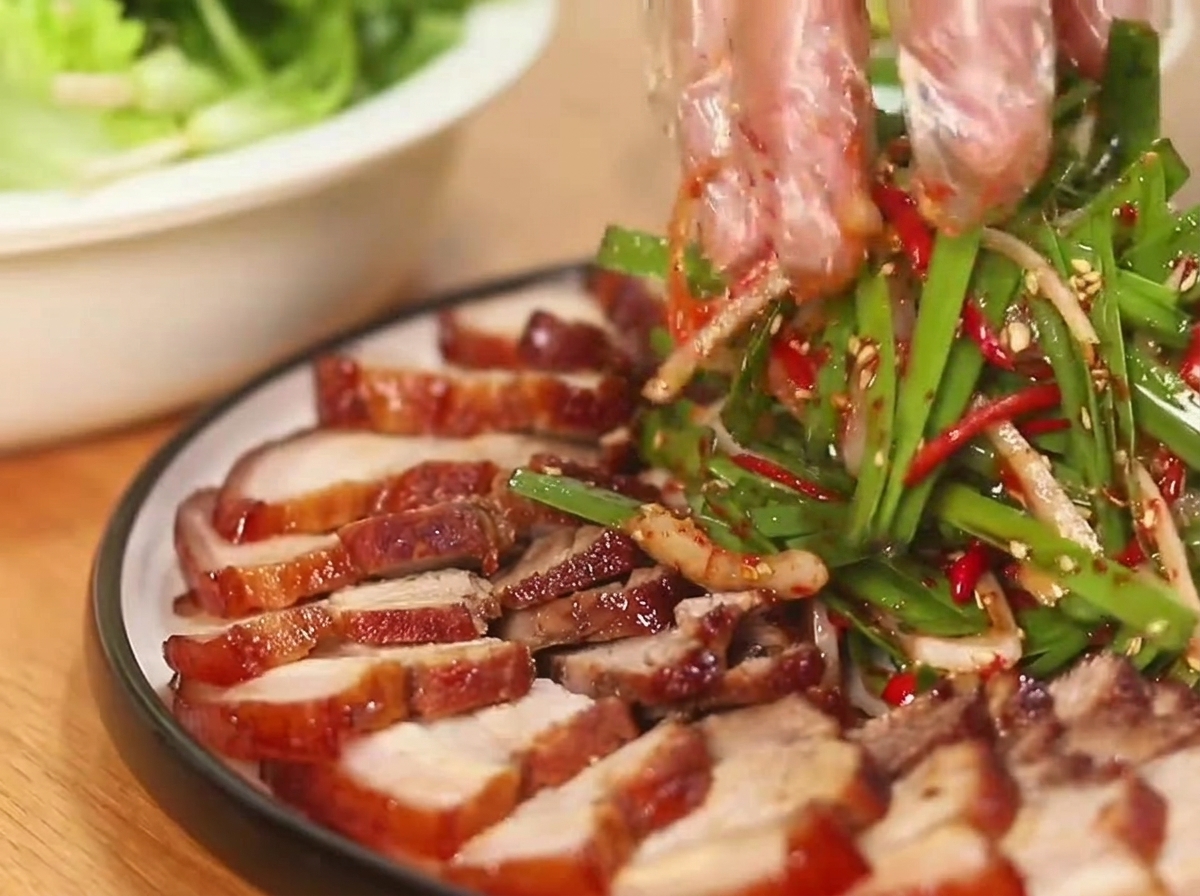
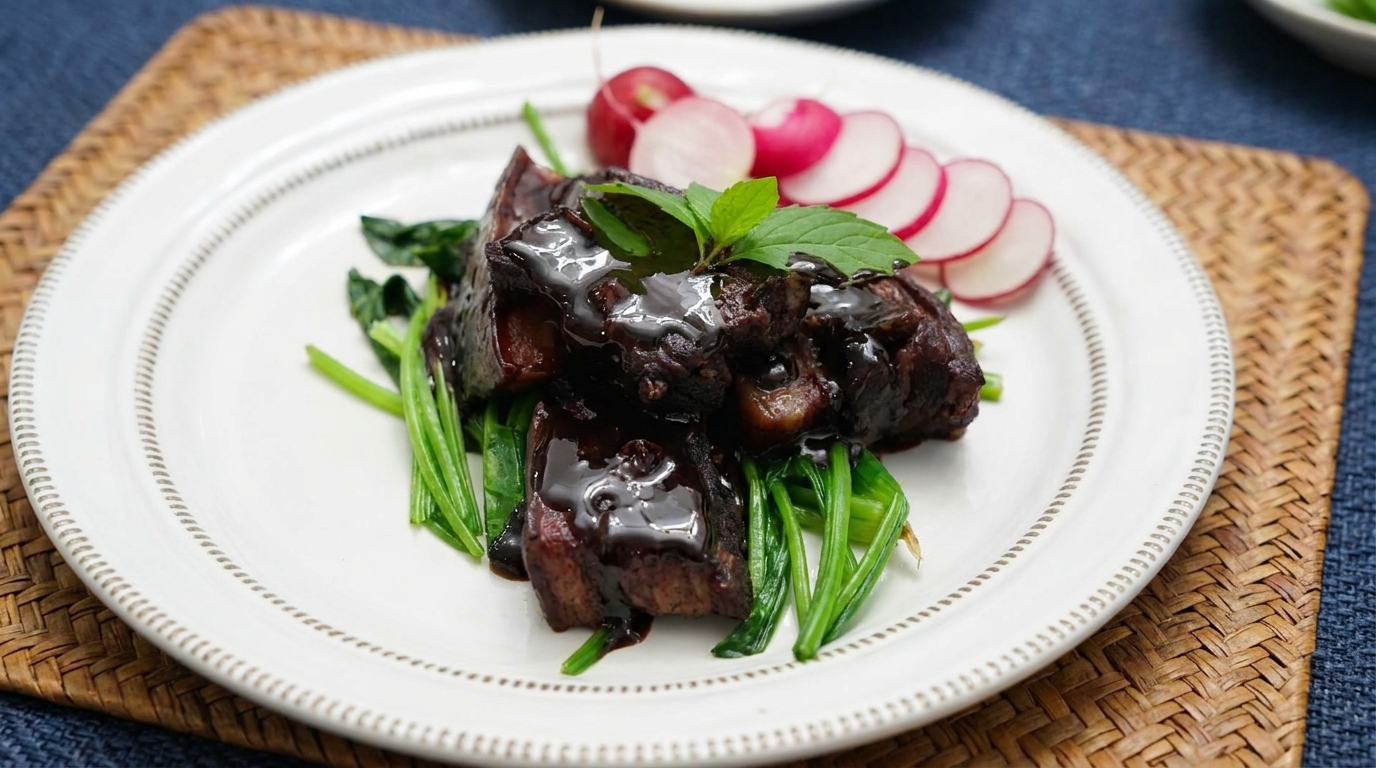
Arrange the sliced red wine pork belly nicely on a serving plate. Prepare a fresh side salad by mixing scallions and thinly sliced red chilies, then mound it alongside the meat. Serve immediately and enjoy the combination of rich pork and refreshing herbs.
Tip: The fresh coriander and scallion salad helps balance the richness of the pork belly, making the overall dish more refreshing and vibrant.