Classic Teriyaki Chicken Sandwich
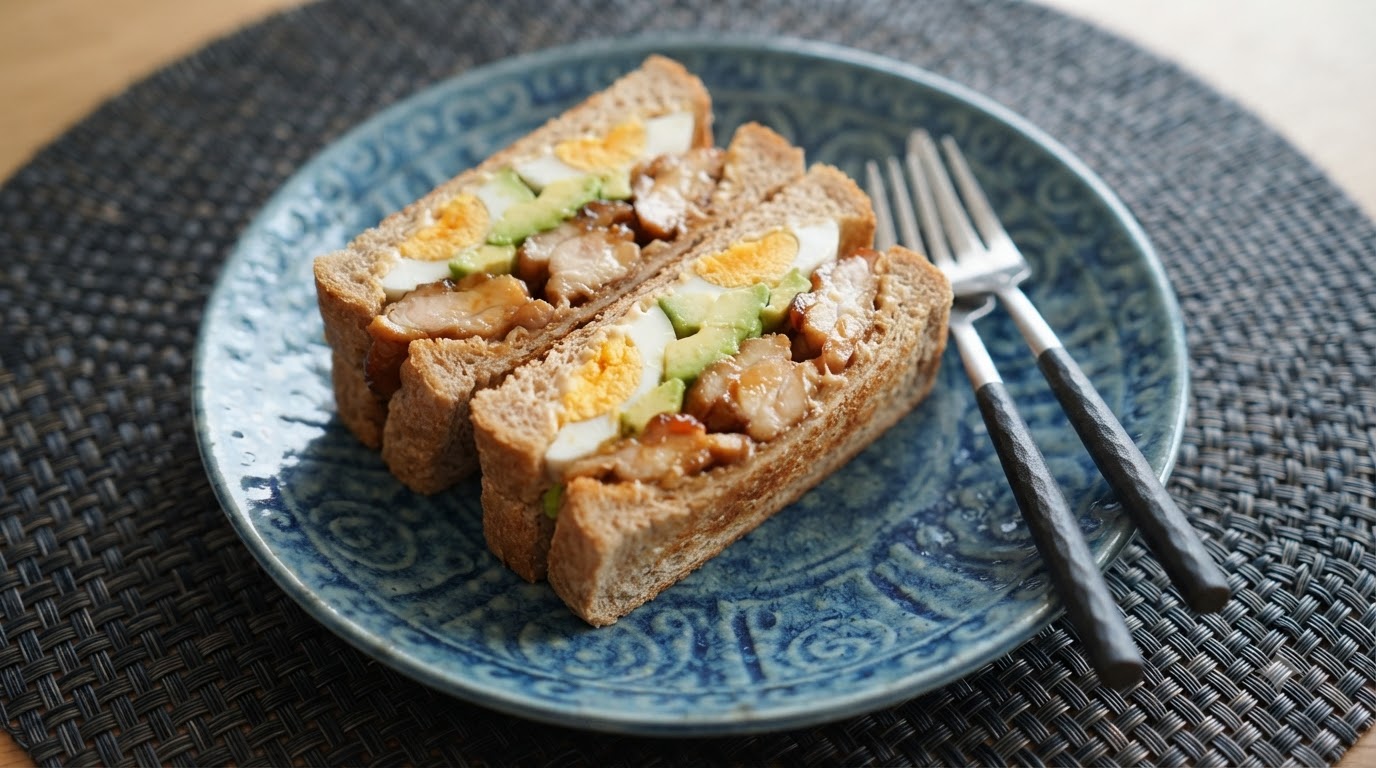
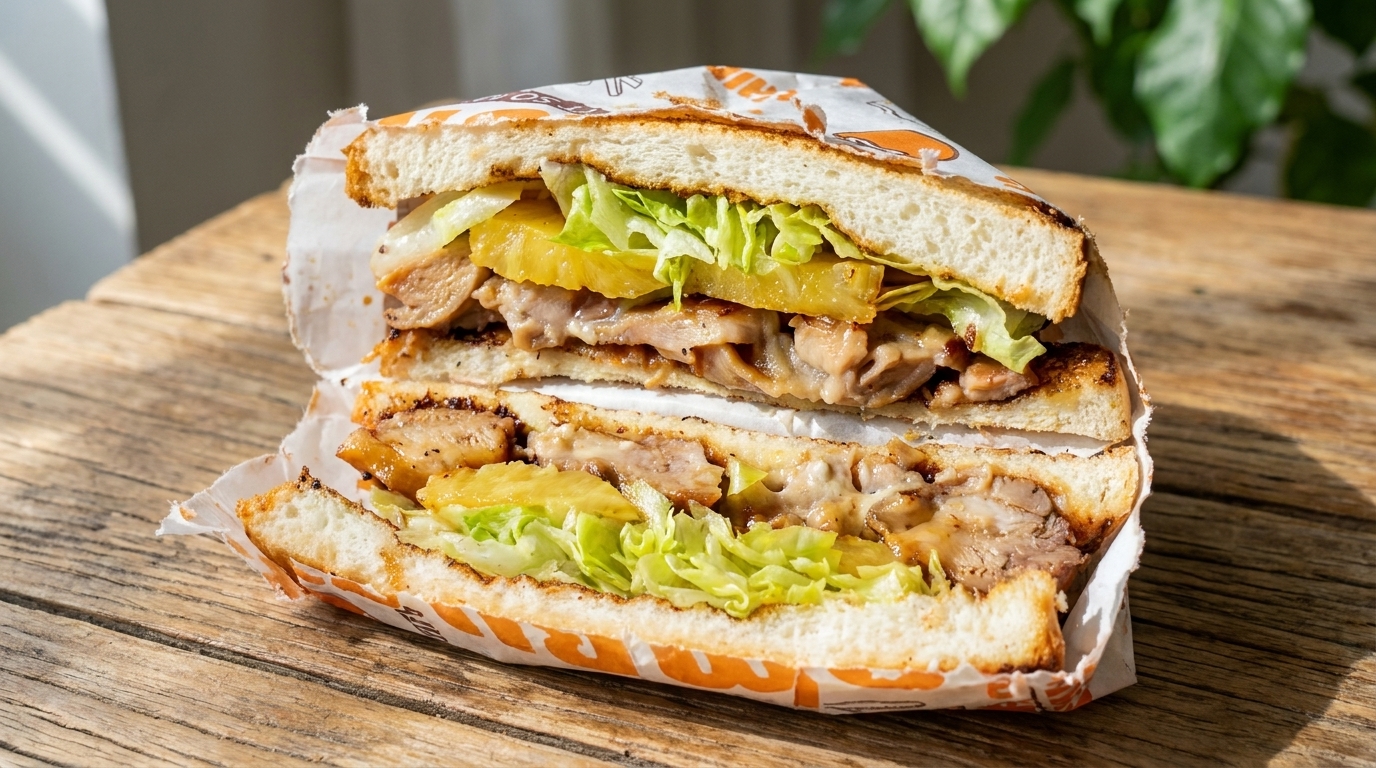
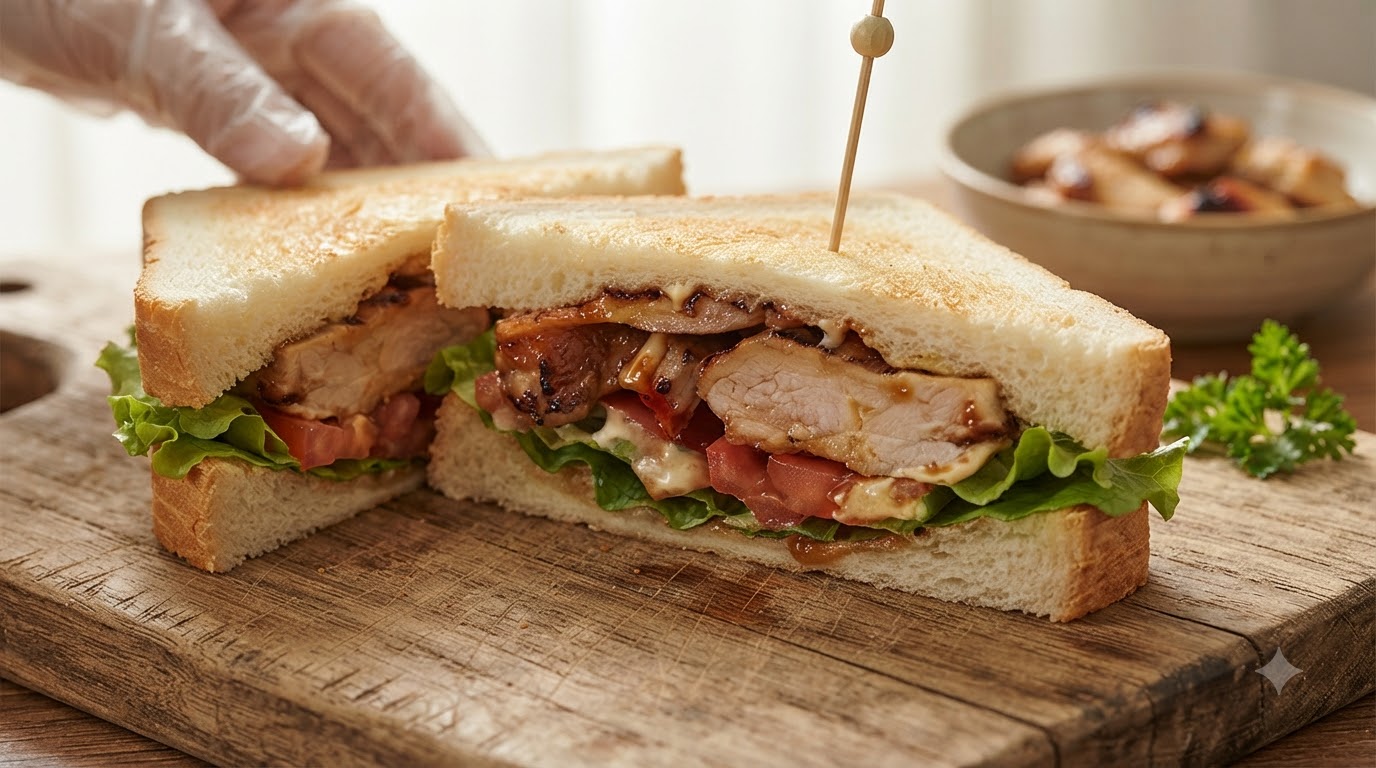
A mouthwatering fusion sandwich featuring juicy glazed teriyaki chicken, crisp lettuce, and fresh tomatoes layered between toasted bread.
The teriyaki chicken sandwich combines traditional Japanese-inspired sweet and savory glazed chicken with a classic cafe-style sandwich format. With its crisp vegetables, creamy mayonnaise, and tender homemade teriyaki chicken, it makes for a satisfying and flavorful meal thats quick to assemble.
Ingredients
- 2 chicken thighs
- 4 slices toast bread
- 1 tbsp dark soy sauce
- 2 tbsp light soy sauce
- 2 tbsp cooking wine
- 1 tbsp oyster sauce
- 1 tbsp honey
- 2 leaves green lettuce
- 2 tomatoes
- 3 tbsp mayonnaise
- 1 tsp cooking oil
- a little bit water
Instructions
- 1Pat chicken dry
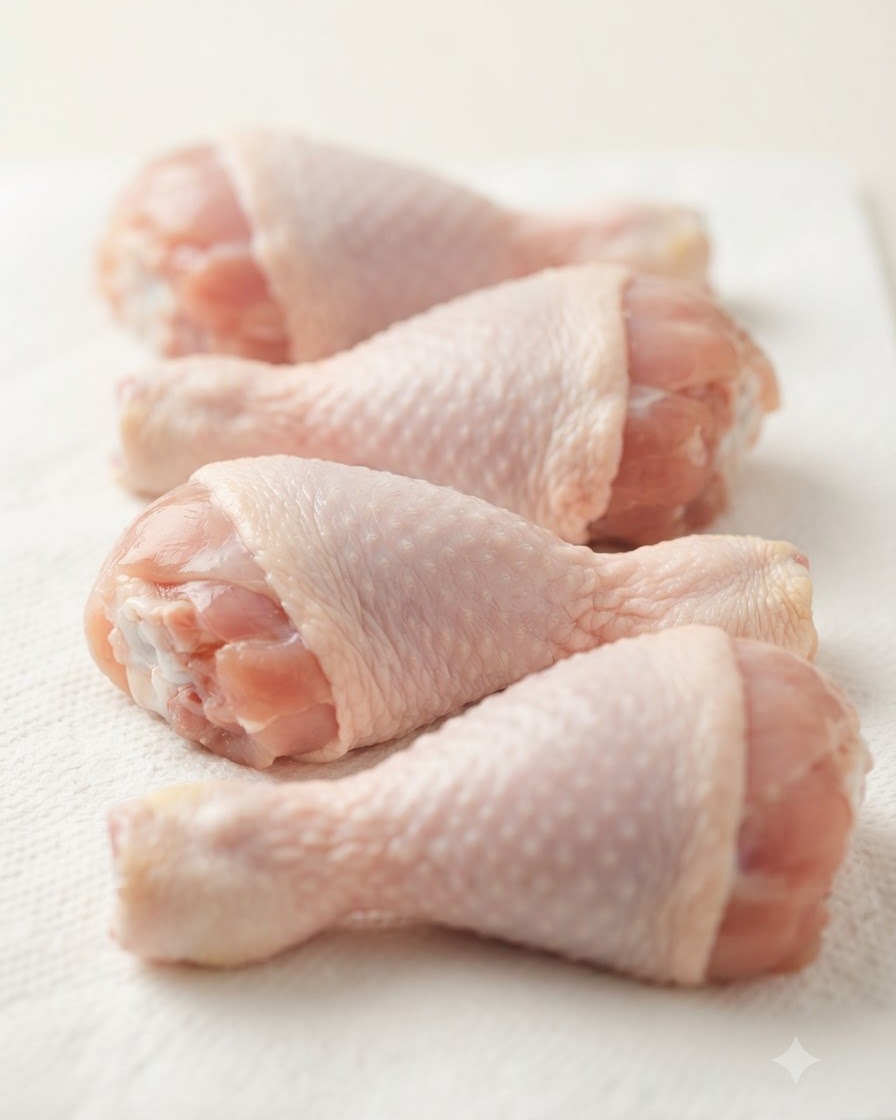
Take the washed chicken thighs and use paper towels to thoroughly pat them dry. Ensuring the chicken surface is dry prevents excessive splattering when frying and helps achieve a golden, crispy skin.
Tip: Make sure to remove as much surface moisture as possible for the best sear. - 2Debone the chicken thighs
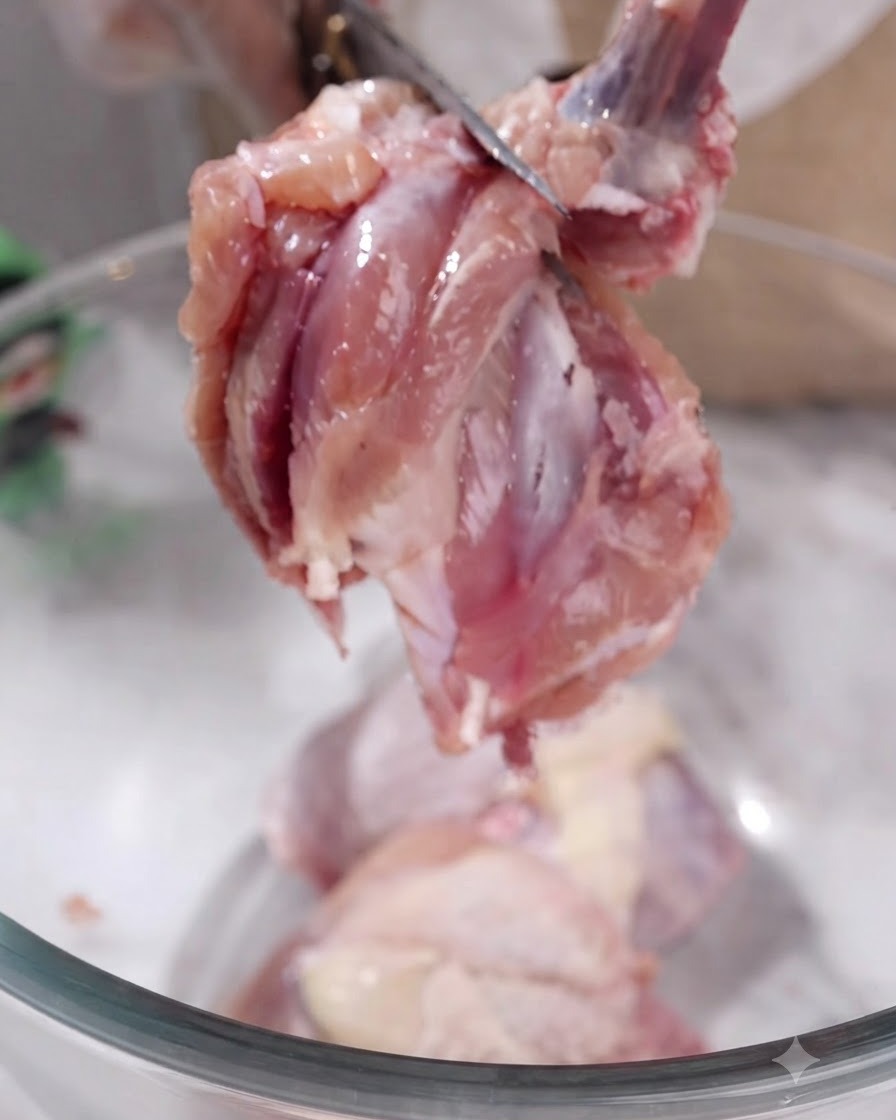
Hold the raw chicken thigh and carefully use kitchen shears to cut along the bone, removing it completely while keeping the meat intact.
Tip: Kitchen shears make debonding much easier and safer than using a knife. - 3Mix Teriyaki Sauce
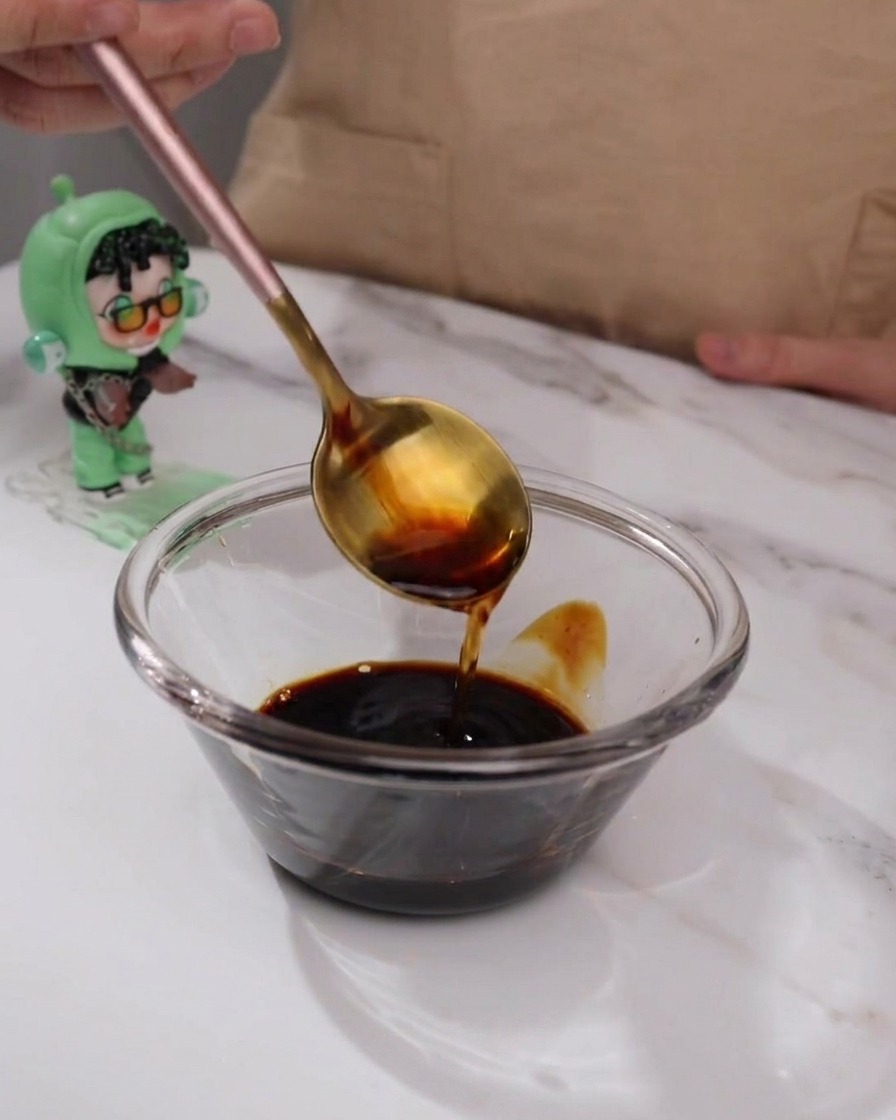
In a small glass bowl, combine one spoon of dark soy sauce, two spoons of light soy sauce, two spoons of cooking wine, one spoon of oyster sauce, one spoon of honey, and a little bit of water, then mix well with a spoon.
Tip: Adjust the honey slightly if you prefer a sweeter glaze. - 4Fry Chicken Skin-Side Down
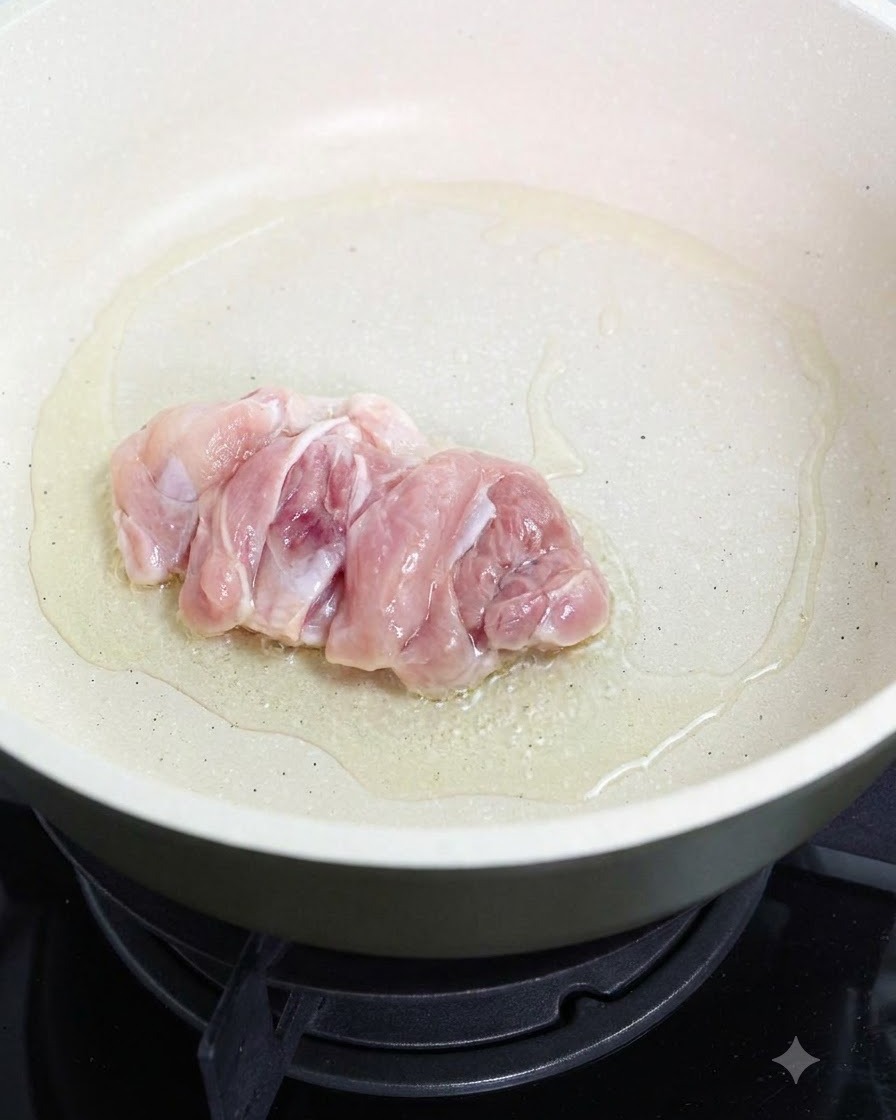
Place the prepared chicken thighs skin side down into a heated pan with oil to fry until golden brown.
Tip: Keep the heat medium to ensure the skin renders and browns evenly without burning. - 5Flip the Chicken
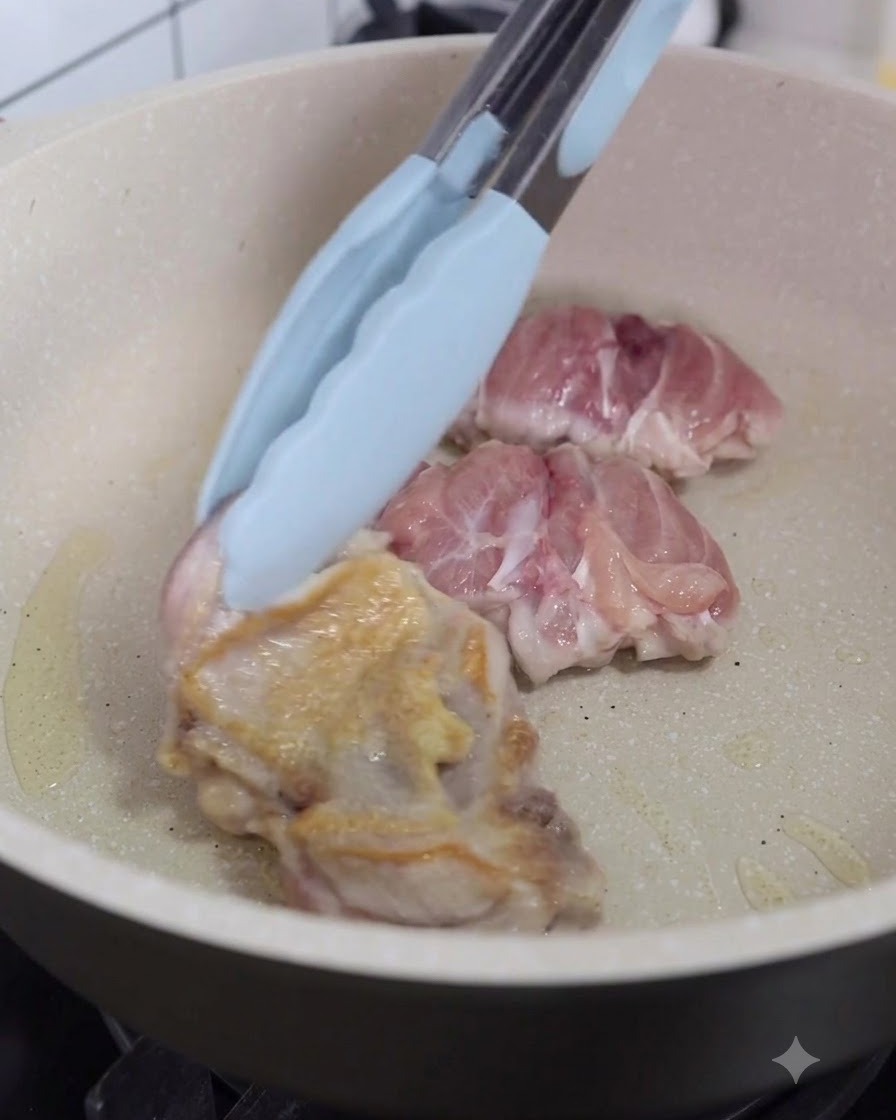
Use kitchen tongs to flip the chicken pieces once the skin side has turned golden brown.
Tip: Grip securely with tongs to prevent splashing hot oil. - 6Pour Teriyaki Sauce
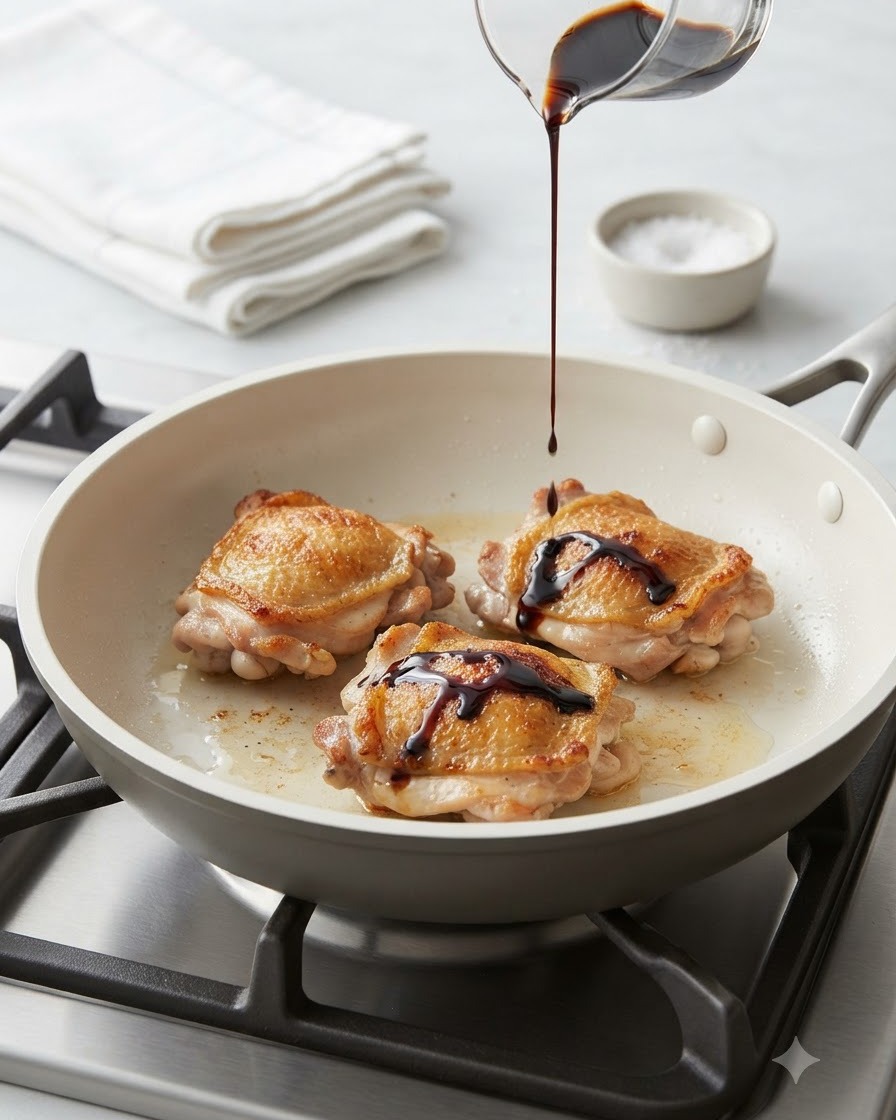
Pour the previously prepared dark teriyaki sauce directly over the browning chicken thighs in the pan.
Tip: Pour evenly across the chicken pieces so the sauce coats everything as it simmers. - 7Remove glazed chicken from pan
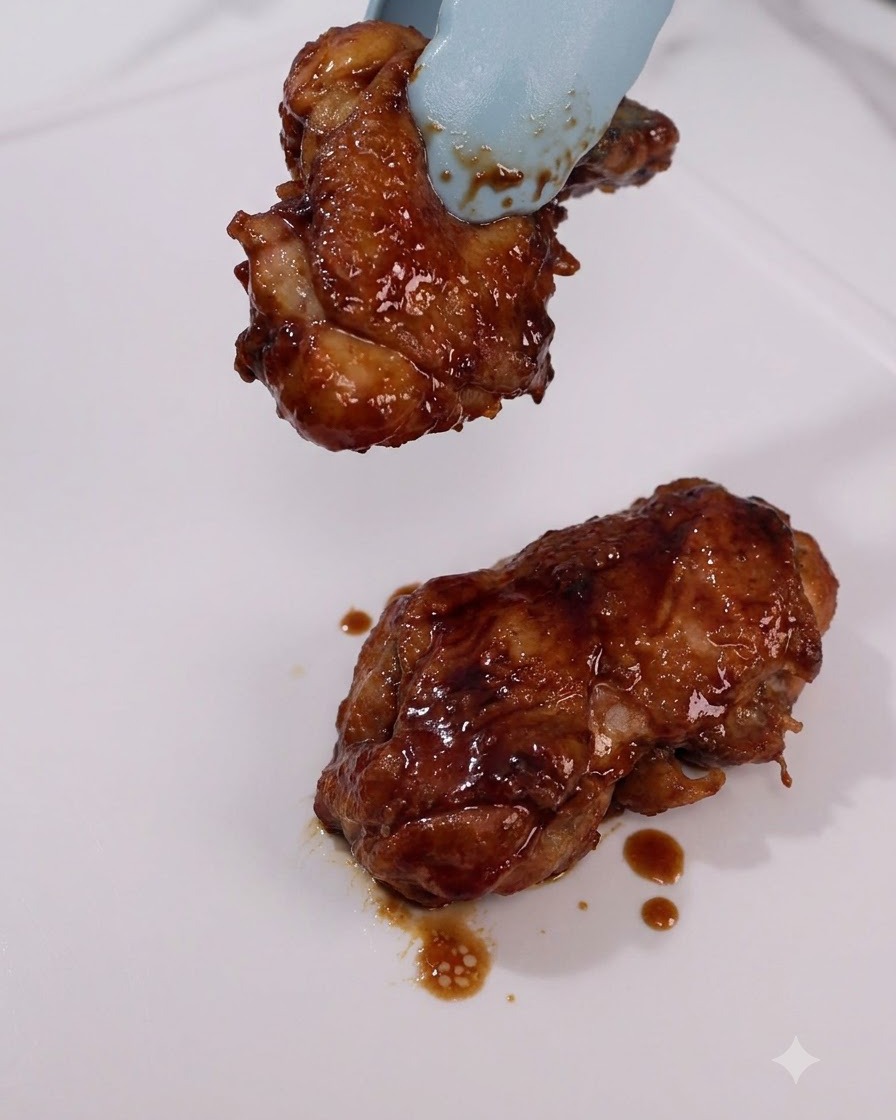
Use tongs to lift the cooked, glazed chicken thighs out of the pan and transfer them onto a clean white plate. The chicken should have a rich, glossy coating and be cooked thoroughly.
Tip: Make sure to let excess sauce drip back into the pan before transferring. - 8Slice the cooked chicken
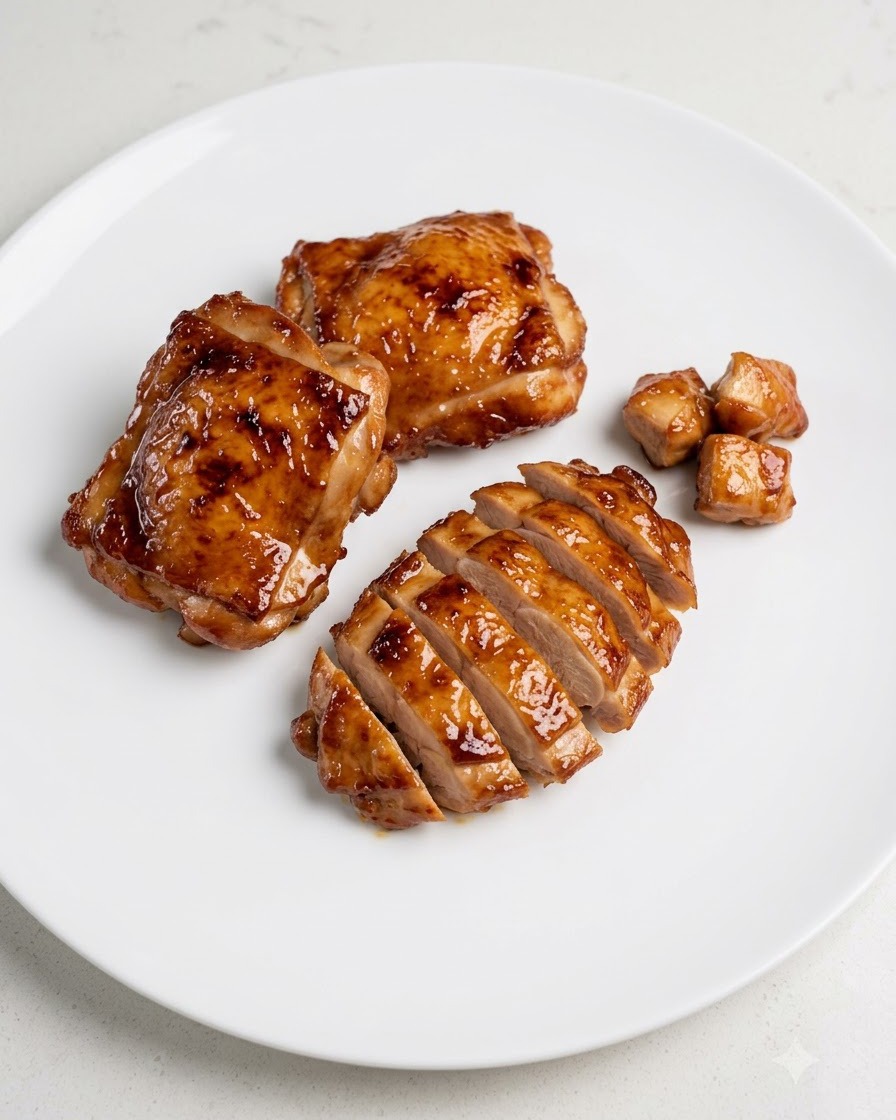
Place the cooked chicken thighs on a plate and use a sharp knife to slice them evenly into bite-sized pieces. Clean cuts will make assembly much easier and look better in the sandwich.
Tip: Let the chicken rest for a minute before slicing to keep the juices locked inside. - 9Pour the rich sauce over the chicken
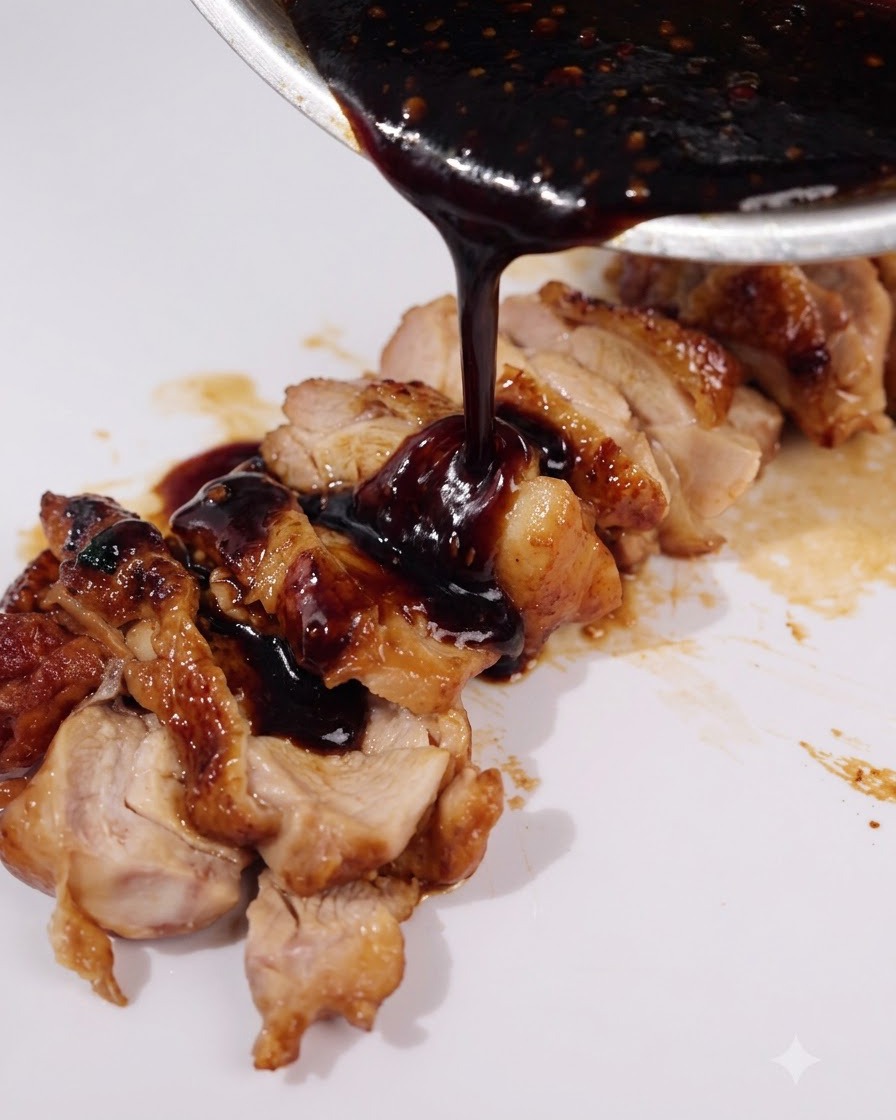
Take the remaining reduced dark sauce from the pan and pour it generously over the sliced chicken pieces. This infuses every piece with extra flavor and moisture.
Tip: Pour evenly so all the sliced pieces catch the glossy glaze. - 10Prepare the cutting board for assembly
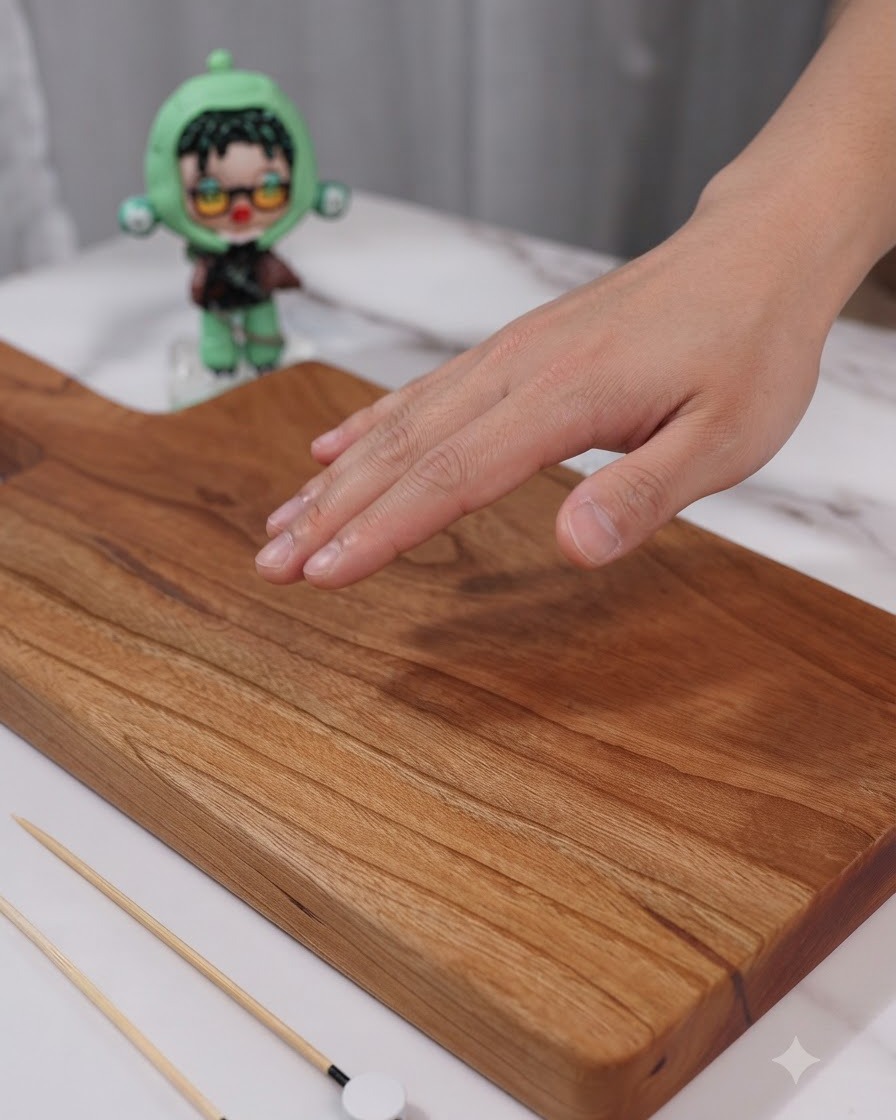
Place a wooden cutting board on a clean surface as the station for building your sandwich. Set out your toasted bread and toothpicks nearby.
Tip: Ensure your cutting board is clean and dry before building the layers. - 11Add lettuce to toast
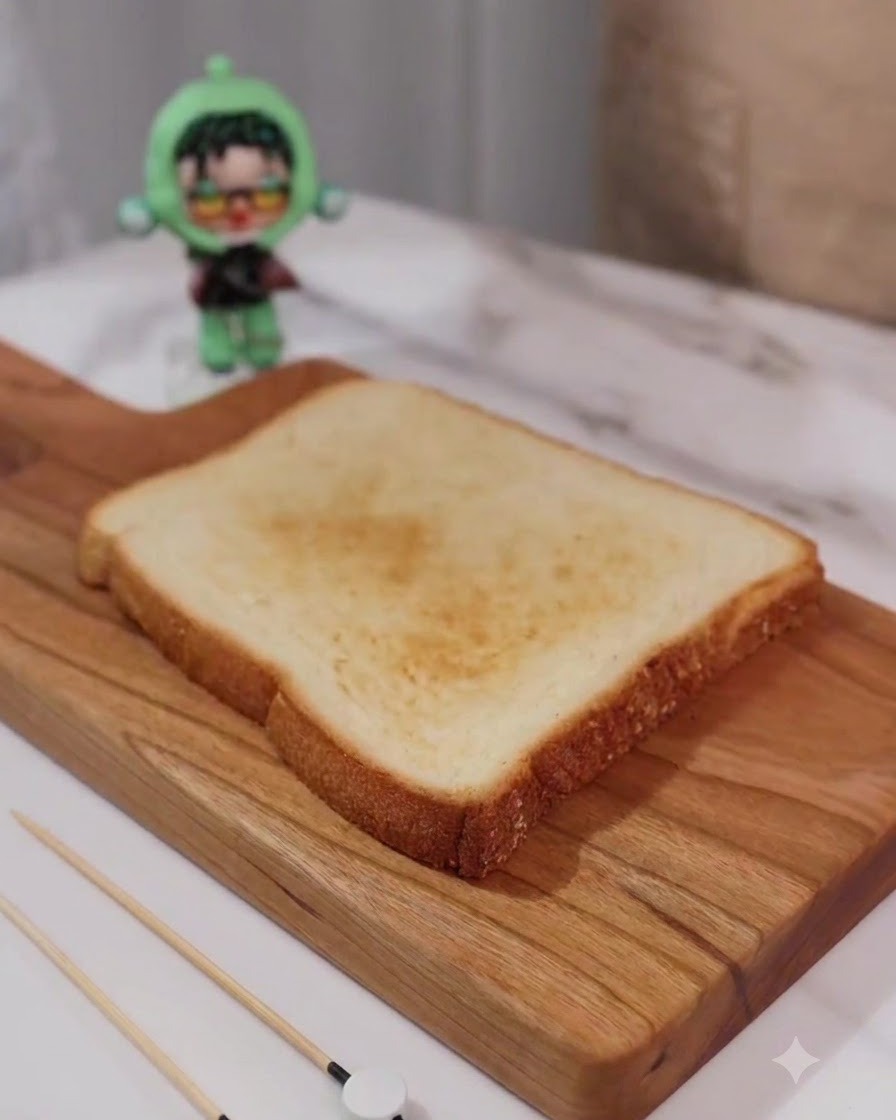
Place a fresh green leaf of lettuce directly on top of a slice of toasted bread to form the base layer of the sandwich filling.
Tip: Pat the lettuce dry after washing to prevent the toast from becoming soggy. - 12Apply mayonnaise
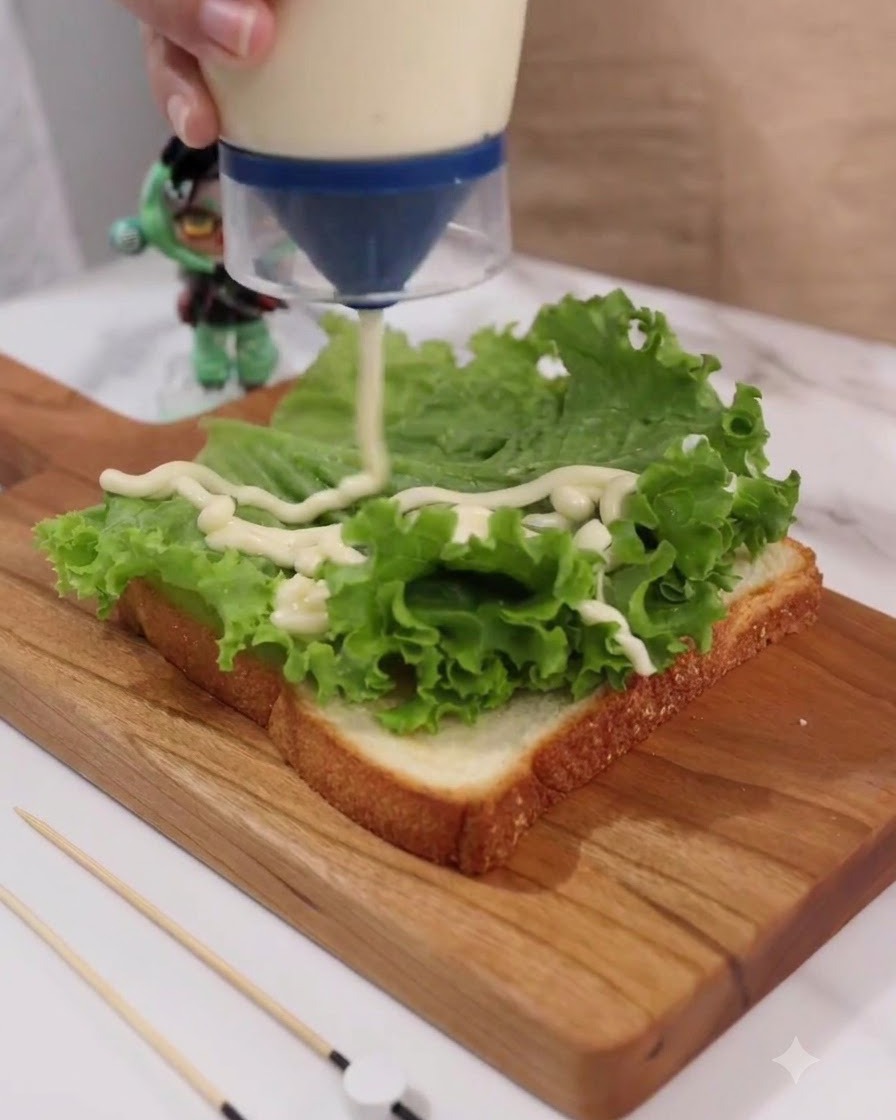
Squeeze mayonnaise from a bottle in a zig-zag pattern over the layer of lettuce to add creamy texture and flavor.
Tip: A zig-zag pattern helps distribute the mayonnaise evenly across every bite. - 13Add tomato slices
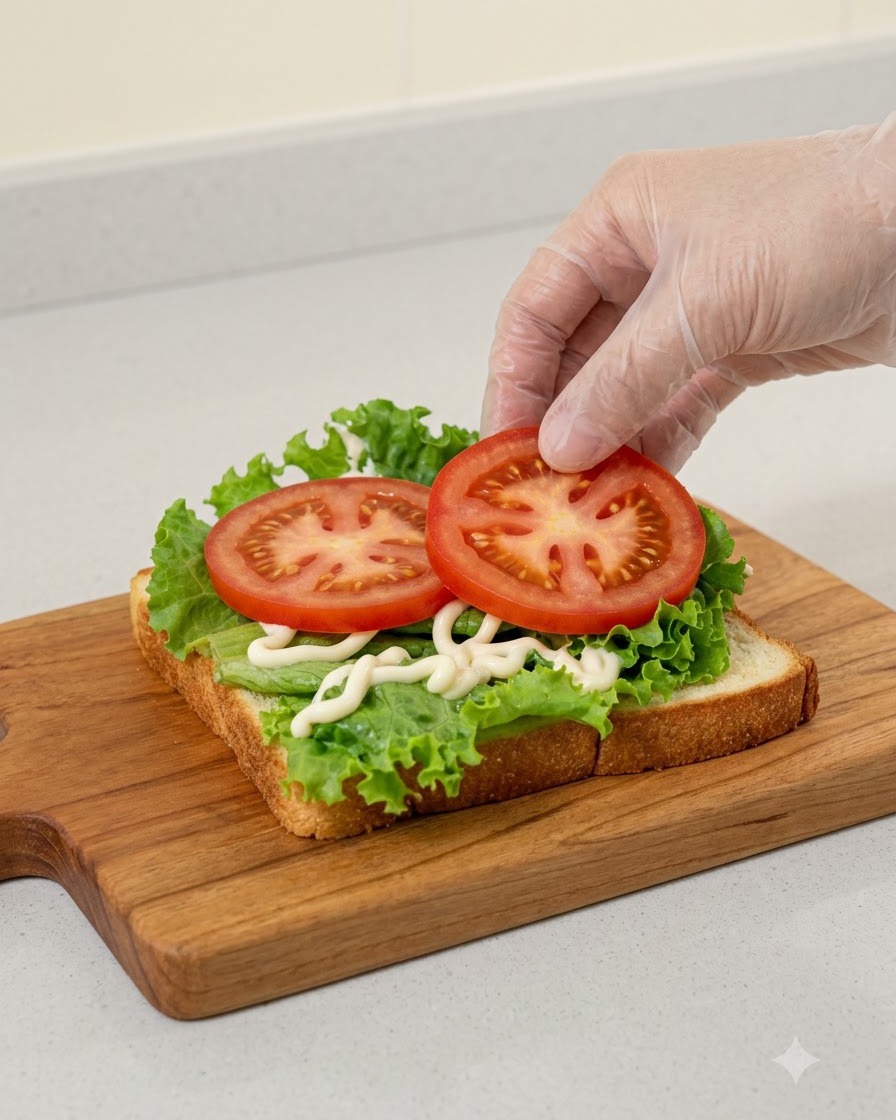
Place two neatly cut slices of fresh red tomato over the layer of lettuce and mayonnaise.
Tip: Slice the tomatoes evenly so the sandwich remains stable when assembled. - 14Arrange teriyaki chicken
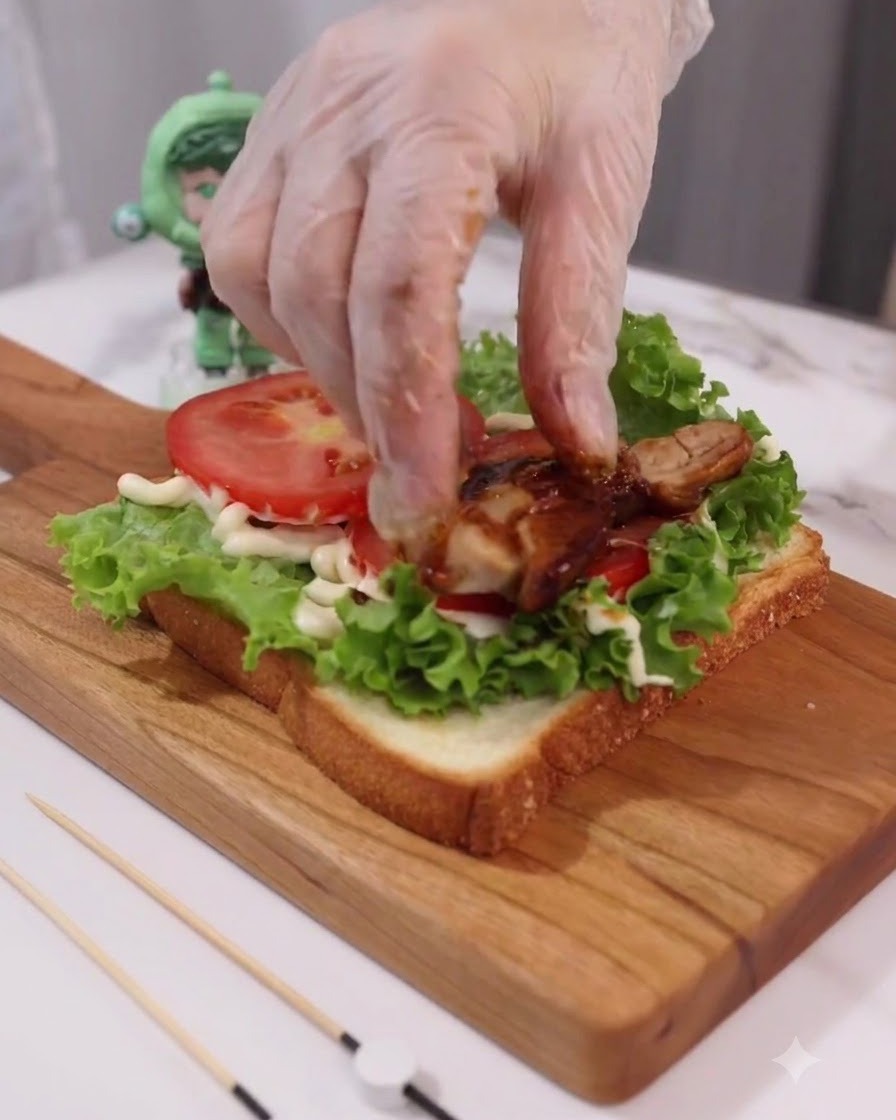
Place the sliced teriyaki chicken pieces neatly on top of the tomato layer, ensuring they are evenly distributed.
Tip: Keep the pieces centered so they do not fall out when the sandwich is cut. - 15Add a Layer of Mayonnaise
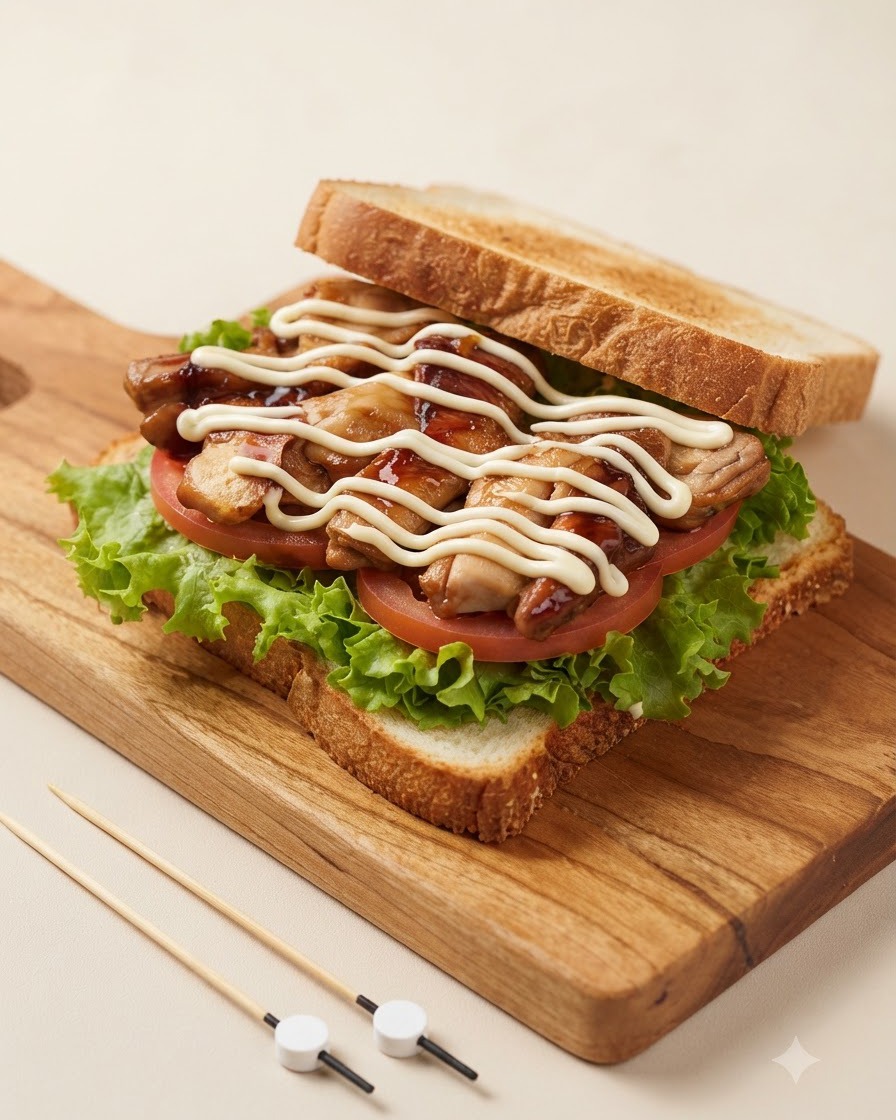
Squeeze another layer of mayonnaise evenly over the cooked teriyaki chicken pieces to add a rich and creamy texture to the sandwich.
Tip: Apply the mayonnaise in a zigzag pattern to ensure even distribution across all the chicken pieces. - 16Top with Toast
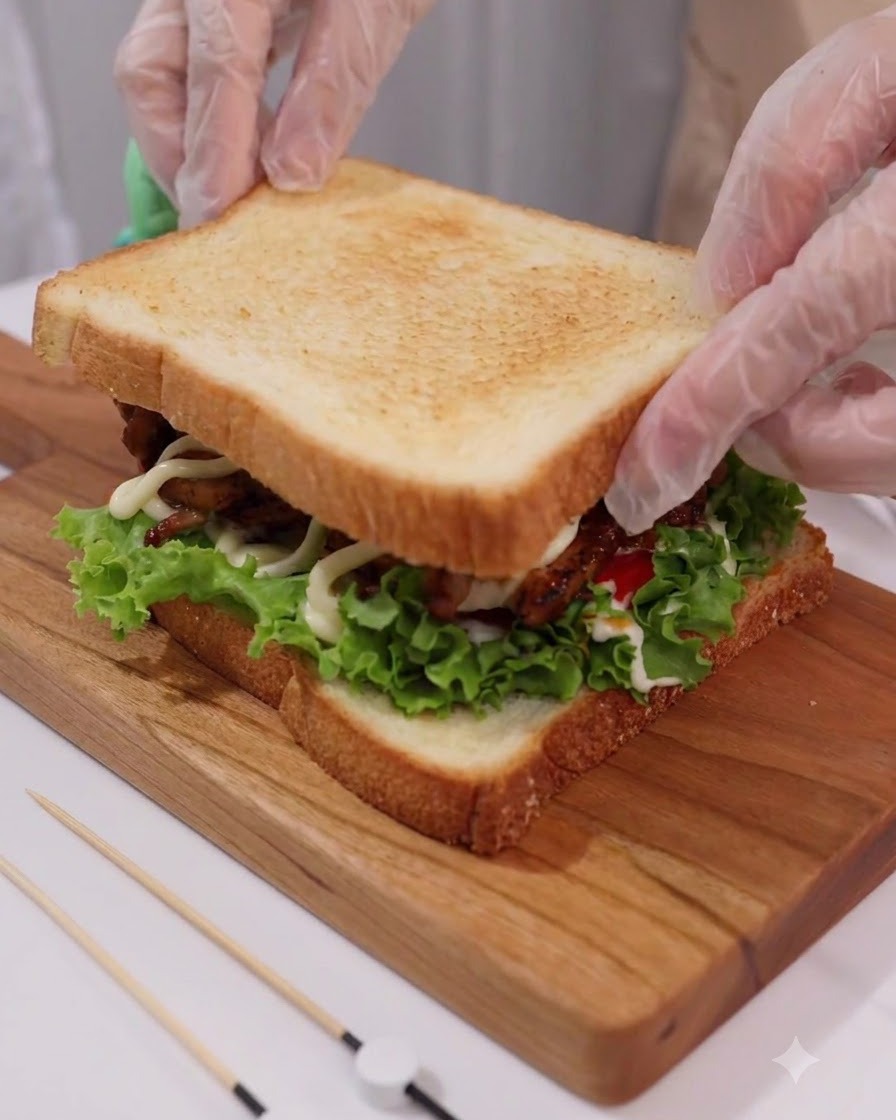
Gently place a second slice of toasted bread on top of the stacked ingredients to complete the assembly of the sandwich.
Tip: Press down lightly on the top slice of toast to help secure all the ingredients together before cutting. - 17Secure and cut the sandwich
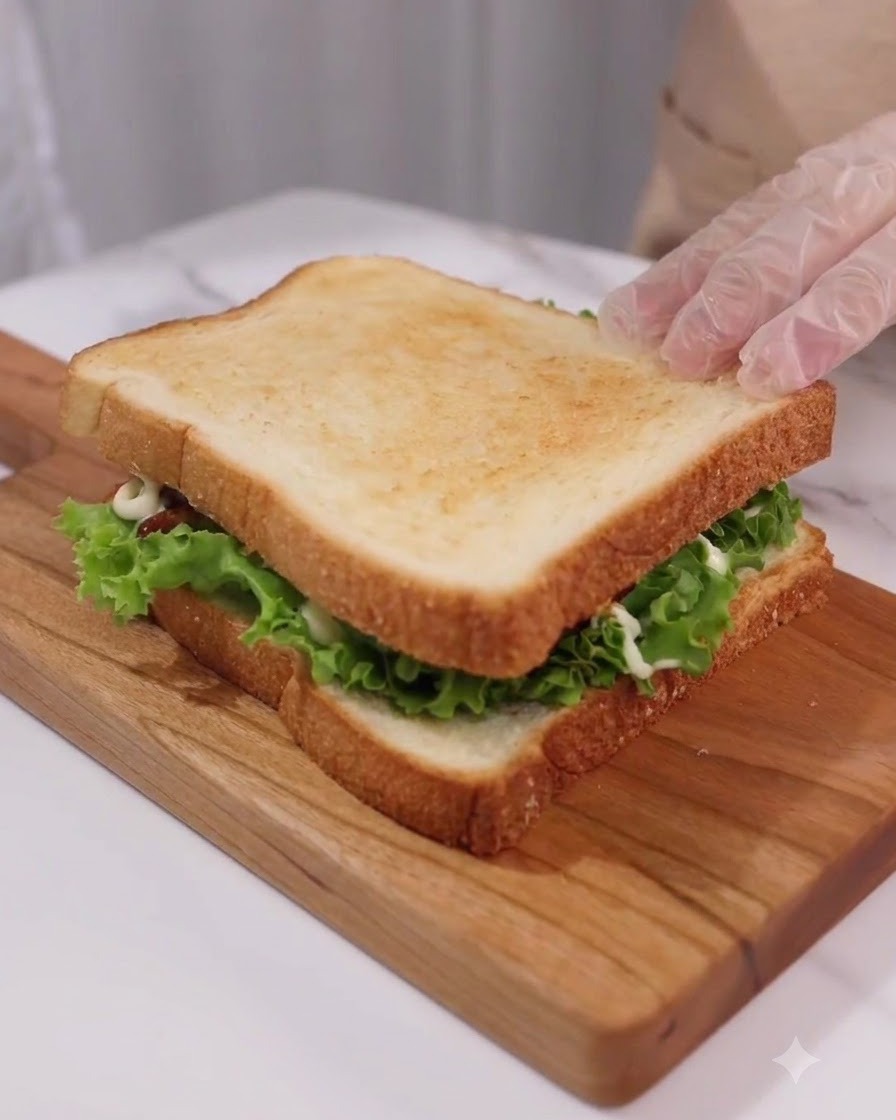
Insert two toothpicks firmly into the assembled sandwich to hold all the layers together securely before cutting. Carefully slice the sandwich diagonally in half to create two clean, easy-to-eat portions. The combination of savory teriyaki chicken and crisp vegetables makes this a wonderfully satisfying meal.
Tip: Inserting toothpicks before slicing keeps the layers from sliding around and ensures a neat cut. - 18Cut the Sandwich in Half
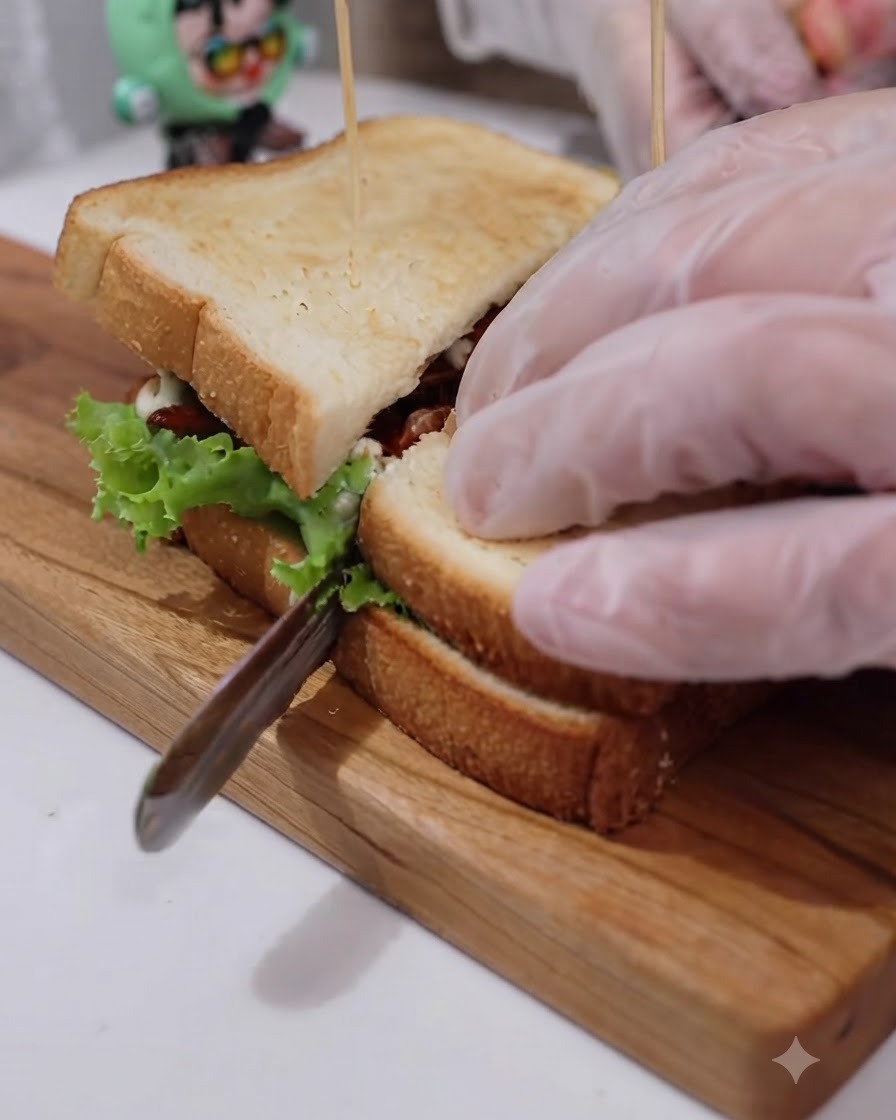
Use a sharp knife to cut the assembled sandwich diagonally in half, making it easier to handle and eat.
Tip: Make sure to insert toothpicks before cutting if needed, to keep the layers from shifting.