Classic Butter Brioche Burger Buns
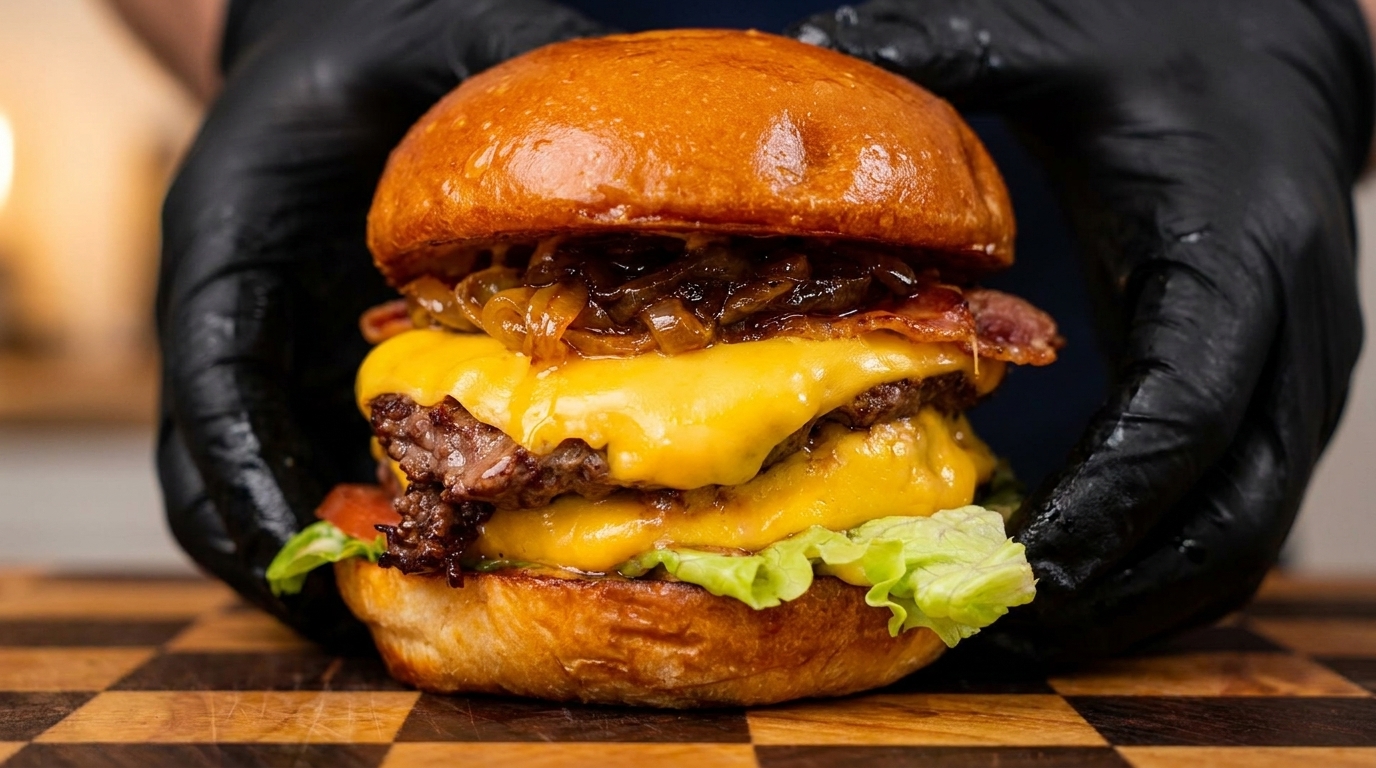
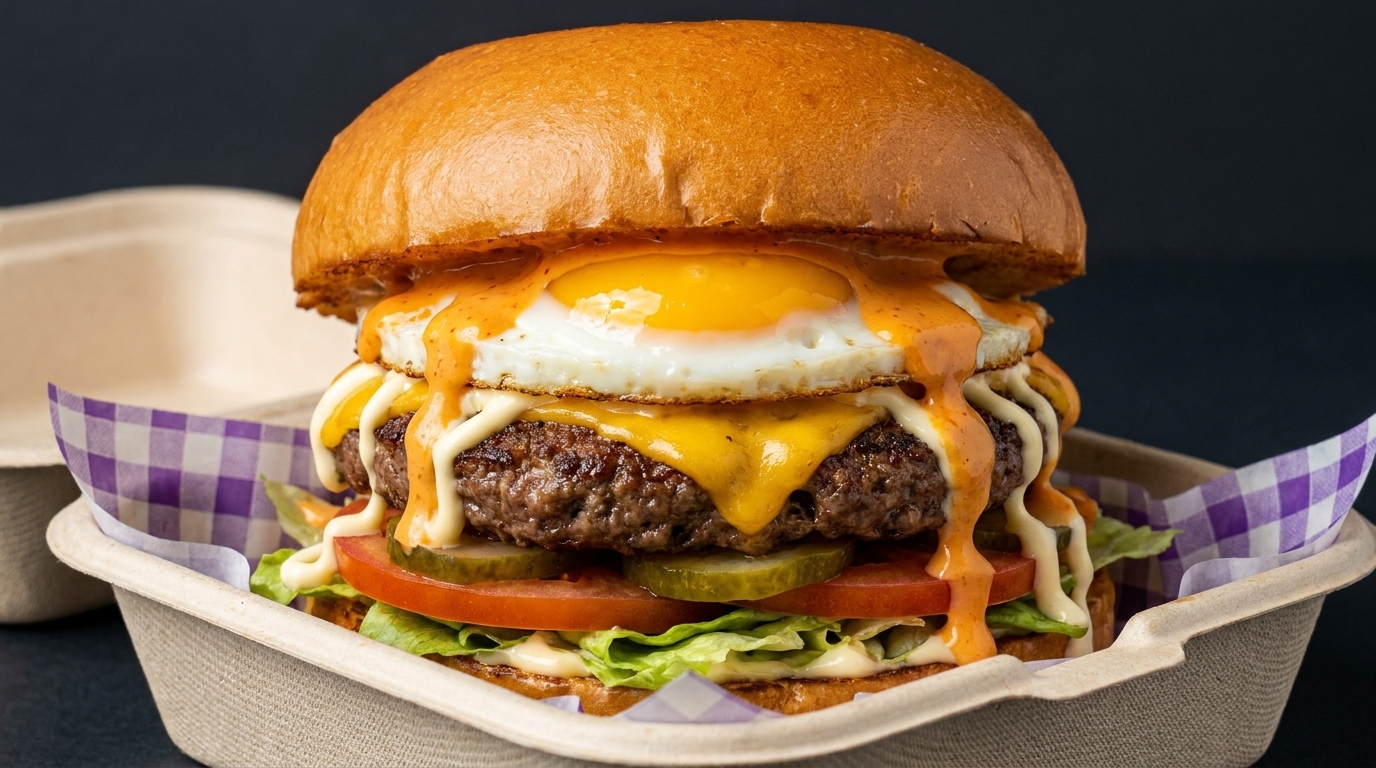
Elevate your burger game with these professional-grade brioche buns—pillowy soft, rich with butter, and finished with a signature high-gloss golden crust.
The brioche bun is the undisputed king of burger breads, prized for its ability to remain soft while supporting heavy, juicy fillings. This recipe uses a high-butter enriched dough and a specific two-stage mixing process to achieve the perfect windowpane membrane. The result is a light, airy crumb and a beautiful mahogany sheen that rivals the best artisan bakeries.
Ingredients
- 260 g high-gluten bread flour
- 30 g granulated sugar
- 5 g high-sugar-tolerant instant yeast
- 122 g whole egg liquid
- 50 g cold milk
- 4.5 g fine salt
- 60 g softened unsalted butter
- optional extra egg wash
- optional melted butter for brushing
Instructions
- 1Combine the dry ingredients
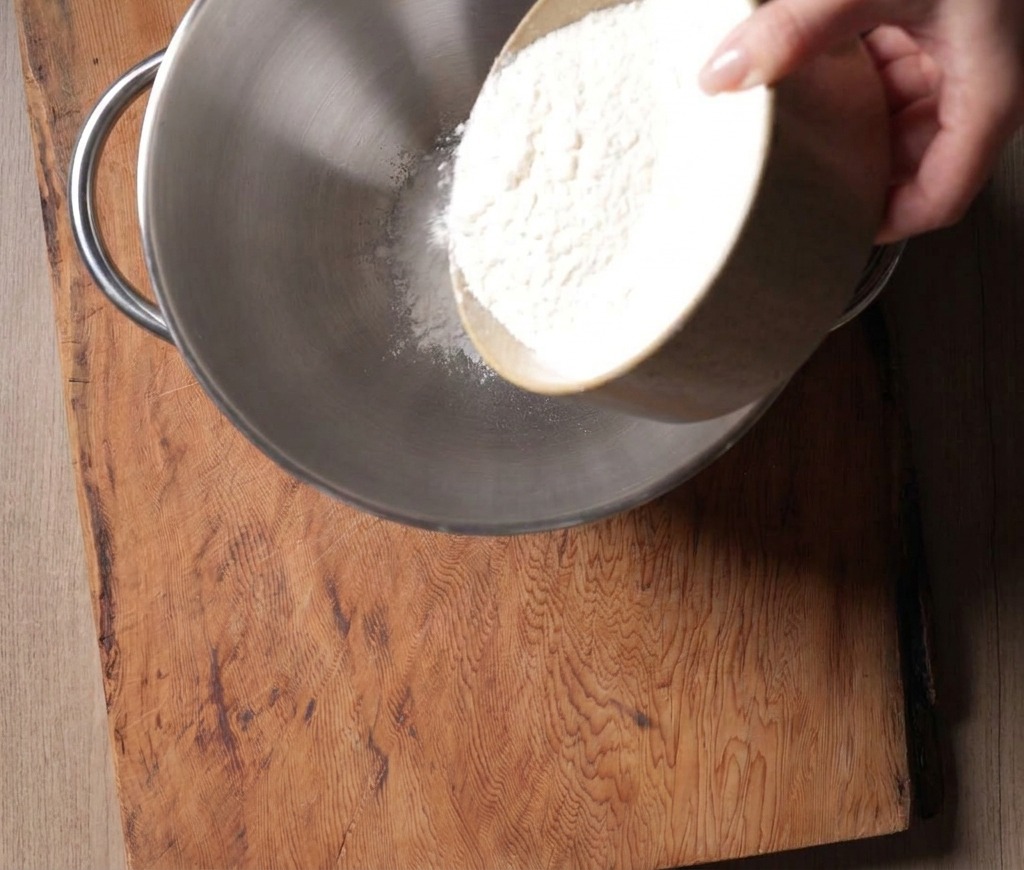
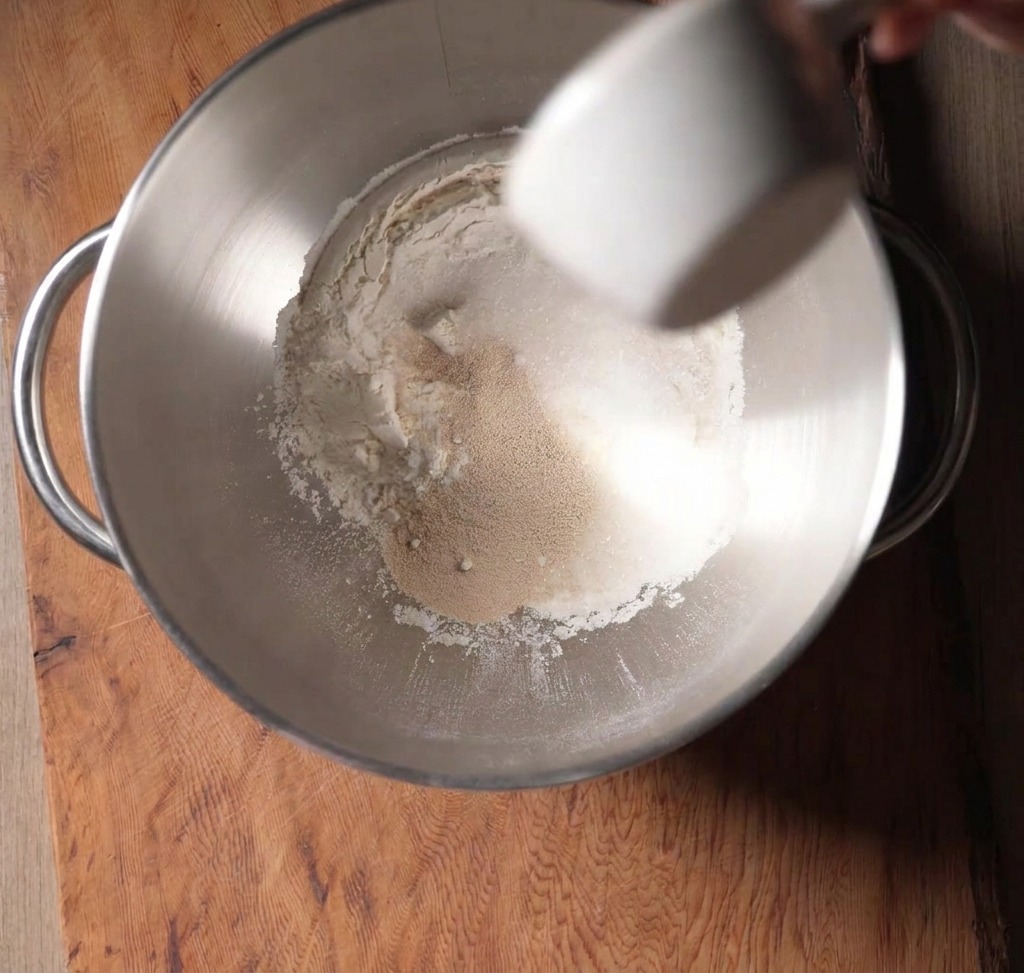
Begin by adding 260g of high-gluten flour into your mixer bowl. Follow this by adding 30g of sugar and 5g of high-sugar-tolerant yeast. High-gluten flour is essential for creating the strong protein structure needed for a tall, airy brioche bun that can support heavy burger toppings.
Tip: Ensure you use high-sugar-tolerant yeast specifically; standard yeast may struggle to rise effectively in enriched doughs with high sugar and fat content. - 2Combine the wet and dry ingredients
Pour the beaten whole egg liquid into the mixer bowl with the dry ingredients. At this stage, you are combining the primary proteins and fats that will give the brioche its signature richness before adding the final milk for hydration.
Tip: Starting with cold milk helps regulate the doughs temperature, ensuring it doesnt get too warm during the high-speed mixing process later. - 3Add the cold milk
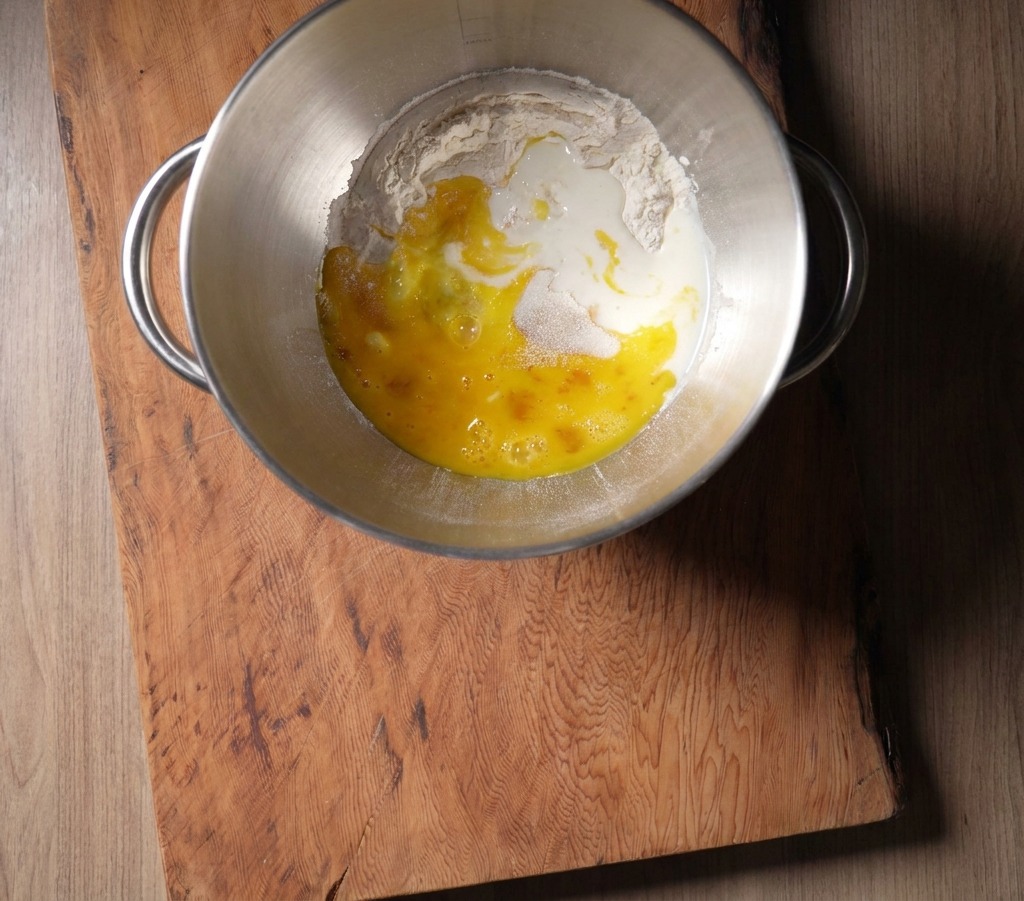
Pour 50g of cold milk into the bowl with the flour and egg mixture. Using cold ingredients helps control the temperature of the dough as it mixes, preventing the yeast from over-activating and the butter from melting prematurely due to friction heat.
Tip: Temperature control is key for brioche; if the dough gets too warm during mixing, the fat will separate and the texture will be greasy. - 4Mix the initial dough
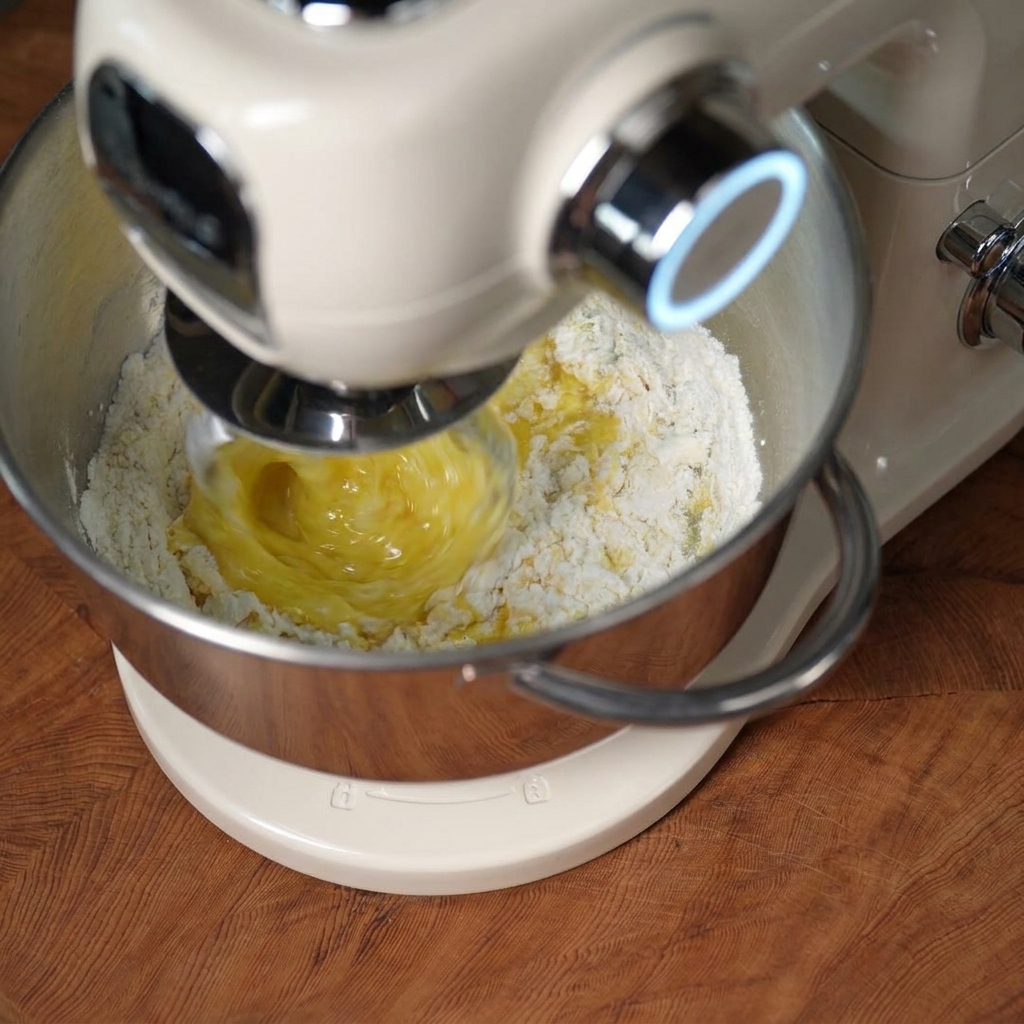
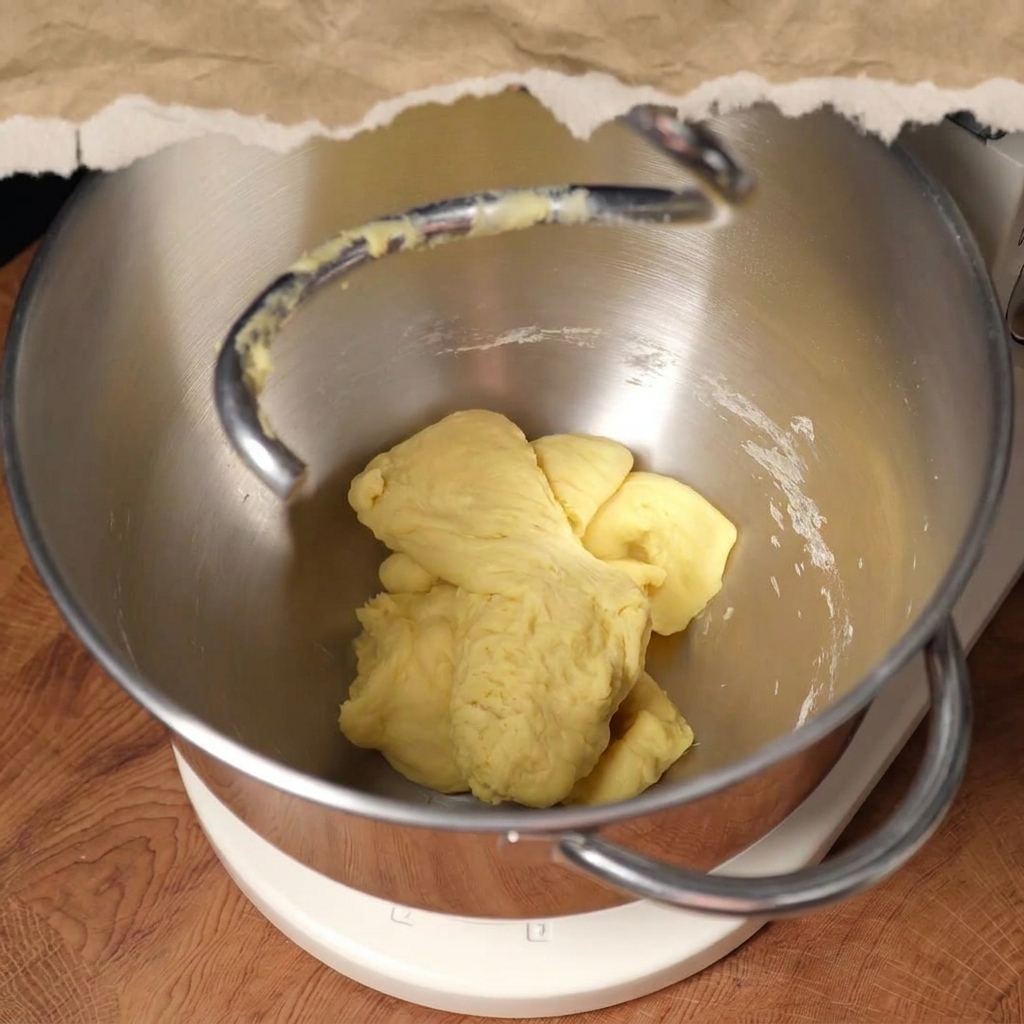
Set your stand mixer to gear 3 and mix for about 3 minutes until the ingredients come together. Once the mixture is integrated, increase the speed to gear 6 for another 3 minutes. This initial mixing hydrates the flour and begins to build the basic gluten network before the fat is introduced.
Tip: Start on a low gear to prevent dry flour from puffing out of the bowl and to ensure even hydration of the ingredients. - 5Check for the tearing state

Stop the mixer and pull a piece of the dough to test its strength. At this stage, the dough should be stretchy but will tear easily with rough, jagged edges. This is known as the tearing state, indicating the gluten is developing but is not yet strong enough to hold the addition of butter.
Tip: The dough should feel tacky. If it doesnt stretch at all and just snaps, mix for another minute on high speed. - 6Incorporate butter and salt
Once the dough shows a tearing texture when pulled, add 4.5g of salt and 60g of softened room-temperature butter. Mix on a low speed (gear 3) until the butter is fully absorbed, which provides the bread with its rich flavor and tender crumb.
Tip: Make sure the butter is soft enough that your finger leaves an indentation easily; if its too cold, it wont emulsify properly with the dough. - 7Test for the windowpane stage
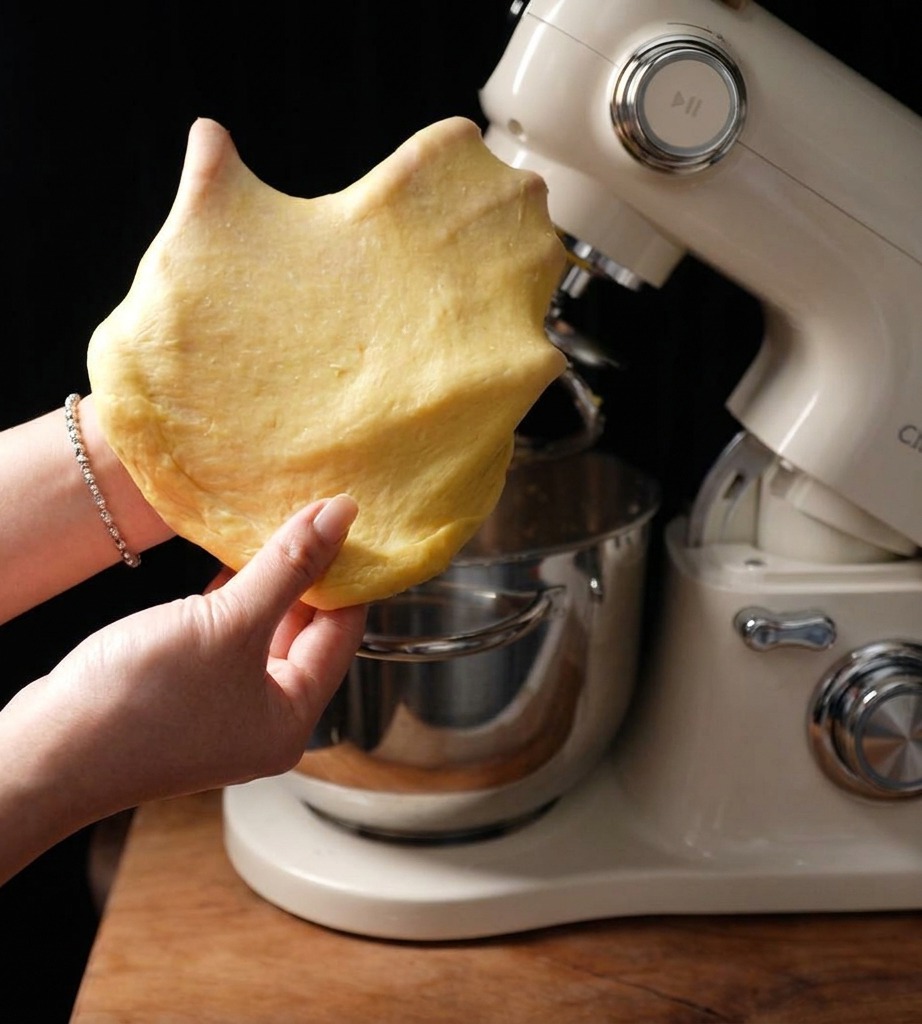
Increase the mixer speed to gear 6 for about 5 minutes. Check for gluten development by stretching a small piece of dough; it should form a thin, translucent membrane that you can see light through without it breaking.
Tip: If the dough tears before becoming translucent, continue mixing for another minute and test again. This elasticity is crucial for a tall, airy burger bun. - 8Allow the dough to ferment
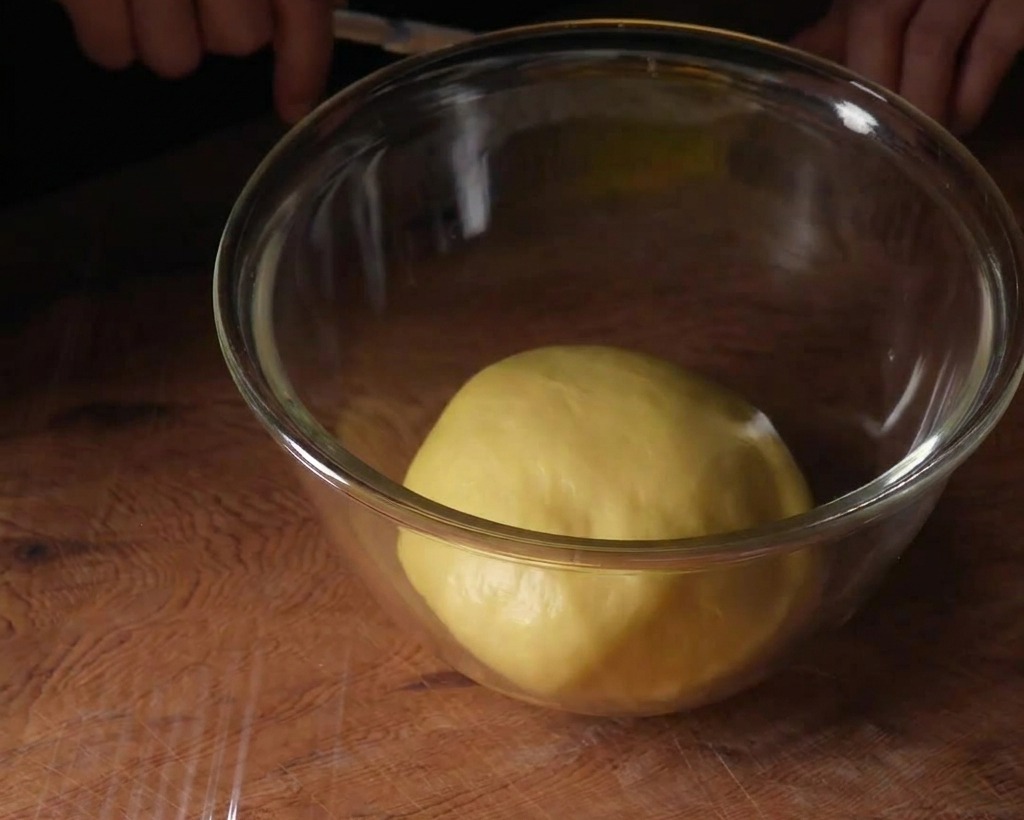
Form the kneaded dough into a smooth ball and transfer it to a clean glass bowl. Cover the bowl with plastic wrap and let it proof at 30°C for approximately one hour. The dough should roughly double in size during this stage.
Tip: Proofing time can vary based on your room temperature; always judge by the volume of the dough rather than just the clock. - 9Punch and degas
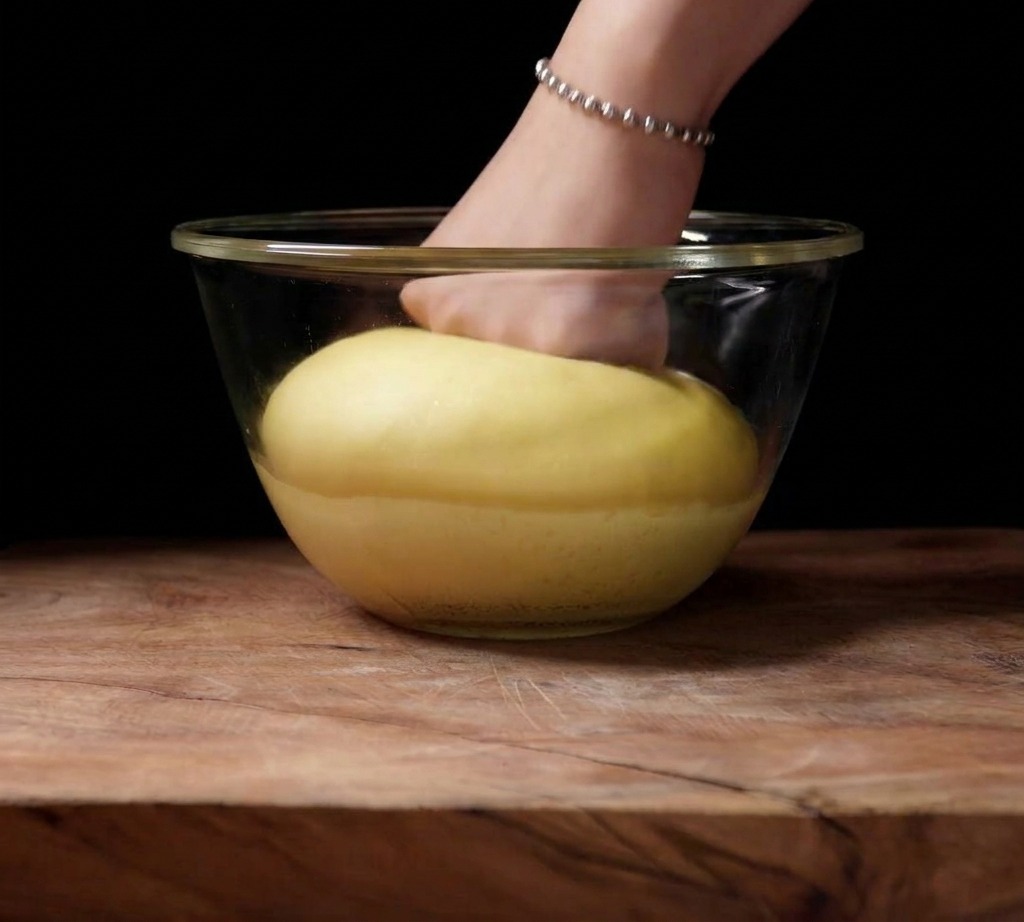
Once your dough has doubled in size, give it a firm punch with your fist to knock out the air. This degassing process isnt just satisfying; it redistributes the yeast and ensures your buns have a tight, even crumb rather than large, irregular air pockets.
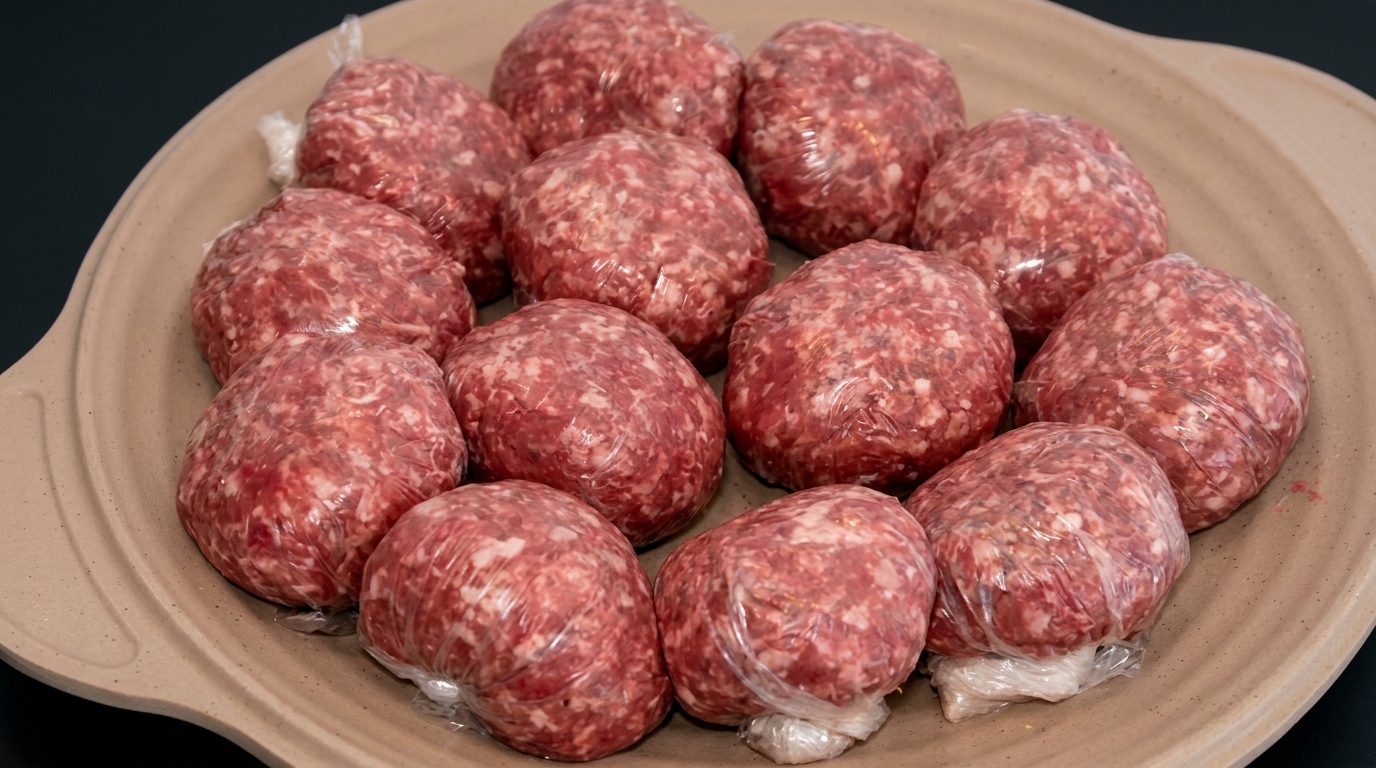
Tip: Dont go full heavyweight champion—just a few firm presses are enough to deflate it without stressing the delicate gluten structure. - 10Portion the dough
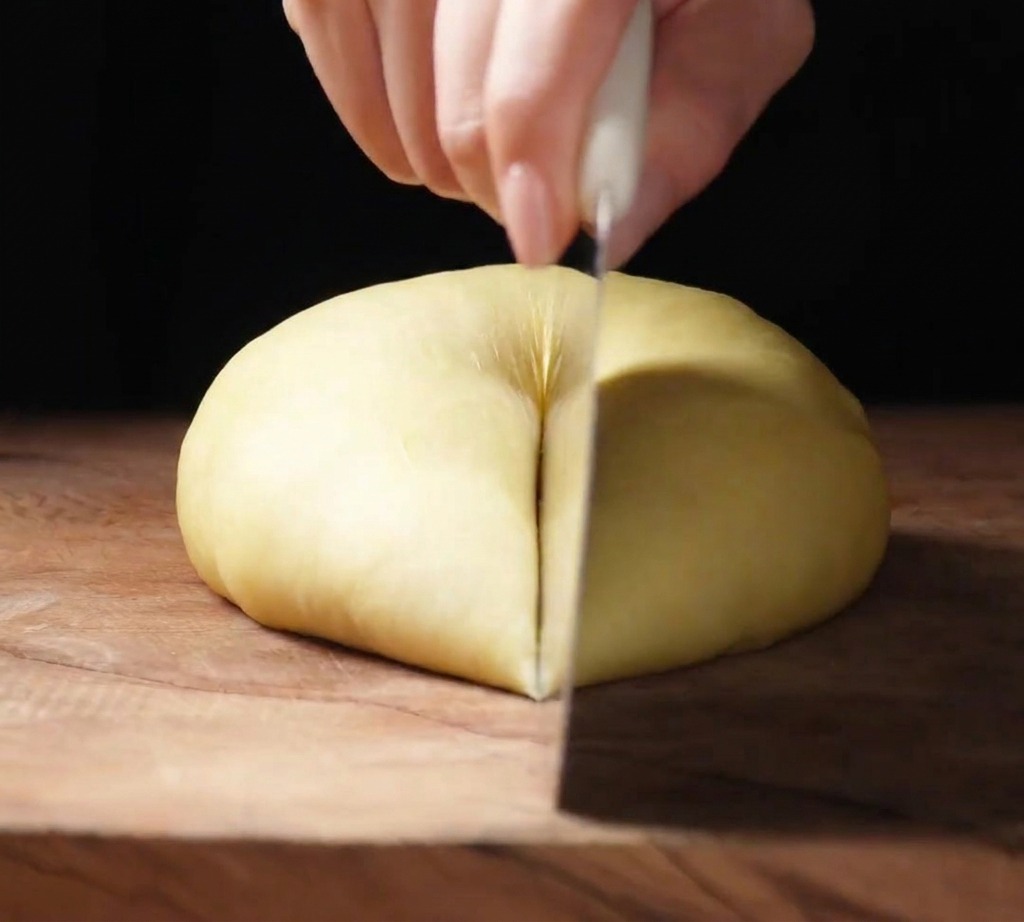
Transfer your deflated dough to a wooden board and divide it into six equal pieces. While you can eyeball it, using a kitchen scale is the secret to professional-looking buns that all finish baking at the exact same time.
Tip: Aim for clean cuts with a sharp knife or bench scraper to avoid tearing the gluten networks youve worked so hard to build. - 11Shape the dough into rounds
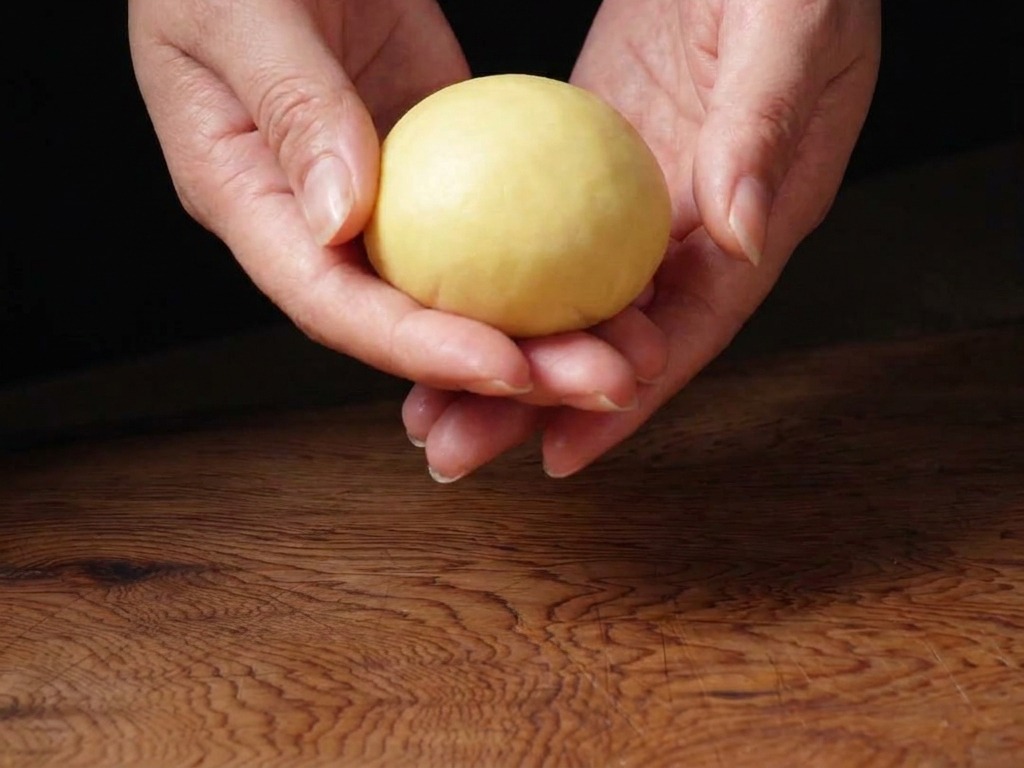
Take each divided portion and shape it into a smooth ball. Pull the edges of the dough toward the center and seal the bottom tightly, then roll the ball between your palms against the work surface to create surface tension. This ensures the buns rise evenly into a perfect round shape.
Tip: If the dough feels sticky, lightly grease your hands with a bit of softened butter rather than using flour, which can make the finished buns tough. - 12Arrange on the baking tray
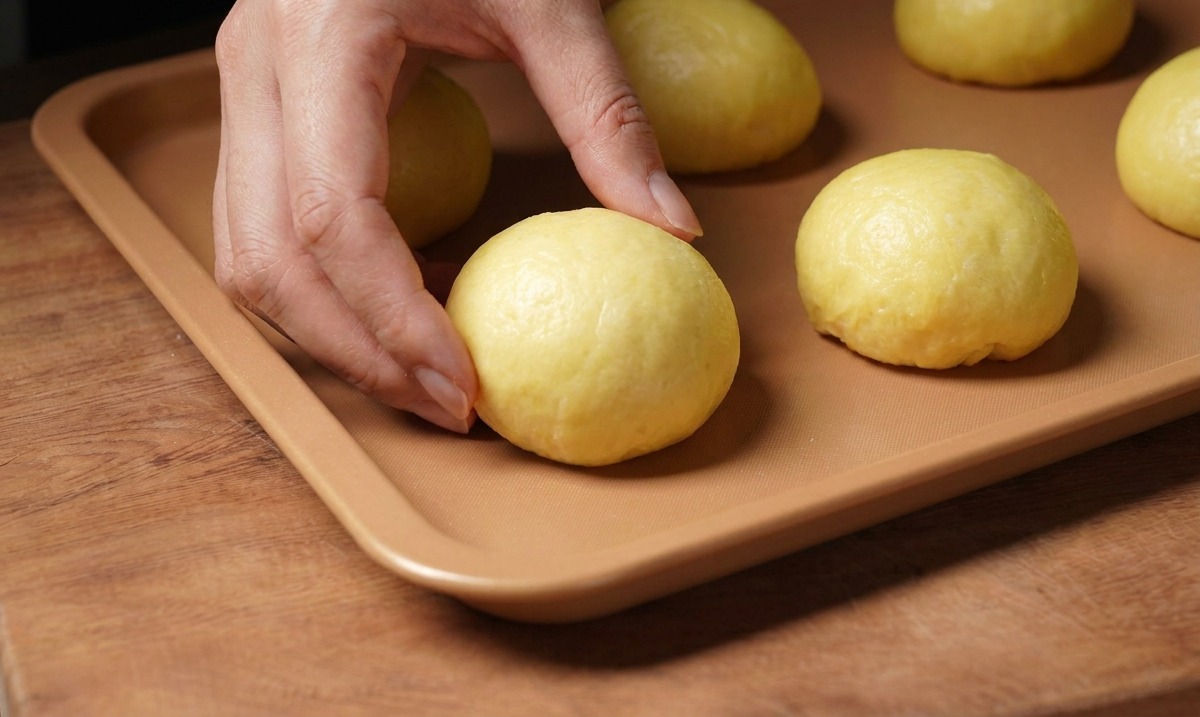
Place the shaped dough balls onto a gold-colored baking tray, leaving plenty of space between them. They will need this room to grow during the second fermentation. Let them rise at 38°C for about 40 to 50 minutes until they have increased significantly in size.
Tip: If you dont have a proofing setting on your oven, place the tray inside a cold oven with a bowl of hot water on the bottom rack to create a warm, humid environment. - 13Brush with egg wash
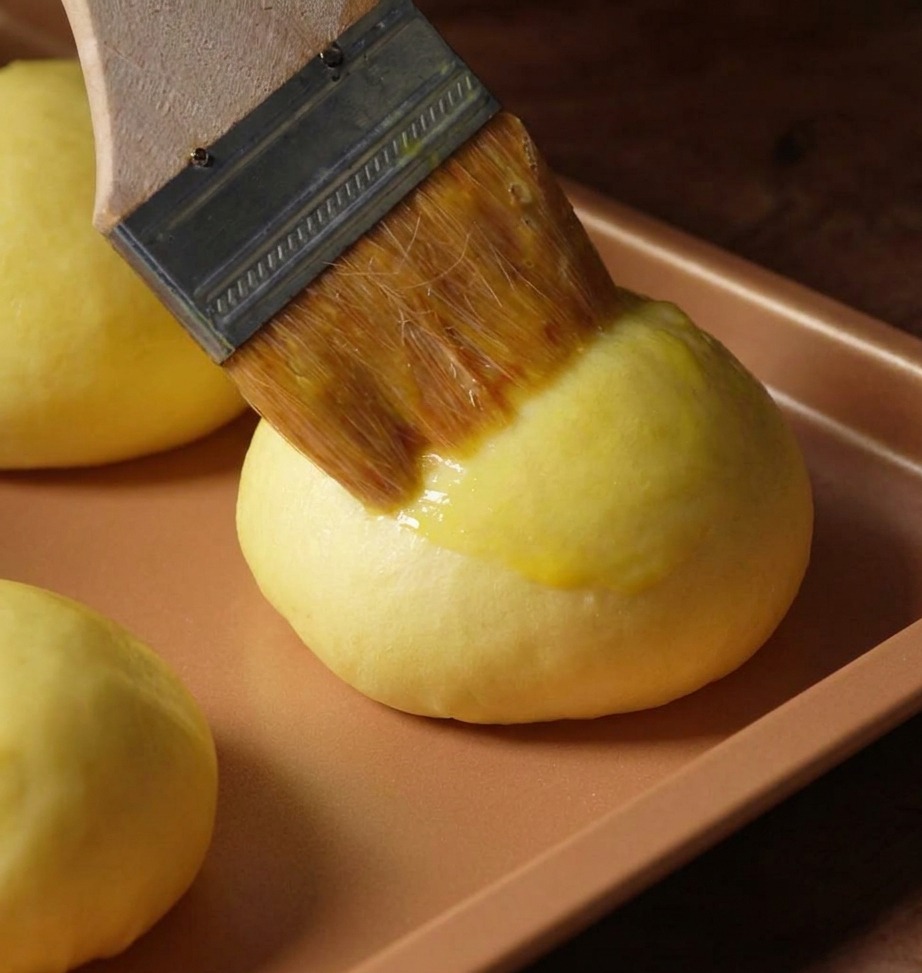
Once the brioche buns have completed their second fermentation and have visibly puffed up, carefully brush the tops with a thin, uniform layer of egg wash. Use a soft pastry brush and a very gentle touch to avoid puncturing or deflating the delicate, aerated dough. This coating will react with the heat in the oven to create a professional, glossy, golden-brown crust.
Tip: Strain your egg wash through a fine-mesh sieve before using to remove any protein clumps, ensuring a perfectly smooth and streak-free finish on your buns. - 14Bake until golden
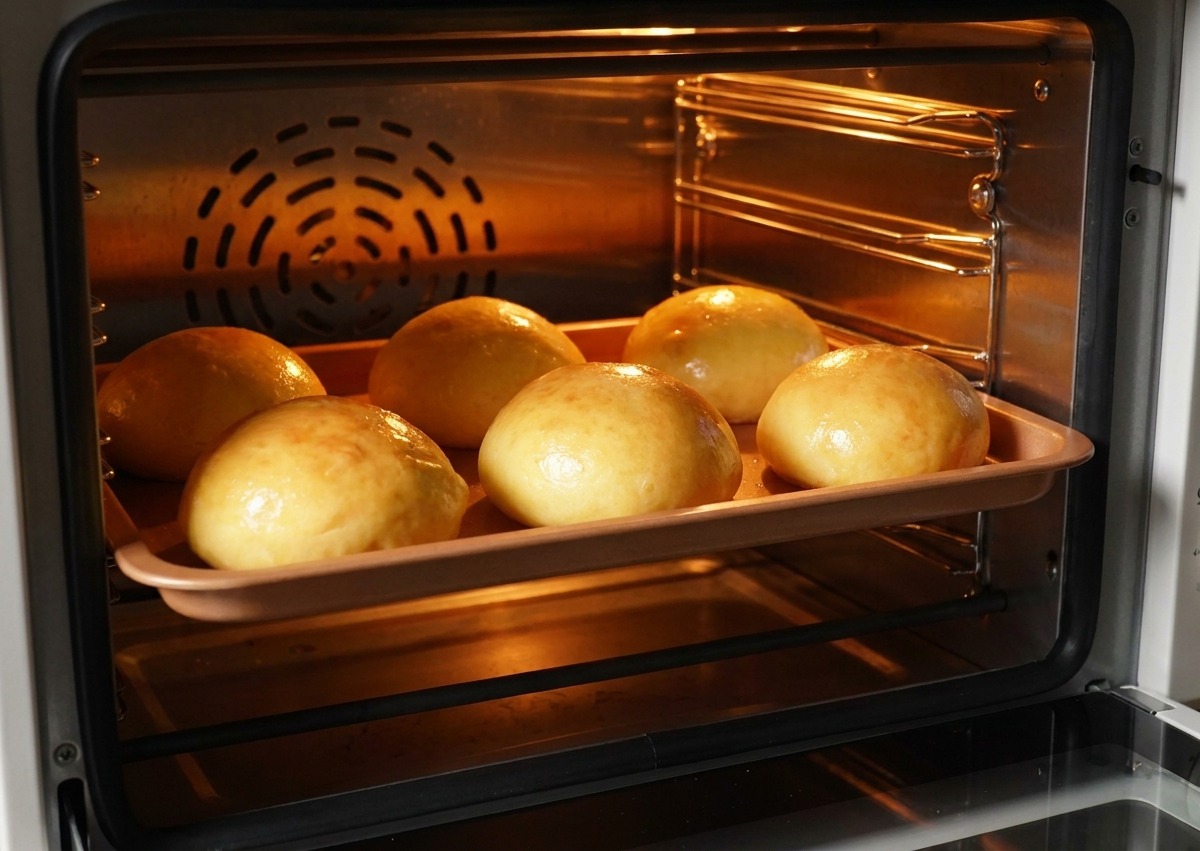
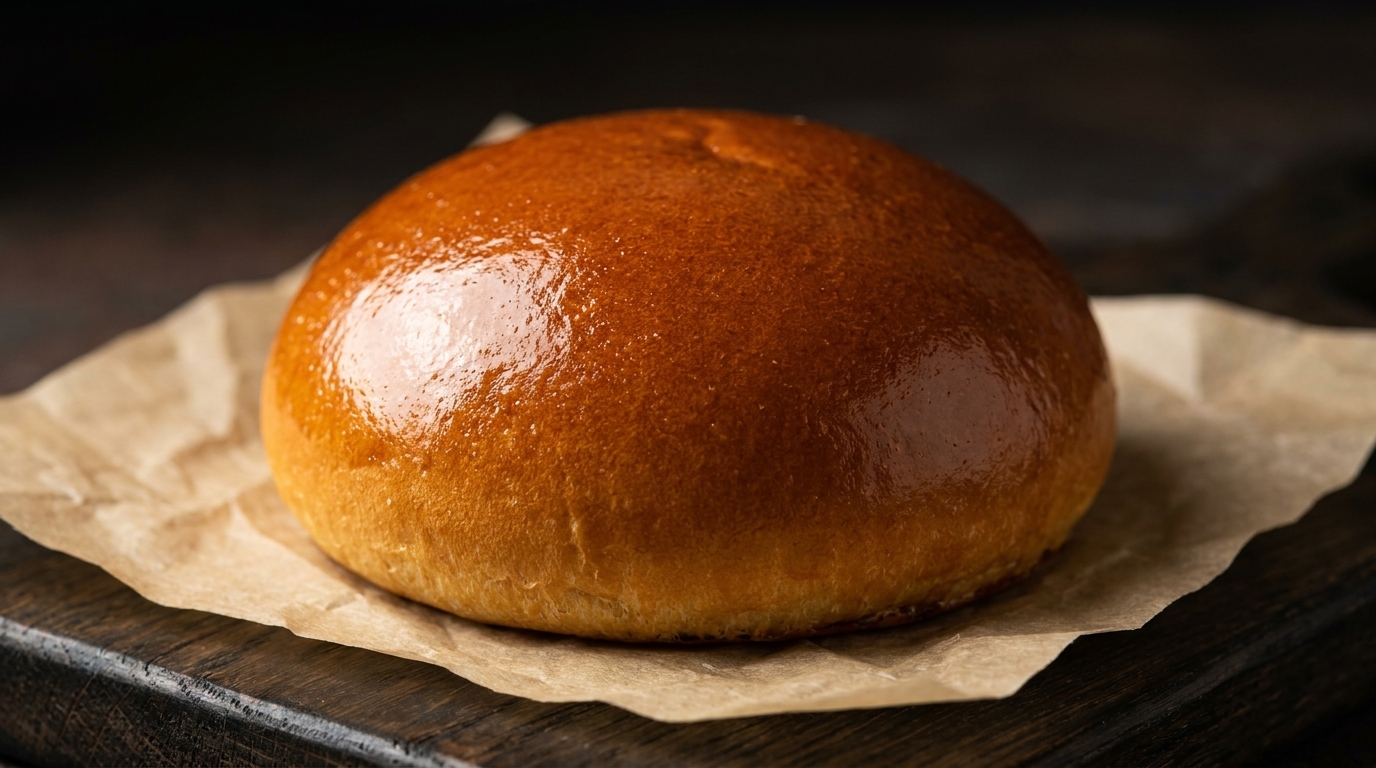
Place the tray in the preheated oven at 180°C. Bake for approximately 15 minutes. The buns are done when they have puffed up and developed a deep, shiny golden-brown crust. The high butter and egg content in the brioche dough will produce a beautiful color and a rich aroma.
Tip: Rotate the baking tray halfway through the baking time to ensure all the buns brown evenly, especially if your oven has hot spots. - 15The butter finish
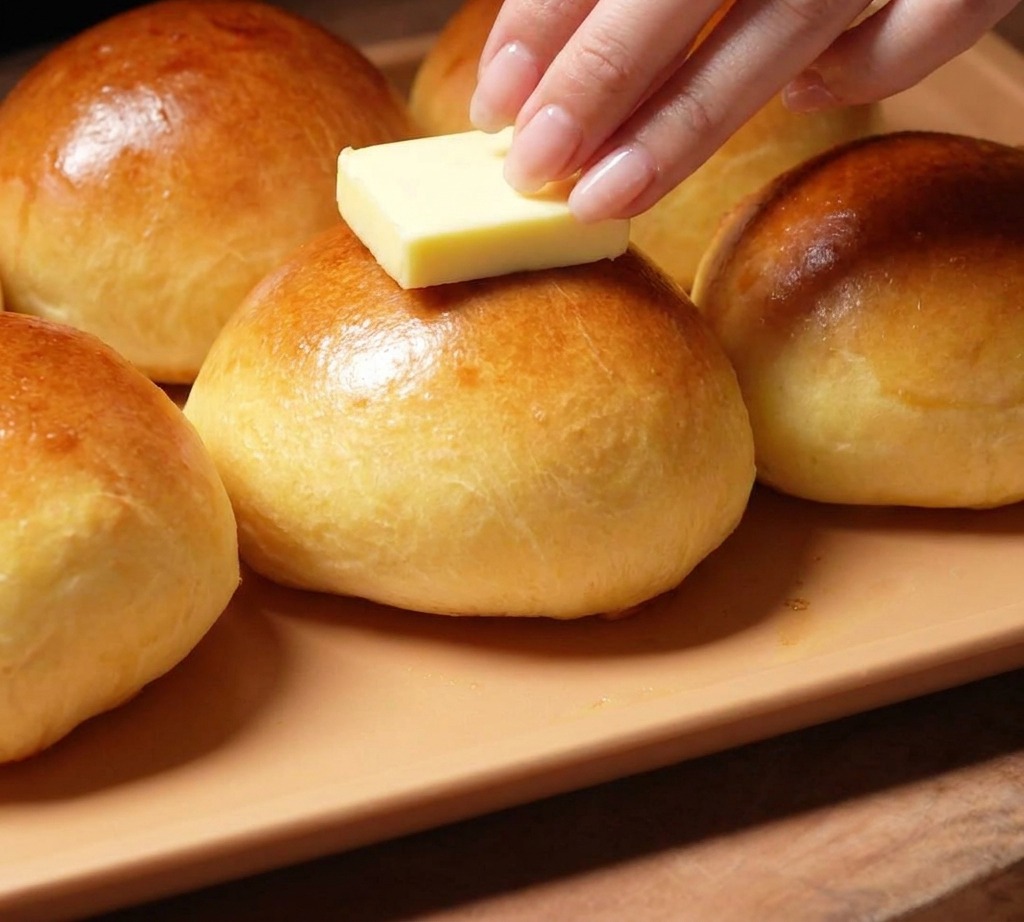
For that iconic bakery shine, rub a cold block of butter over the buns the second they come out of the oven. The residual heat melts the butter instantly, creating a glossy, golden glaze that adds both flavor and a beautiful presentation.
Tip: Timing is everything—if the buns cool down too much, the butter wont melt smoothly and youll miss out on that perfect, professional sheen.