Savory Bacon
Green Pea Focaccia Buns
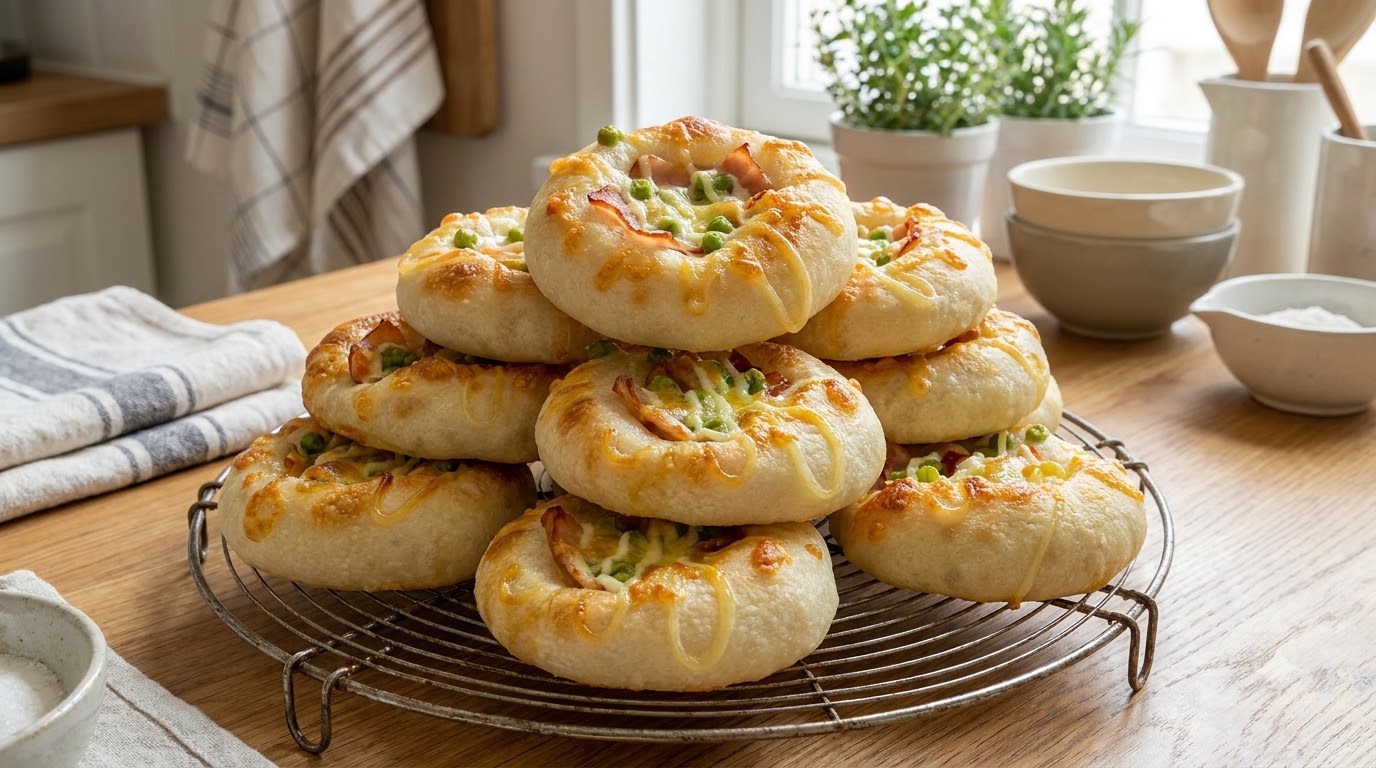
Golden-brown individual focaccia buns topped with smoky bacon, sweet green peas, melted cheese, and a rich mayonnaise drizzle, baked to bubbly perfection.
These individual-sized focaccia buns combine the airy, olive-oil-rich crumb of traditional Italian focaccia with a savory, comforting topping combination. Featuring smoky bacon bits, sweet green peas, and gooey melted cheese bound with a light lattice of mayonnaise, they offer an incredible balance of textures in every bite. Easy to shape and portion, they make a wonderful snack, breakfast treat, or companion to a warm cup of coffee.
Ingredients
- 500 g bread flour
- 350 ml lukewarm water
- 5 g instant yeast
- 8 g salt
- 30 ml olive oil
- 150 g bacon
- 100 g green peas
- 120 g shredded mozzarella cheese
- 50 ml mayonnaise
Instructions
- 1Mix the dough ingredients
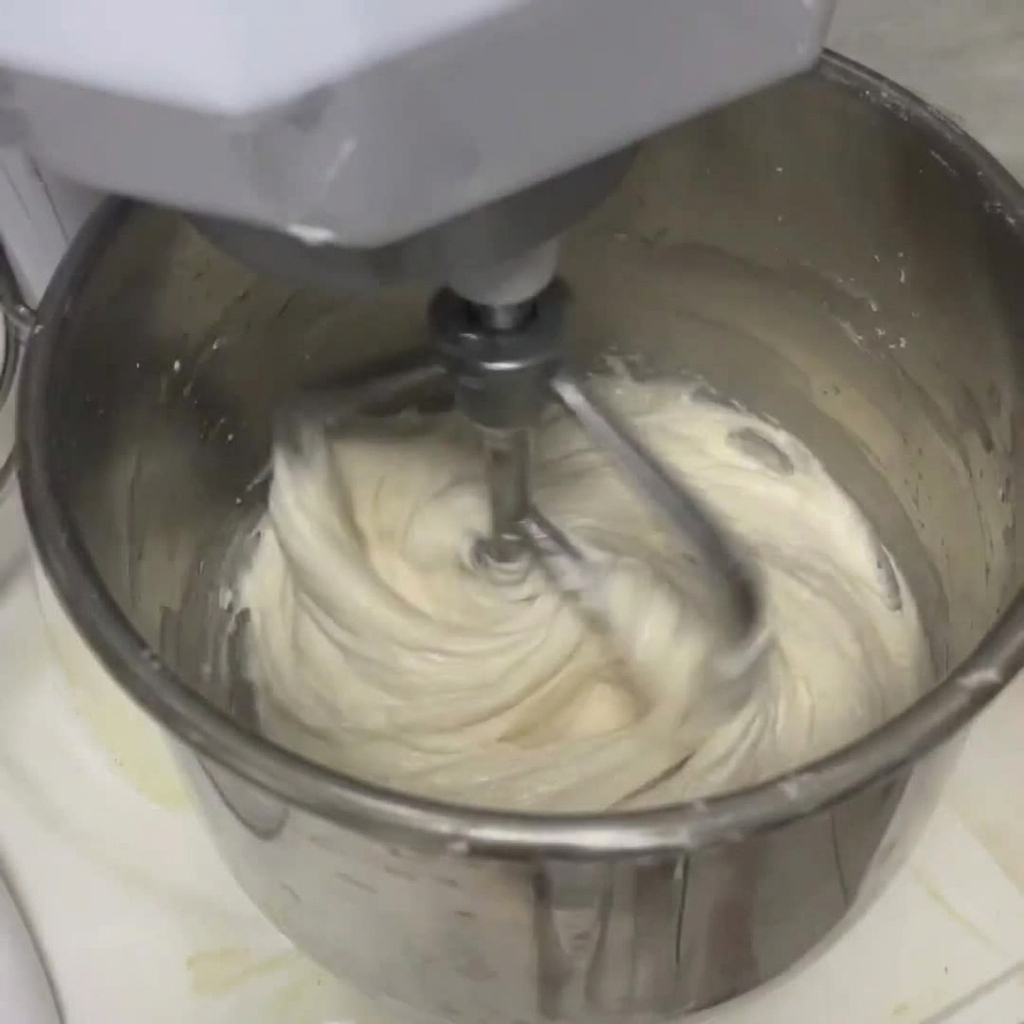
Place all the dough ingredients into a stand mixer bowl fitted with a dough hook attachment, and slowly pour in the liquid while mixing to combine everything evenly.
Tip: Add liquids gradually to ensure the flour absorbs the moisture properly without splashing. - 2Check gluten development
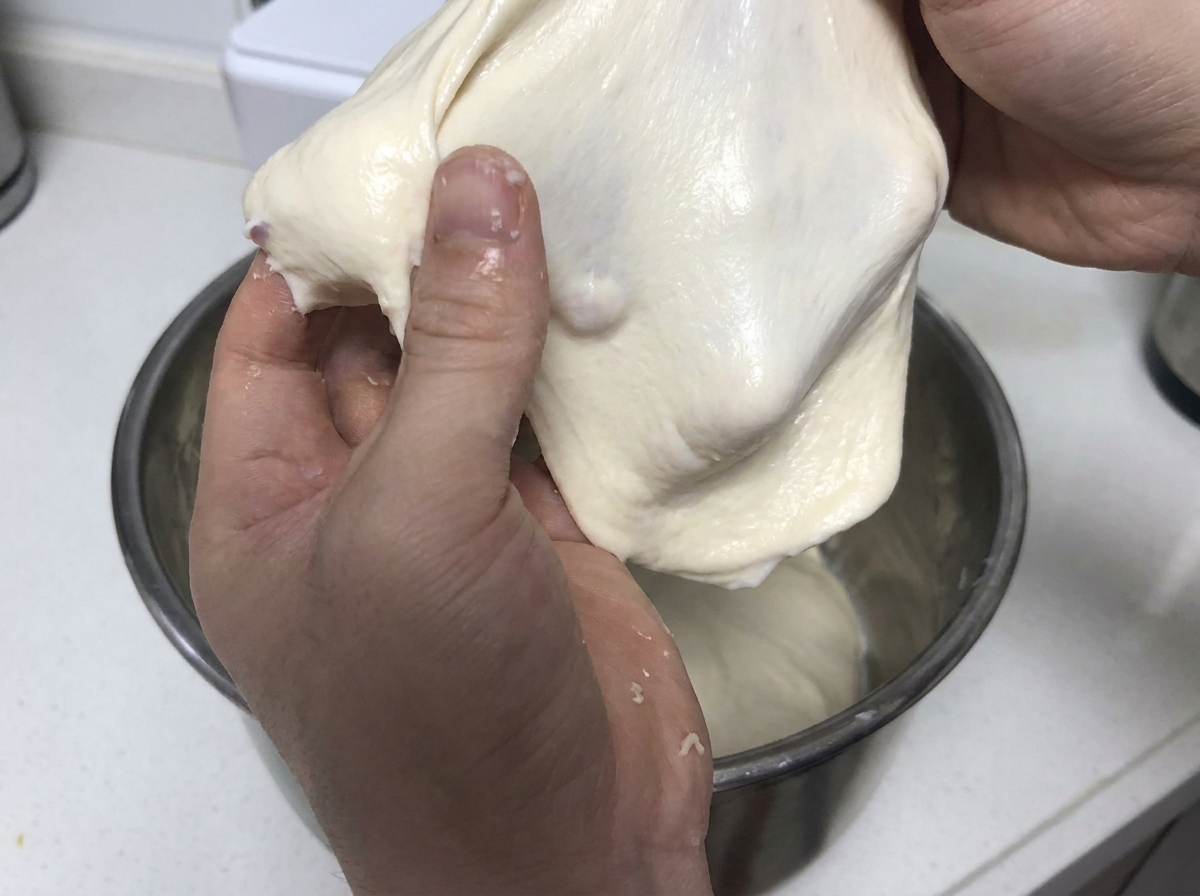
Take a small piece of the soft white dough and gently stretch it between your fingers to test its elasticity and check the gluten network development.
Tip: The dough should stretch into a smooth, translucent membrane without tearing easily. - 3Shape the dough in container
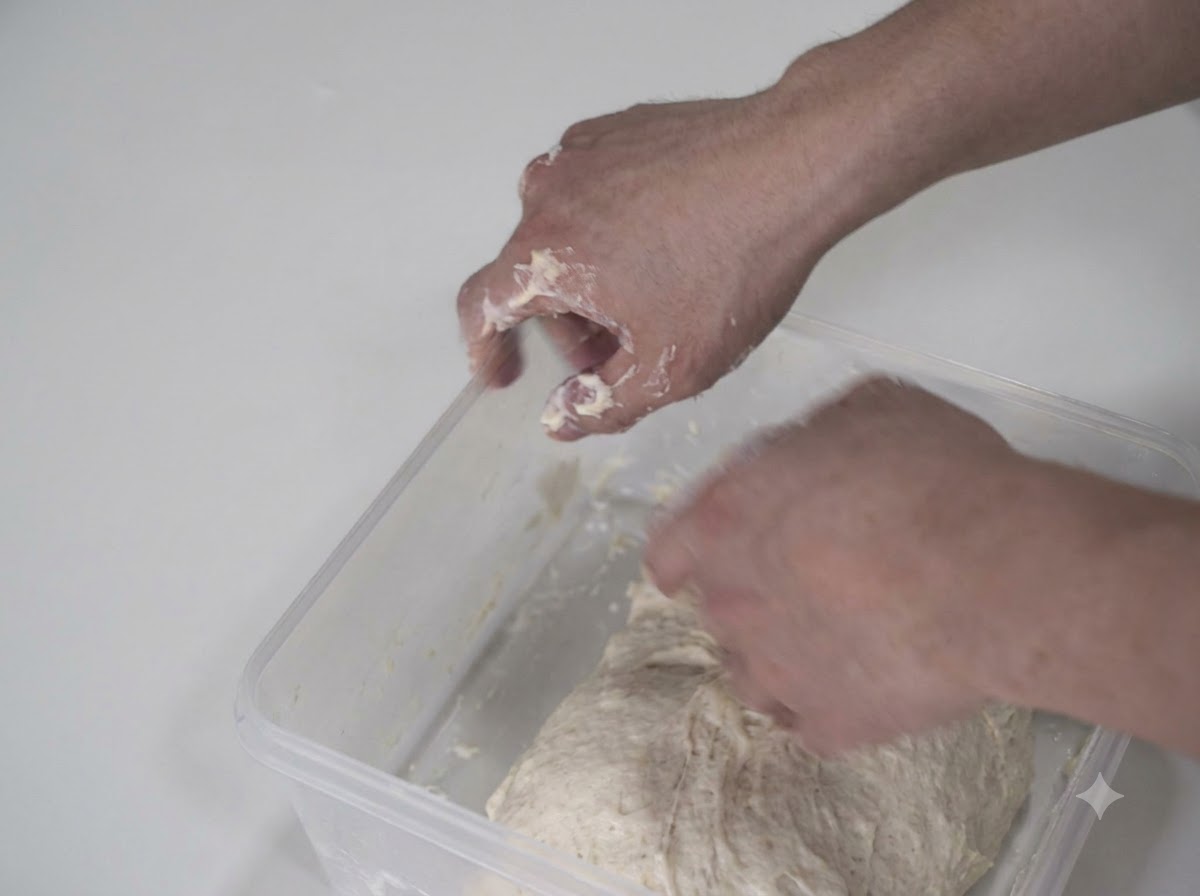
Gently shape and smooth the prepared white dough into a neat rectangle directly inside a transparent plastic container.
Tip: Keep your hands lightly greased or floured to prevent the soft dough from sticking to your fingers. - 4Fold and stretch the dough
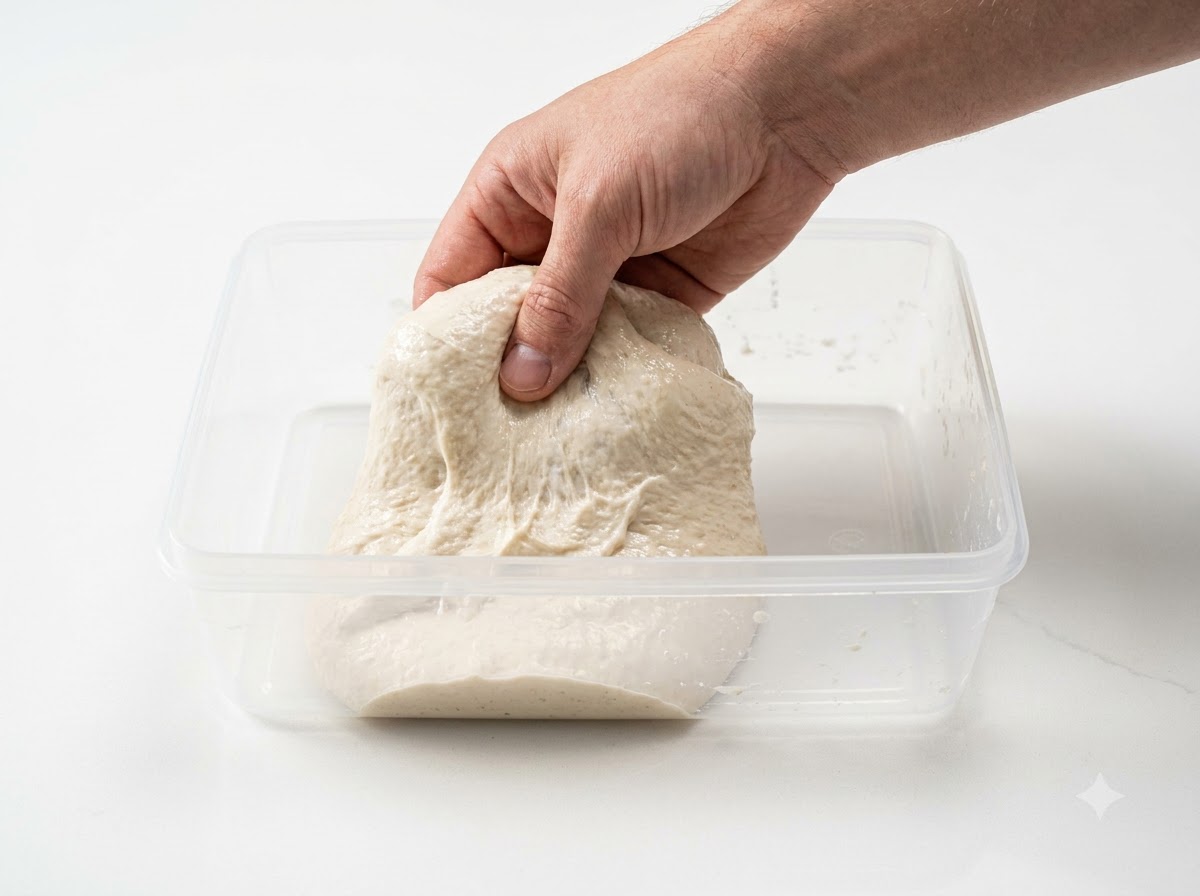
Perform a stretch-and-fold by grabbing the edge of the proofed dough, pulling it up gently, and folding it over toward the center inside the transparent container.
Tip: This helps strengthen the dough structure and redistributes yeast and temperature during proofing. - 5Tip out the proofed dough
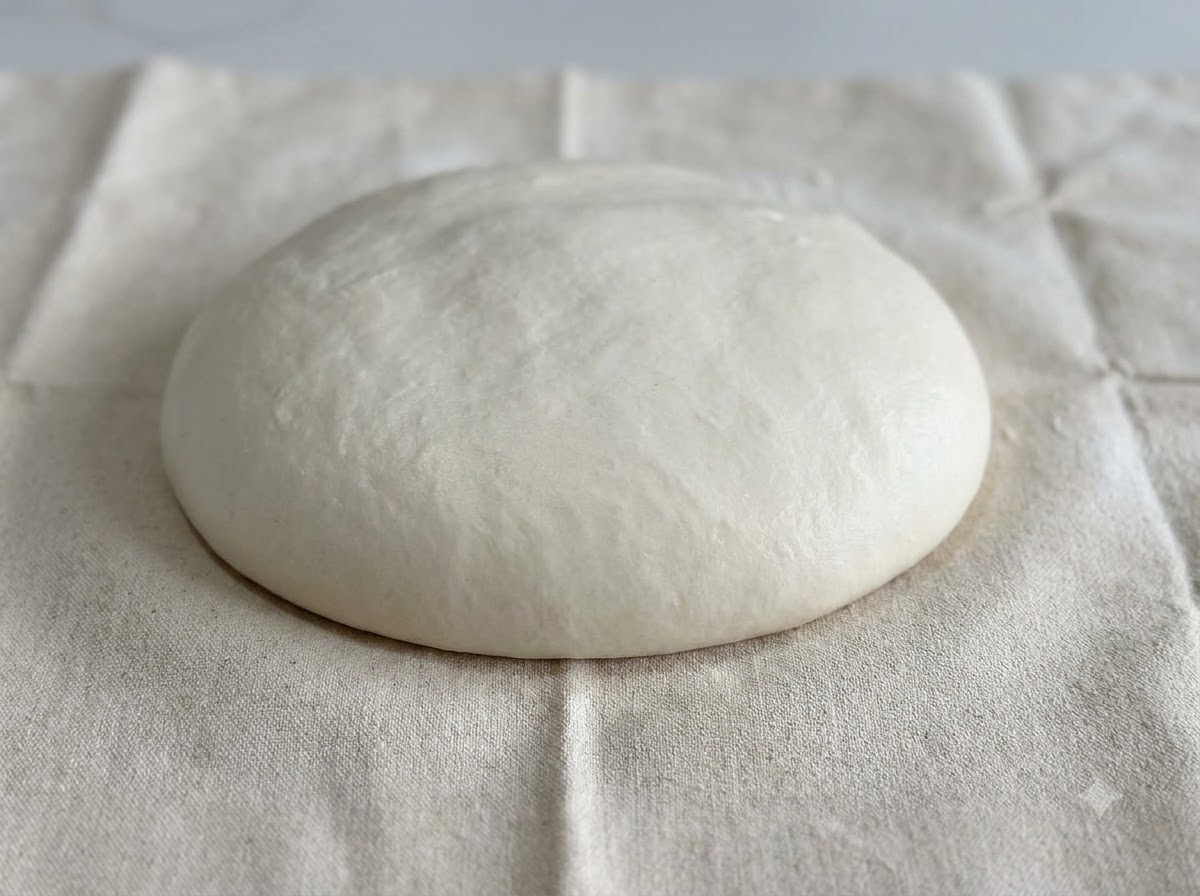
Carefully invert the plastic container to tip the fermented dough out onto a generously floured cloth surface without deflating it.
Tip: Ensure the cloth has enough flour or bran to prevent the sticky dough from adhering to the fabric. - 6Divide the dough
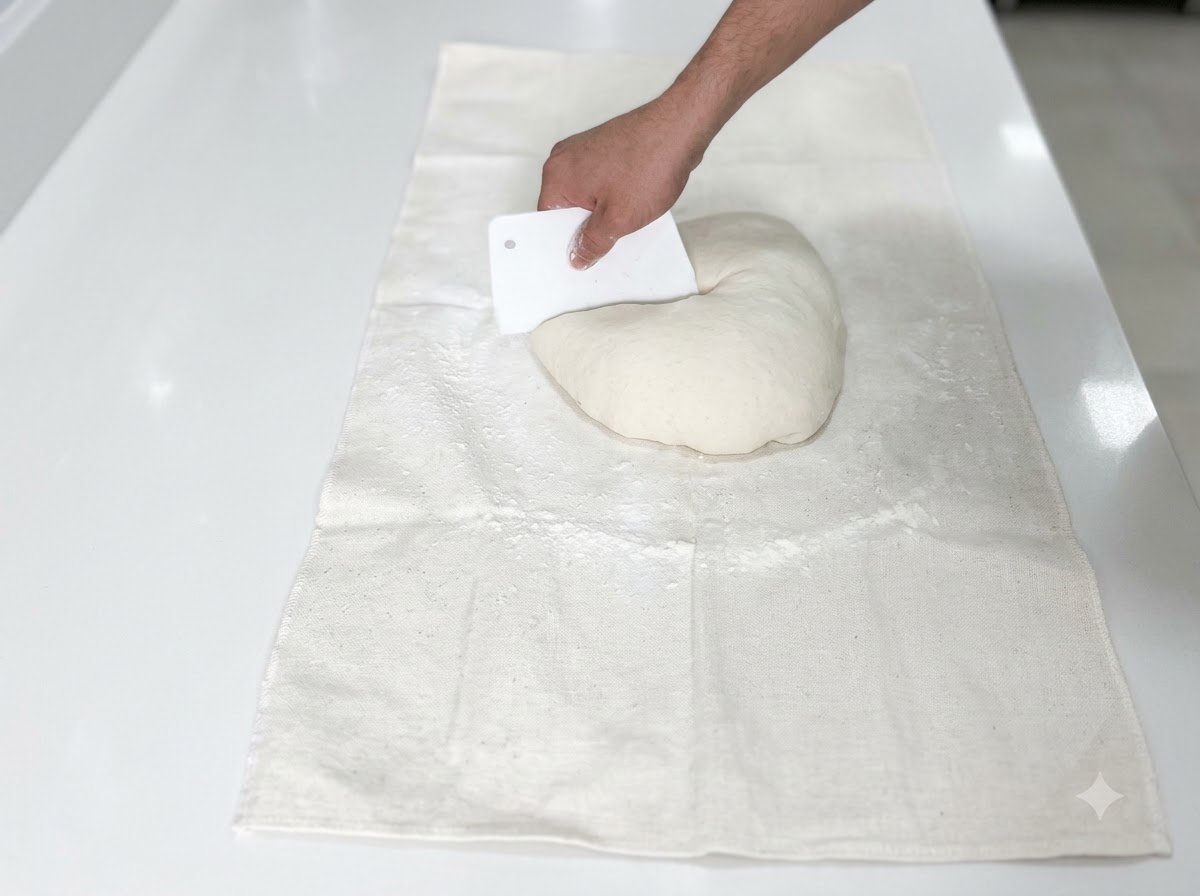
Use a plastic dough scraper to cleanly cut and divide the large mound of dough into smaller, even portions directly on the floured cloth.
Tip: Make firm, single cuts with the scraper rather than sawing to avoid tearing the delicate dough structure. - 7Brush oil on the dough
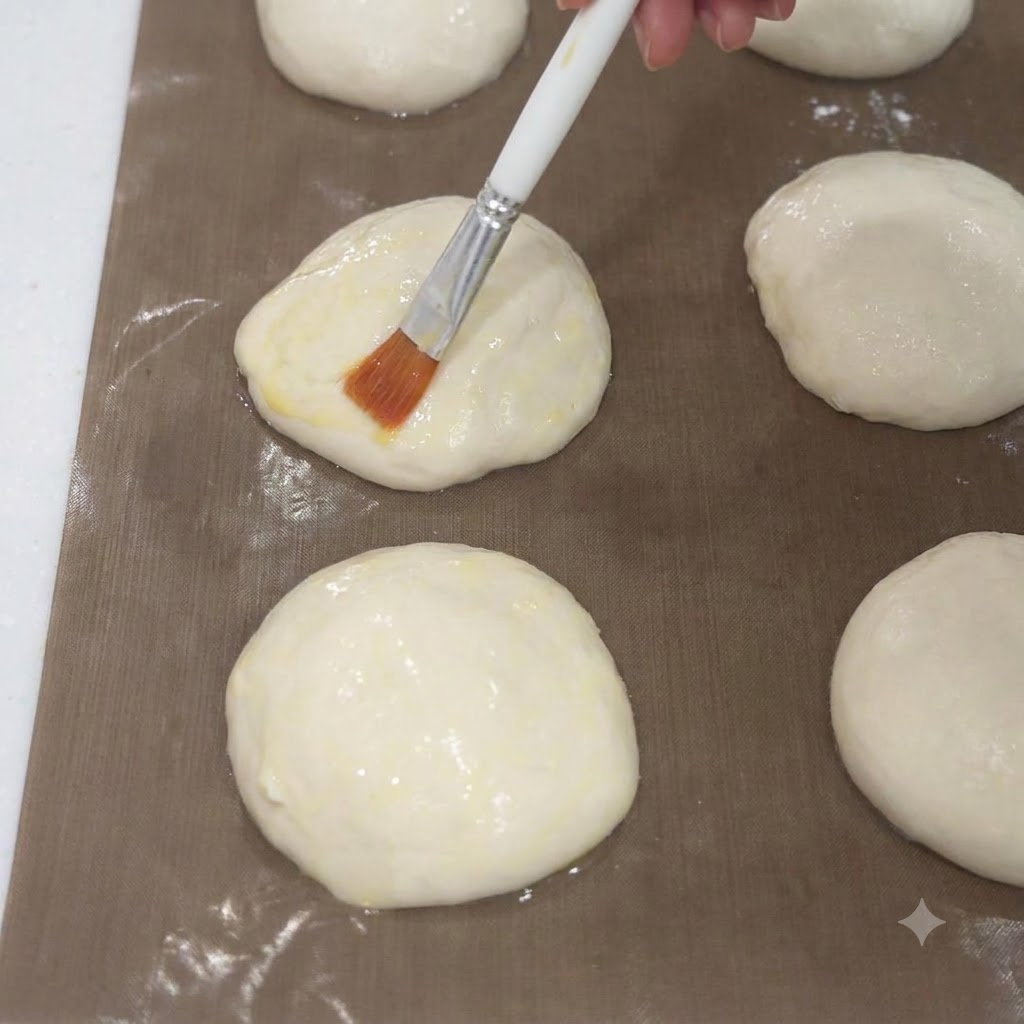
Take a pastry brush and apply a thin layer of cooking oil evenly over the surface of the shaped round dough portions on the baking sheet.
Tip: Brushing oil on top prevents the dough from drying out and helps the toppings adhere better. - 8Create center wells
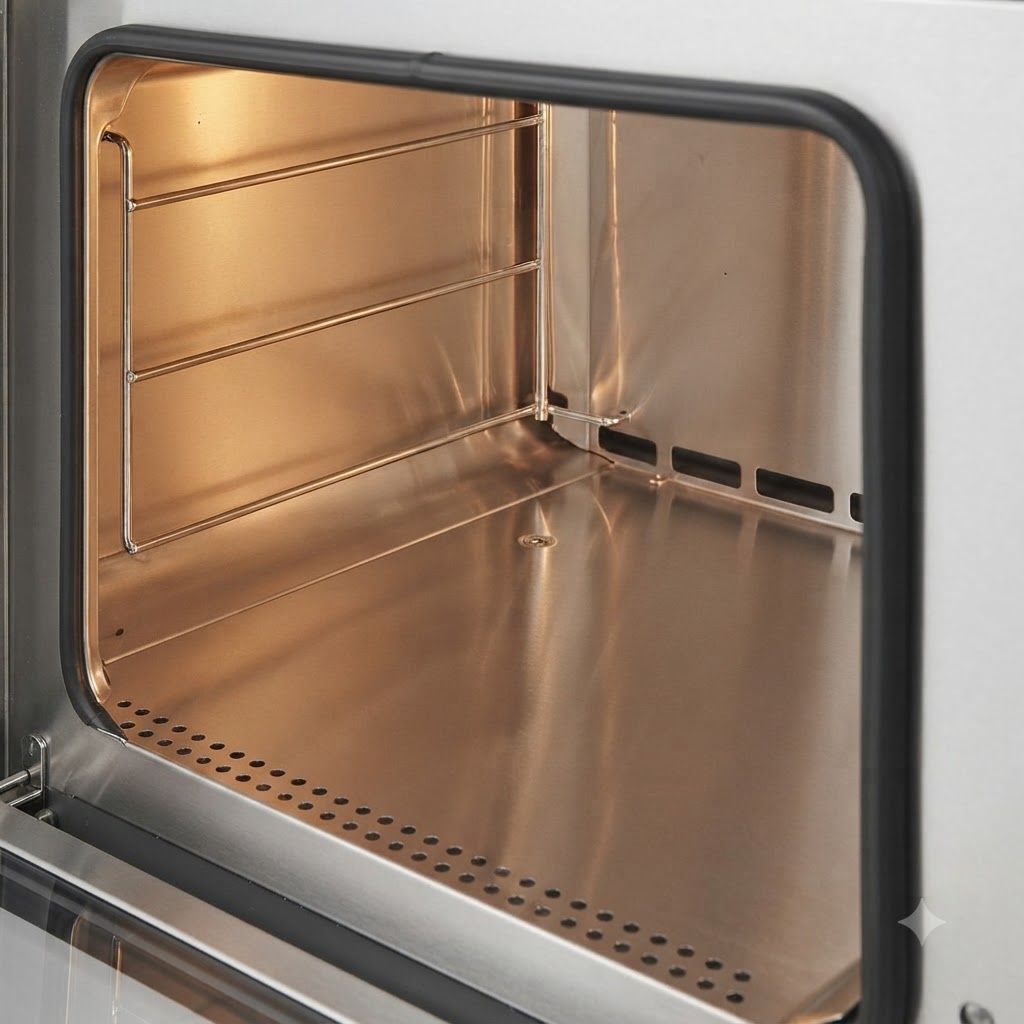
Use your fingers to press firmly down into the center of each dough portion, creating a distinct well or indentation while keeping the outer edges intact.
Tip: Press firmly enough to make a deep pocket, but take care not to puncture the bottom of the dough. - 9Add bacon filling
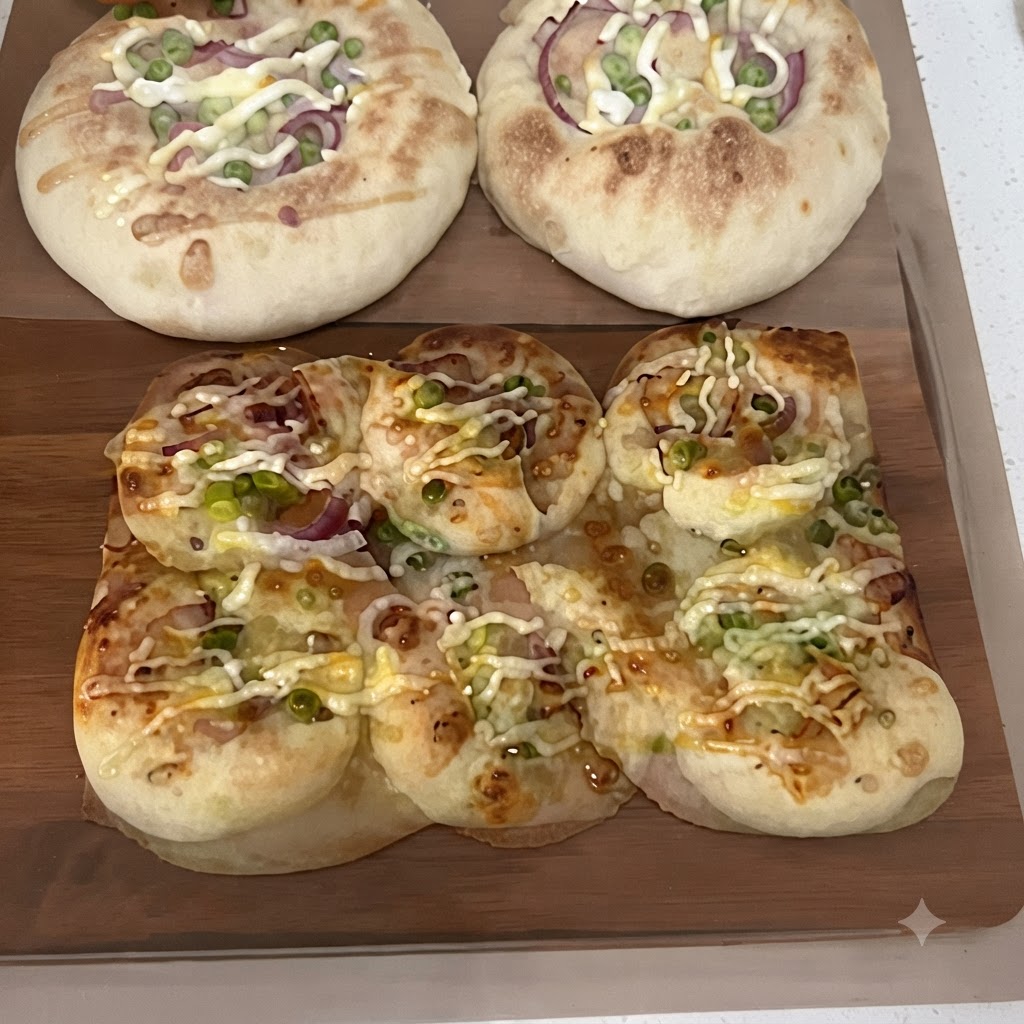
Place pieces of bacon neatly into the center wells created in each of the dough portions.
Tip: Arrange the bacon evenly inside the pocket so that every bite gets a good portion of meat. - 10Scatter green peas
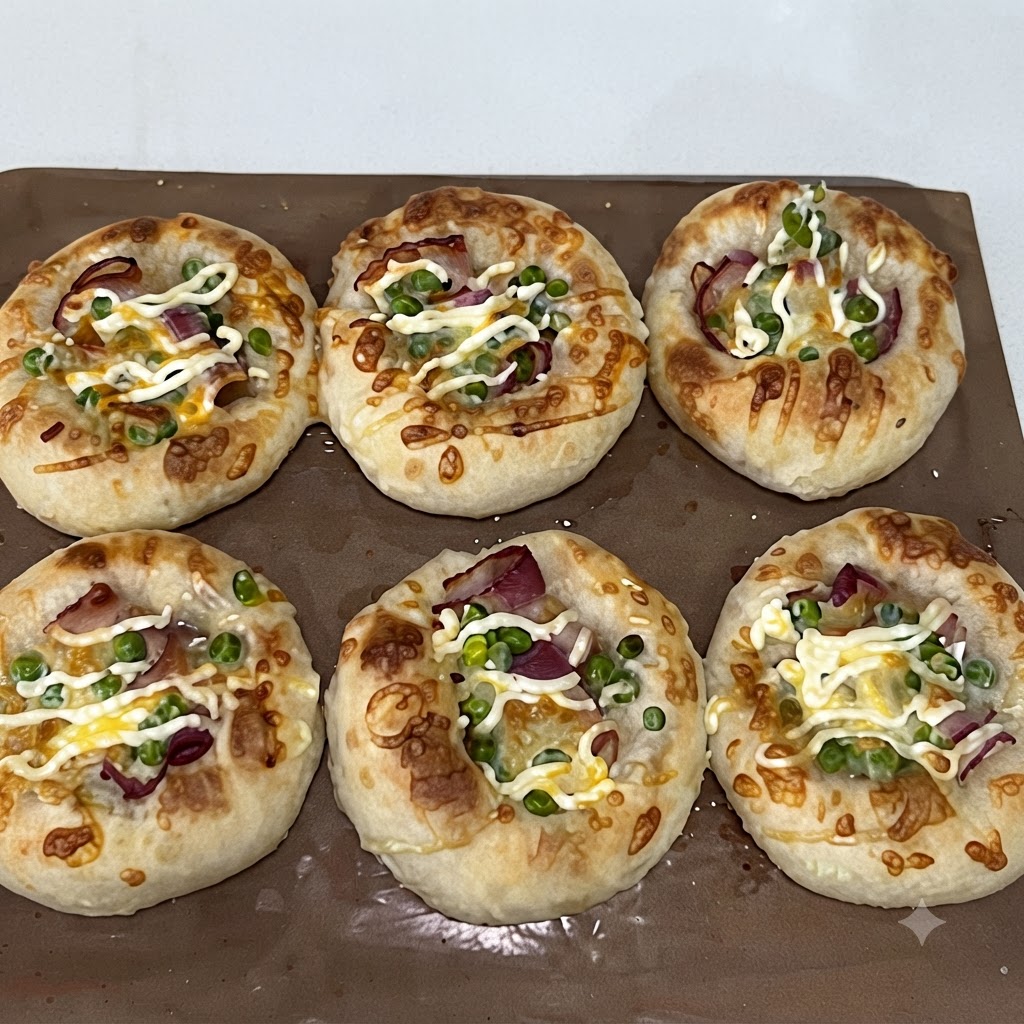
Take a handful of green peas and scatter them directly over the bacon inside the center of each dough piece.
Tip: Distribute the peas evenly to add a fresh pop of color and texture to the savory filling. - 11Sprinkle cheese
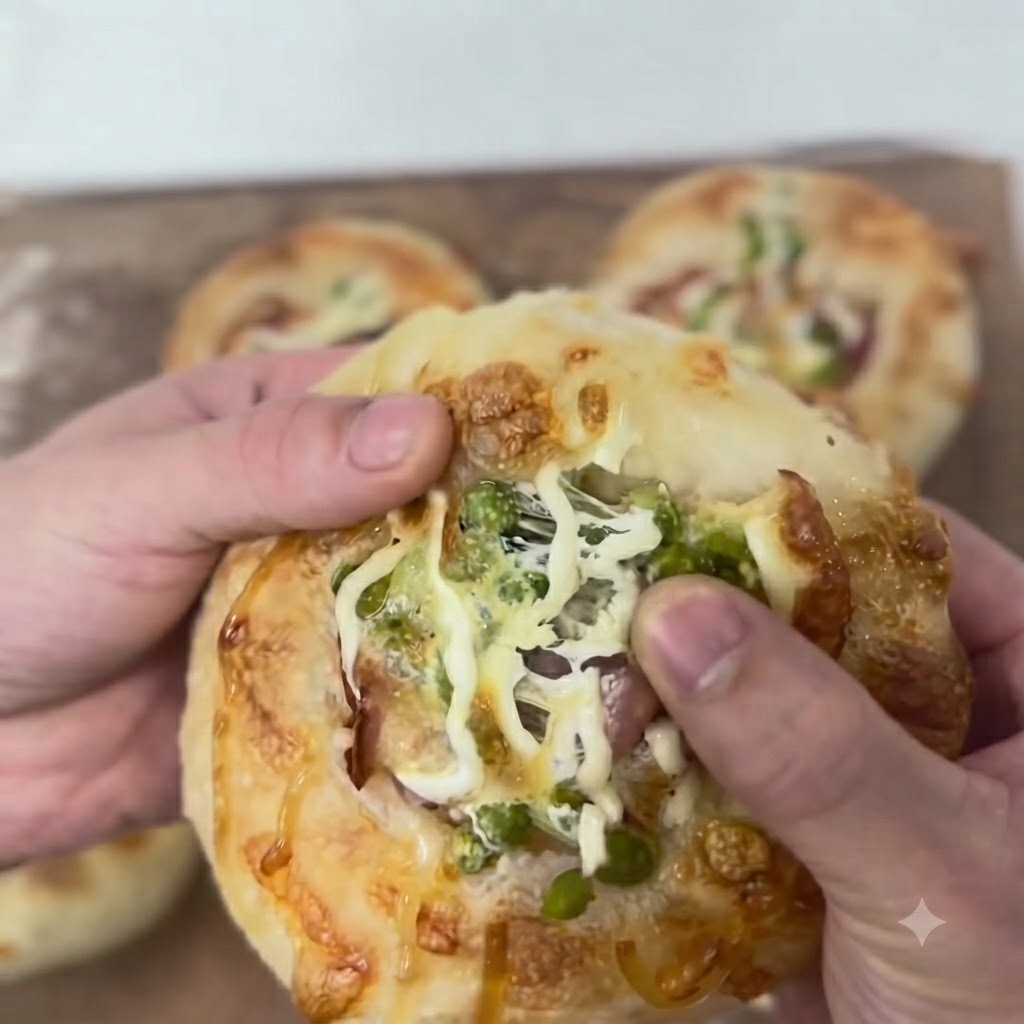
Scatter a generous amount of shredded cheese evenly over the bacon and green peas in each dough well.
Tip: Make sure the cheese covers the fillings so it melts completely and binds everything together during baking. - 12Squeeze mayonnaise

Squeeze mayonnaise in a neat lattice or zigzag pattern directly over the assembled bacon, peas, and cheese toppings.
Tip: A squeeze bottle helps control the flow for a clean and even decorative pattern.