Memphis-Style Dry Rub St. Louis Ribs
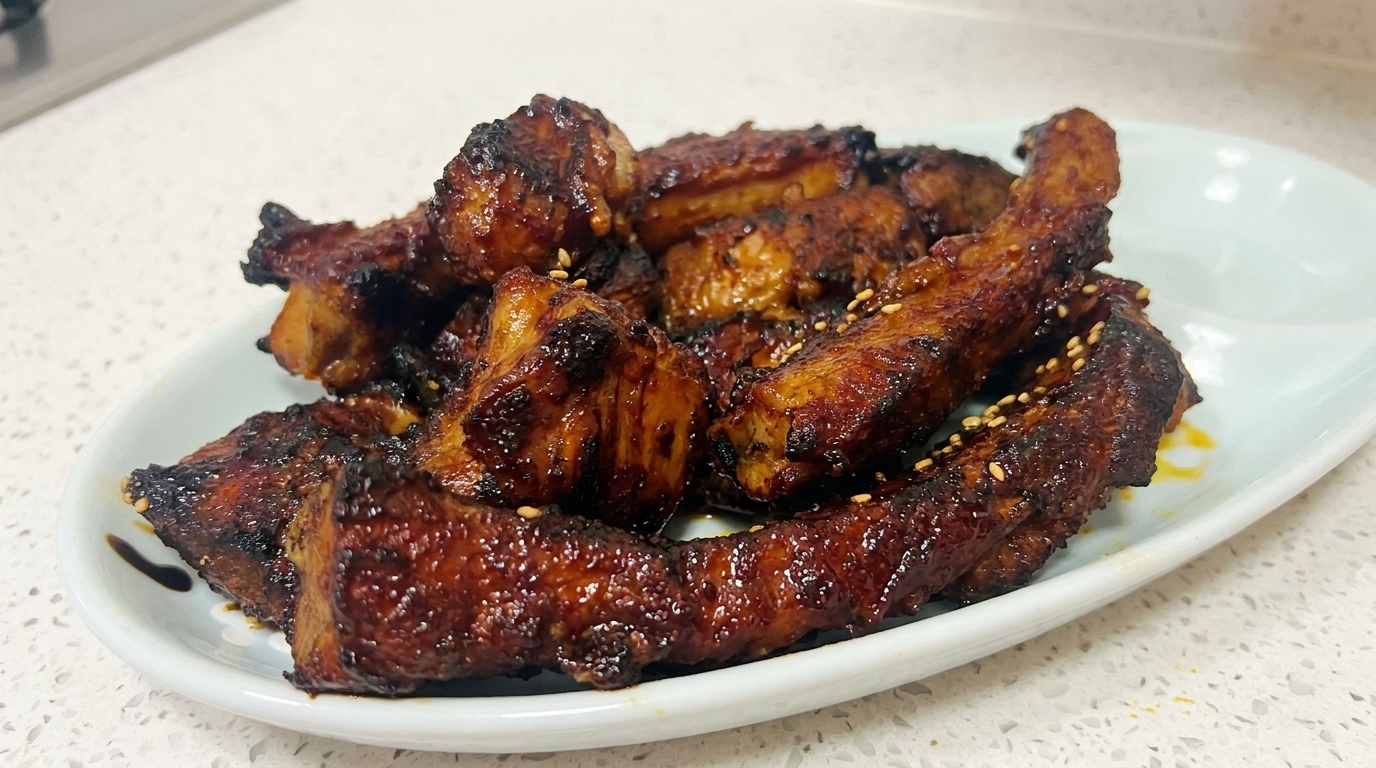
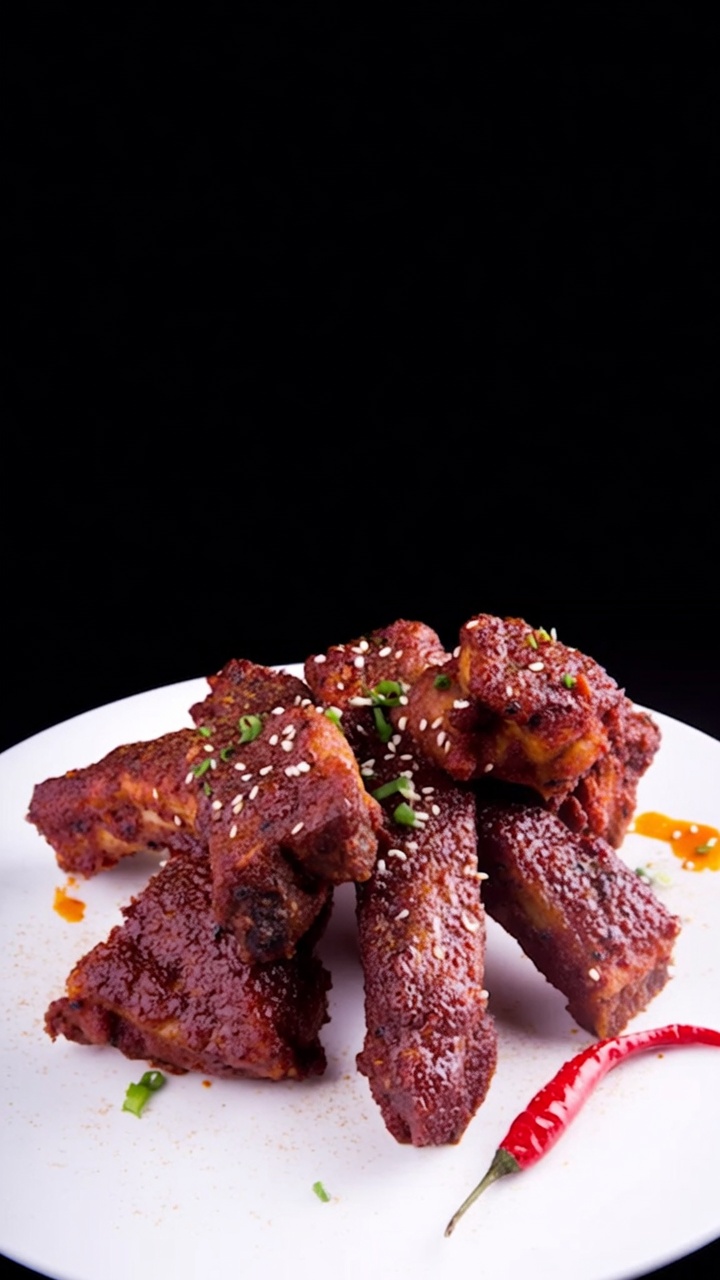
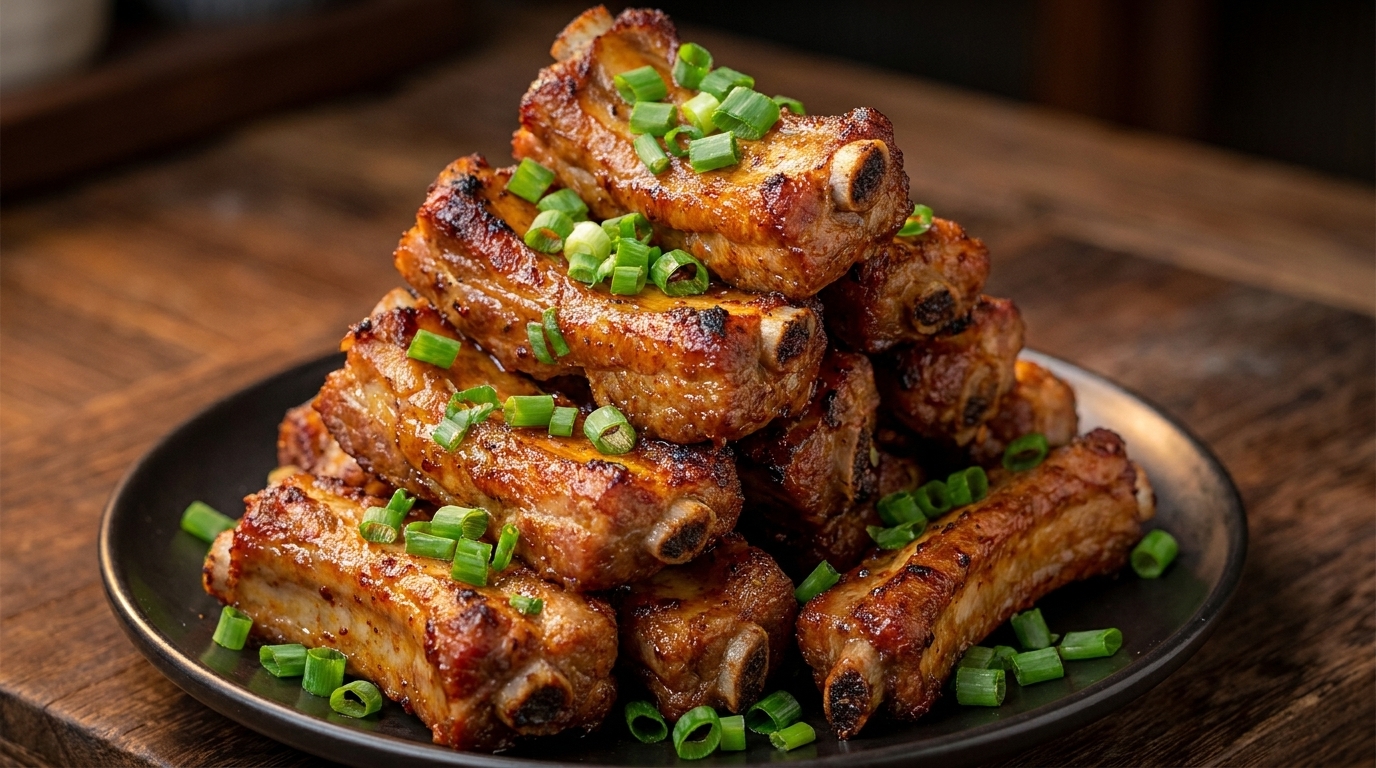
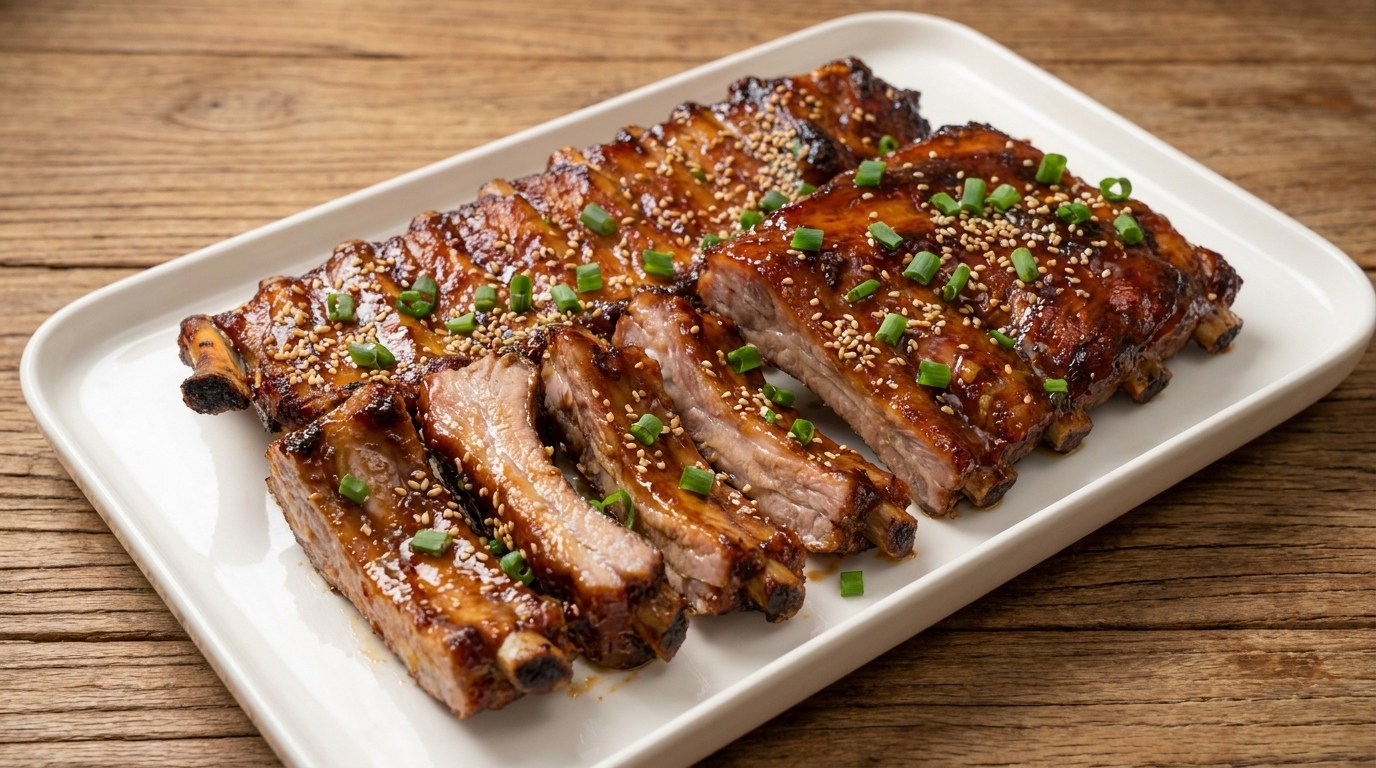
Subvert your barbecue expectations with these tender, sauceless St. Louis spare ribs. A layered sweet and spicy dry rub creates a perfectly crispy crust and incredible smoke ring.
While thick, sticky barbecue sauces dominate many cookouts, the Memphis-style approach proves that true flavor needs no disguise. By relying on a carefully layered dry rub and precise smoking techniques, the natural juices and robust pork flavor take center stage, creating a crispy exterior bark that sauce simply cant match.
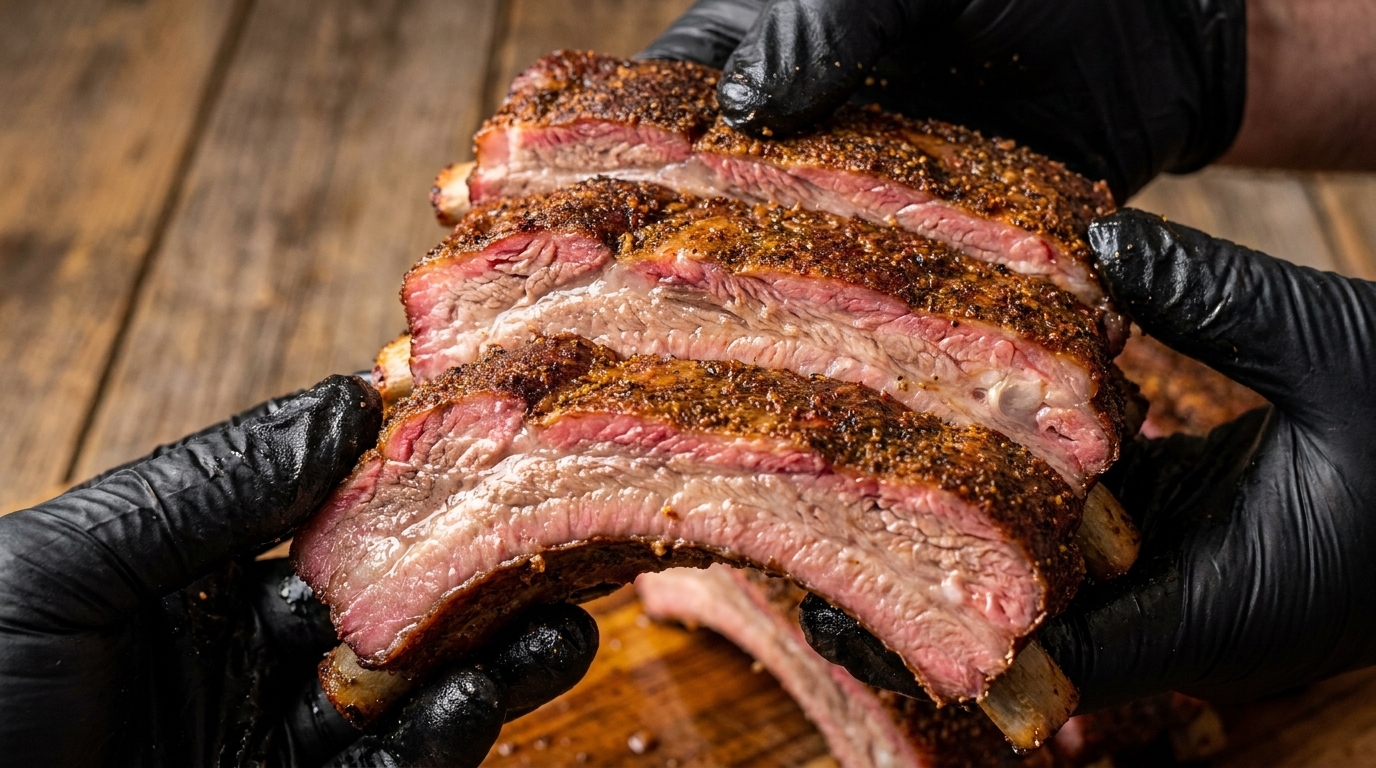
Ingredients
- 1 rack St. Louis spare ribs
- 2 tbsp yellow mustard
- to taste sweet BBQ dry rub
- to taste honey smoked chili powder
Instructions
- 1Trim the Ribs
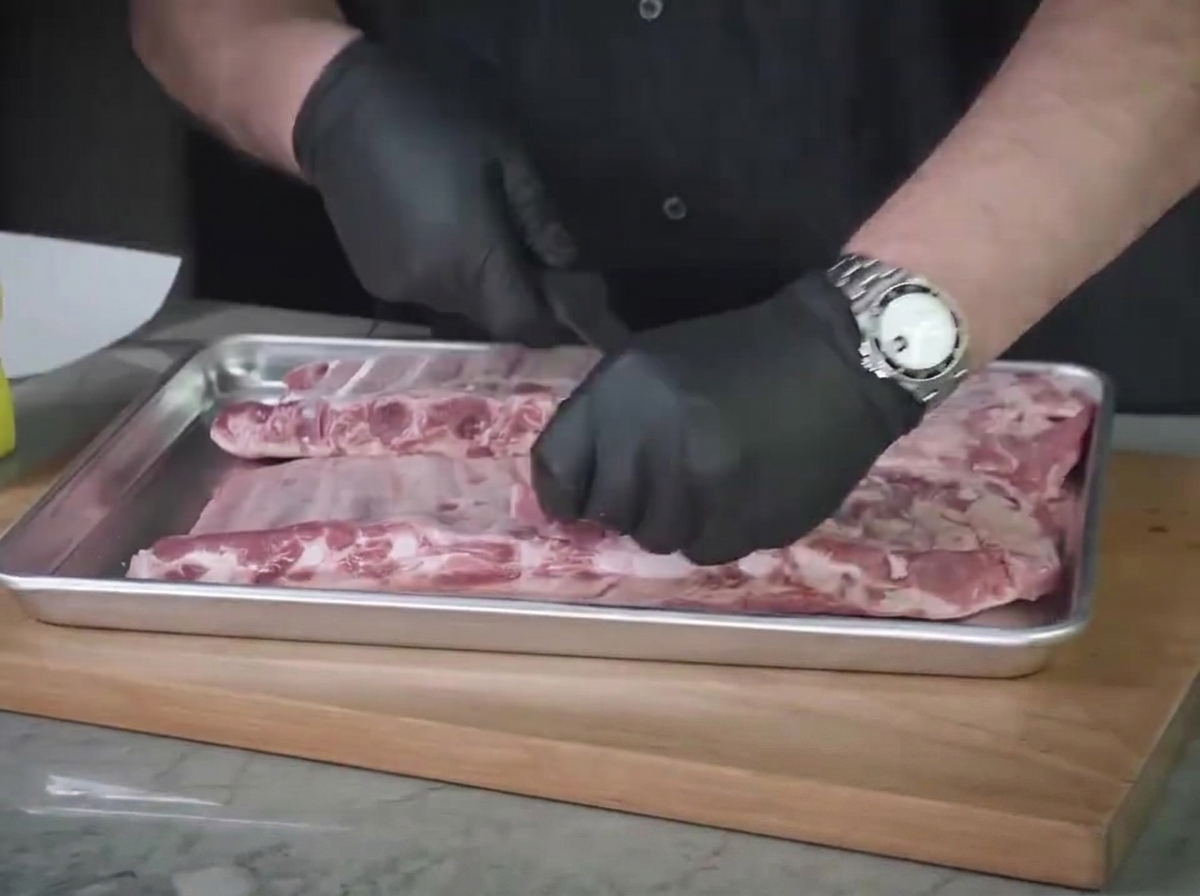
Use gloved hands and a sharp knife to ruthlessly trim away excess fat and tough sinew from the raw St. Louis spare ribs on a metal tray, leaving only the most essential parts.
Tip: Trimming away excess fat ensures your seasonings penetrate deeply and prevents a greasy mouthfeel. - 2Apply Mustard Binder
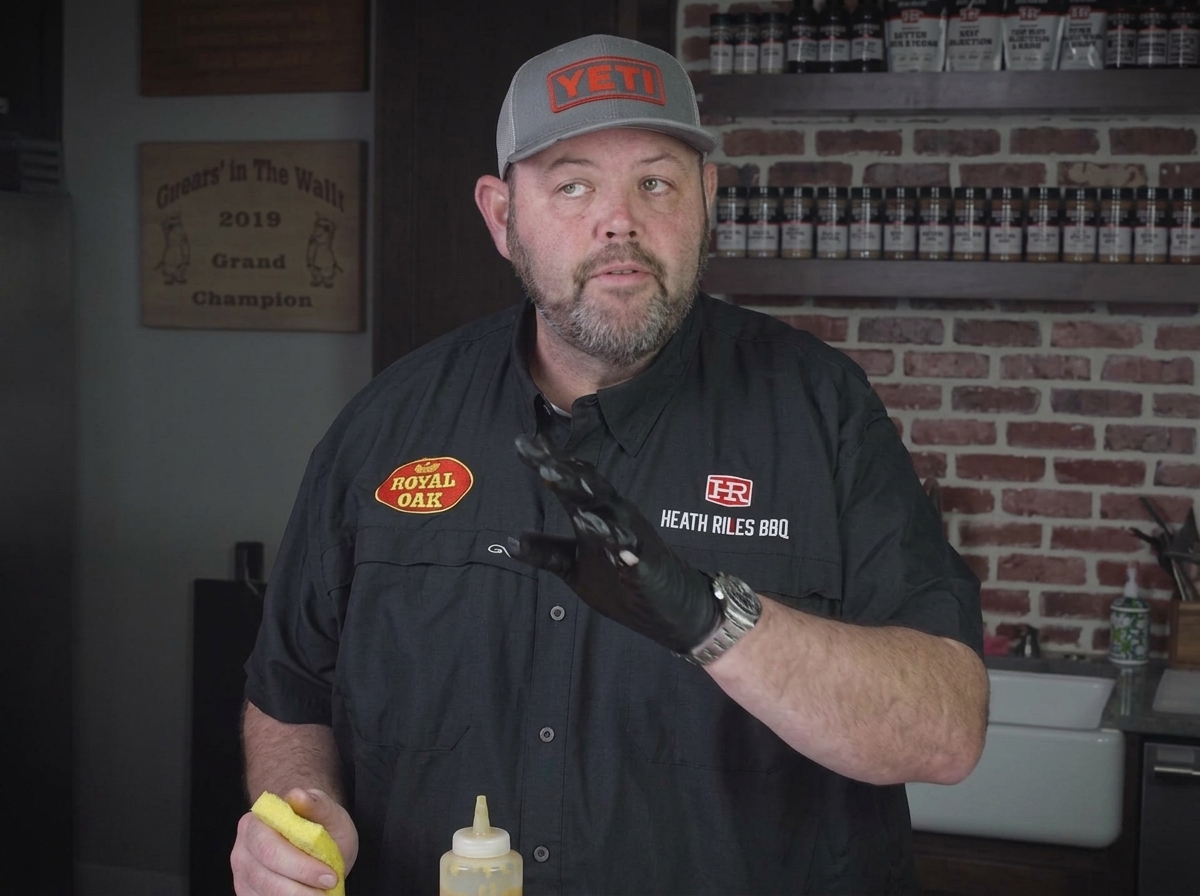
Squeeze a thin layer of yellow mustard from a bottle onto the surface of the raw ribs, spreading it evenly to act as a binder for the dry rub.
Tip: Dont worry about the mustard flavor; it cooks down entirely, leaving behind only a great sticky surface for the spices. - 3Season with Dry Rub and Chili Powder
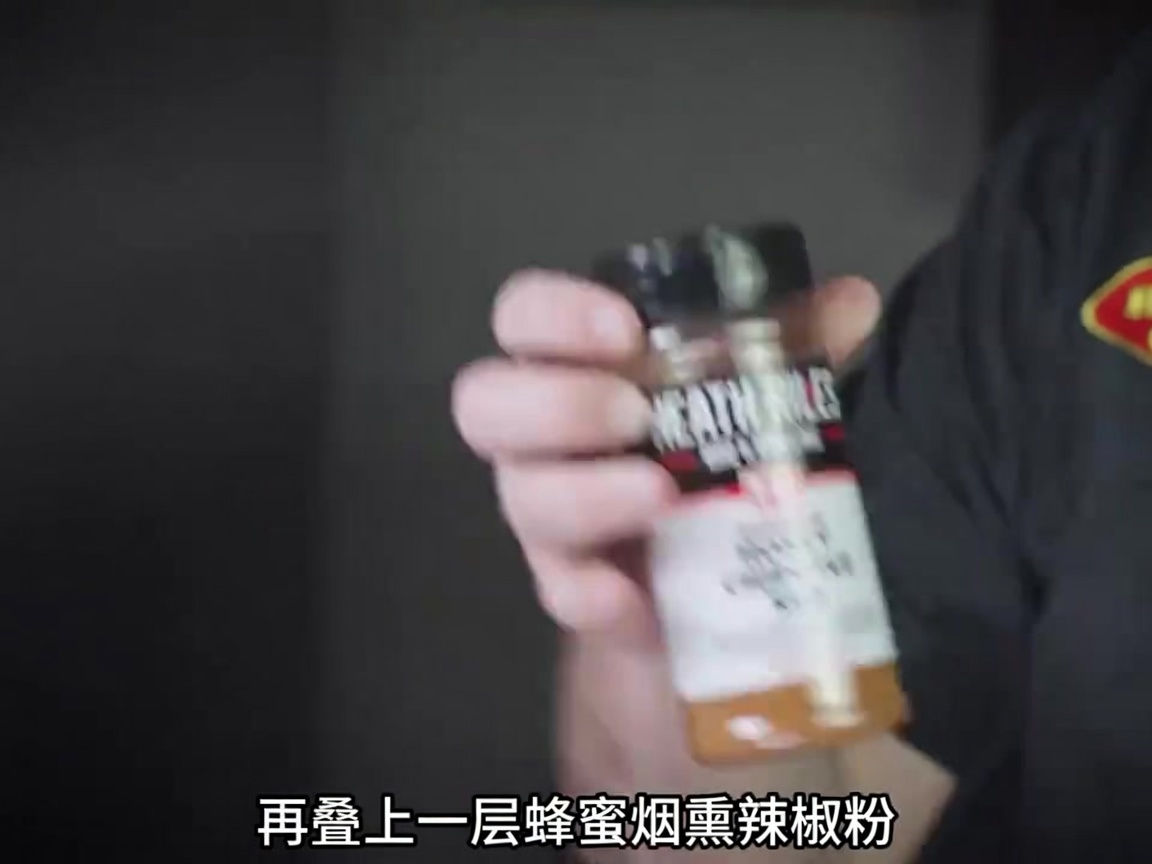
First, sprinkle an award-winning secret sweet dry rub generously over the mustard-coated ribs, then layer on a coat of honey smoked chili powder for advanced flavor depth.
Tip: Apply your seasonings from a height of about 12 inches to ensure an even distribution across the entire rack. - 4Smoke the Ribs
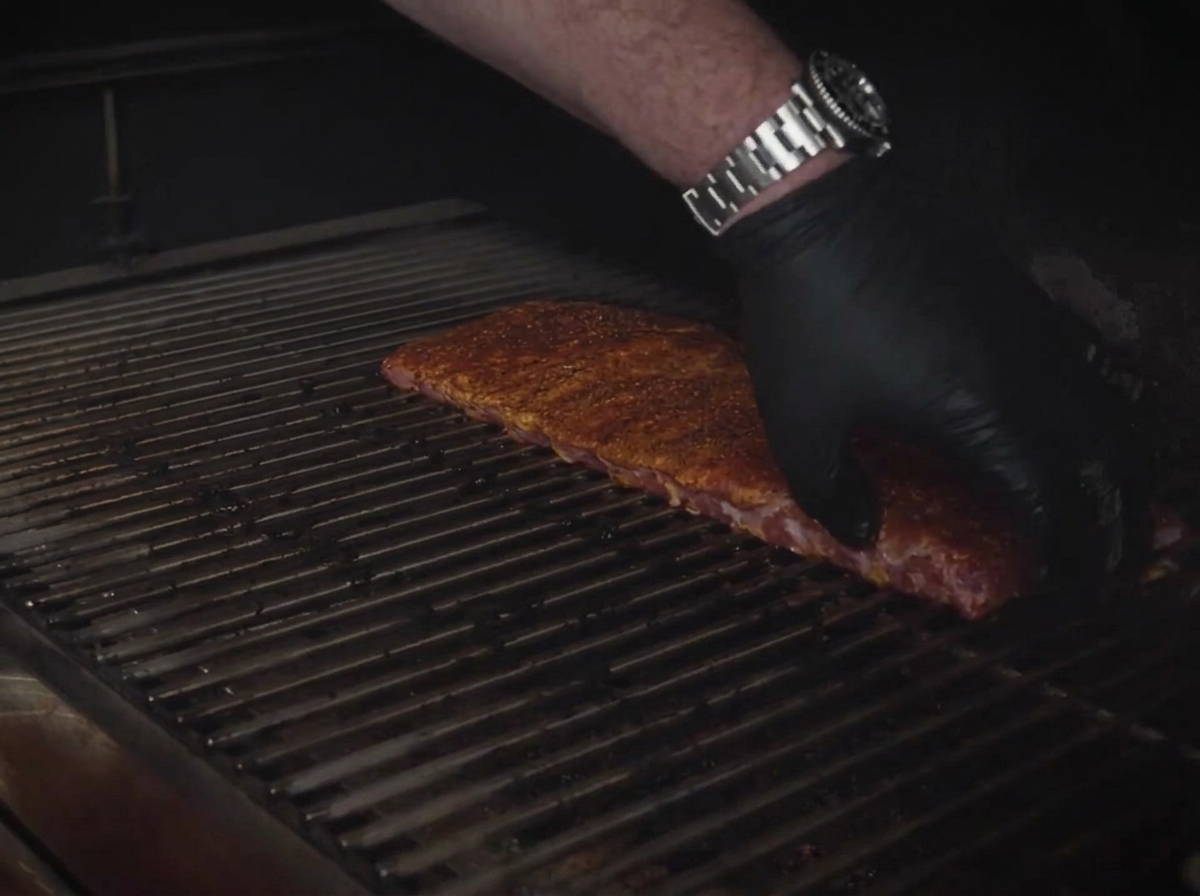
Carefully place the fully seasoned rack of ribs directly onto the grate inside a preheated smoker running at 275 degrees for the initial smoking phase.
Tip: Maintain a steady smoker temperature to allow the meat to render properly and absorb maximum smoke flavor. - 5Wrap in Foil
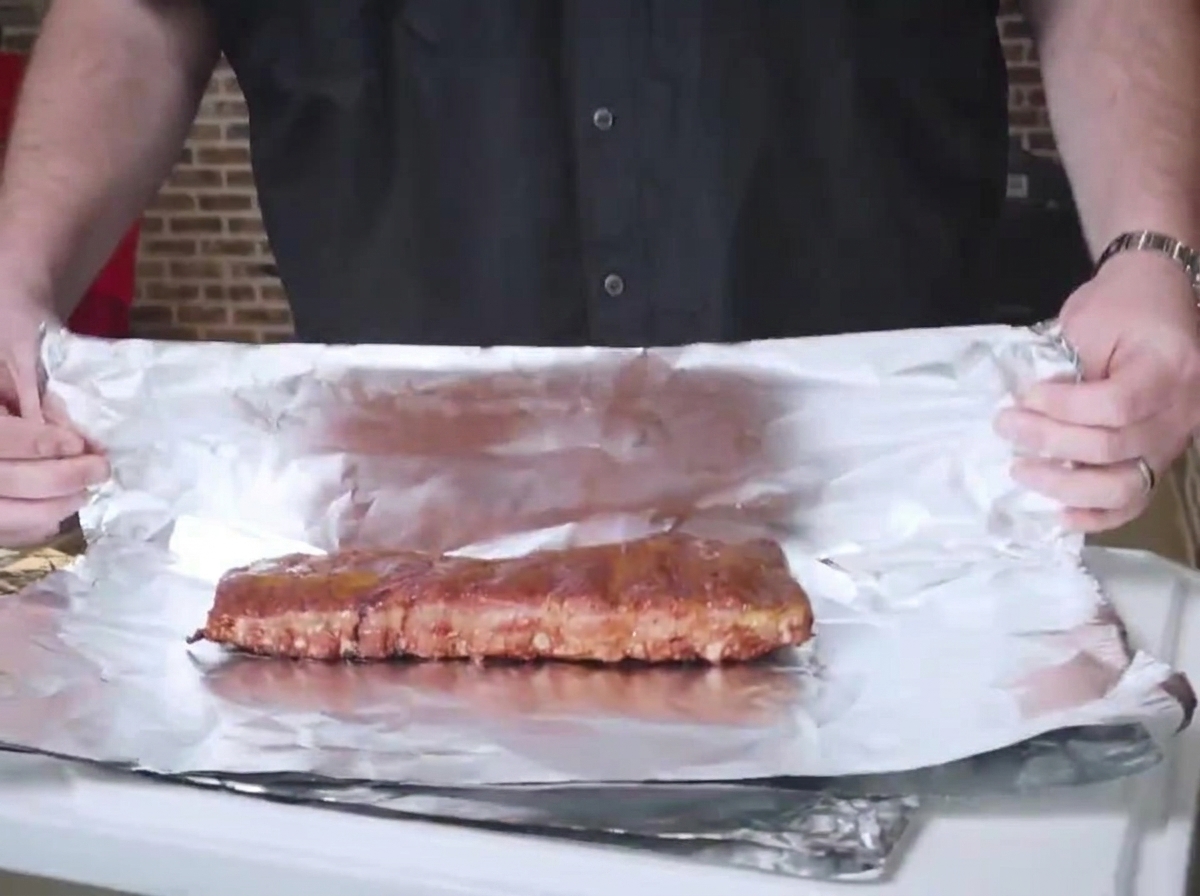
Remove the ribs after one and a half hours once a reddish-brown color develops, and wrap them tightly in aluminum foil bone side down without any sauce to tenderize the meat.
Tip: Wrapping tightly traps the natural moisture and speeds up the tenderization process without boiling the bark off.