Slow-Roasted Beef Ribs
Homemade BBQ Glaze
Experience fall-off-the-bone tenderness with these beef ribs, slow-roasted for four hours and finished with a rich, smoky, and tangy homemade BBQ glaze.
Slow-roasting is a labor of love that transforms tough beef ribs into a succulent masterpiece. By cooking at a low temperature, the marbled fat renders completely, infusing the meat with deep flavor. This method, paired with a scratch-made sauce, captures the essence of classic barbecue with professional refinement.
Ingredients
- 1.5 kg beef ribs
- to taste salt
- to taste black pepper
- 2 tbsp olive oil
- 1 medium onion, minced
- 3 cloves garlic, minced
- 100 g brown sugar
- 60 ml apple cider vinegar
- 250 ml tomato sauce
- to taste hot sauce
- 1 tsp cumin powder
- 1 tsp dried oregano
- 1 tsp chili powder
- 14 tsp cinnamon powder
Instructions
- 1Select high-quality beef ribs
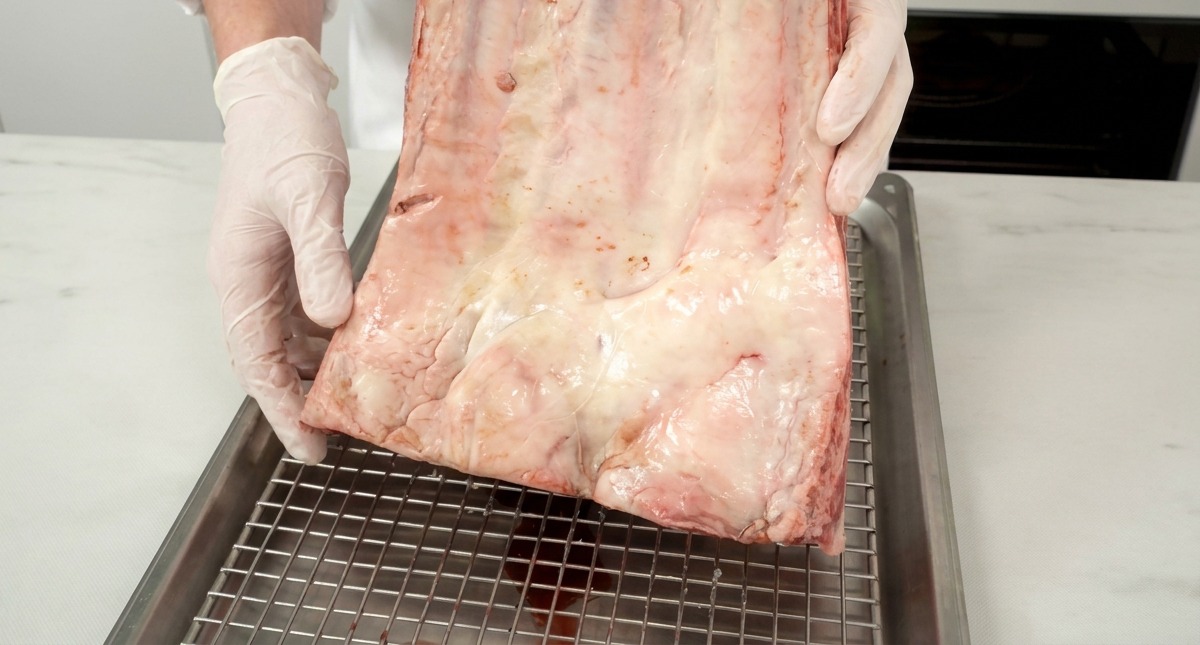
Choose a large slab of beef ribs with rich marbling. This cut is perfect for slow roasting because the intramuscular fat will render down, ensuring the meat remains incredibly tender and juicy during the long cooking process. Place the meat on a wire rack to prepare for trimming.
Tip: Look for a slab with even thickness across the ribs so it roasts at a uniform rate. - 2Trim the excess fat
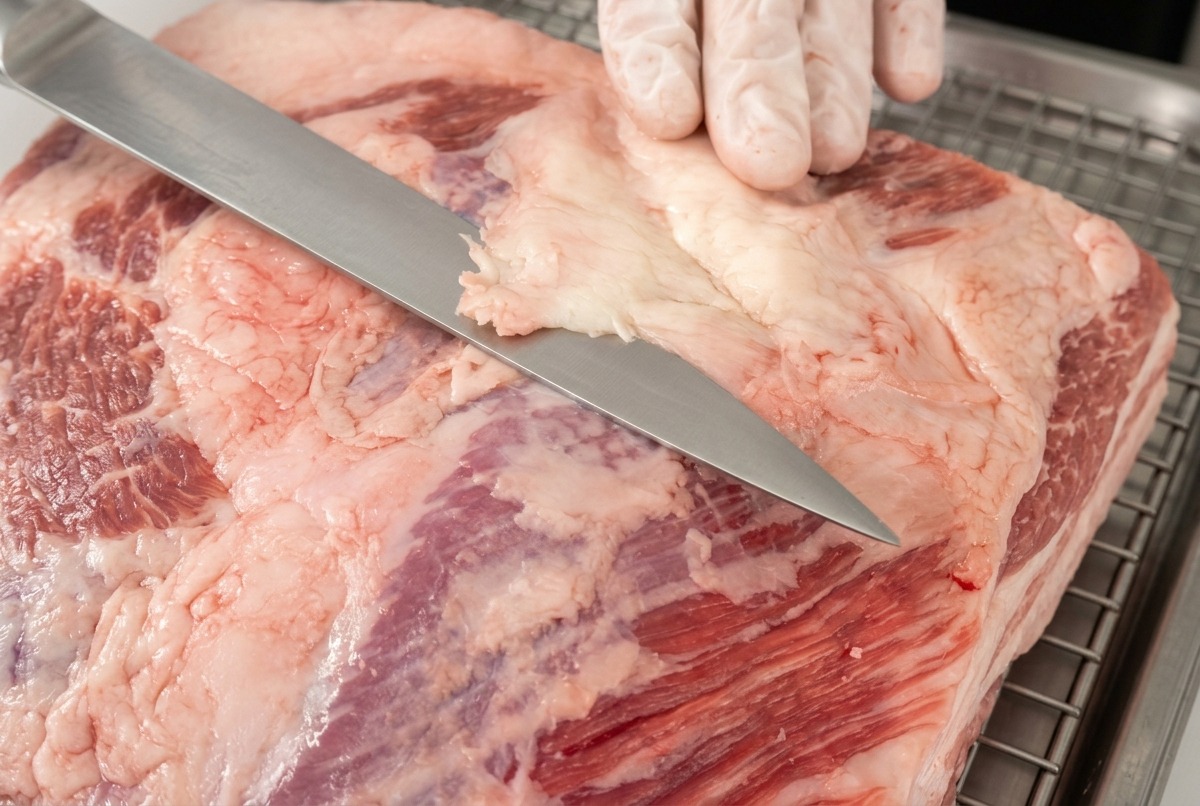
Use a sharp knife to carefully remove the heavy layer of excess fat from the surface of the beef ribs. Trimming the fat cap helps the seasoning penetrate the meat better and prevents the final dish from being overly greasy after the 4-hour roast.
Tip: Remove the thickest parts of the fat, but leave a thin layer to help keep the meat moist while in the oven. - 3Season the beef ribs
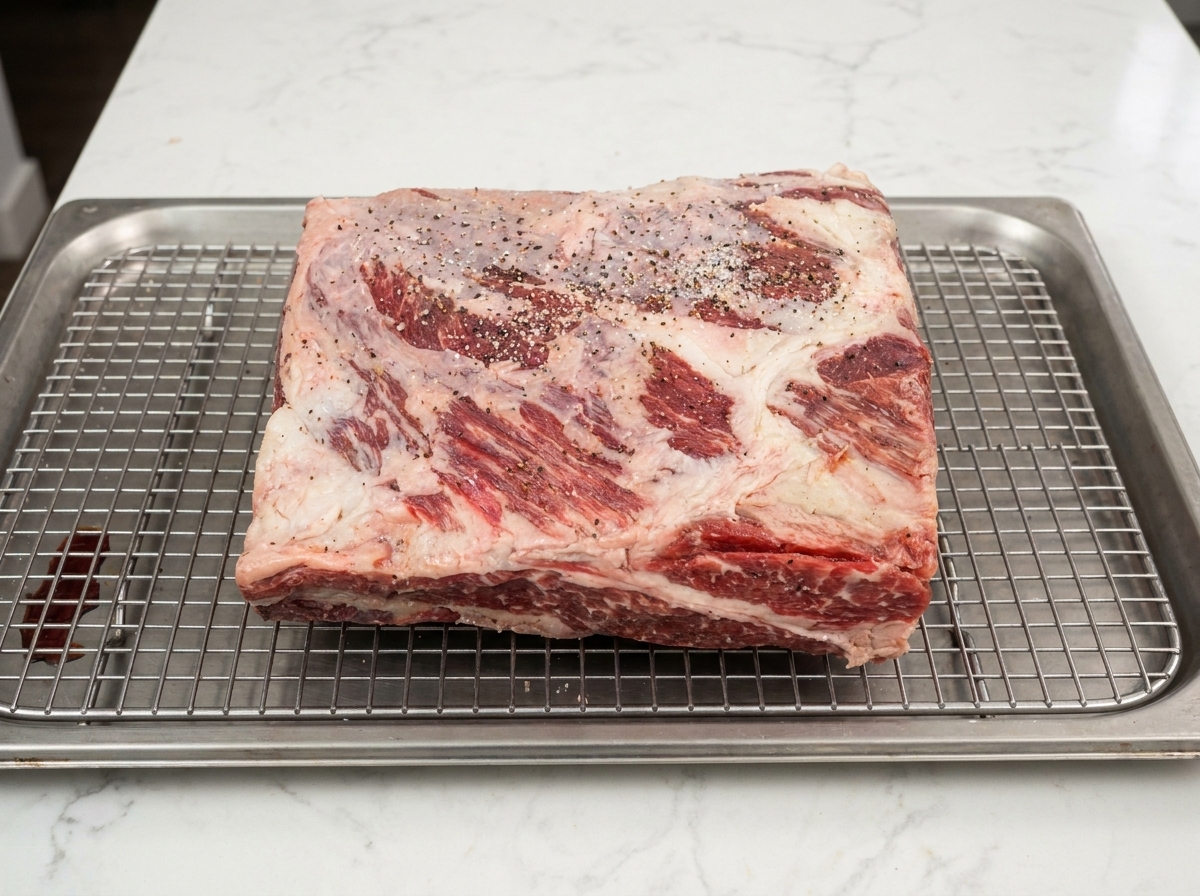
Generously season all sides of the beef ribs with salt and freshly cracked black pepper. Add a light drizzle of olive oil and rub the seasonings into the meat to create a savory crust that will develop deep flavor as it roasts.
Tip: Be thorough with the seasoning; large cuts of meat like ribs require plenty of salt to flavor the center of the meat. - 4Wrap in aluminum foil
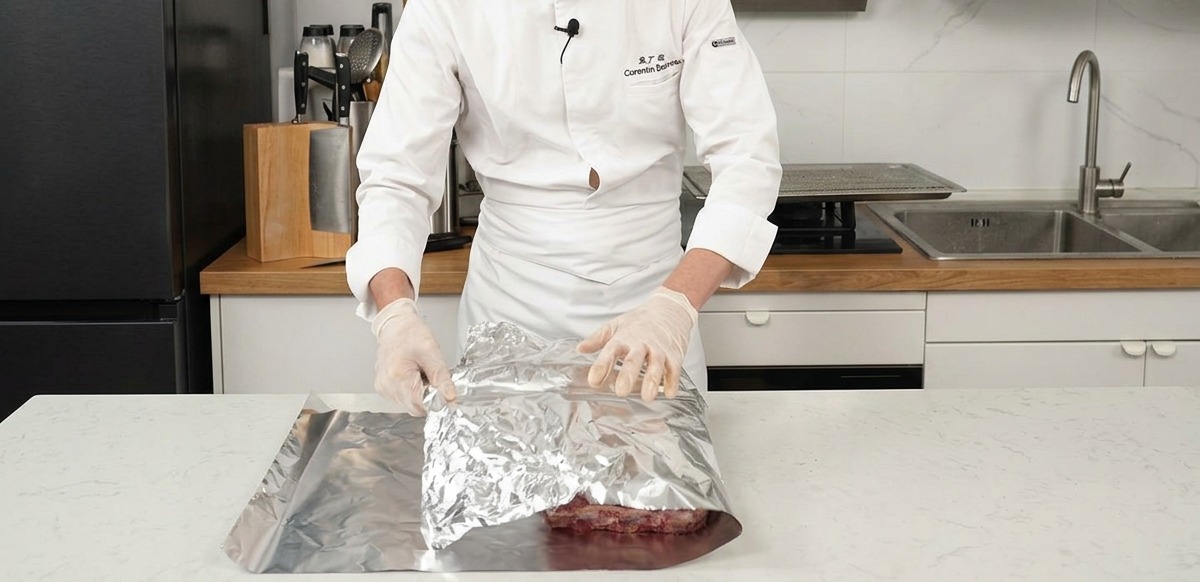
Place the seasoned ribs on a large sheet of aluminum foil and wrap them tightly. Ensure the seal is airtight to trap the moisture and natural juices, which will effectively braise the meat inside the packet during the slow cooking phase.
Tip: Use a double layer of heavy-duty foil to prevent any bones from puncturing the wrap and letting steam escape. - 5Slow roast the beef
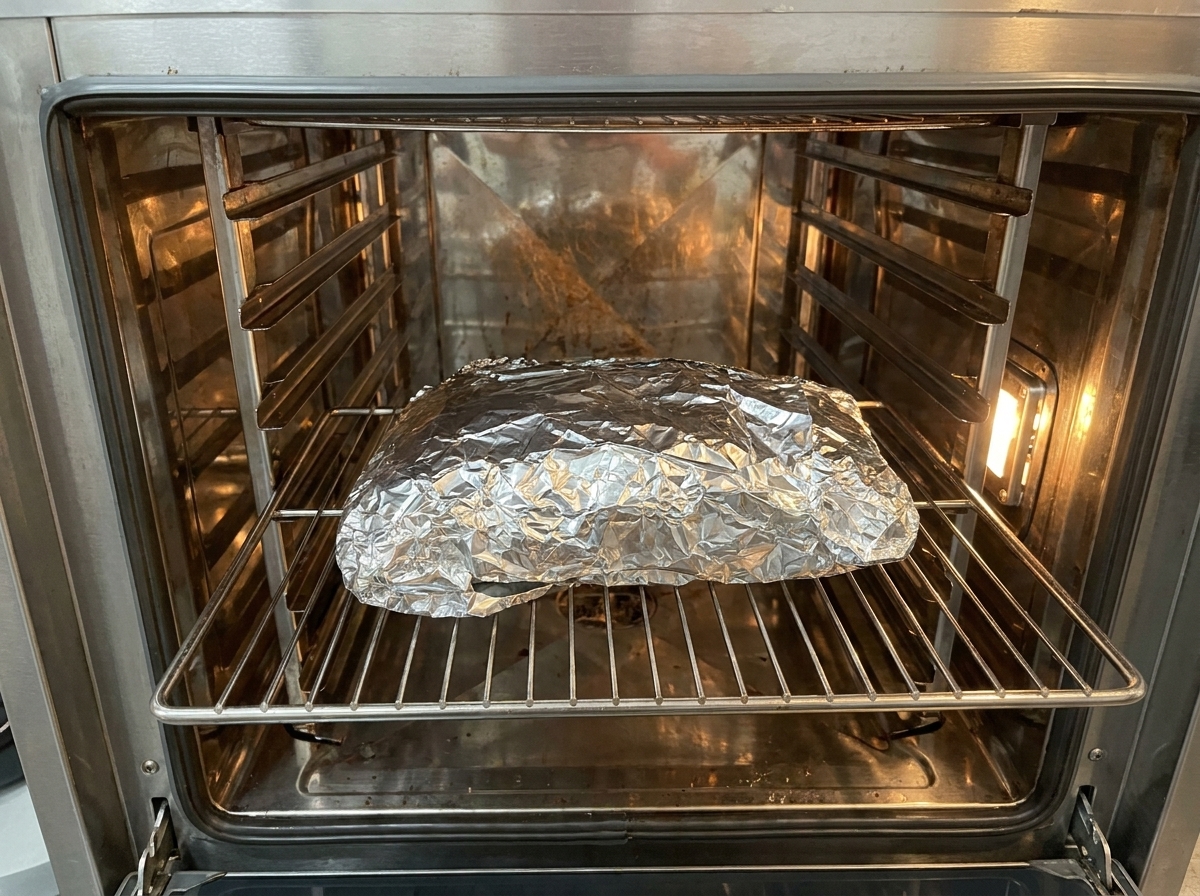
Place the foil-wrapped ribs onto the middle rack of an oven preheated to 140°C. Roast the beef for 4 hours. This low-temperature, long-duration cooking method is the secret to breaking down the connective tissue until the meat is succulent and the bone can be removed with a light tap.
Tip: Roasting on a wire rack allows the hot air to circulate evenly around the entire foil packet. - 6Sauté the aromatics
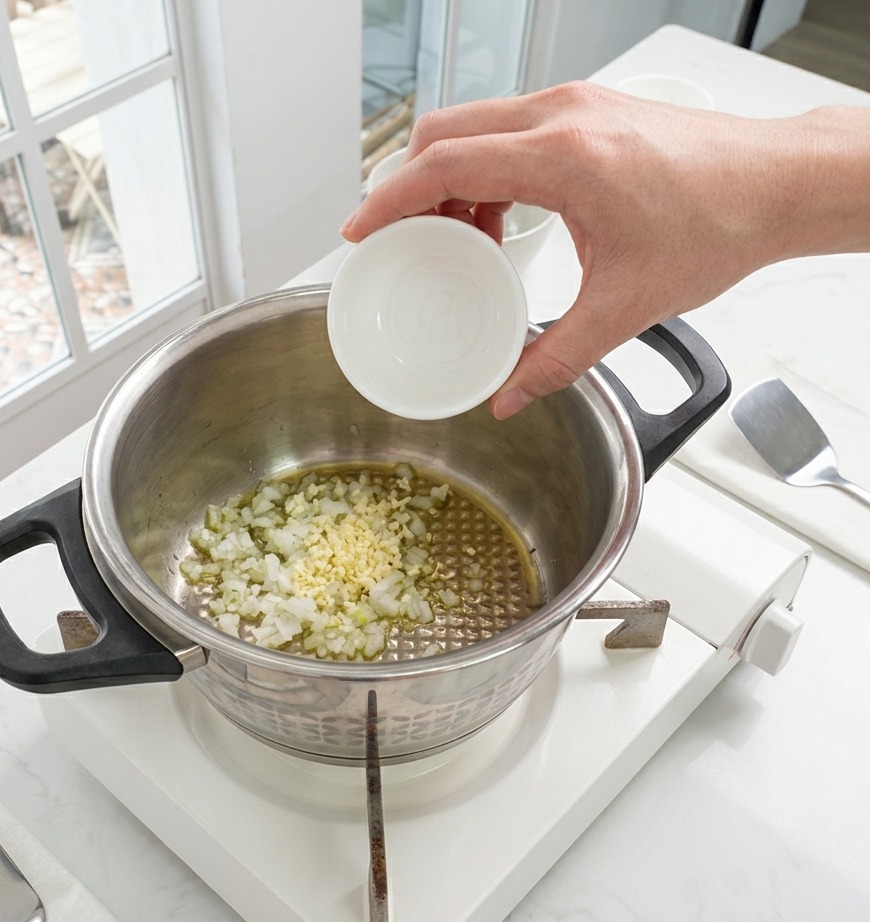
While the beef is in the oven, start the homemade BBQ sauce. Heat olive oil in a saucepan over medium heat and add the minced onion and garlic. Sauté them until they are fragrant and translucent, forming a rich flavor base for the sauce.
Tip: Dont let the garlic brown too much or it will become bitter; sauté just until fragrant. - 7Add the brown sugar
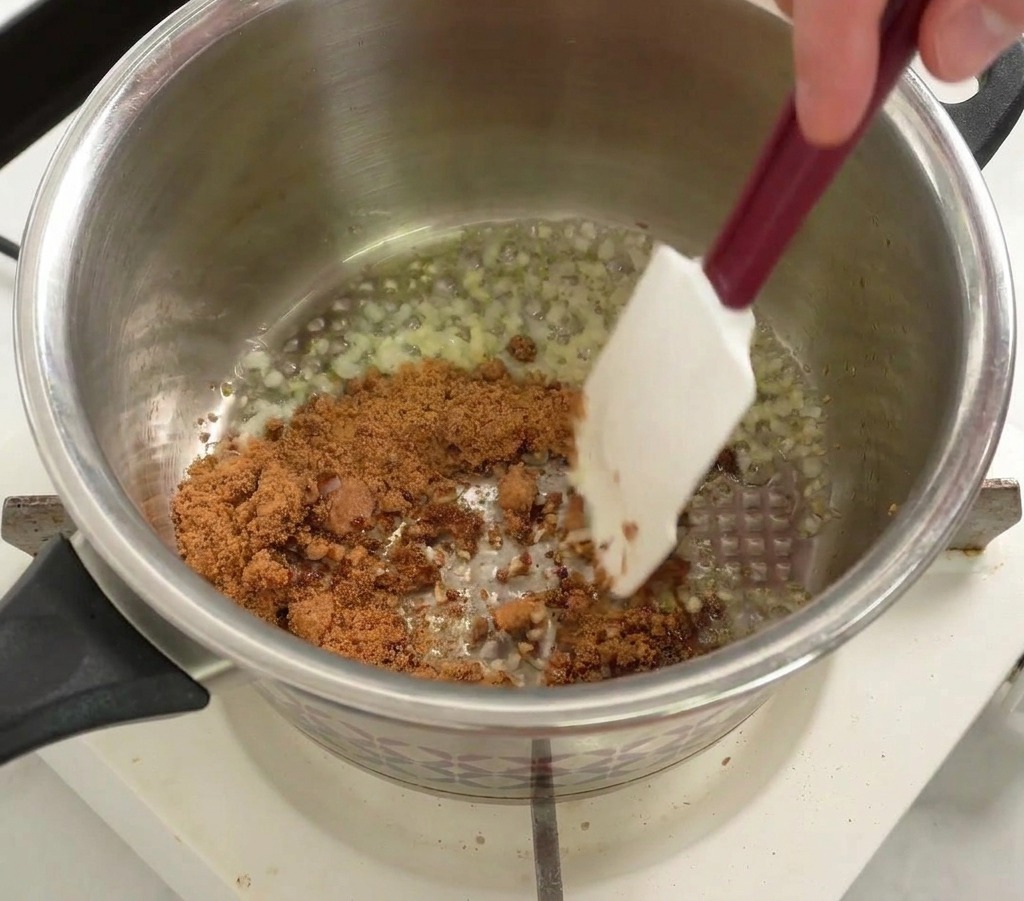
Add the brown sugar to the pot containing the sautéed minced onion and garlic. Stir the mixture continuously over medium heat until the sugar has completely melted and combined with the aromatics. This creates a sweet, caramelized base for the BBQ sauce.
Tip: If you prefer a deeper, more molasses-like flavor, you can substitute the light brown sugar with dark brown sugar. - 8Build the sauce base

Stir in the apple cider vinegar and tomato sauce. The vinegar provides the necessary tang to cut through the richness of the beef, while the tomato sauce gives the BBQ sauce its classic thick consistency and savory depth.
Tip: Always stir as you add liquids to ensure the melted sugar and aromatics incorporate smoothly without clumping. - 9Season the sauce
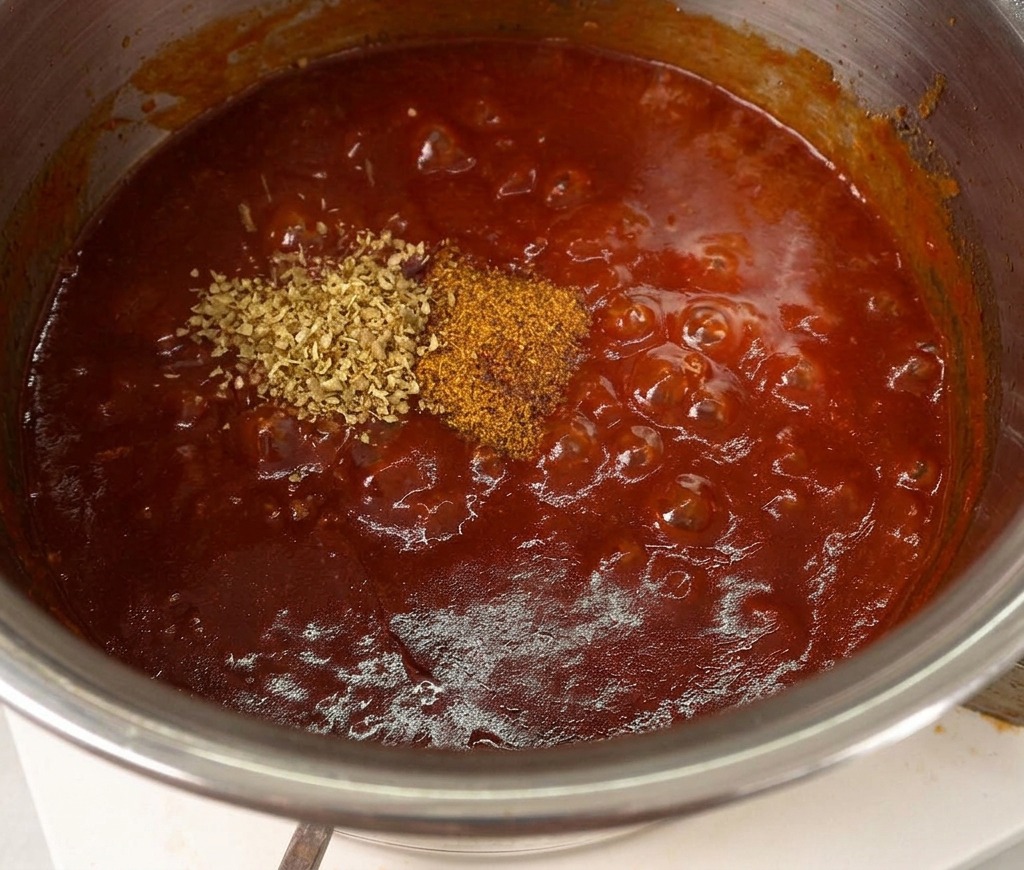
Add the cumin, oregano, chili powder, and cinnamon to the simmering liquid. These spices introduce earthy and smoky notes that define the final flavor profile. Continue to simmer until the sauce starts to thicken.
Tip: Taste the sauce as it simmers and adjust the heat level by adding a bit more chili powder if you prefer more spice. - 10Blend the sauce smooth
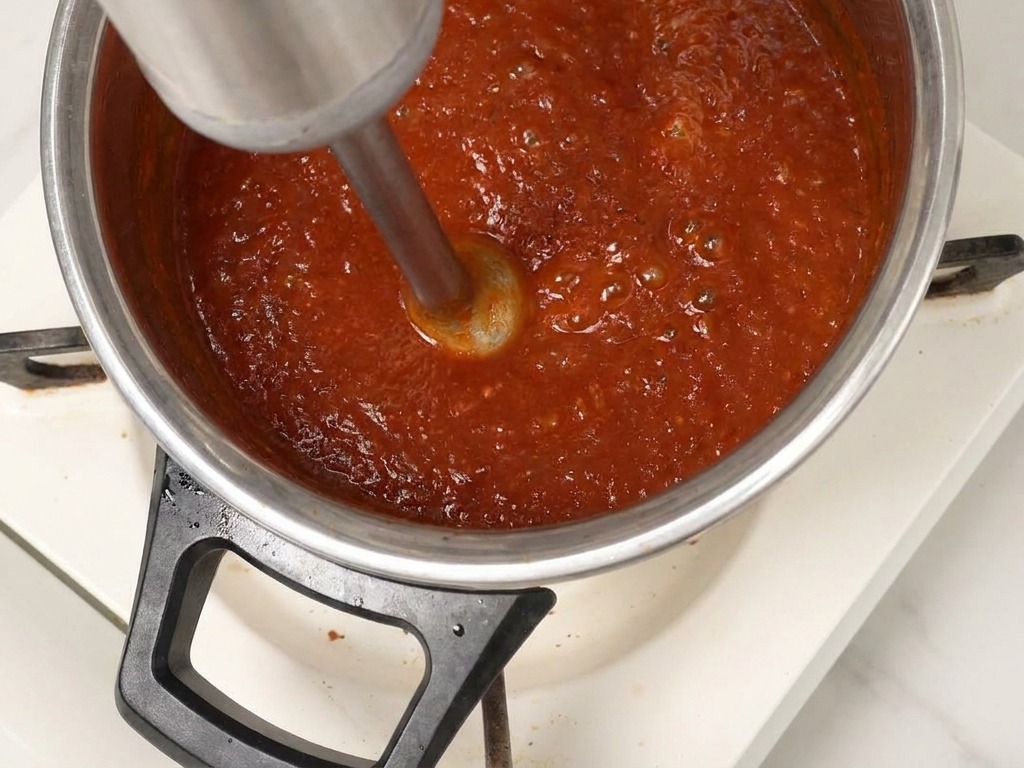
Use an immersion blender to process the sauce directly in the pot. Blend until the bits of onion and garlic are completely pulverized and the sauce reaches a perfectly smooth, velvety texture. This ensures every bite of the ribs is evenly flavored.
Tip: Keep the blender head fully submerged in the sauce before turning it on to prevent hot liquid from splattering. - 11Unwrap the roasted ribs
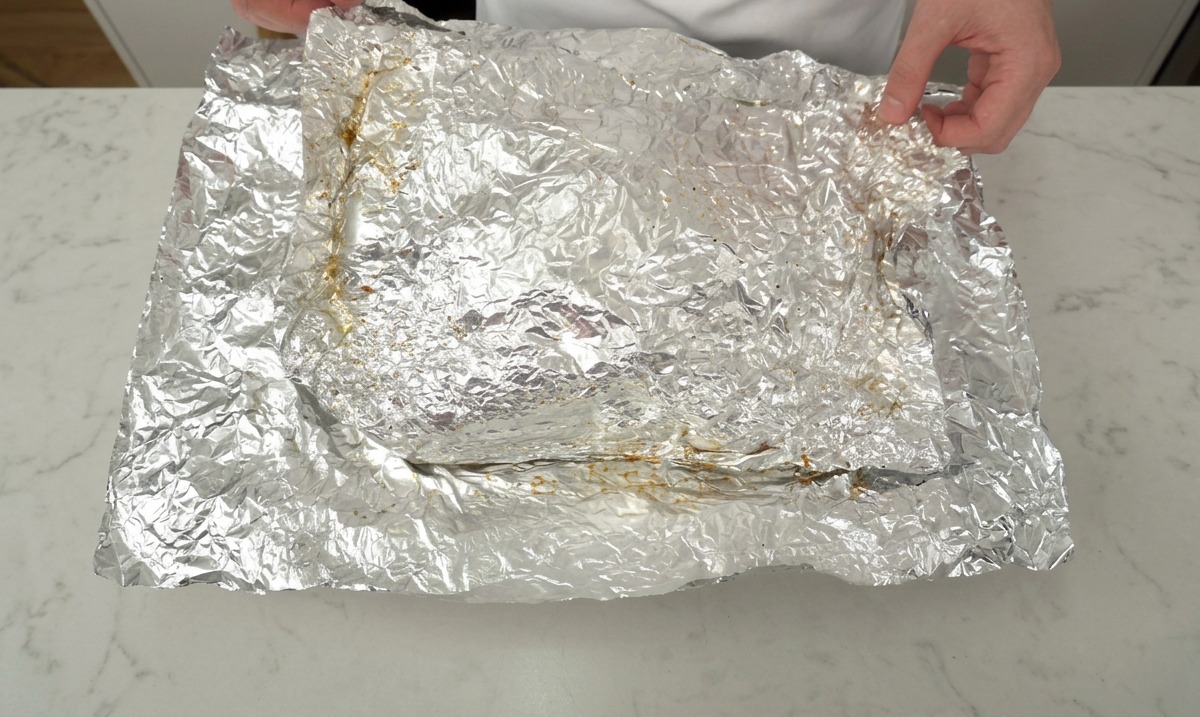
Once the ribs have finished their low-and-slow four-hour roast, remove them from the oven and carefully unwrap the aluminum foil. The meat should be extremely tender at this stage, having braised in its own juices and the initial seasoning.
Tip: Be careful when opening the foil as the trapped steam will be very hot. Use tongs or heat-resistant gloves if needed. - 12Glaze the beef ribs
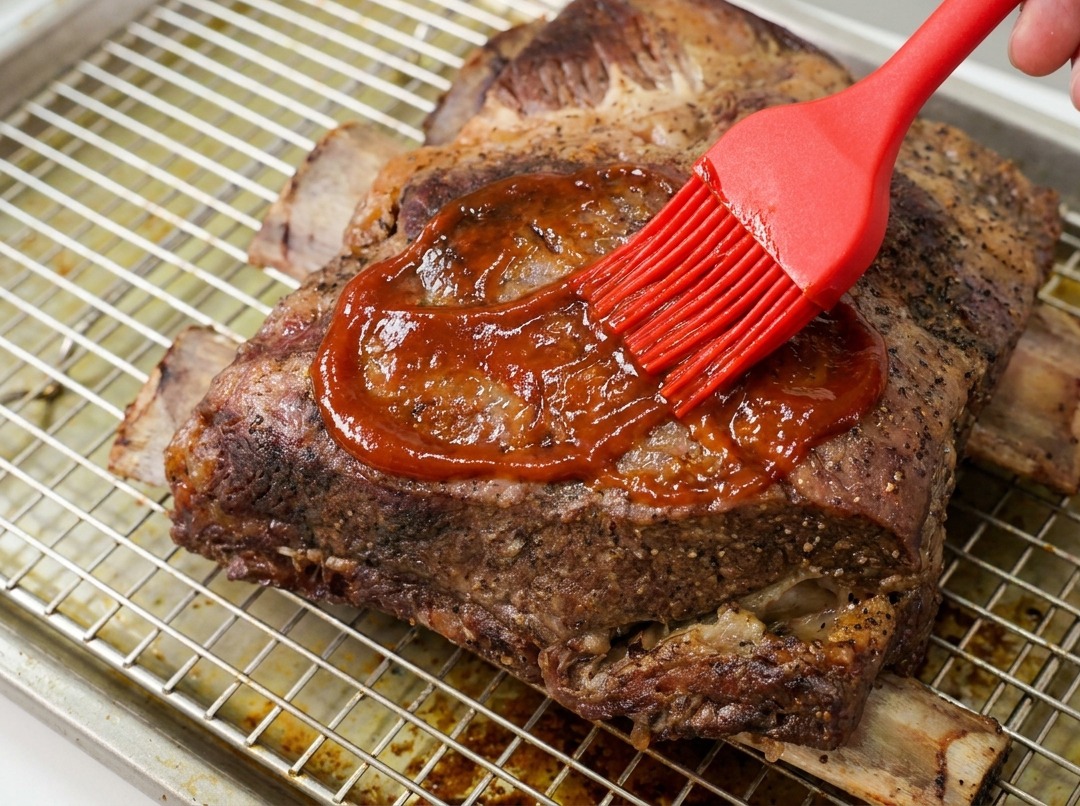
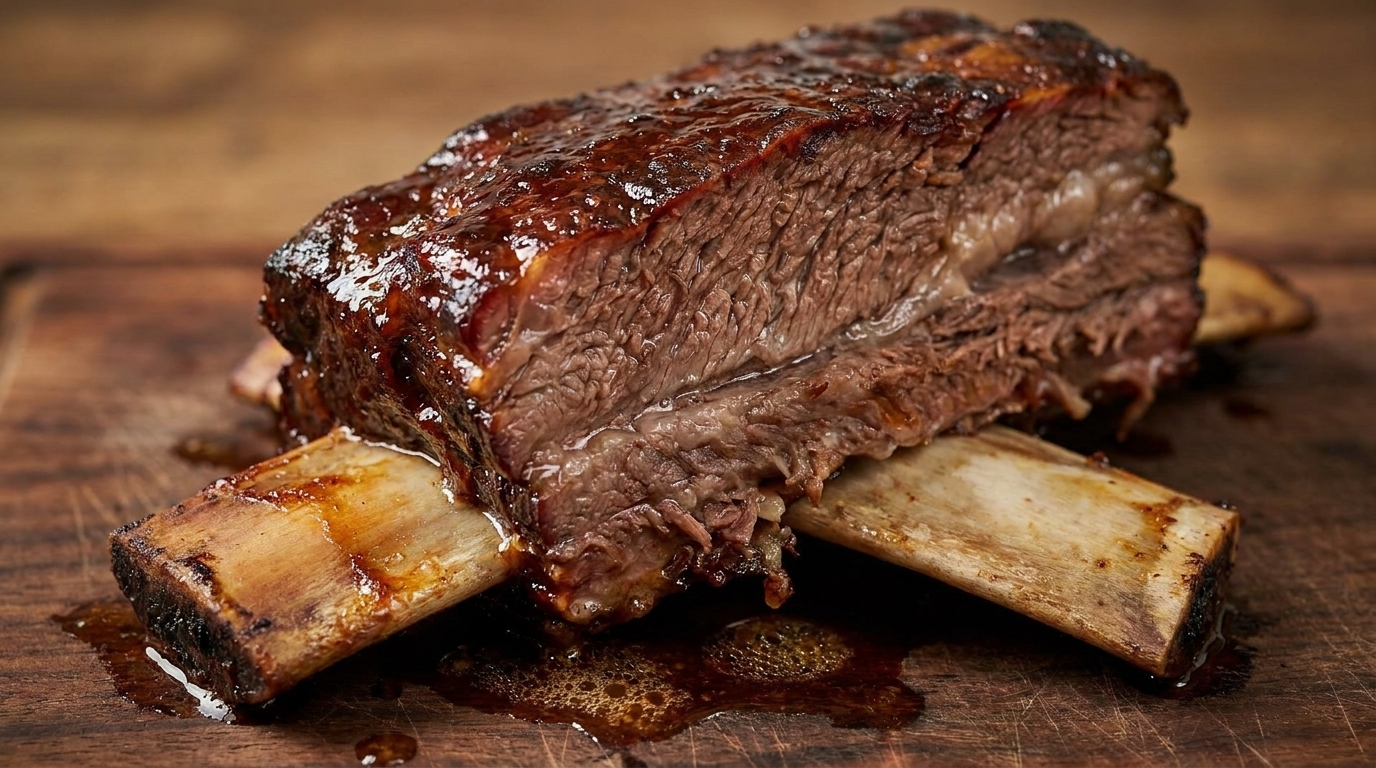
Liberally brush the smooth BBQ sauce over every side of the slow-roasted beef ribs. Ensure a thick, even coating so the sugars in the sauce can caramelize beautifully during the final stage of cooking.
Tip: Use a silicone brush for easy cleanup and to ensure the sauce gets into all the nooks and crannies of the meat. - 13Caramelize the BBQ glaze
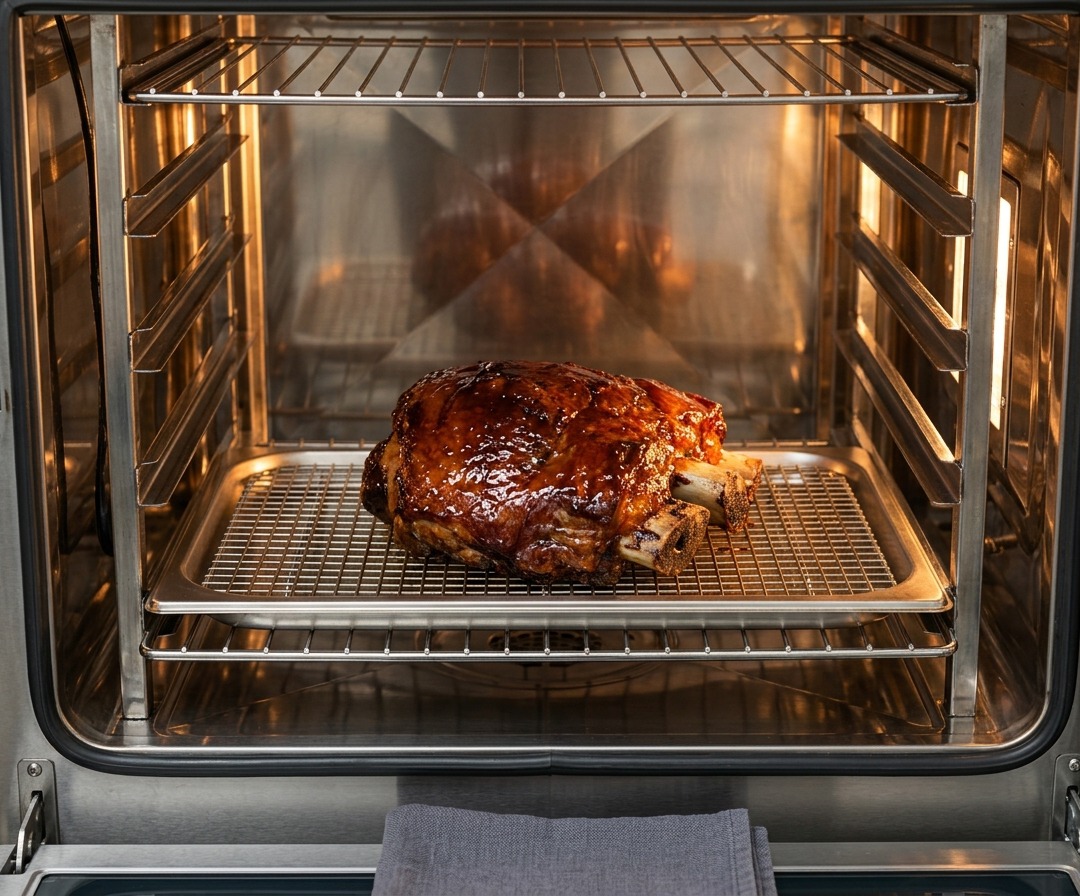
After generously brushing all sides of the ribs with your homemade BBQ sauce, place them back into the oven on a wire rack. Increase the temperature to 200 degrees Celsius and roast for about 8 minutes. This high-heat finish caramelizes the sugars in the sauce for a sticky, charred exterior.
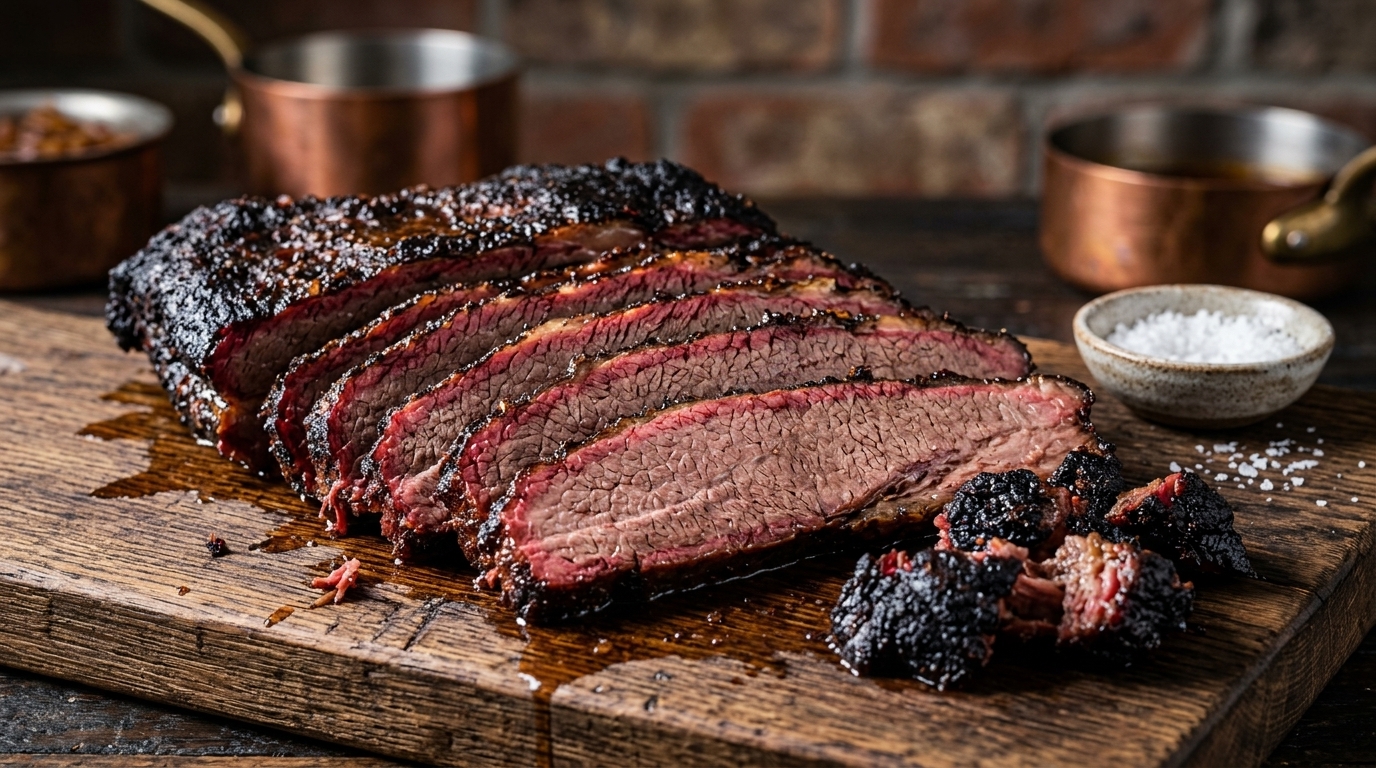
Tip: Keep a close eye on the ribs during these final minutes; the high heat can cause the sauce to go from caramelized to burnt very quickly. - 14Slice and serve
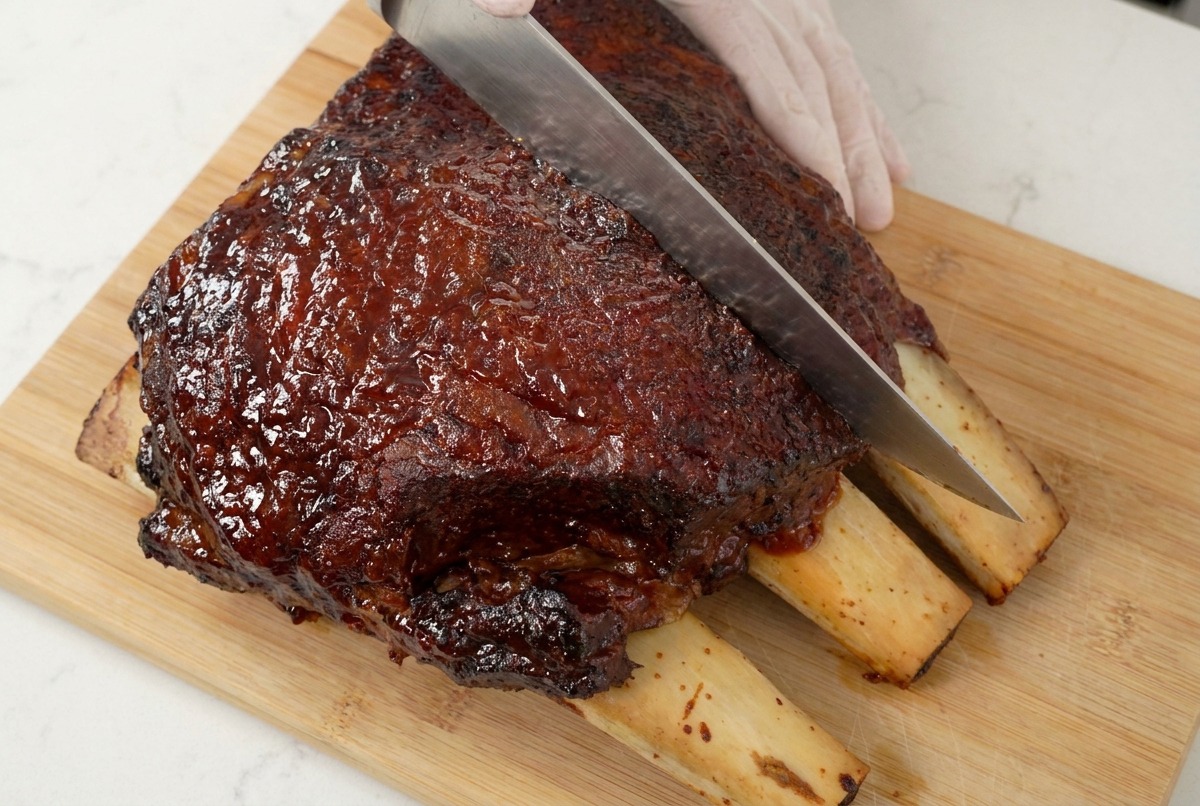
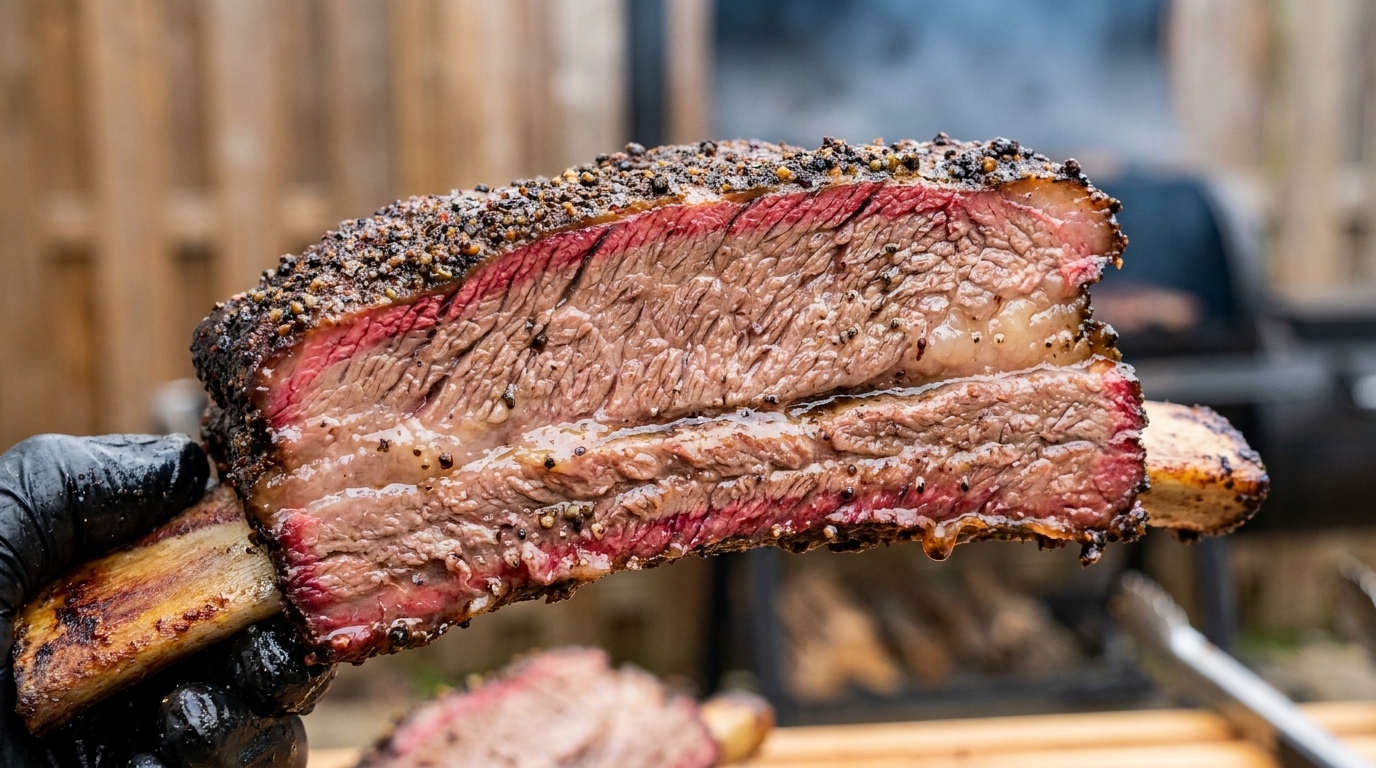
Transfer the ribs to a wooden cutting board and slice into individual portions. The meat should be juicy and tender enough that the bone pulls away easily. Serve immediately while the exterior is still crisp and the interior is succulent.
Tip: Let the meat rest for 5-10 minutes before slicing to allow the juices to settle, ensuring every bite stays moist.