Homemade Okra
Chicken Star Pet Treats
Healthy, two-ingredient training snacks made from fresh okra and lean chicken breast, dehydrated into crunchy, star-shaped bites your pet will love.
Pet owners are increasingly looking for wholesome alternatives to store-bought snacks, and these okra and chicken stars offer a perfect solution. This recipe utilizes the natural anatomy of the okra pod to create a visually striking star shape without the need for specialized molds. By incorporating the okra seeds back into the chicken breast paste, you create a nutrient-dense, protein-packed training reward that is both functional and appetizing for your furry companions.
Ingredients
- 250 g fresh okra pods
- 200 g lean chicken breast
Instructions
- 1Trim the okra ends
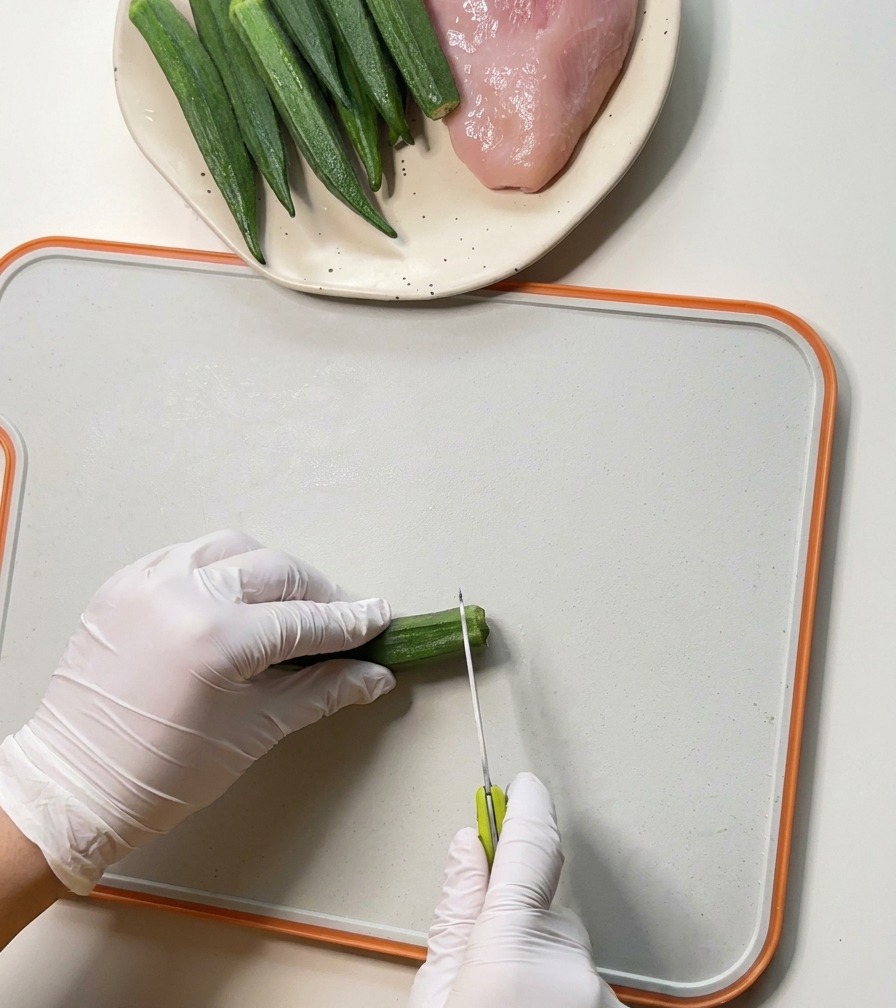
Start by preparing the fresh okra. Using a small paring knife, carefully cut off both the stem end and the tip of each pod. Trimming the ends is a necessary first step to allow for the removal of the seeds, which will be used later in the chicken filling.
Tip: Keep the pods as straight as possible while trimming to make the hollowing process in the next step much easier. - 2Deseed the okra pods
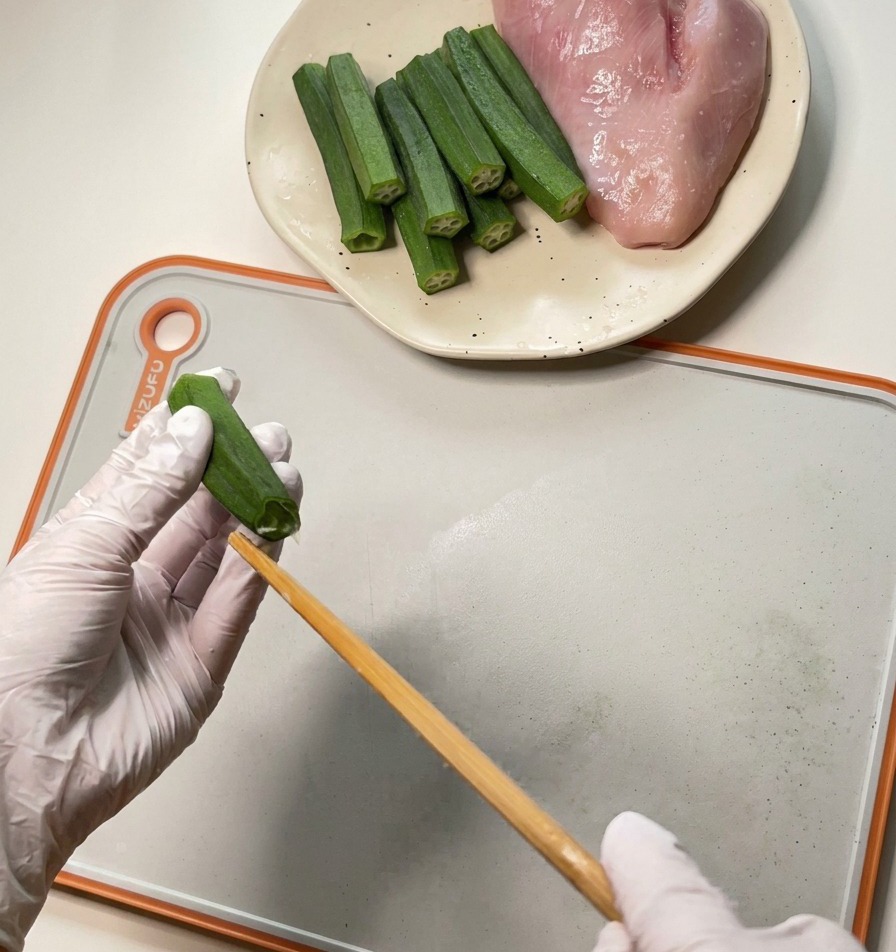
Take the trimmed okra pods and use a wooden chopstick to push through the center of each one. This action removes the seeds and the inner pulp, leaving the pod hollow and ready for stuffing. Collect the removed seeds in a small bowl, as they will be added to the chicken filling for extra texture and nutrients.
Tip: Hold the okra pod gently to avoid crushing it while pushing the chopstick through the center. - 3Prepare the chicken chunks
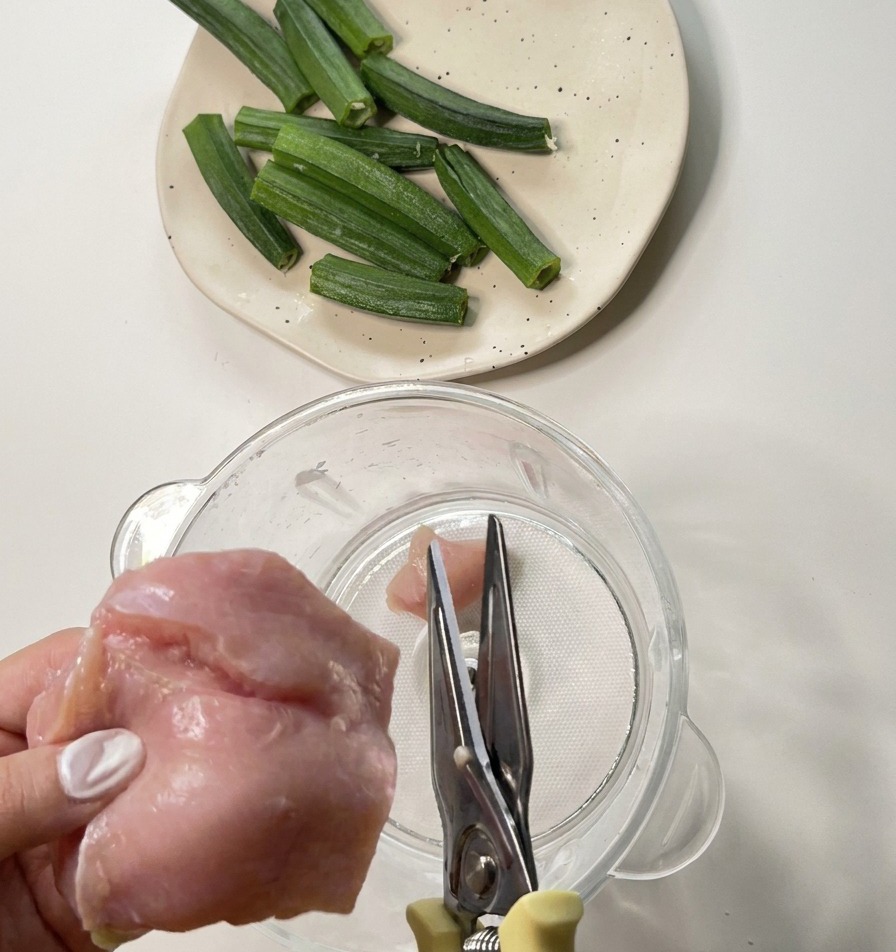
Using sharp kitchen scissors cut the raw chicken breast into small chunks directly into your blender bowl. Cutting the meat into uniform smaller pieces ensures that it will blend more evenly into a smooth paste without overtaxing the motor.
Tip: Working with kitchen scissors is often faster and more hygienic than using a knife and cutting board for raw poultry. - 4Blend the chicken filling
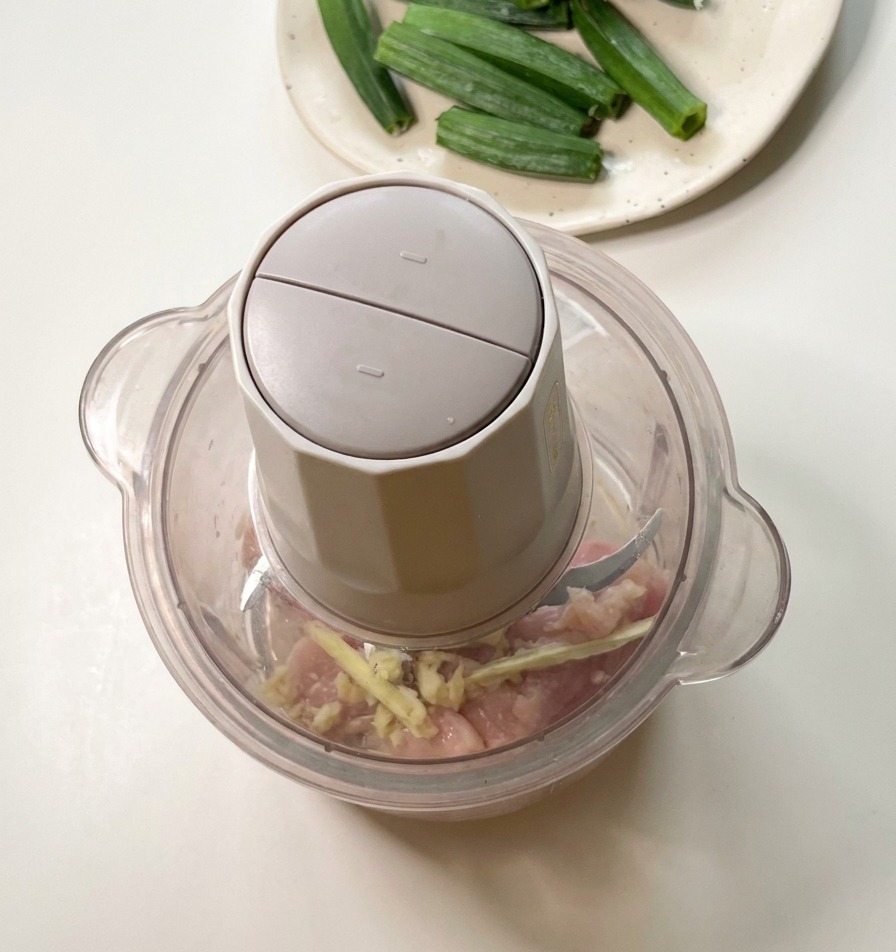
Combine the freshly cut chicken chunks with the reserved okra seeds in the food processor. Secure the lid and pulse the mixture until it turns into a smooth, uniform pink paste. This nutrient-dense filling will be easy to pipe into the hollowed okra pods.
Tip: Pulse the processor a few times first to break up the larger chunks before switching to continuous blending for a smoother finish. - 5Stuff the okra pods
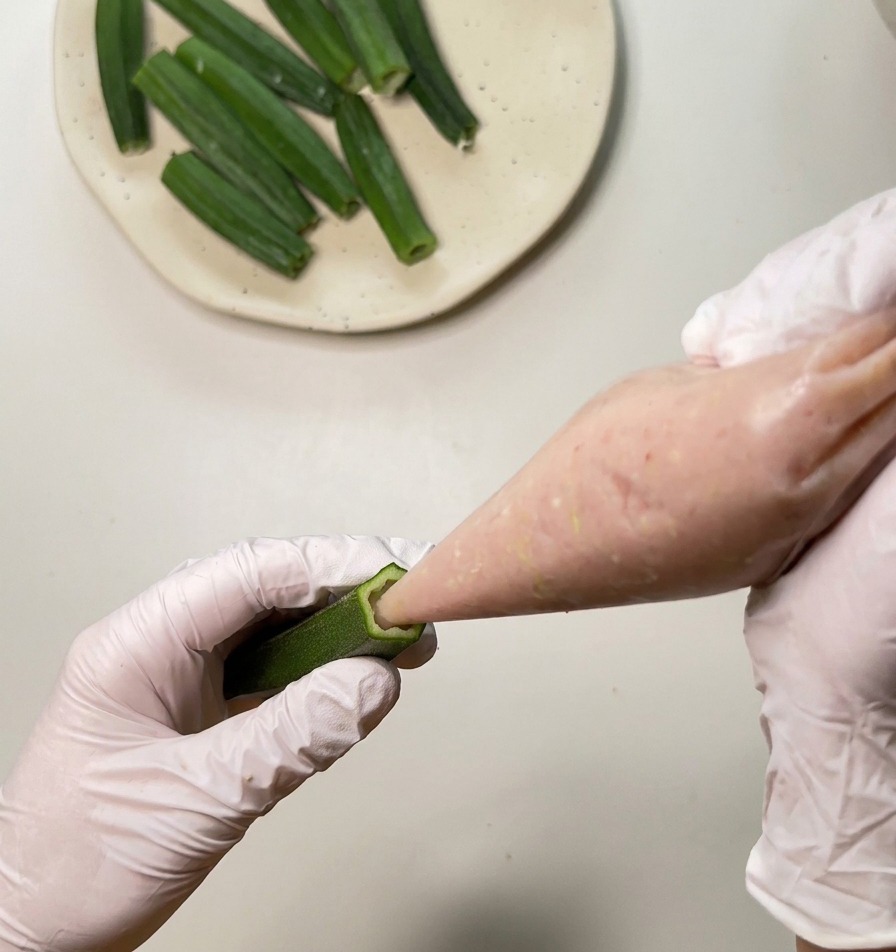
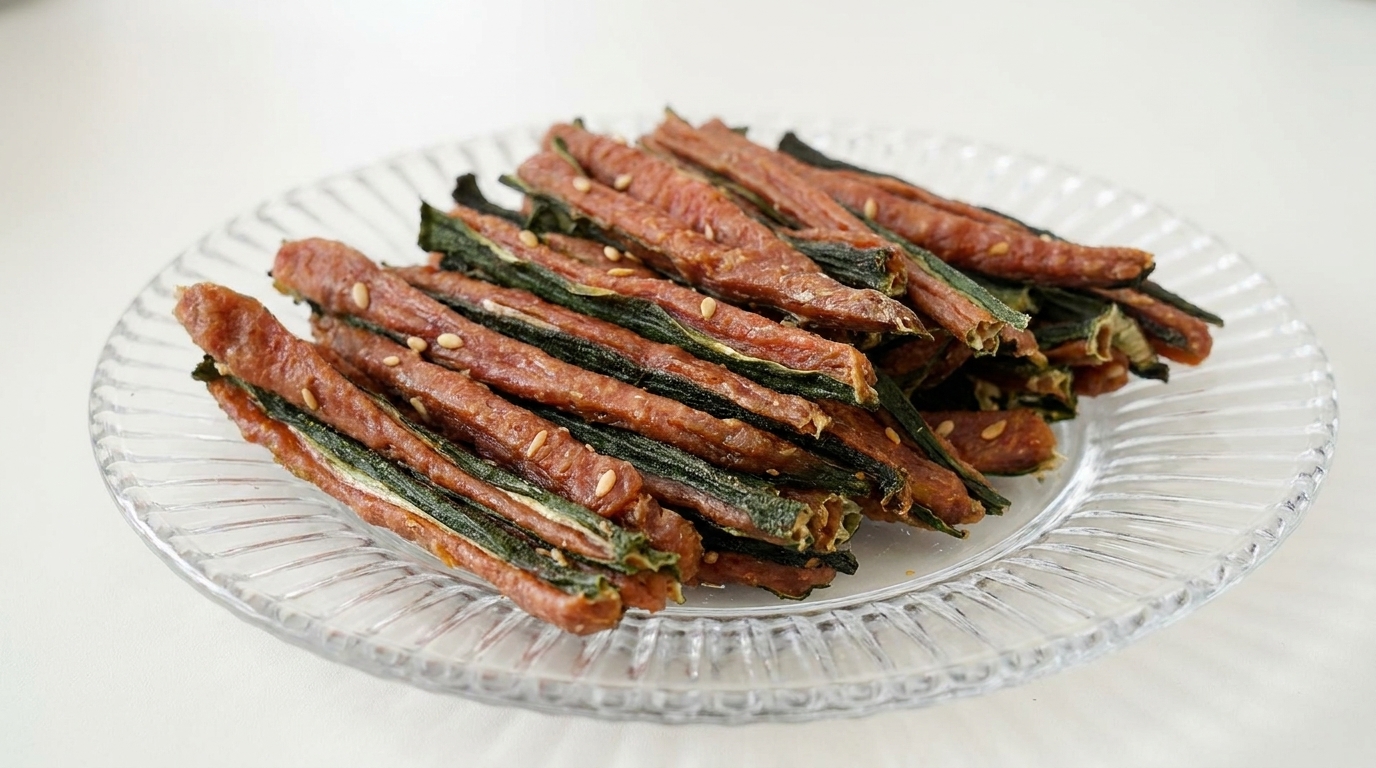
Transfer the chicken and okra seed paste into a plastic piping bag. Insert the tip of the bag into the end of a hollowed-out okra pod and squeeze firmly to fill it completely. Ensure each pod is tightly packed with the meat mixture from end to end.
Tip: Apply consistent pressure to the piping bag to ensure there are no air gaps inside the okra pods. - 6Slice into star shapes
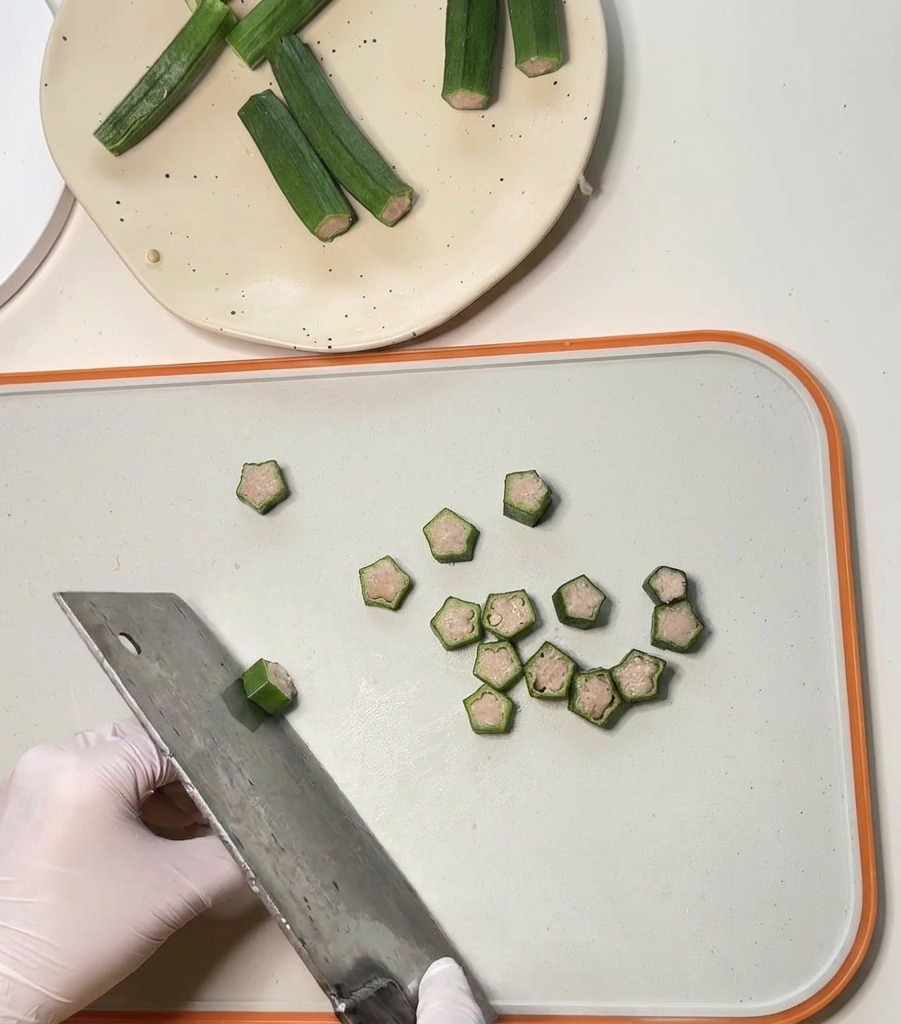
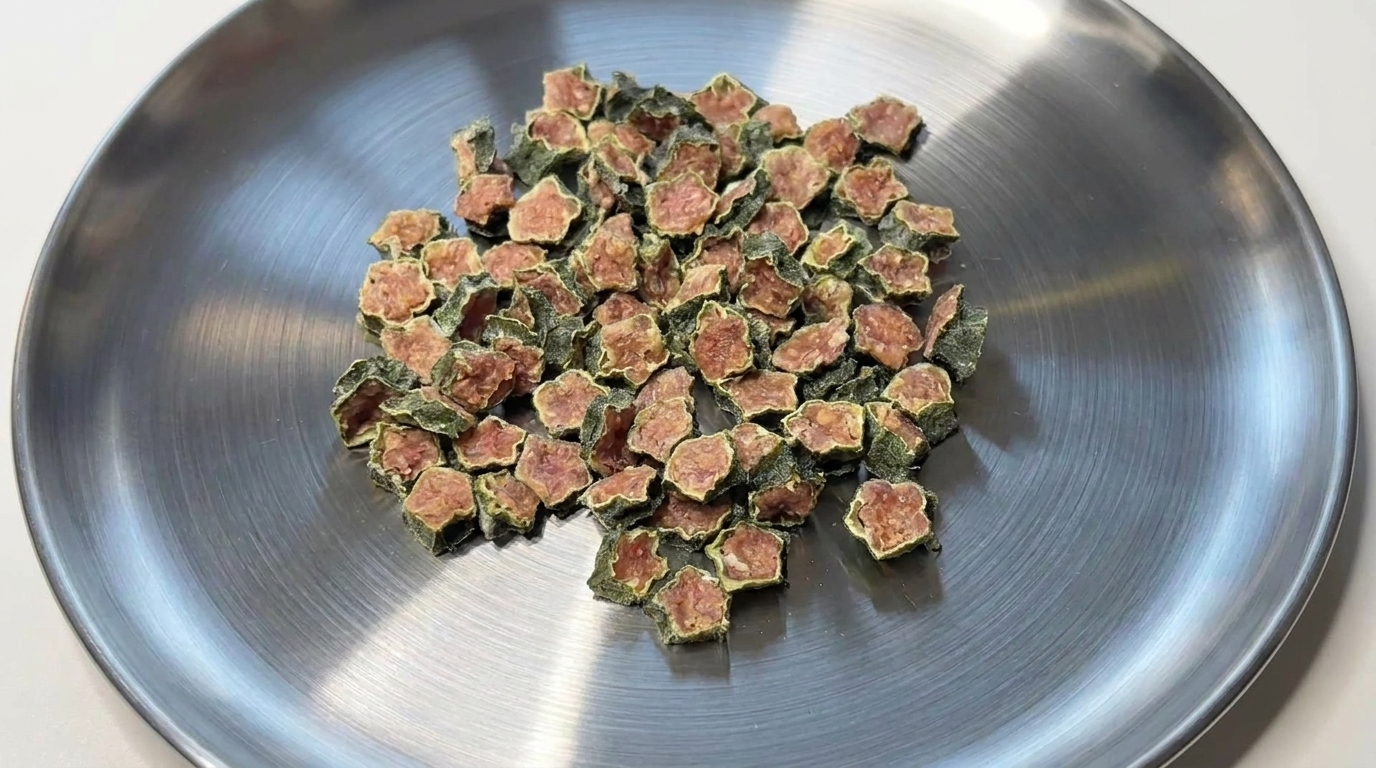
Once the okra pods have been stuffed with the chicken and seed paste, use a sharp cleaver to slice them into small rounds. The cross-section of the okra naturally forms a star shape, resulting in cute, bite-sized training treats that are easy for pets to eat.
Tip: Use a quick, decisive downward motion with the cleaver to ensure the chicken filling stays neatly inside the okra stars. - 7Arrange for dehydrating
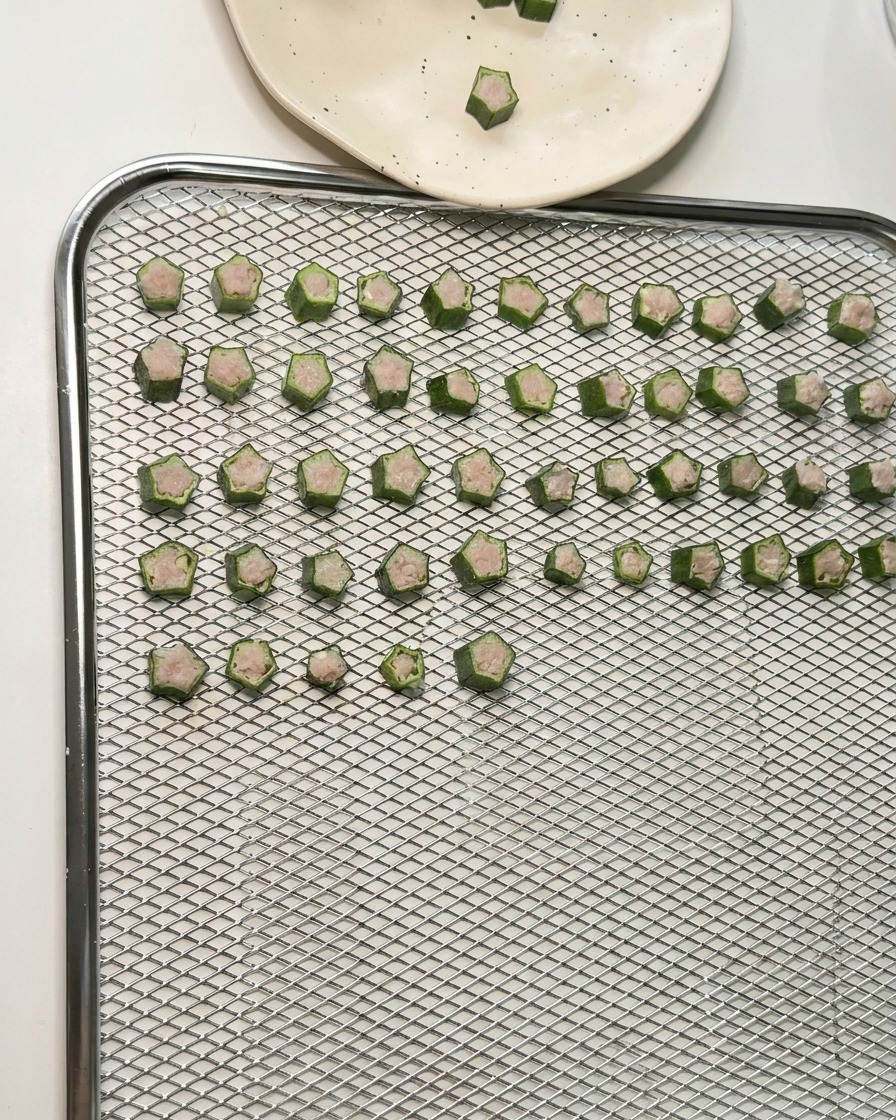
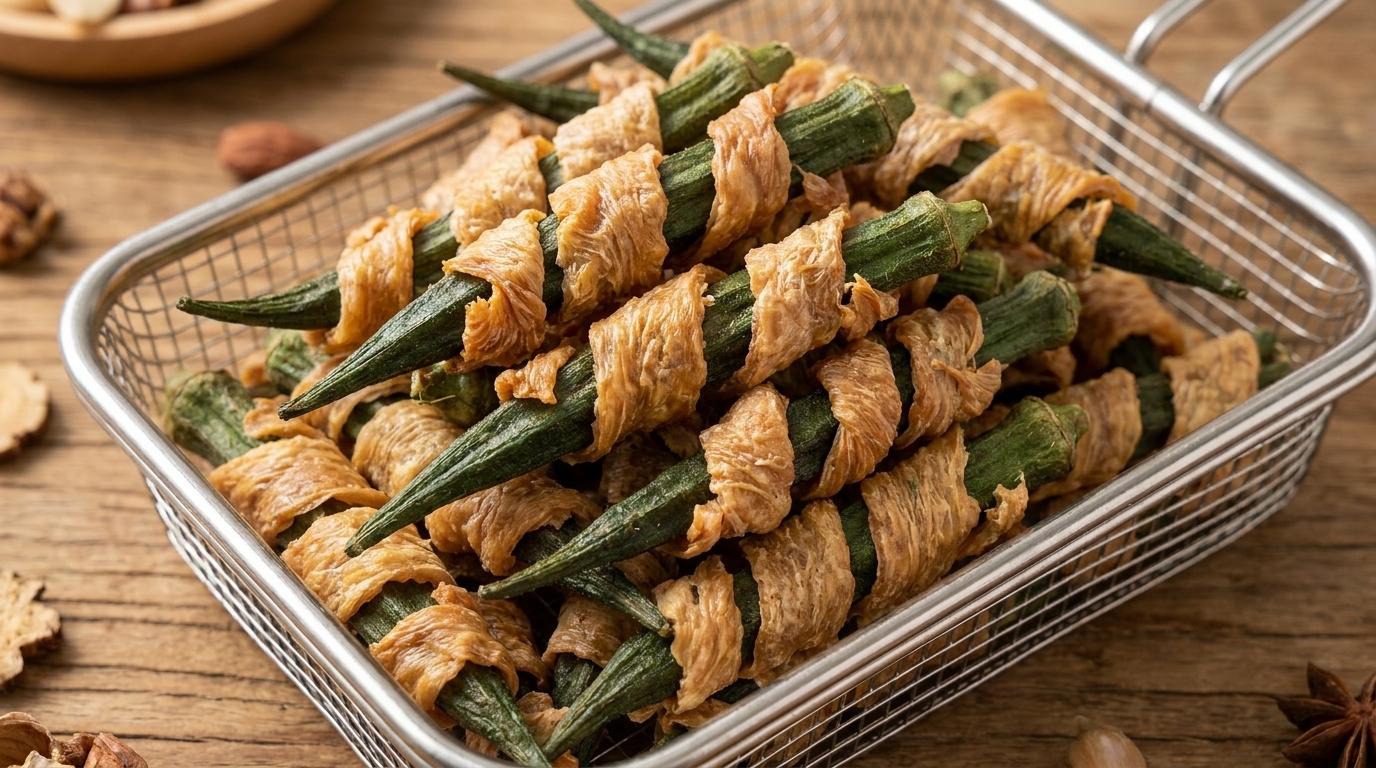
Neatly place the sliced okra treats onto a square wire mesh dehydrator rack. Ensure they are laid out in a single layer with space between each piece to allow for maximum airflow and even drying during the dehydration process.
Tip: Using a mesh rack instead of a solid tray ensures that the treats dry thoroughly from all sides, preventing any soft spots. - 8Dehydrate the treats
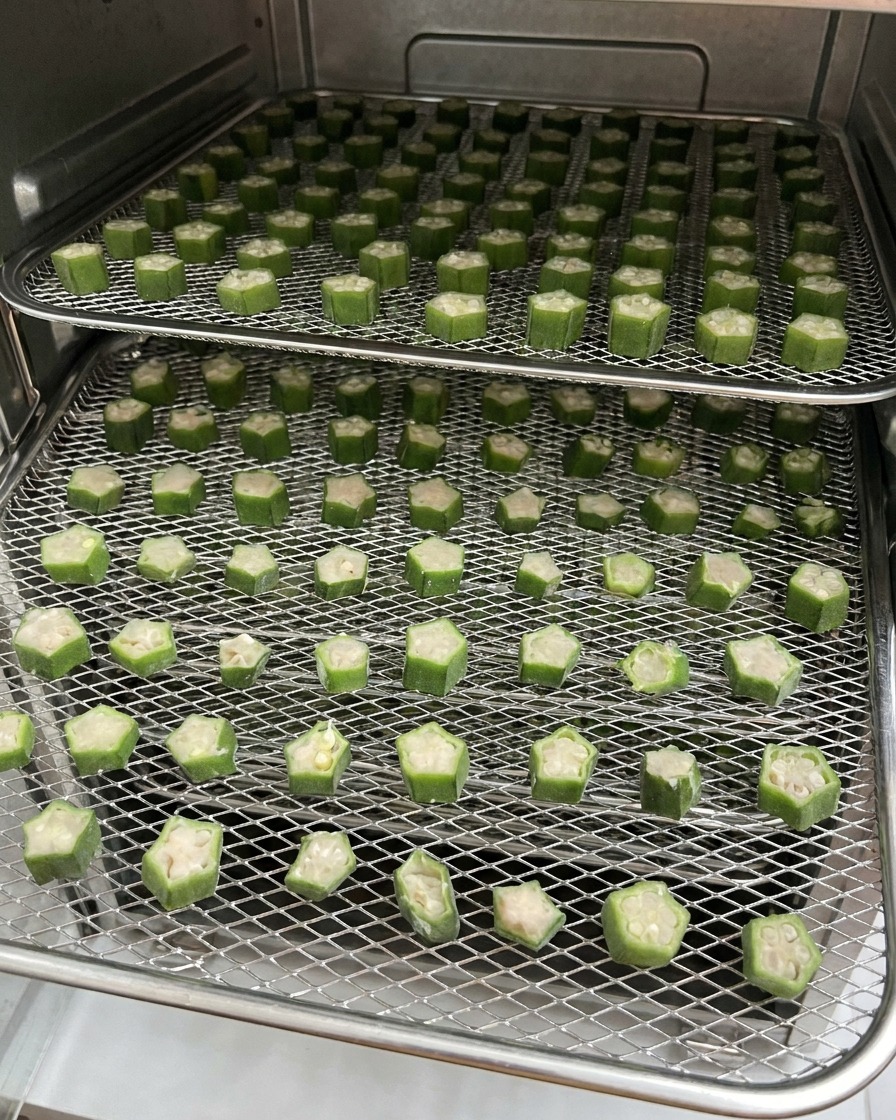
Slide the loaded trays into the food dehydrator. Set the machine to a temperature suitable for drying meat and vegetables. Dehydrate the treats until they are completely dry and have a firm, crunchy texture that makes them shelf-stable and satisfying for your pet.
Tip: Total drying time will depend on the thickness of your slices and the humidity; the treats are ready when they feel hard and snap easily.