Crispy Garlic Honey Butter Chicken
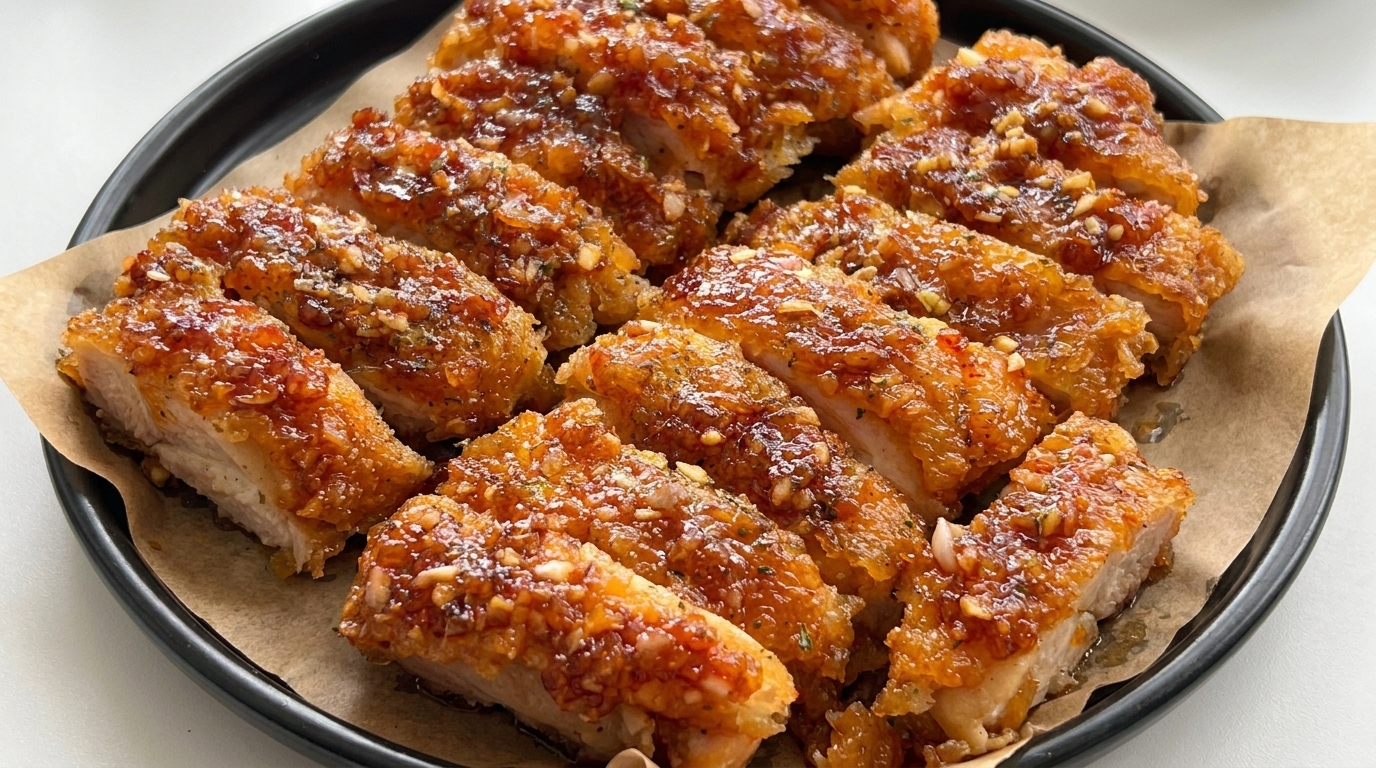
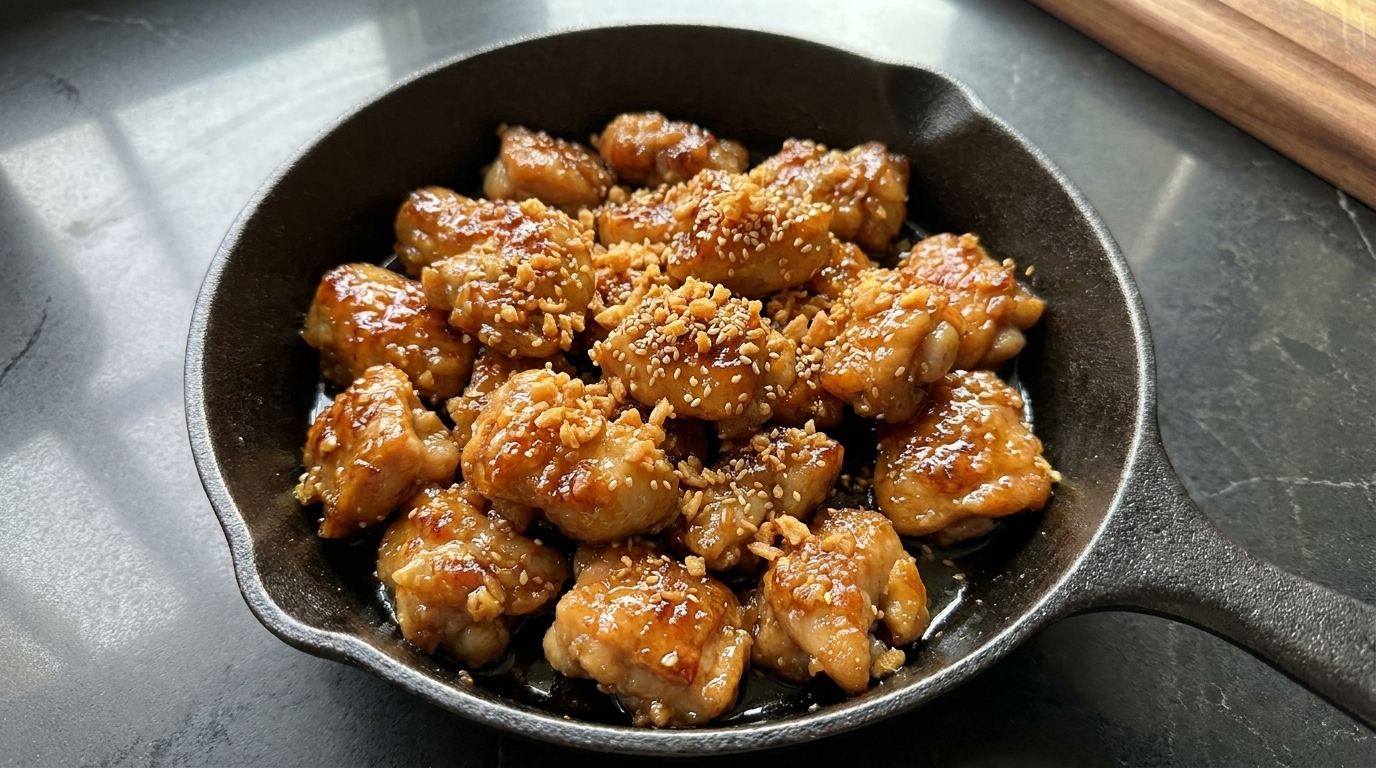
Crispy on the outside and incredibly juicy inside, these de-boned chicken pieces are fried to perfection and glazed in a rich, savory-sweet garlic honey butter sauce.
There is something truly magical about the combination of garlic, honey, and butter. This dish takes tender, de-boned chicken drumsticks, lightly coats them for maximum crispiness, and tosses them in a caramelized, umami-rich glaze. It strikes the perfect balance of savory soy sauces and sweet floral honey, making it an irresistible main course.
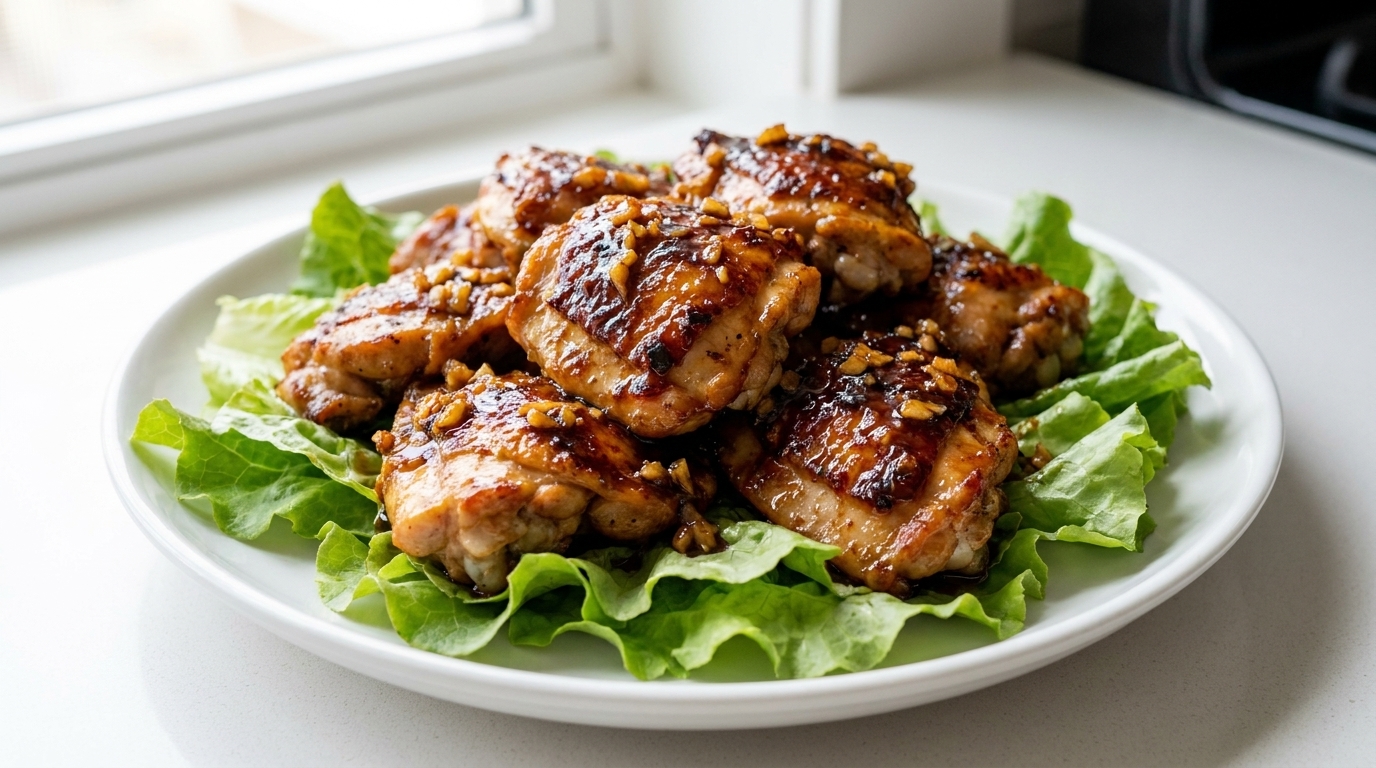
Ingredients
- 4 chicken drumsticks
- 4-5 cloves garlic
- 1 tbsp cooking wine
- 0.5 tsp salt
- 2 tbsp light soy sauce
- 1 tbsp cooking oil
- 1.5 tbsp oyster sauce
- to taste pepper powder
- 0.5 cup dry starch
- 4 pieces butter
- 2 tbsp honey
- 1 tsp dark soy sauce
- 0.25 cup starch water
- optional fresh lettuce leaves
Instructions
- 1Mince the garlic
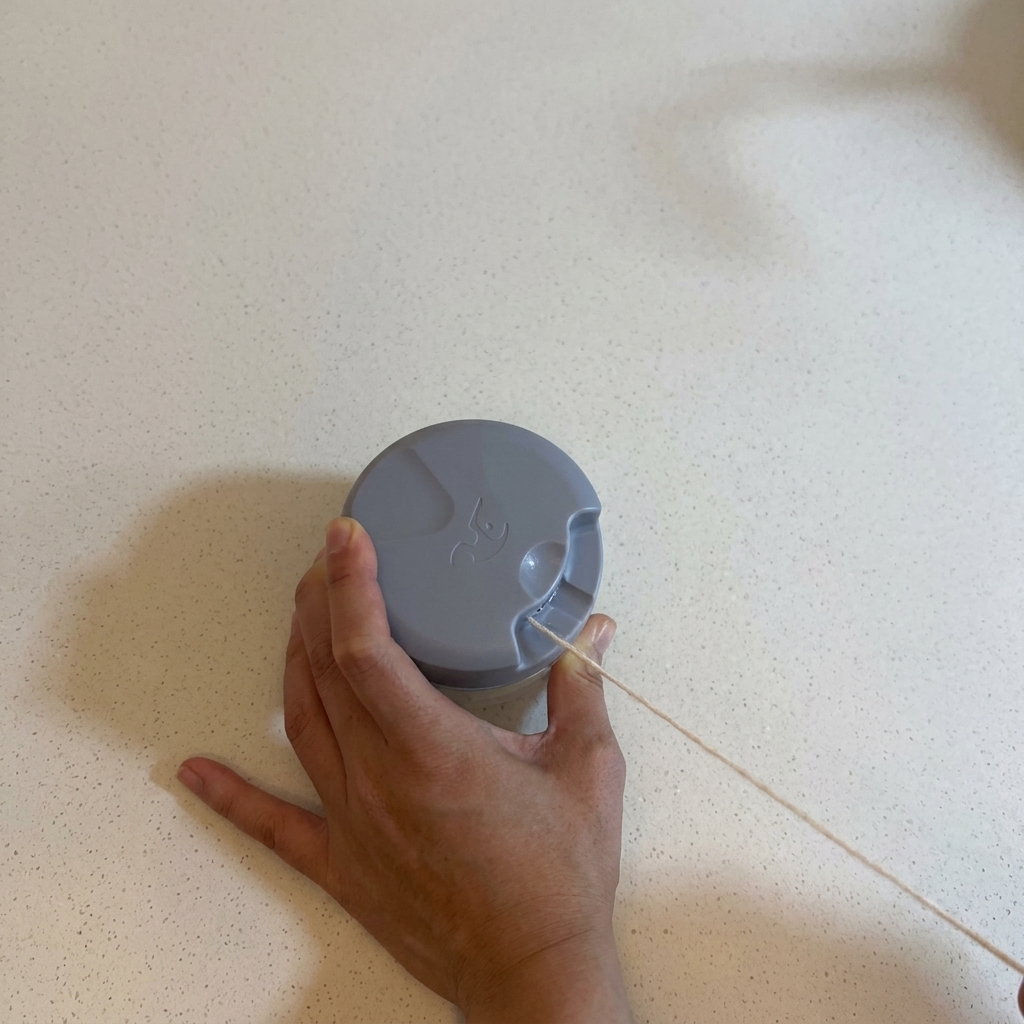
Place peeled garlic cloves into the manual pull chopper. Pull the string a few times to finely mince the garlic, creating the flavorful aromatic base for the honey butter sauce.
Tip: If you dont have a manual chopper, you can simply mince the garlic as finely as possible using a sharp kitchen knife. - 2Prepare the chicken drumsticks
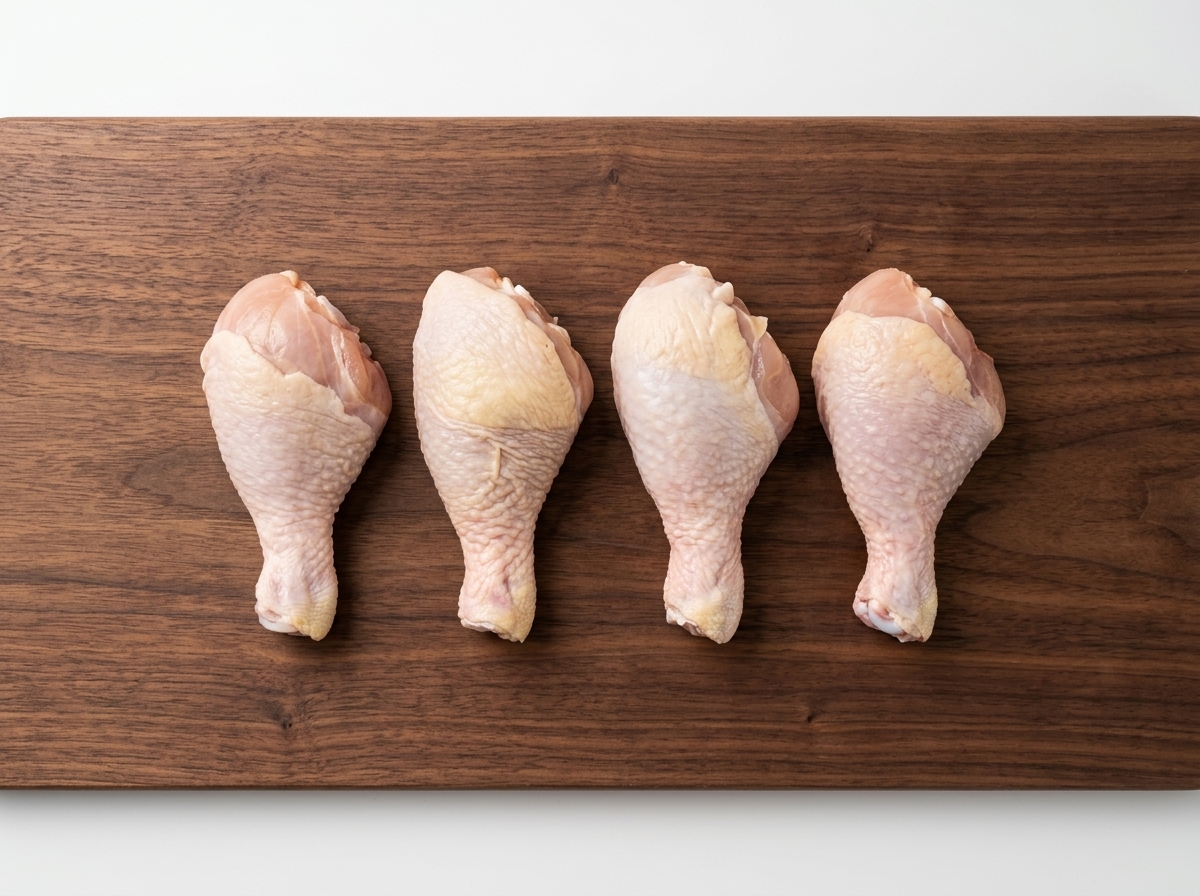
Lay out the fresh raw chicken drumsticks on a clean wooden cutting board. Using drumsticks provides tender, juicy dark meat that stays moist during cooking.
Tip: Pat the chicken drumsticks dry with a paper towel before processing to make them easier to handle. - 3Remove the chicken skin
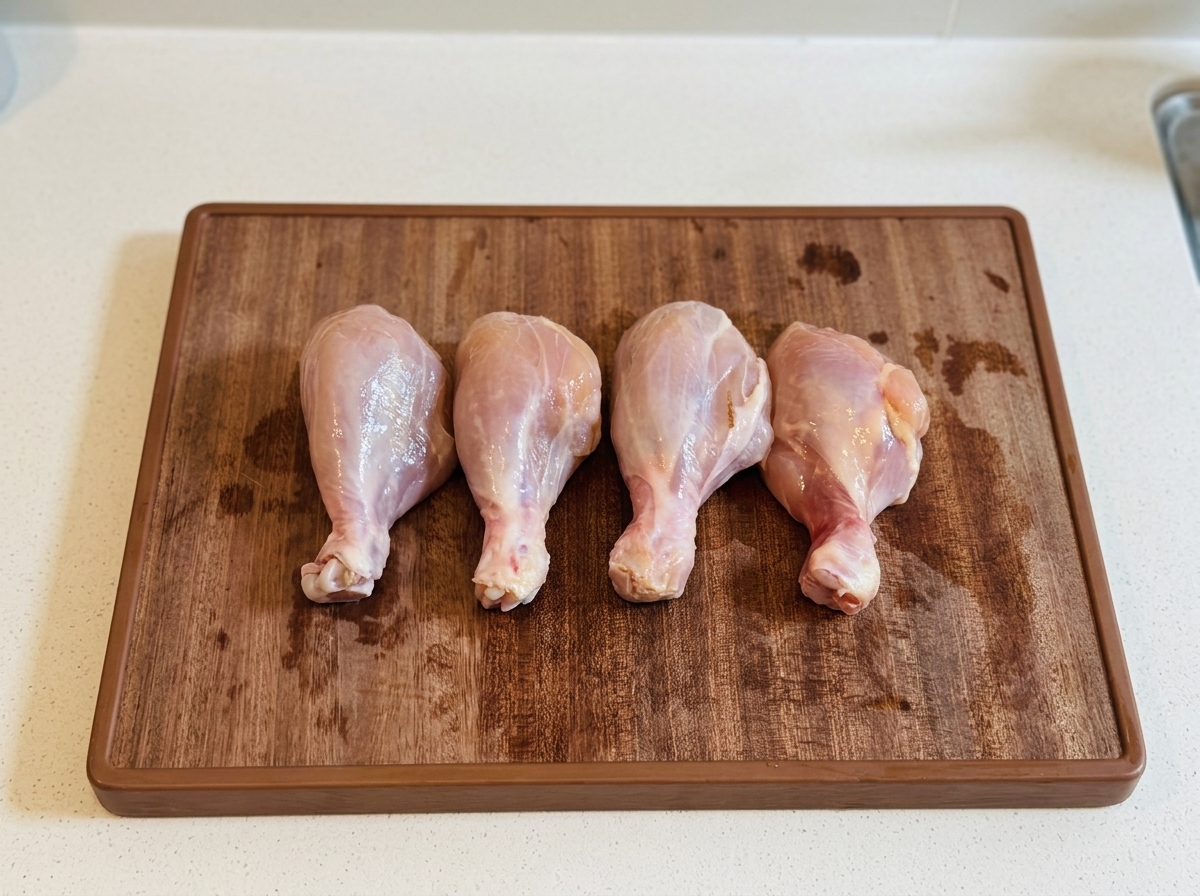
Peel and remove the skin completely from each chicken drumstick. Taking off the skin helps the upcoming marinade penetrate the meat directly and prevents the final dish from becoming excessively greasy.
Tip: Grip the skin with a dry paper towel to prevent your fingers from slipping while pulling it off. - 4De-bone the chicken
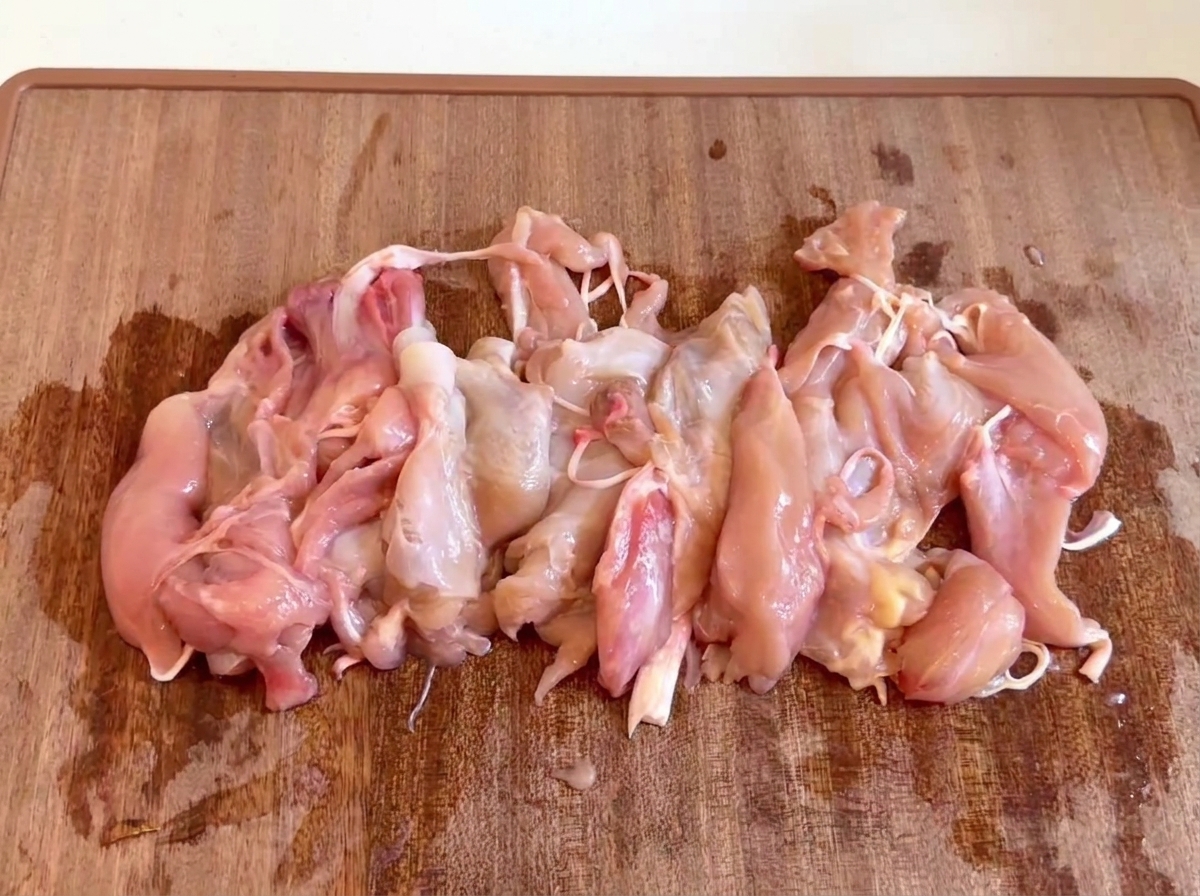
Using a sharp knife or kitchen shears, carefully cut along the bone to remove the meat from each drumstick. Keep the de-boned meat in pieces to ensure even cooking later in the pan.
Tip: Save the discarded chicken bones in a freezer bag to make a rich homemade chicken stock later. - 5Add cooking wine
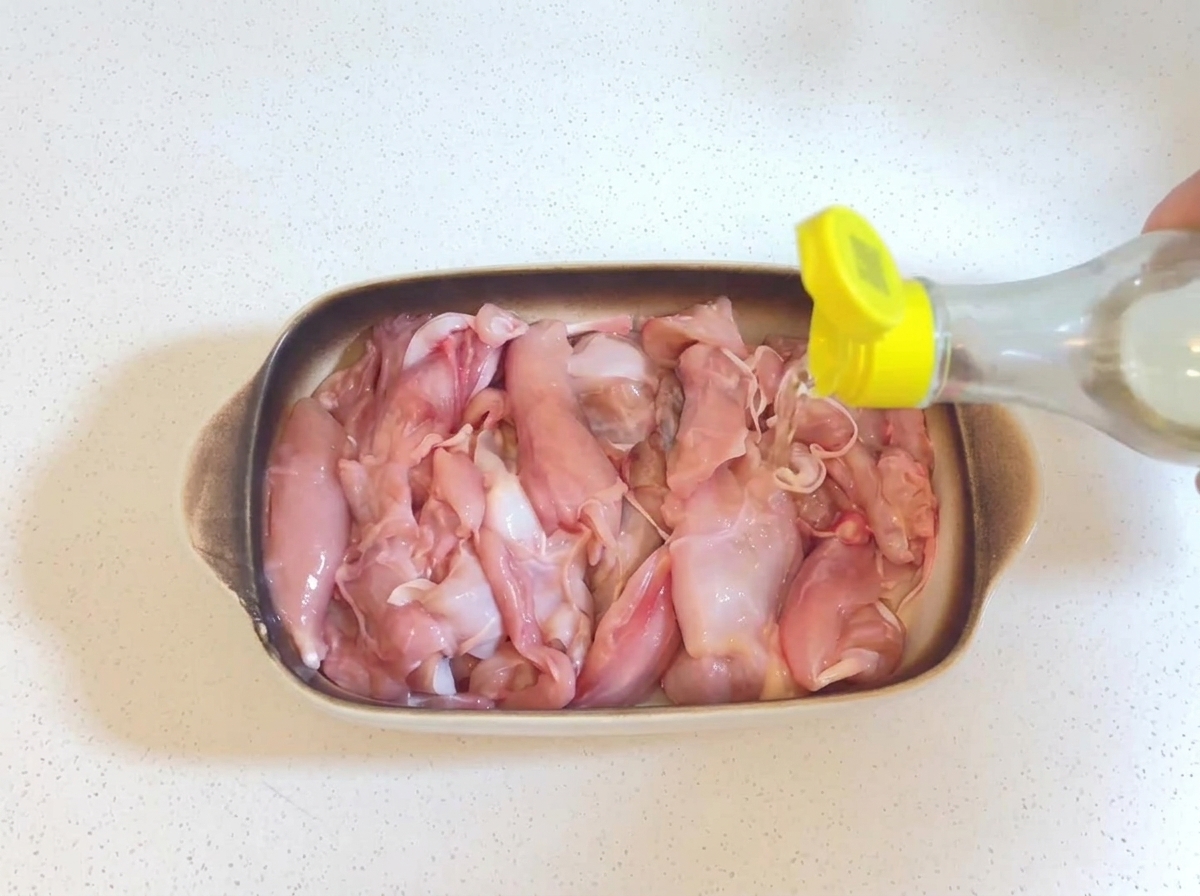
Pour cooking wine over the de-boned chicken pieces in the dish. This helps neutralize any unwanted poultry odors and enhances the flavor profile of the meat.
Tip: Always add cooking wine before the dry seasonings to help it absorb more evenly into the meat. - 6Salt the chicken
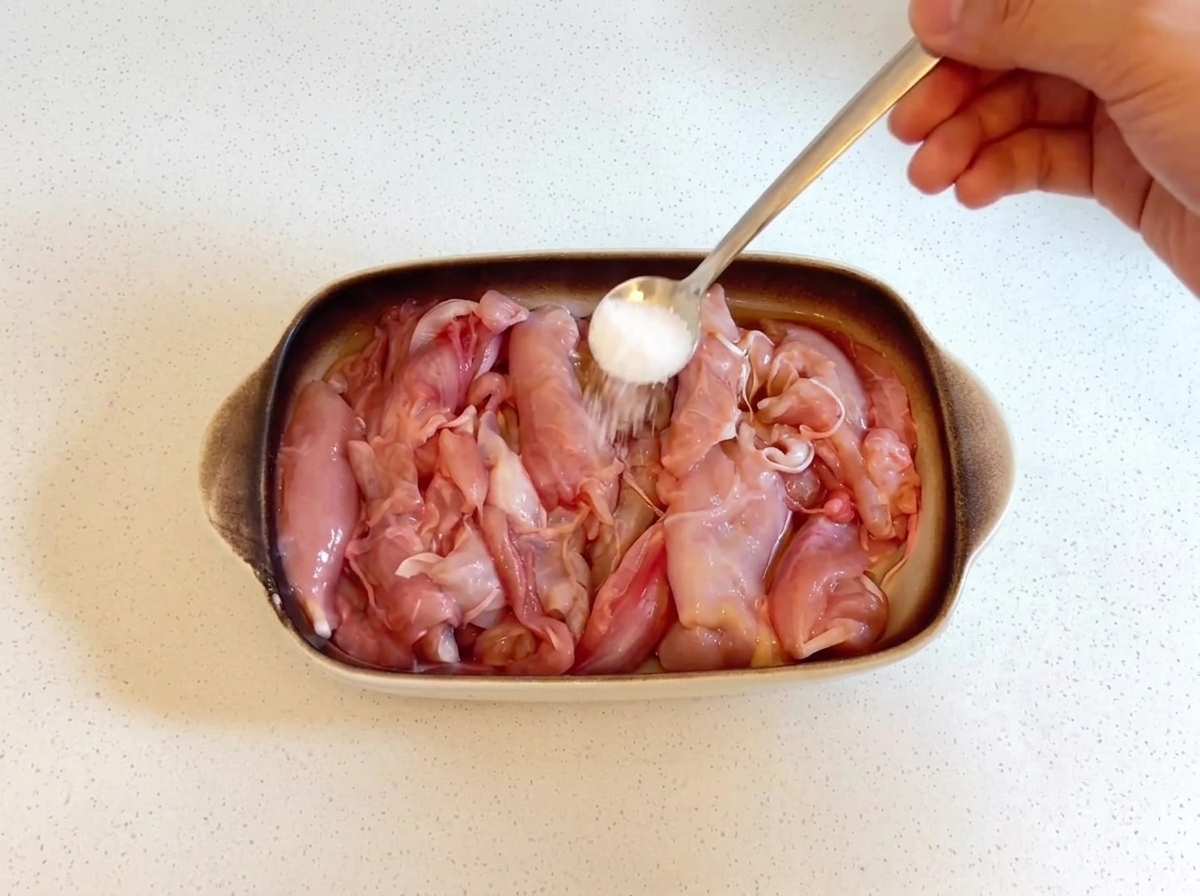
Sprinkle an appropriate amount of salt evenly over the raw chicken pieces placed in the container to enhance their flavor.
Tip: Ensure the salt is distributed evenly for balanced seasoning. - 7Pour in light soy sauce
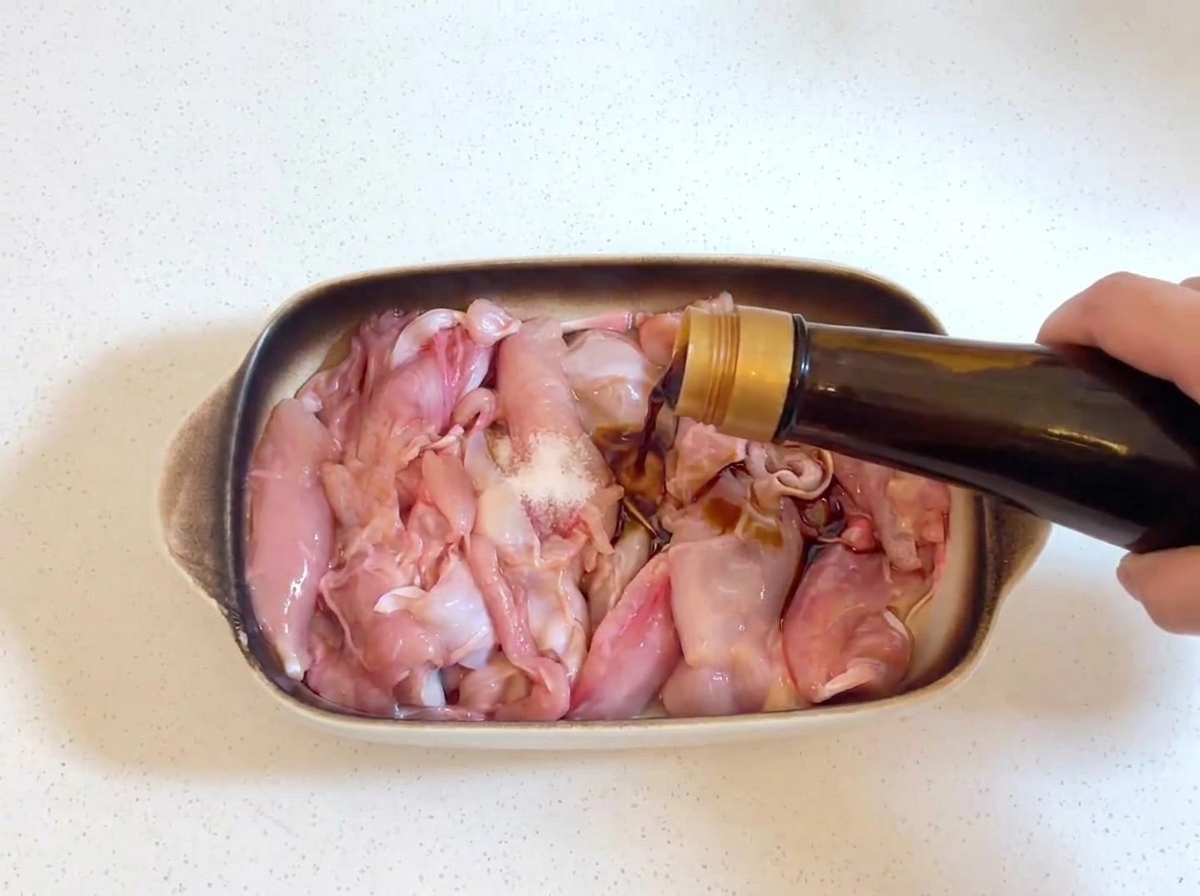
Add the light soy sauce to the chicken, pouring it directly over the meat. This will provide a savory umami base for the marinade.
Tip: Light soy sauce brings saltiness and a delicate savory flavor without darkening the meat too much. - 8Add oil to the marinade
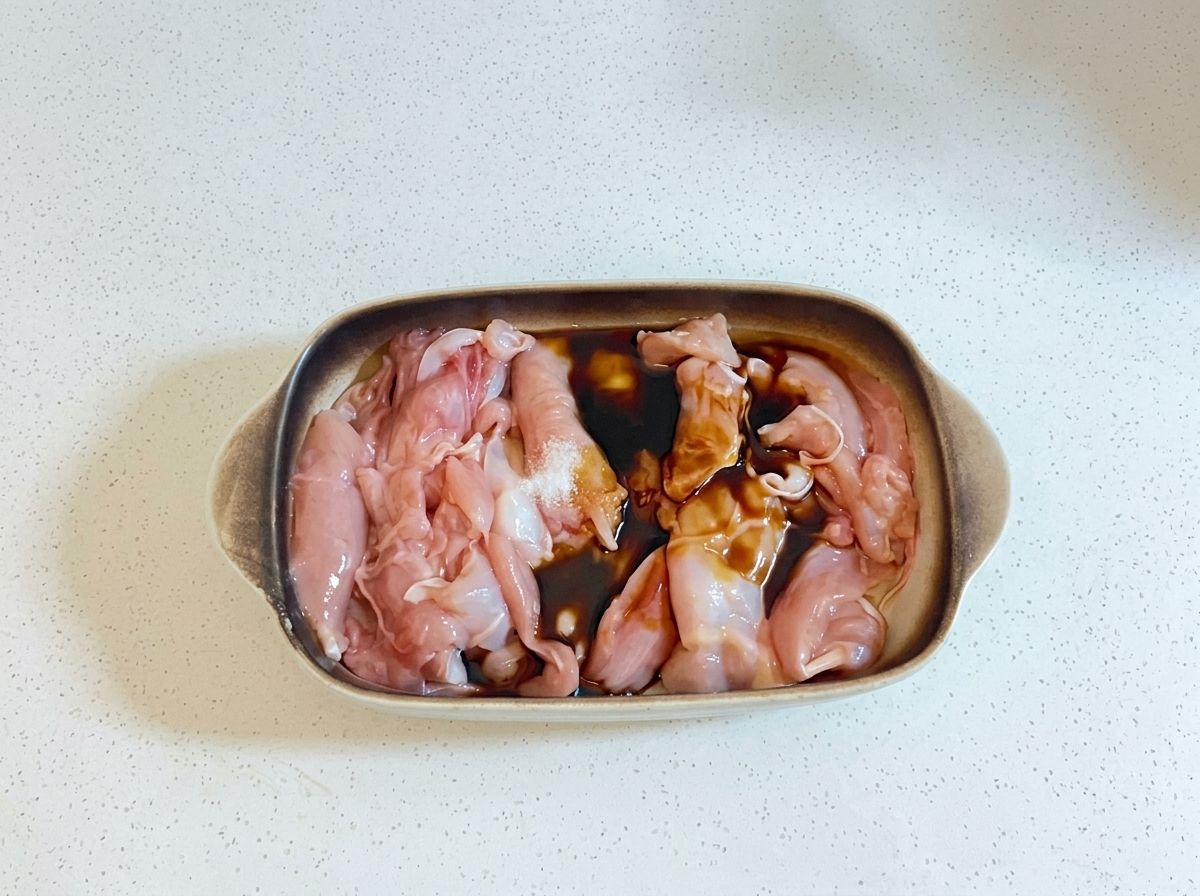
Pour cooking oil directly into the container with the seasoned chicken pieces to help lock in moisture during marination.
Tip: Adding a bit of oil helps tenderize the meat texture. - 9Squeeze in oyster sauce
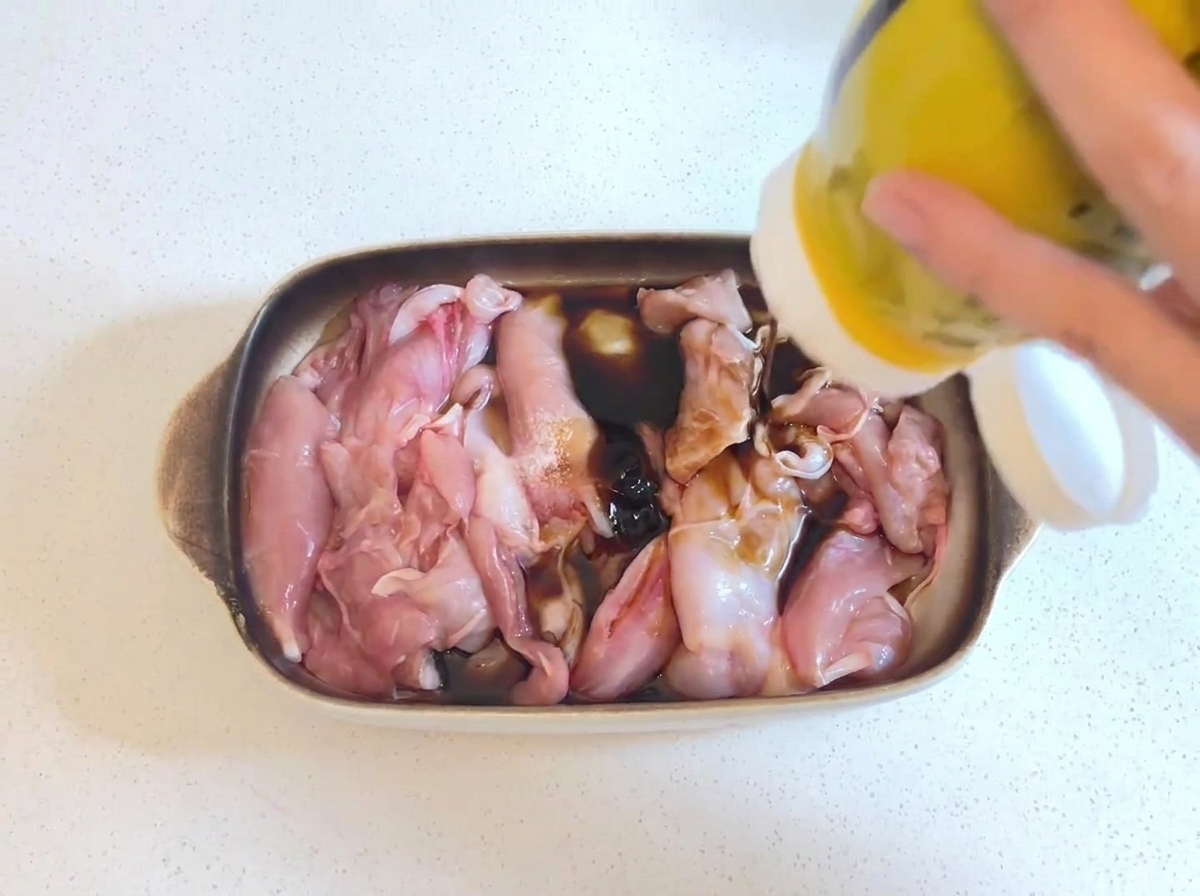
Squeeze a generous amount of oyster sauce over the marinating chicken. The oyster sauce introduces a thick, sweet, and rich flavor that coats the chicken beautifully.
Tip: Using a squeeze bottle for thick sauces like oyster sauce gives you better control over the portion size. - 10Grind fresh pepper
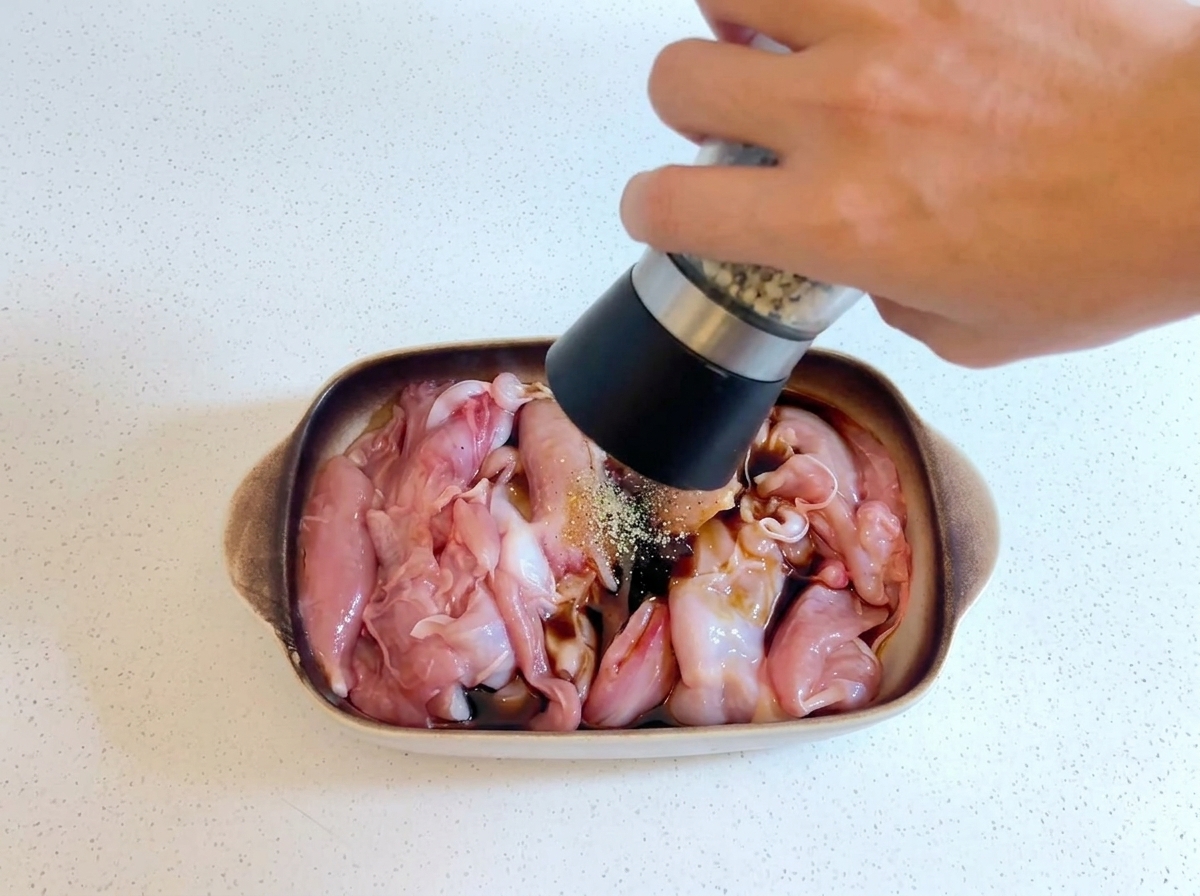
Use a grinder to add fresh pepper powder over the chicken and marinade. This adds a subtle aromatic heat that balances the savory and sweet notes.
Tip: Freshly ground pepper provides a more intense and fragrant spice compared to pre-ground pepper. - 11Cover the chicken with plastic wrap
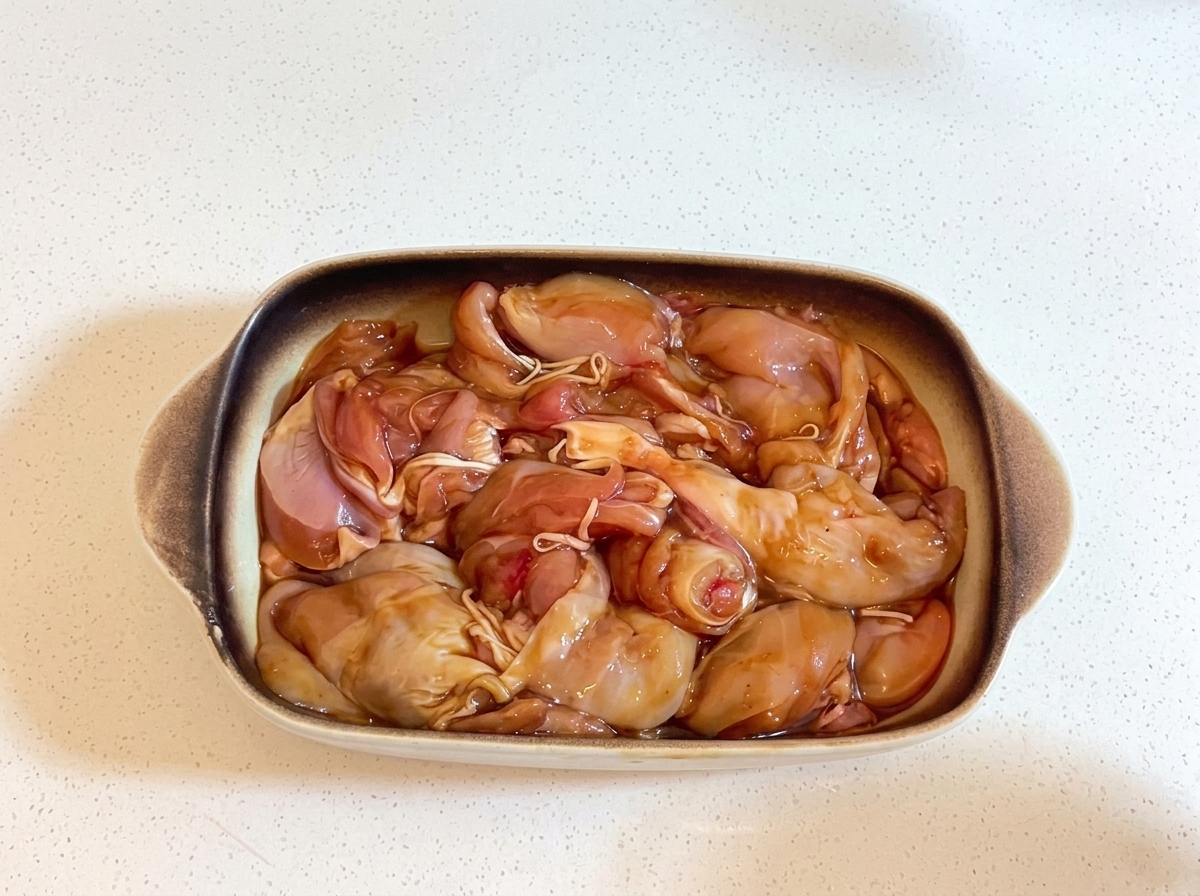
Cover the ceramic dish containing the marinated chicken tightly with plastic wrap to seal in the flavors and moisture. Let it marinate for twenty minutes to allow the seasonings and spices to fully penetrate the meat.
Tip: Make sure the plastic wrap is sealed securely around the rim of the dish. - 12Coat with starch
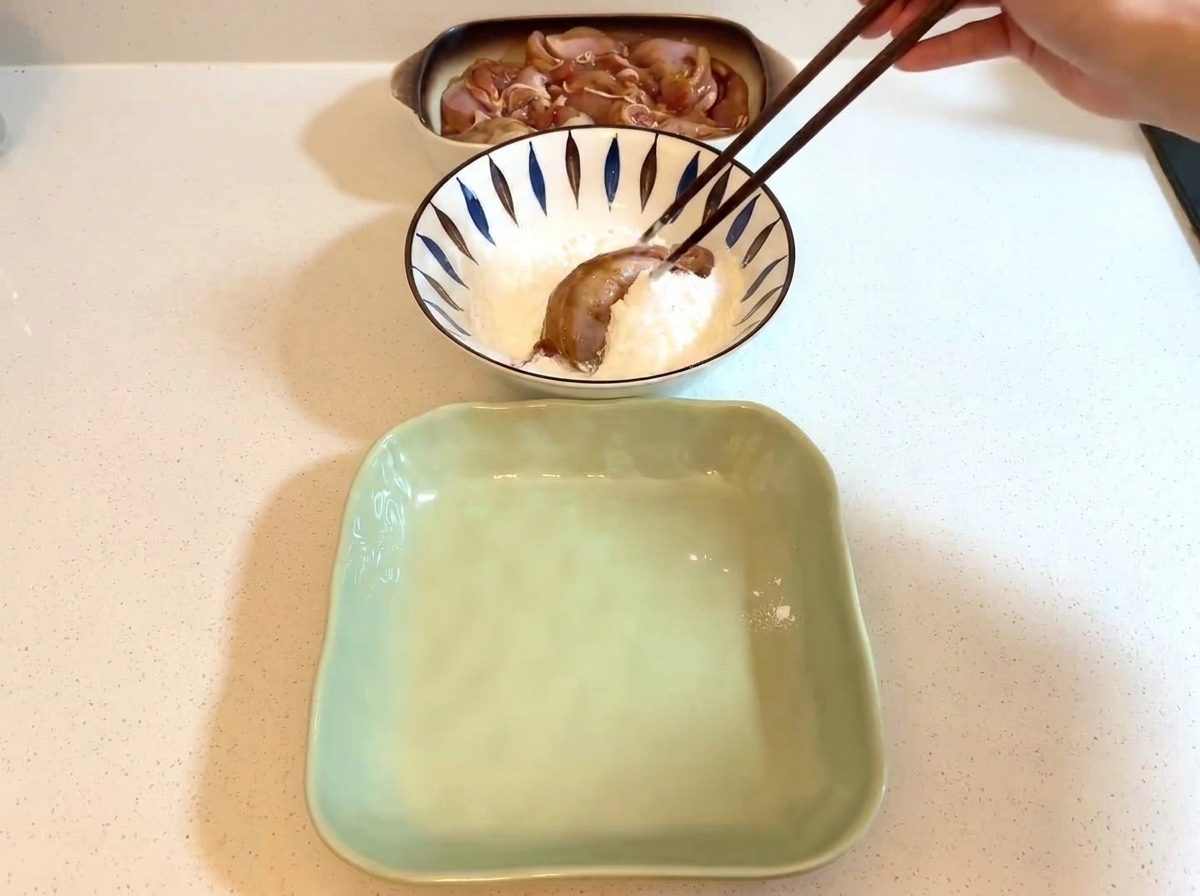
Take individual pieces of marinated chicken and coat them thoroughly with dry starch using chopsticks, preparing them for frying.
Tip: Coat each piece evenly to achieve a crispy outer crust when fried. - 13Fry the chicken
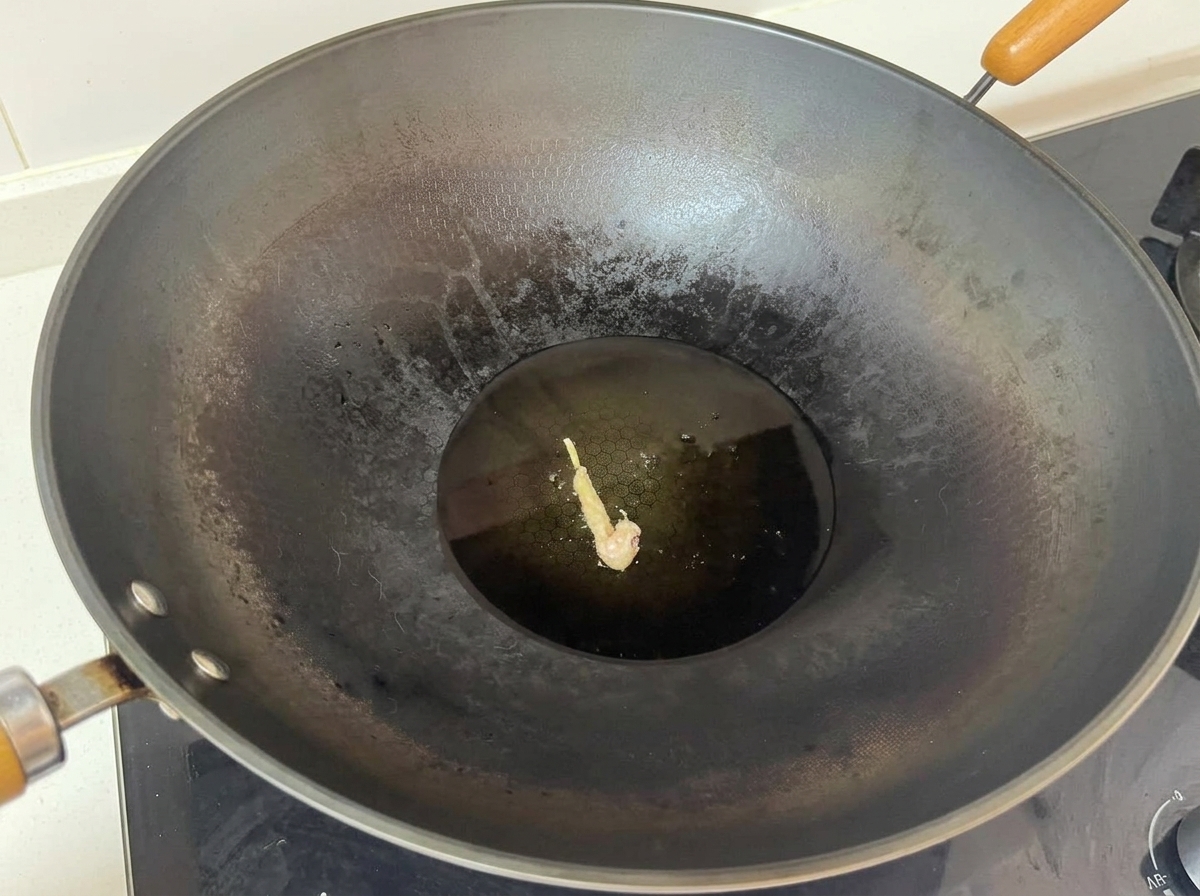
Carefully place the starch-coated chicken pieces into a wok filled with hot cooking oil, frying them until thoroughly cooked.
Tip: Maintain medium heat to ensure the chicken cooks through without burning the starch coating. - 14Melt butter in the pan
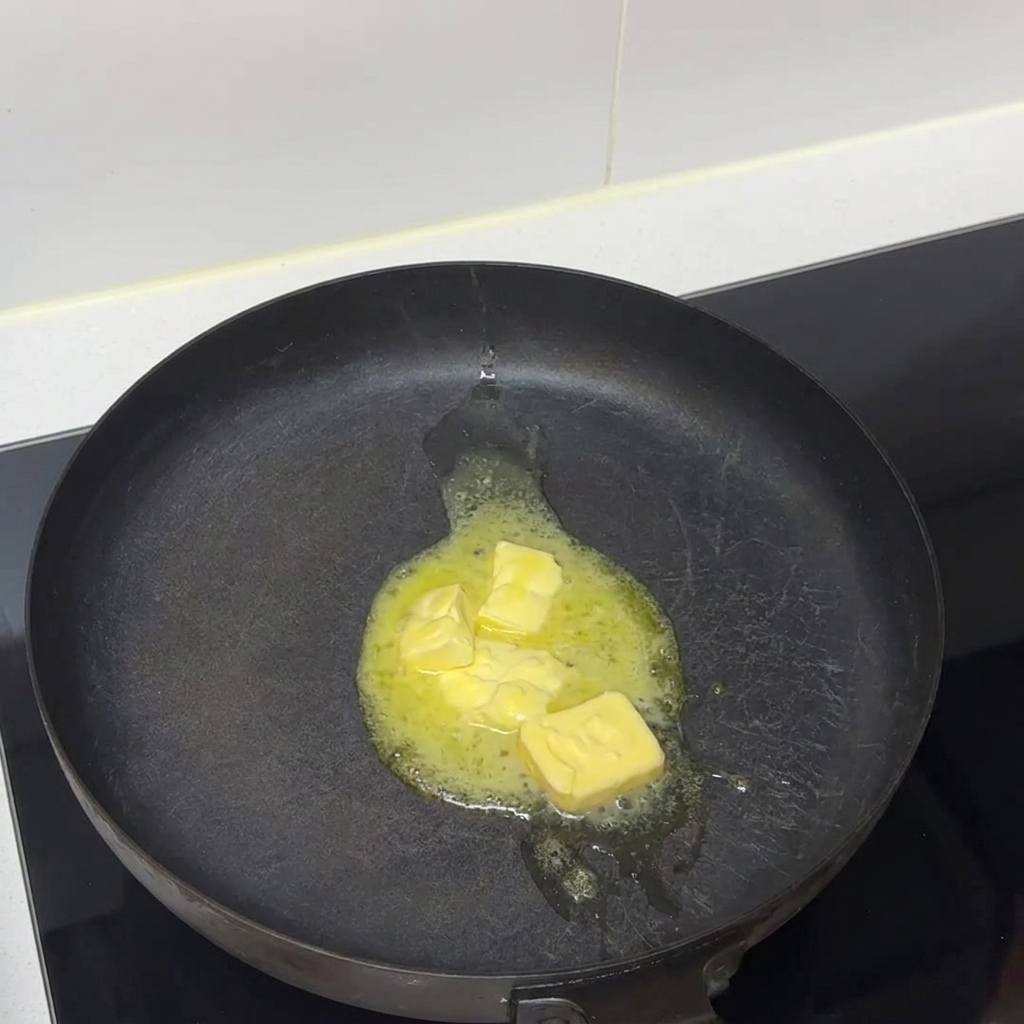
Place four pieces of butter into the frying pan and allow them to melt completely over heat.
Tip: Ensure the heat is not too high so the butter does not burn before melting. - 15Saute minced garlic
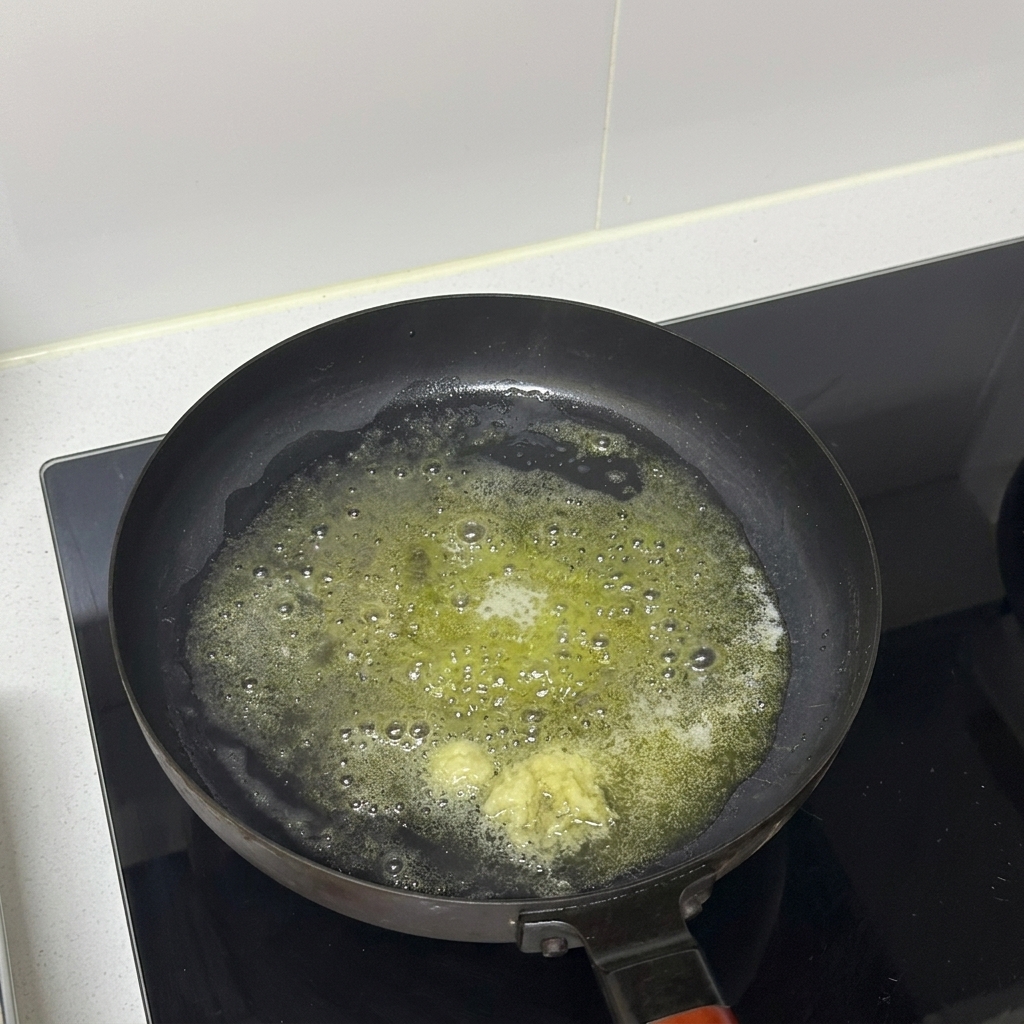
Add minced garlic into the melted butter in the pan and saute briefly until fragrant.
Tip: Stir continuously to prevent the garlic from burning. - 16Add honey to the pan
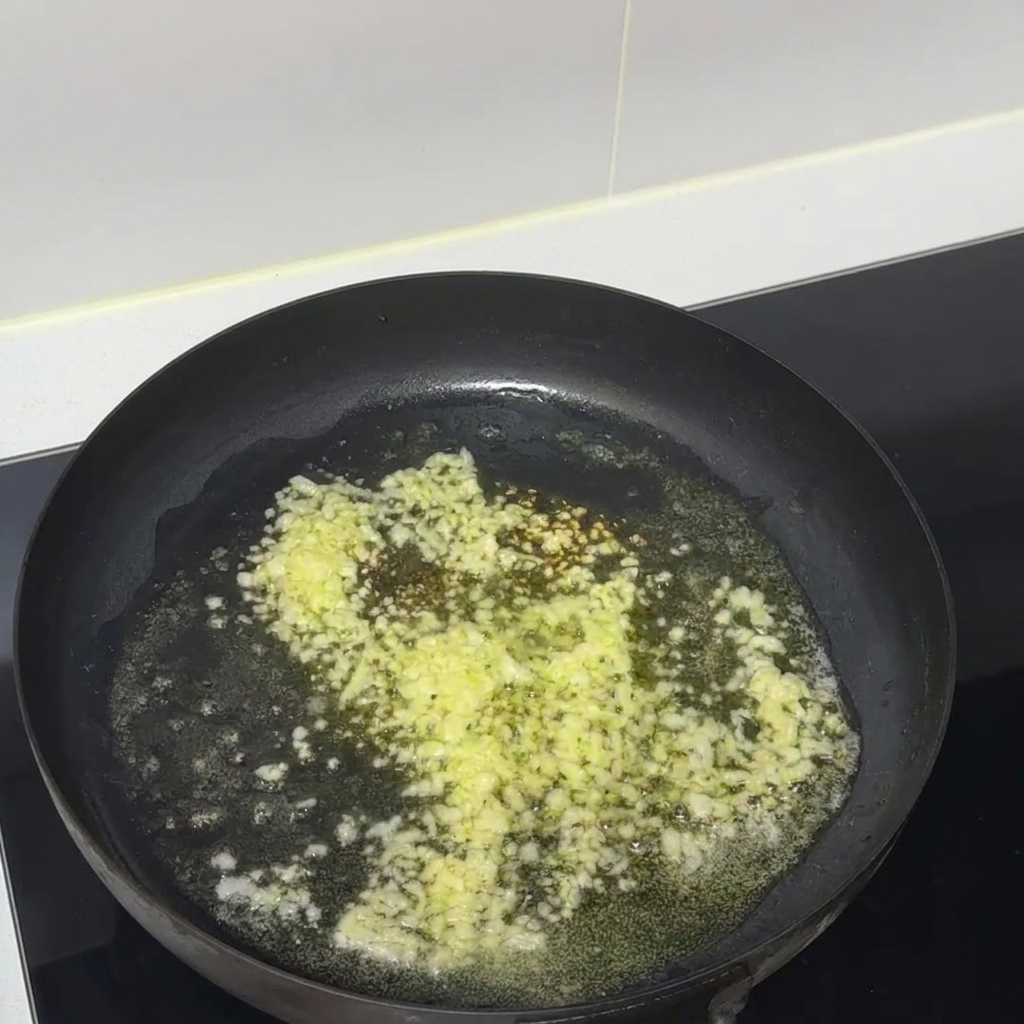
Spoon two spoons of honey into the pan with the sauteed garlic and melted butter, stirring gently to incorporate the sweetness into the savory base.
Tip: Keep the heat medium-low so the butter and minced garlic do not burn. - 17Add light soy sauce
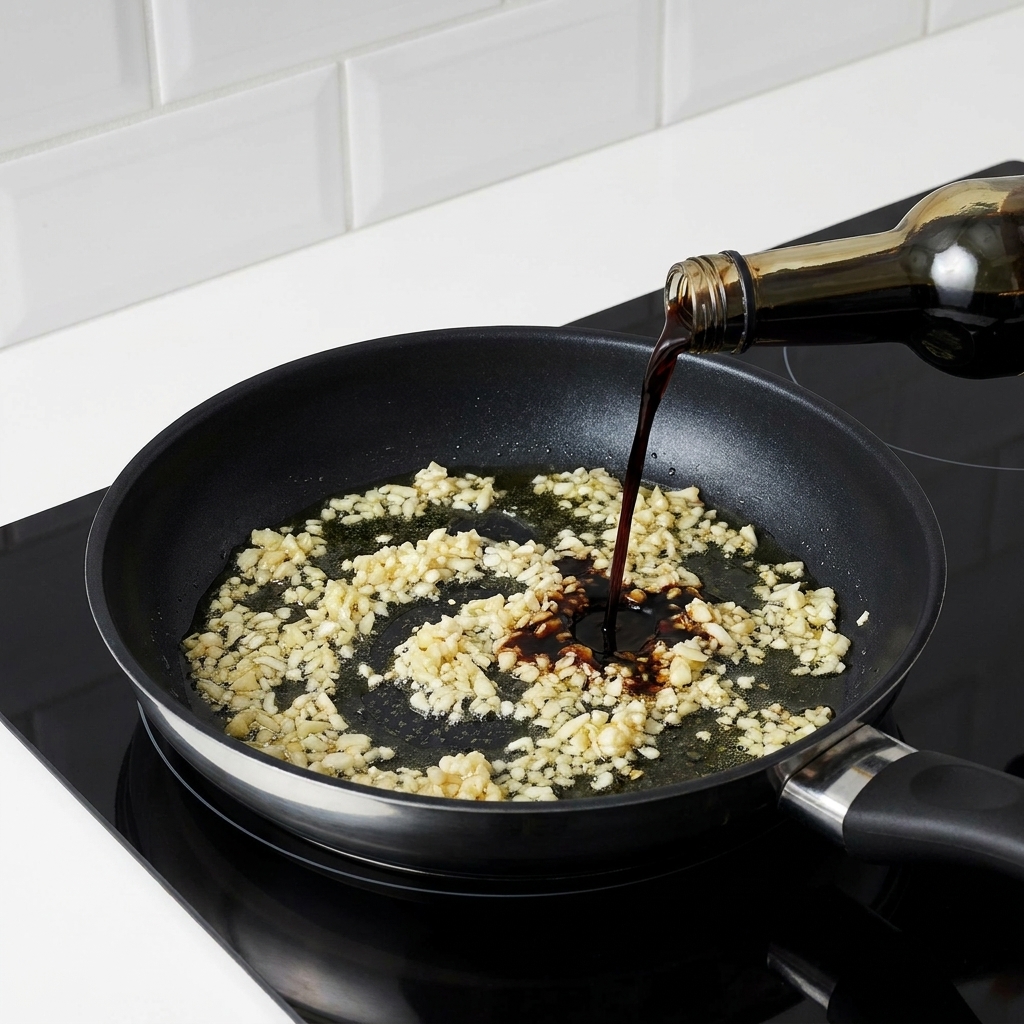
Pour a proper amount of light soy sauce into the pan with the minced garlic and oil mixture to build the base flavor of the sauce.
Tip: Add light soy sauce gradually to easily control the saltiness. - 18Add oyster sauce
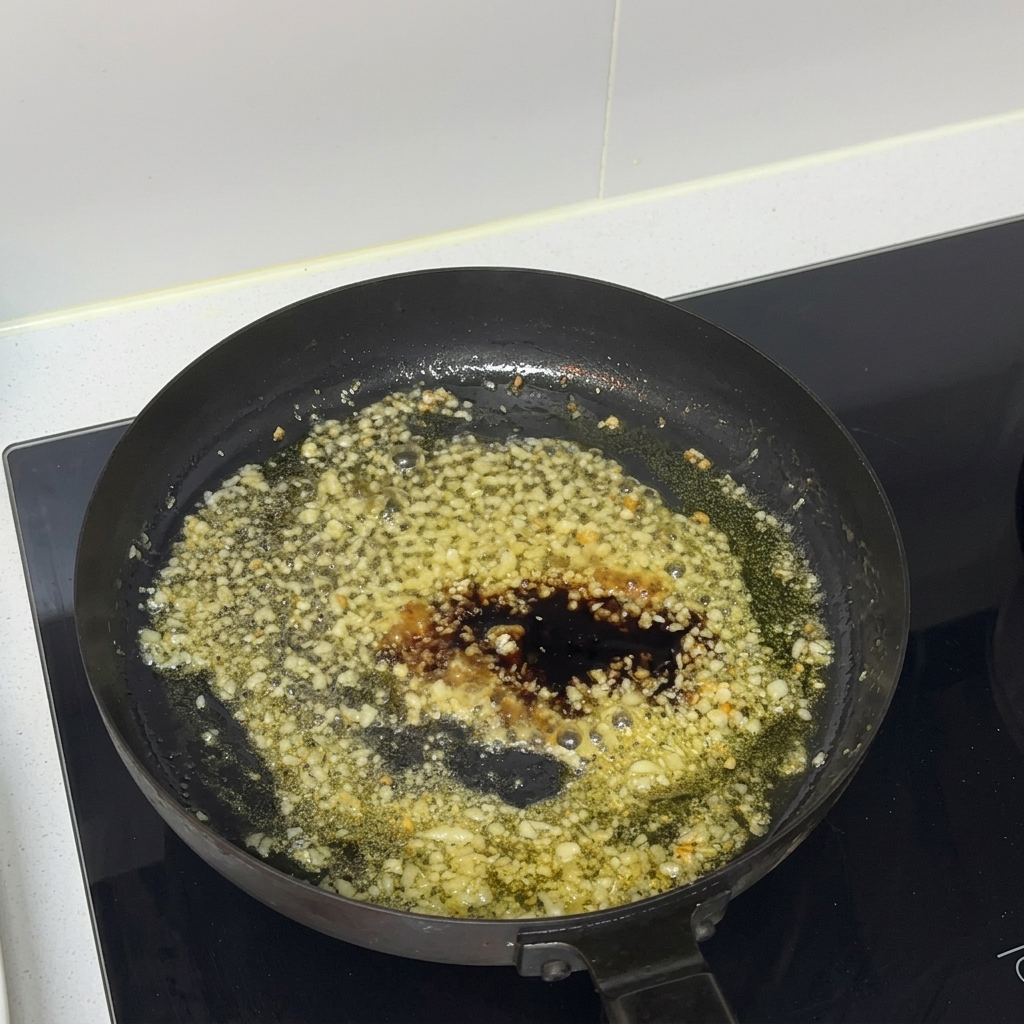
Squeeze a proper amount of oyster sauce directly into the pan with the other sauce ingredients.
Tip: Mix well to incorporate all the flavors together. - 19Add dark soy sauce
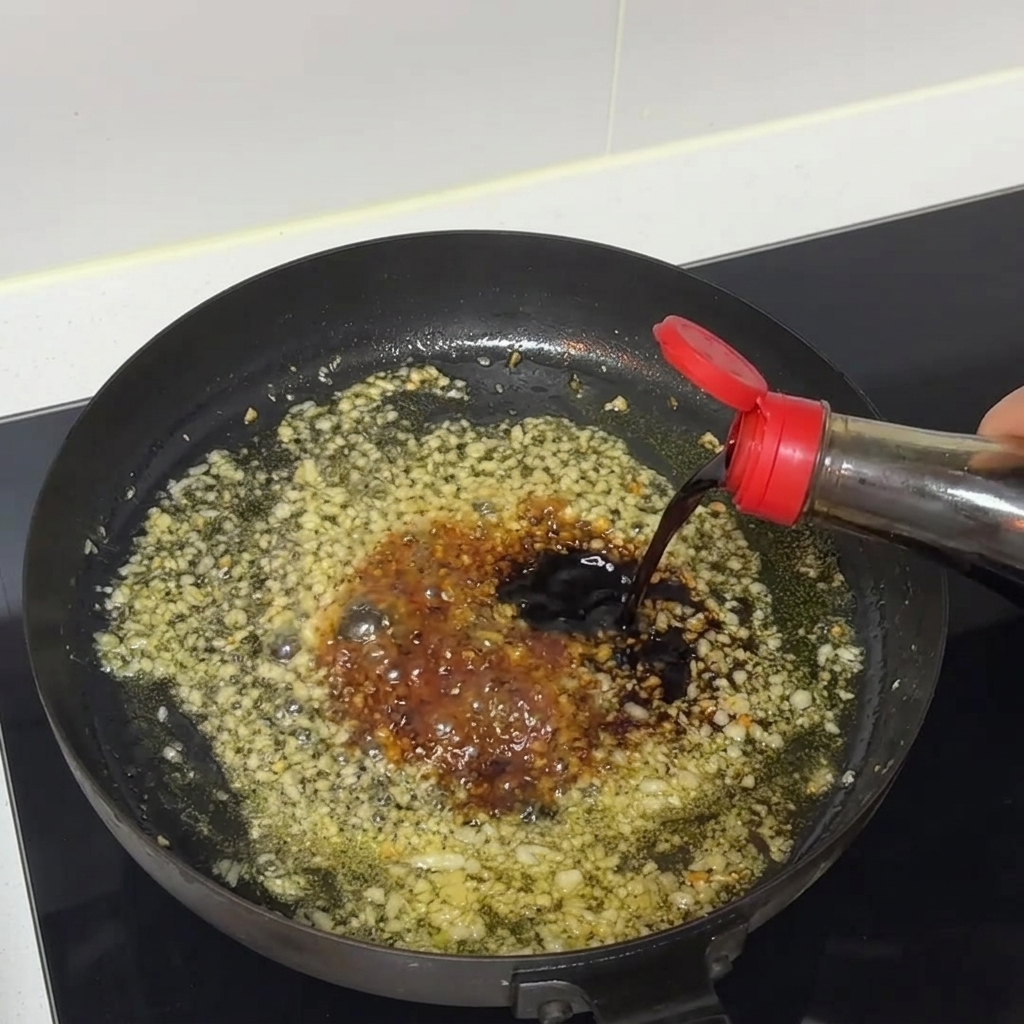
Pour a small amount of dark soy sauce into the pan containing the garlic and other sauce ingredients to enhance the rich color and depth of flavor for the glaze.
Tip: Dark soy sauce is mainly for color, so add it gradually to avoid darkening the sauce too much. - 20Stir the sauce mixture
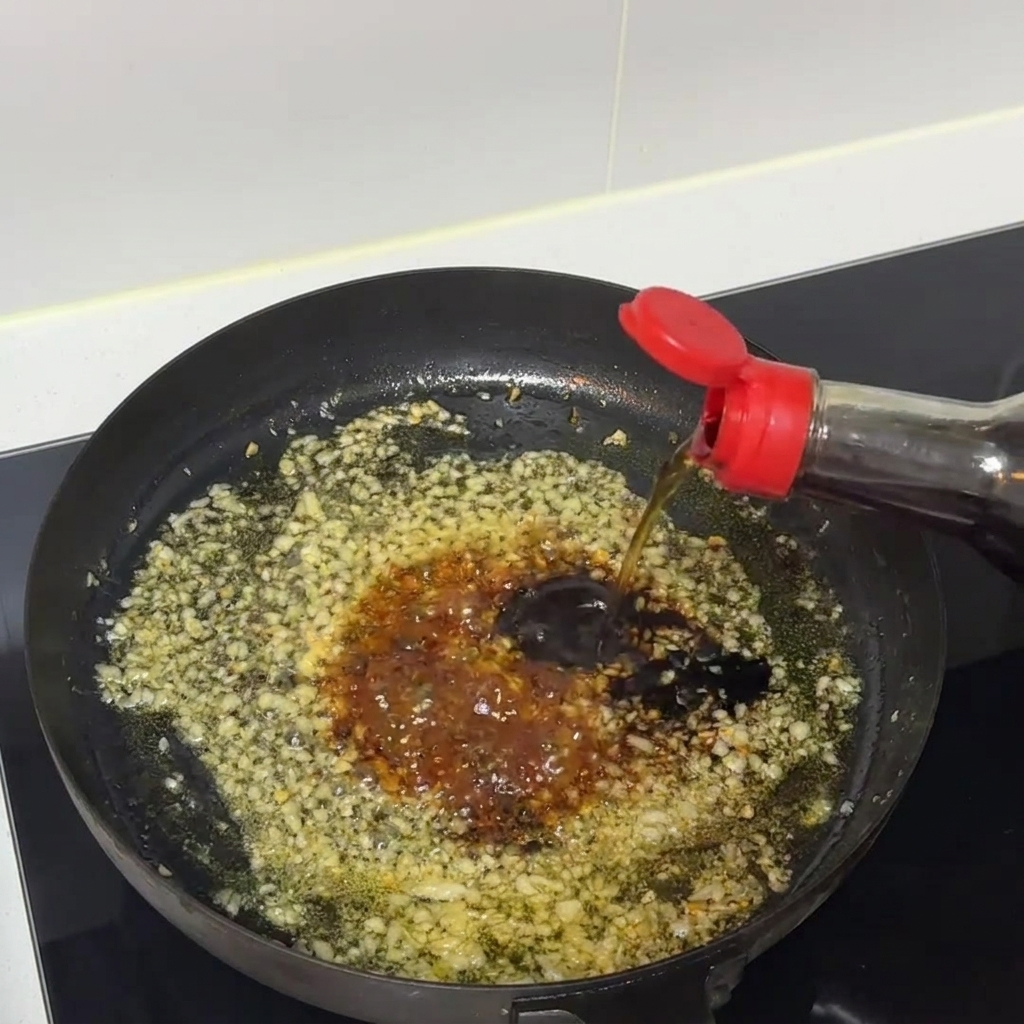
Stir the combination of seasonings and minced garlic thoroughly in the frying pan to ensure all ingredients blend well together.
Tip: Keep the heat low so the garlic does not burn while mixing the sauces. - 21Add fried chicken to the sauce
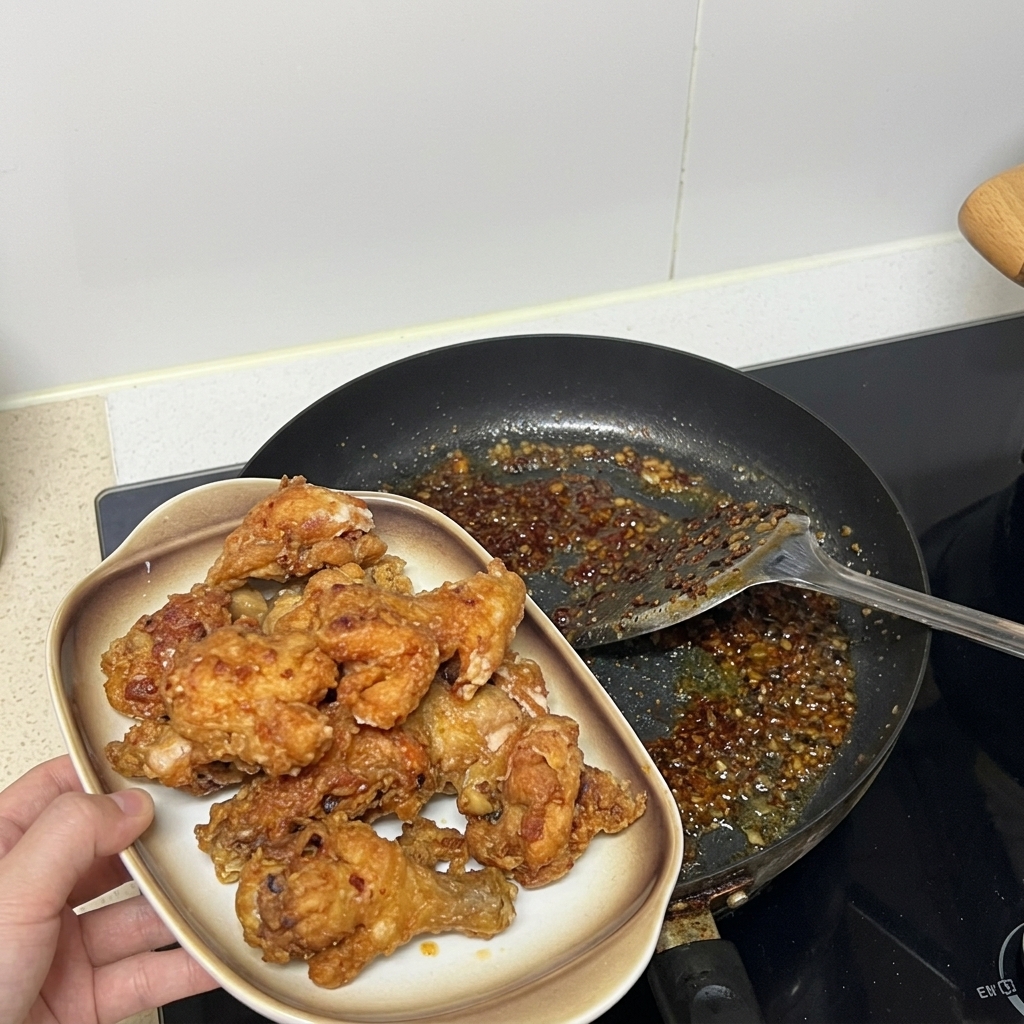
Transfer the previously fried chicken pieces from the plate directly into the prepared sauce mixture in the frying pan. Toss and stir everything together over high heat to reduce the sauce and evenly coat all the chicken pieces.
Tip: Turn the heat to high near the end to let the sauce thicken and cling nicely to the chicken. - 22Thicken with starch water
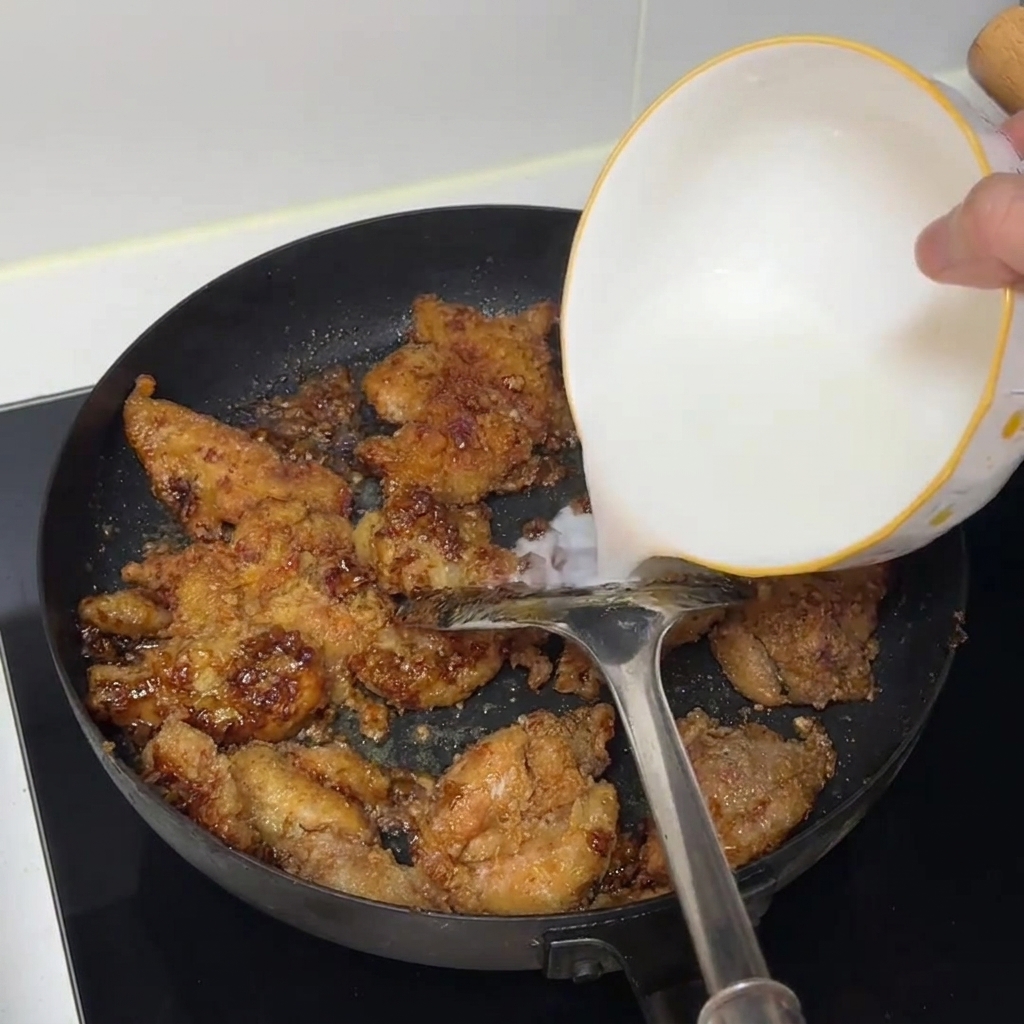
Pour starch water into the pan over the cooked chicken to thicken the sauce and help it coat each piece evenly.
Tip: Mix the starch and water completely before pouring to avoid lumps. - 23Simmer under high heat
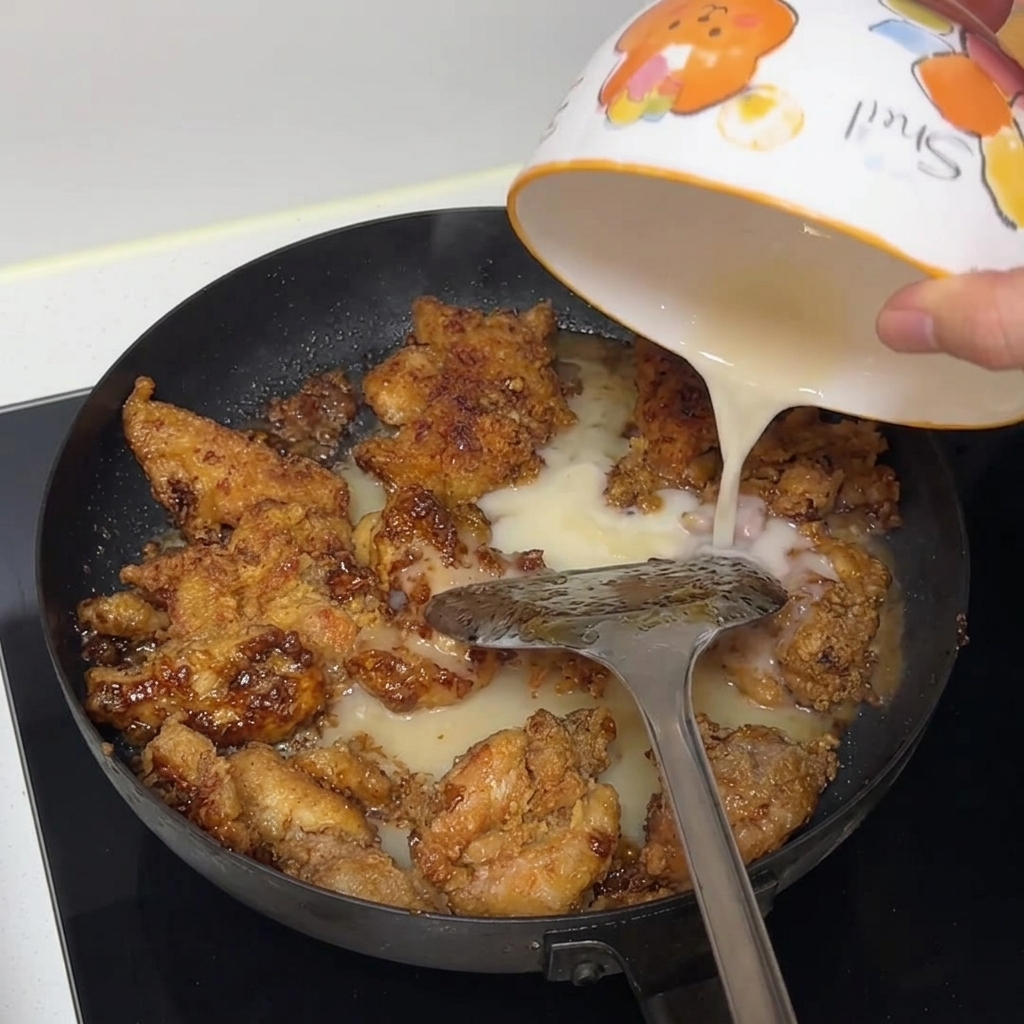
Maintain high heat to let the chicken and sauce simmer together, reducing the liquid until it becomes glossy and clings to the chicken.
Tip: Stir frequently during high heat reduction to prevent the bottom from burning.