Ultimate Korean Fried Chicken Burger
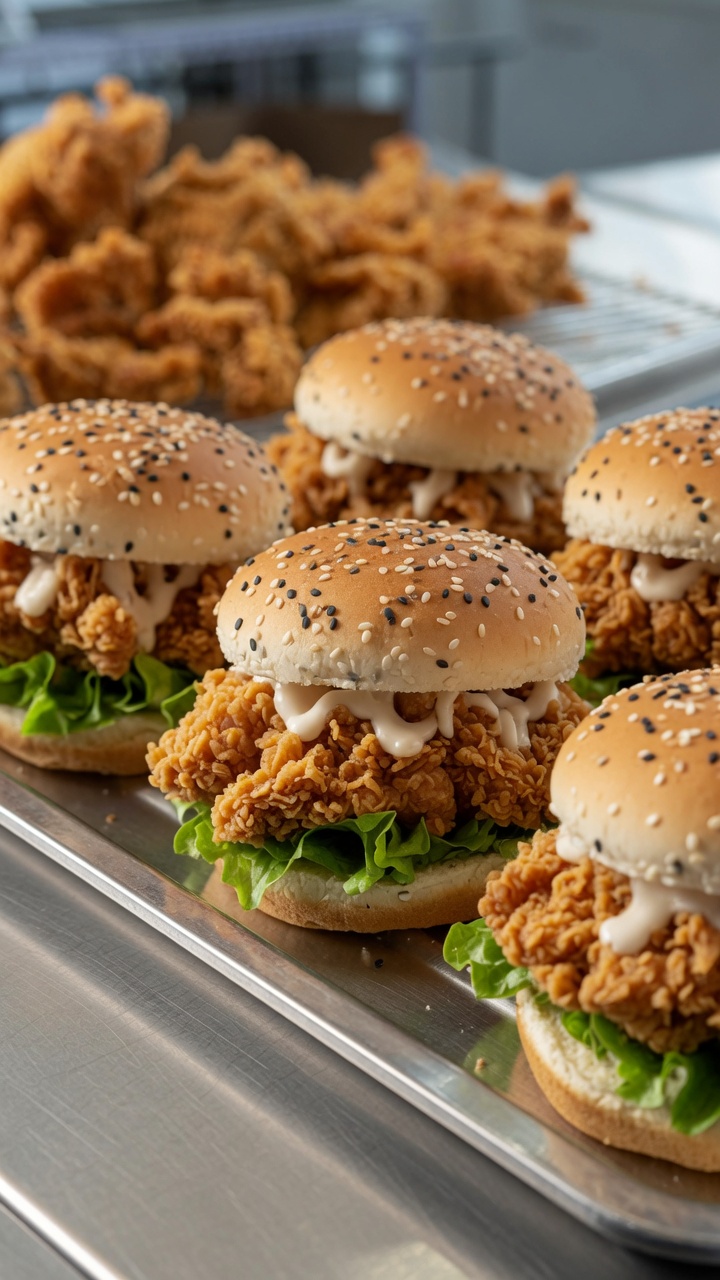
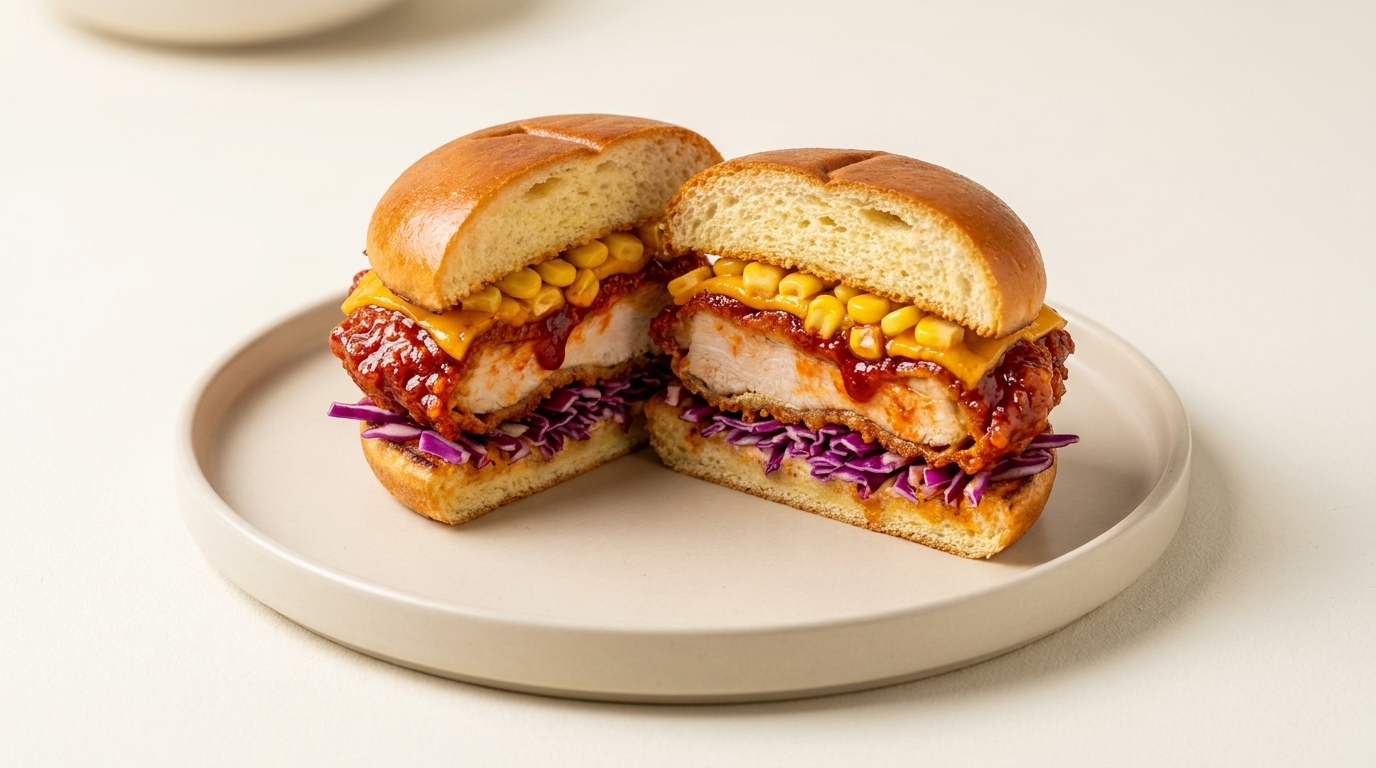
Experience the perfect crunch with this Korean fried chicken burger, featuring a glossy, spicy-sweet glaze and a refreshing purple cabbage slaw.
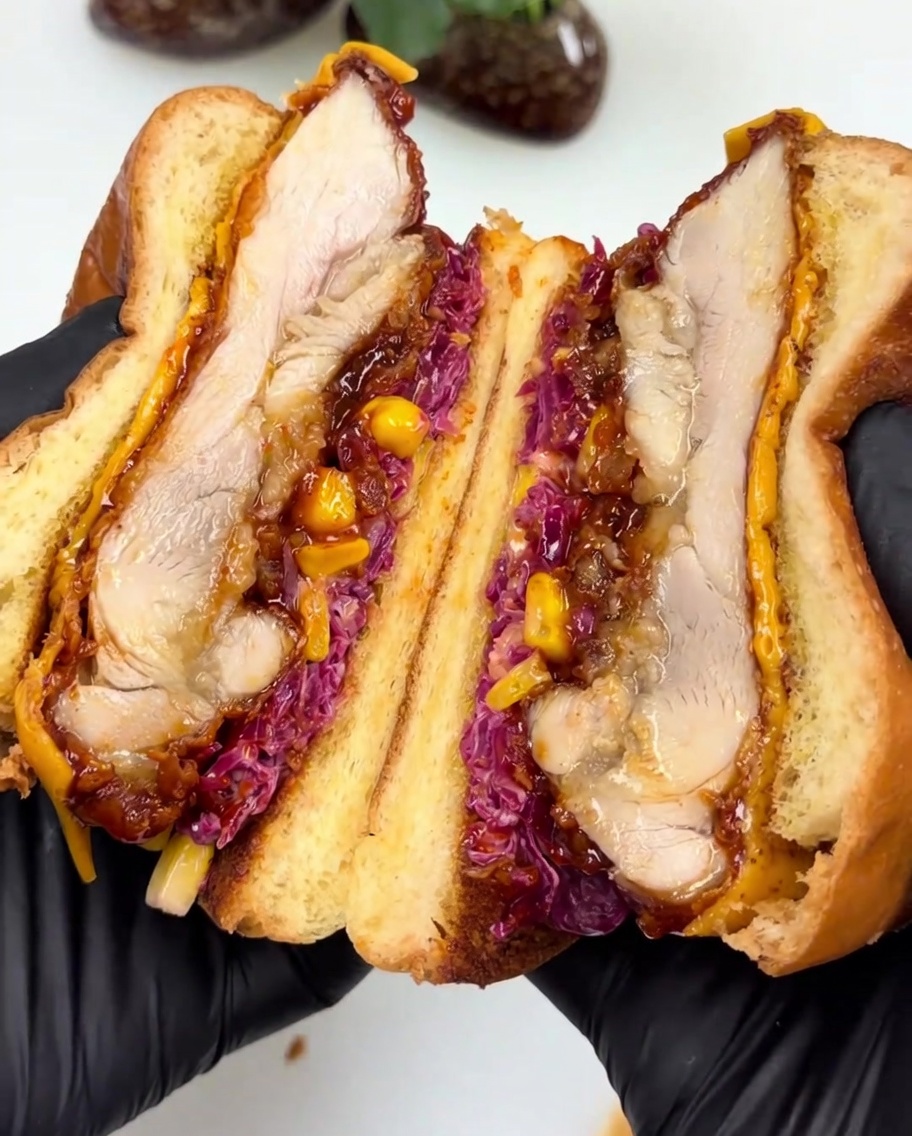
This burger balances the intense, addictive flavors of Korean fried chicken with the satisfying structure of a classic burger. The signature glaze uses maltose for that essential sticky texture, while a quick blowtorch finish on the cheese creates an irresistible melt that ties the sweet, savory, and spicy elements together.
Ingredients
- 300 g Korean chili paste
- 150 g honey
- 40 g rice vinegar
- 100 g light soy sauce
- 175 g ketchup
- 150 g maltose
- 100 g water
- 100 g butter
- 100 g minced garlic
- 4 boneless chicken thighs, fried
- 4 brioche buns
- 4 slices cheddar cheese
- 200 g shredded purple cabbage
- 100 g sweet corn kernels
- to taste smoked chili sauce
Instructions
- 1Prepare the Base Sauce
In a mixing bowl, combine 300 grams of Korean chili paste, 150 grams of honey, 40 grams of rice vinegar, 100 grams of light soy sauce, 175 grams of ketchup, 150 grams of maltose, and 100 grams of water. Mix these ingredients thoroughly until you have a smooth, consistent red sauce base.
Tip: Maltose can be sticky; warming it slightly before measuring makes it easier to work with. - 2Combine Sauce Ingredients
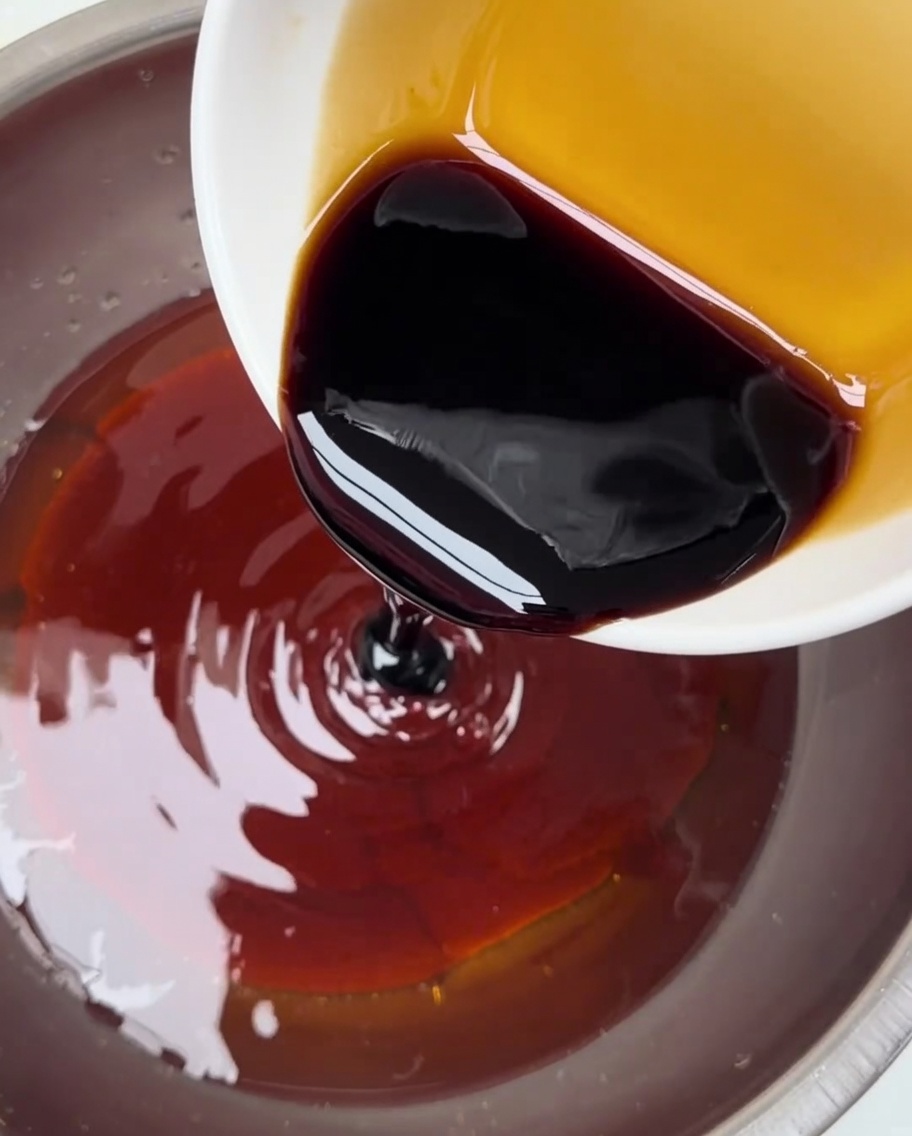
Continue adding the liquid components to your base. Here, light soy sauce is poured into the Korean chili paste mixture to provide the necessary savory depth for the chicken glaze.
Tip: Pour slowly to ensure the soy sauce incorporates evenly into the thicker paste. - 3Sauté Garlic and Butter
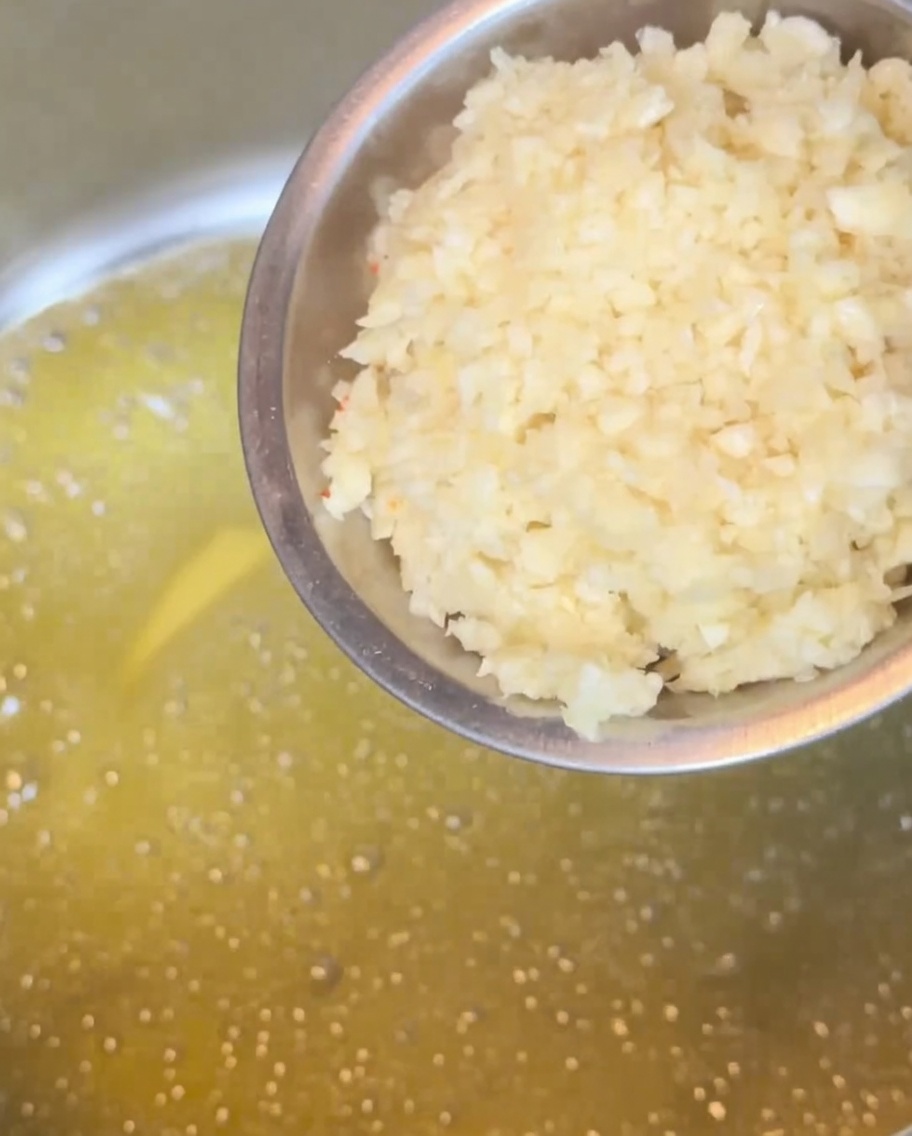
Heat 100 grams of butter in a pot and add 100 grams of minced garlic. Sauté the mixture over medium heat, stirring continuously, until the garlic turns fragrant and golden brown.
Tip: Keep a close watch on the garlic to prevent it from burning, as it browns very quickly in hot butter. - 4Simmer the Sauce
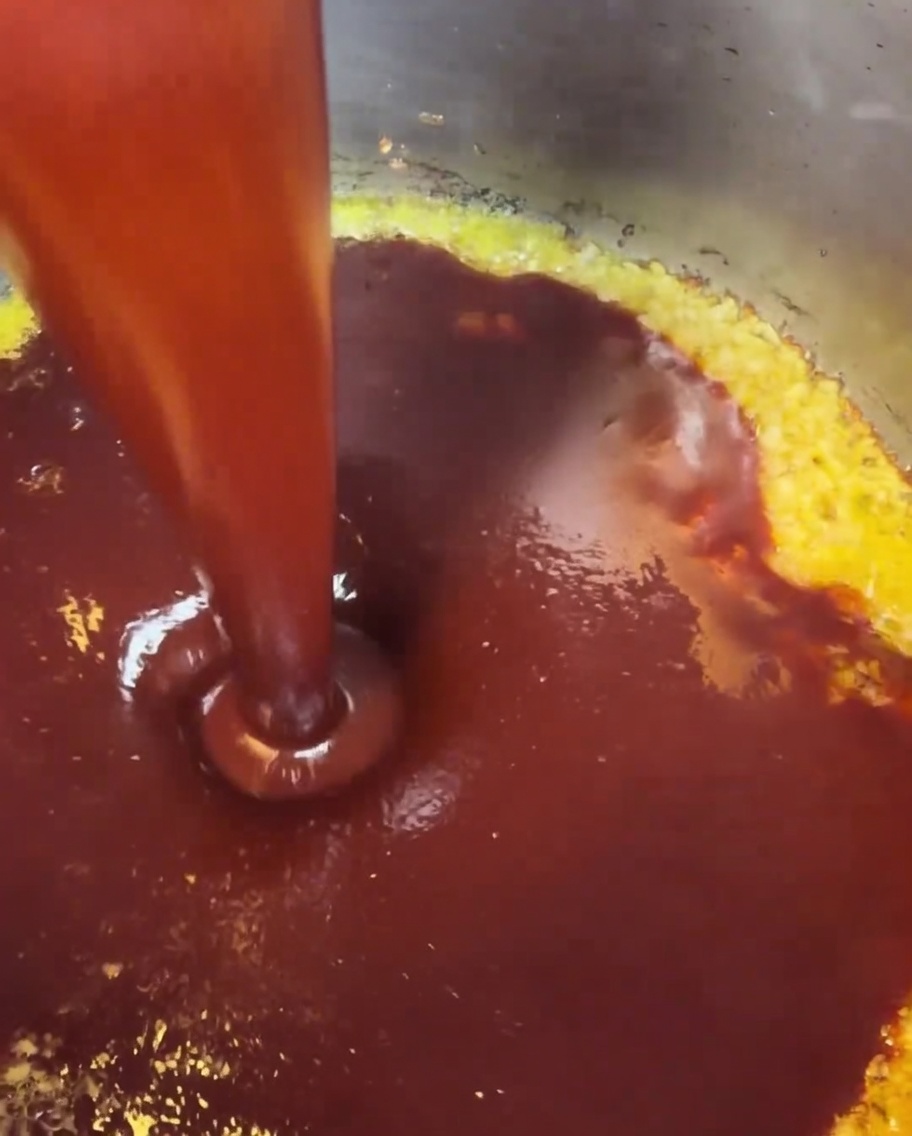
Once the garlic is golden, pour the previously mixed red sauce base into the pot. Cook the mixture over medium heat until it reduces and thickens enough to coat the back of a spoon.
Tip: Constant stirring is key here to prevent the thick sauce from sticking to the bottom of the pot. - 5Prepare the Chicken
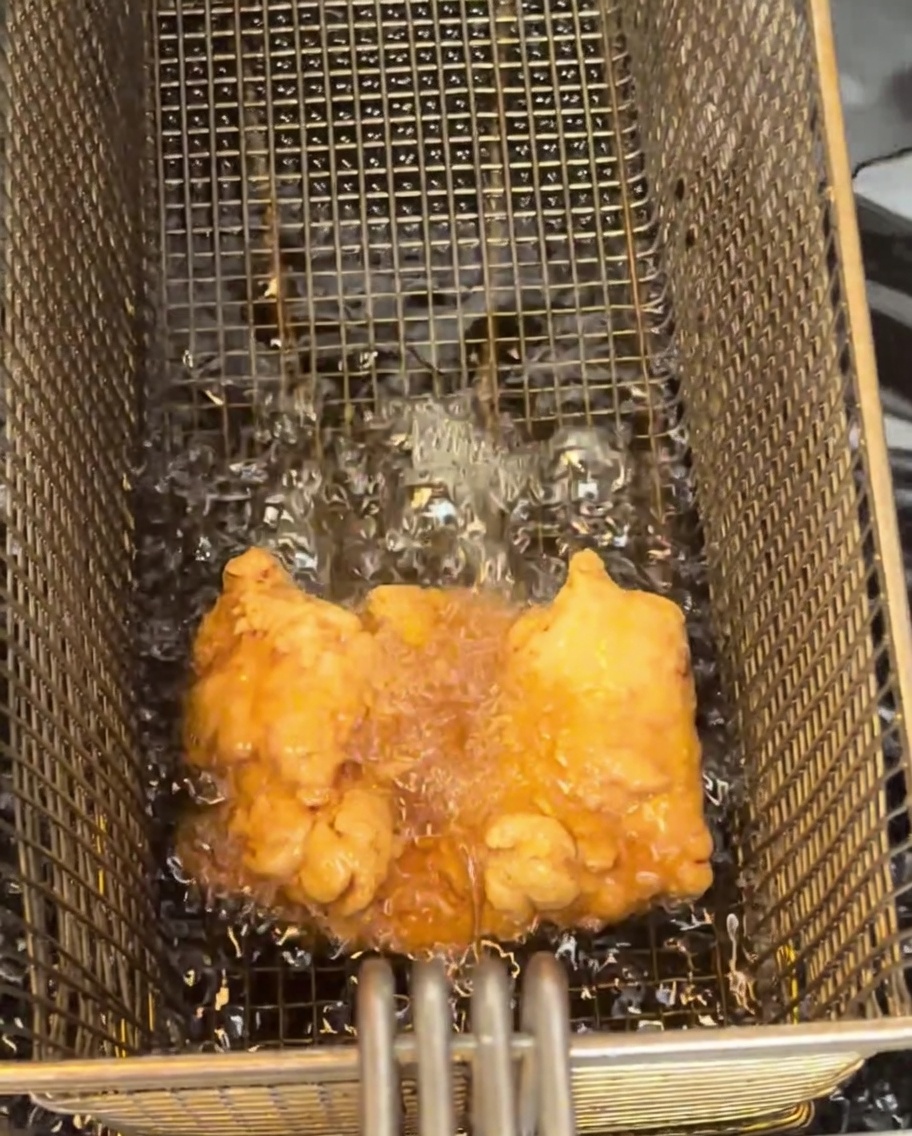
Take freshly fried, crispy boneless chicken thighs and let them rest briefly on a wire rack. This ensures the chicken remains crispy on the outside while staying juicy on the inside before coating.
Tip: Resting the chicken on a rack instead of a plate prevents the bottom from getting soggy. - 6Glaze the Chicken
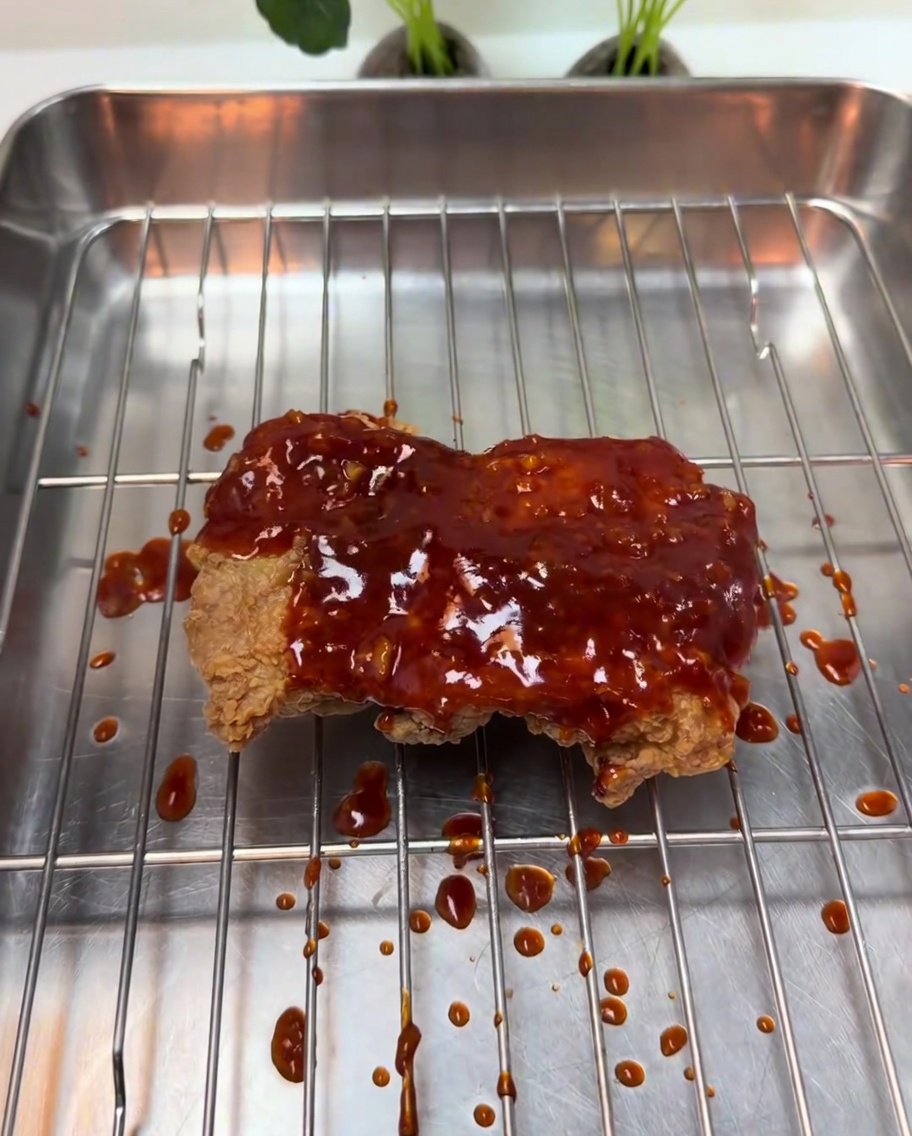
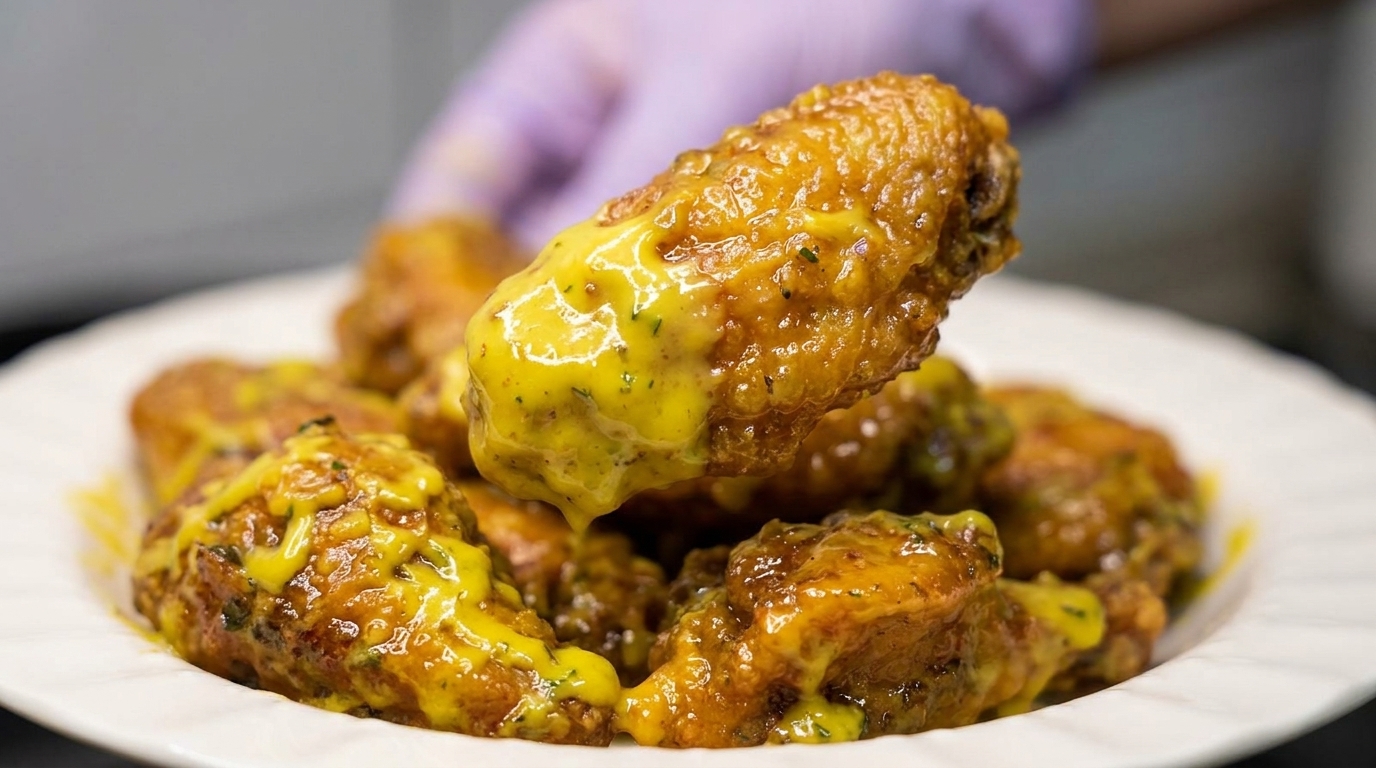
Carefully coat the crispy fried chicken thighs with the thickened secret sauce. Ensure every piece is thoroughly covered in the spicy, sweet, and savory glaze for maximum flavor impact.
Tip: Use a brush or tongs to ensure even coverage over all the nooks and crannies of the fried coating. - 7Prepare the Bun Base
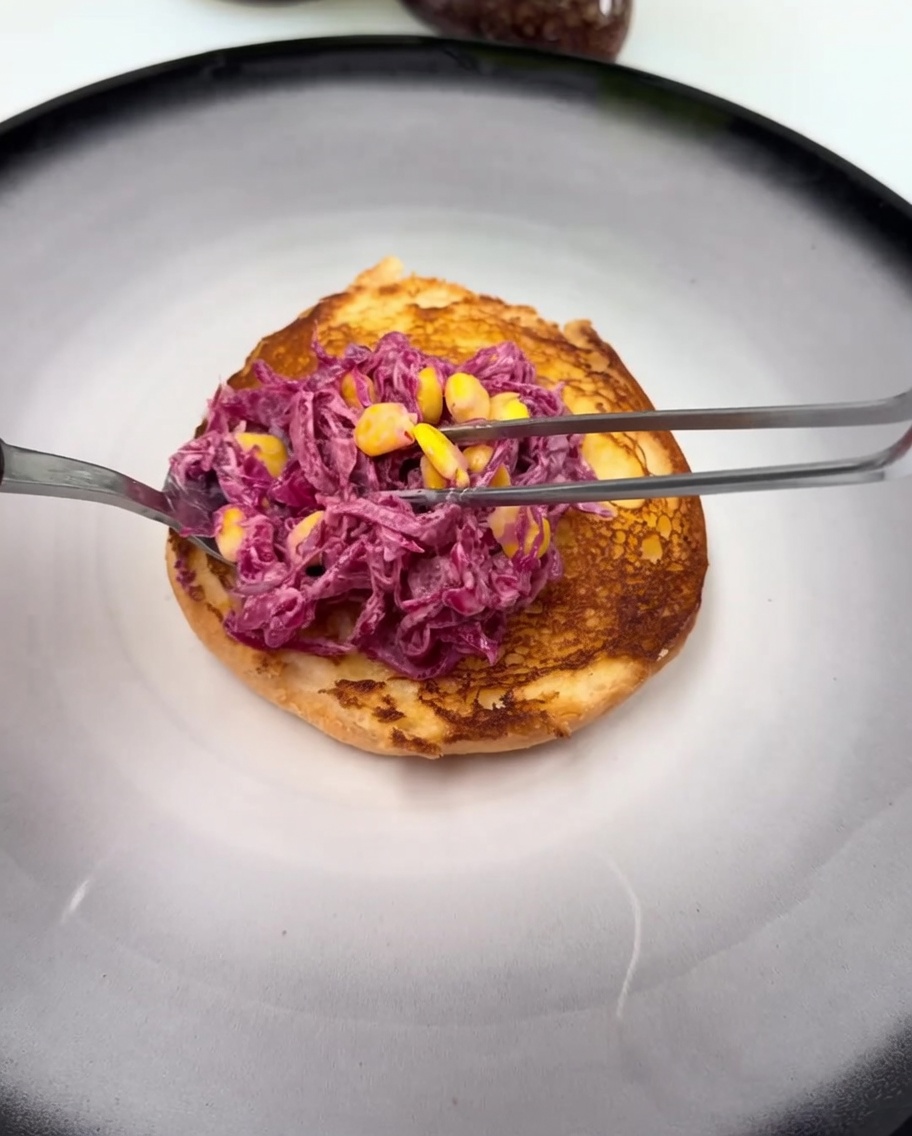
Place a toasted bottom bun on a plate. Spread a generous layer of smoked chili sauce over the bun, then evenly spoon the mixture of shredded purple cabbage and sweet corn kernels over the sauce to create a flavorful, crunchy foundation.
Tip: Ensure the bun is well-toasted to prevent it from becoming soggy under the cabbage and sauce. - 8Add the Fried Chicken
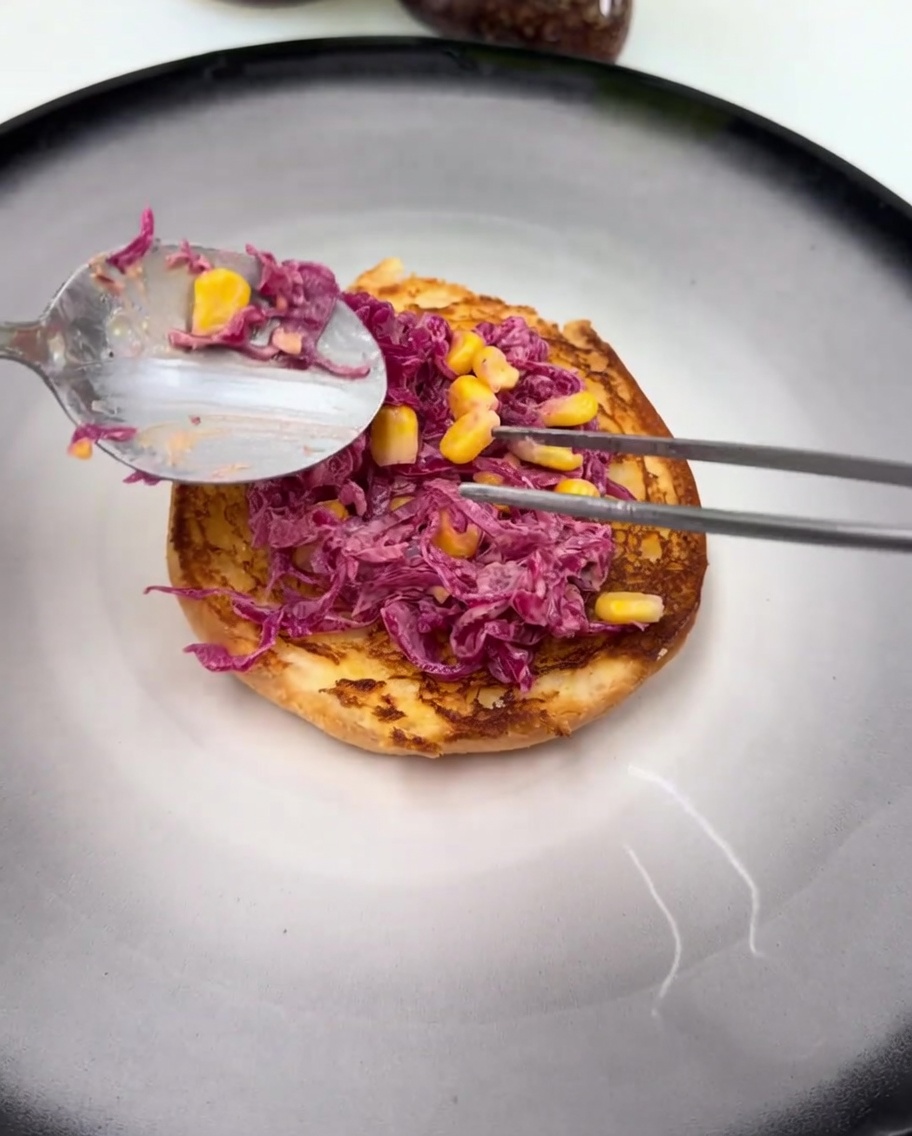
Take the crispy, boneless fried chicken thigh that has been thoroughly coated in the thickened secret sauce and carefully place it directly onto the cabbage and corn slaw on the bottom bun.
Tip: Make sure the chicken is coated well in the sauce before placing it, so the flavors absorb into the cabbage and corn. - 9Melt the Cheese
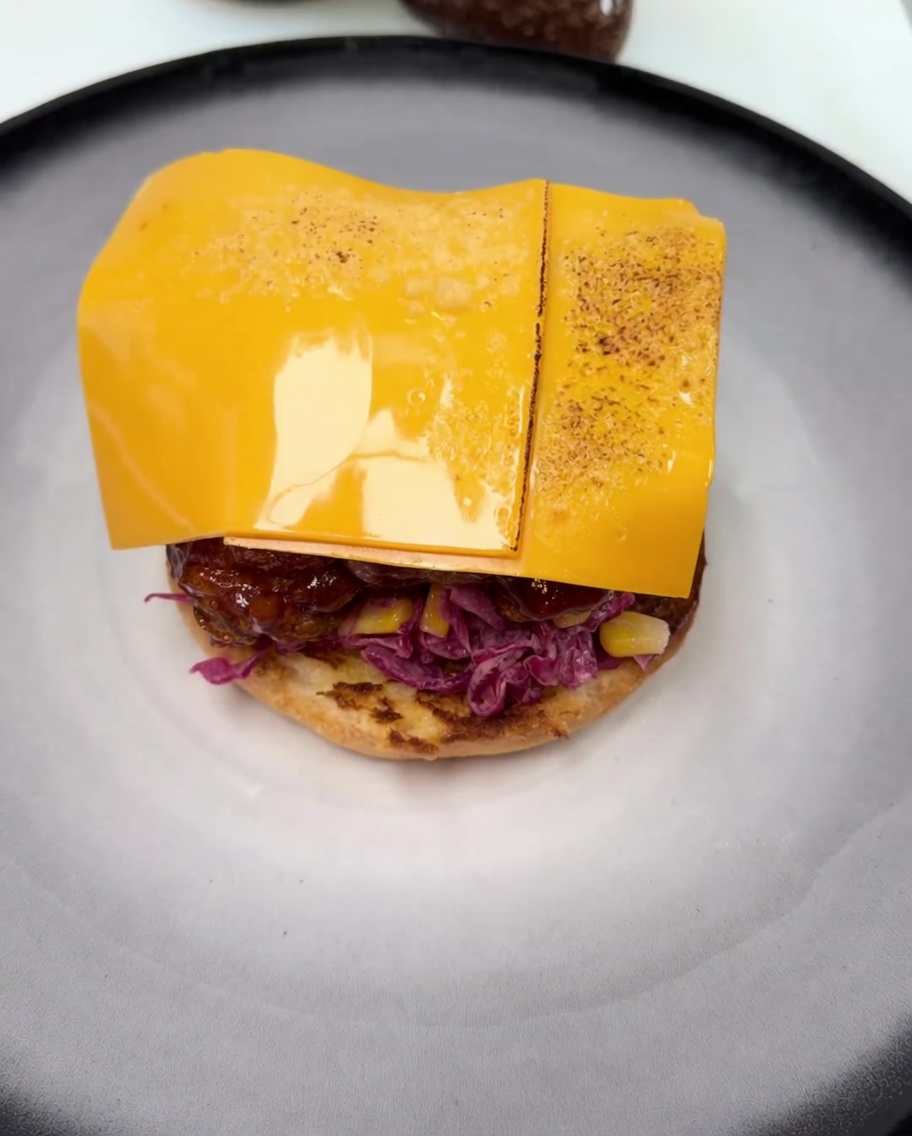
Drape a slice of cheddar cheese over the hot, sauce-coated chicken thigh. Use a culinary blowtorch to gently and evenly melt the cheese until it becomes gooey and starts to drizzle over the sides of the chicken.
Tip: Keep the blowtorch moving to prevent burning the cheese; you just want a quick, even melt.