Crunchy Fried Chicken Leg Burger
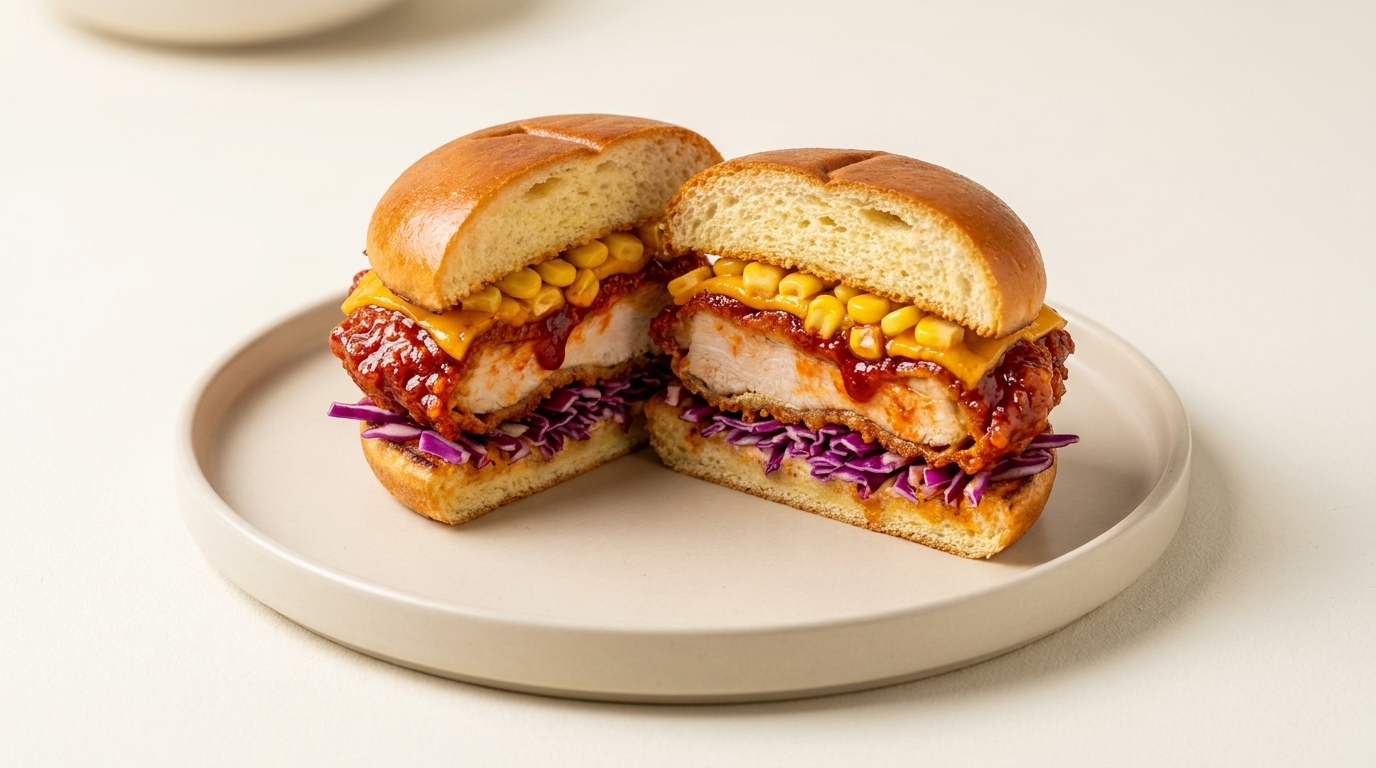
The ultimate crispy indulgence: a perfectly deboned, double-breaded chicken leg fried until golden brown, served with fresh lettuce and creamy mayonnaise.
While standard chicken burgers often use breast meat, this recipe champions the chicken leg for its superior tenderness and flavor. The secret to the signature crunchy exterior is a double-breading technique that builds a thick, craggy crust. Its a satisfying, fresh, and juicy alternative to fast-food favorites, made even better with simple garnishes.
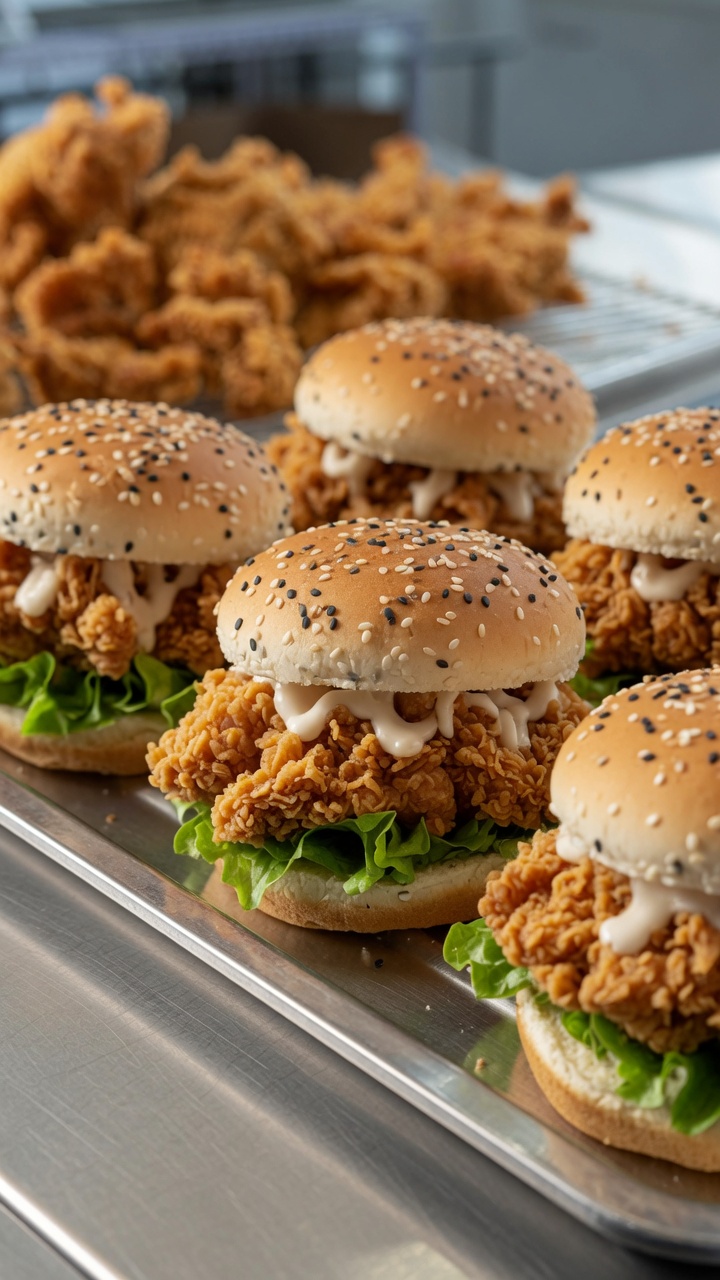
Ingredients
- 2 chicken legs (deboned)
- 2 tbsp marinade powder
- 1 cup fried chicken breading powder
- to taste oil (for frying)
- 4 sesame seed buns
- 4 leaves lettuce
- to taste mayonnaise
Instructions
- 1Debone the chicken leg
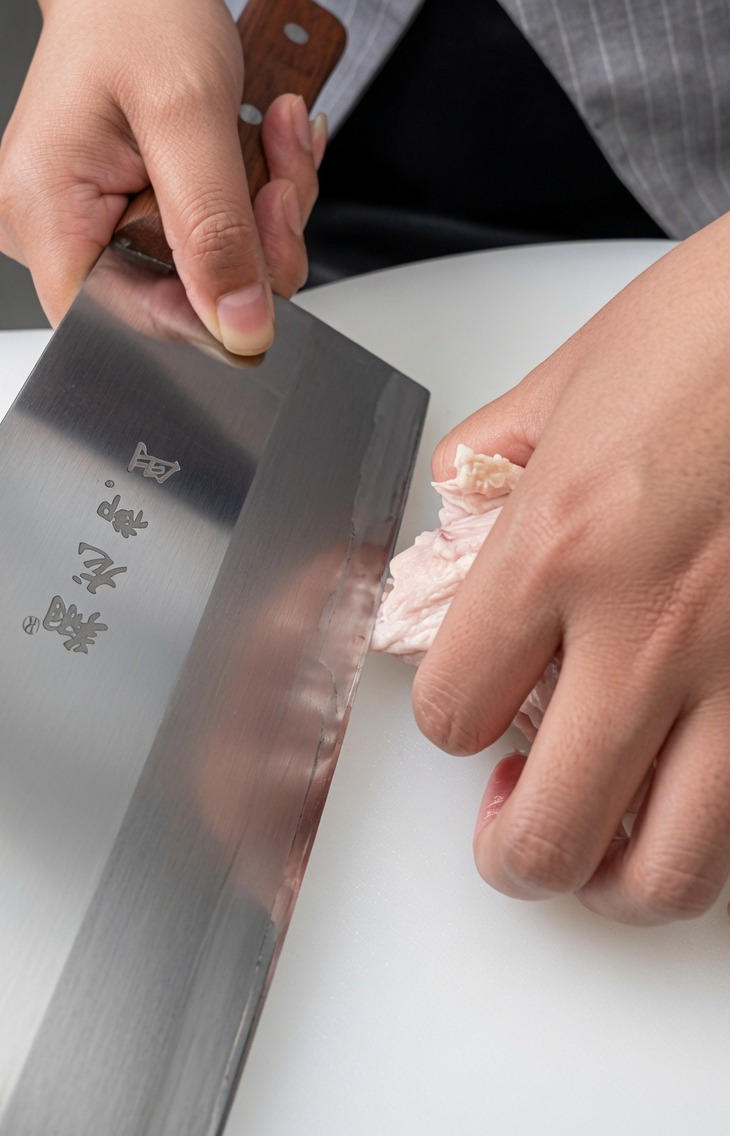
Place the raw chicken leg on a clean cutting board. Using a sharp cleaver, carefully slice along the bone to release the meat, ensuring you remove the bone completely while keeping the meat intact for the burgers.
Tip: Keep your fingers tucked away from the blade when slicing close to the bone. - 2Marinate the chicken
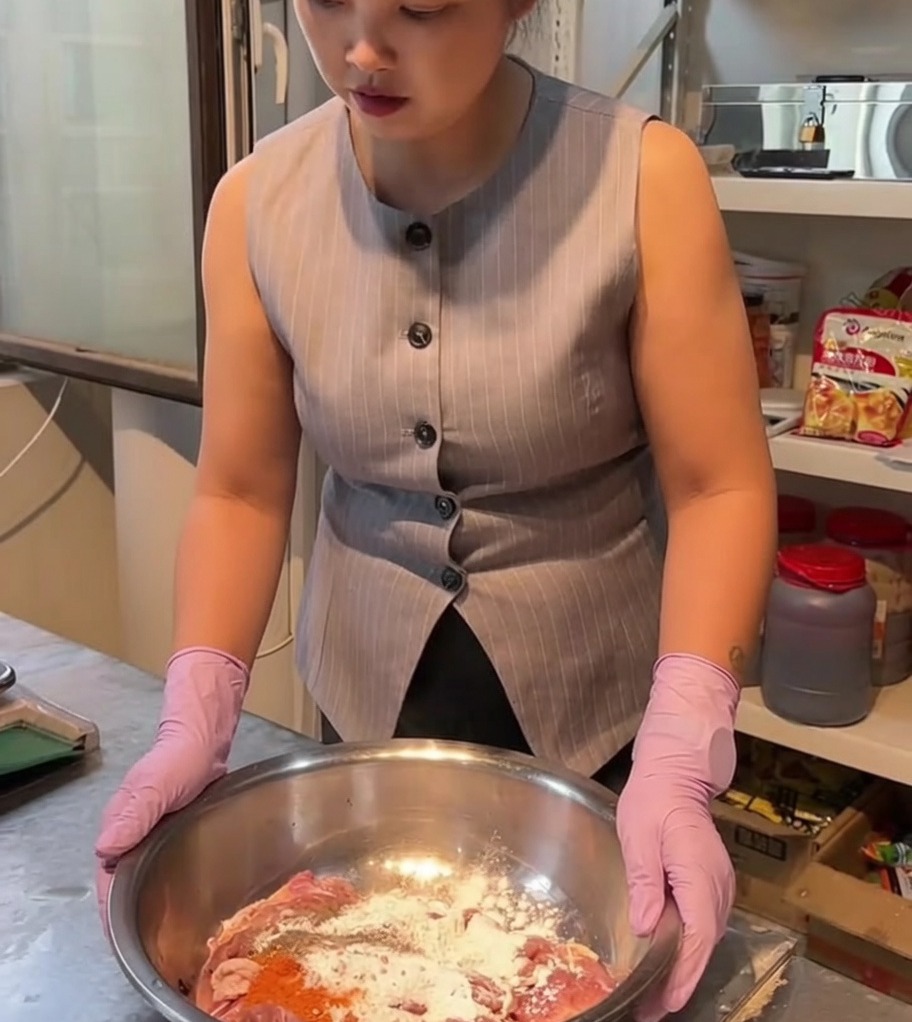
Place the deboned chicken meat into a large metal bowl. Add the marinade powder and mix thoroughly by hand, ensuring each piece is evenly coated. Allow the chicken to marinate for at least 4 hours to develop full flavor.
Tip: Massage the marinade into the meat to help the flavors penetrate more deeply. - 3Dip in water
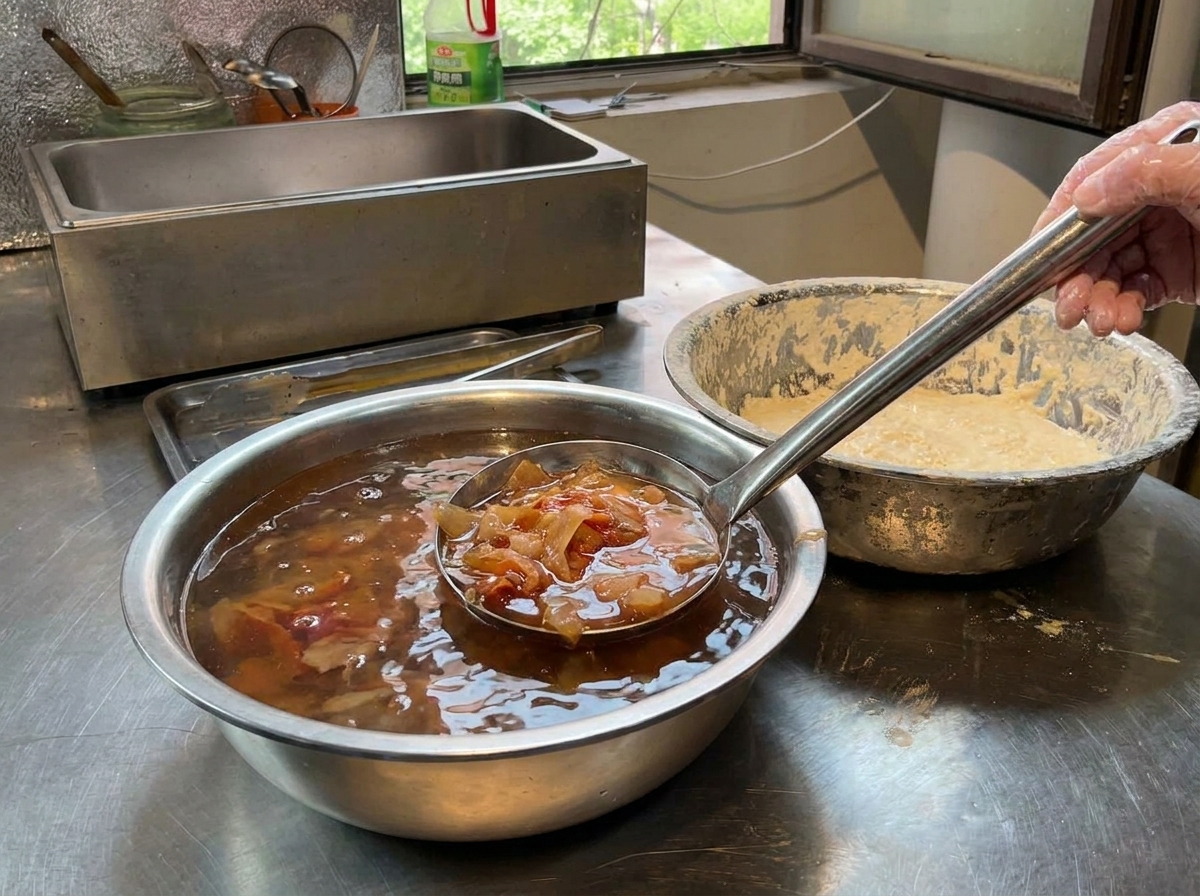
After marinating, lift the chicken pieces out of the container. Pass the marinated chicken through a water bath using a wire strainer to ensure the surface is ready for the breading process.
Tip: Use a strainer to quickly submerge and lift the chicken without making a mess. - 4Coat with breading
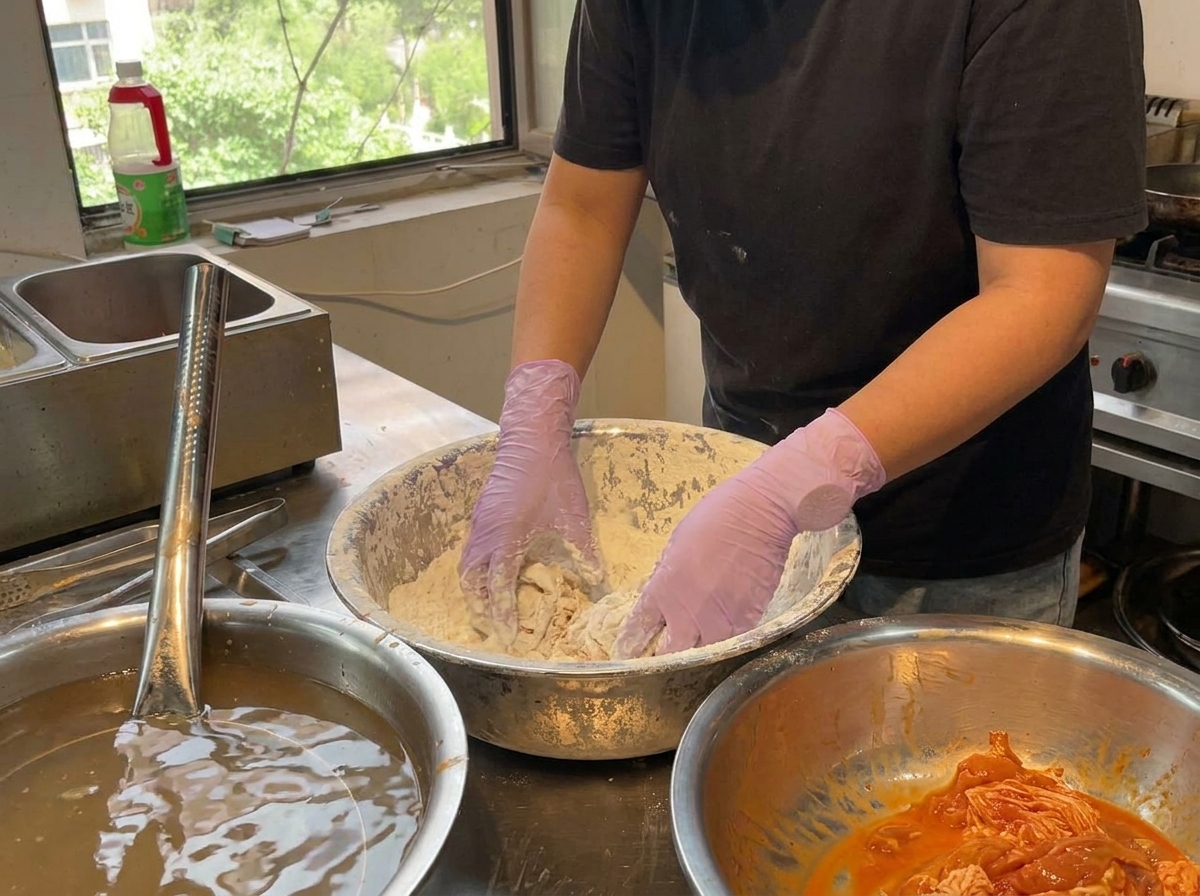
Place the marinated chicken into a bowl filled with fried chicken breading powder. Toss and coat the chicken thoroughly, pressing the flour gently into the meat with your hands to ensure every nook and craggy edge is well-covered for the first layer.
Tip: Press the flour into the meat to help it adhere better during frying. - 5Second water dip
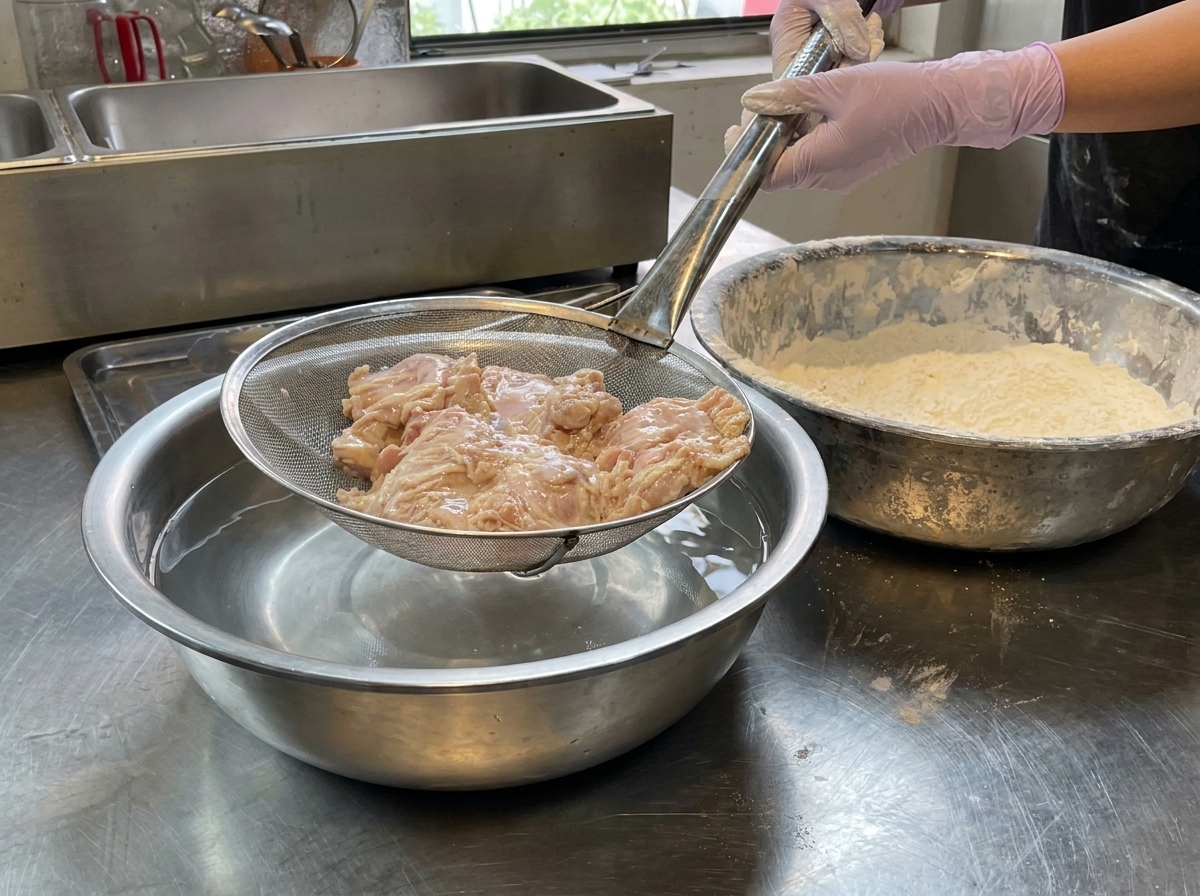
After the first coating, pass the floured chicken through the water bath a second time. Use the strainer to lift the chicken out and let it drain briefly.
Tip: The second dip helps create a thicker, crunchier crust. - 6Final coating
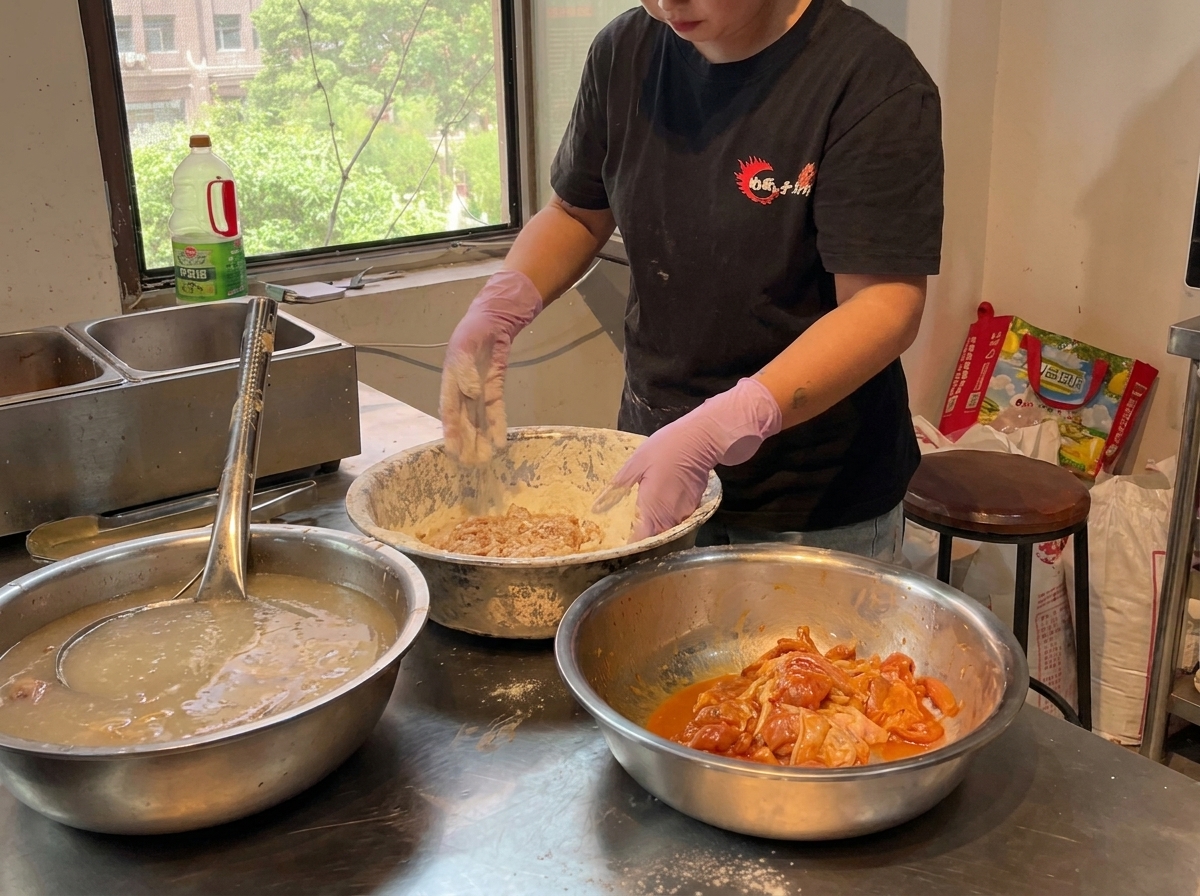
Coat the chicken pieces in the breading powder one last time. This is the crucial moment: press and toss the wet chicken firmly in the flour to build up a thick, craggy, and flakey outer crust that will be extra crispy once fried.
Tip: Ensure the chicken is fully covered in flakes for the best frying texture. - 7Fry until golden brown
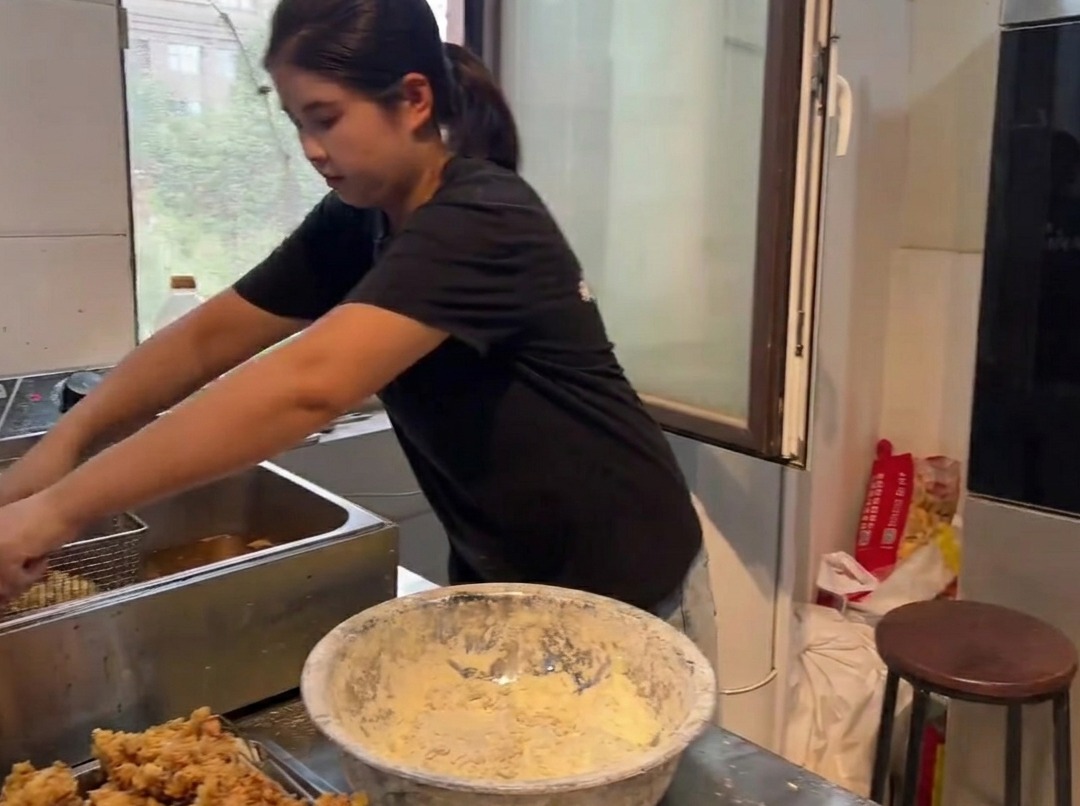
Carefully lower the breaded chicken pieces into the hot oil, ensuring they are not touching. Fry the chicken until the exterior is a perfect deep golden-brown and the crust is very crispy. Maintain the precise oil temperature to ensure a crunchy, non-greasy result.
Tip: Maintain the oil temperature at 180 degrees Celsius to ensure the crust becomes crispy without burning or absorbing excess oil. - 8Remove the fried chicken
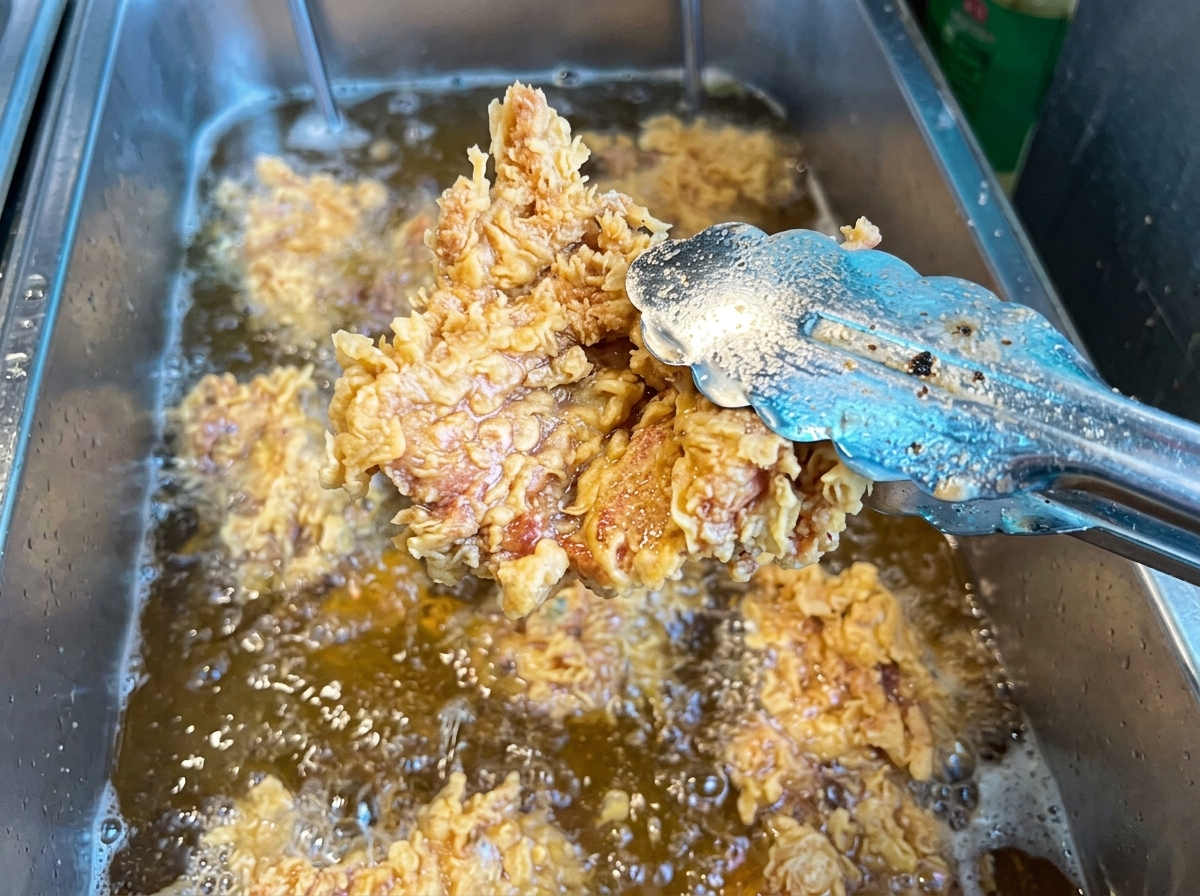
Once the chicken is perfectly fried to a golden brown and crisp, carefully lift it out of the hot oil using metal tongs. Hold it above the fryer for a moment to let any excess oil drip off before moving it to your prep station.
Tip: Frying at exactly 180 degrees Celsius ensures the breading gets crispy without absorbing too much oil. - 9Start burger assembly
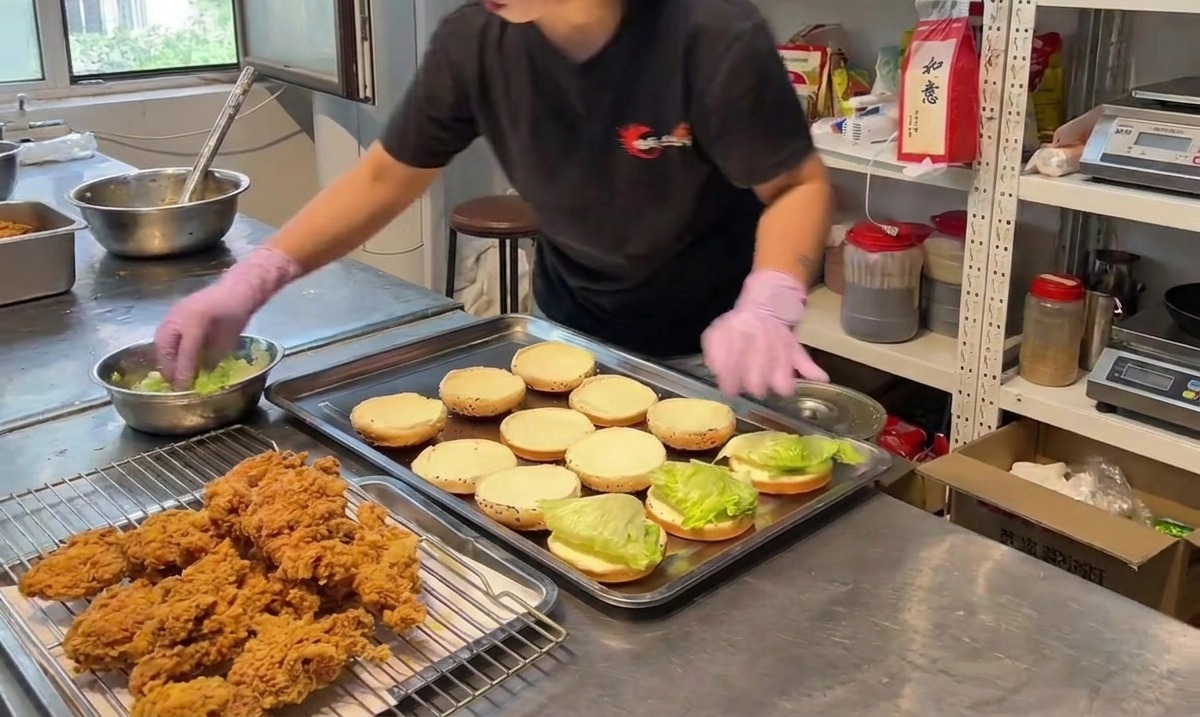
Begin assembling the burgers by laying out the bottom halves of the buns on a clean tray. Place a piece of fresh green lettuce on each bun, then top it with a generous piece of the crispy fried chicken.
Tip: The layer of lettuce acts as a barrier, keeping the juices from the hot chicken from making the bottom bun soggy. - 10Add the mayonnaise
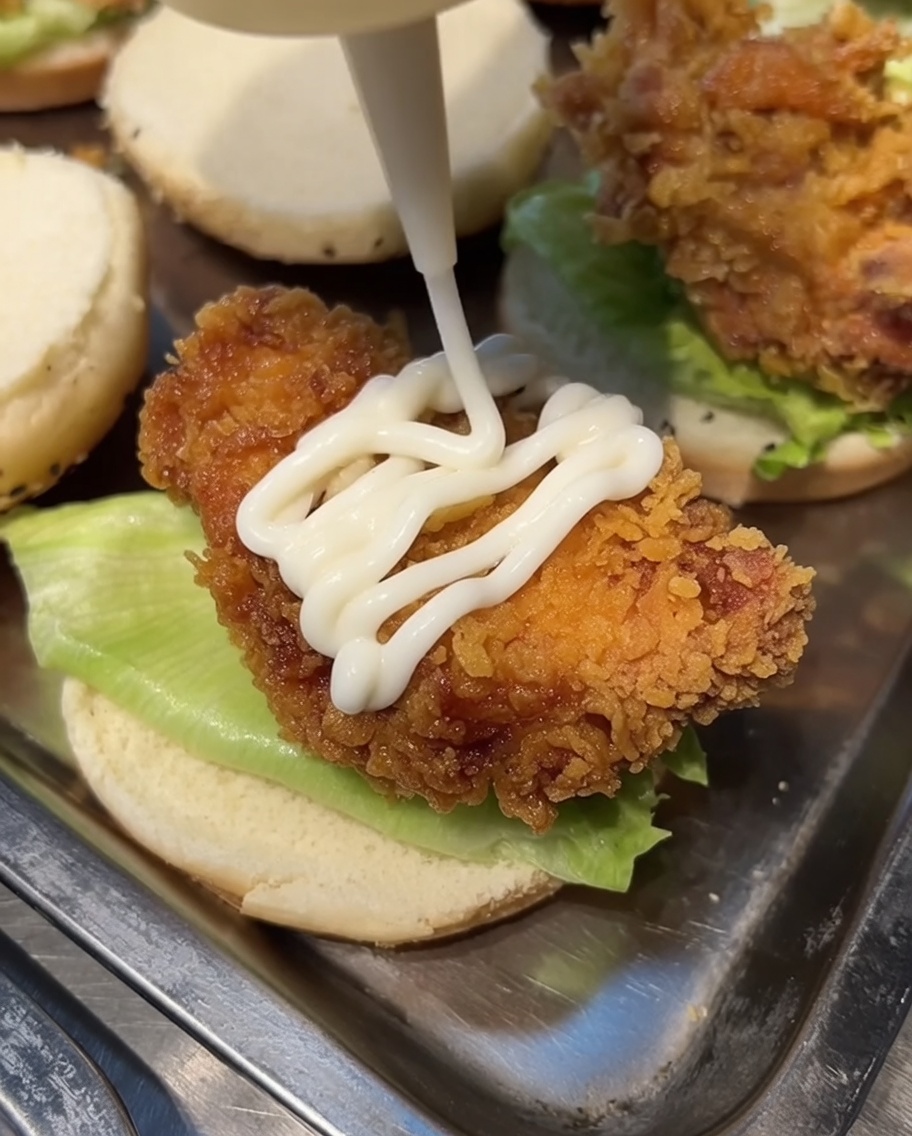
Squeeze a generous drizzle of white mayonnaise directly over the cooked fried chicken. You can apply it in a zigzag pattern to ensure every bite is coated evenly and stays creamy.
Tip: For an extra kick of flavor, you can mix a little hot sauce or garlic powder into the mayonnaise before squeezing it on. - 11Finish the assembly
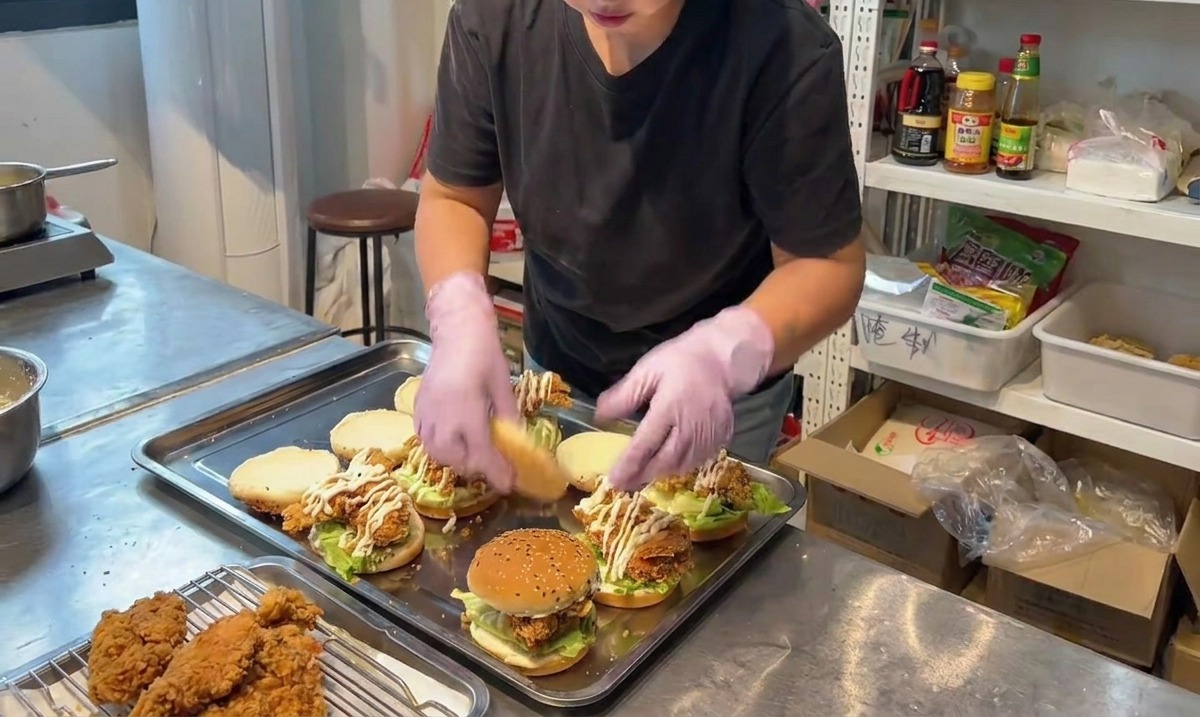
Carefully place the top half of the sesame seed bun onto the mayonnaise-topped chicken to finish the assembly. Your fresh, tender, and juicy fried chicken burger is now completely built and ready to be served.
Tip: Lightly toasting the buns before assembly adds a nice crunch and extra structural integrity to the burger.