Japanese-Style Beef Bowl
Hot Spring Egg (Gyudon)
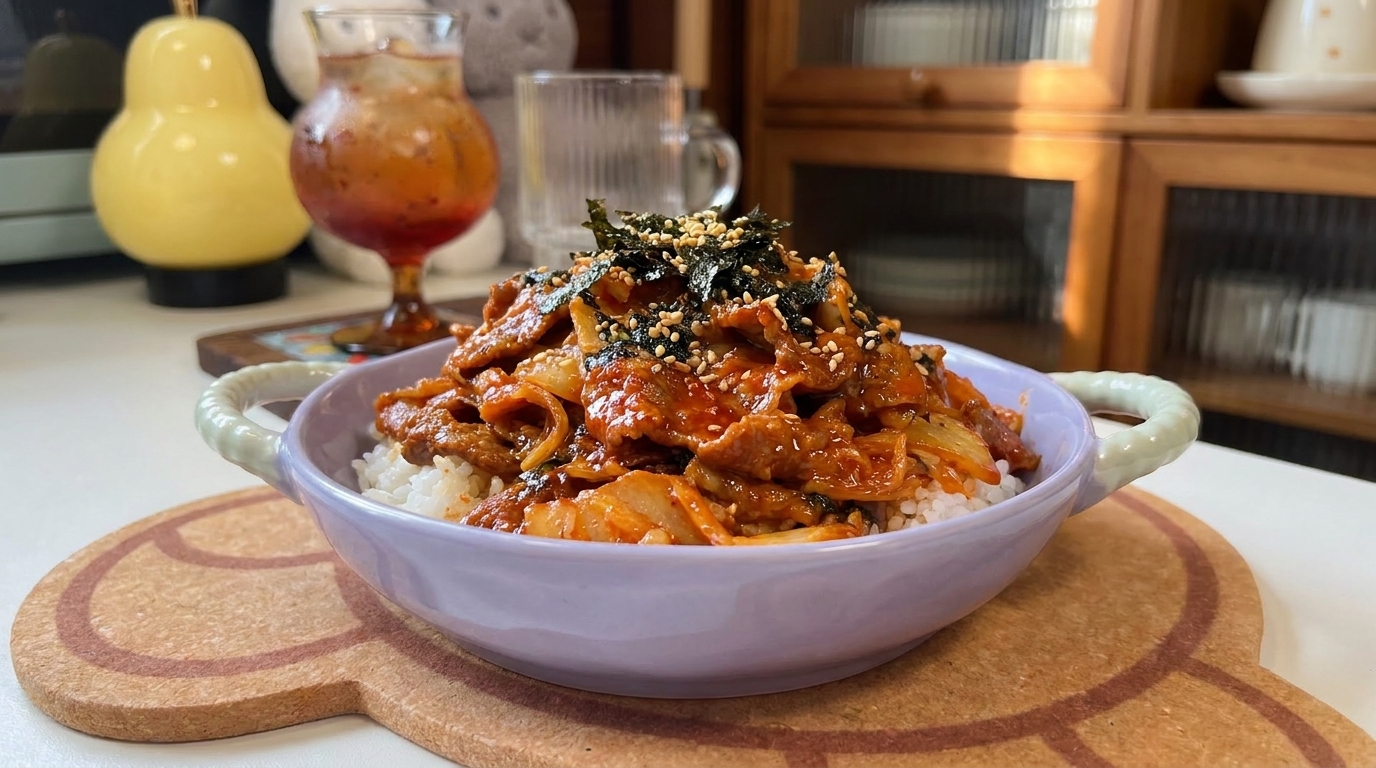
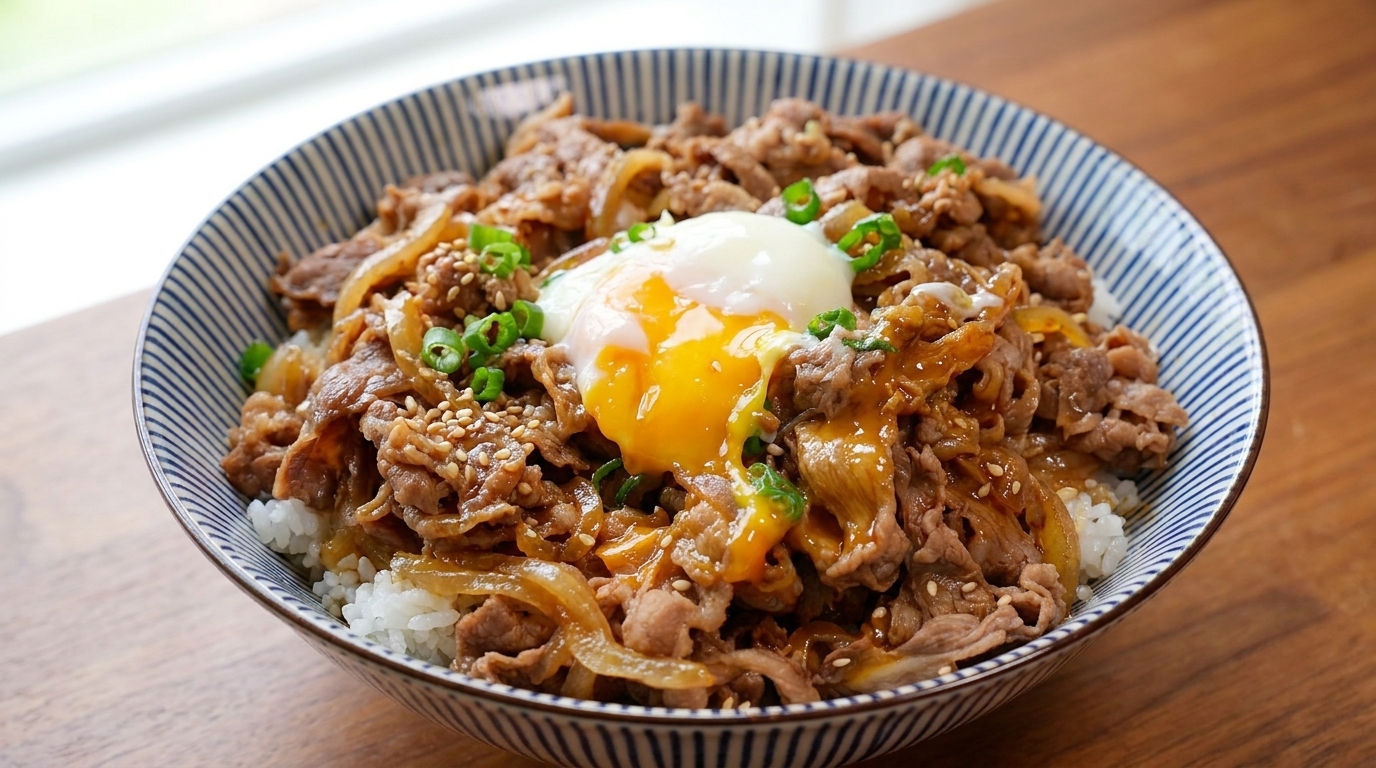
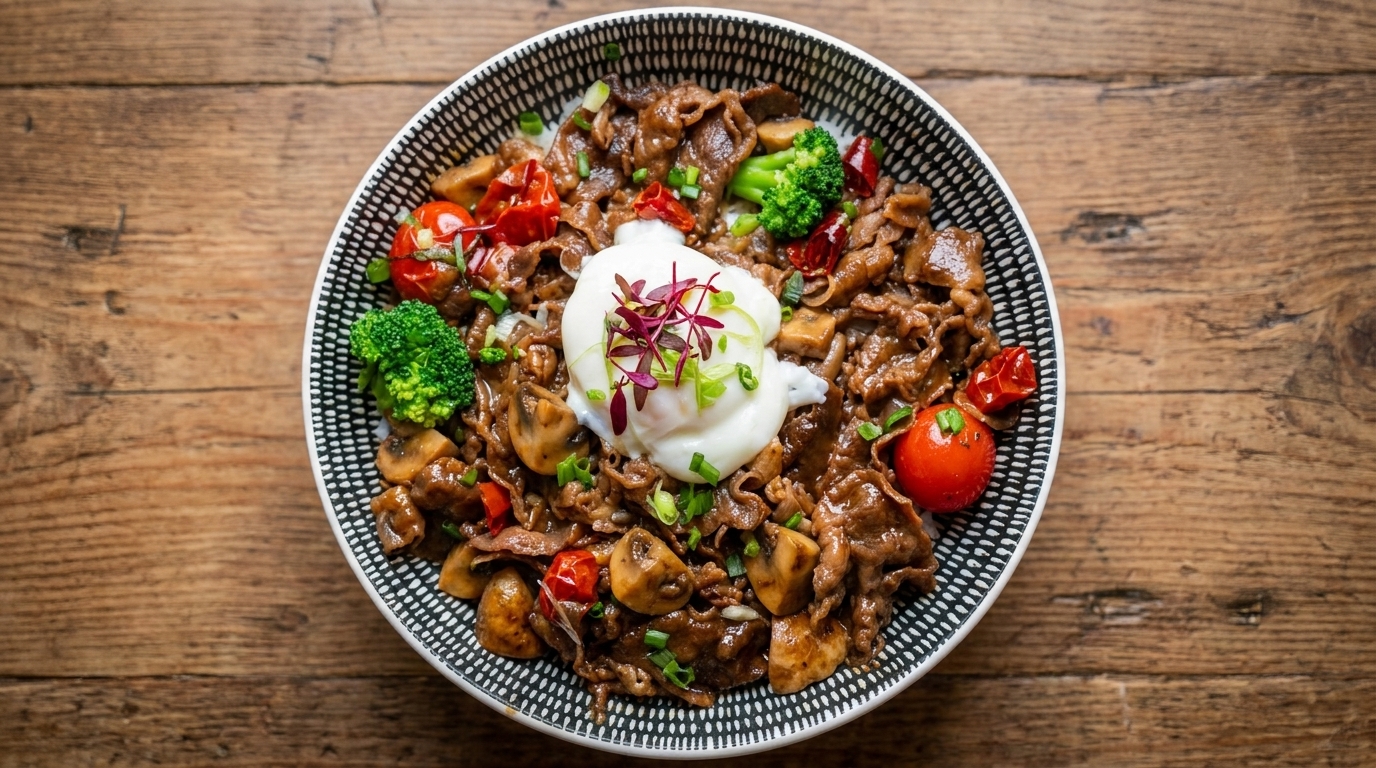
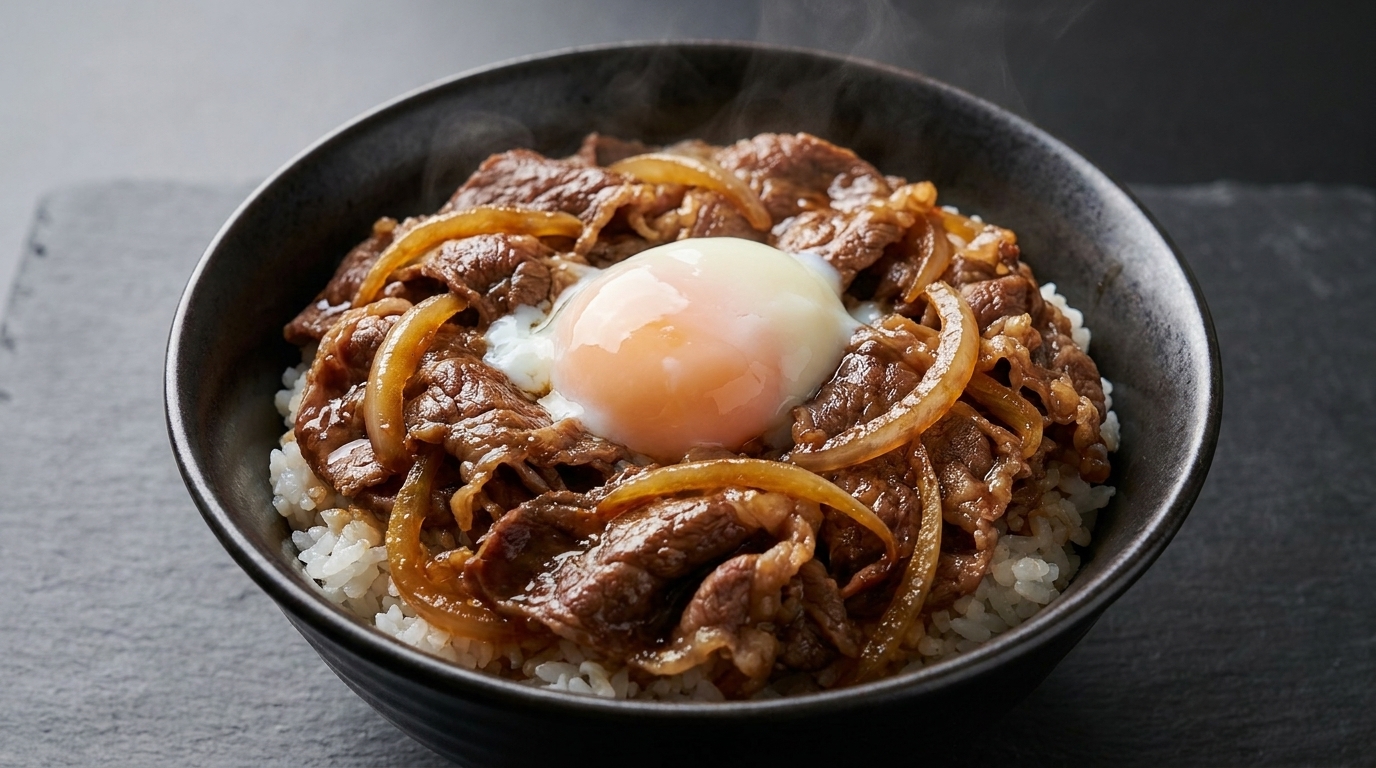
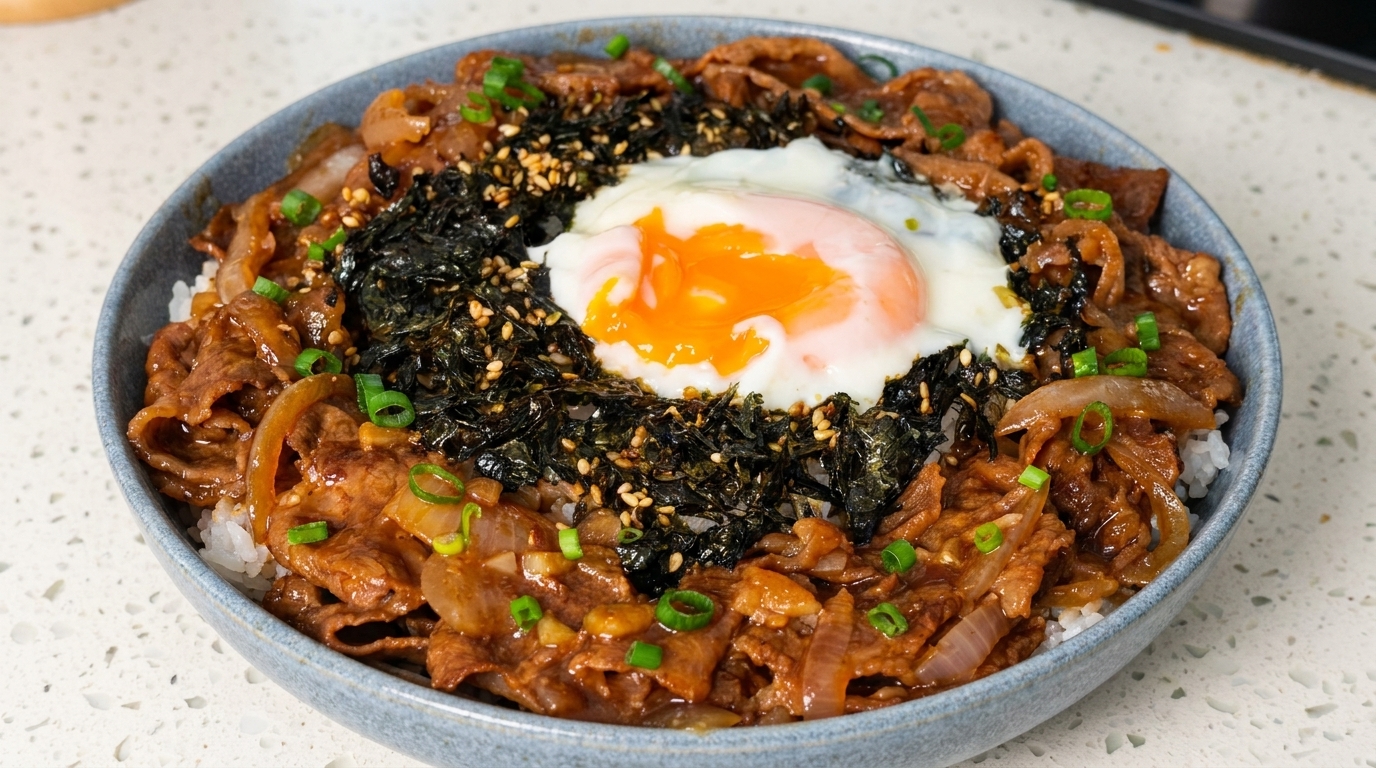
Enjoy a comforting Japanese beef bowl featuring tender brisket, caramelized onions, and a perfectly creamy hot spring egg in a rich, homemade teriyaki glaze.
The Japanese beef bowl, or gyudon, is a masterclass in culinary balance. By simmering thinly sliced brisket with onions in a savory-sweet teriyaki sauce, you create a deeply flavorful topping that pairs perfectly with fluffy white rice. The addition of a slow-cooked hot spring egg provides a luscious, velvety finish that elevates this simple meal to restaurant quality.
Ingredients
- 400 g beef brisket, thinly sliced
- 1 red onion
- 1 egg, safe for raw consumption
- 1 tbsp butter
- 2 cloves garlic, minced
- 1 tsp sesame seeds
- 1 tbsp crushed seaweed
- to taste teriyaki sauce ingredients
Instructions
- 1Prepare main ingredients
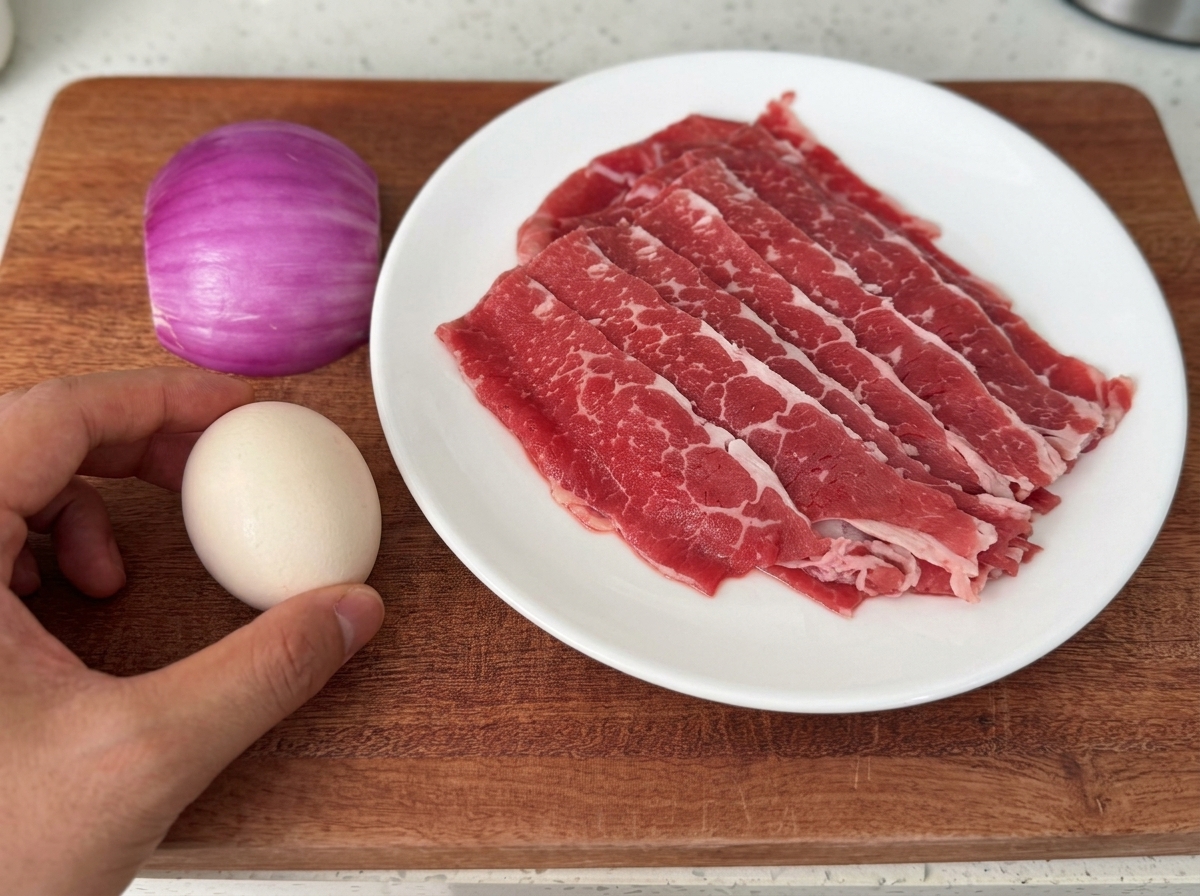
Gather your ingredients: beef brisket (which is less fatty and easier to eat), a red onion, and an egg safe for raw consumption. These are the foundation of your beef bowl. Optionally, you can prepare some minced garlic and seaweed for extra flavor.
Tip: If you dont have brisket, you can use beef belly or any other cut you prefer. - 2Sear the beef
Heat your pan and stir-fry the beef brisket over high heat. The goal is to sear the meat quickly just until the color changes, which helps to lock in the flavor.
Tip: High heat is crucial here; dont overcook it at this stage. - 3Remove seared beef
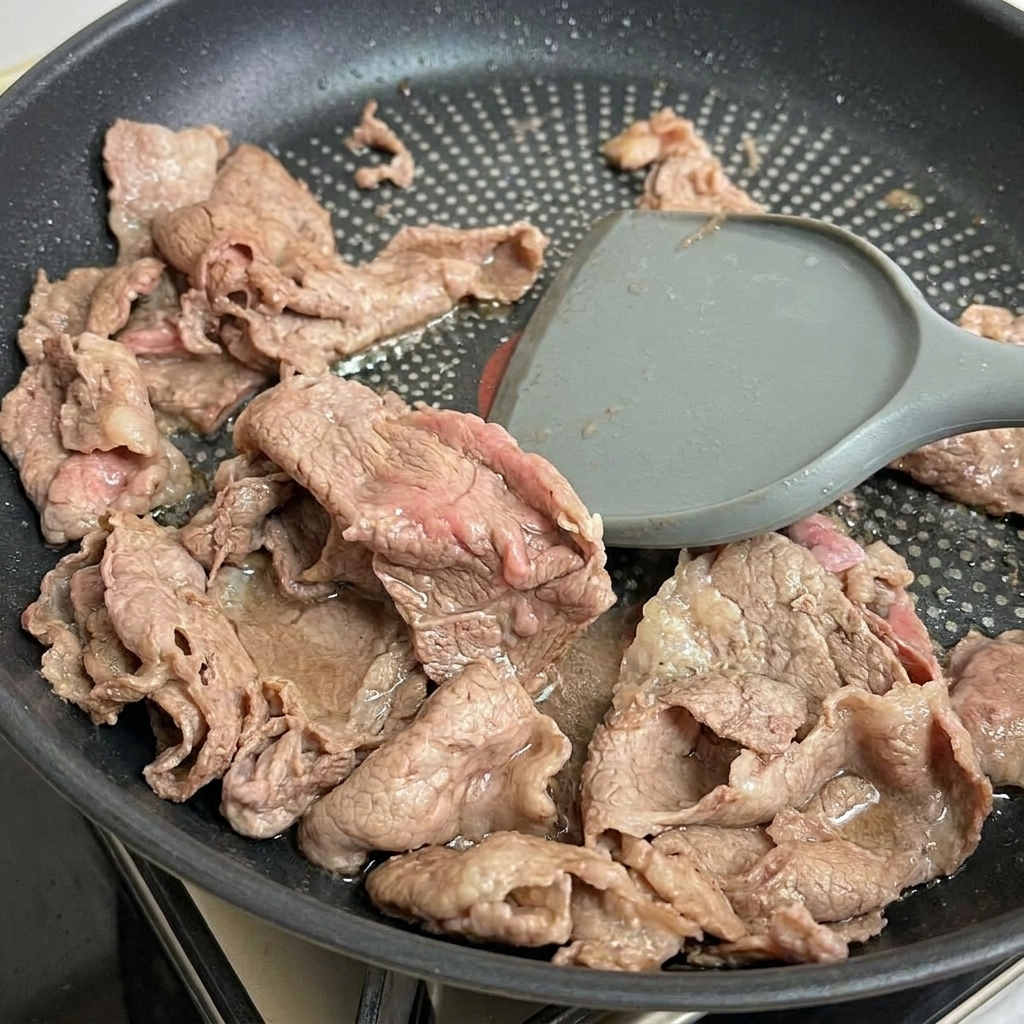
Once the beef is slightly pink and seared, remove it from the pan immediately. This keeps the meat tender for the final simmer later.
Tip: Keep the pan ready, as you will use it next for the aromatics. - 4Slice the aromatics
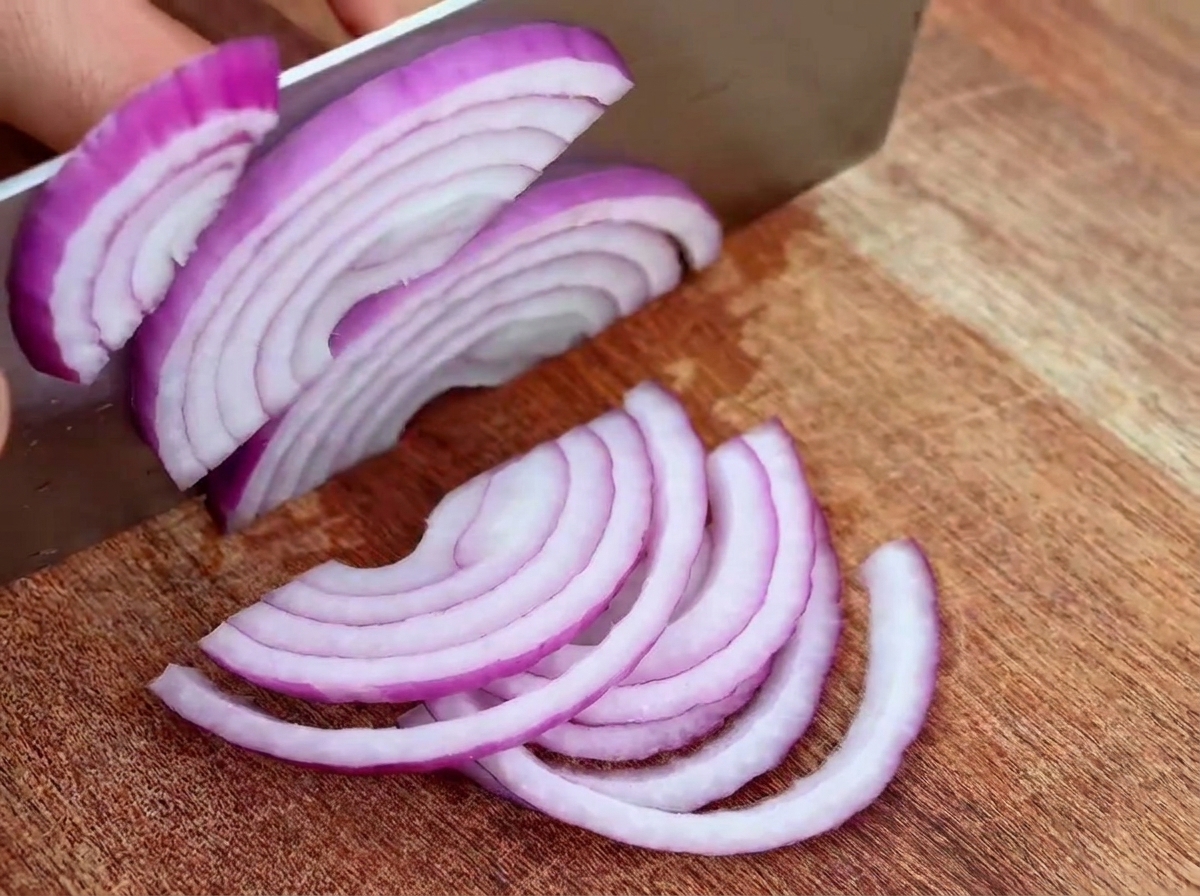
Slice the red onion thinly into semi-circles and crush the garlic cloves. These aromatics will form the base of your sauce.
Tip: Uniform slicing ensures the onions soften evenly in the pan. - 5Prepare teriyaki sauce
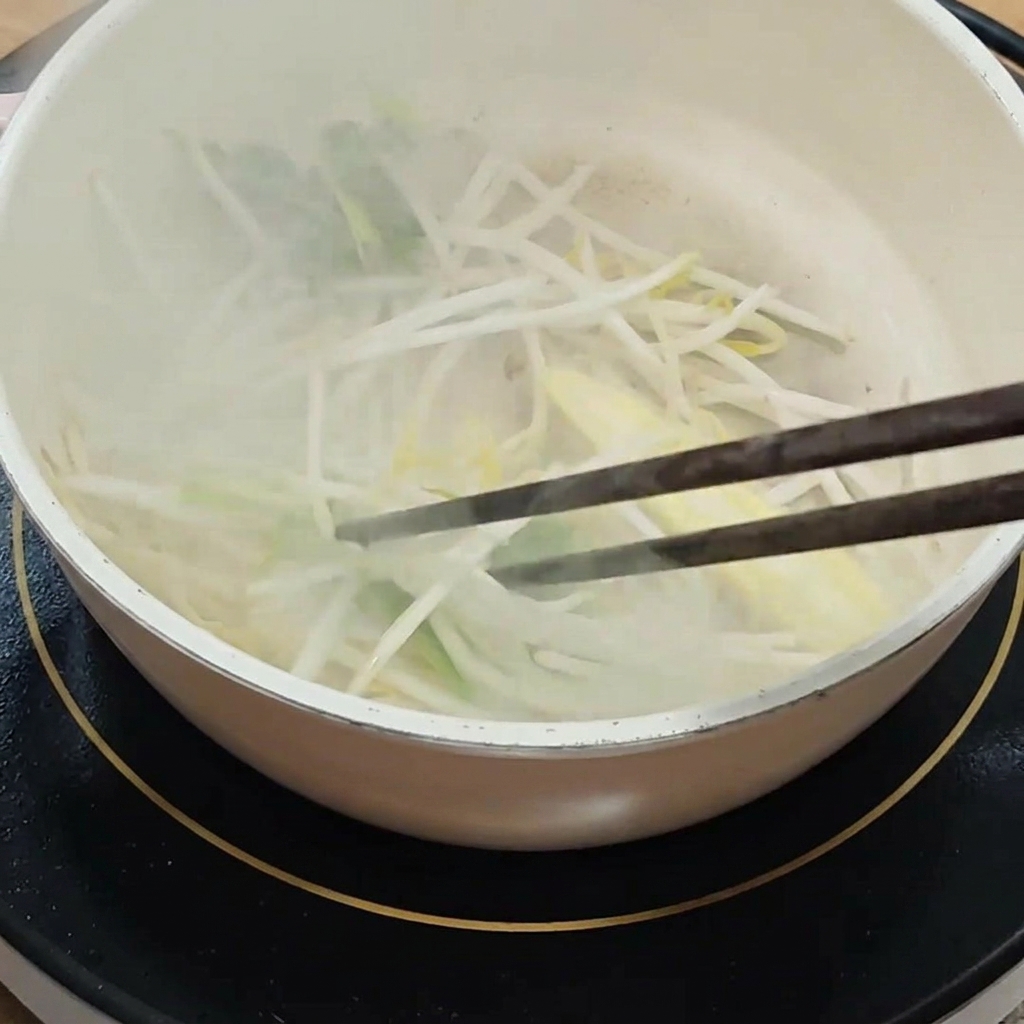
Mix your teriyaki sauce ingredients in a small bowl. This versatile sauce is perfect for this dish. If you lack rice wine, you can use white wine or Huadiao wine; honey can be substituted with white or zero-calorie sugar.
Tip: Whisk thoroughly until the sweeteners are fully dissolved into the liquid mixture. - 6Sauté the aromatics
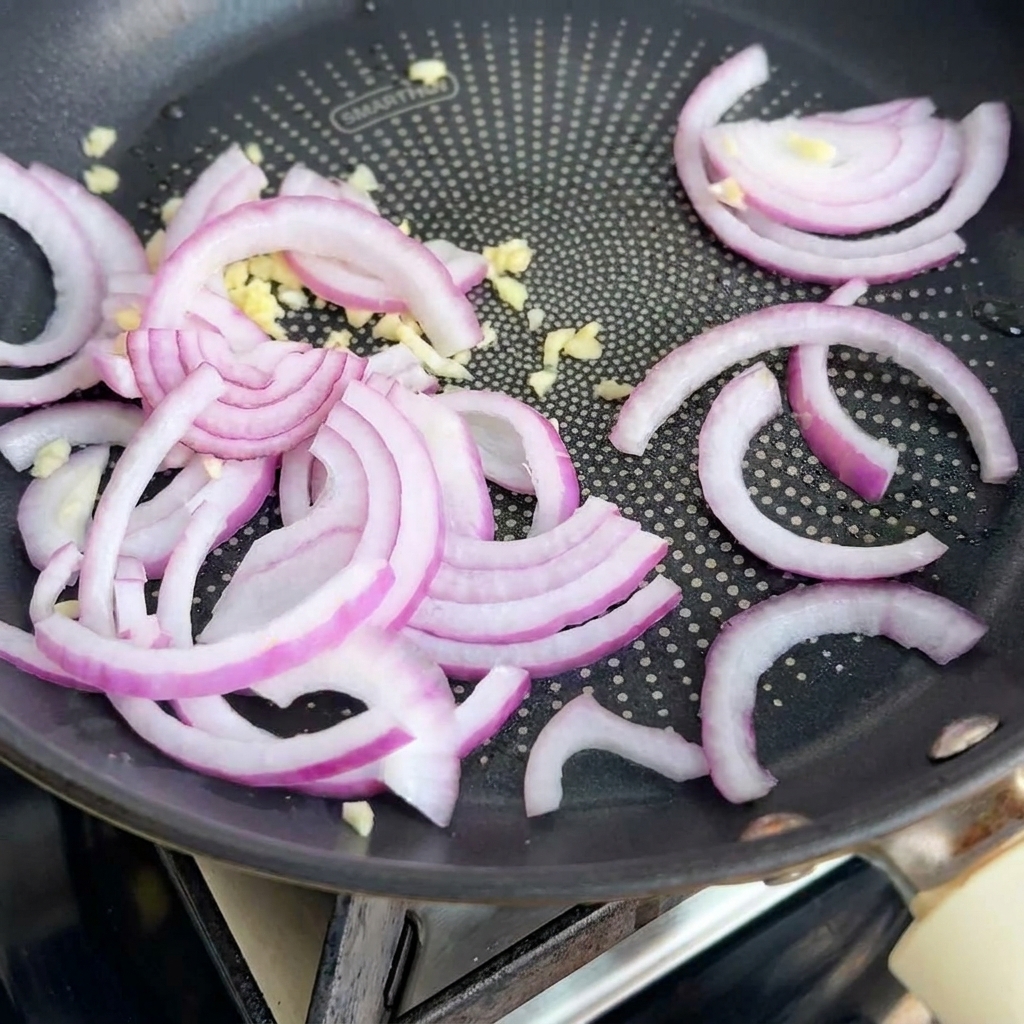
Stir-fry the sliced red onion and crushed garlic in the pan. For an extra boost of aroma and flavor, add a small piece of butter.
Tip: Wait until the onion softens and turns slightly translucent before adding the beef back. - 7Combine beef and onions
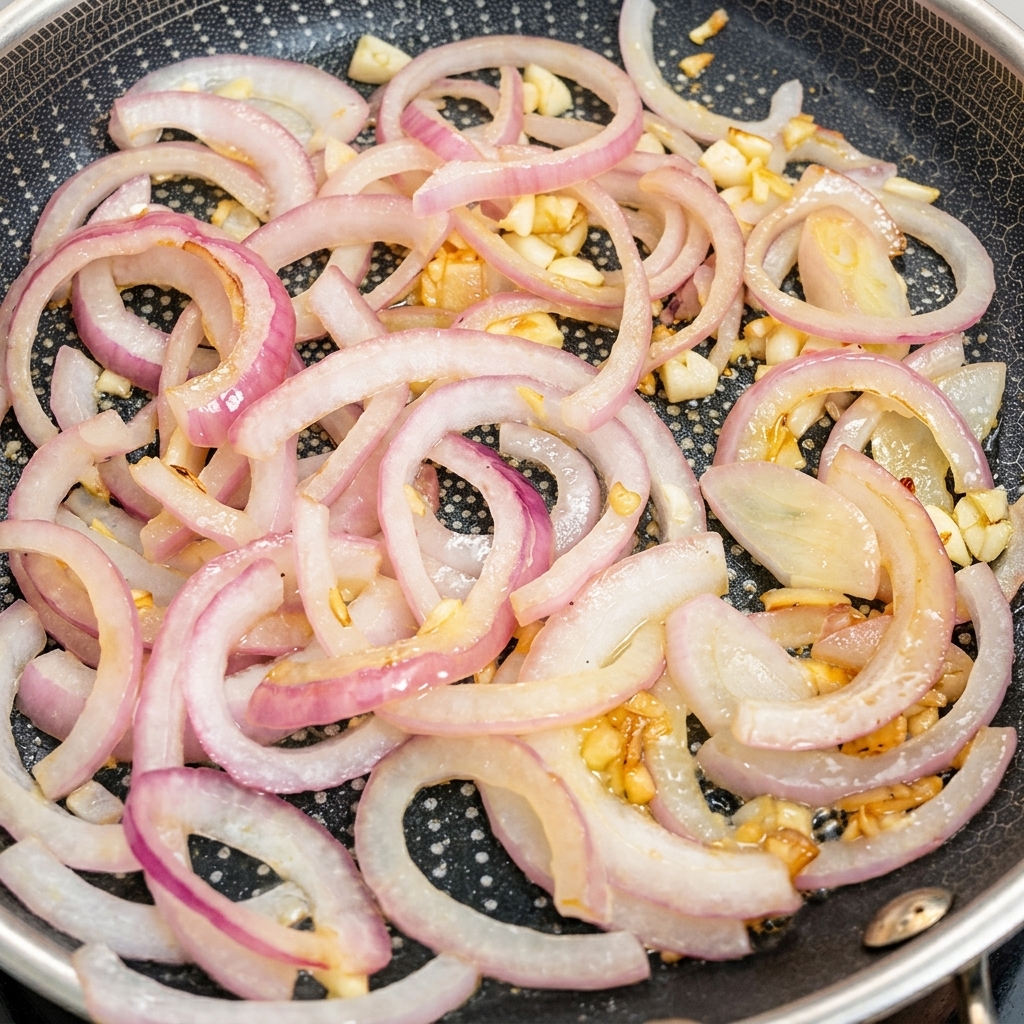
Add the previously seared beef slices back into the pan, layering them directly over the softened, translucent onions. This ensures the beef finishes cooking in the flavorful base.
Tip: Make sure to layer the beef evenly over the onions to allow for uniform cooking once the sauce is added. - 8Add teriyaki sauce
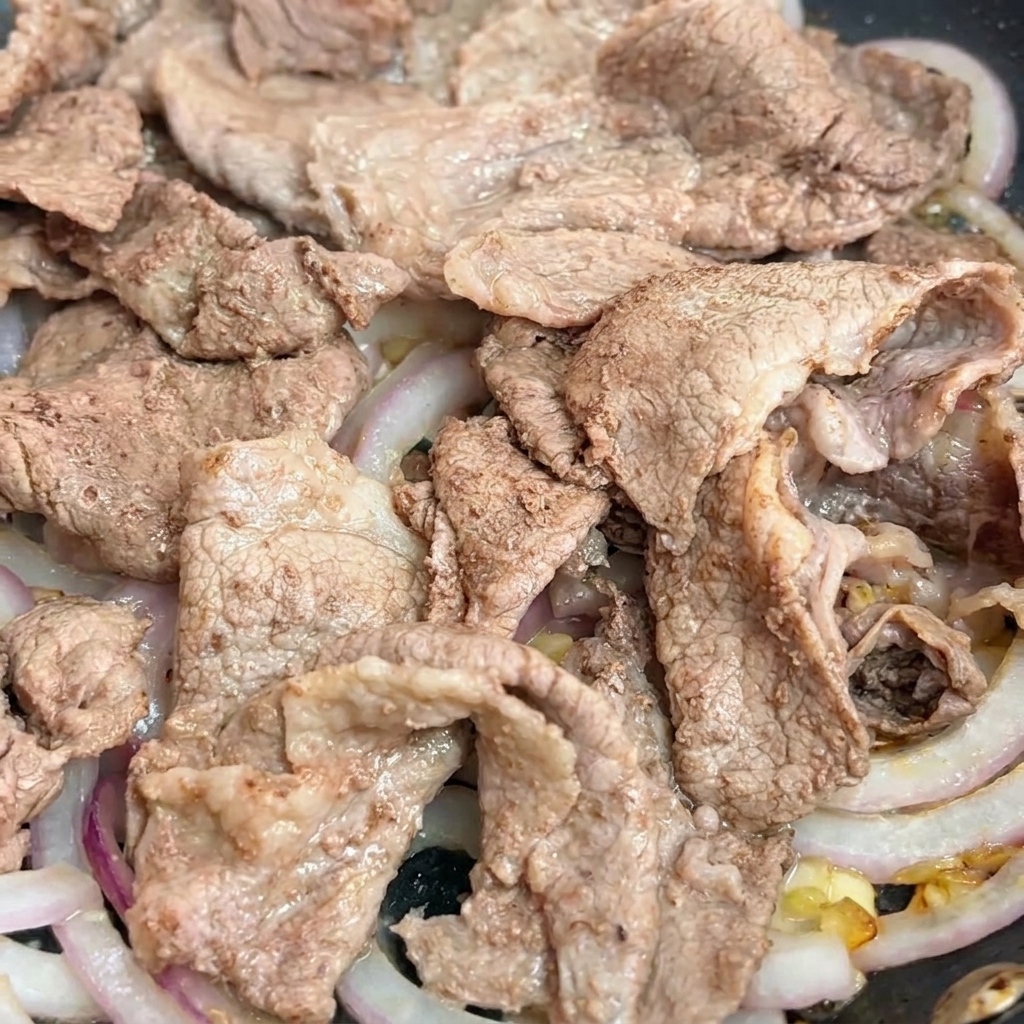
Pour the prepared teriyaki sauce over the beef and onions in the pan. The sauce will combine with the juices in the pan to create a rich, flavorful glaze.
Tip: Ensure the sauce covers the beef thoroughly for maximum flavor absorption. - 9Simmer and glaze
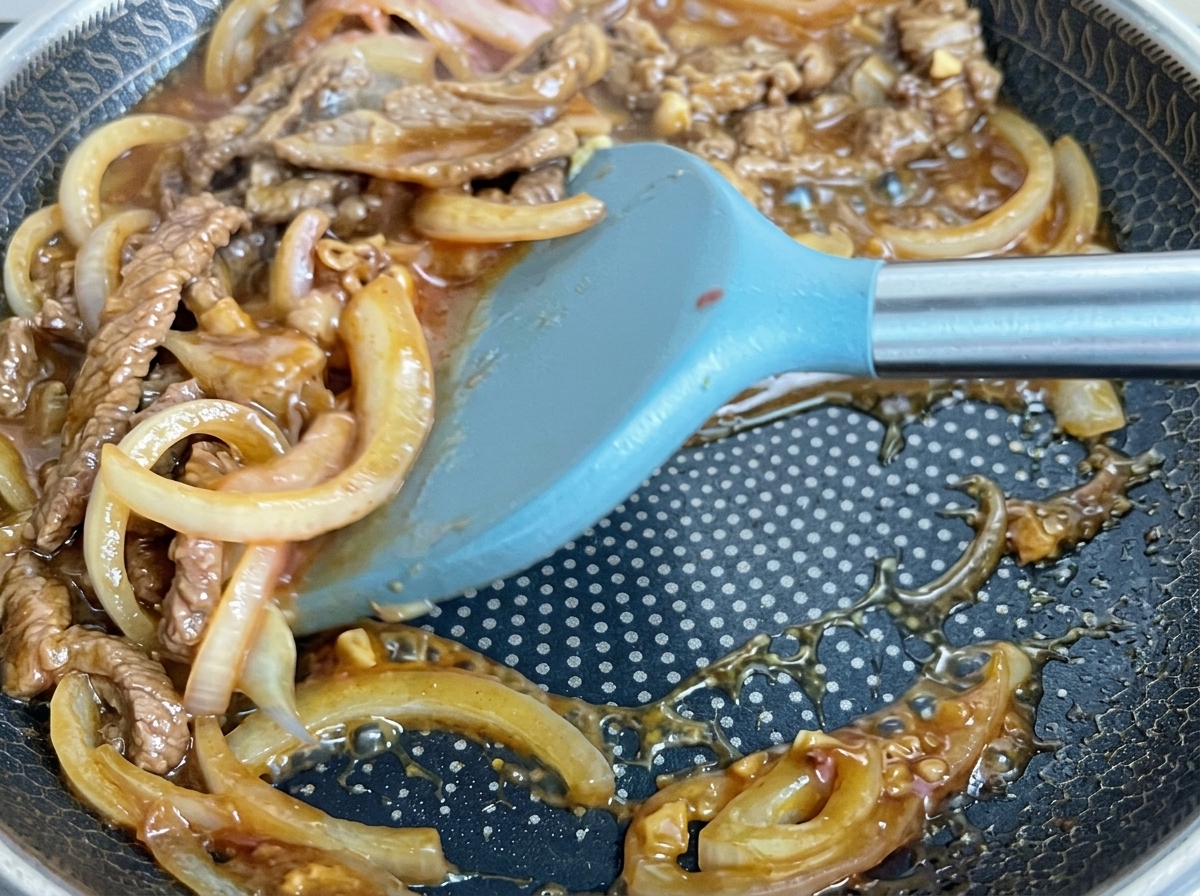
Stir-fry the beef and onions together in the pan until the sauce begins to bubble and thicken. Allow the ingredients to simmer briefly so the flavors meld together perfectly.
Tip: Keep some of the sauce in the pan—it is perfect for drizzling over the rice later. - 10Start the hot spring egg
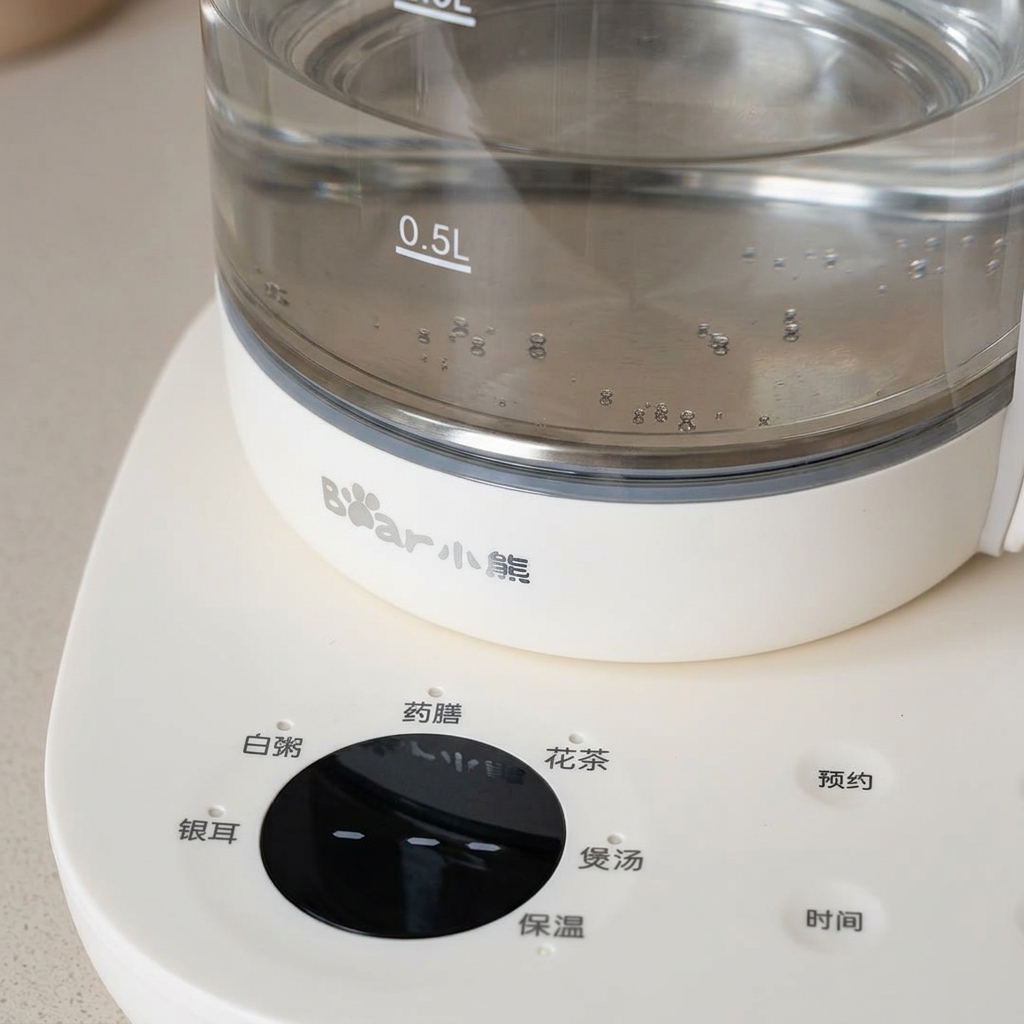
To make the hot spring egg, bring water in your kettle to 70°C and use the keep-warm function. Carefully lower the whole egg into the water and let it sit for 15 to 20 minutes.
Tip: Using this gentle heat method ensures a perfectly creamy, soft-set yolk. - 11Cool the egg
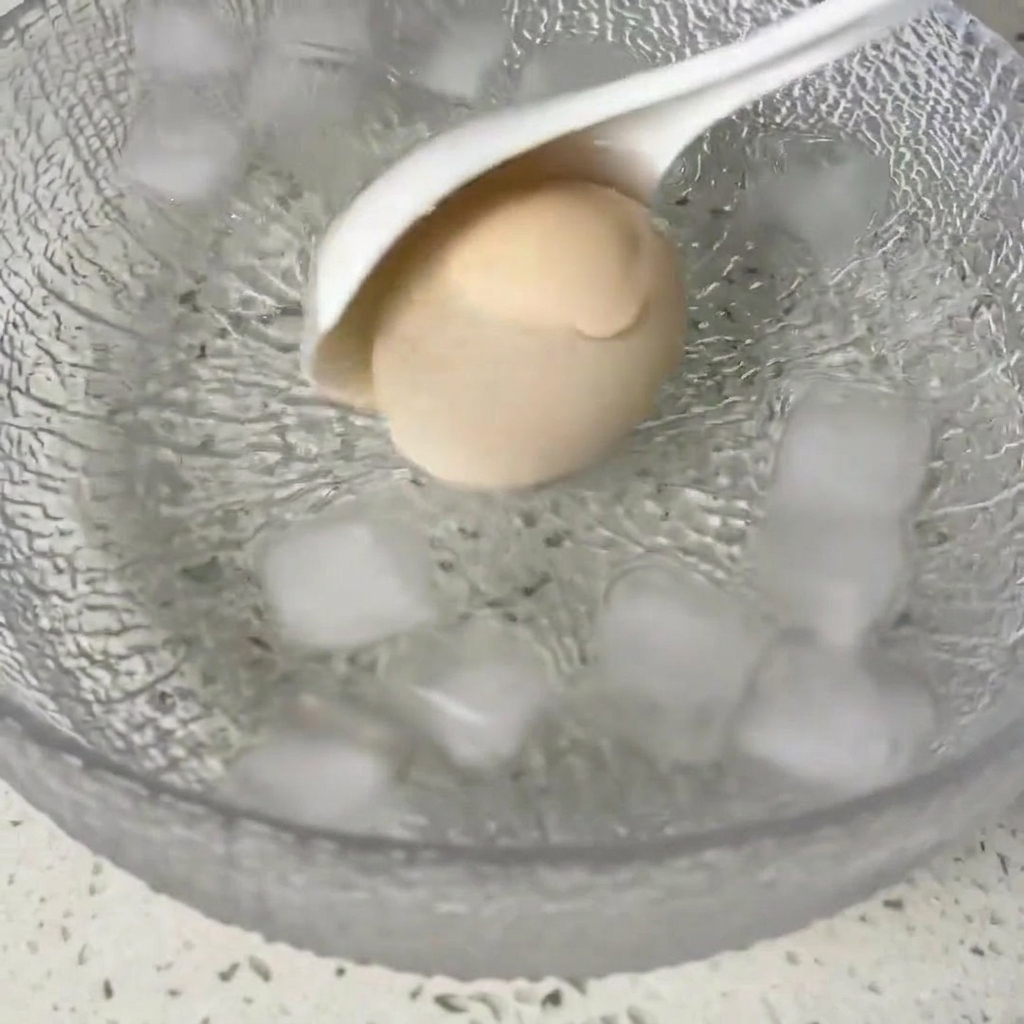
After the egg has finished sitting in the hot water, remove it and immediately transfer it into a bowl filled with ice water. This rapid cooling prevents the white from sticking to the shell.
Tip: Cooling the egg quickly makes it much easier to peel later. - 12Plate the beef bowl
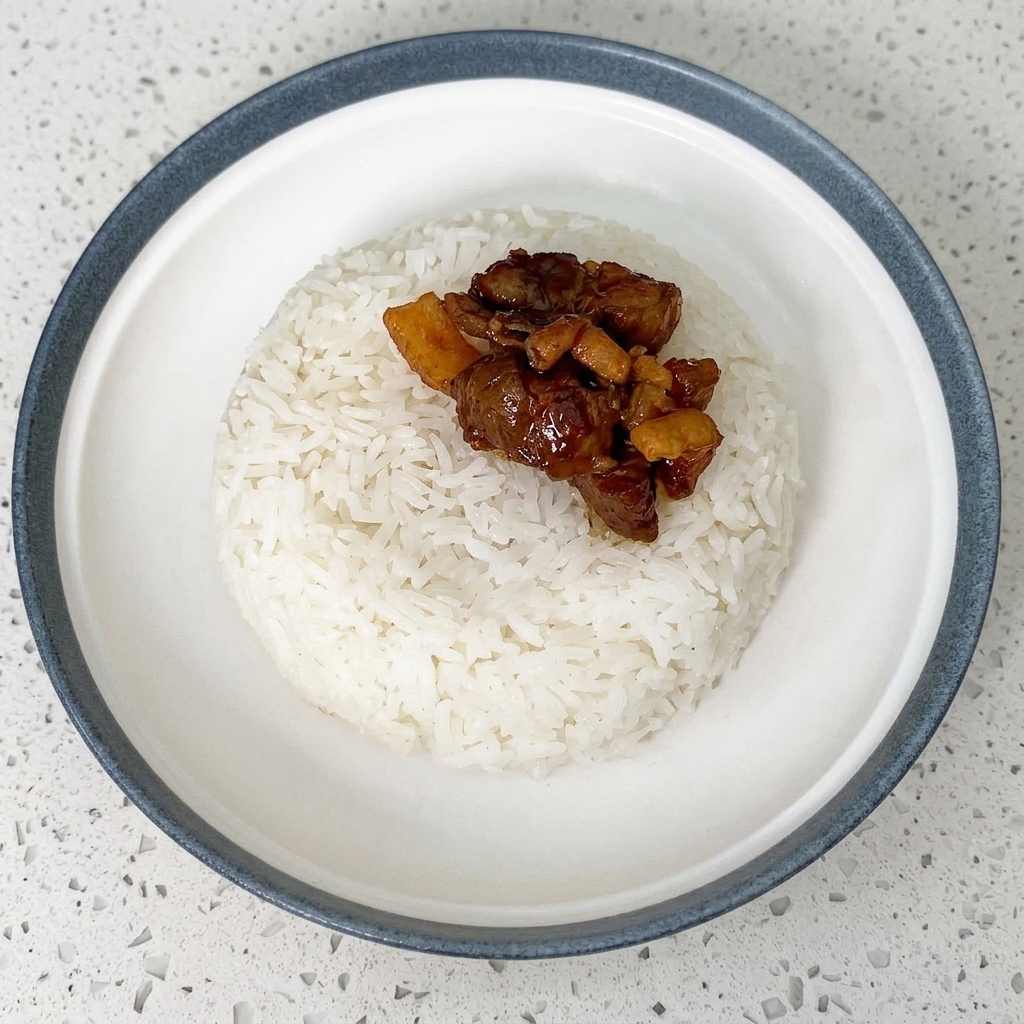
Carefully arrange the cooked beef and onions over a bed of steaming white rice. Top with the prepared hot spring egg and any desired garnishes like seaweed or sesame seeds.
Tip: Dont forget to drizzle some of the remaining sauce from the pan over the rice before adding the egg. - 13Garnish the rice bowl
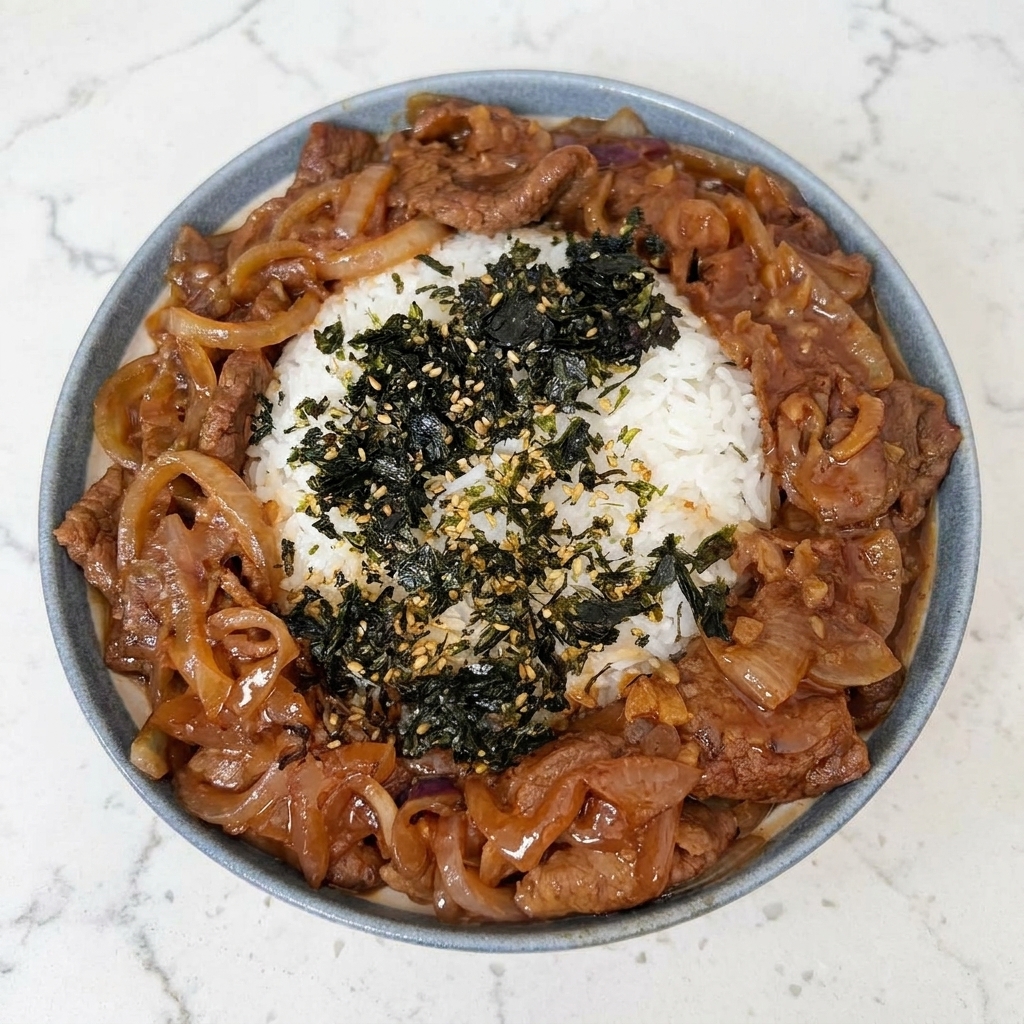
Add a final touch of flavor and texture by sprinkling a generous mixture of crushed seaweed and sesame seeds over the center of the beef and rice bowl.
Tip: For the best flavor, use toasted sesame seeds and high-quality seasoned seaweed strips. - 14Add the hot spring egg
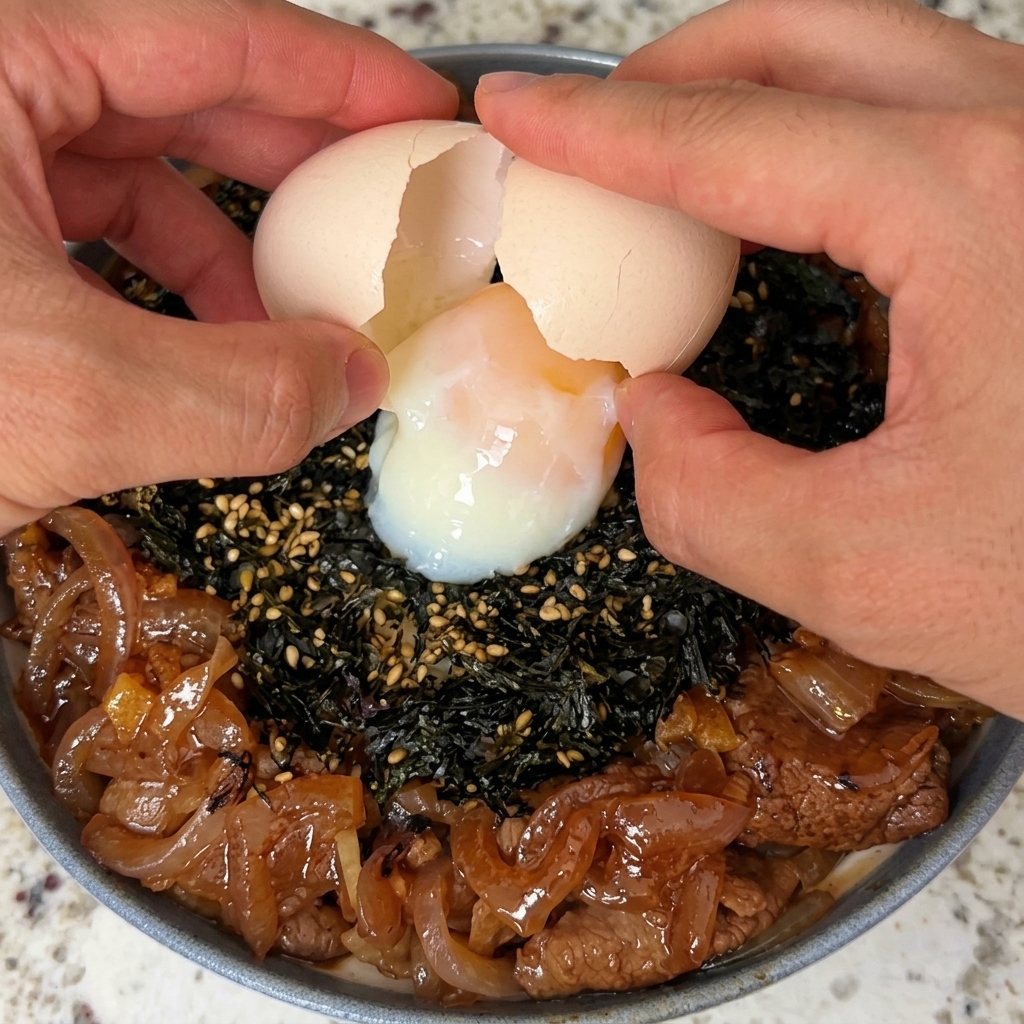
Carefully crack the prepared hot spring egg and place it gently over the center of the seaweed-topped beef rice bowl. The creamy yolk will add a rich, velvety texture when mixed with the beef and rice.
Tip: Make sure the egg is at the perfect soft-boiled consistency so the yolk can coat the rice, enhancing the overall creaminess.