Aburi Caramelized Shrimp Sushi
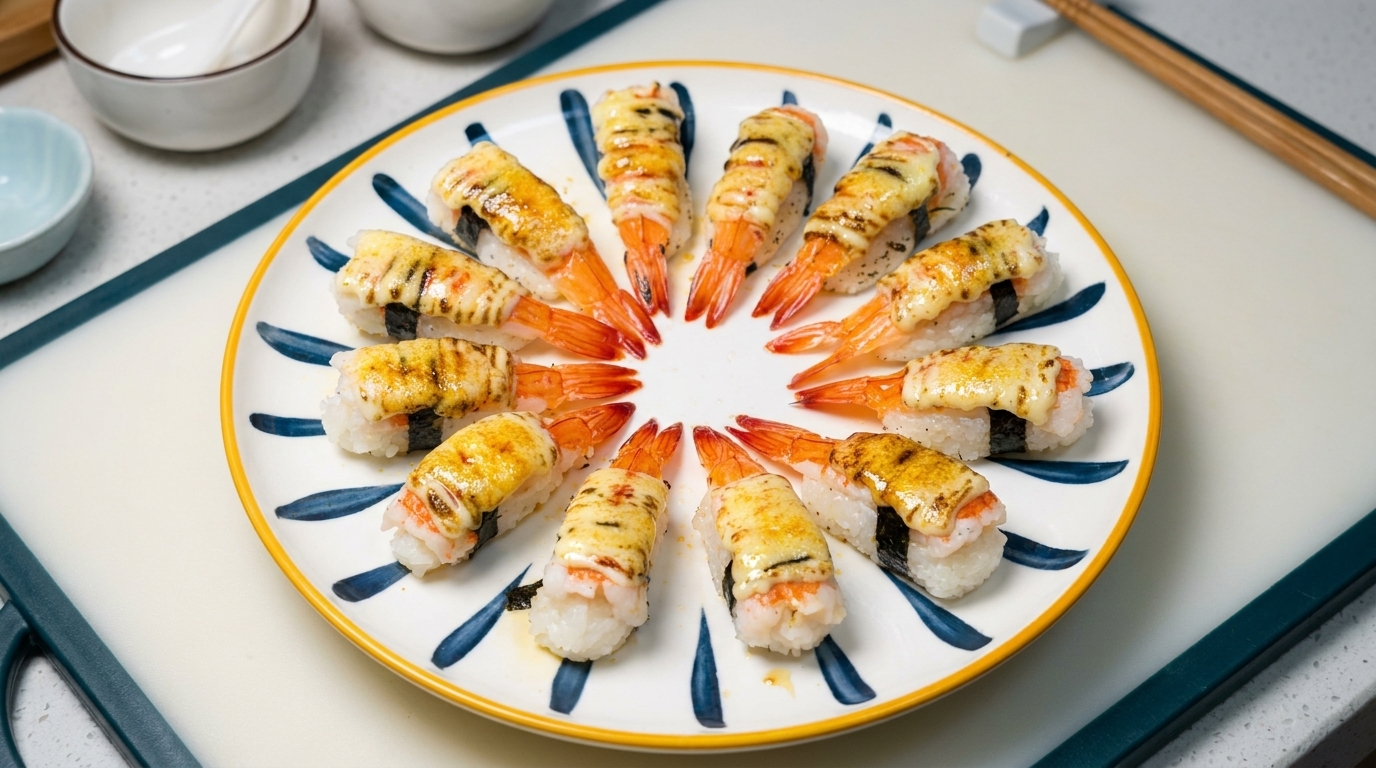
Create restaurant-quality Aburi Caramelized Shrimp Sushi at home. These bite-sized delights feature perfectly seasoned sushi rice topped with sweet shrimp, rich mayonnaise, and a crispy torched sugar glaze.
Aburi-style sushi, which translates to flame-seared, introduces a wonderful smoky aroma and rich, melting texture to traditional sushi. By combining creamy egg yolk mayonnaise with a sprinkle of sugar and hitting it with a culinary torch, this recipe creates a delightful caramelized crust that pairs perfectly with the sweet, tender shrimp.
Ingredients
- 1 sheet dried seaweed (nori)
- 2 tbsp apple cider vinegar
- 1 tbsp sugar (for vinegar)
- 1 pinch salt
- 2 cups cooked white rice
- 1 tsp corn oil
- 15 pieces cooked shrimp (sushi ebi)
- to taste egg yolk mayonnaise
- to taste white sugar (for caramelizing)
Instructions
- 1Prepare the seaweed strips
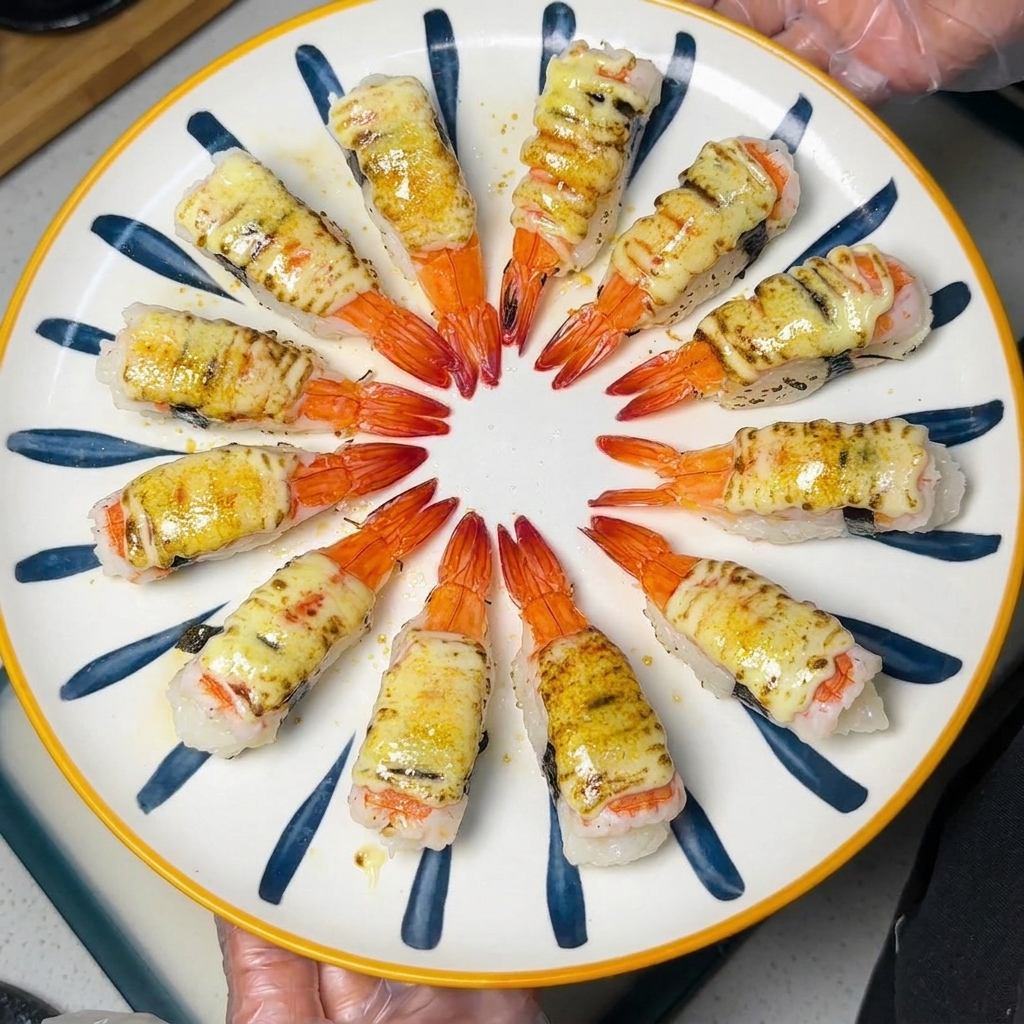
Take a sheet of dried seaweed and use scissors to cut it into long, thin, uniform strips. These strips will be used later to wrap around the shrimp sushi to secure it firmly.
Tip: Ensure the seaweed strips are of consistent width for a professional and tidy look. - 2Prepare the sushi vinegar
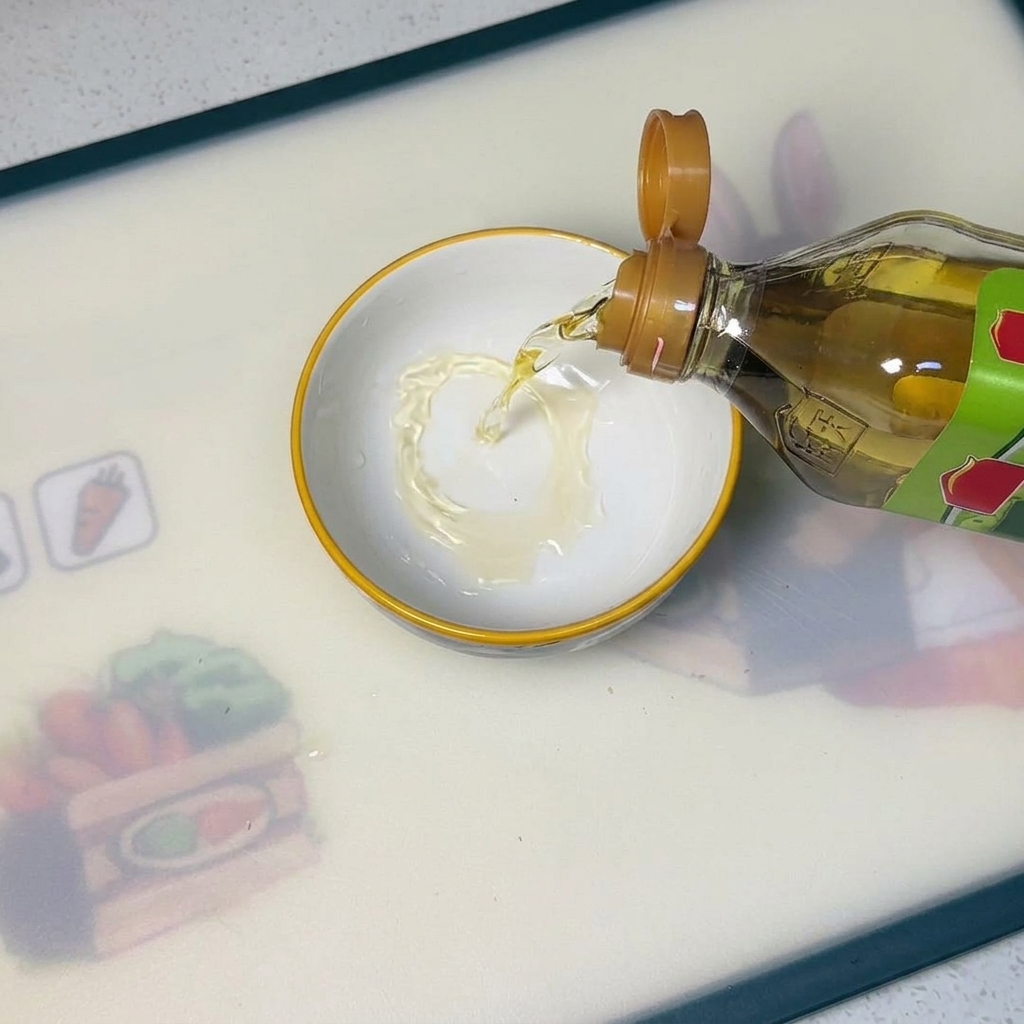
In a small bowl, combine apple cider vinegar, a spoonful of sugar, and a pinch of salt. Mix the ingredients thoroughly until the sugar and salt are completely dissolved into the vinegar to create the seasoning for the rice.
Tip: Stir well to ensure the seasoning is perfectly balanced before adding it to the rice. - 3Season the rice
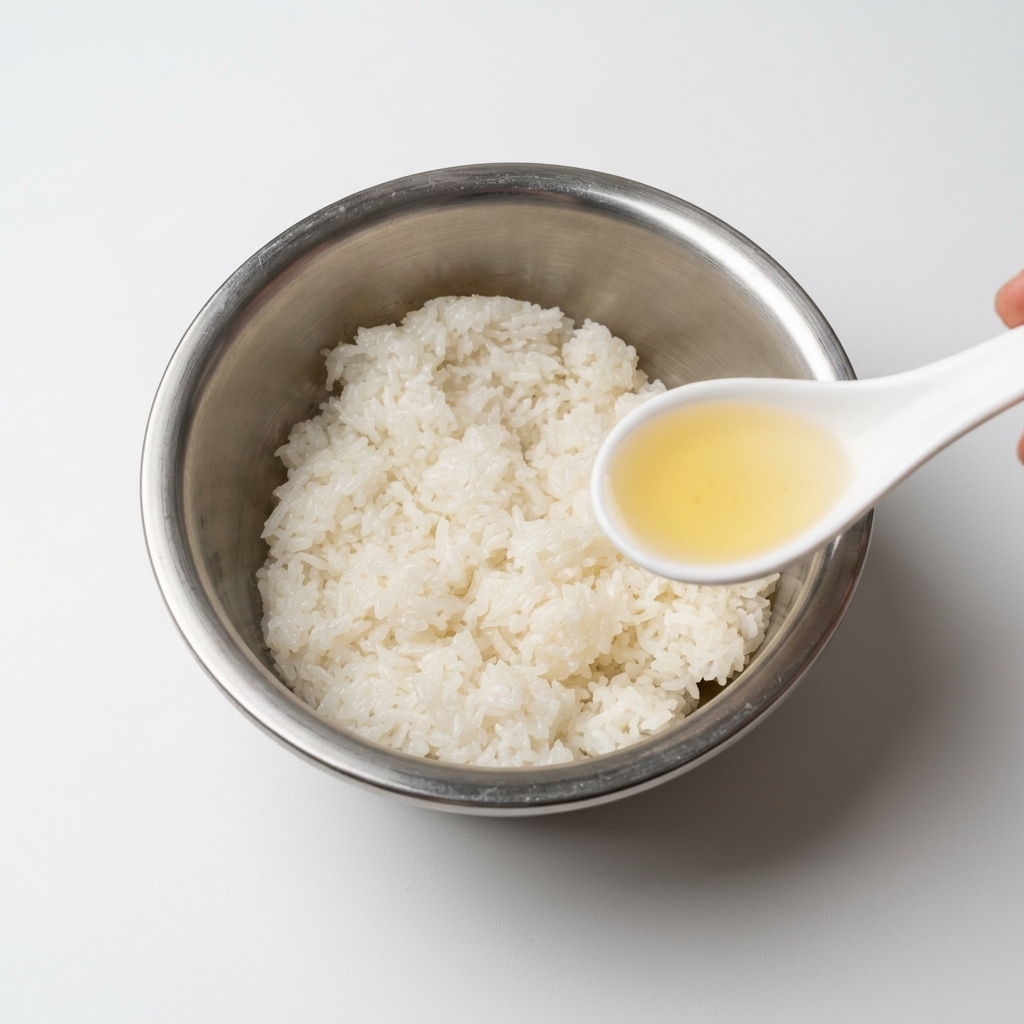
Pour the prepared vinegar mixture over a bowl of freshly cooked white rice. Add a light drizzle of corn oil to give the rice a slight sheen, then gently fold and mix everything together using a rice paddle until well combined.
Tip: Mix gently to avoid mashing the rice grains, keeping them light and fluffy. - 4Shape the rice balls
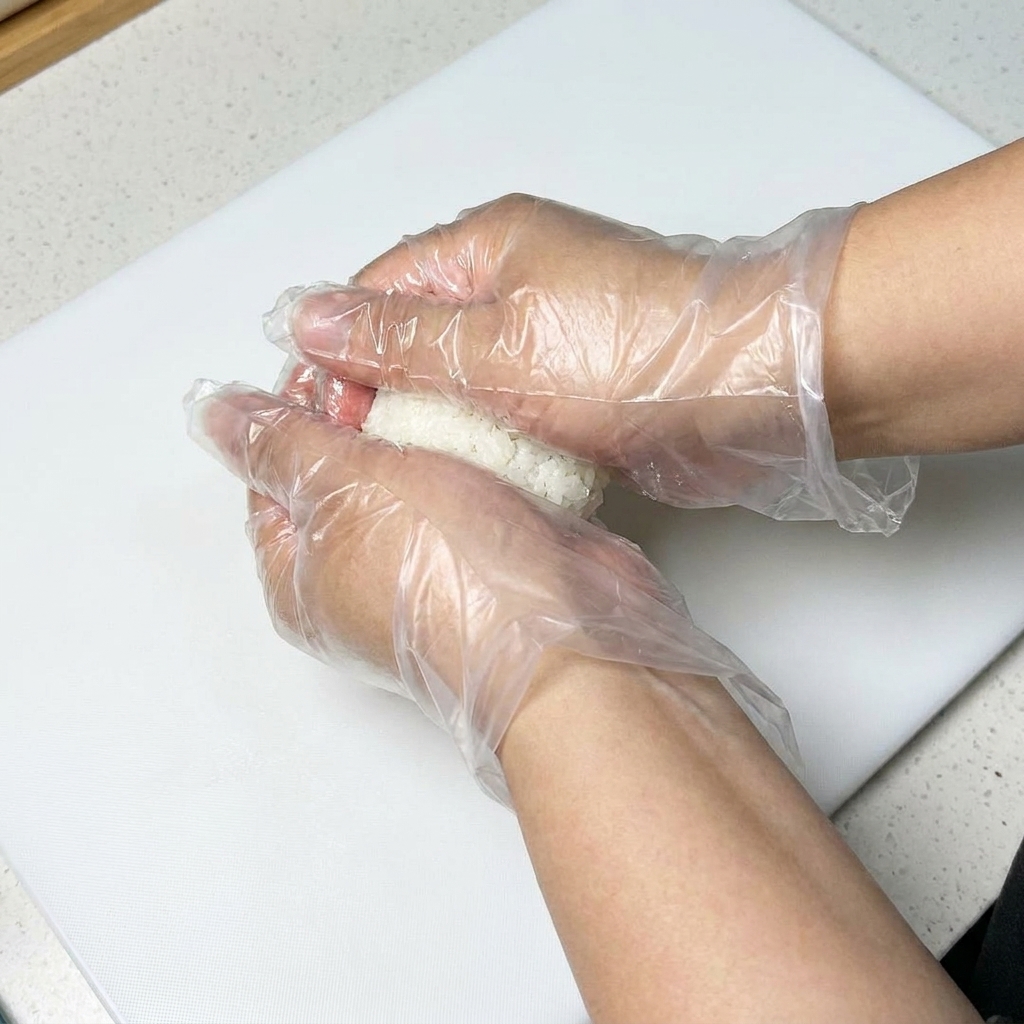
Wearing plastic gloves, take a portion of the seasoned rice—approximately 25 grams—and gently press and shape it into a small, uniform oval ball. Repeat this process for all the rice portions.
Tip: Keep your gloves slightly damp to prevent the rice from sticking to them while shaping. - 5Assemble the shrimp sushi
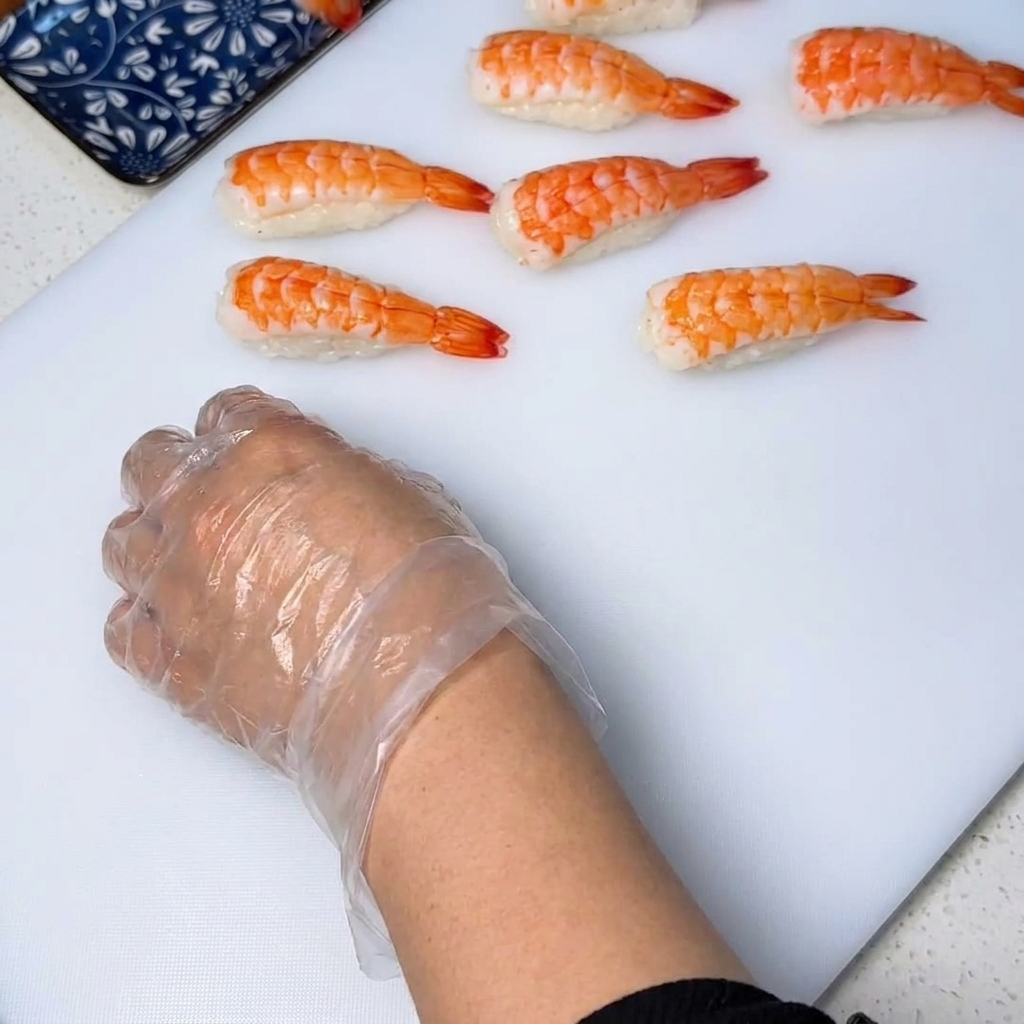
Take a prepared cooked shrimp and place it carefully on top of an oval rice ball. Press down firmly but gently to ensure the shrimp adheres well to the rice and maintains a consistent shape.
Tip: Use firm pressure to ensure the shrimp and rice hold together properly. - 6Secure with seaweed
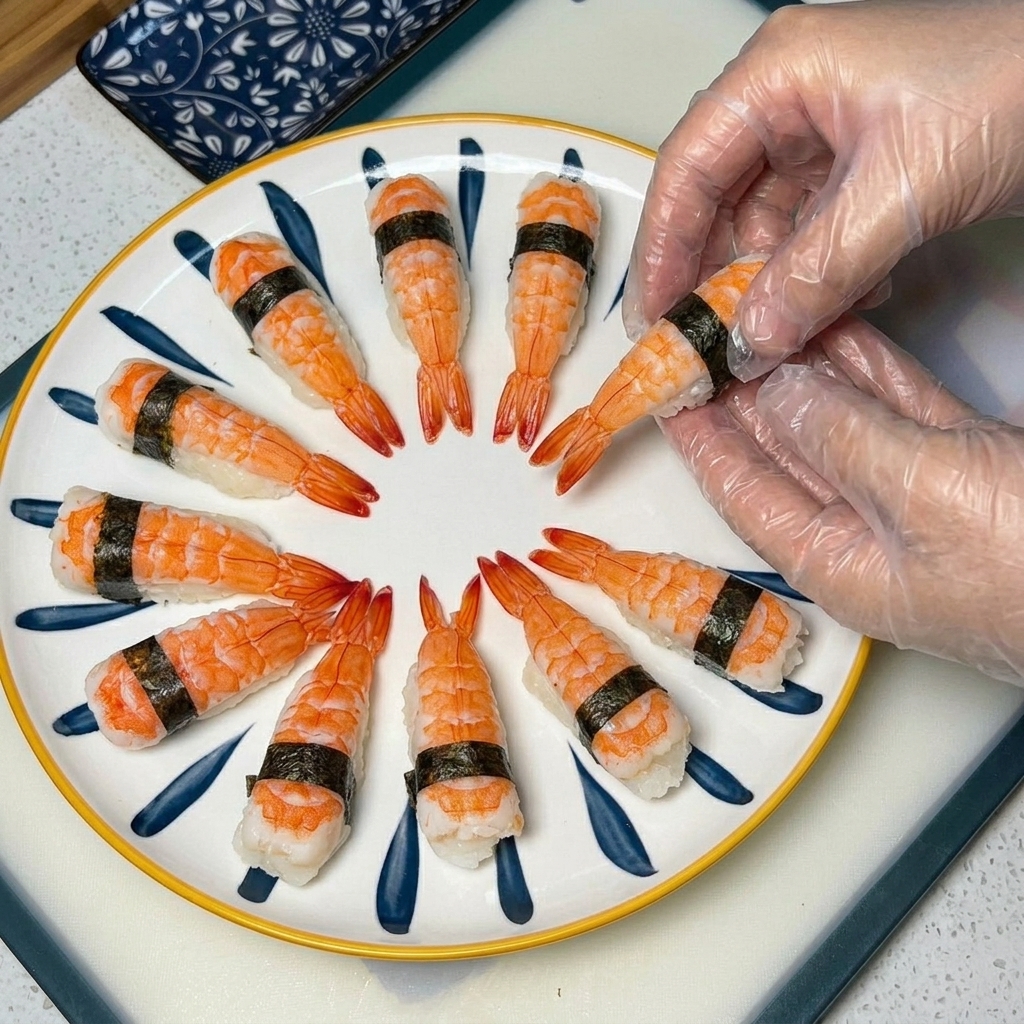
Take one of the prepared seaweed strips and wrap it snugly around the center of the assembled shrimp sushi. This helps to secure the shrimp to the rice and adds a decorative touch.
Tip: Wrap the seaweed tightly so it stays in place without unravelling. - 7Apply mayonnaise topping
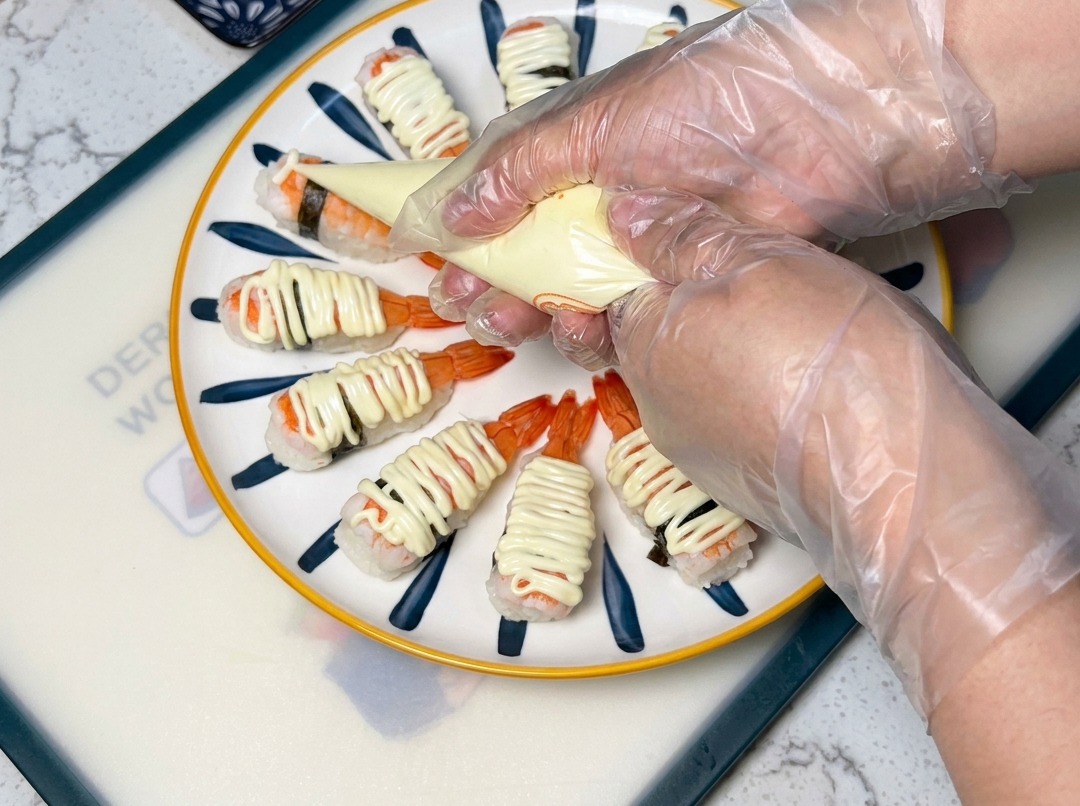
Using a piping bag, carefully squeeze a neat, even layer of egg yolk mayonnaise over each of the shrimp sushi pieces. This creamy layer will hold the sugar in place and create a rich, caramelized flavor when torched.
Tip: Keep the piping bag moving steadily to create a consistent, attractive zigzag pattern. - 8Add a sugar coating
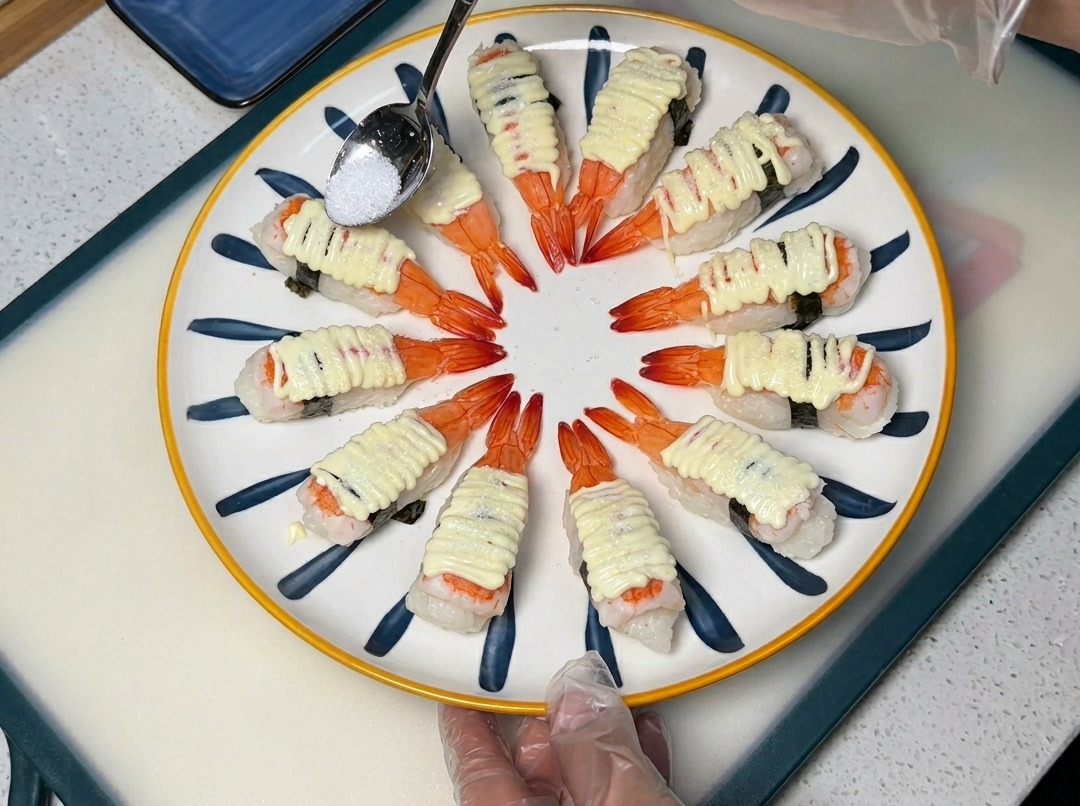
Use a small spoon to gently sprinkle a fine layer of white sugar over the mayonnaise-topped shrimp. The sugar will caramelize under the heat to create a sweet and savory crust.
Tip: Sprinkle the sugar lightly to ensure it doesnt clump, which helps it melt evenly. - 9Torch and caramelize
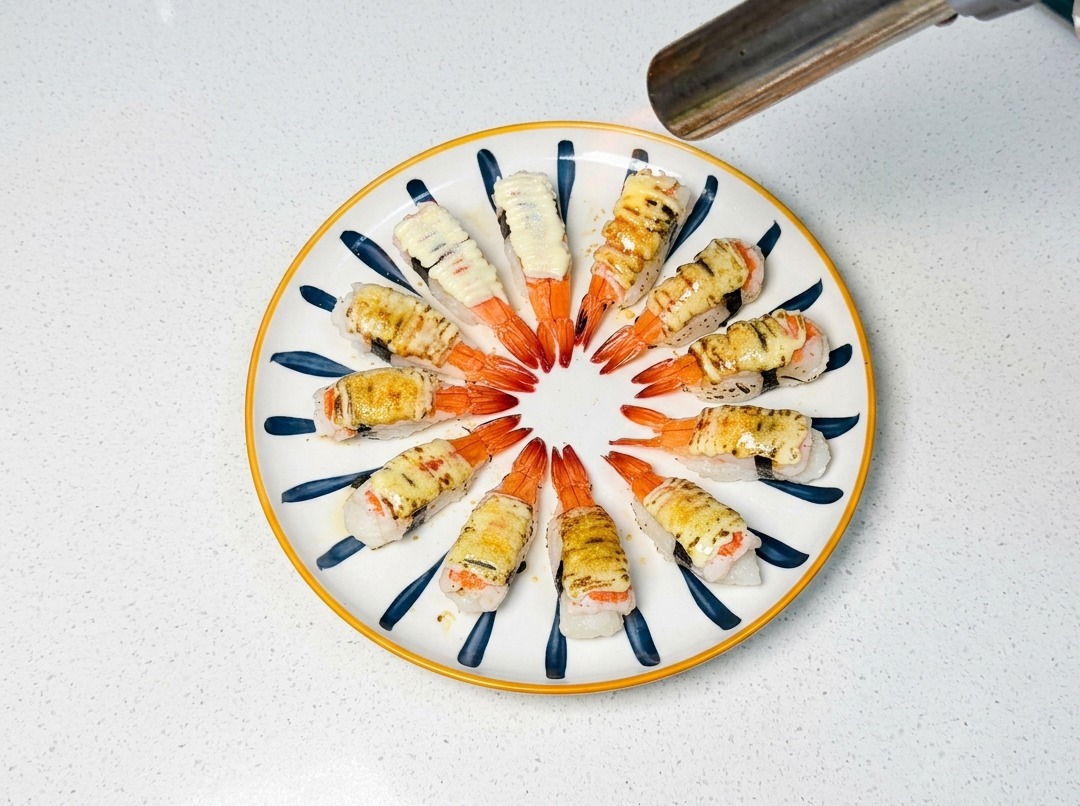
Using a culinary torch, carefully apply heat to the top of each shrimp sushi piece until the mayonnaise and sugar mixture melts and turns a golden brown, caramelized color. This step adds a professional finish and a delicious charred aroma.
Tip: Move the torch continuously to avoid burning the topping; watch closely for that perfect golden color.