Classic Japanese Oyakodon (Chicken
Egg Rice Bowl)
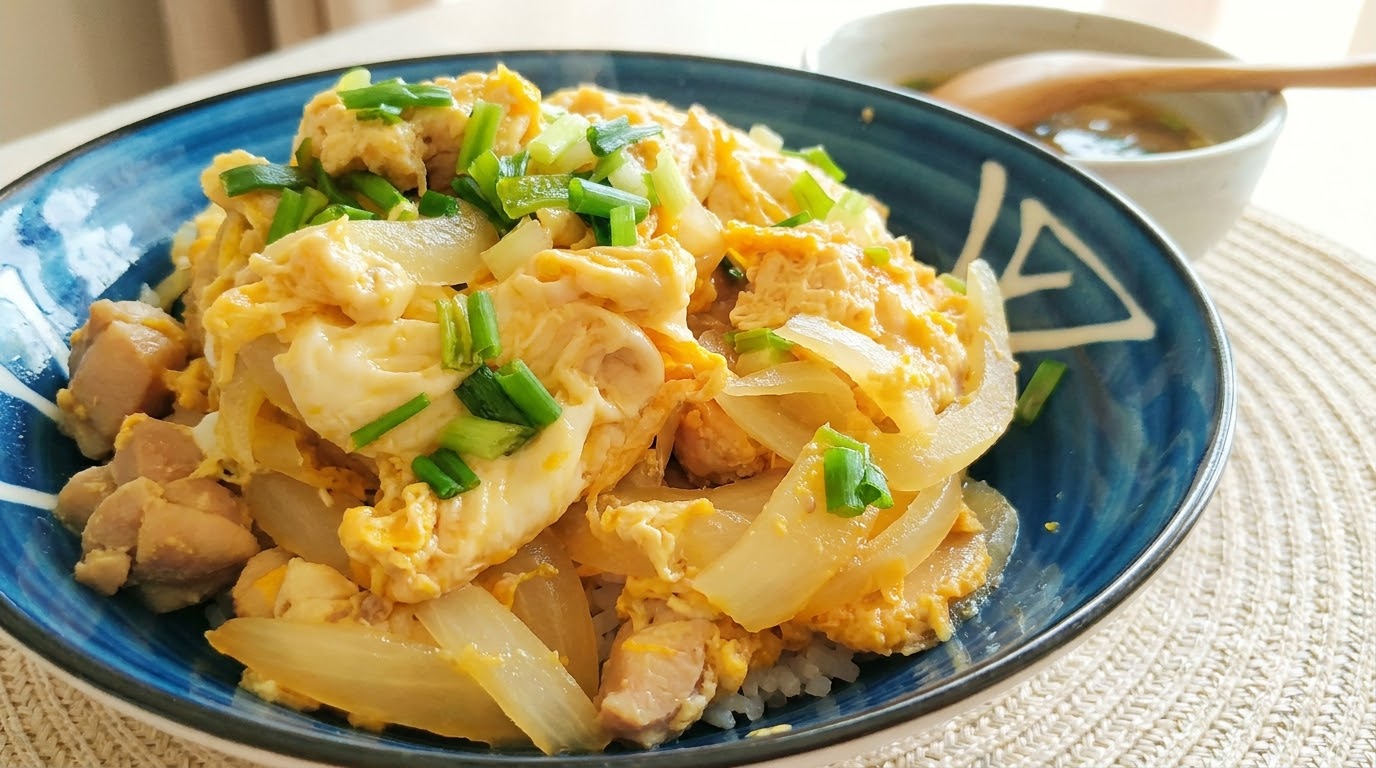
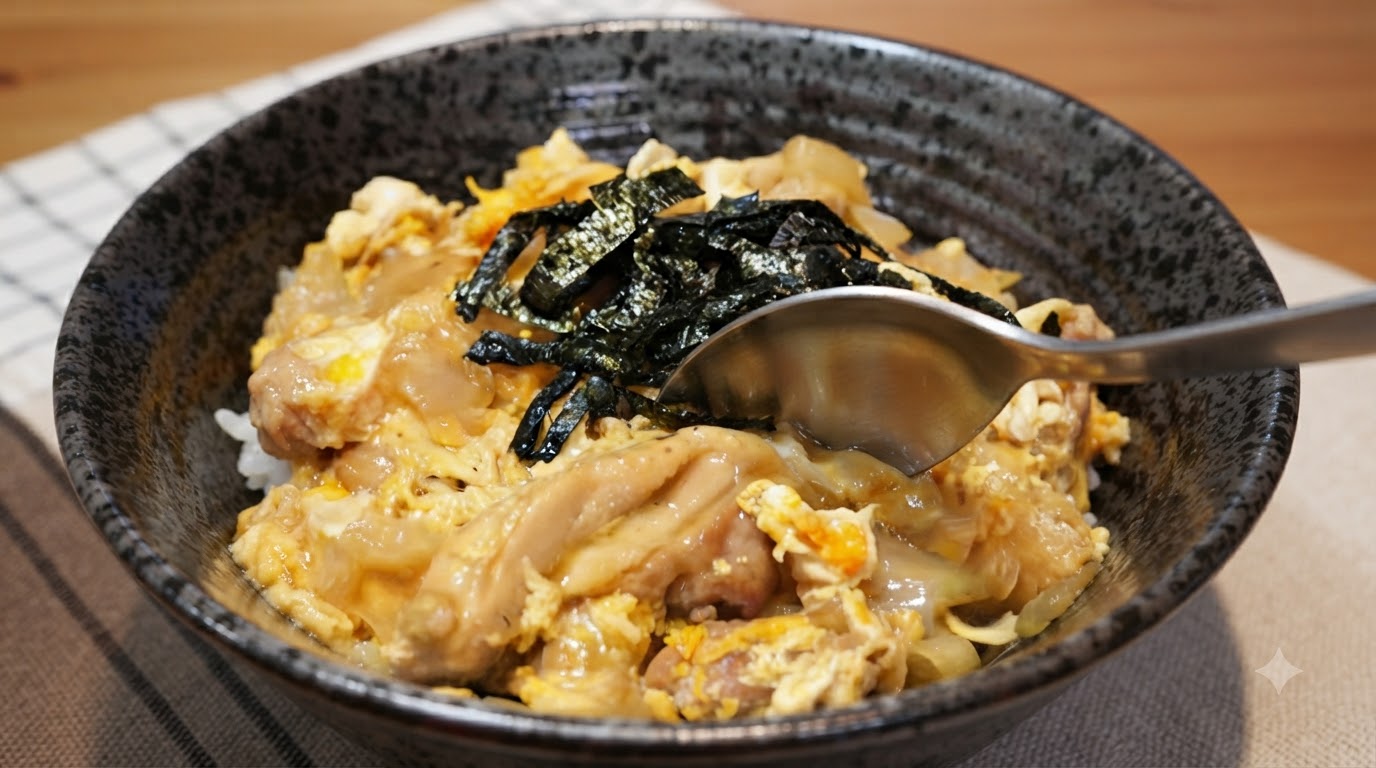
Master this comforting Japanese classic with tender chicken and silky, barely-set eggs simmered in a sweet soy broth. Served over warm rice, Oyakodon is the ultimate quick and satisfying meal.
Oyakodon literally translates to parent-and-child donburi, a poetic nod to its two star ingredients: chicken and egg. Originating in a Tokyo restaurant in the late 1800s, this dish represents the heart of Japanese home cooking. The magic lies in the gentle simmering of the eggs, ensuring they remain soft, custard-like, and perfectly melded with the savory-sweet sauce.
Ingredients
- 2 pieces skinless chicken thighs
- 1 white onion
- 2 eggs
- 50 ml sukiyaki seasoning sauce (or sweet soy base)
- 150 ml clean water
- 1 pinch salt
- 1 tbsp cooking oil
- 2 portions cooked white rice
- to taste shredded nori seaweed
Instructions
- 1Slice the onion
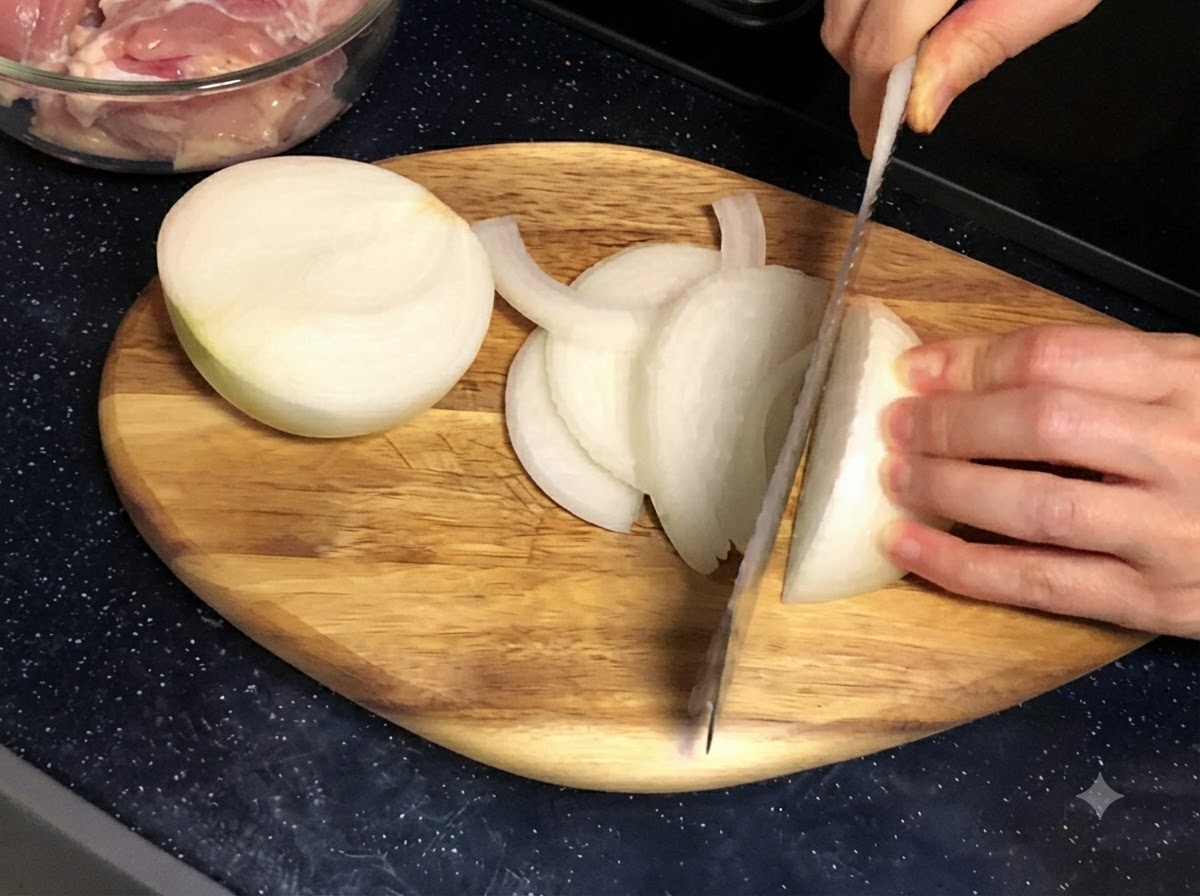
Begin by peeling the white onion and slicing it evenly into thin strips. Slicing the onion thinly allows it to soften quickly and absorb the sweet and savory flavors of the sukiyaki broth.
Tip: Cut the onion into uniform strips so that they cook at an even rate when simmered later. - 2Cut the chicken
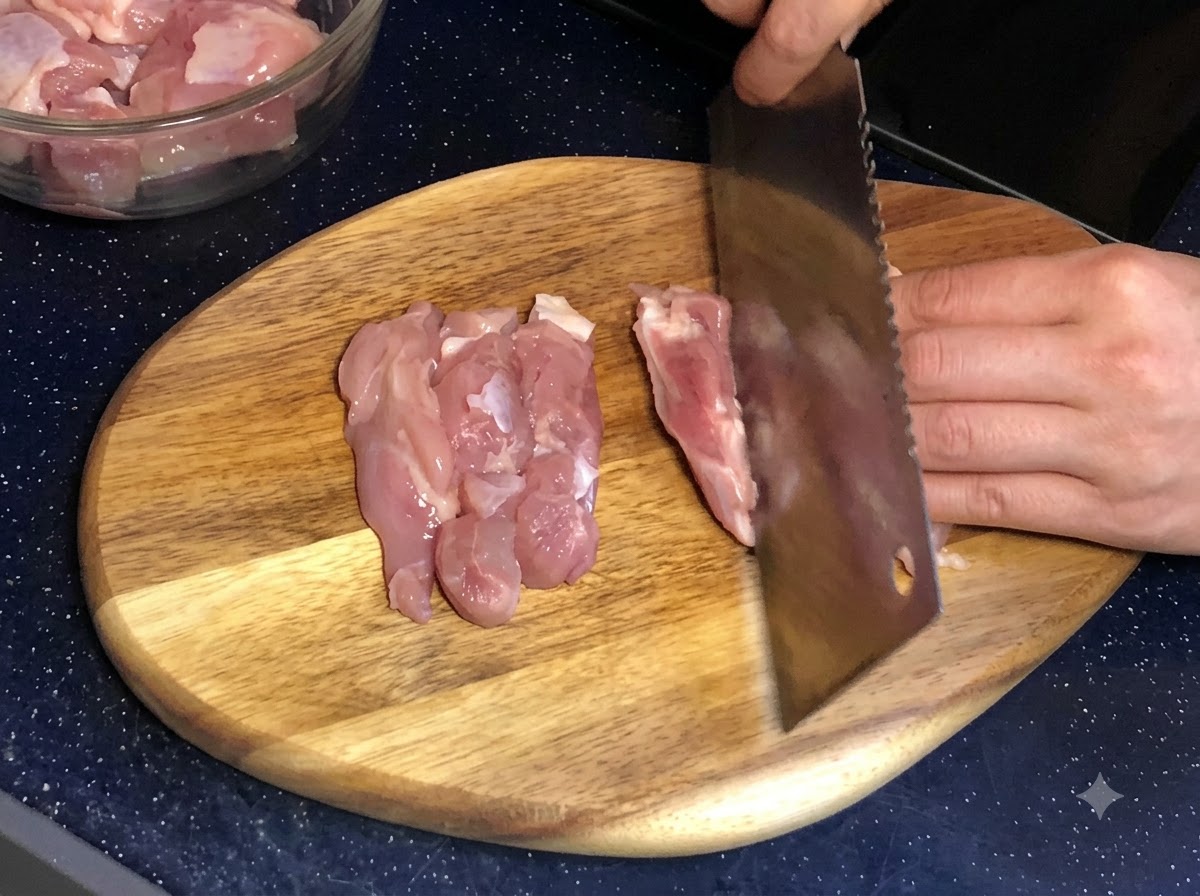
Place the skinless chicken thighs on a wooden cutting board and use a sharp knife or cleaver to chop them into bite-sized pieces.
Tip: Cutting the chicken into uniform pieces ensures they cook evenly and finish at the same time. - 3Season the chicken
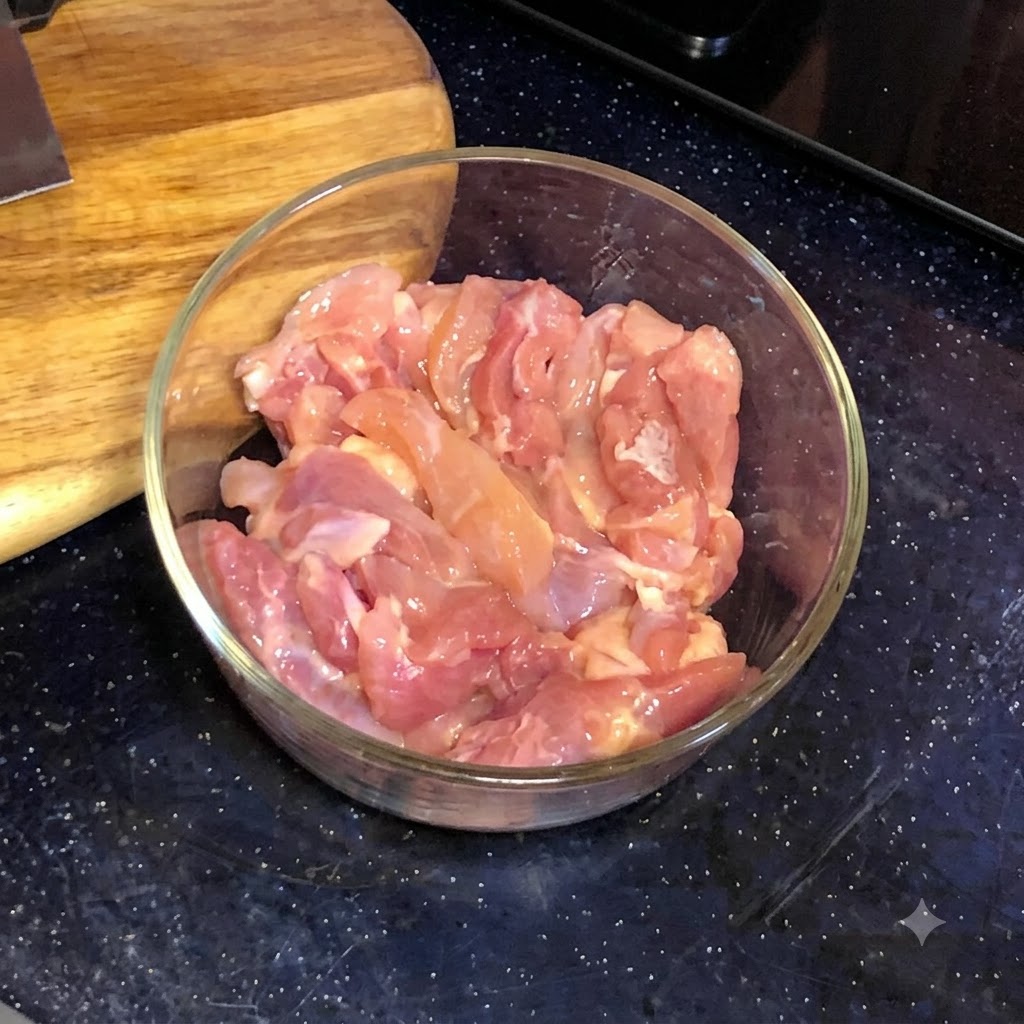
Place the bite-sized pieces of skinless chicken thigh into a glass mixing bowl. Add a small pinch of salt and toss the chicken pieces to lightly coat them, which helps to tenderize and lightly season the meat before it goes into the pan.
Tip: You only need a very small amount of salt at this stage, as the sukiyaki sauce used later provides most of the dishs seasoning. - 4Prepare the sauce base
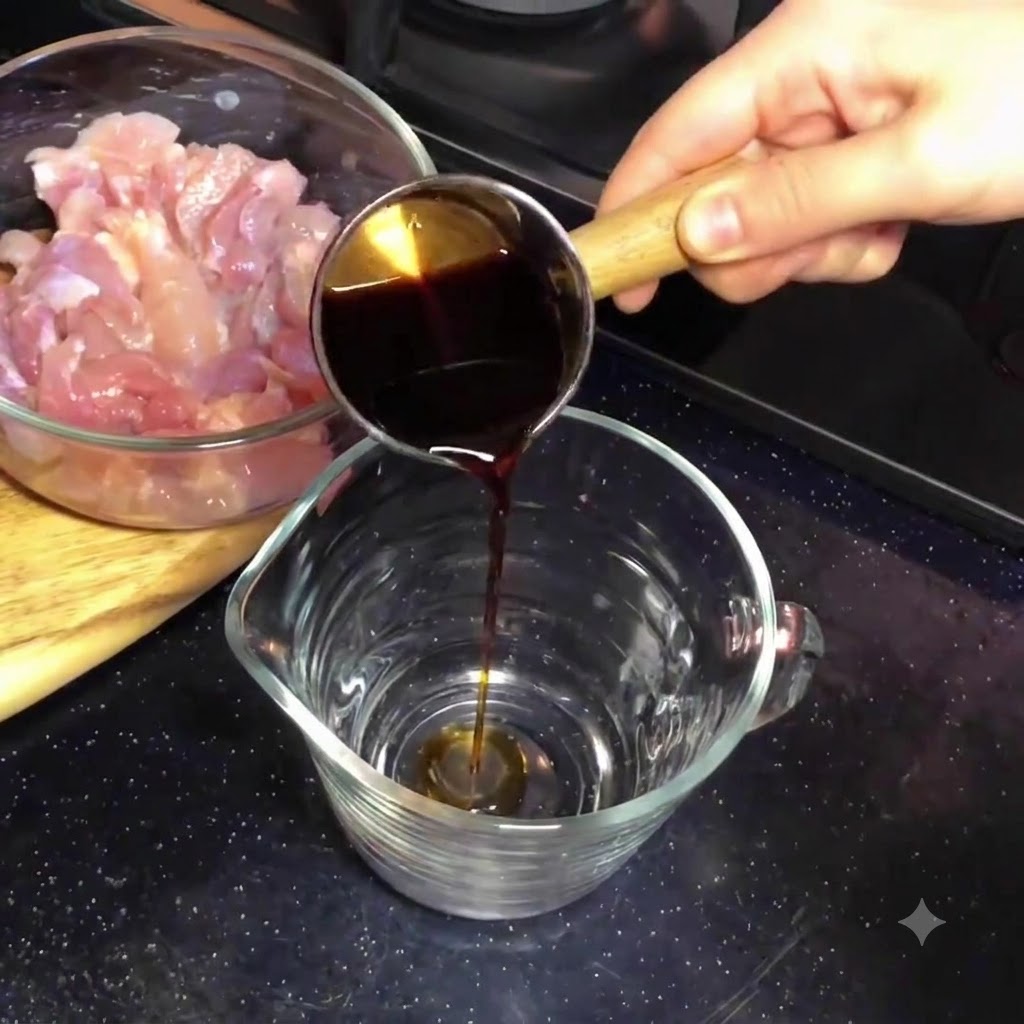
In a glass measuring cup or pitcher, combine the sukiyaki seasoning sauce and clean water in a 1:3 ratio. For this recipe, measure out 50ml of the sweet Japanese sukiyaki sauce and mix it thoroughly with 150ml of water.
Tip: If you prefer a stronger, saltier flavor, you can slightly reduce the amount of water in the mixture. - 5Add the chicken to the pan
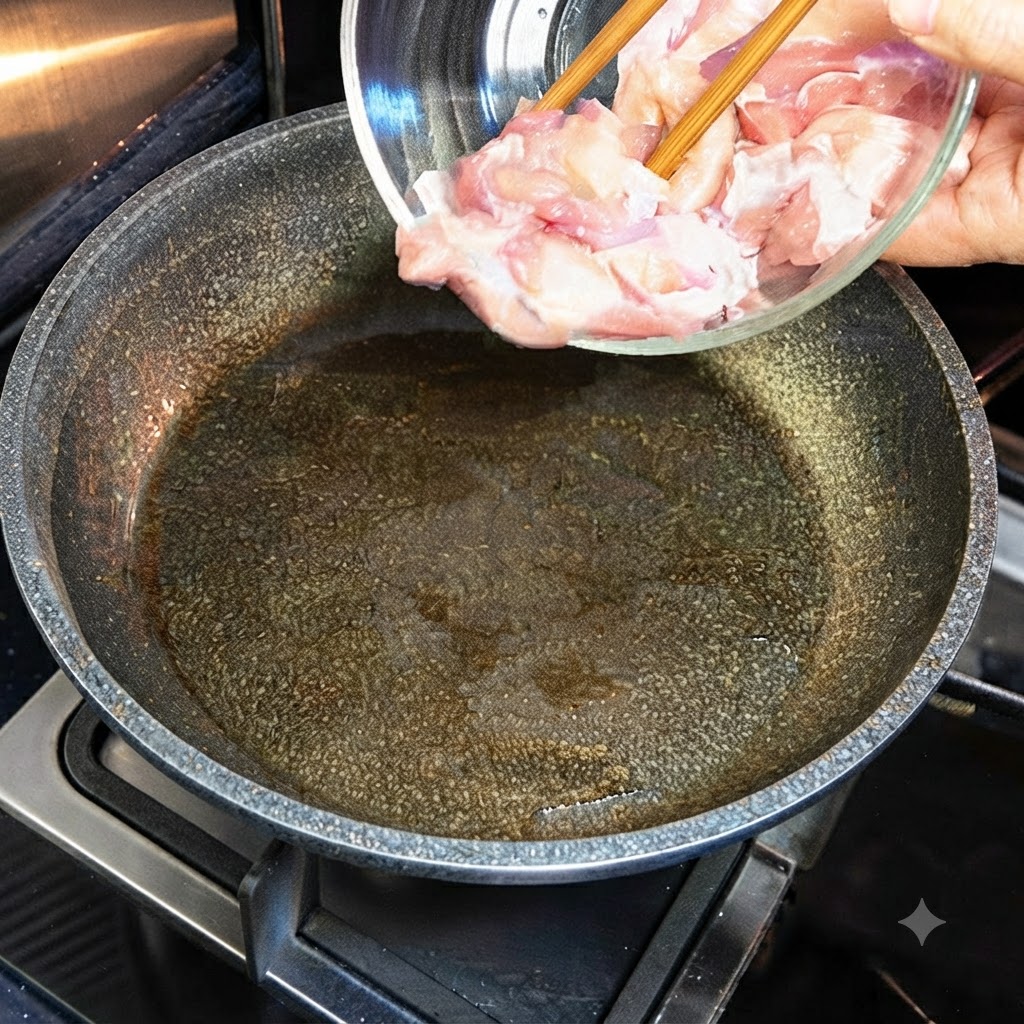
Heat a skillet with a small amount of oil over medium heat. Once the pan is hot, carefully transfer the seasoned chicken pieces from the bowl into the skillet. Use chopsticks to spread the chicken evenly across the bottom of the pan.
Tip: Ensure the pan is fully heated before adding the chicken to get a nice initial sear on the surface. - 6Add sliced onions to the skillet
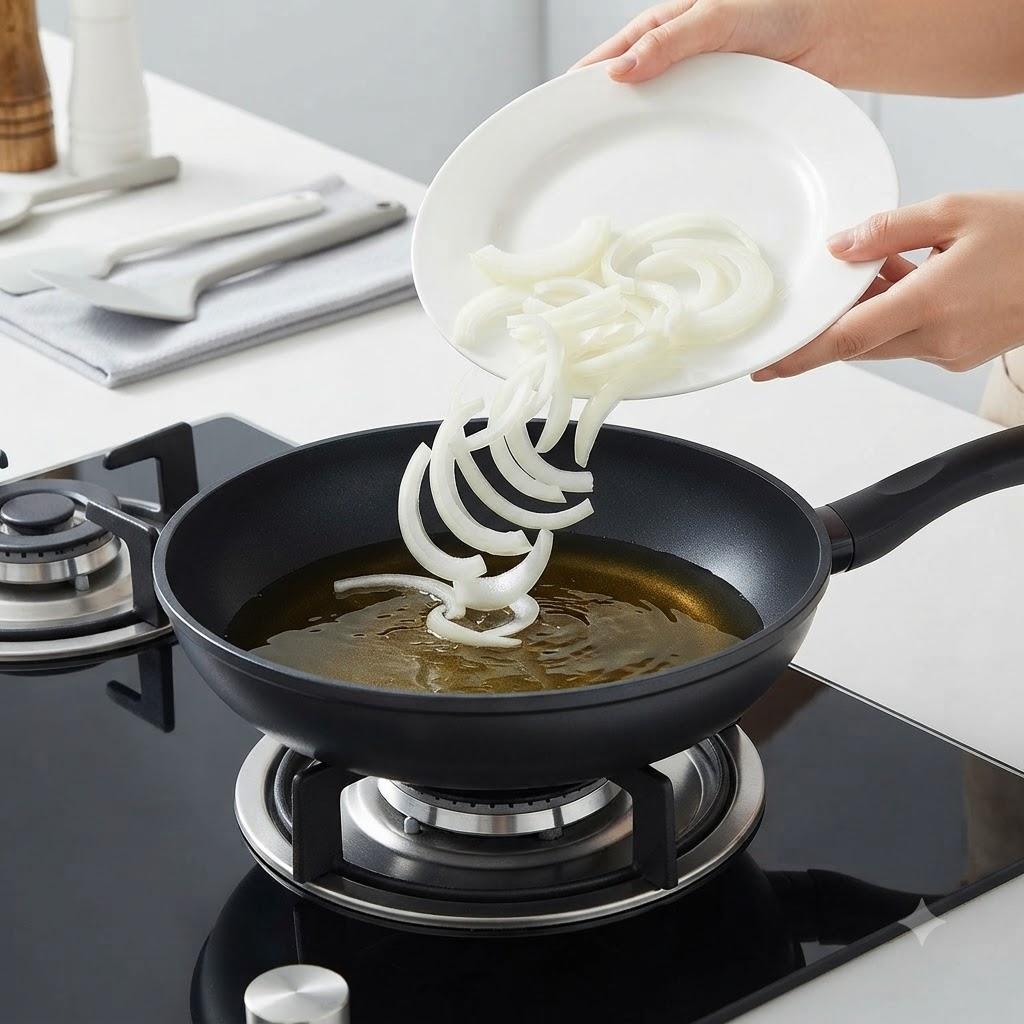
After removing the cooked chicken pieces from the pan, add the sliced white onions directly into the hot skillet containing the remaining sauce and oil. Sauté them briefly until they begin to soften and absorb the flavorful liquid.
Tip: Cook the onions in the leftover sauce so they soak up the sweet Japanese flavor profile right from the start. - 7Add chicken over onions
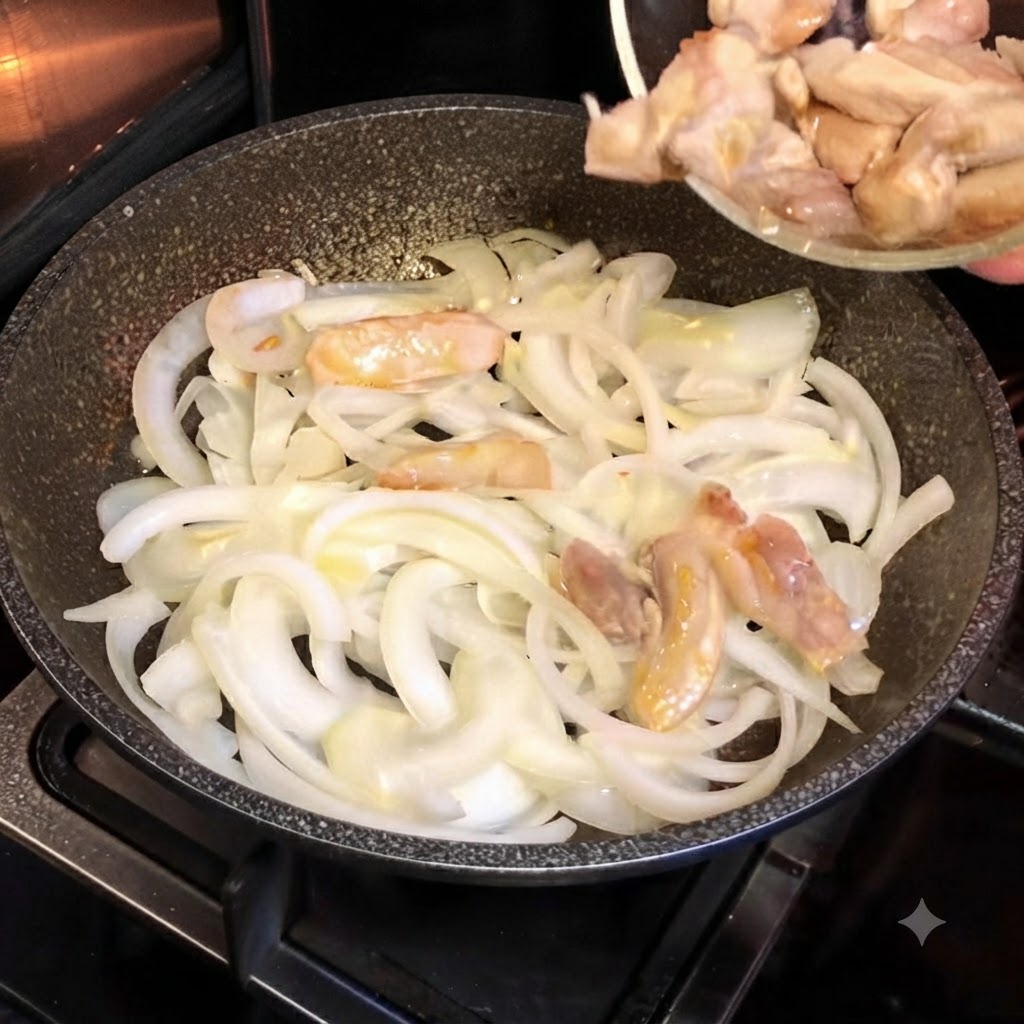
Once the sliced onions are in the skillet, return the partially pan-fried chicken pieces to the pan, arranging them directly on top of the onions.
Tip: Layering the chicken over the onions prevents the meat from overcooking on the hot pan surface while allowing it to absorb aromatic steam. - 8Pour in the sauce
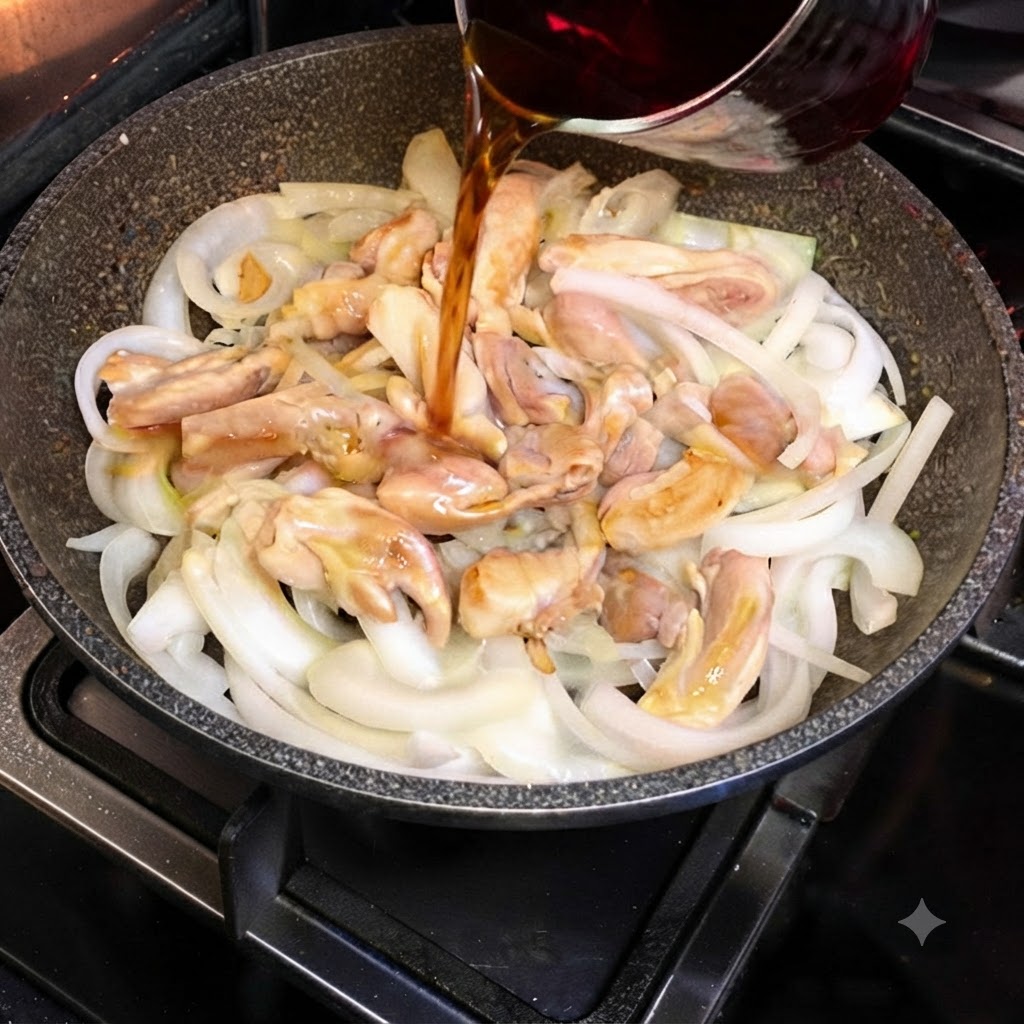
Pour the prepared Sukiyaki seasoning sauce and water mixture evenly over the chicken and onions in the skillet.
Tip: Ensure the liquid is distributed evenly so all the ingredients can simmer and absorb the sweet, savory flavors. - 9Simmer the mixture
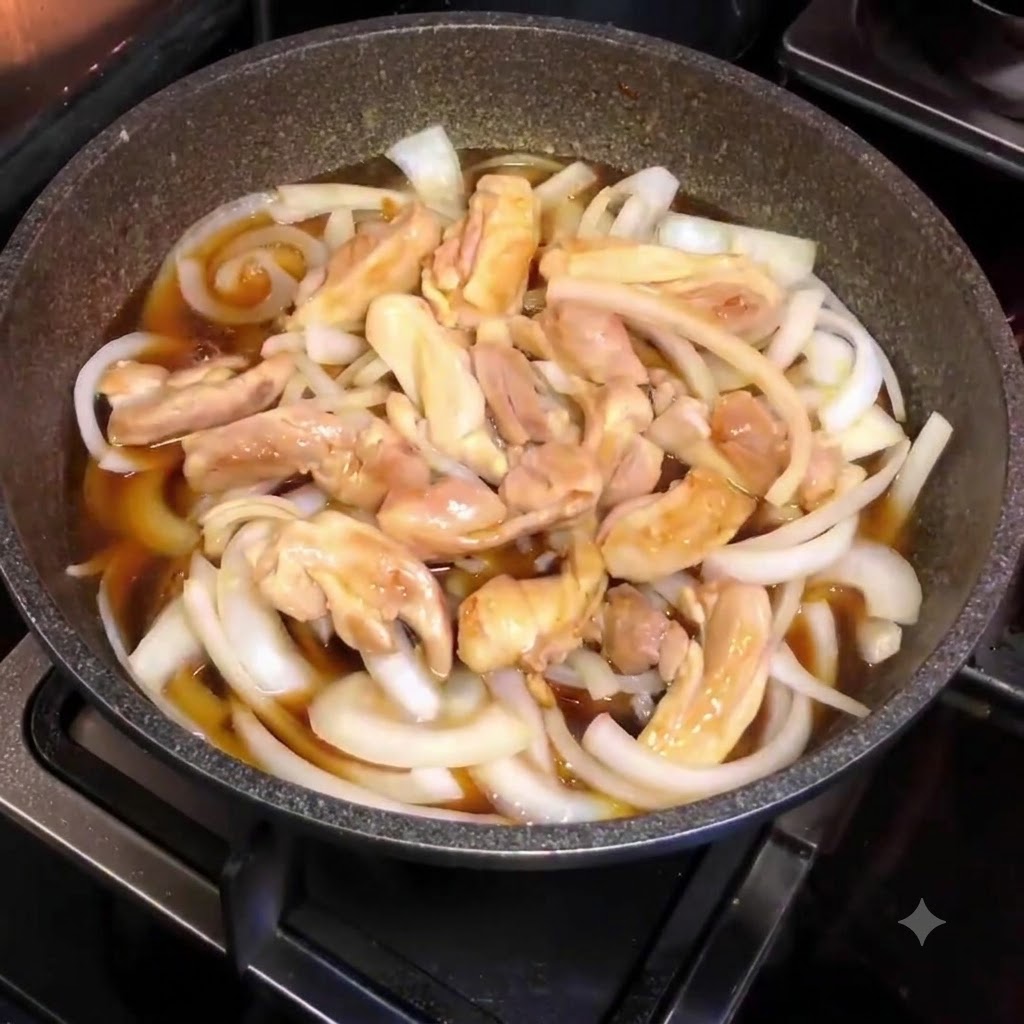
With the skillet covered, simmer the ingredients gently. The trapped steam ensures both the onions and chicken cook evenly and fully absorb the savory-sweet sukiyaki sauce.
Tip: Covering the pan helps trap the steam, ensuring both the onions and chicken cook evenly and absorb the savory-sweet sauce. - 10Crack the eggs
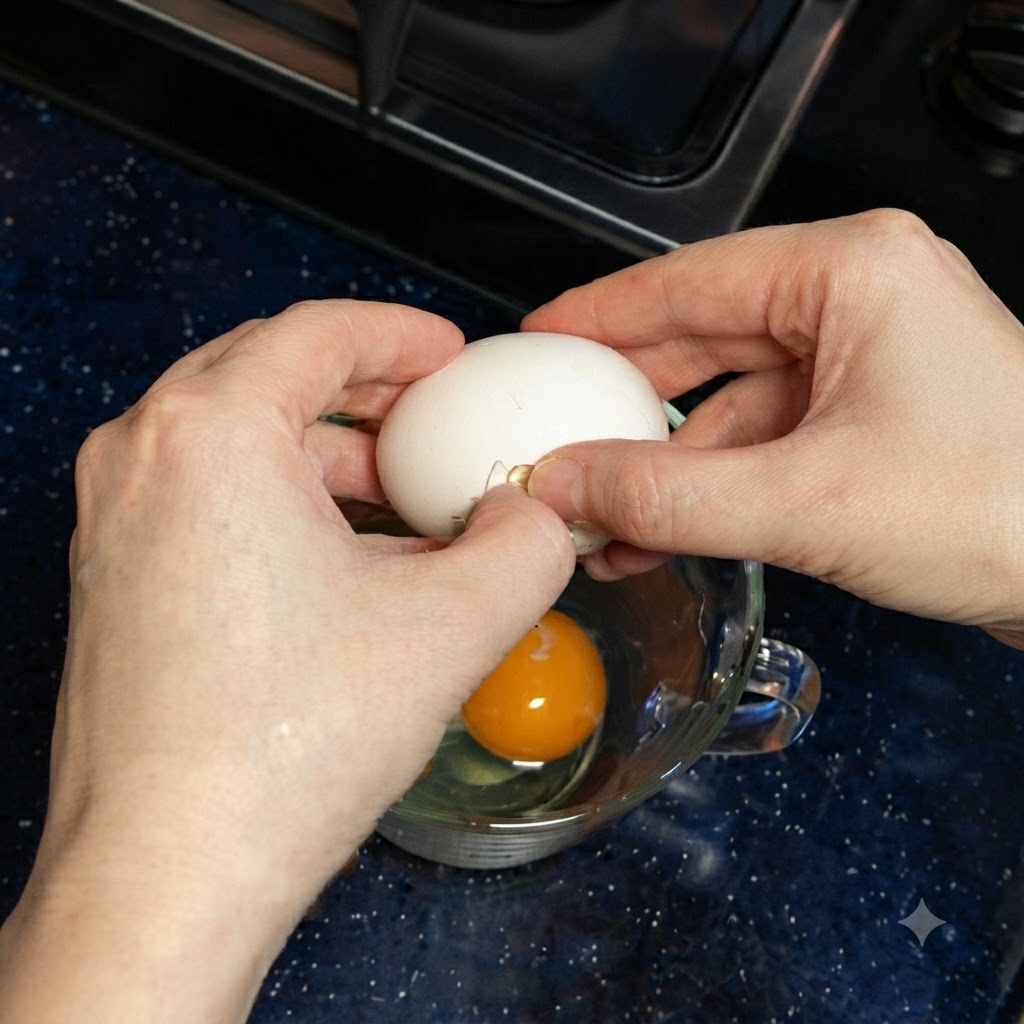
Crack two fresh eggs into a glass measuring cup or bowl. Gently break the yolks, being careful not to beat the eggs too thoroughly.
Tip: Leaving the egg white and yolk partially unmixed creates the beautiful marbled texture characteristic of an authentic oyakodon. - 11Lightly beat the eggs
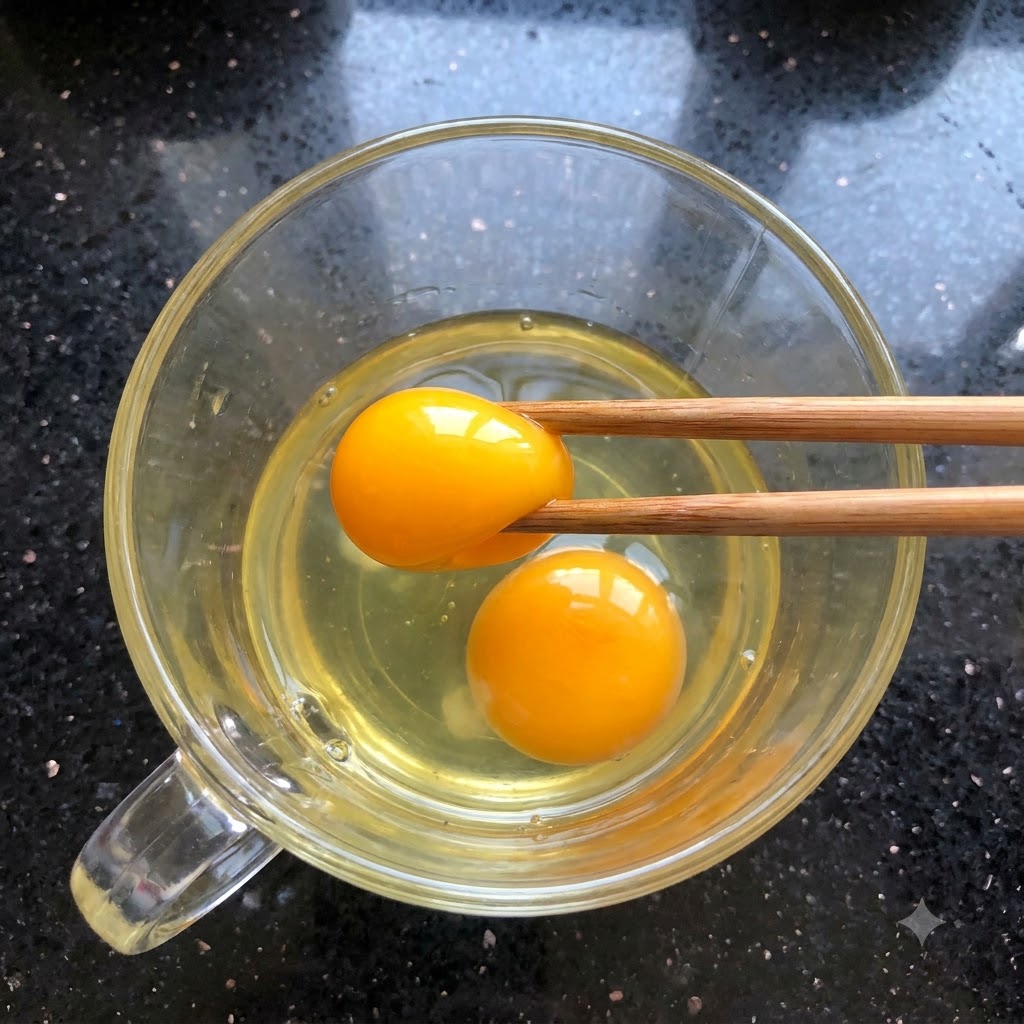
Crack two eggs into a container and use chopsticks to mix them only slightly. Avoid beating the eggs too thoroughly so that the egg whites and yolks remain distinct when cooked.
Tip: Keeping the whites and yolks partially separated creates a traditional, visually appealing marbled texture in the finished Oyakodon. - 12Pour in the egg liquid
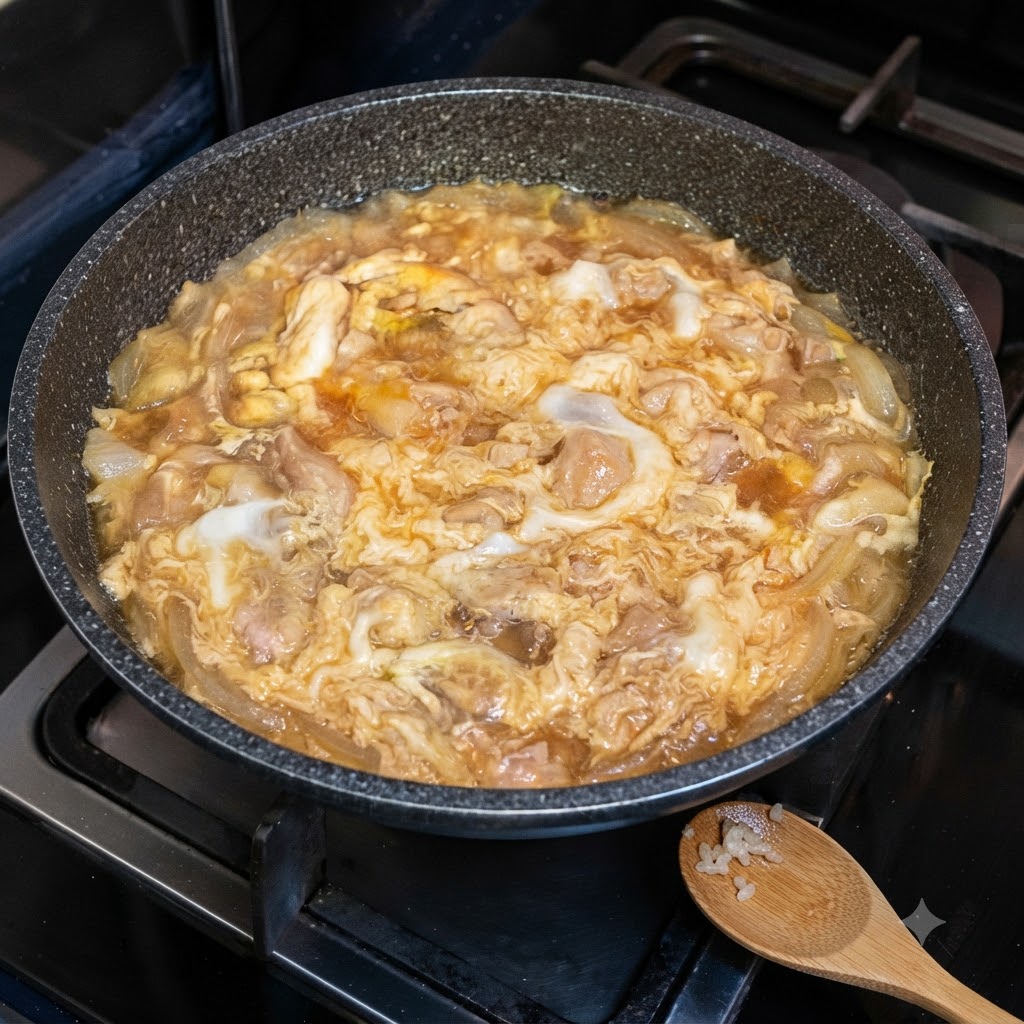
Pour the lightly beaten eggs evenly over the cooked chicken and onions in the skillet. Cover the pan with a lid and let it simmer for about twenty seconds to set the eggs.
Tip: Do not overcook the eggs; they should remain slightly soft and silky to give the dish its characteristic moisture. - 13Scoop cooked white rice
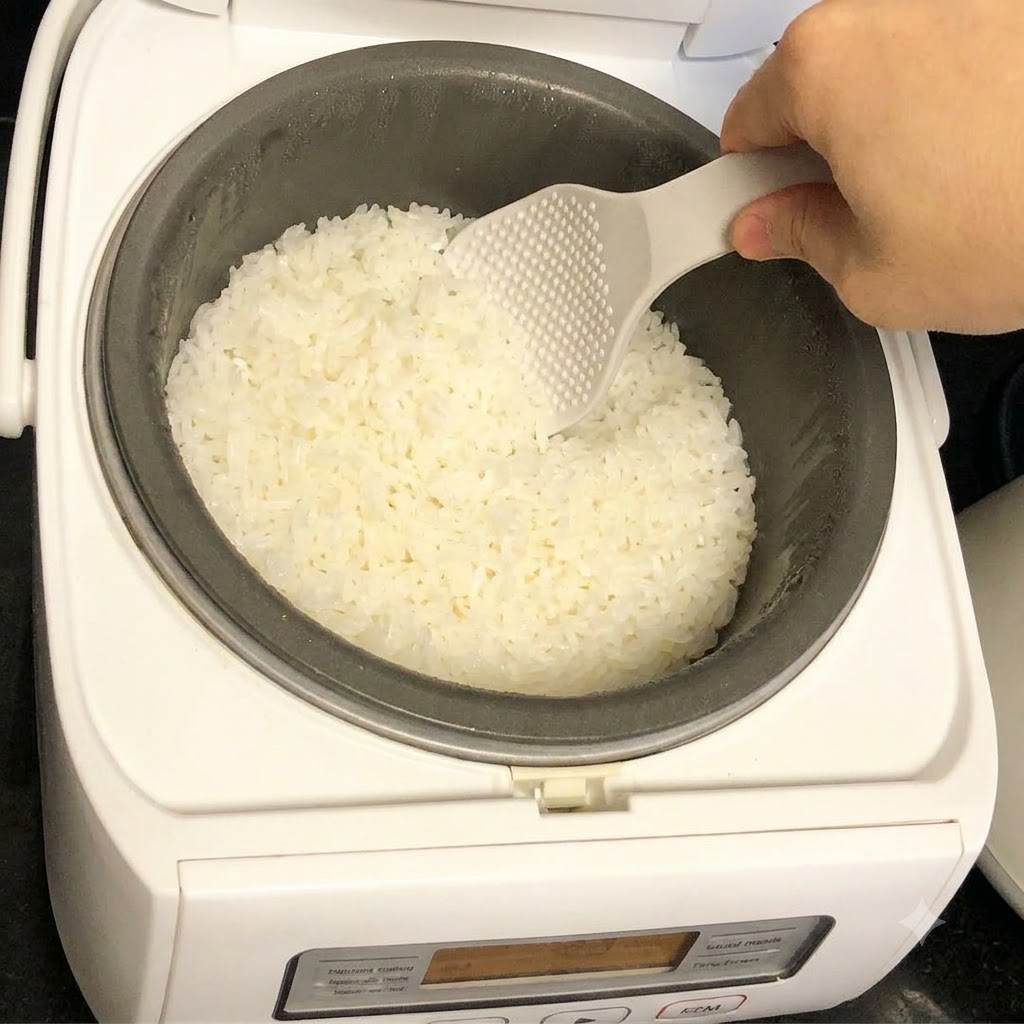
Use a plastic rice paddle to scoop freshly cooked white rice from the rice cooker and transfer it into an individual serving bowl. Prepare a generous bed of rice to receive the savory chicken and egg topping.
Tip: Fluff the rice gently with the paddle before serving to ensure a light and even texture.