Artisan Potato Sourdough Bread (Two Ways)
Master two savory variations of potato sourdough: one infused with mashed potato and aromatic rosemary, the other filled with diced potato and sharp cheddar.
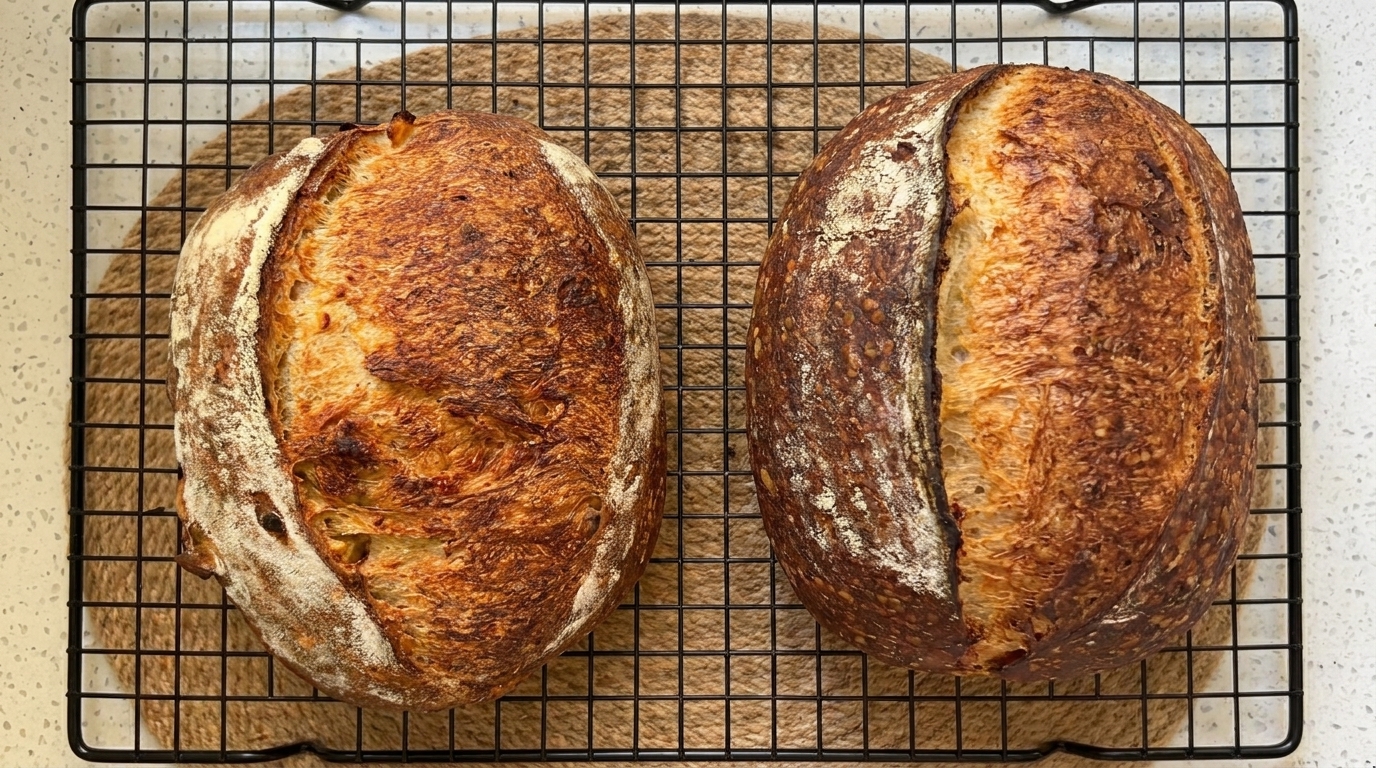
Potato sourdough is a bakers secret for achieving an incredibly soft, moist crumb with an extended shelf life. By incorporating cooked potatoes into the dough, the starch gelatinizes, creating a texture that stays fresh longer than traditional loaves. This method offers the versatility to build flavor and texture through different fillings, resulting in a rustic loaf with a perfectly blistered, crispy crust.
Ingredients
- 500 g bread flour
- 350 ml water
- 100 g sourdough starter
- 10 g salt
- 150 g mashed potatoes
- 1 tbsp fresh rosemary
- 150 g diced cooked potatoes
- 100 g shredded cheddar cheese
Instructions
- 1Check gluten development
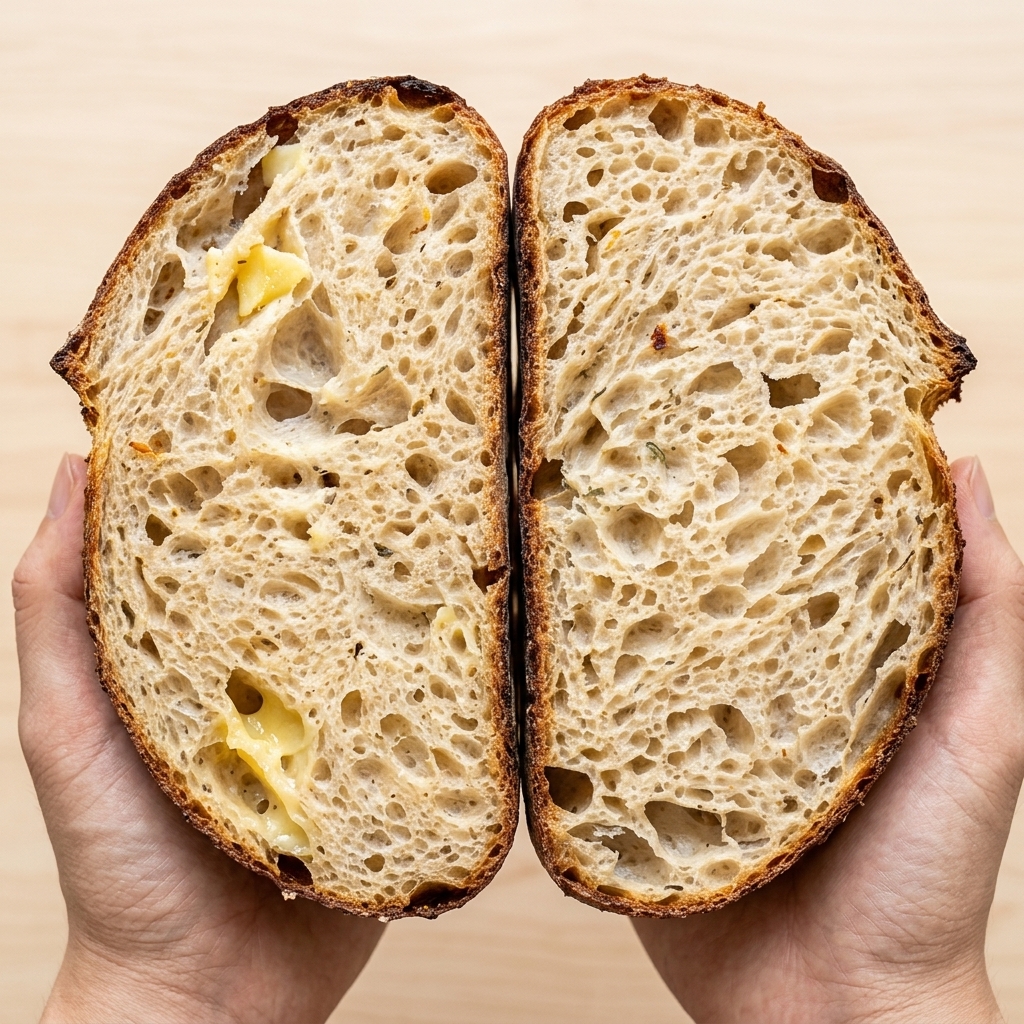
Take a small piece of the dough and gently stretch it between your fingers. A well-developed dough will stretch into a thin, translucent membrane known as a windowpane, indicating that the gluten network is strong and ready for fermentation.
Tip: If the dough tears easily, it needs more kneading or slap-and-fold cycles. - 2Add starter and salt
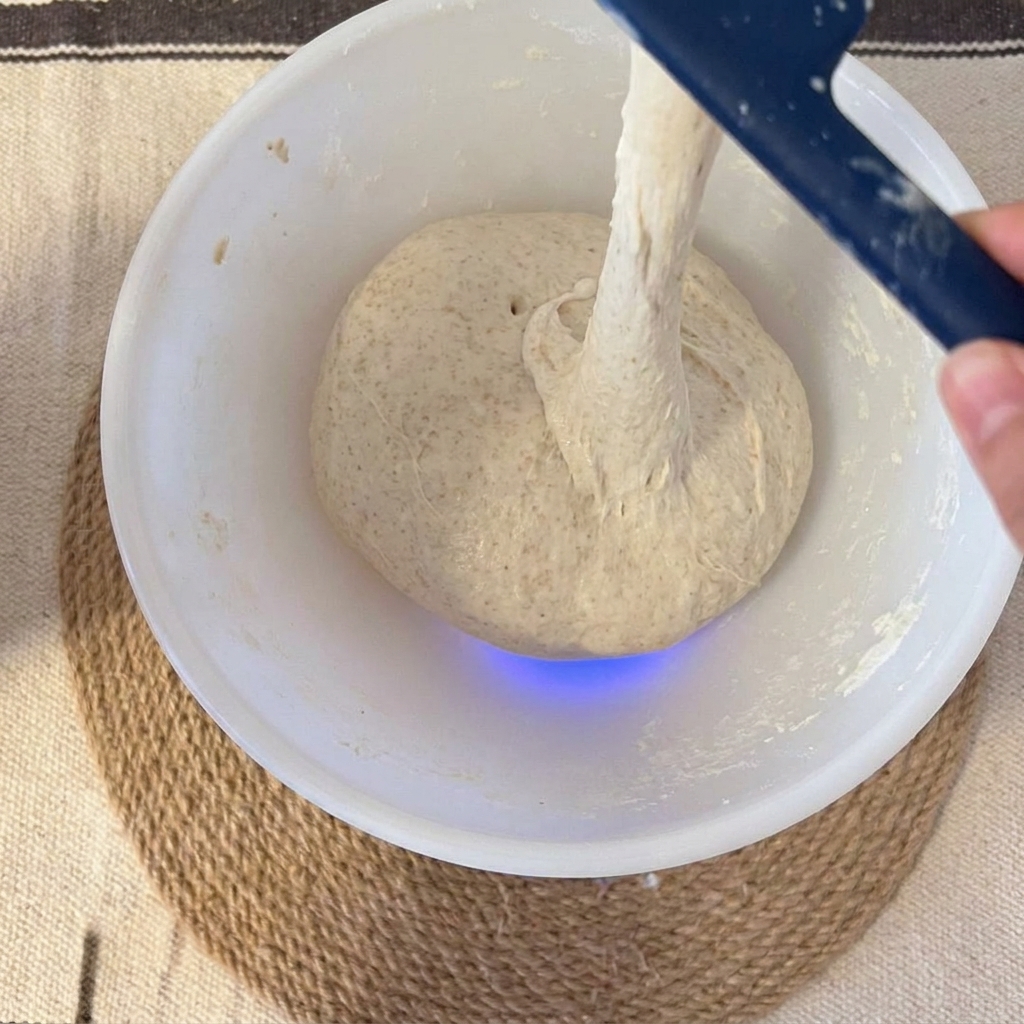
Add the sourdough starter, salt, and the reserved water to the autolysed dough. Combine these ingredients thoroughly by incorporating them into the dough, ensuring they are evenly distributed to begin the final fermentation process.
Tip: Adding all ingredients at once helps achieve a more uniform dough structure during the subsequent strengthening phase. - 3Slap and fold the dough
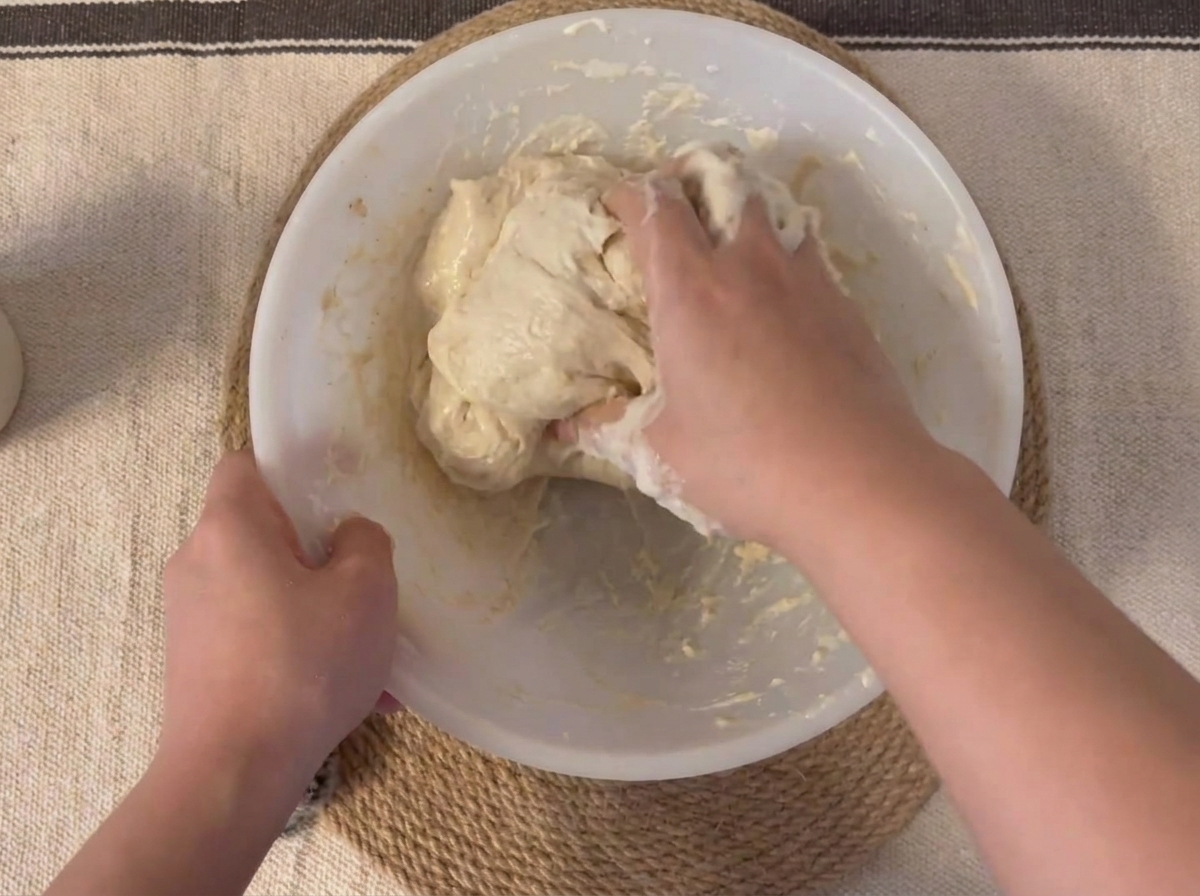
Perform the slap-and-fold technique on a clean surface. Lift the dough, slap it onto the counter, and fold it over itself to build gluten strength. Continue this motion for about 3 minutes until the dough becomes smooth and no longer sticks to your hands.
Tip: This technique is very effective for high-hydration doughs to create a strong, smooth texture. - 4Verify gluten strength
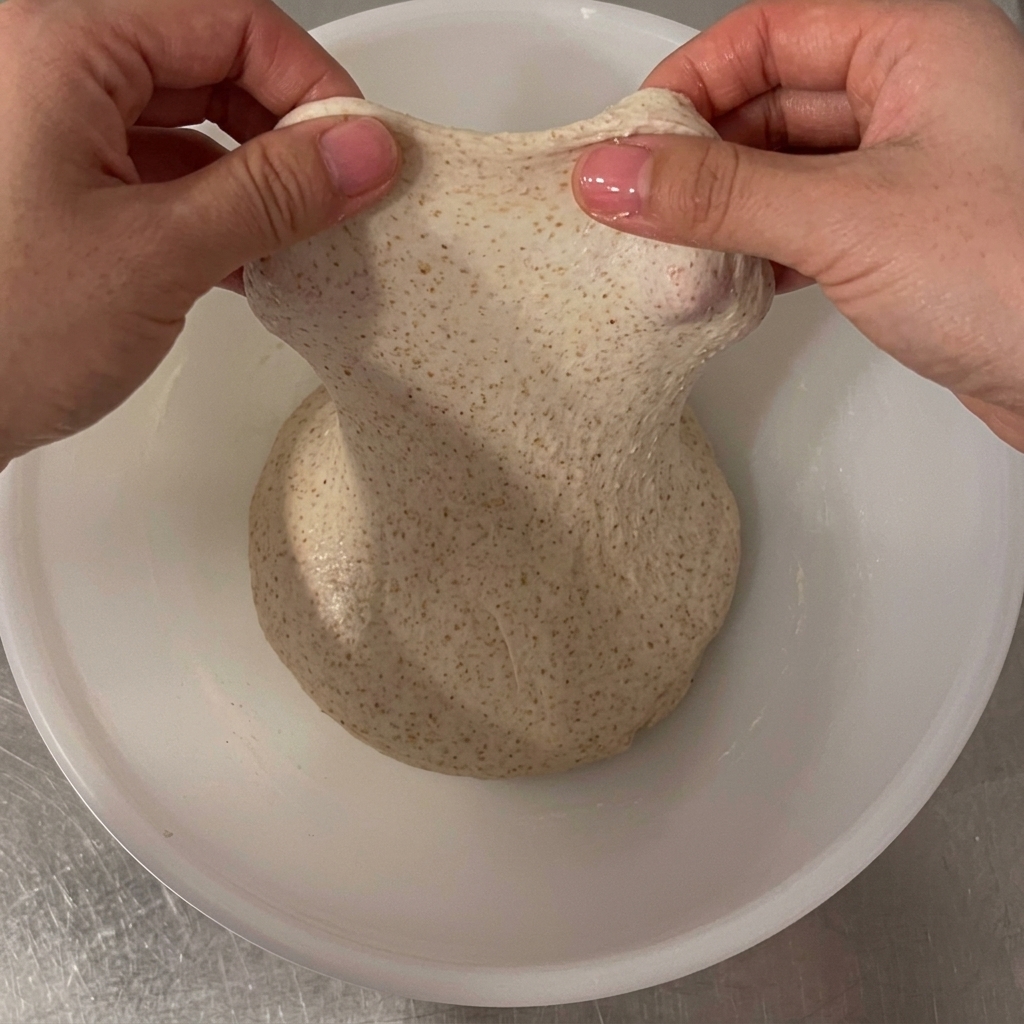
After 30 minutes of resting, pull the dough upward to check the gluten structure. You should see a strong, elastic, and smooth surface that indicates the dough has developed enough strength for the filling stage.
Tip: Testing the dough at this stage confirms that the fermentation and strengthening are on track. - 5Incorporate potato and rosemary
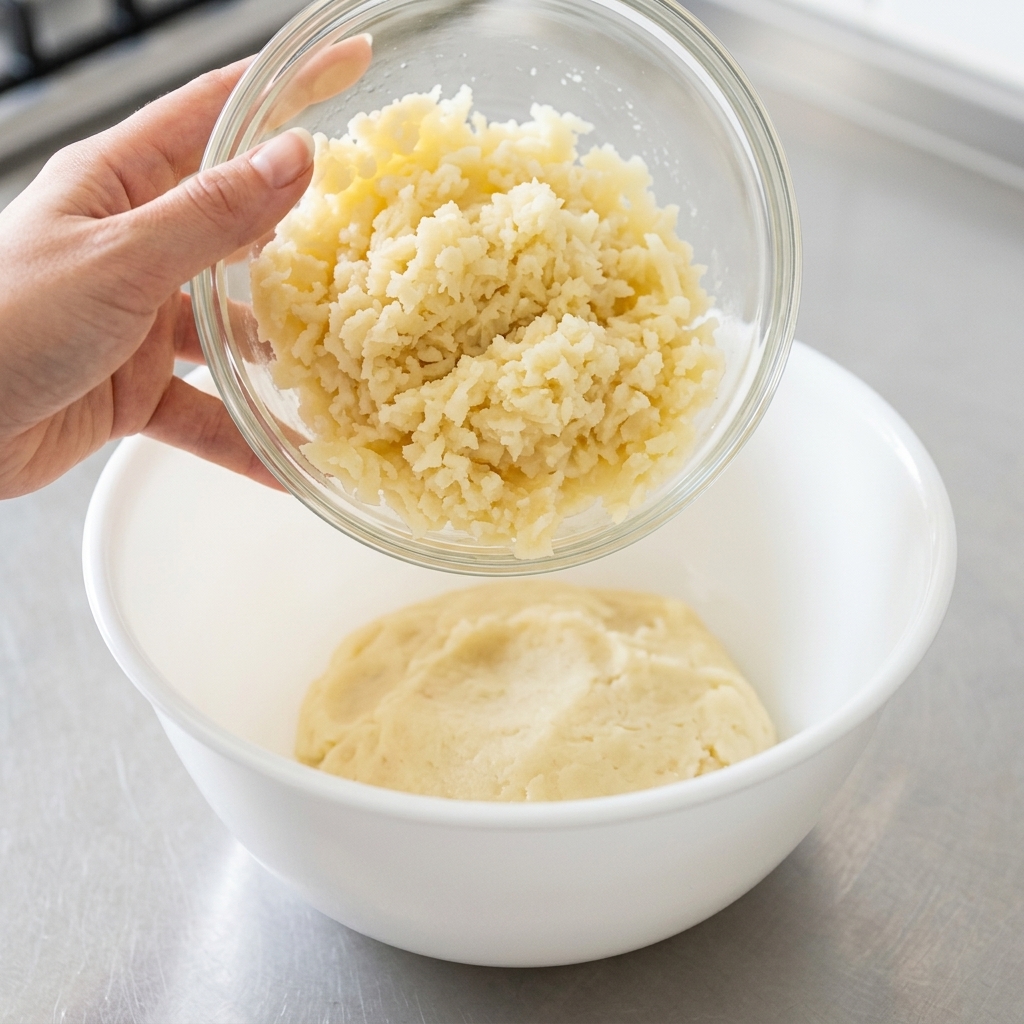
Add the boiled and mashed potatoes along with fresh rosemary needles to the dough. These additions will provide flavor and a soft texture to your final sourdough loaf.
Tip: Ensure the potatoes are cooled to room temperature before adding to the dough. - 6Mix in fillings

Use an upward stretch-and-fold motion to incorporate the mashed potatoes and rosemary evenly into the dough. This method ensures the fillings are distributed throughout without degassing the dough too much.
Tip: Be gentle during the folding to maintain the air bubbles developing in the dough. - 7Laminate the potato dough

Gently stretch the dough out on a lightly floured surface into a thin, even rectangle. Evenly distribute the mashed potatoes over the surface, ensuring they are incorporated without tearing the delicate dough, then perform a lamination fold to seal the mixture inside.
Tip: Keep your hands lightly floured to prevent the dough from sticking during the stretch. - 8Fold into a rectangle
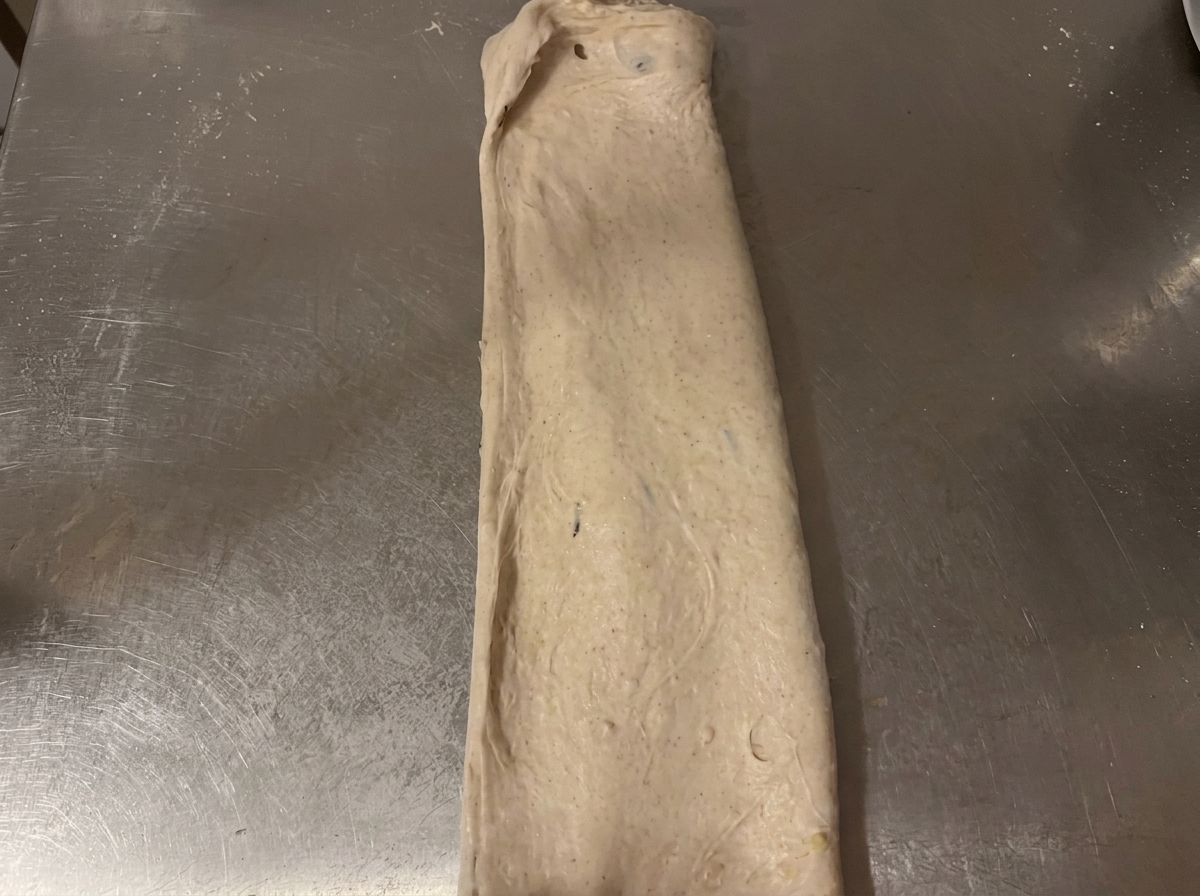
After stretching and adding the potato filling, fold the dough edges inward to form a compact rectangular parcel. This layering technique helps build structure and ensures the filling is well-distributed throughout the bread.
Tip: Handle the dough gently to maintain the integrity of the air bubbles developed during fermentation. - 9Stretch and fold
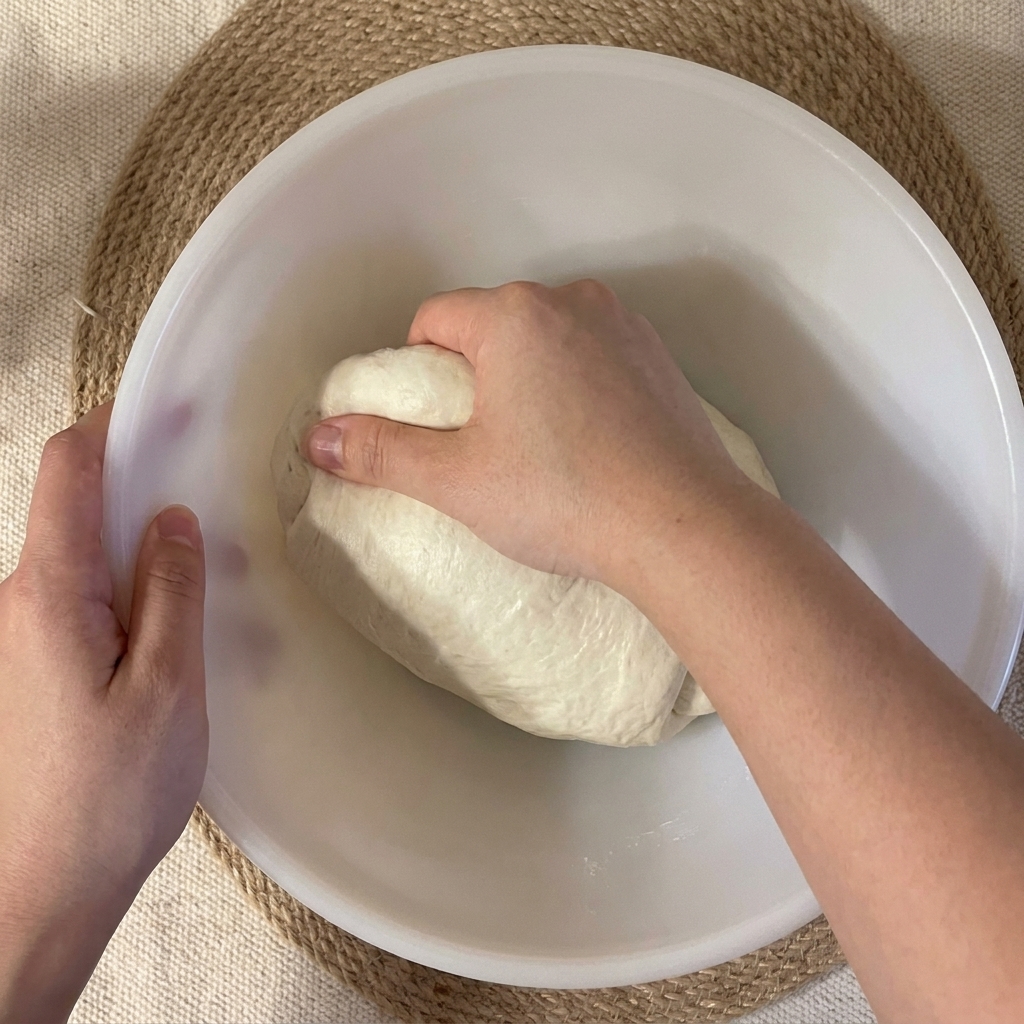
Using a wet hand, grab the edge of the dough in the bowl, stretch it upward, and fold it over toward the center. Rotate the bowl and repeat this process on all sides to strengthen the gluten network.
Tip: Wet your hands before touching the dough to minimize sticking without adding extra flour. - 10Add potato and cheese filling
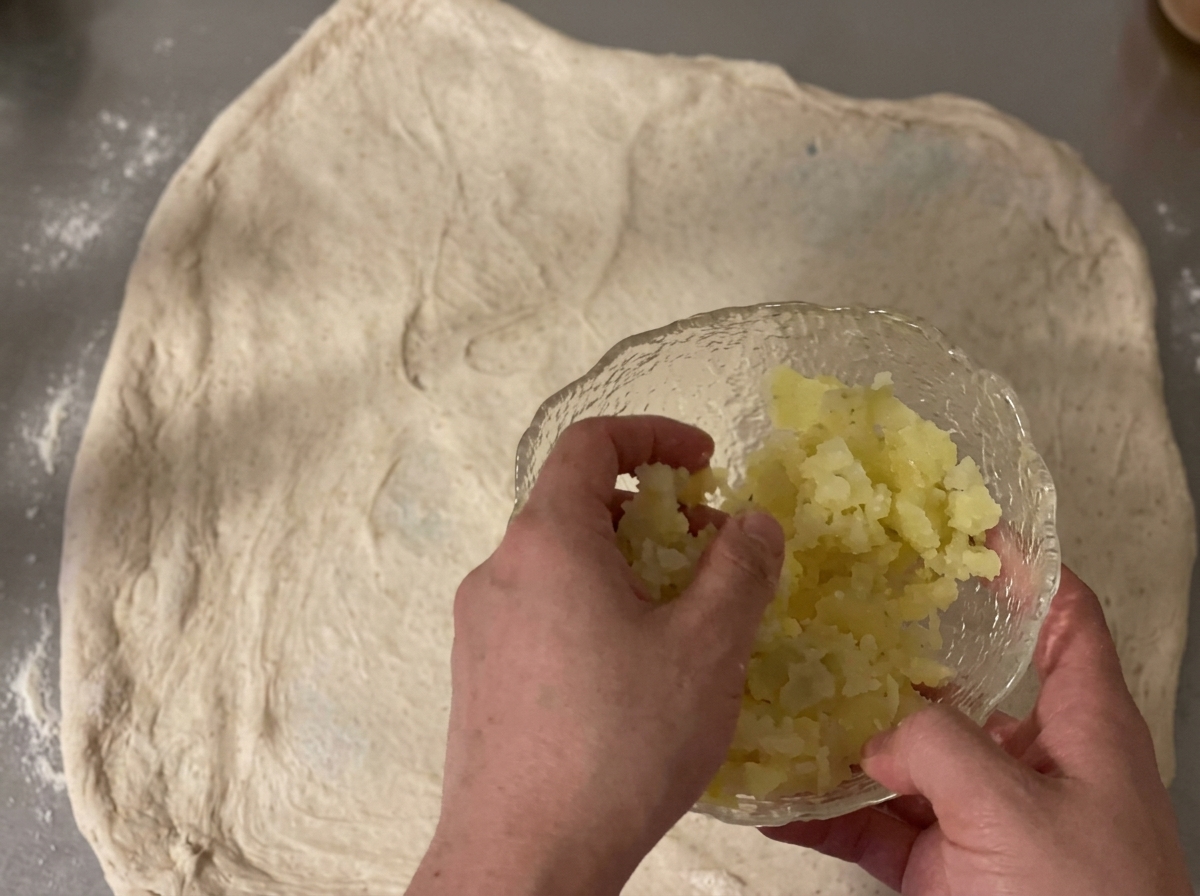
Stretch the second portion of dough into a thin sheet and evenly sprinkle the diced cooked potatoes and shredded cheddar cheese over the surface. This creates a savory, textured filling distinct from the mashed potato version.
Tip: Ensure the diced potatoes are thoroughly cooked and cooled before adding to avoid tearing the dough. - 11Roll up the dough
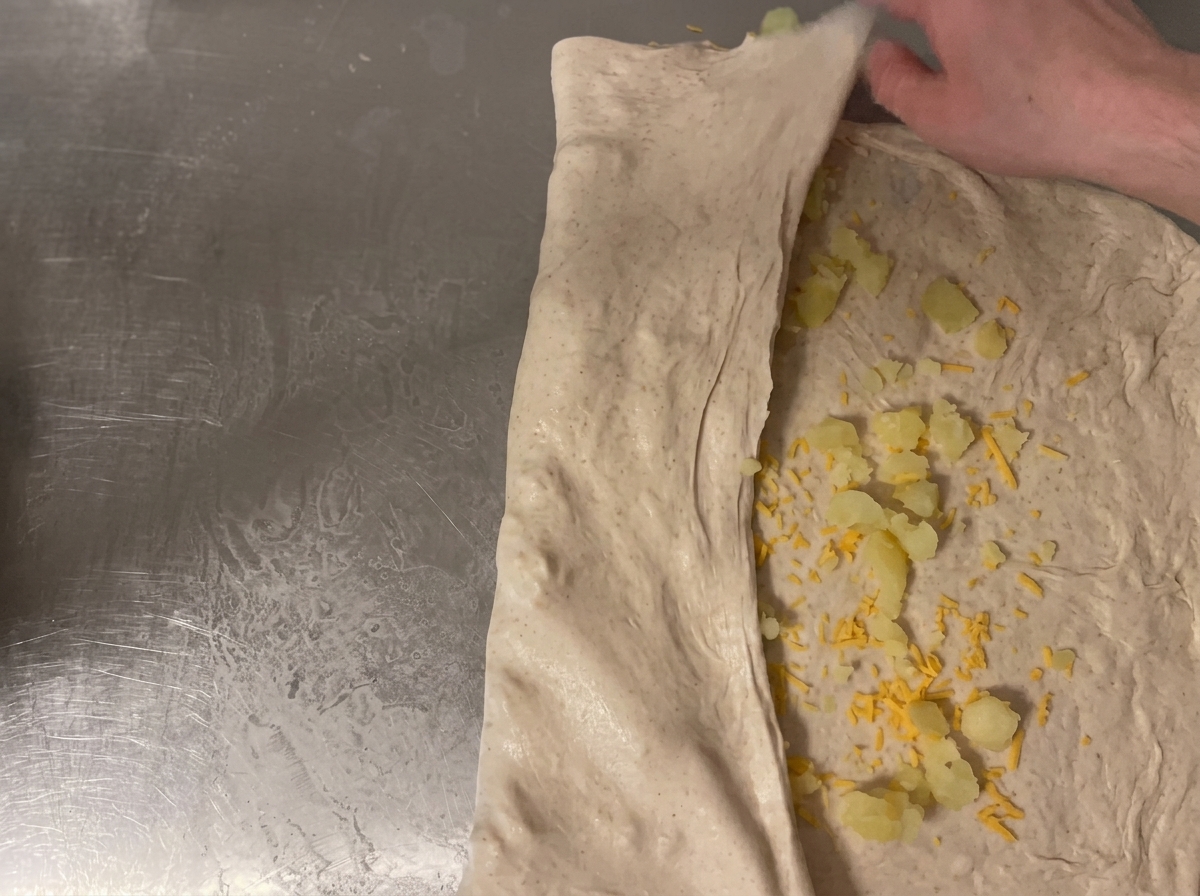
Once the potato and cheese are spread evenly, carefully roll the dough into a cylinder or fold it over to enclose the fillings. Gently pat the dough as you roll to remove any large, unwanted air pockets.
Tip: Be careful to seal the edges well so the cheese filling does not leak out during proofing or baking. - 12Strengthen the dough
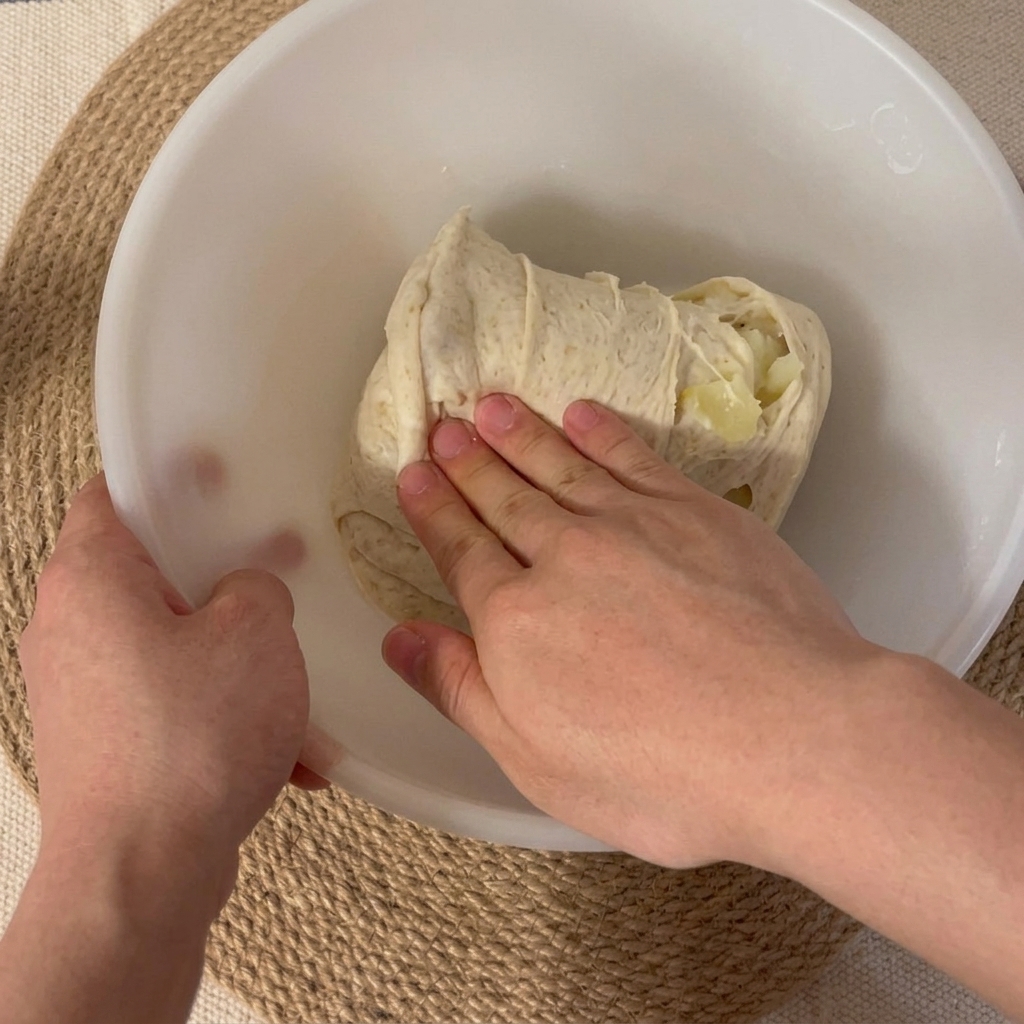
Continue to develop the doughs strength by performing additional sets of stretch and folds. You will notice the dough becomes firmer and more elastic as the gluten continues to tighten around the fillings.
Tip: Observe the doughs resistance; if it feels very tight, allow it to rest for a few minutes before the next fold. - 13Perform the coil fold
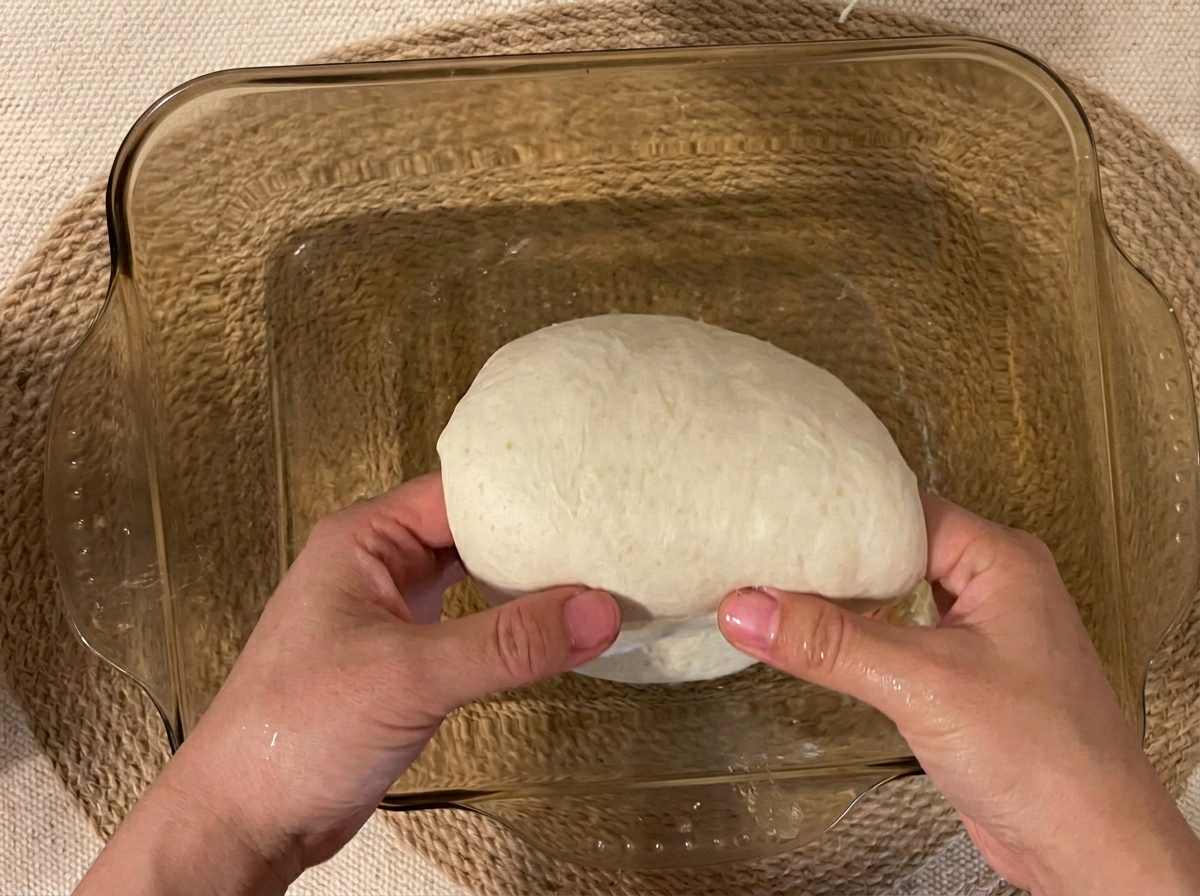
Lift the center of the dough from underneath, allowing the ends to tuck under and coil naturally against the bottom of the dish. This technique strengthens the gluten structure gently without degassing the dough, ensuring a light and airy final loaf.
Tip: Keep your hands slightly damp to prevent the dough from sticking to your fingers during the lift. - 14Pre-shape the dough
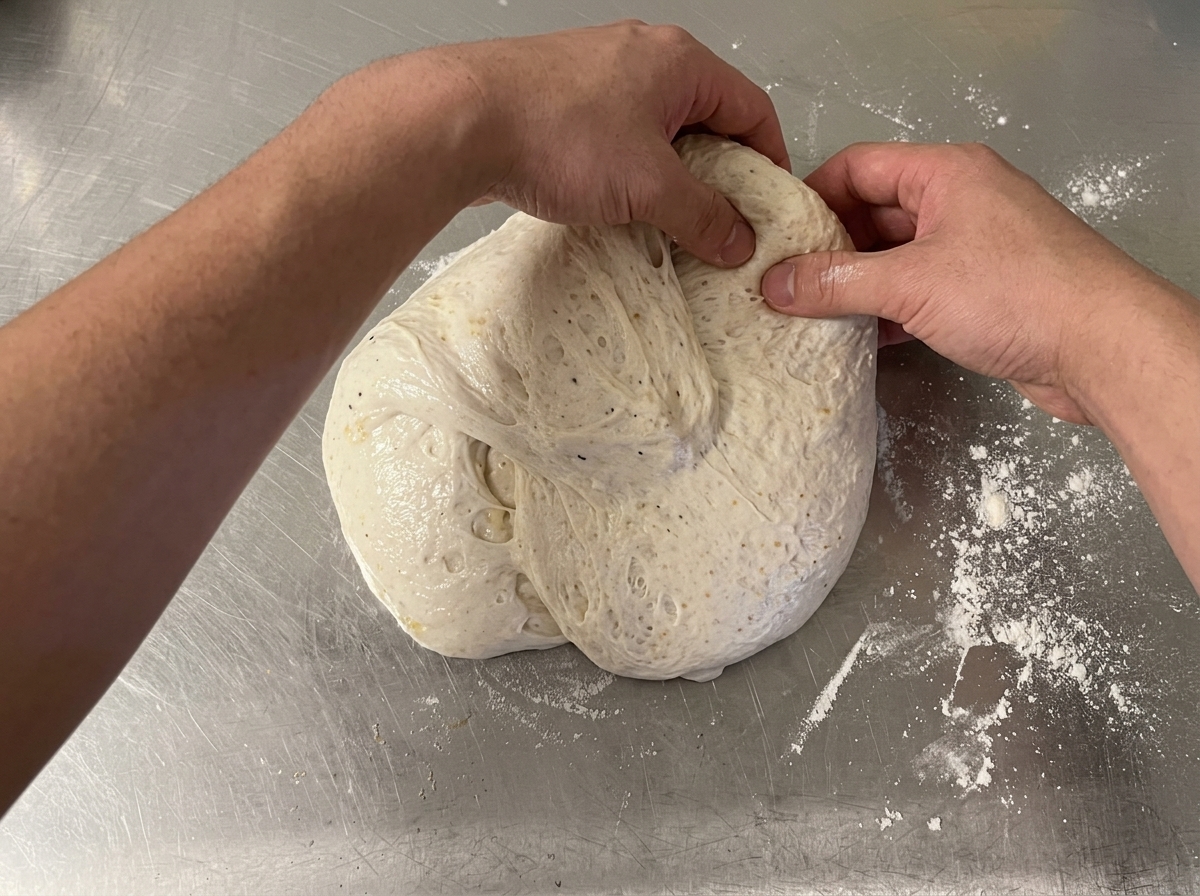
Transfer the fermented dough to a lightly floured surface. Gently fold the four corners toward the center to create a loose, rounded shape. Let it rest on the counter to allow the gluten to relax before final shaping.
Tip: Handle the dough gently at this stage to preserve the air bubbles created during fermentation. - 15Final shaping
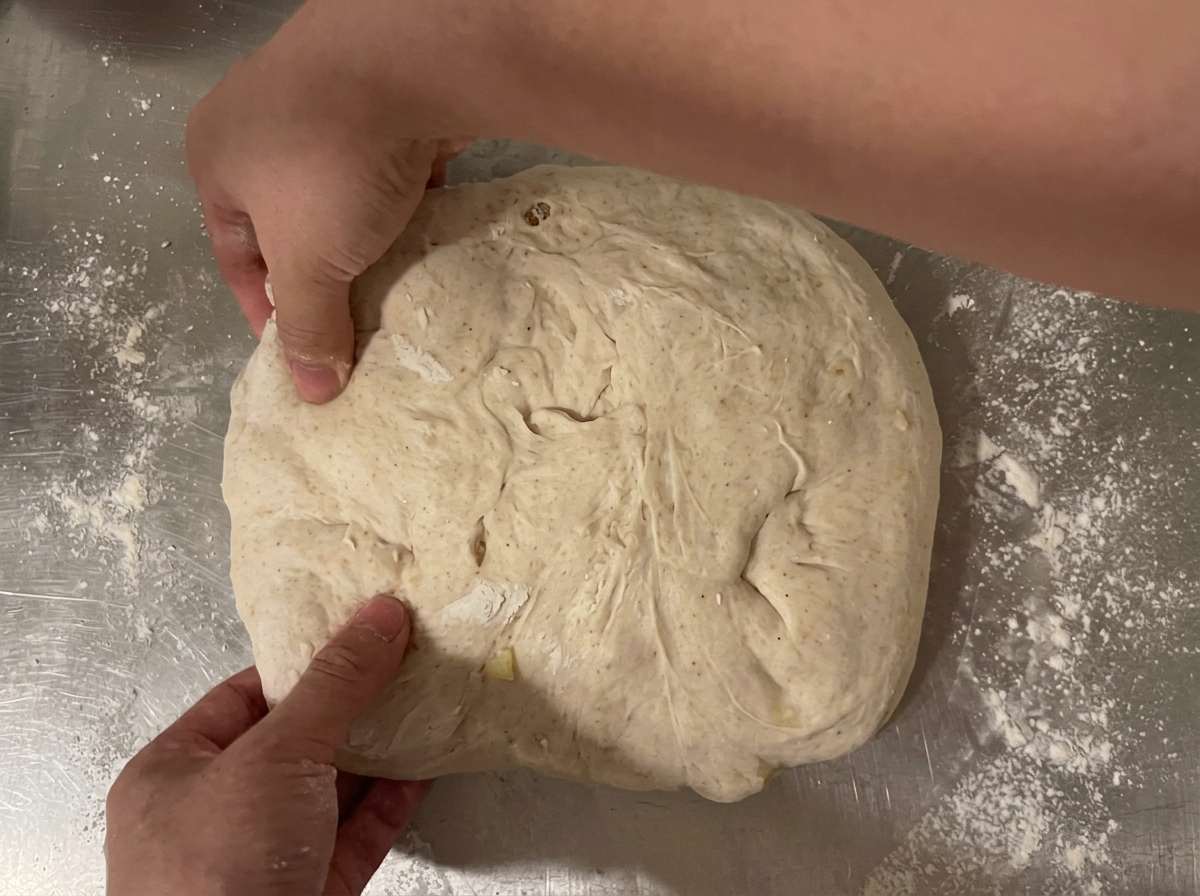
Using a basic tri-fold technique, gently roll the dough into a tight cylinder. Keep the motion light and even to maintain structure without over-deflating the dough, and seal the edges firmly.
Tip: Ensure the tension on the surface of the dough is even to help it hold its shape during the final rise. - 16Proof in the banneton
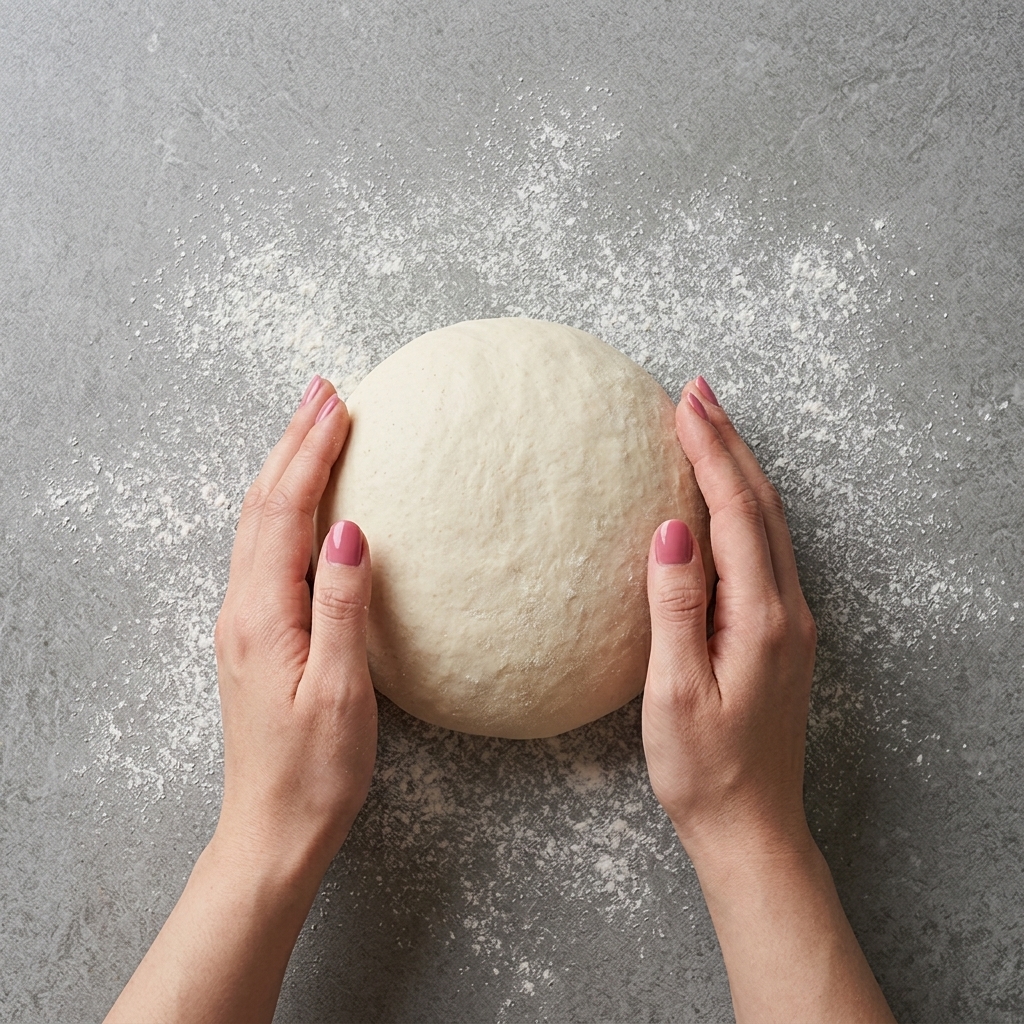
Carefully transfer the shaped dough into a well-dusted, cloth-lined banneton basket, seam-side up. This will support the doughs shape during the final cold retardation in the refrigerator overnight.
Tip: Generously dust the cloth with rice flour to ensure the dough releases easily before scoring. - 17Score the dough
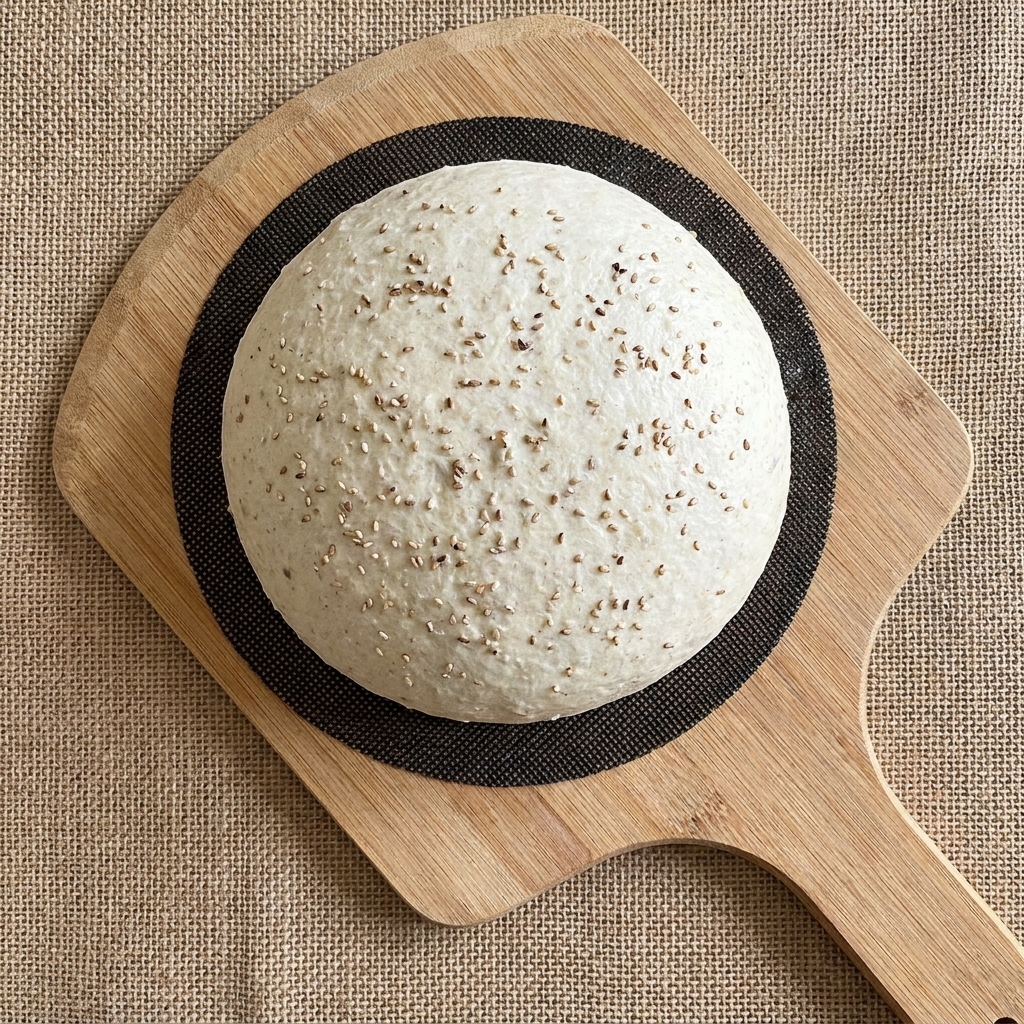
Take the chilled dough out of the fridge and place it on your work surface. Use a sharp razor blade to make a quick, decisive score at the one-third mark of the doughs surface. This allows the bread to expand properly in the oven, creating a beautiful bloom and preventing unwanted cracks.
Tip: Ensure your blade is very sharp and the movement is swift to get a clean cut without dragging the dough.