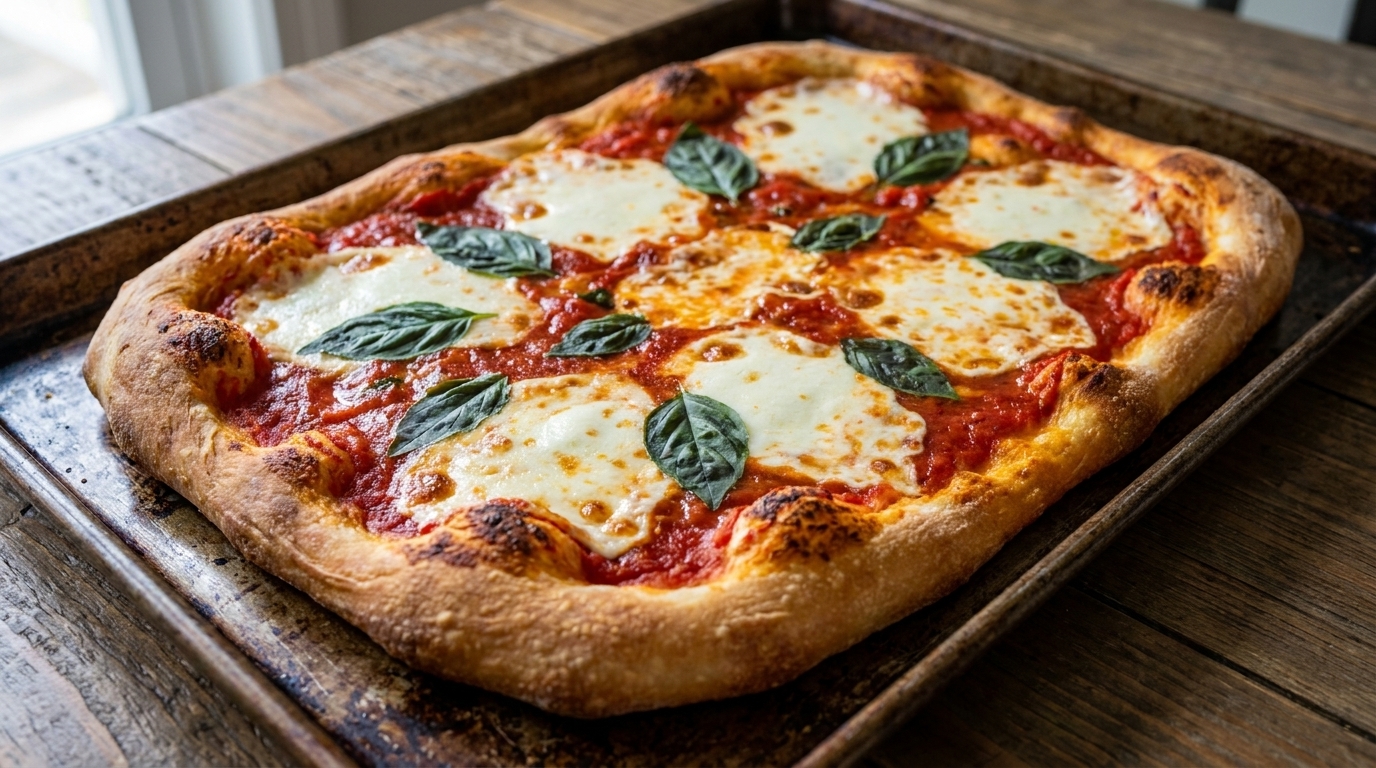
Authentic Neapolitan Pizza Margherita
The definitive Italian classic—blistered 24-hour fermented crust, vibrant tomato sauce, and creamy fresh mozzarella, finished with fragrant basil and olive oil.
Named in honor of the Queen of Italy, the Margherita is the soul of Neapolitan pizza. Its beauty lies in its simplicity, using only the finest ingredients to create a perfect balance of flavor, texture, and the iconic colors of the Italian flag.
Ingredients
- 1 ball 24-hour fermented pizza dough
- 12 cup peeled tomato sauce
- 100 g fresh mozzarella cheese
- 5-6 leaves fresh basil
- 14 cup yellow cornmeal or semolina
- 1 tbsp extra virgin olive oil
- optional freshly grated parmesan cheese
Instructions
- 1Extract the Fermented Dough
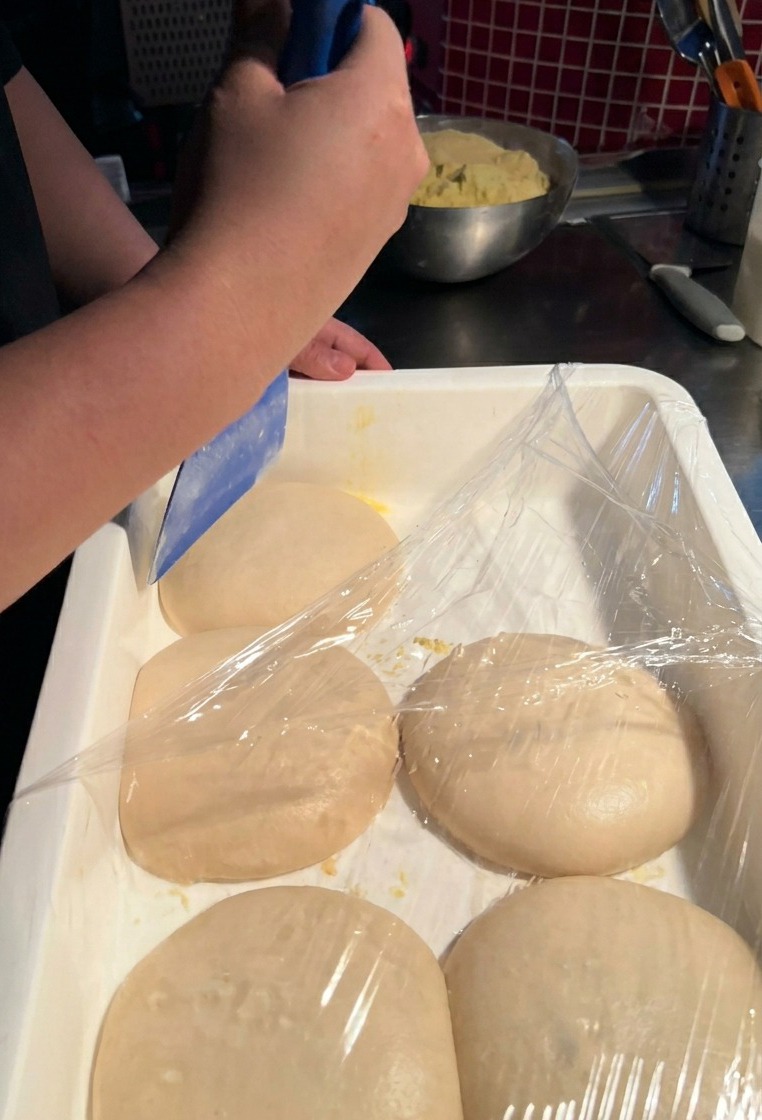
Carefully lift a single dough ball out of the fermentation tray using a blue bench scraper. This dough has been fermented for 24 hours, allowing it to develop a complex flavor and a light, airy structure that is perfect for a classic Neapolitan crust.
Tip: Be gentle with the scraper to avoid deflating the air bubbles built up during the long fermentation process. - 2Coat the dough in cornmeal
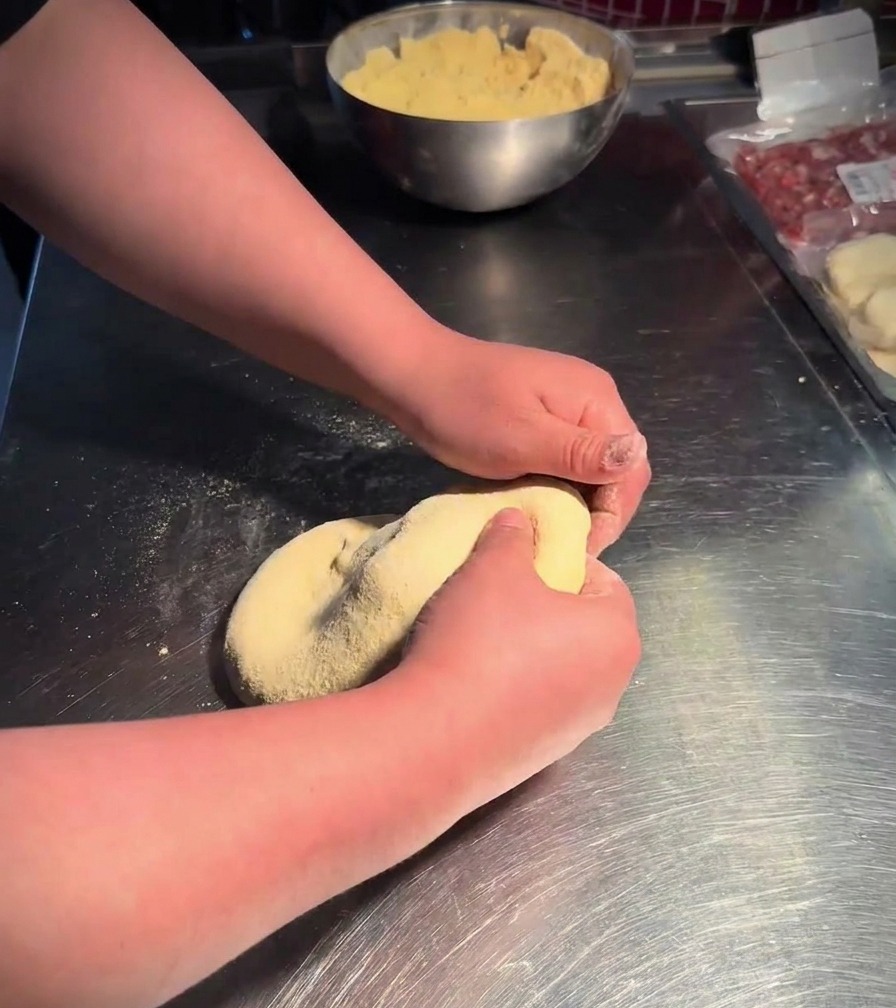
Place the dough ball into a bowl filled with yellow cornmeal. Flip it over to ensure both sides are thoroughly and evenly coated. The cornmeal prevents the dough from sticking to your work surface and adds a pleasant, subtle crunch to the finished crust.
Tip: If you do not have cornmeal, semolina flour is an excellent substitute for dusting and stretching. - 3Stretch into a flat circle
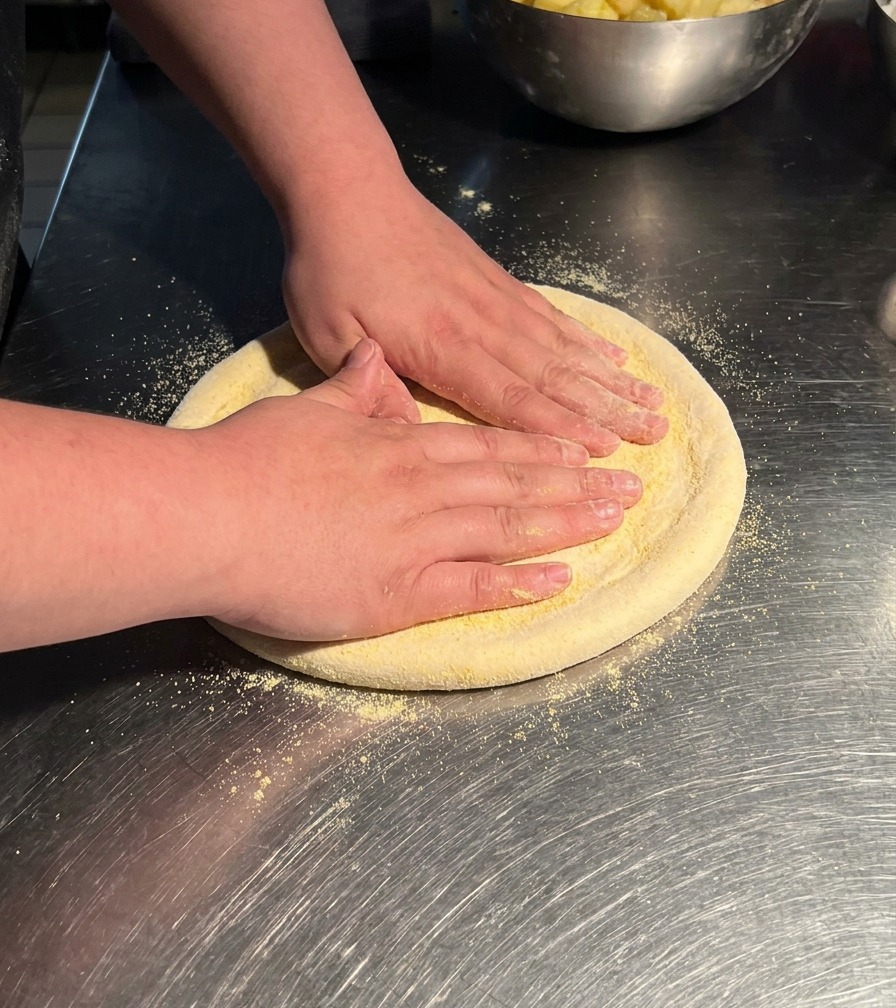
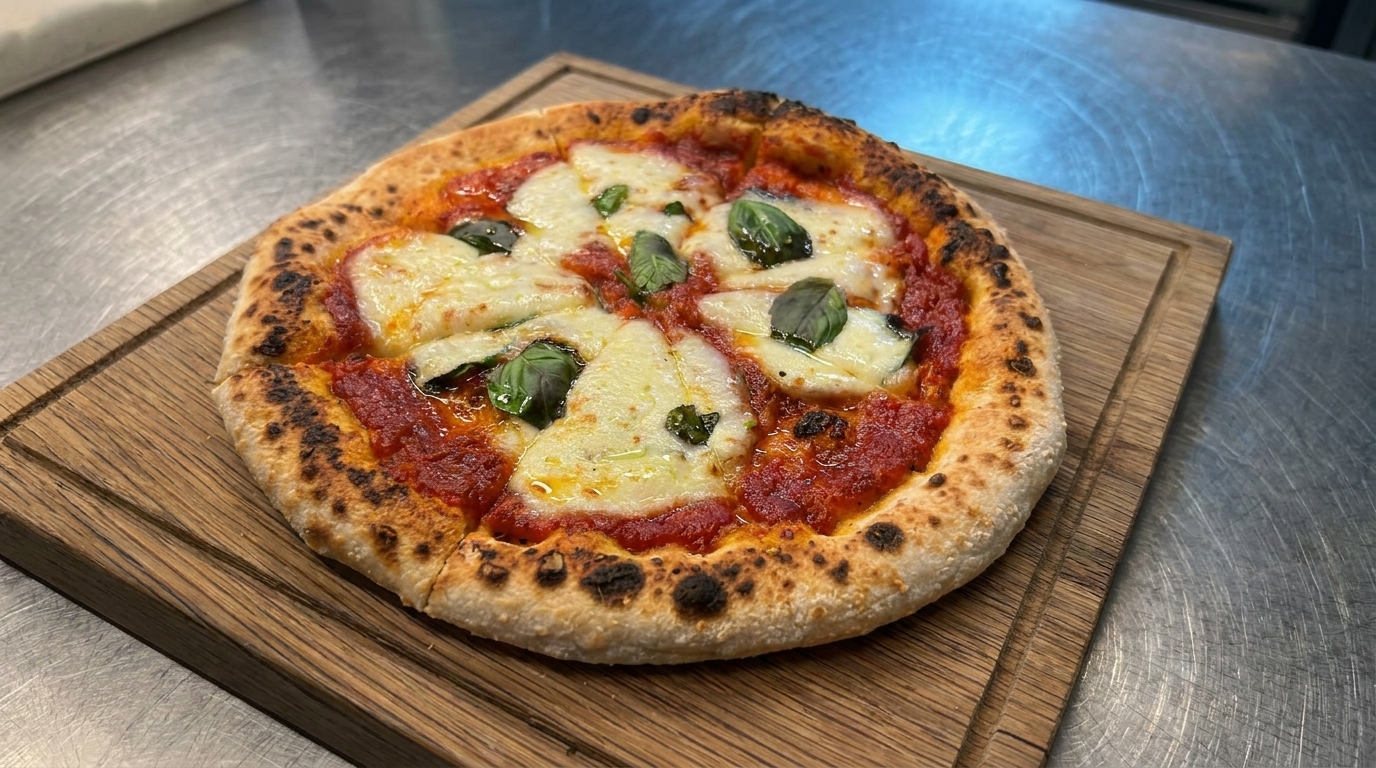
Place the coated dough on a metal prep surface and use your hands to press and stretch it outwards. Work from the center toward the edges to create a flat, circular shape approximately 10 inches wide, keeping the border slightly thicker than the center.
Tip: Avoid using a rolling pin, as it will crush the air bubbles and result in a flat, dense crust rather than a puffy one. - 4Apply the tomato sauce
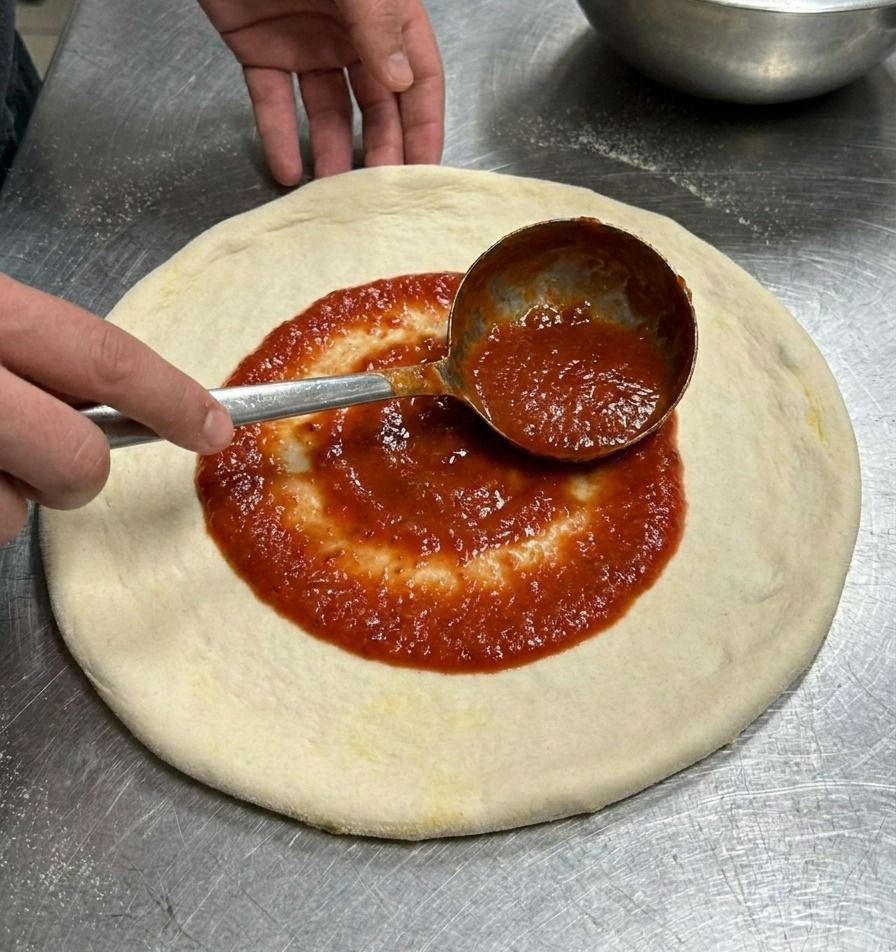
Ladle a portion of peeled tomato sauce onto the center of the dough. Using the bottom of the ladle, spread the sauce in an outward spiral motion until the base is evenly covered, leaving a clear margin around the edge for the crust to rise.
Tip: Keep the sauce layer relatively thin so the crust remains crisp and doesnt become soggy in the center. - 5Add fresh mozzarella
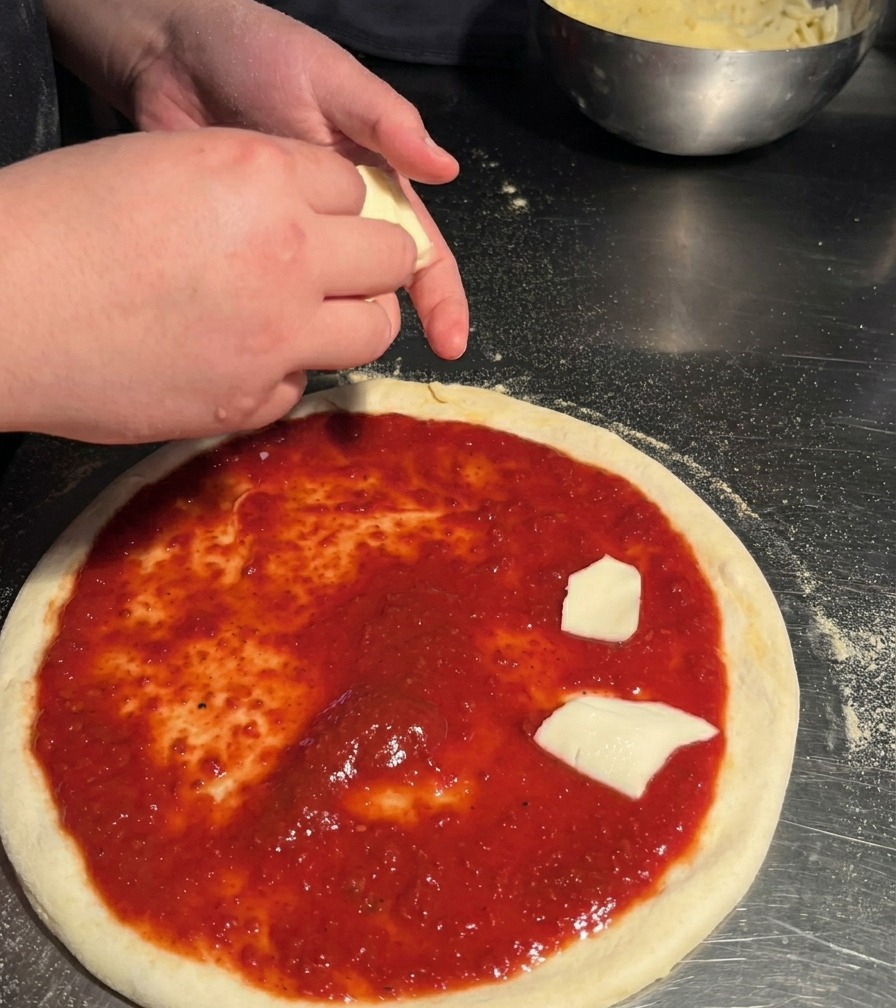
Tear pieces of fresh mozzarella cheese by hand and distribute them evenly across the sauced dough. This hand-tearing technique creates irregular shapes that melt beautifully into the sauce as the pizza bakes at high heat.
Tip: For the best results, use high-quality fresh mozzarella and pat it dry with a paper towel if it feels too wet. - 6Garnish with fresh basil
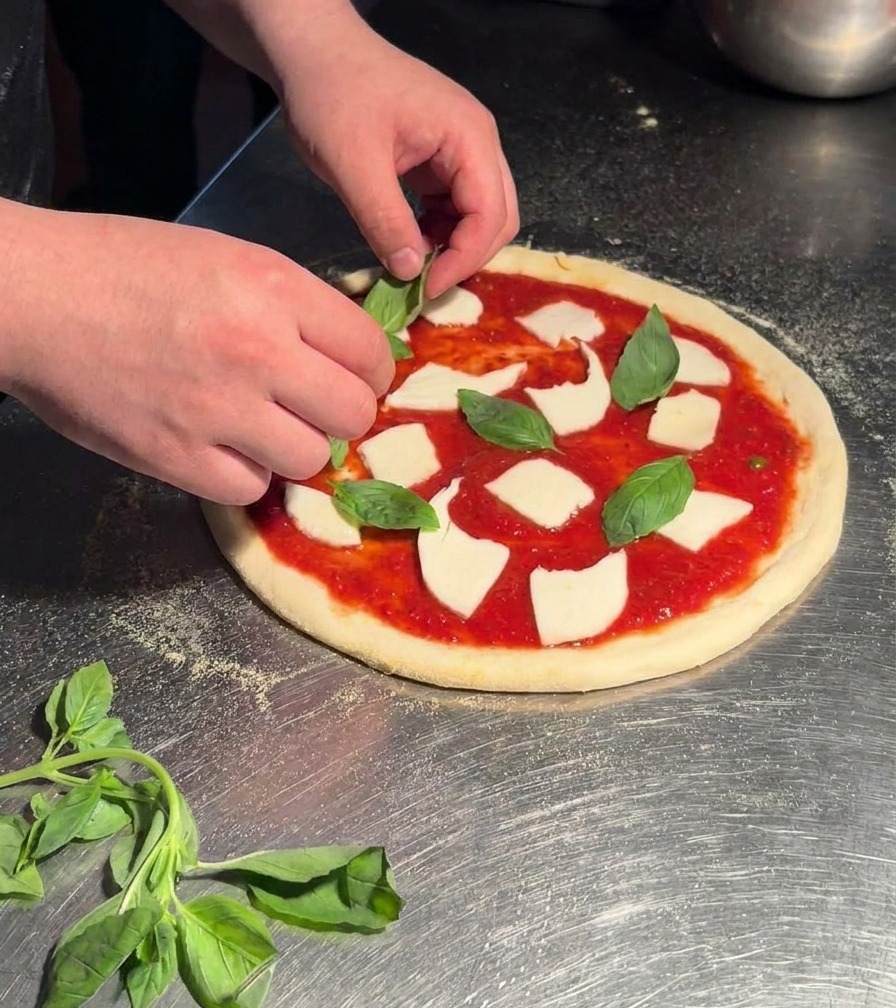
Place several fresh green basil leaves on top of the cheese and sauce. Adding the basil before baking allows the heat to release the aromatic oils, infusing the entire pizza with a traditional herbal fragrance.
Tip: If you prefer a brighter, more herbal finish, you can add a few extra fresh leaves after taking the pizza out of the kiln. - 7Prepare for the Oven
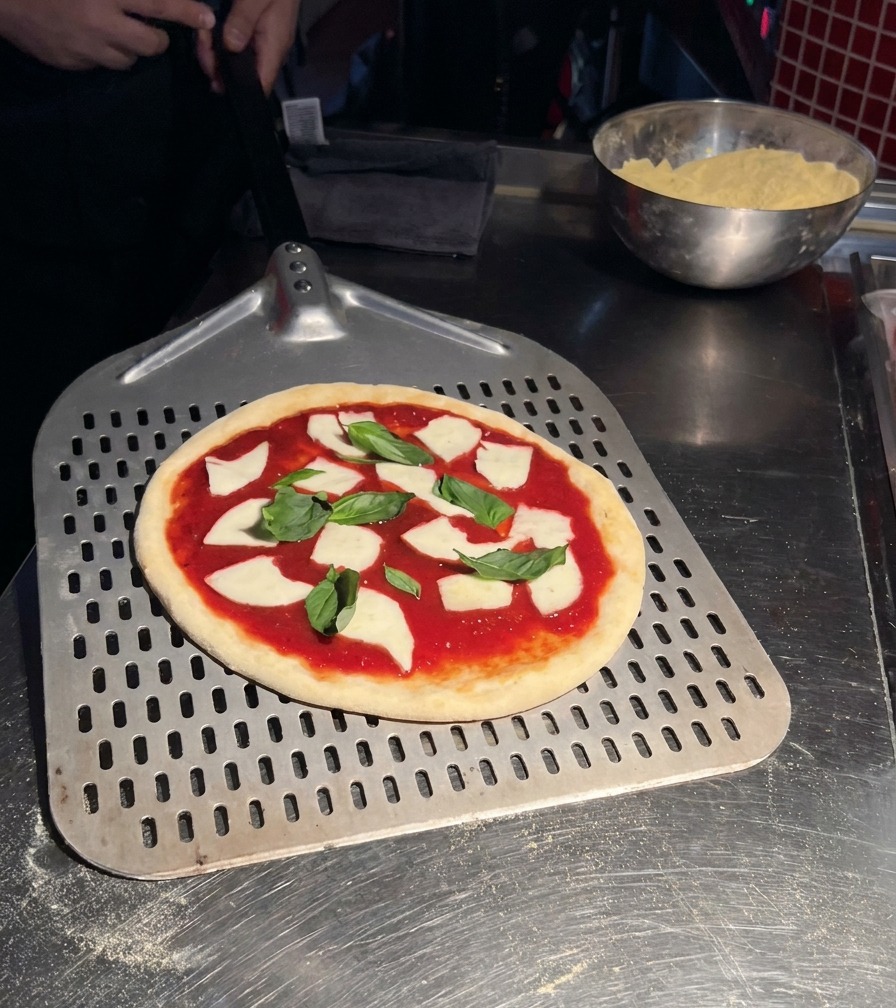
Once the toppings are assembled, carefully slide the pizza onto a perforated metal peel. The perforations are essential as they allow excess flour to fall away from the bottom of the dough, preventing it from burning in the oven and creating a bitter taste. The raw pizza is now ready to be transferred into the high-heat kiln.
Tip: Use a light dusting of semolina flour on the peel to ensure the pizza slides off smoothly without sticking. - 8Load into the Kiln
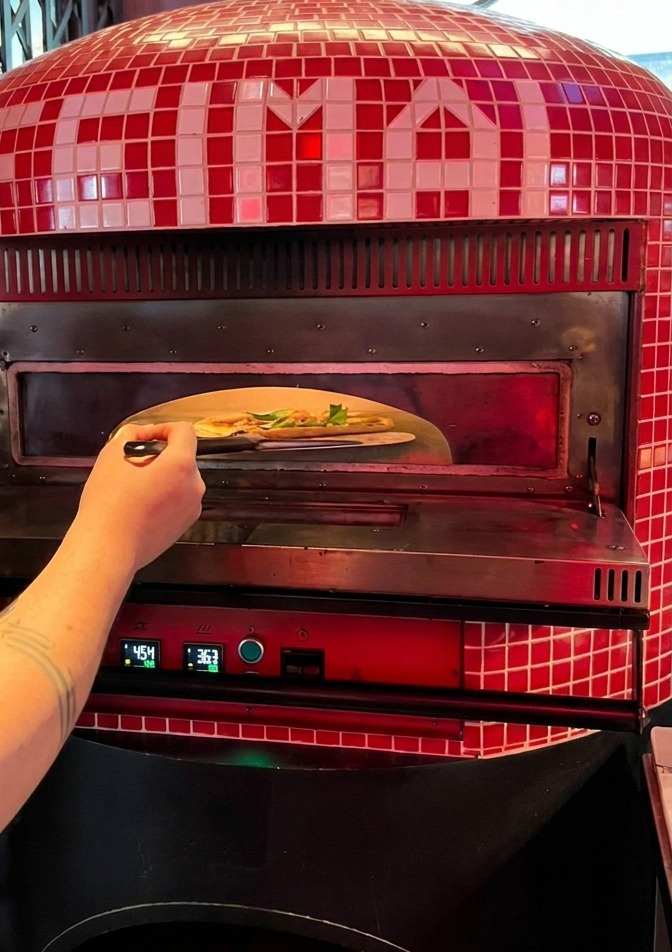
Swiftly slide the pizza from the peel directly onto the stone floor of the hot, red-tiled kiln. Our oven is maintained at a blistering 450°C at the top and 300°C at the bottom. This intense heat is crucial for achieving the characteristic Neapolitan crust puff and char in a very short amount of time.
Tip: Launch the pizza with a quick, confident flick of the wrist to ensure it lands flat on the stone without disturbing the toppings. - 9Watch the Crust Rise
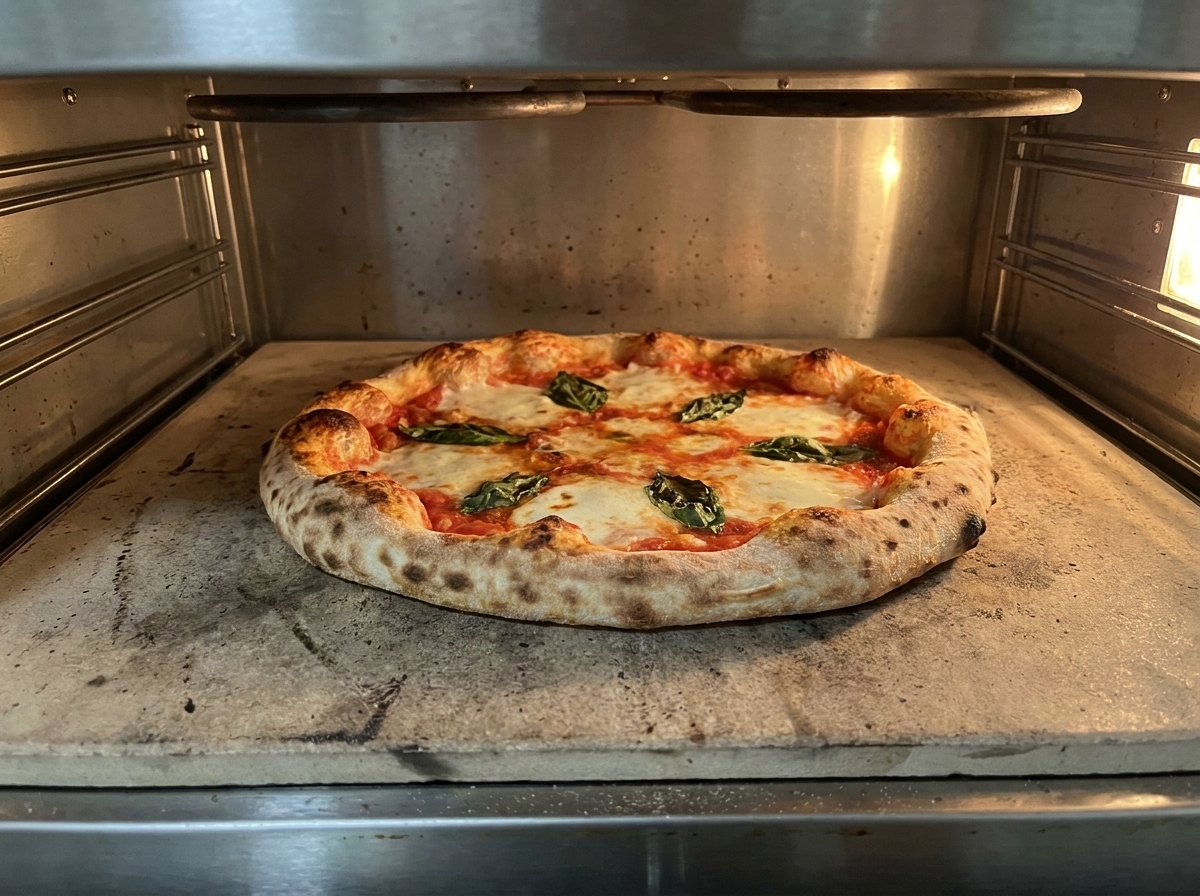
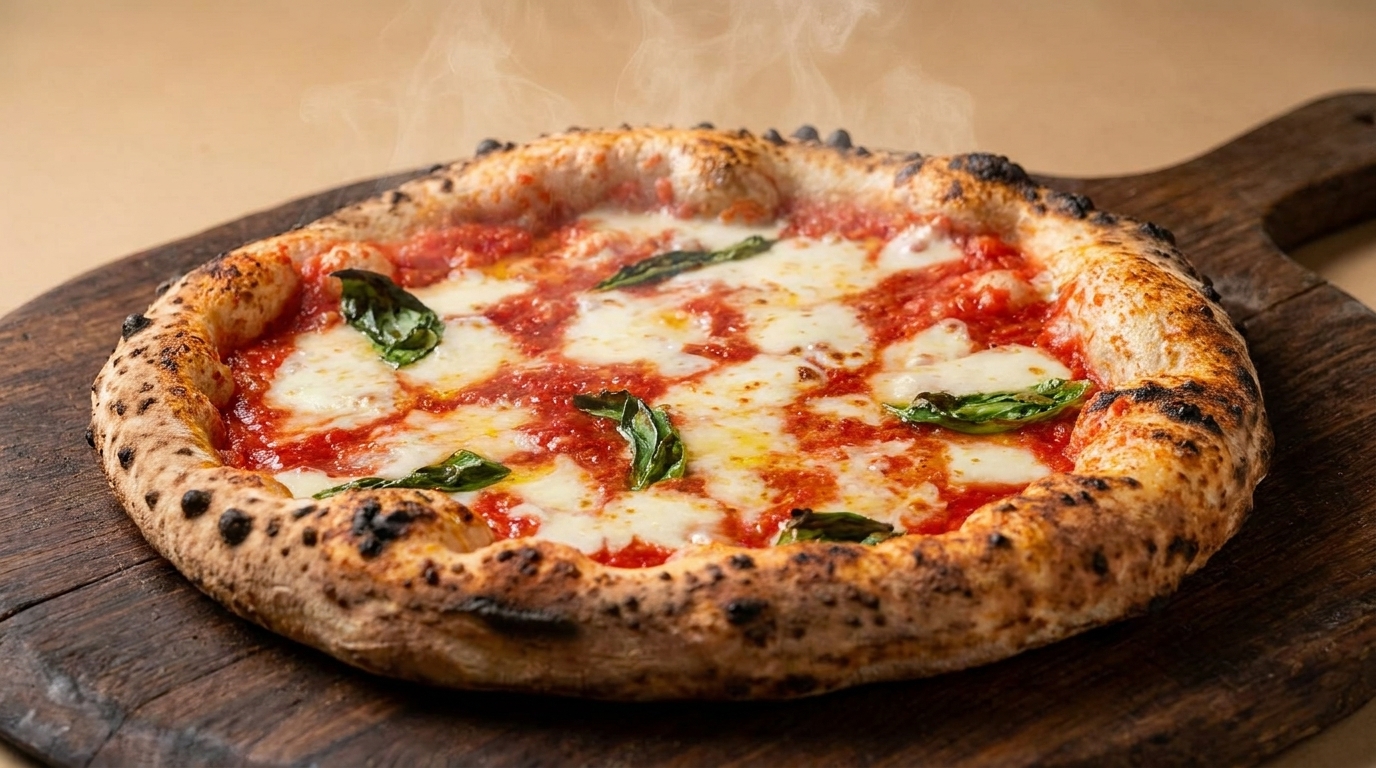
As the pizza bakes, the high temperature causes the water in the dough to rapidly turn into steam, puffing up the edges to create a light, airy crust. The cheese melts and the sauce bubbles while the dough develops its signature charred spots known as leopard spotting.
Tip: The bake is incredibly fast, usually around 90 seconds, so keep a close eye on the crust to ensure it chars perfectly without burning. - 10Retrieve the Baked Pizza
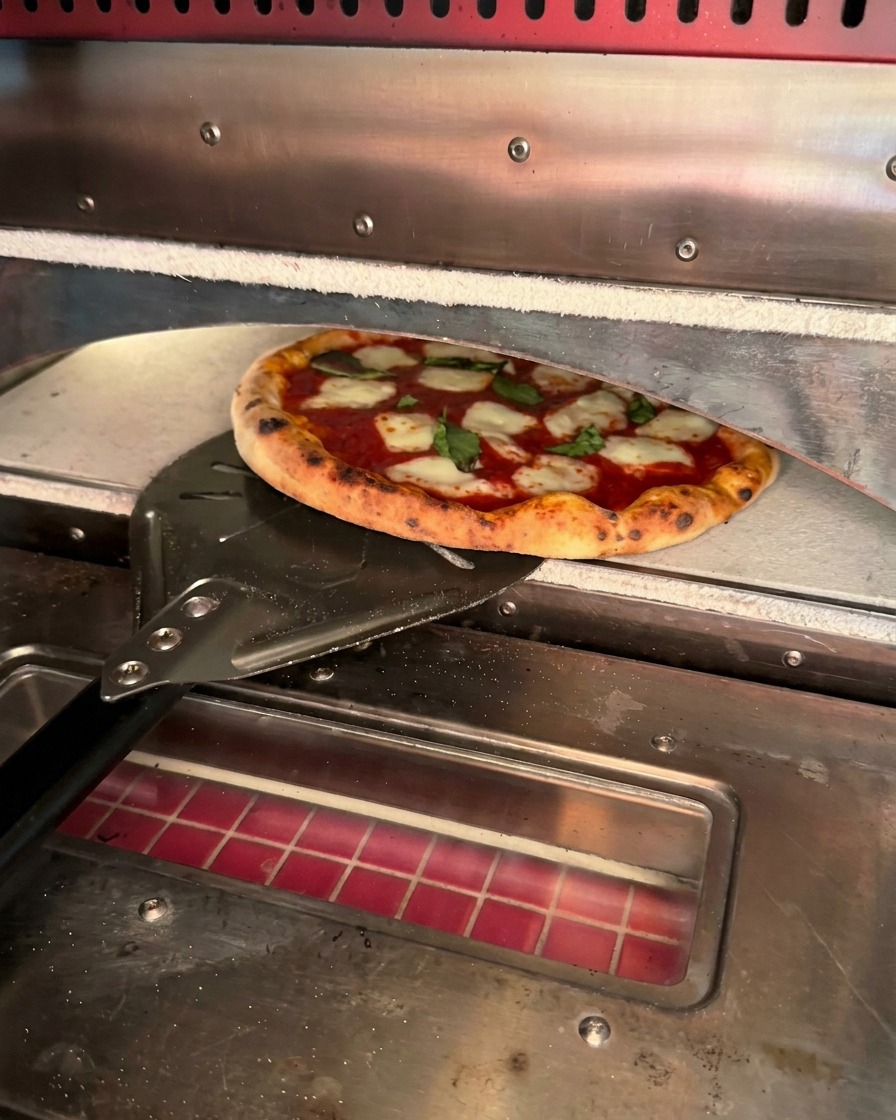
After about a minute and a half of baking, use the metal peel to lift the pizza out of the kiln. The crust should be well risen with distinct charred edges. This charring is a hallmark of authentic Neapolitan style pizza and provides a complex, smoky flavor that balances the sweetness of the tomatoes.
Tip: Briefly lift the pizza toward the top of the kiln before removing it to give the crust a final touch of high heat. - 11Slice with Kitchen Scissors
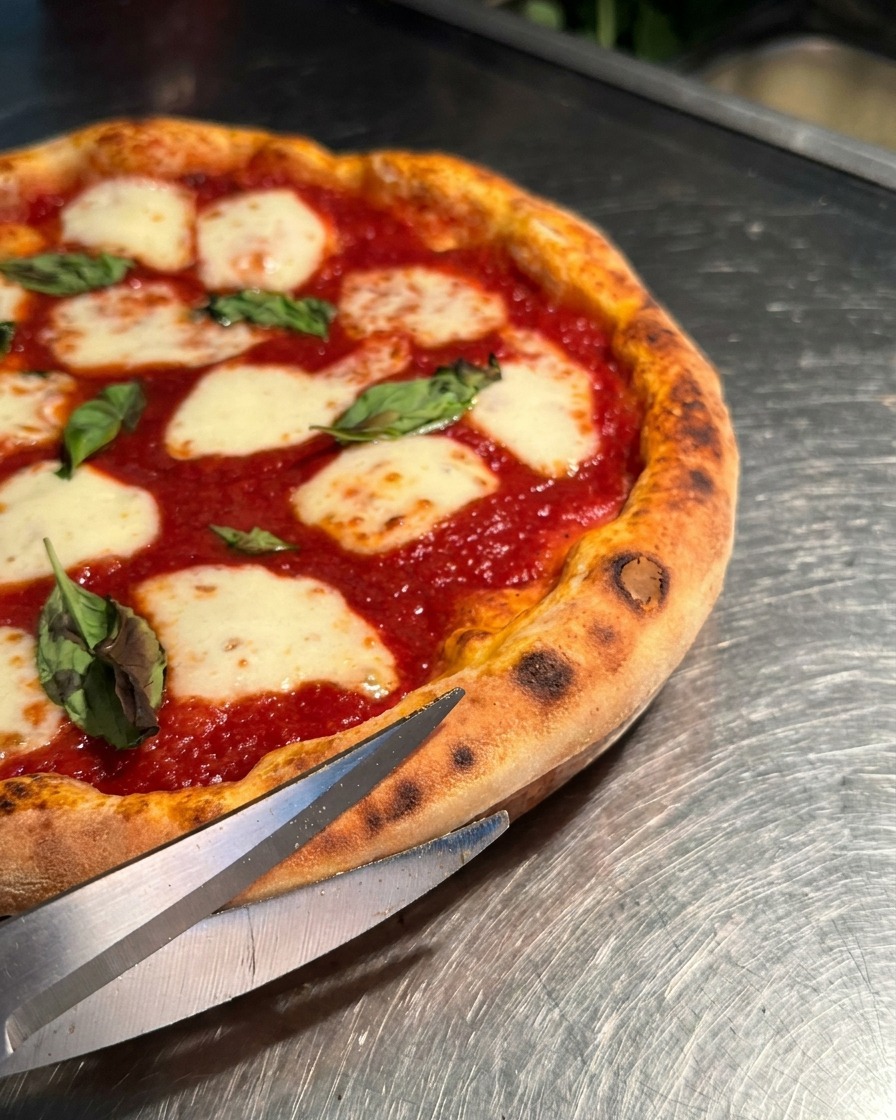
Transfer the hot pizza to a work surface and use sharp kitchen scissors to cut it into individual slices. Using scissors instead of a traditional roller helps preserve the delicate, airy structure of the crust (the cornicione) without squashing the puffed edges.
Tip: Cut the pizza immediately while it is piping hot to keep the cheese perfectly melted and the crust crisp. - 12Drizzle with Extra Virgin Olive Oil
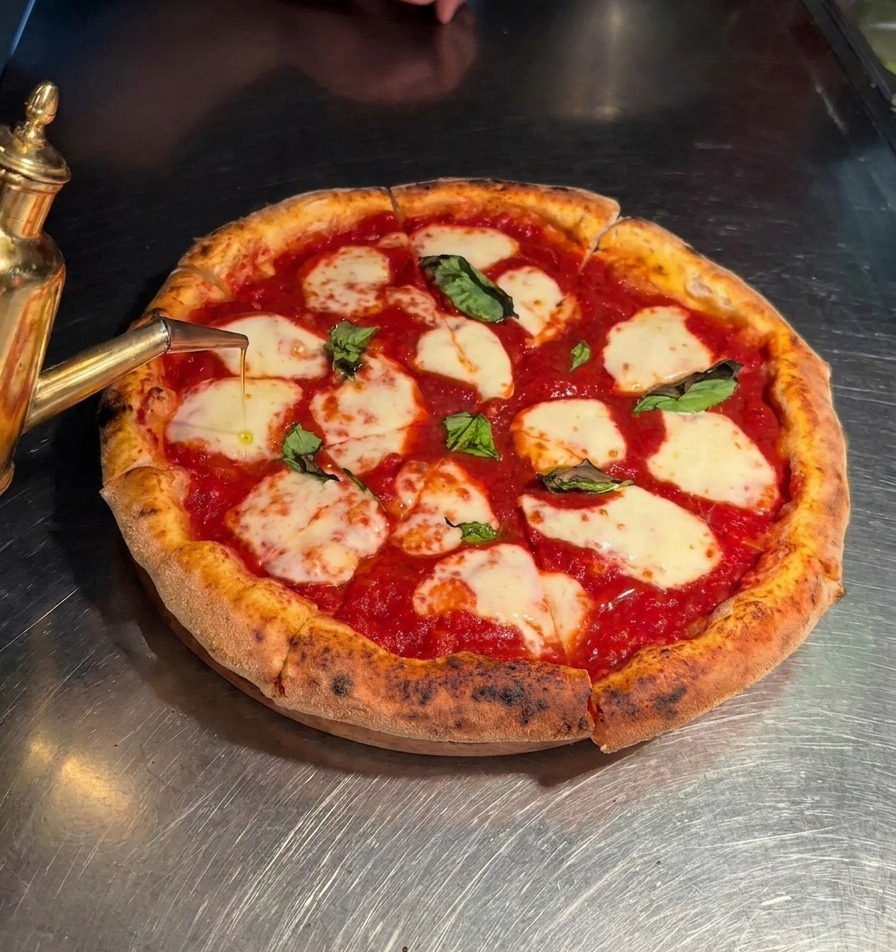
For the final touch of richness, drizzle a stream of high-quality extra virgin olive oil over the slices. This adds a fruity depth of flavor and a beautiful sheen to the finished dish, complementing the fresh basil and creamy mozzarella perfectly.
Tip: Use a long-spouted dispenser for better control, allowing for an even and elegant drizzle across the entire pizza. - 13Garnish with Parmesan cheese
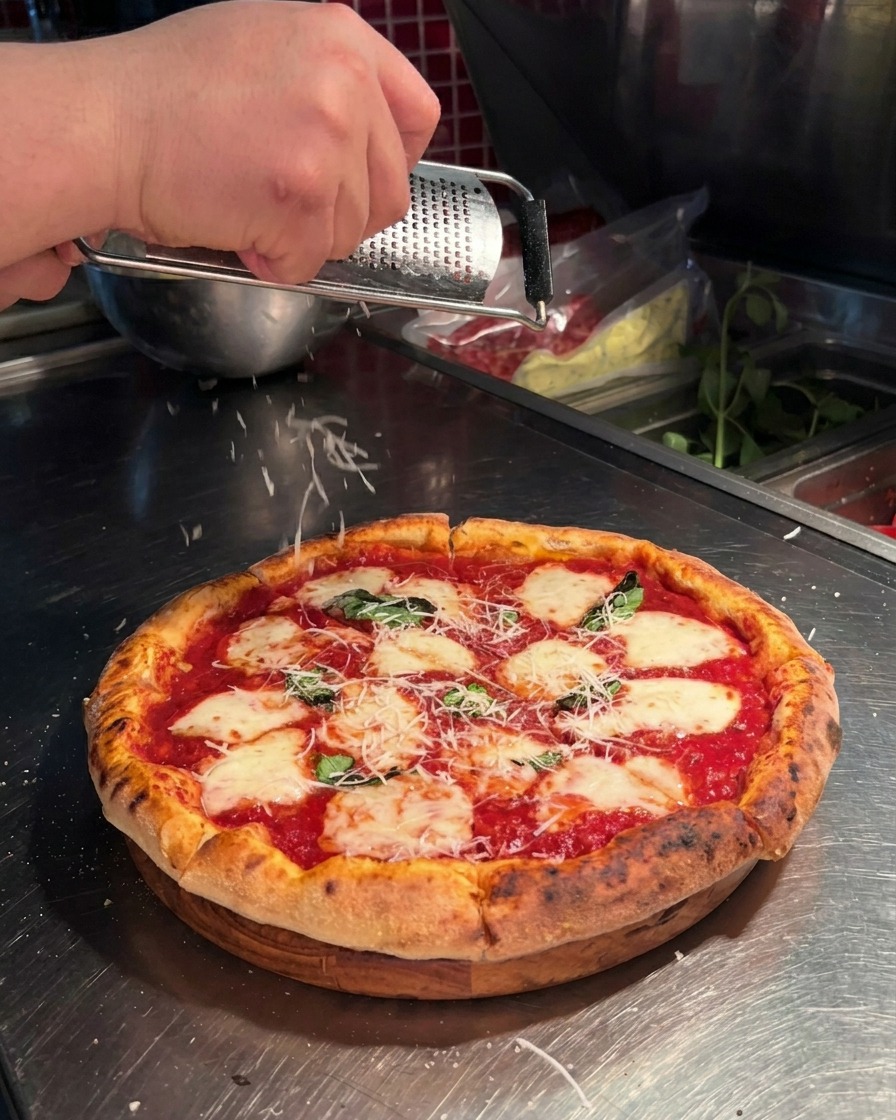
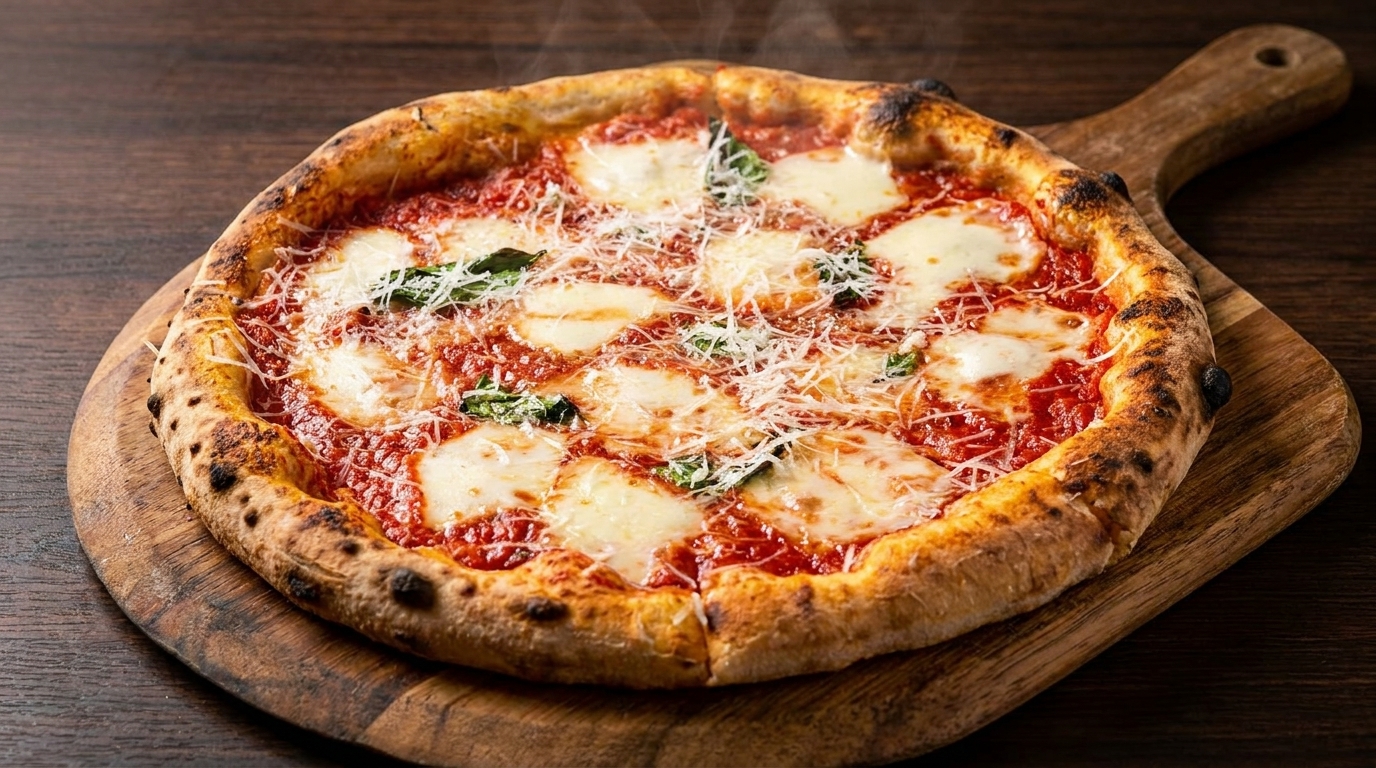
Use a microplane to freshly grate a block of Parmesan cheese over the hot pizza. The fine shavings will melt slightly into the warm sauce and toppings, adding a sharp, salty finish that complements the sweet tomato and creamy mozzarella.
Tip: For the best flavor, always grate your Parmesan fresh from the block rather than using pre-shredded varieties.