Christmas Margaret Cookies
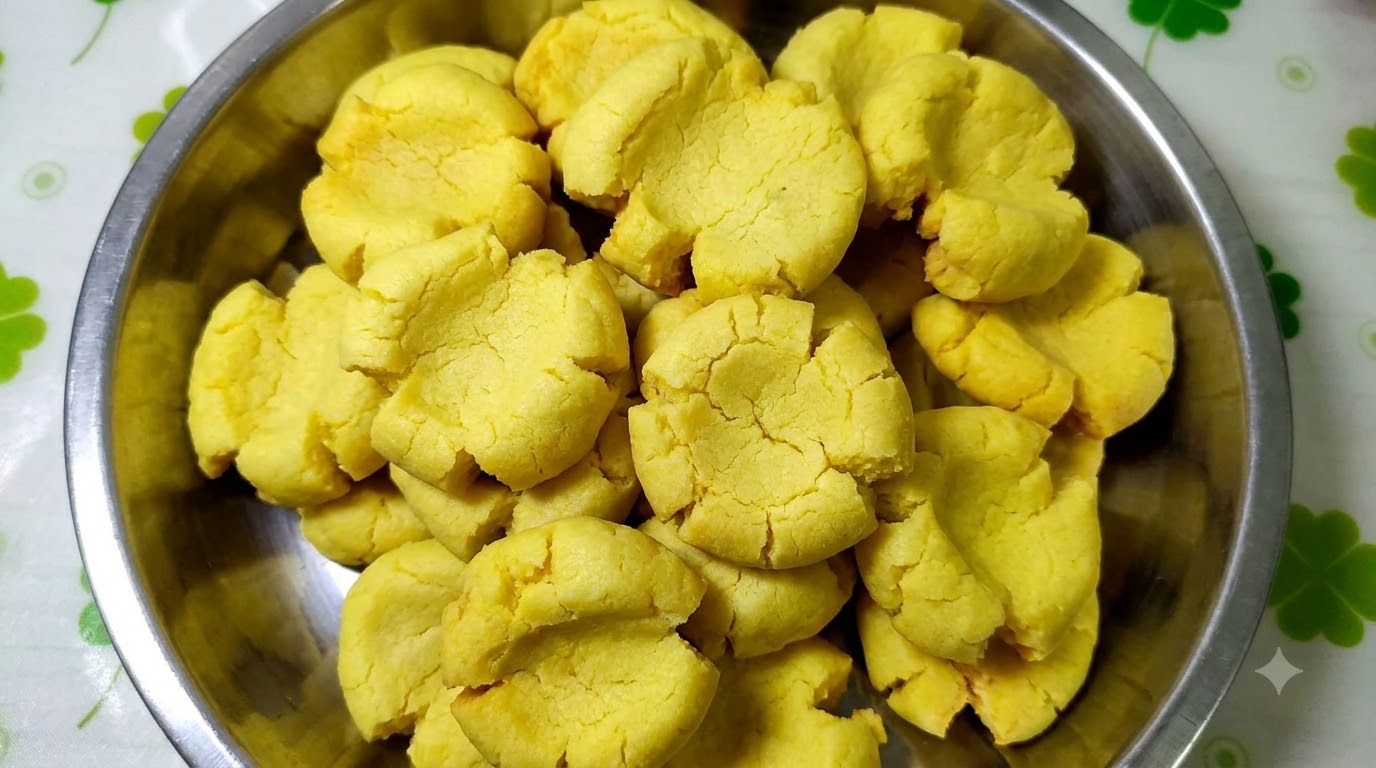
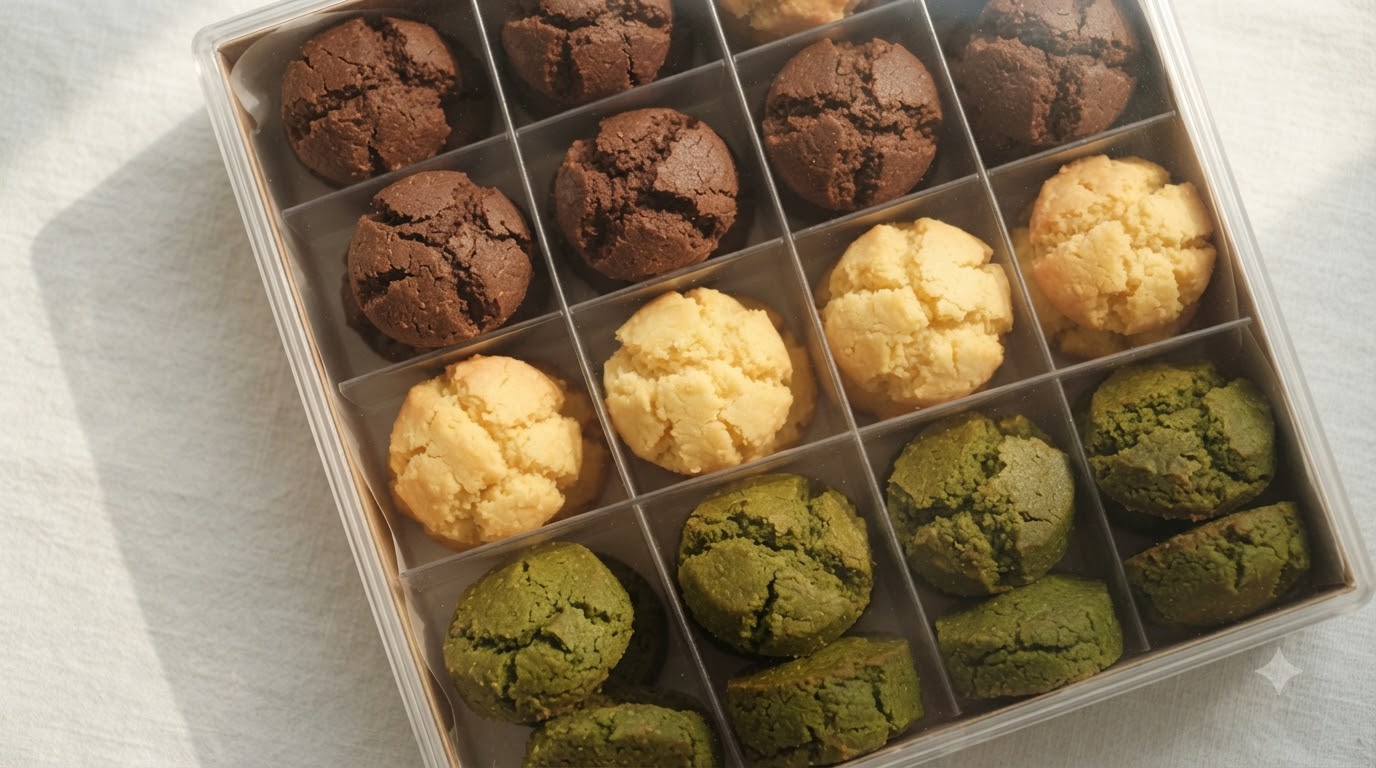
Delightfully crumbly Christmas Margaret cookies infused with rich milky flavor and adorned with festive royal icing decorations. A simple yet charming holiday treat.
Margaret cookies trace their origins to Italy and are beloved for their signature melt-in-your-mouth texture and cracked surface. This festive holiday version introduces colorful variations and adorable handmade royal icing decorations, making them a wonderful homemade gift for Christmas and New Year.

Ingredients
- 150 g unsalted butter
- 60 g powdered sugar
- 3 hard-boiled egg yolks
- 2 g salt
- 80 g cornstarch
- 120 g low-gluten flour
- to taste matcha powder
- to taste vegetable fruit powder
- to taste royal icing
- to taste chocolate
Instructions
- 1Add Powdered Sugar
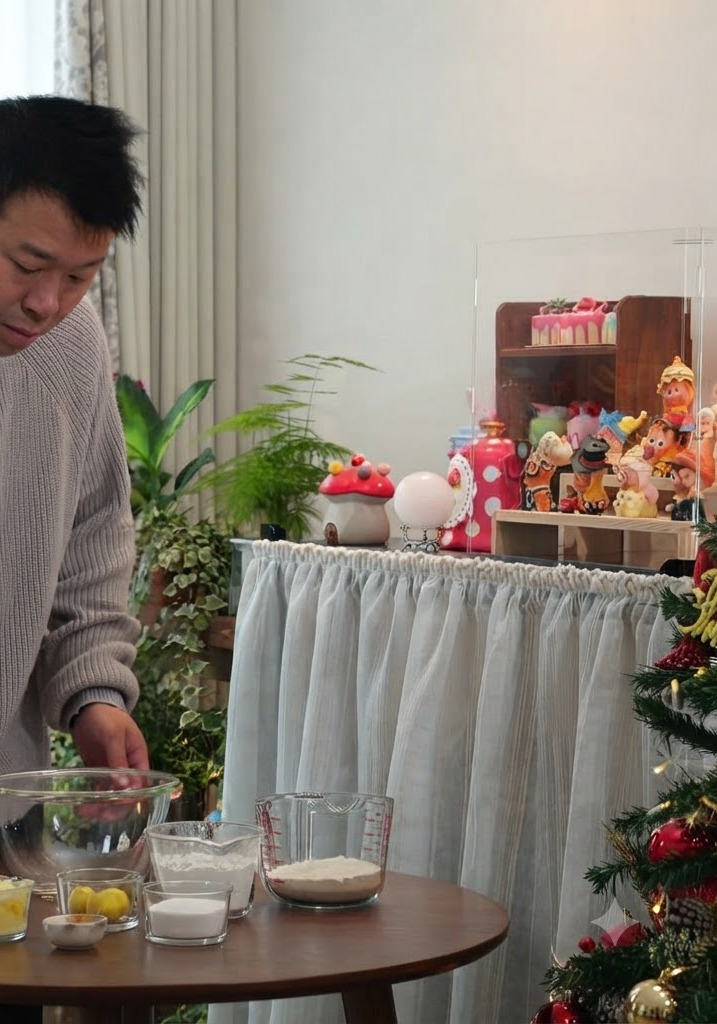
Add powdered sugar to the softened unsalted butter in a glass mixing bowl.
Tip: Soften the butter in advance for easier mixing. - 2Beat Butter and Sugar
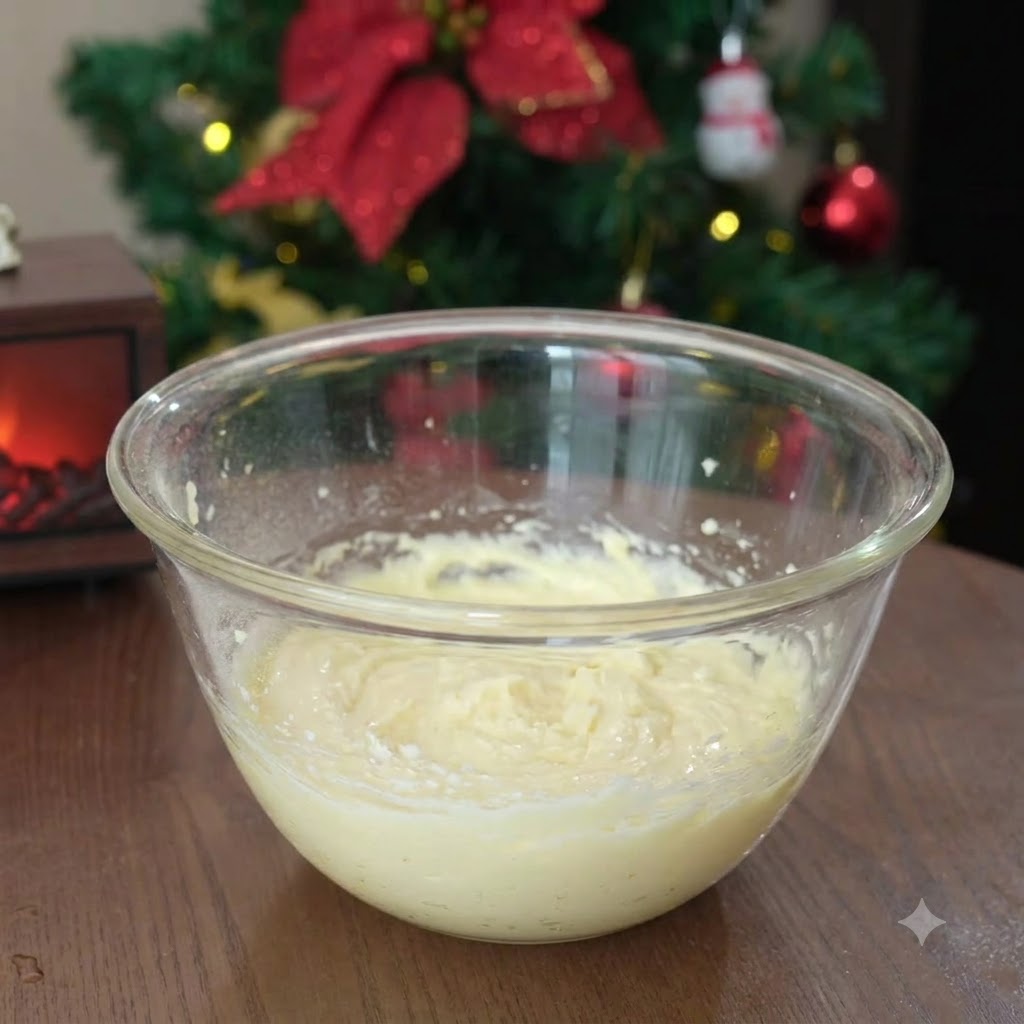
Use an electric hand mixer to beat the butter and powdered sugar mixture until fluffy and pale.
Tip: Beat thoroughly until the mixture becomes light and airy. - 3Sift Egg Yolks
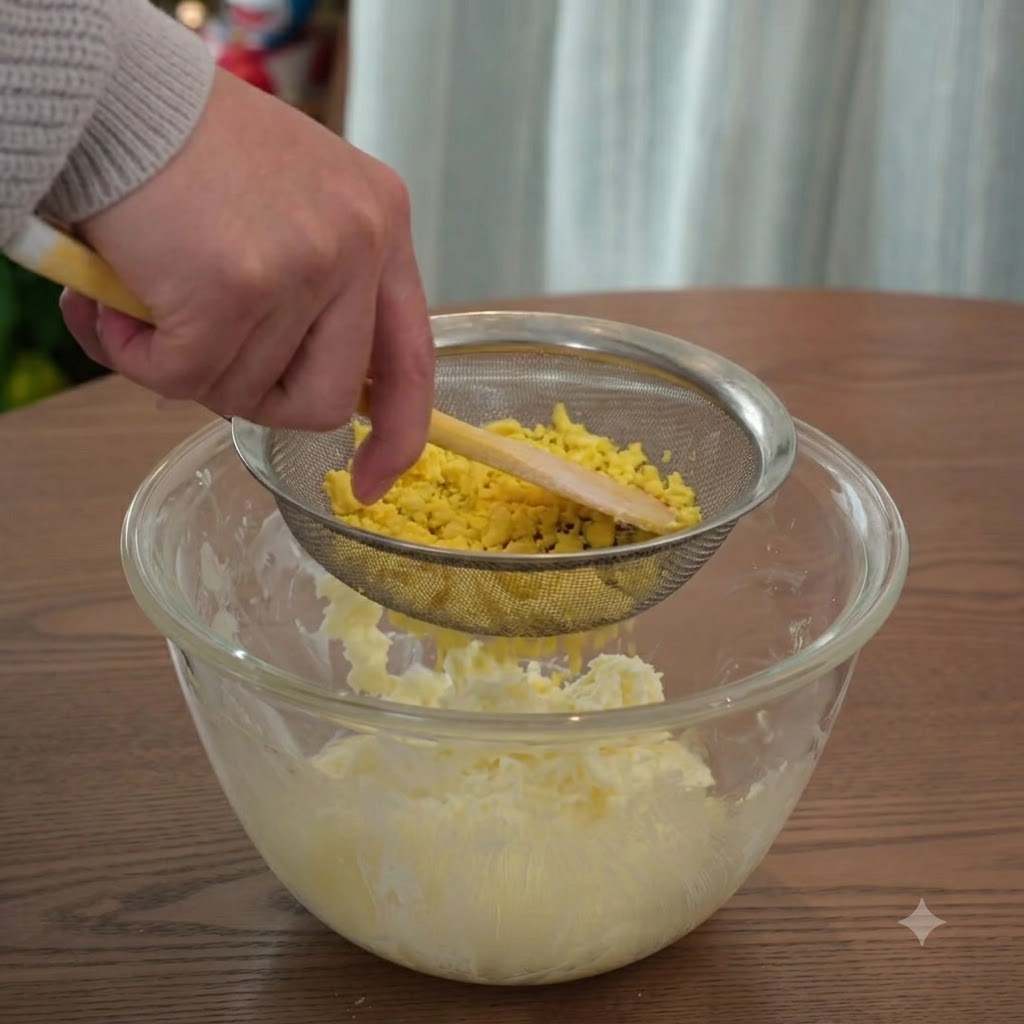
Sift three cooked egg yolks through a mesh strainer directly into the butter mixture to make the cookies more fragrant and mellow.
Tip: Sifting the yolks ensures a smooth texture without lumps. - 4Mix Egg Yolks
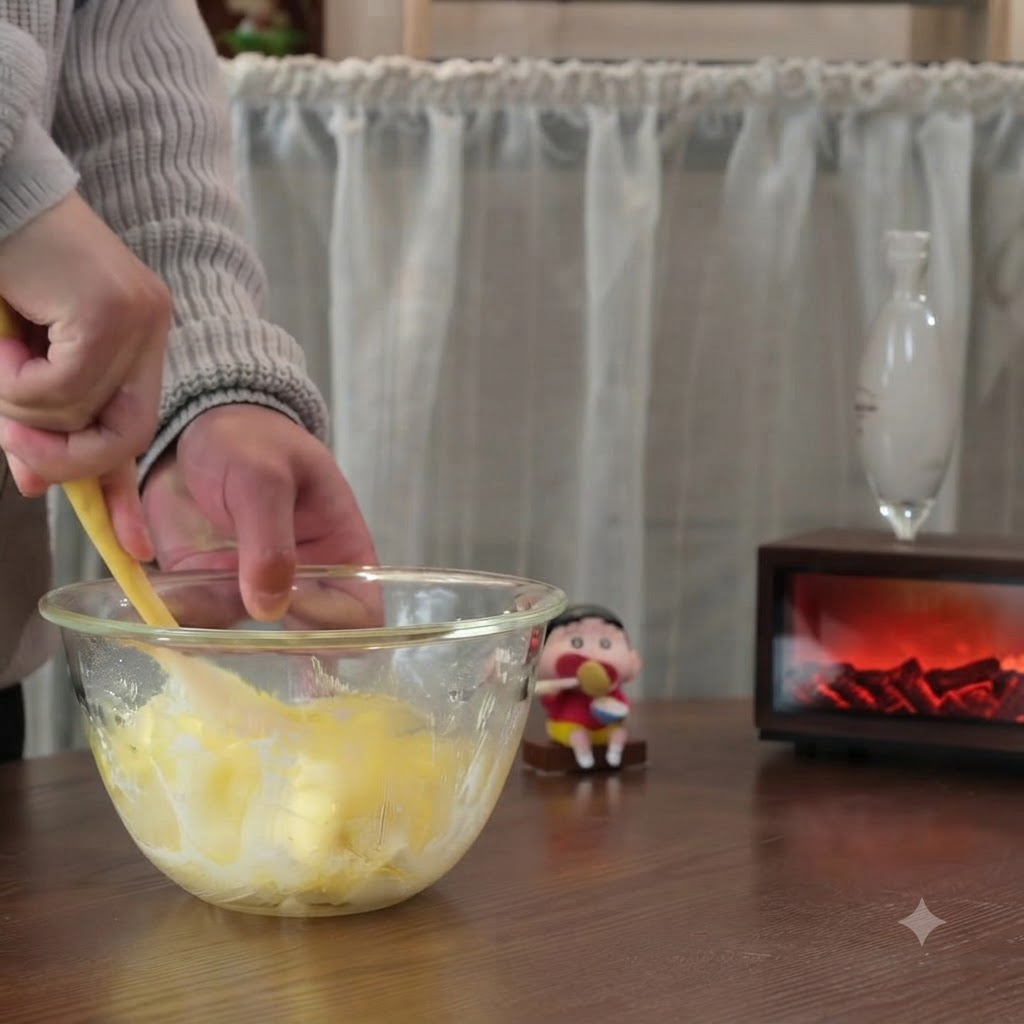
Mix the sifted egg yolks evenly into the butter mixture using a spatula.
Tip: Blend gently until fully incorporated. - 5Add Dry Ingredients
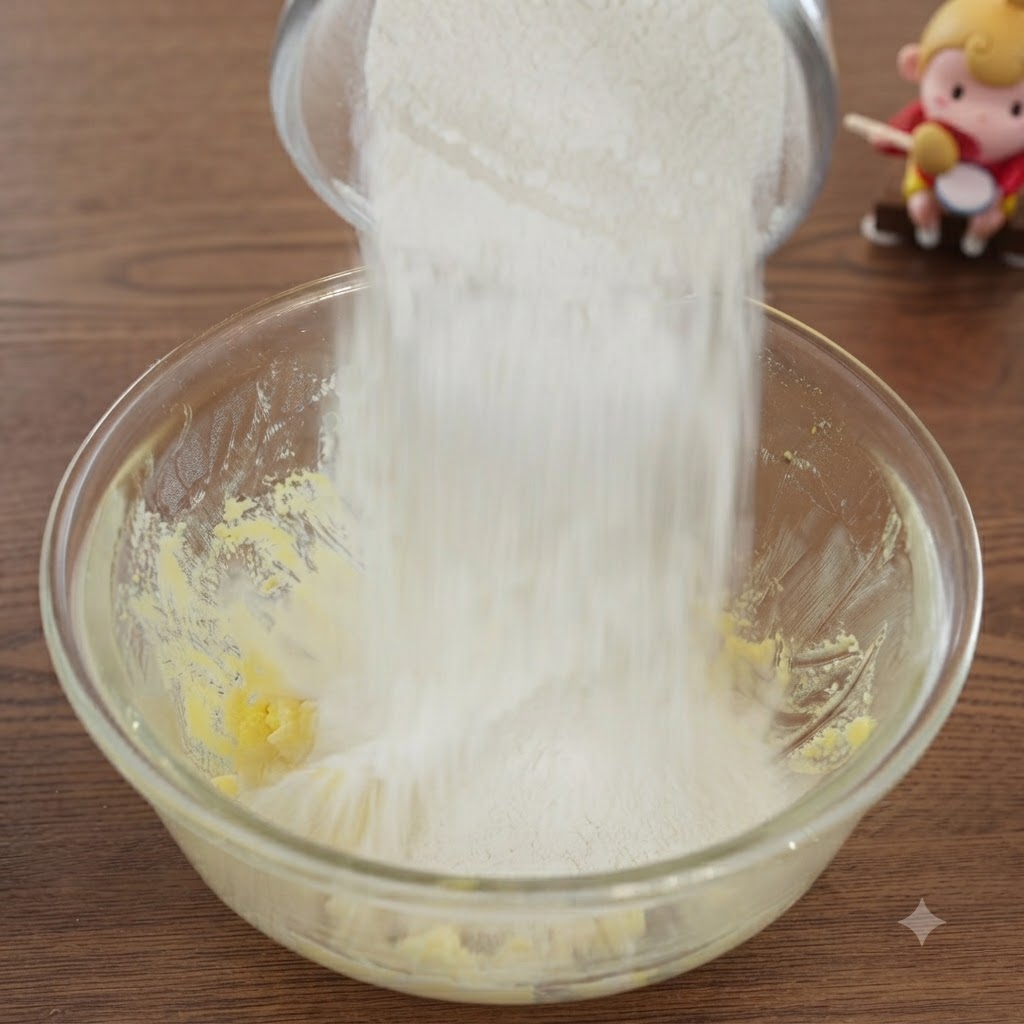
Pour a small amount of salt, cornstarch, and low-gluten flour into the bowl with the butter mixture.
Tip: Add the dry ingredients gradually to control the dough consistency. - 6Knead into Dough
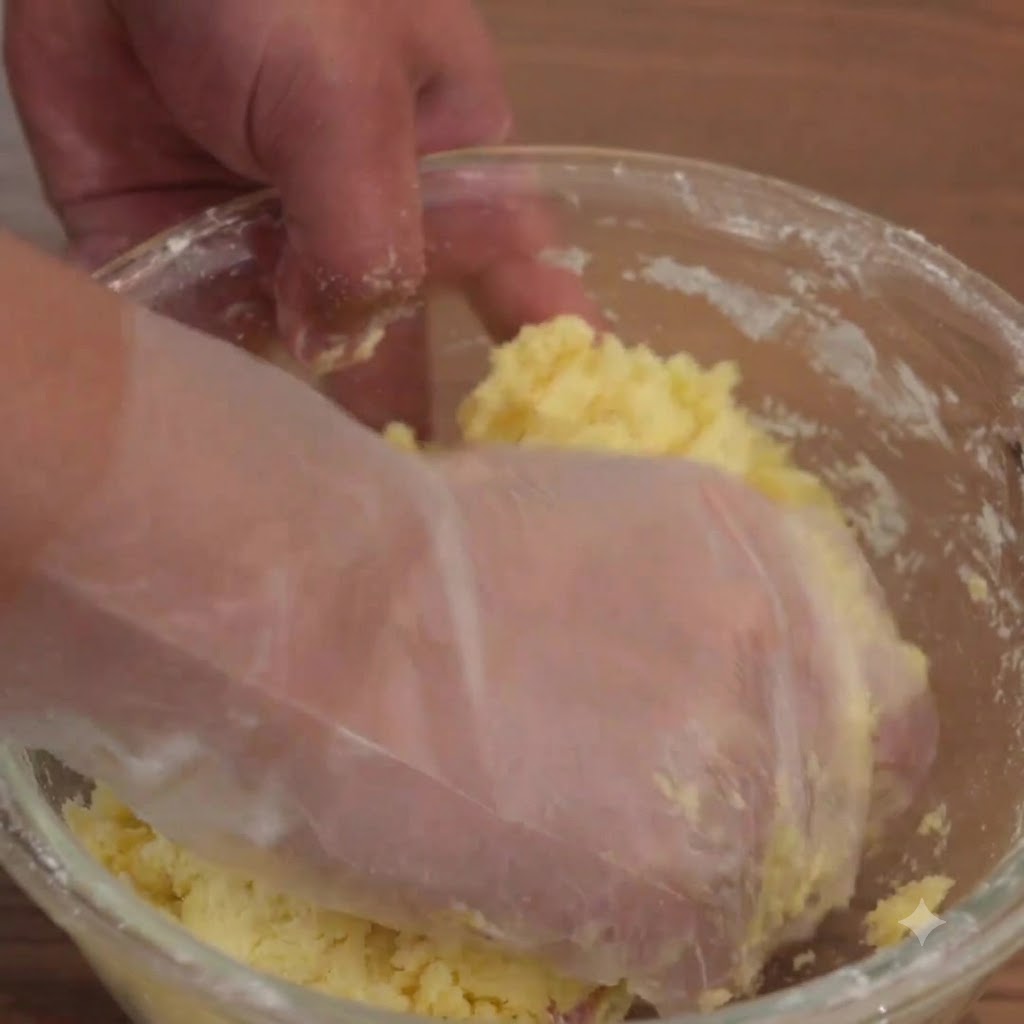
Directly use your hands to mix and knead all the ingredients together into a cohesive dough.
Tip: Knead by hand to prevent the butter from solidifying if the room temperature is low. - 7Roll the dough into small balls
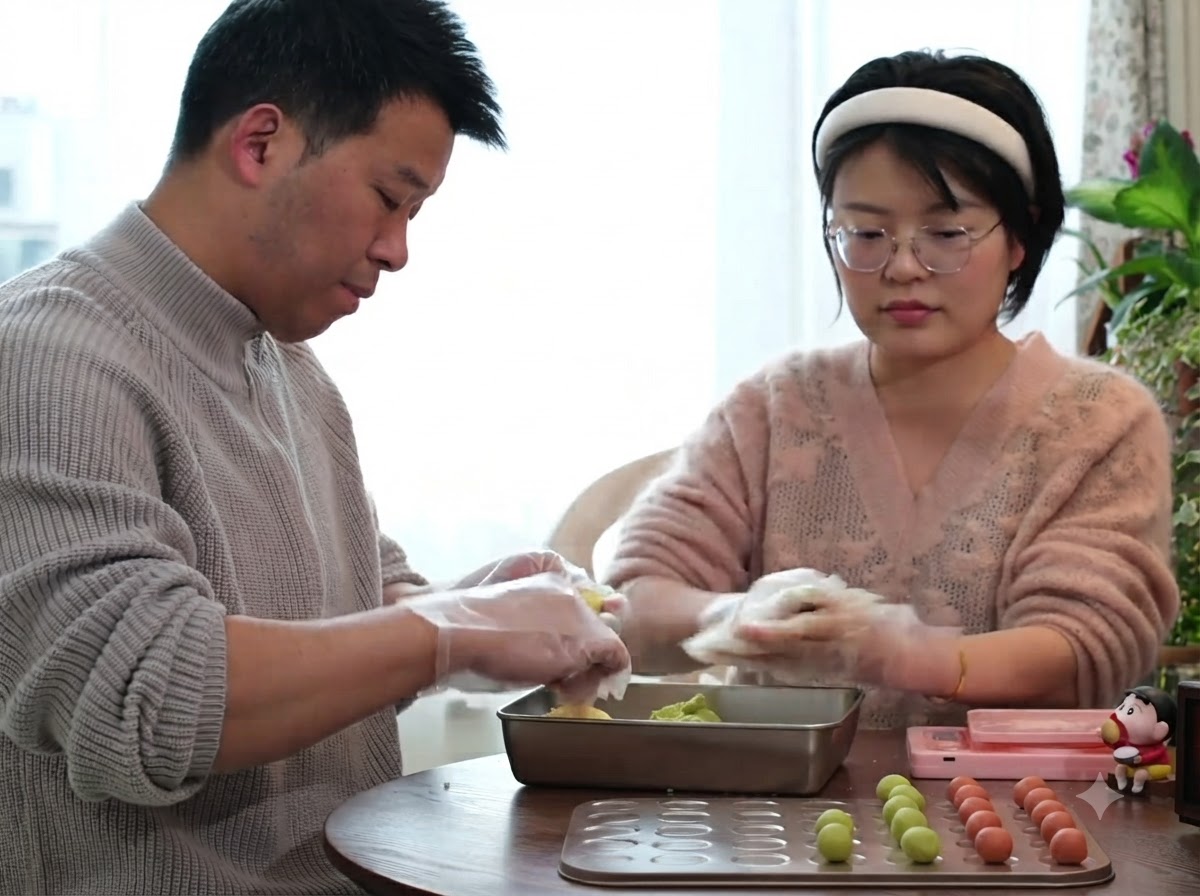
Take the divided portions of the colored dough and roll them individually between your palms into small, smooth round balls. This ensures that every cookie will bake evenly and maintain a consistent, bite-sized shape.
Tip: If the room temperature is low and the butter begins to firm up, you can knead and roll the dough directly with your hands to keep it pliable. - 8Arrange dough balls on the baking tray
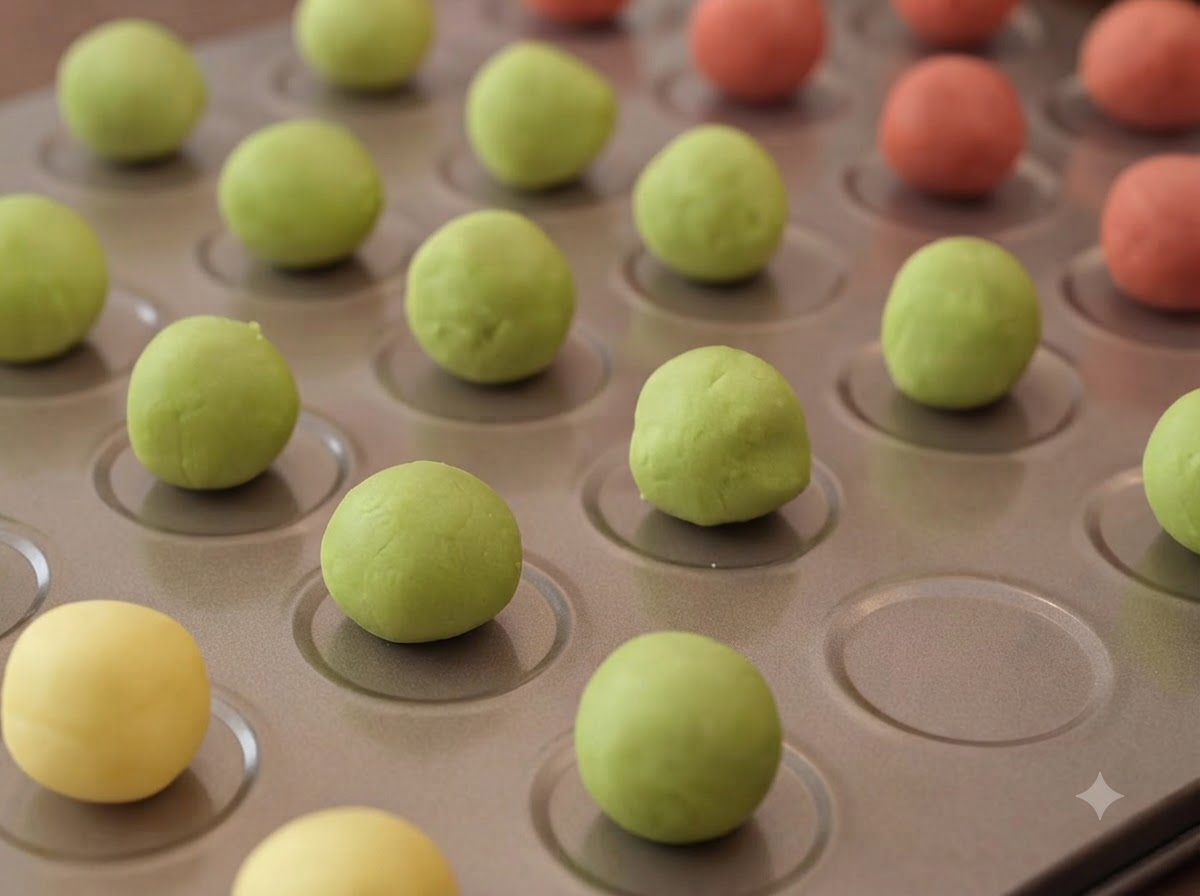
Carefully place the rolled round dough balls onto the baking tray, spacing them evenly apart to allow for slight expansion during baking. Ensure all the different colored flavor balls are organized neatly on the sheet.
Tip: Leave enough space between each ball so they do not stick together as they bake. - 9Shape the cookies with a thumbprint
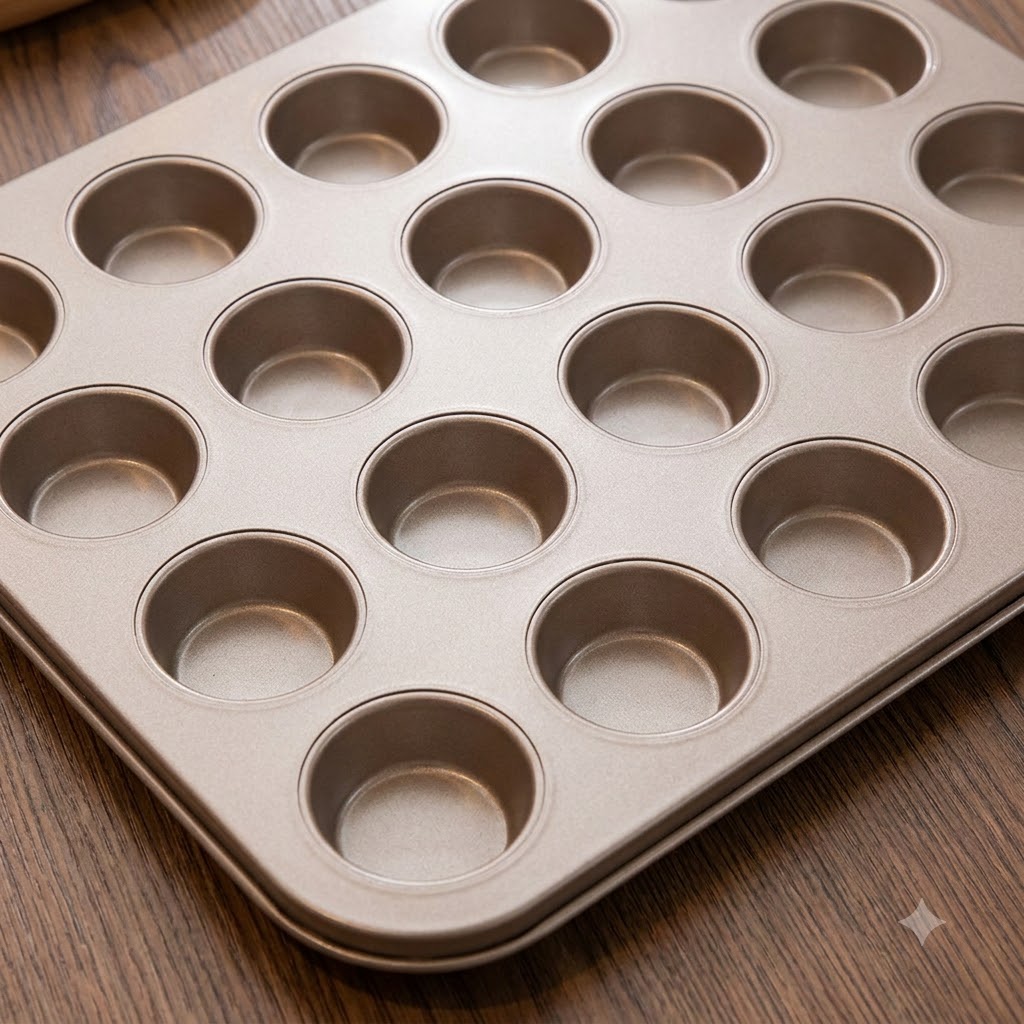
Use your thumb to press firmly down into the center of each small dough ball. This action creates a characteristic indentation and causes the edges of the cookie to form natural, rustic cracks.
Tip: Press gently but firmly to form the indentation without breaking the cookie base entirely. - 10Bake the cookies in the oven
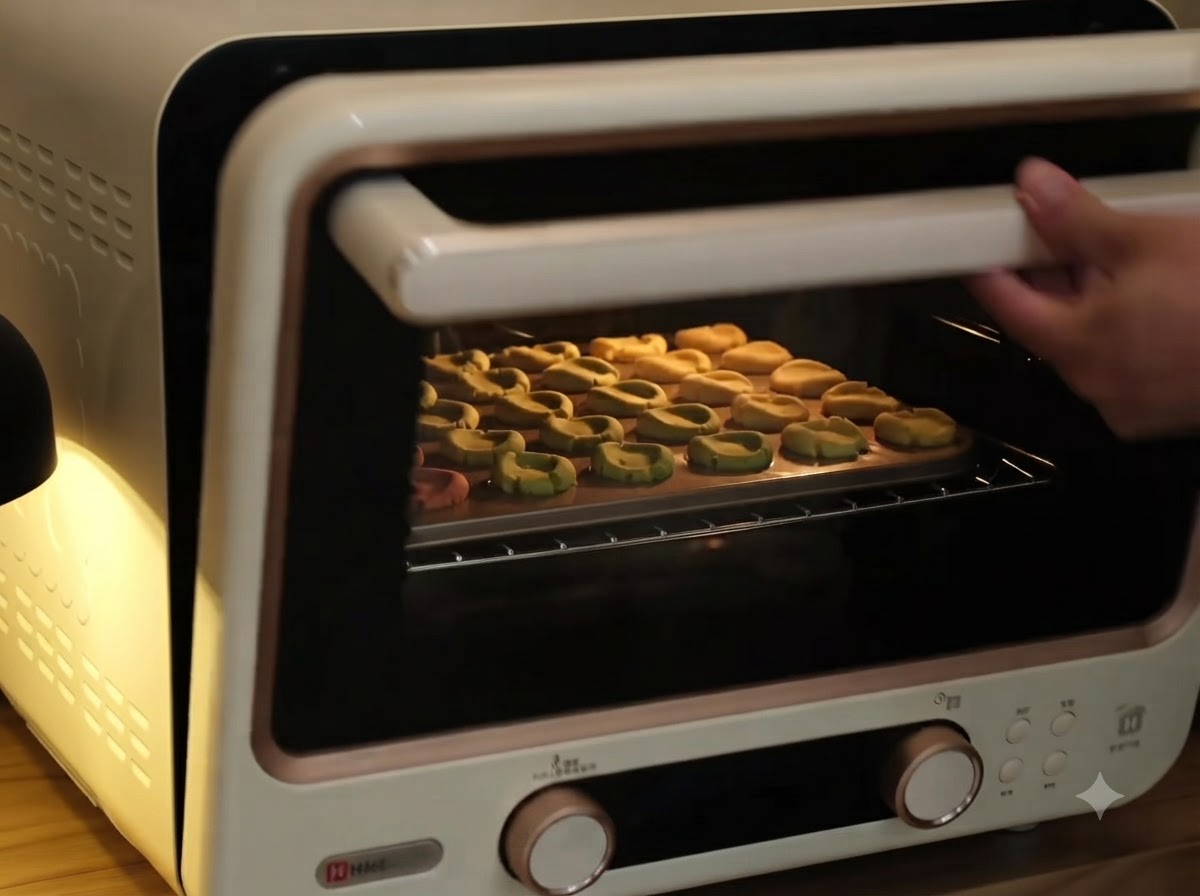
Carefully slide the baking tray filled with shaped cookie dough into a preheated oven. Bake at 150 degrees Celsius for 20 minutes until they are thoroughly cooked through with a tender texture.
Tip: Make sure to preheat your oven in advance to guarantee the correct baking temperature and even cooking times. - 11Remove baked cookies from the oven
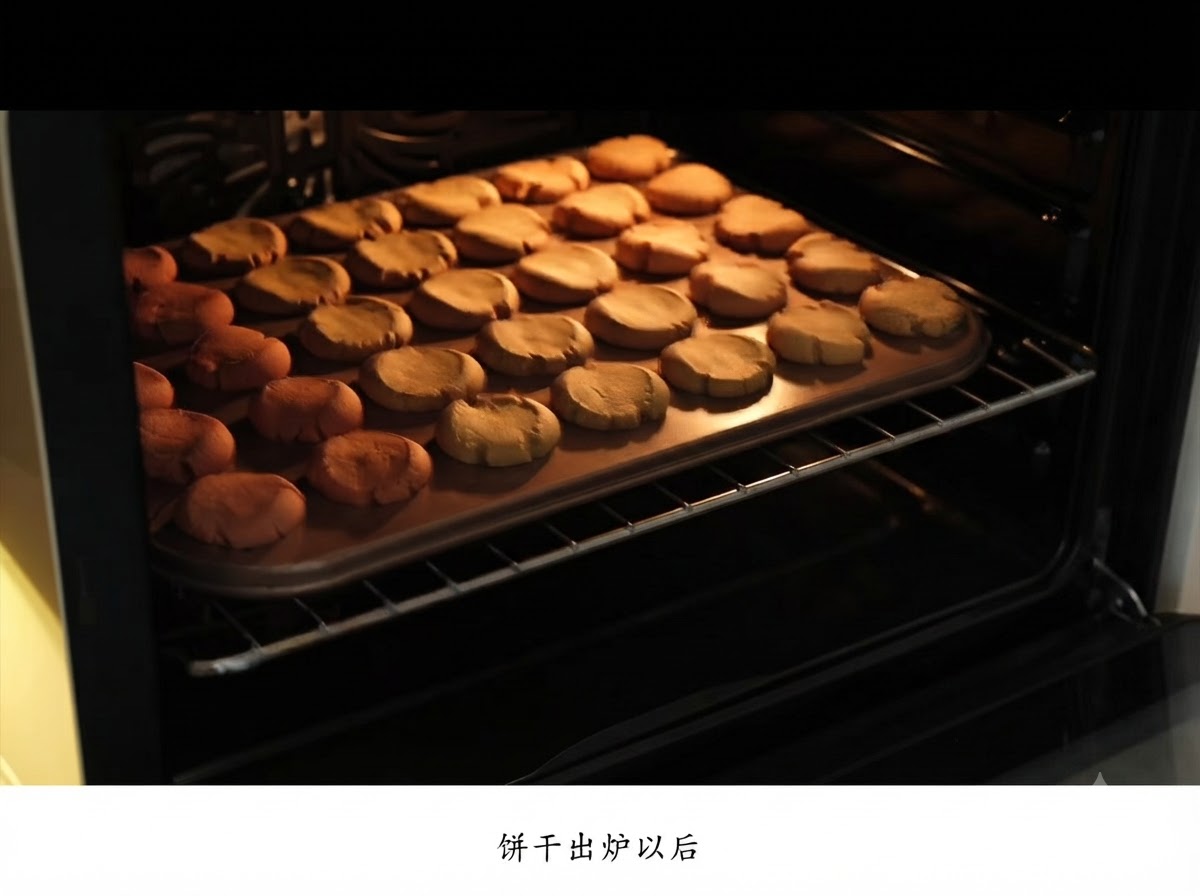
Once the baking time is complete, carefully pull the tray out of the oven. Allow the freshly baked cookies to cool down on the tray until they are no longer hot to the touch before handling them further.
Tip: Do not move the cookies immediately while they are piping hot, as they are delicate and can break easily.