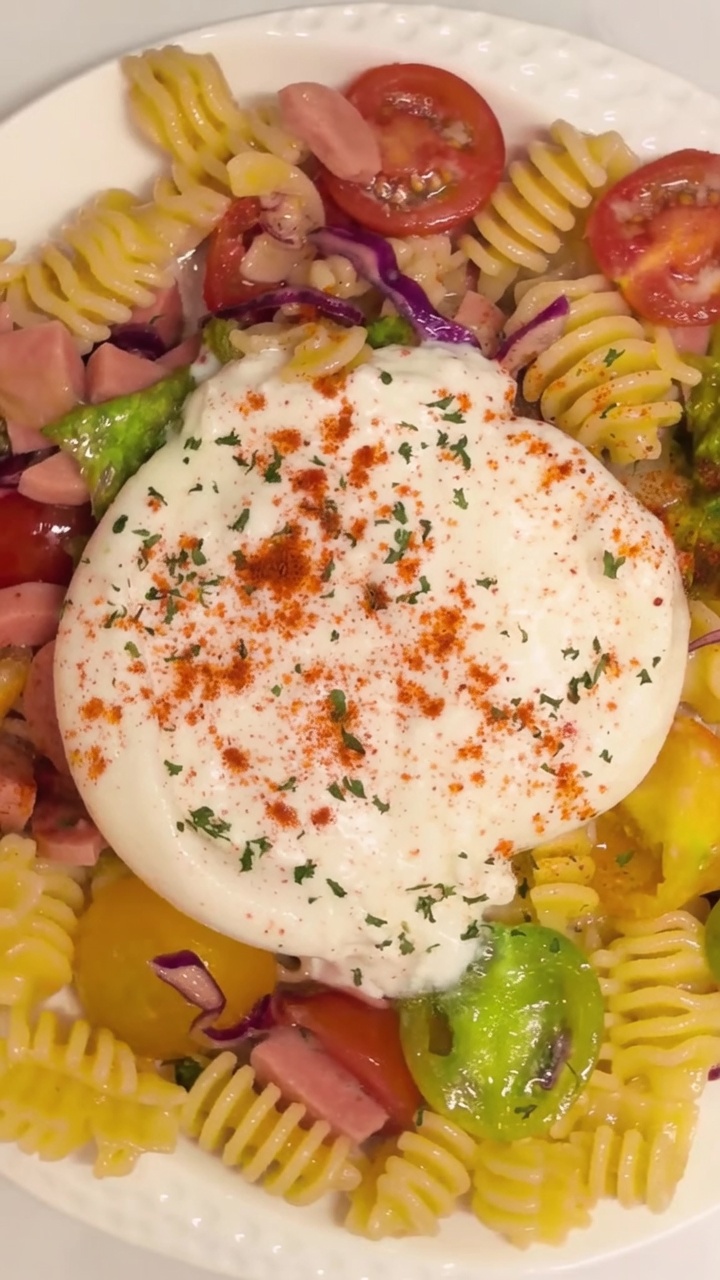
Homemade Ham Burrata
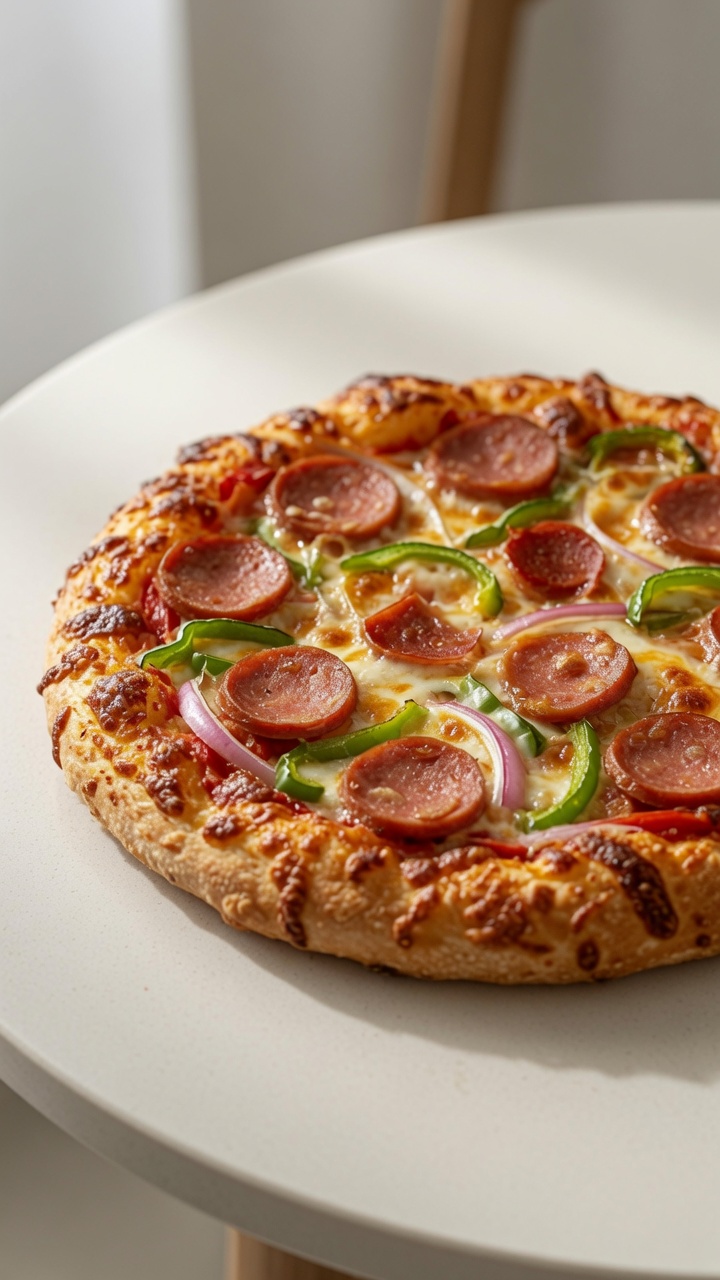
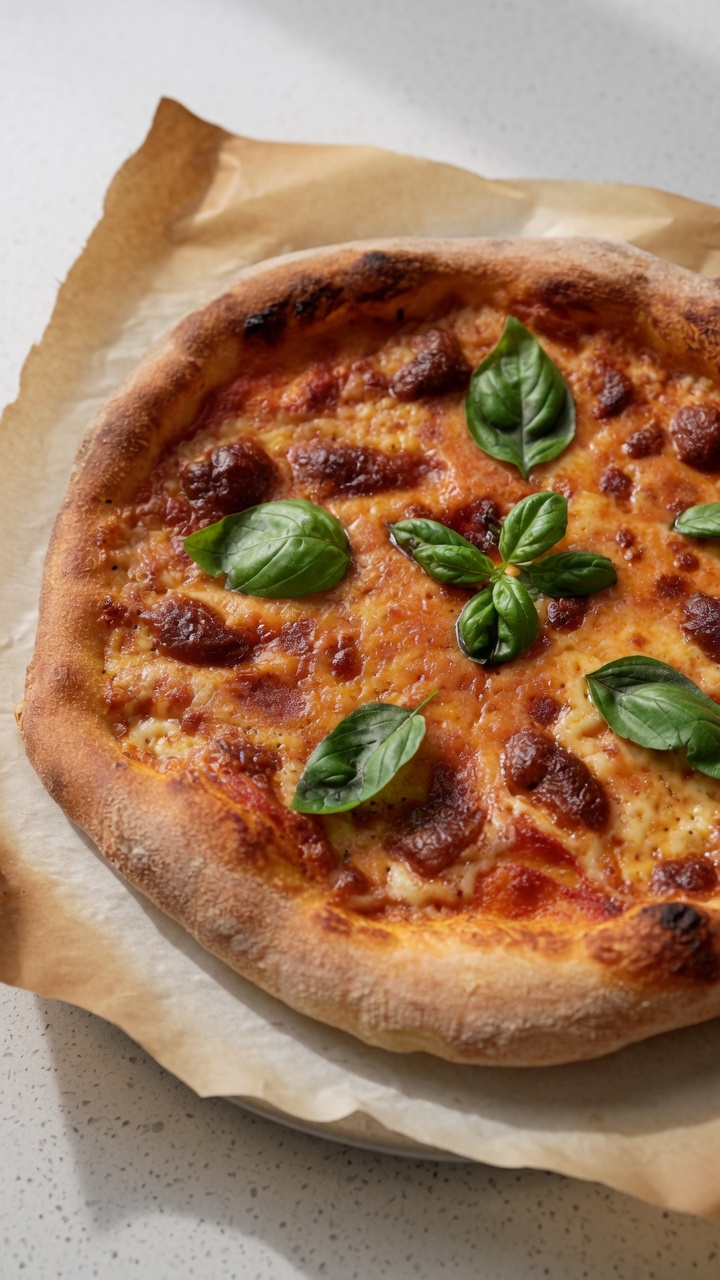
Salami Basil Pizzas
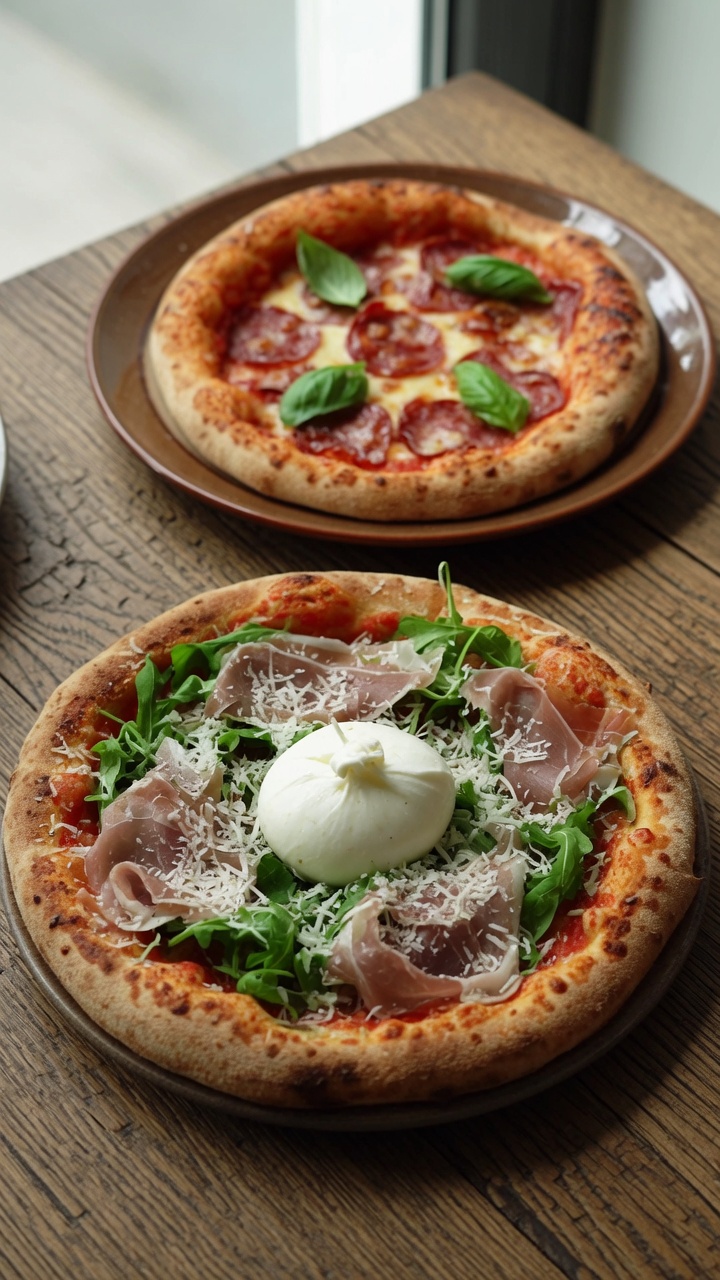
Master the art of poolish-leavened pizza at home. This simple, two-pizza method delivers a professional, airy crust topped with fresh Italian ingredients.
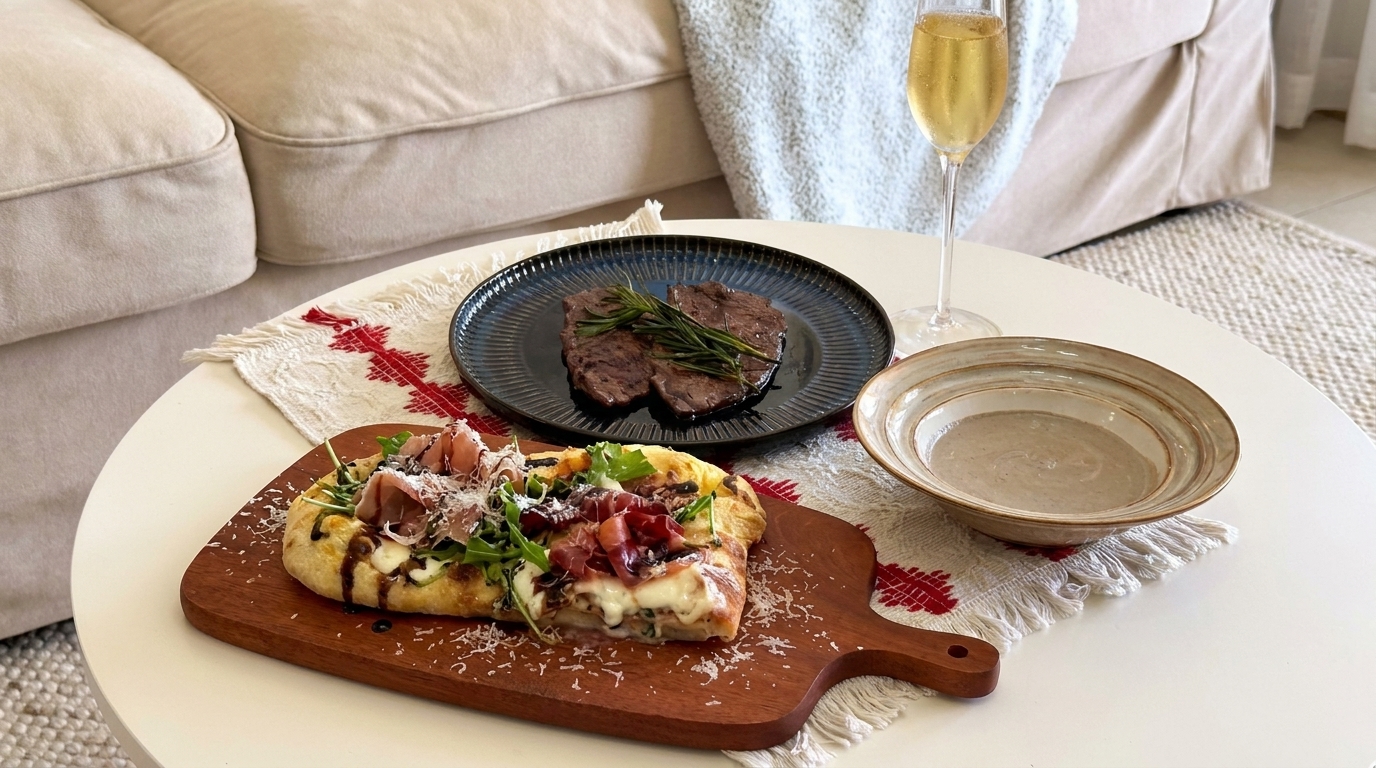
Creating high-quality pizza at home is an incredibly rewarding skill, especially when you master the poolish method. By allowing a small amount of dough to ferment separately, you develop a depth of flavor and a superior, airy crust texture that rivals even the best fast-food chains. These two variations, one topped with delicate prosciutto and creamy burrata and the other with classic savory salami and aromatic basil, offer a perfect balance for any pizza lover looking for authentic results without the restaurant price tag.
Ingredients
- 330g all-purpose flour
- 230g water
- 3g yeast
- 15g honey
- 6g salt
- 15g olive oil
- 100g tomato sauce
- 50g salami
- 100g mozzarella cheese
- 50g fresh arugula
- 50g prosciutto
- 1 ball burrata cheese
- to taste fresh basil
- to taste parmesan cheese
Instructions
- 1Prepare the poolish
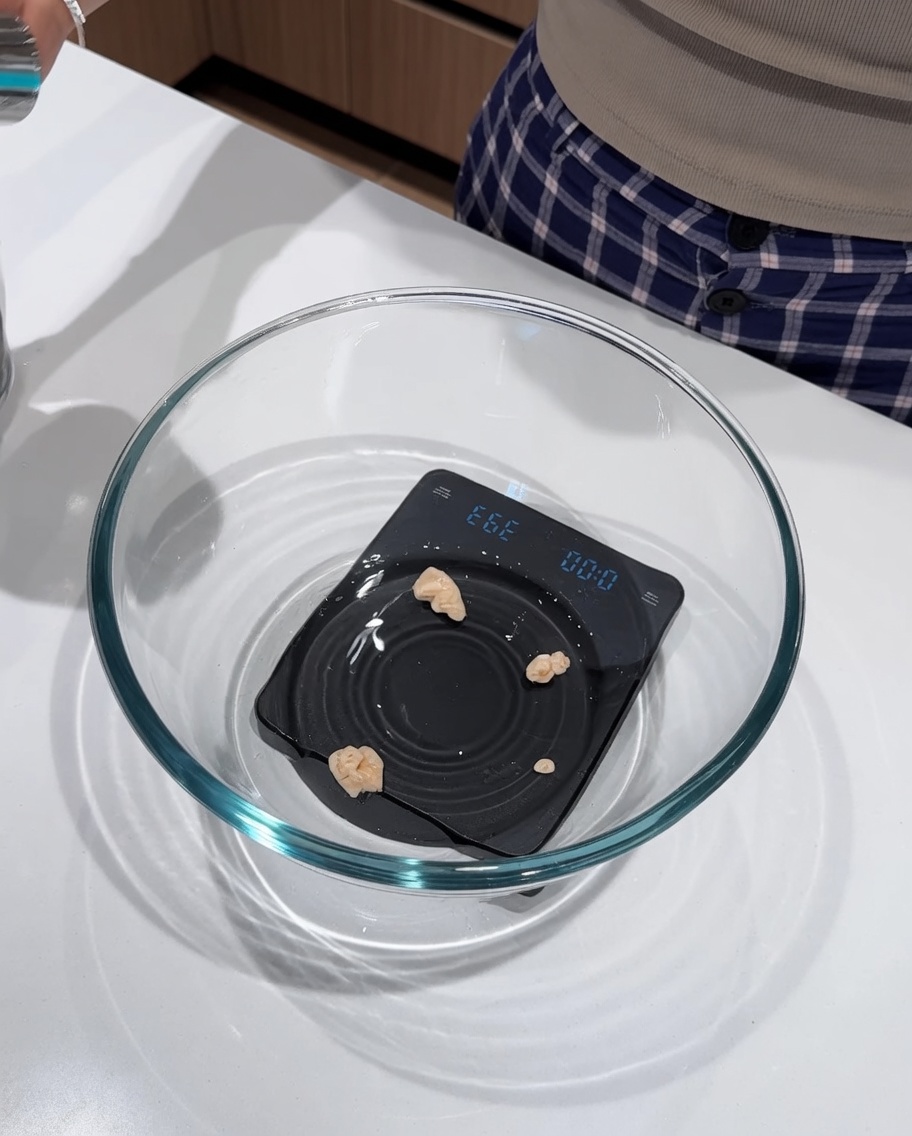
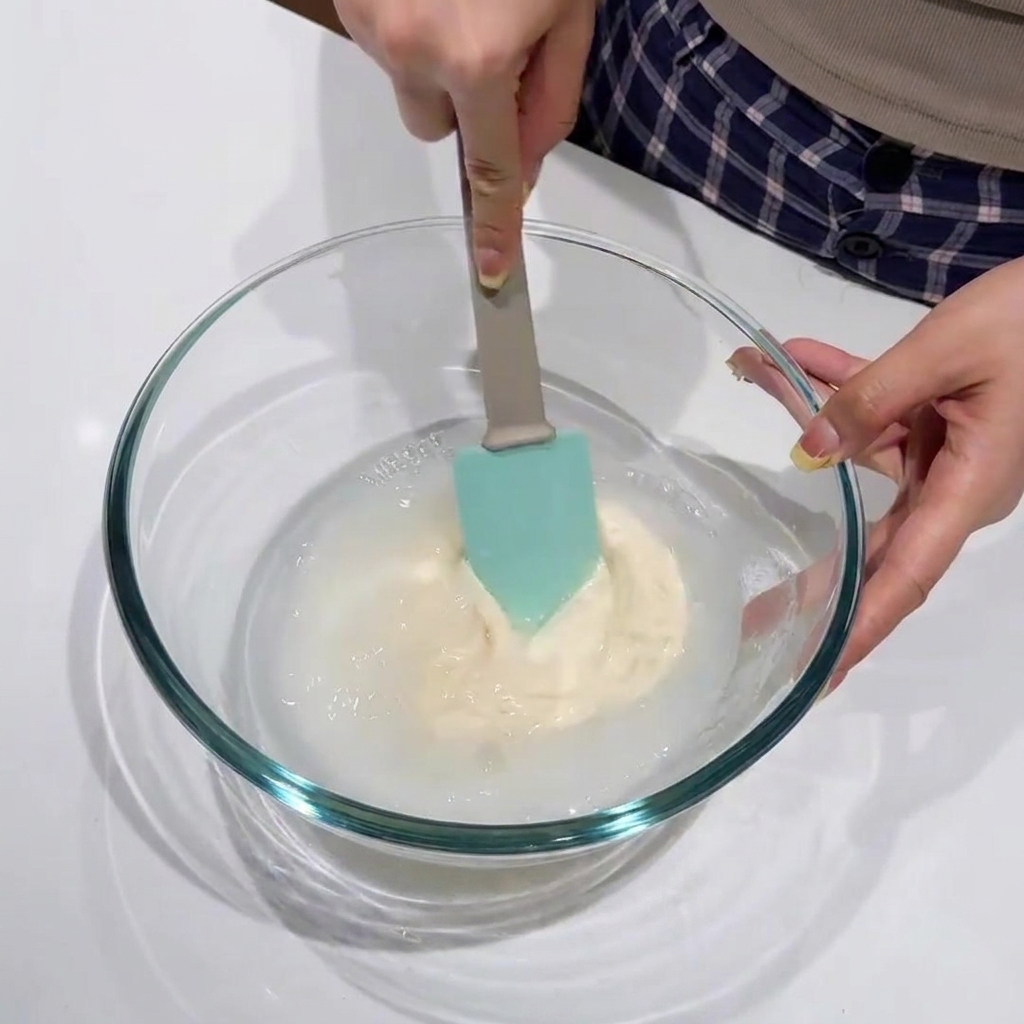
Combine 30g of flour, 30g of water, and 1g of yeast in a glass bowl. Mix until incorporated and let it ferment until it has doubled or tripled in size.
Tip: Using a poolish helps develop a more complex flavor and better texture in your final pizza crust. - 2Combine main dough ingredients
Add 300g flour, 60g of the prepared poolish, 2g yeast, 200g water, 15g honey, 6g salt, and 15g olive oil into the bowl.
Tip: Dissolve the yeast and poolish in the water first for an even distribution throughout the dough. - 3Mix the dough
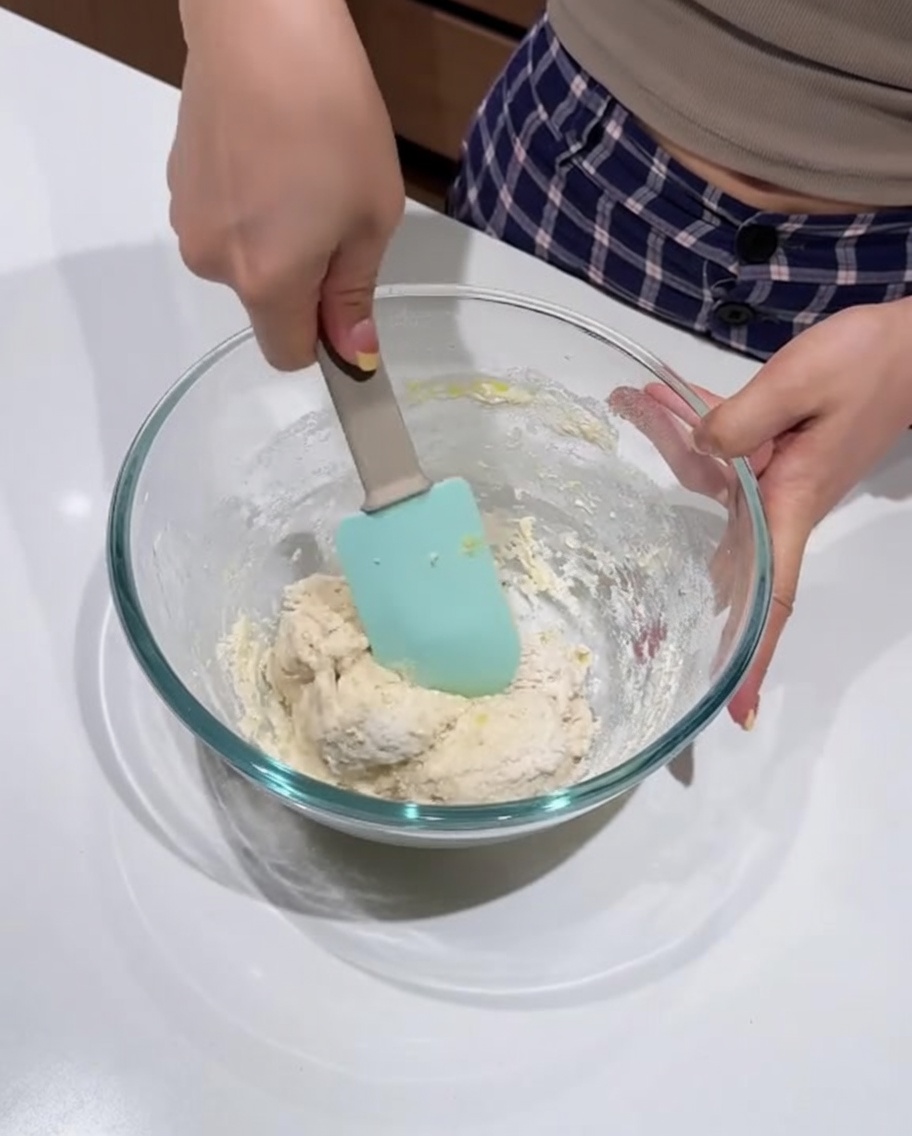
Stir the ingredients thoroughly with a spatula until all the dry flour is fully hydrated and no loose bits remain.
Tip: Ensuring all flour is hydrated at this stage prevents dry clumps in the final dough. - 4First stretch and fold
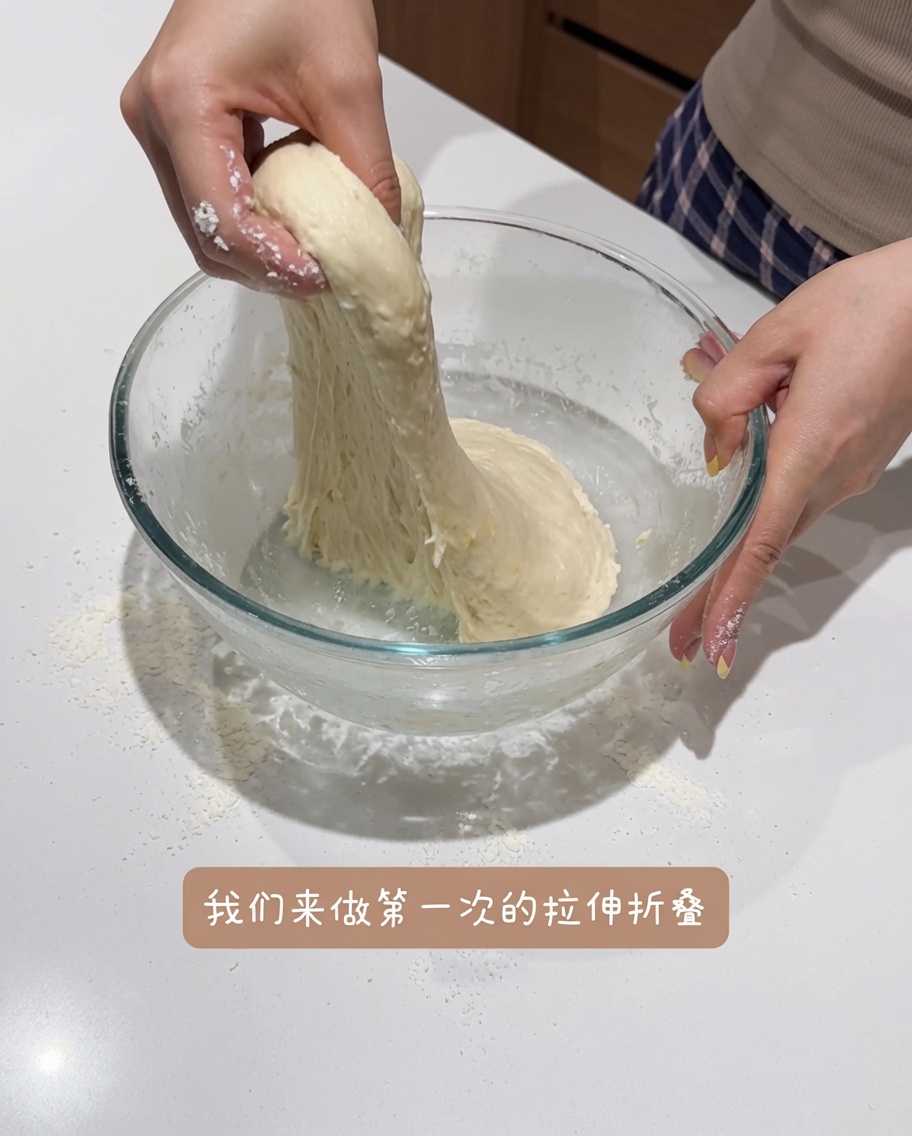
After a 40-minute autolyse, perform the first series of stretches and folds to build strength in the dough. Gently stretch the edge of the dough upward and fold it over the center, rotating the bowl as you go.
Tip: Gentle handling is key to preserving air bubbles while strengthening the gluten network. - 5Shape into a smooth ball
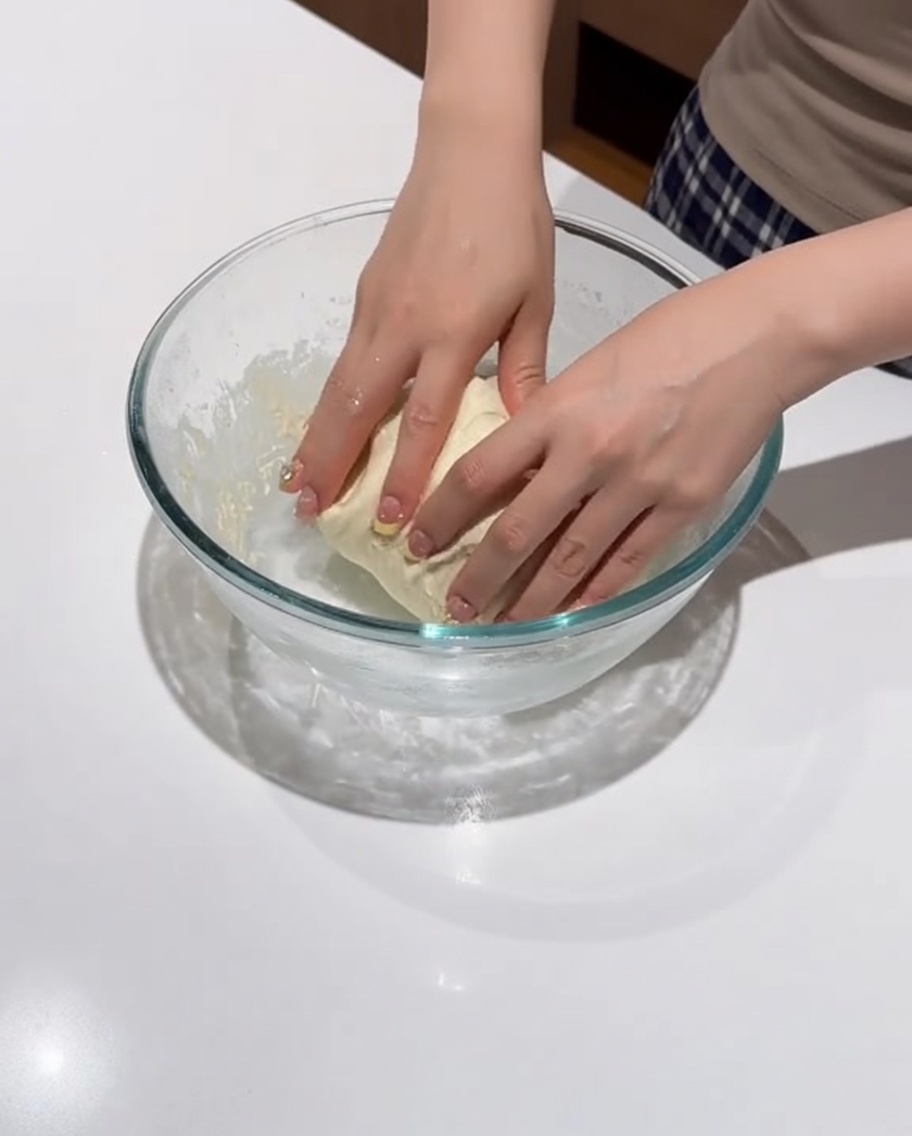
Gather the dough and tuck the edges underneath to create tension, forming a smooth, round ball before proofing.
Tip: Creating good surface tension helps the dough maintain its shape during the final rise. - 6Divide and portion
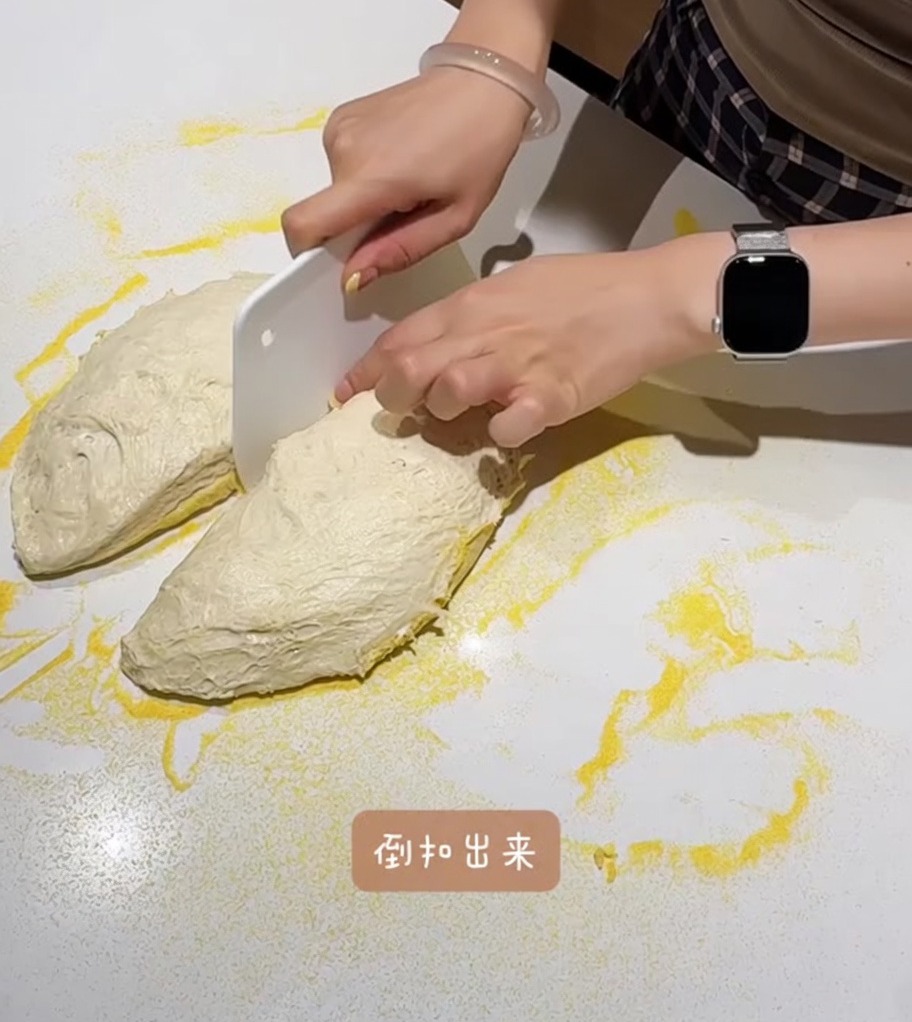
Place the fermented dough onto a surface lightly dusted with cornmeal and use a bench scraper to divide it into two equal portions.
Tip: Cornmeal prevents the dough from sticking to the counter while adding a nice texture to the bottom of the crust. - 7Shape the dough
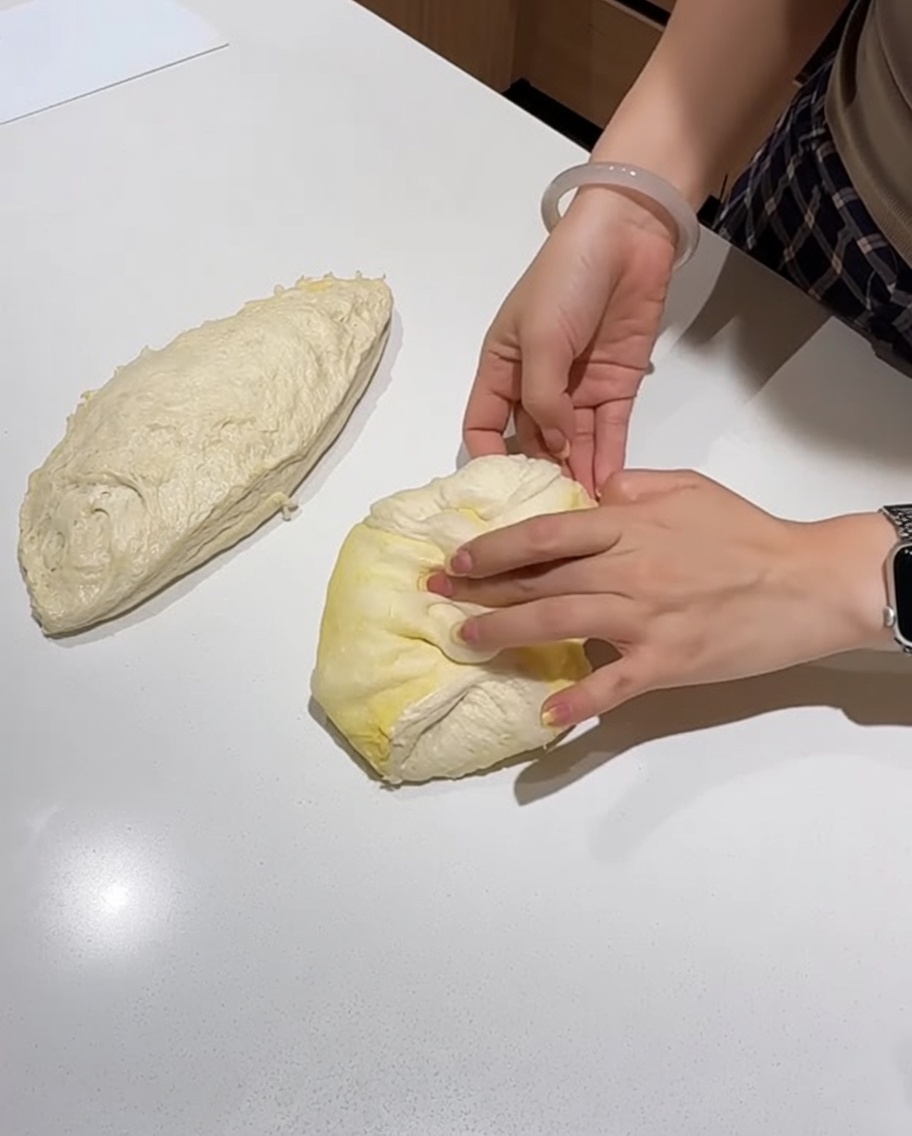
Take the divided dough portions and carefully shape them into tight rounds. Creating a smooth, taut surface is important for structure before letting them proof for 40 minutes.
Tip: Handle the dough gently to keep the air bubbles intact from the fermentation process. - 8Shape the pizza dough
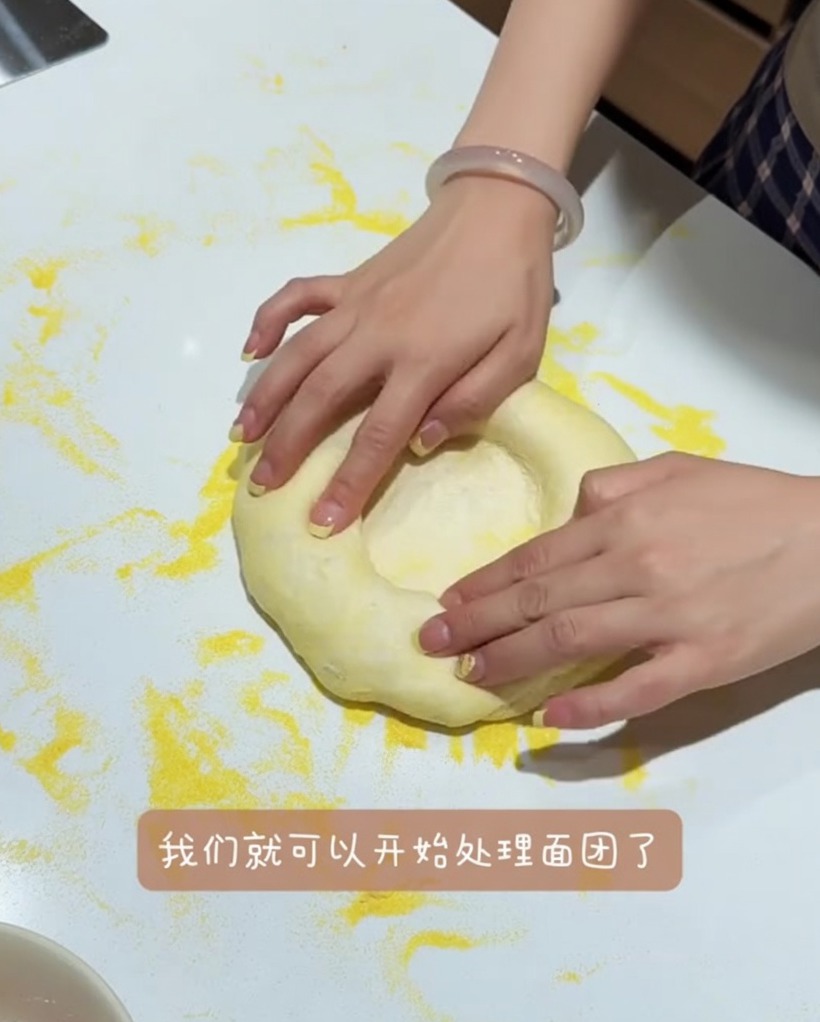
Take a proofed dough ball and gently stretch it on a pizza peel. Use your fingertips to press from the center outward, carefully maintaining the thickness of the rim to ensure a nice, airy crust after baking.
Tip: Keep the rim intact while stretching to ensure a light, puffy crust. - 9Add tomato sauce
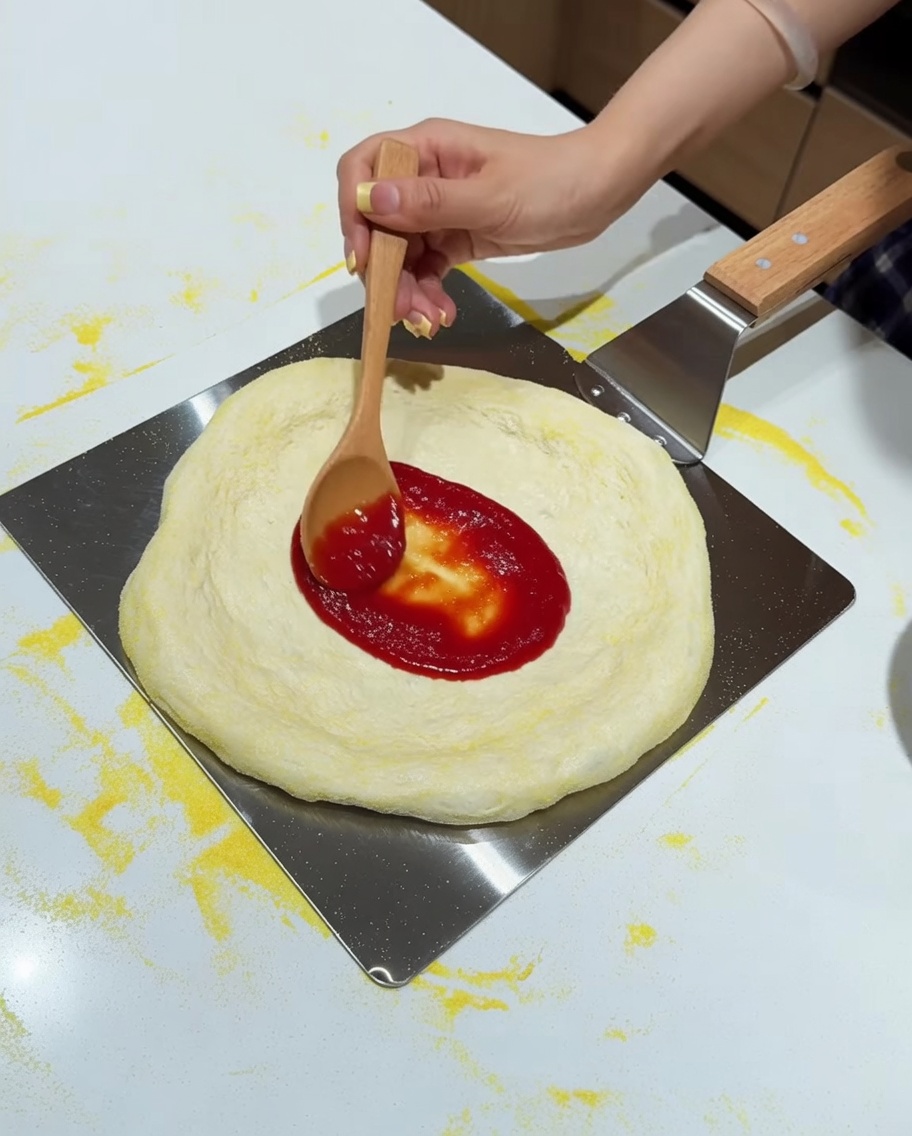
Transfer the stretched dough to a metal pizza peel. Spoon tomato sauce into the center and use the back of the spoon to spread it out evenly in a circular motion, stopping just before the raised crust.
Tip: Apply a light layer of sauce to prevent the center of the pizza from becoming soggy during baking. - 10Add salami and toppings
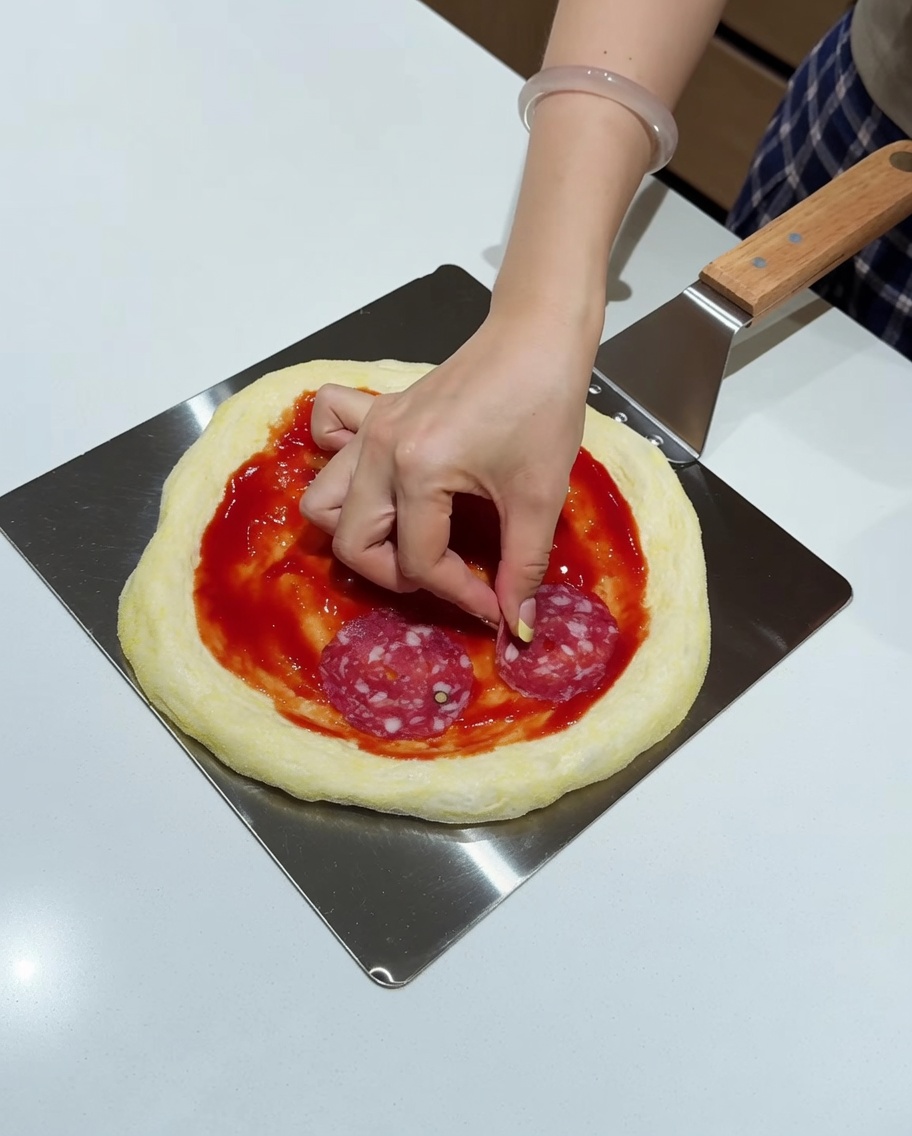
Arrange slices of salami evenly over the layer of tomato sauce, then sprinkle with grated cheese. Ensure the toppings are spread uniformly for a perfect bite once baked.
Tip: Avoid overloading the center with heavy toppings so the crust can bake all the way through.