Homemade Italian Margherita Pizza
Create an authentic thin-crust Margherita pizza at home. This recipe uses an autolyse technique to achieve a chewy crust with large air bubbles without overnight fermentation.
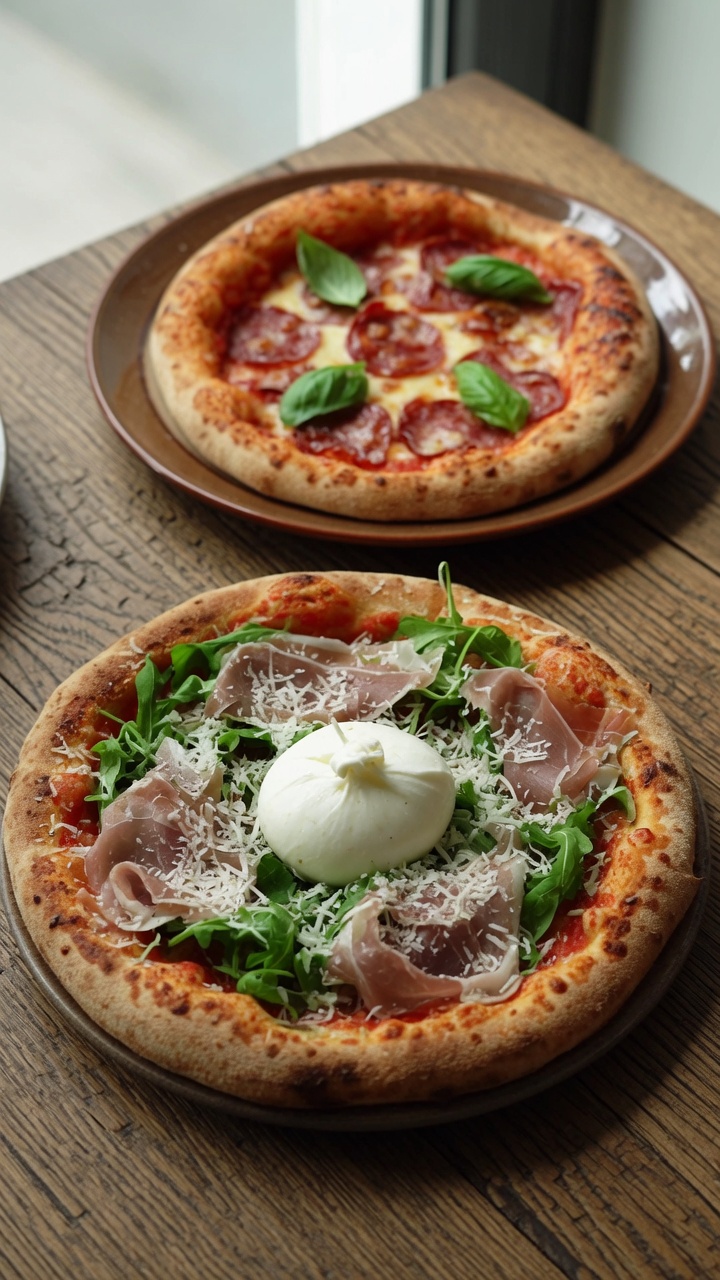
The Margherita pizza is the gold standard of Italian simplicity, balancing the bright acidity of tomato sauce with the creamy mildness of fresh mozzarella and the aromatic sweetness of basil. This version honors tradition while using a clever, accessible technique to achieve a professional-quality crust in just a few hours. By focusing on high-quality ingredients and the right temperature, you can bring the pizzeria experience into your own kitchen.
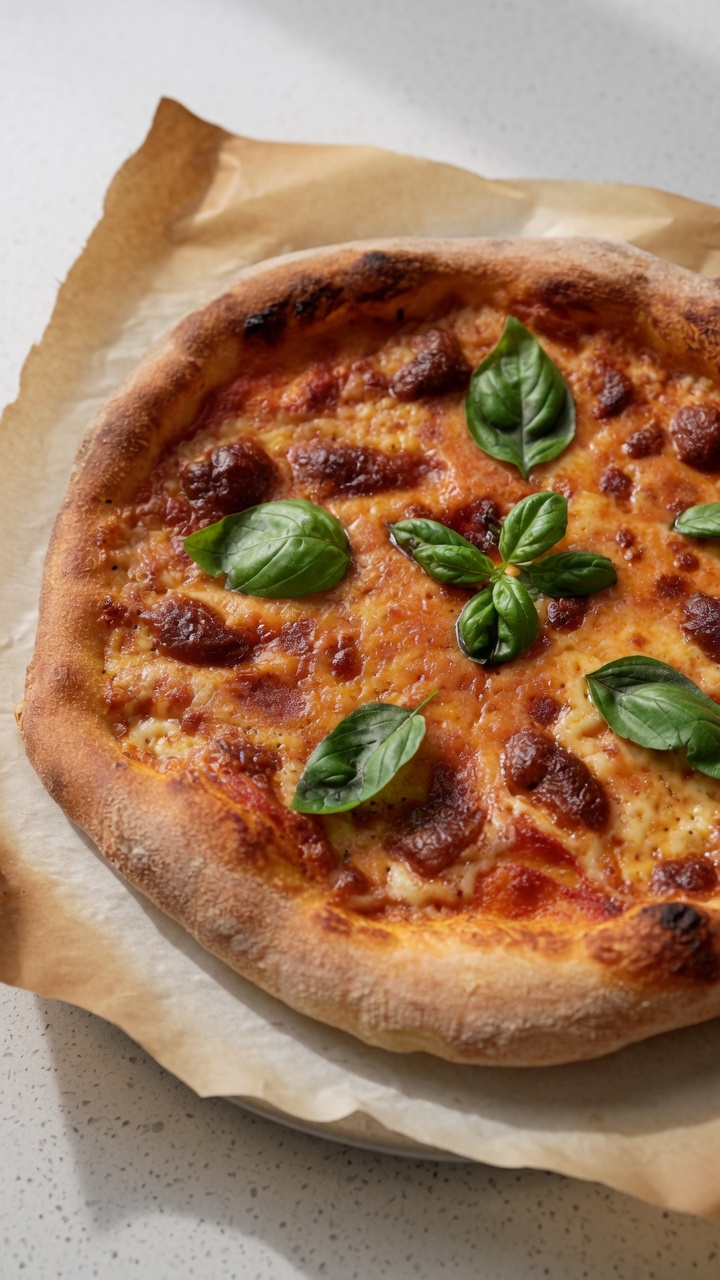
Ingredients
- 300 g all-purpose flour
- 200 ml lukewarm water
- 3 g instant yeast
- 5 g salt
- 15 ml olive oil
- 50 g cornmeal
- 150 g mozzarella cheese, sliced
- 100 ml Italian tomato sauce
- 5 leaves fresh basil
- to taste sea salt
- to taste black pepper
Instructions
- 1Dissolve the yeast
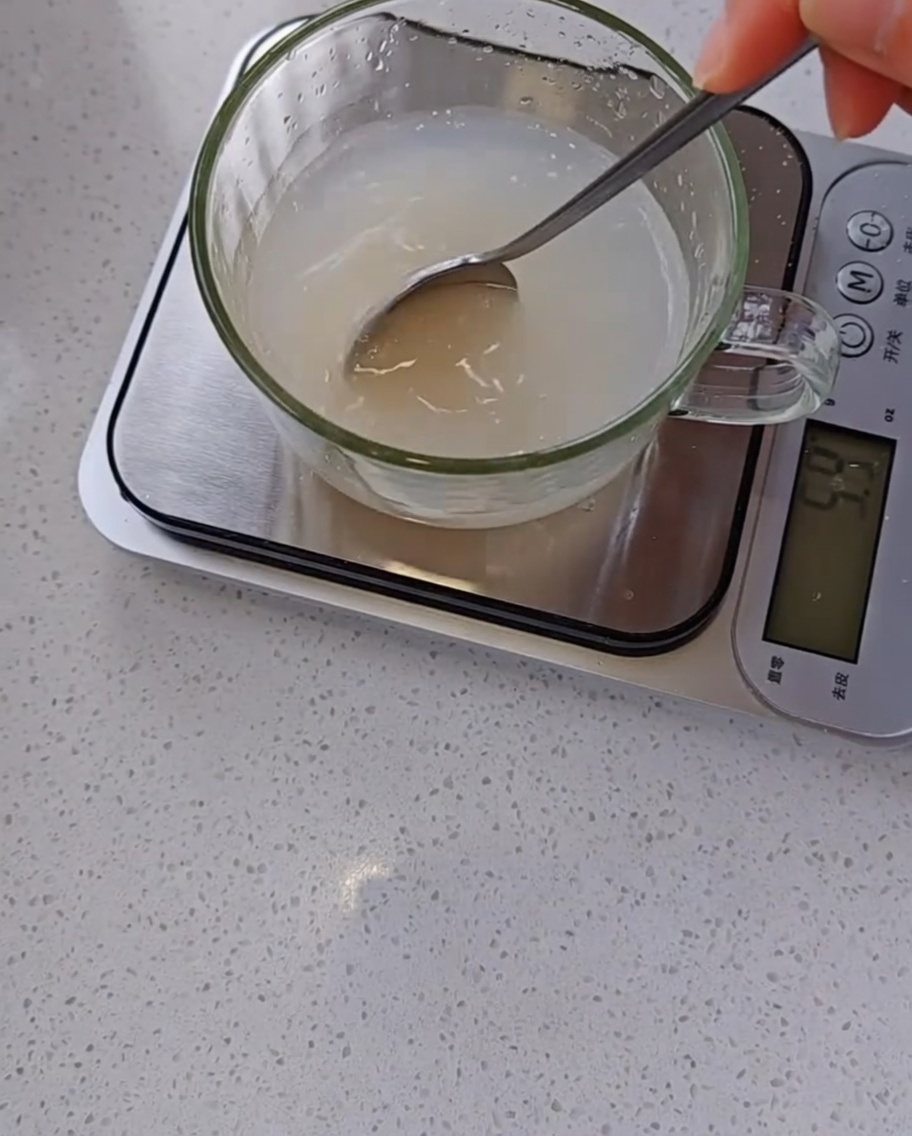
In a glass measuring cup, combine the water and yeast. Stir the mixture thoroughly until the yeast is completely dissolved. This step activates the yeast, preparing it to properly leaven the pizza dough.
Tip: Use lukewarm water to help the yeast dissolve and activate more quickly, but avoid using hot water which can kill the yeast. - 2Combine the wet and dry ingredients
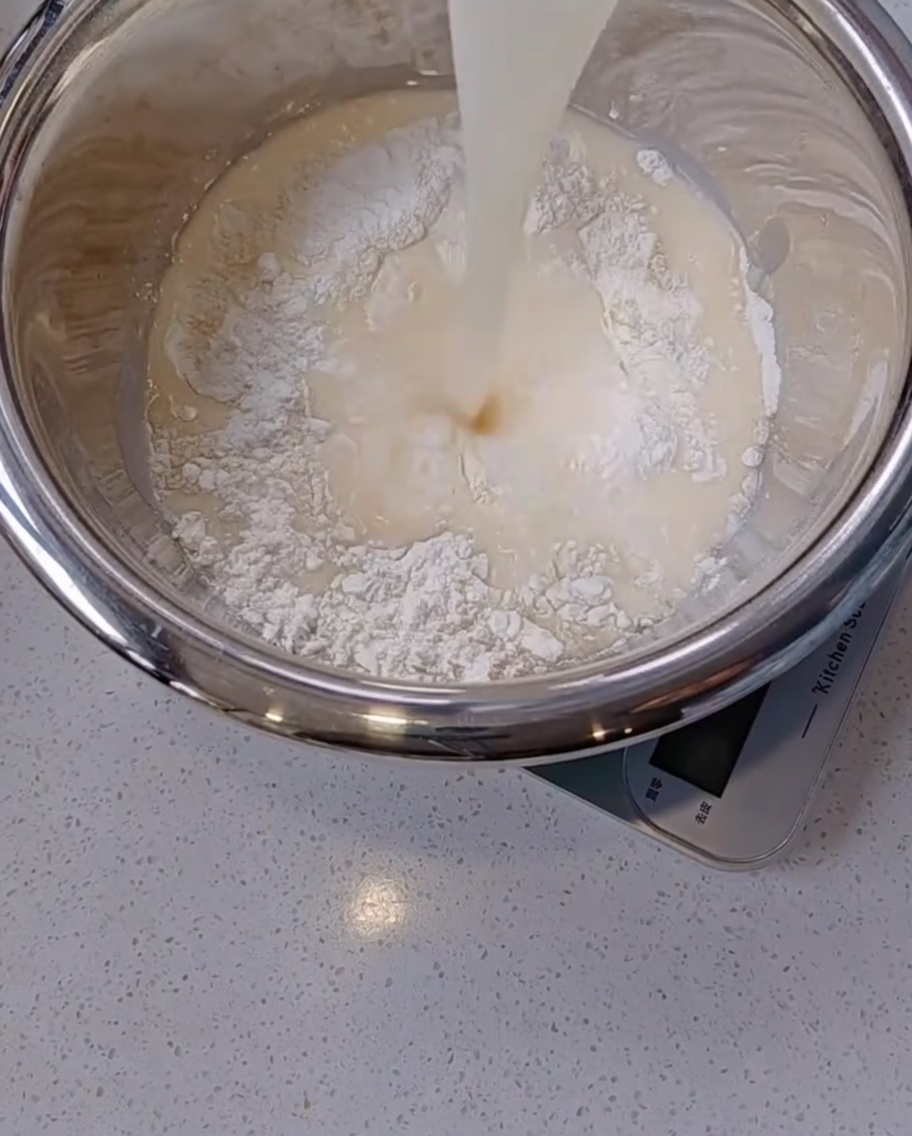
First, add salt to your flour in a mixing bowl. Then, pour the completely dissolved yeast and water mixture directly into the flour, and add a few swirls of olive oil. These ingredients will form the base of your savory, chewy pizza crust.
Tip: Ensure the salt is mixed into the dry flour before pouring in the yeast water, as direct contact with high concentrations of salt can inhibit yeast activity. - 3Mix until fully combined
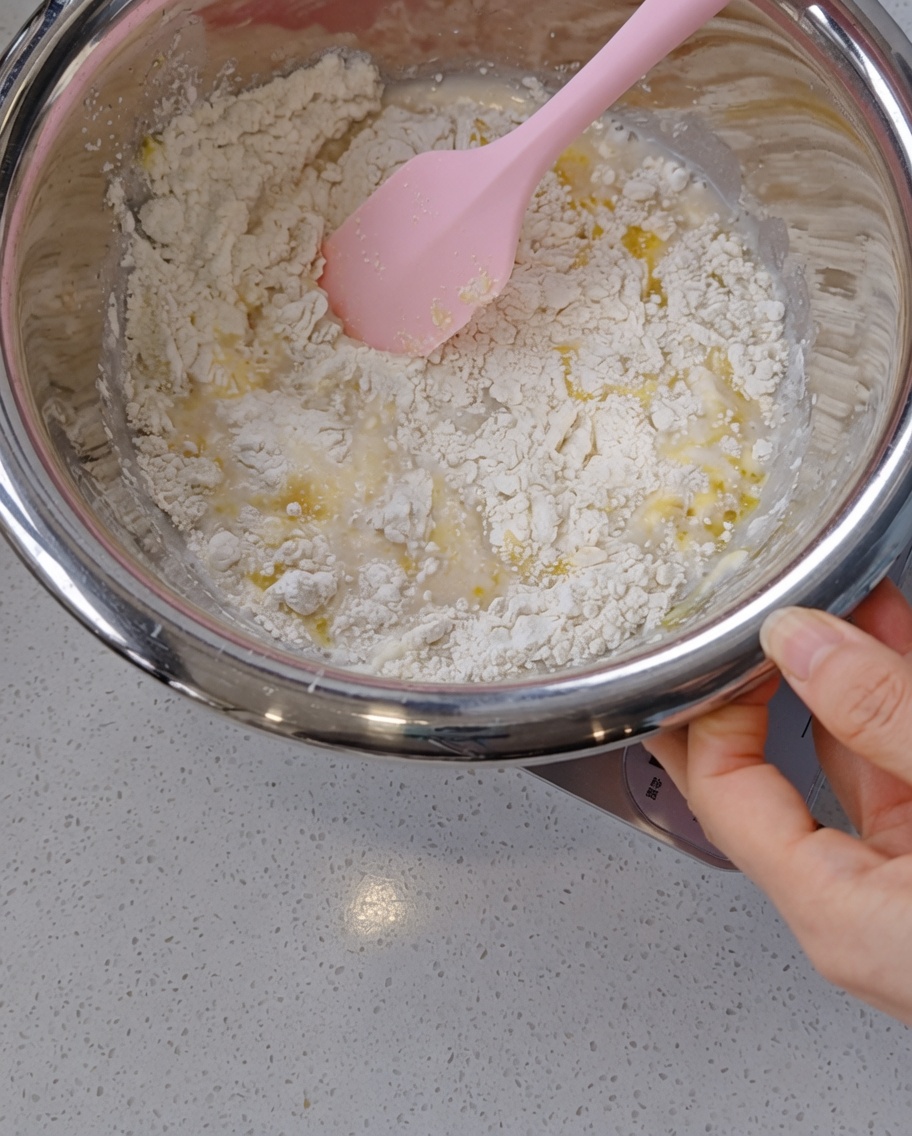
Use a silicone spatula to stir the wet and dry ingredients together. Continue mixing until the water and olive oil are fully absorbed and there is absolutely no dry flour left in the bowl, creating a shaggy, rough dough.
Tip: Scrape the bottom and sides of the bowl thoroughly with your spatula to ensure all the dry pockets of flour are incorporated into the dough. - 4Form the dough ball
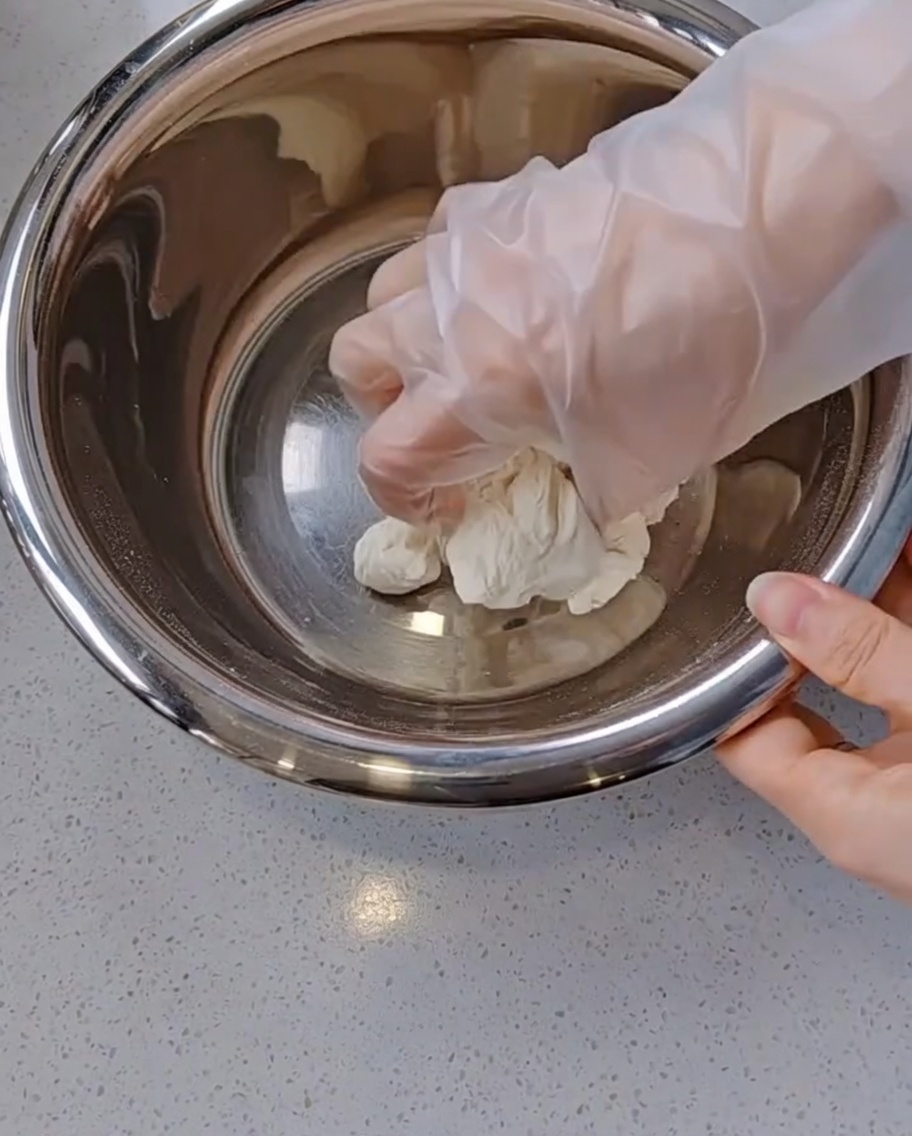
Once the flour is fully hydrated, use your hands to gently knead the mixture together into a cohesive dough ball right in the bowl. There is no need for excessive or rough kneading at this stage; simply bring the mass together.
Tip: Wear food-safe gloves or dip your hands lightly in water to prevent the sticky dough from clinging to your fingers as you form the ball. - 5Stretch and fold
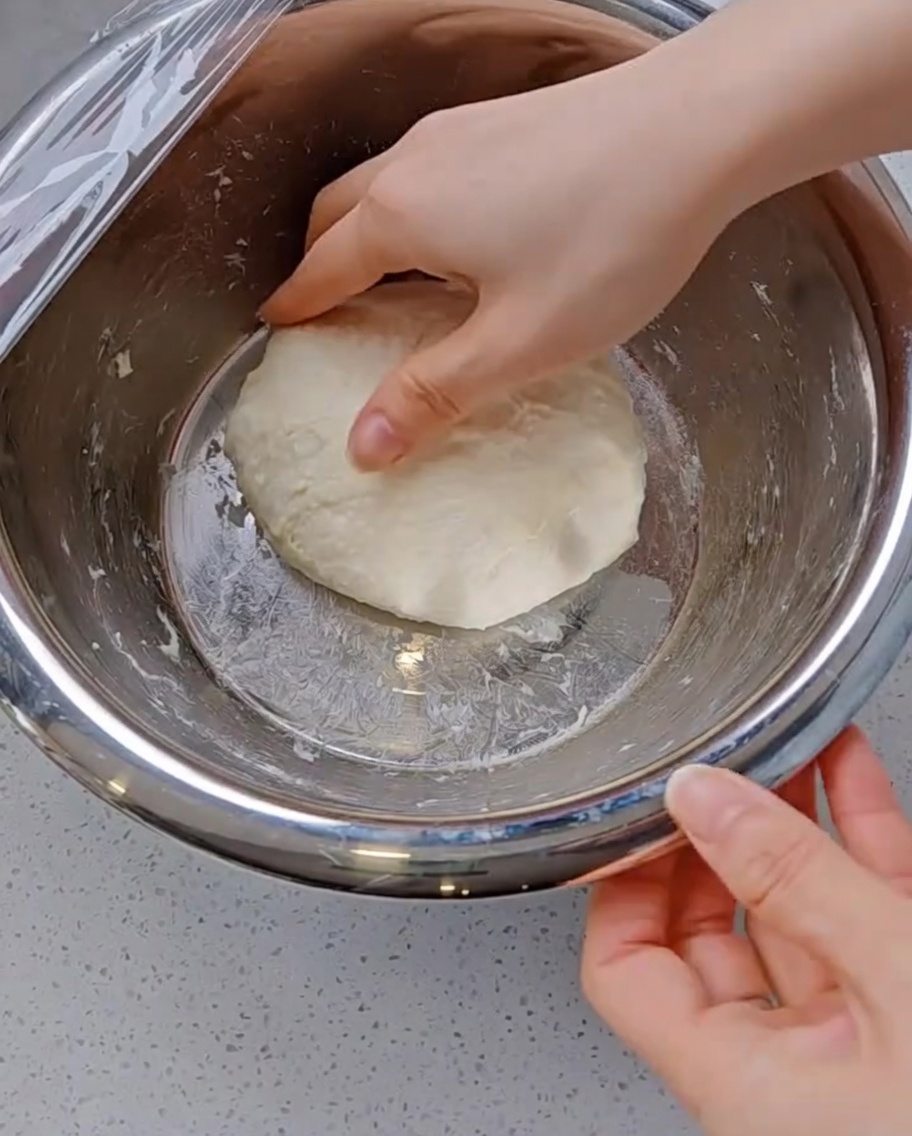
Cover the dough with plastic wrap and let it rest for 20 minutes to autolyse. After resting, dip your hands in water to prevent sticking, and perform a stretch and fold: grab the edge of the dough, stretch it upwards, and fold it into the center. Continue around the dough until it resists stretching, then gently toss and flip it to smooth the surface.
Tip: Resting the dough (autolyse) allows the gluten to relax and hydrate naturally, making it much easier to stretch without tearing. - 6Round and smooth the dough
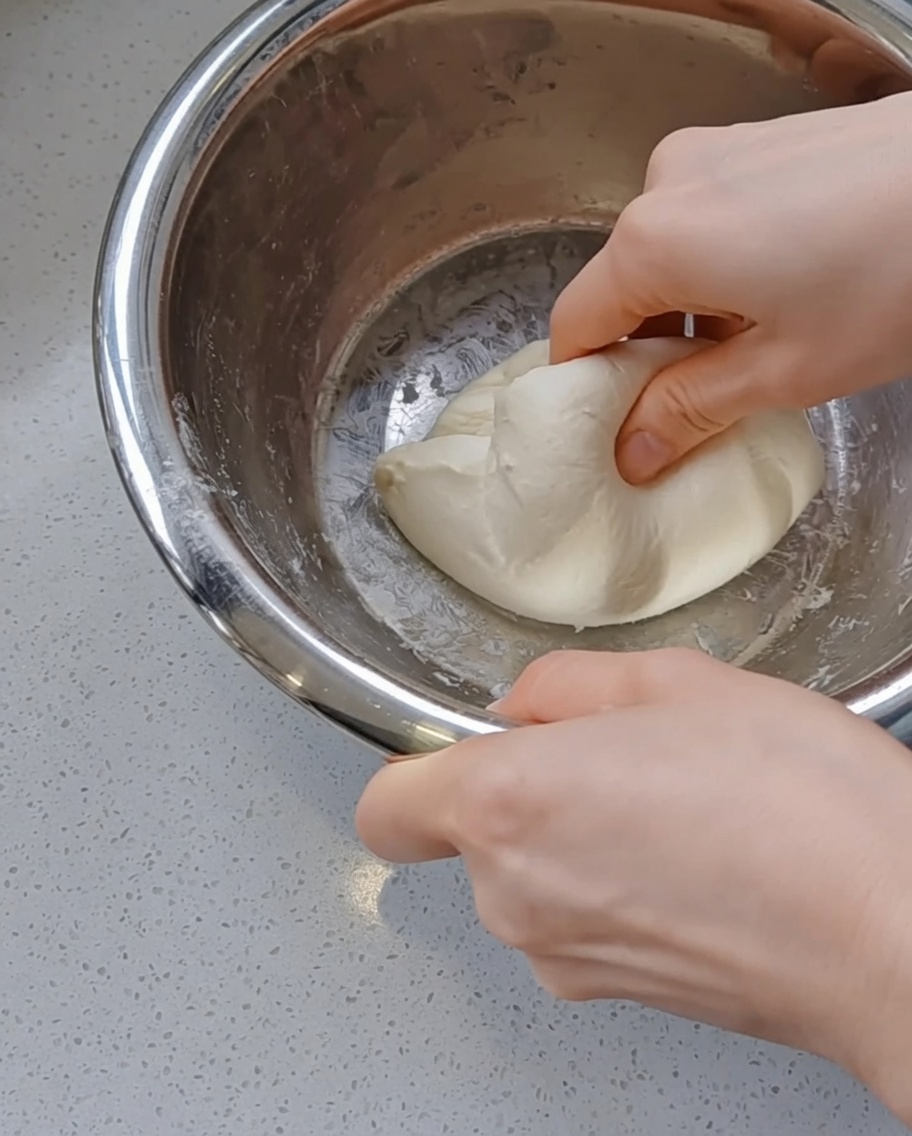
After the first round of stretching and folding, gently toss and shape the dough in the bowl until its surface becomes smooth and rounded. This helps build structure without overworking the dough. Cover the bowl with plastic wrap and let it rest for another 20 minutes.
Tip: Keeping your hands slightly wet while handling the dough will prevent it from sticking to your fingers. - 7Second stretch and fold
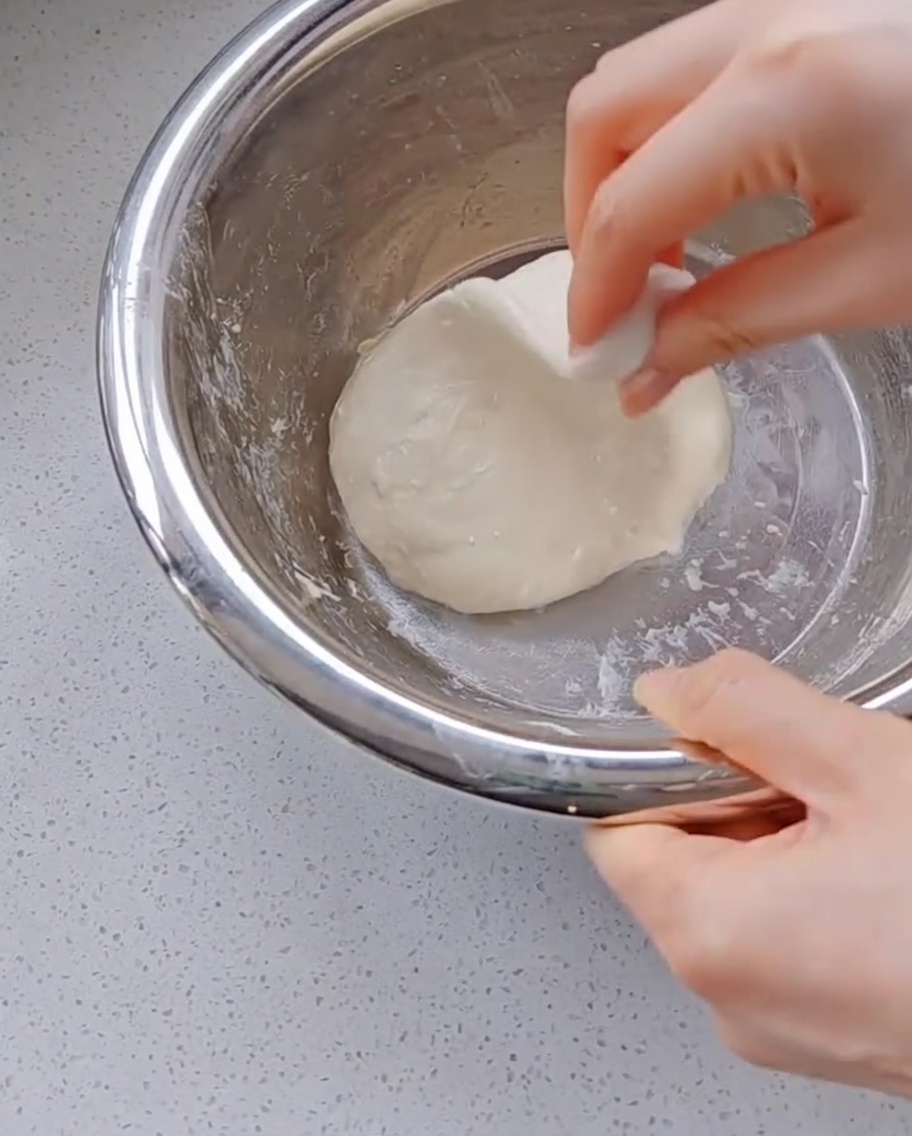
Once the 20-minute resting period is complete, the doughs elasticity will have significantly improved. Perform a second round of stretching and folding by pulling the dough upwards from the edges and folding it back towards the center. After smoothing it out once more, cover the bowl again.
Tip: This resting and folding process builds a strong gluten network, which is essential for creating large air holes in the crust without needing an overnight fermentation. - 8Dust with cornmeal
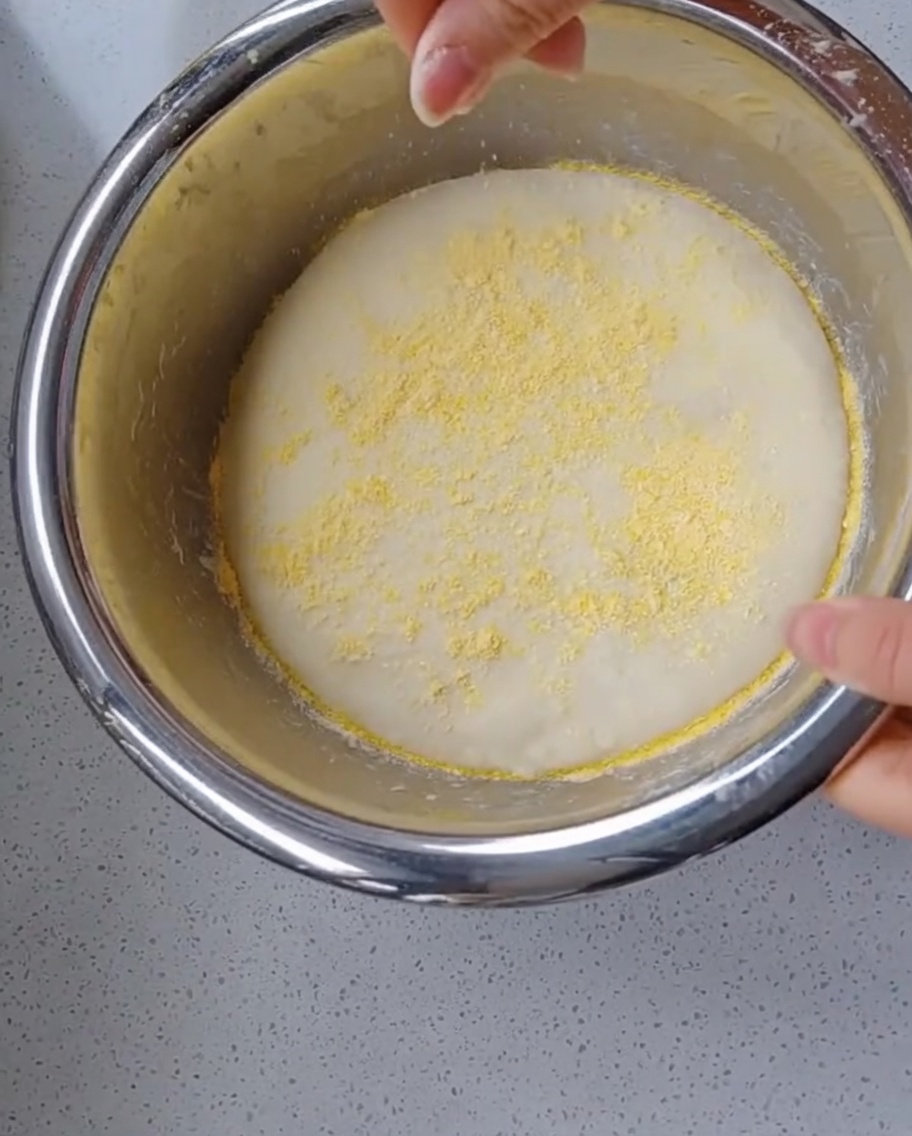
Place the covered bowl in a warm area (around 30 degrees Celsius) and let the dough ferment until it has doubled in size. Once fully fermented, generously sprinkle cornmeal over the top of the dough in the bowl, as well as over your work surface.
Tip: The cornmeal prevents the sticky dough from adhering to surfaces and gives the baked pizza crust a rustic, slightly crunchy bottom. - 9Shape the pizza base
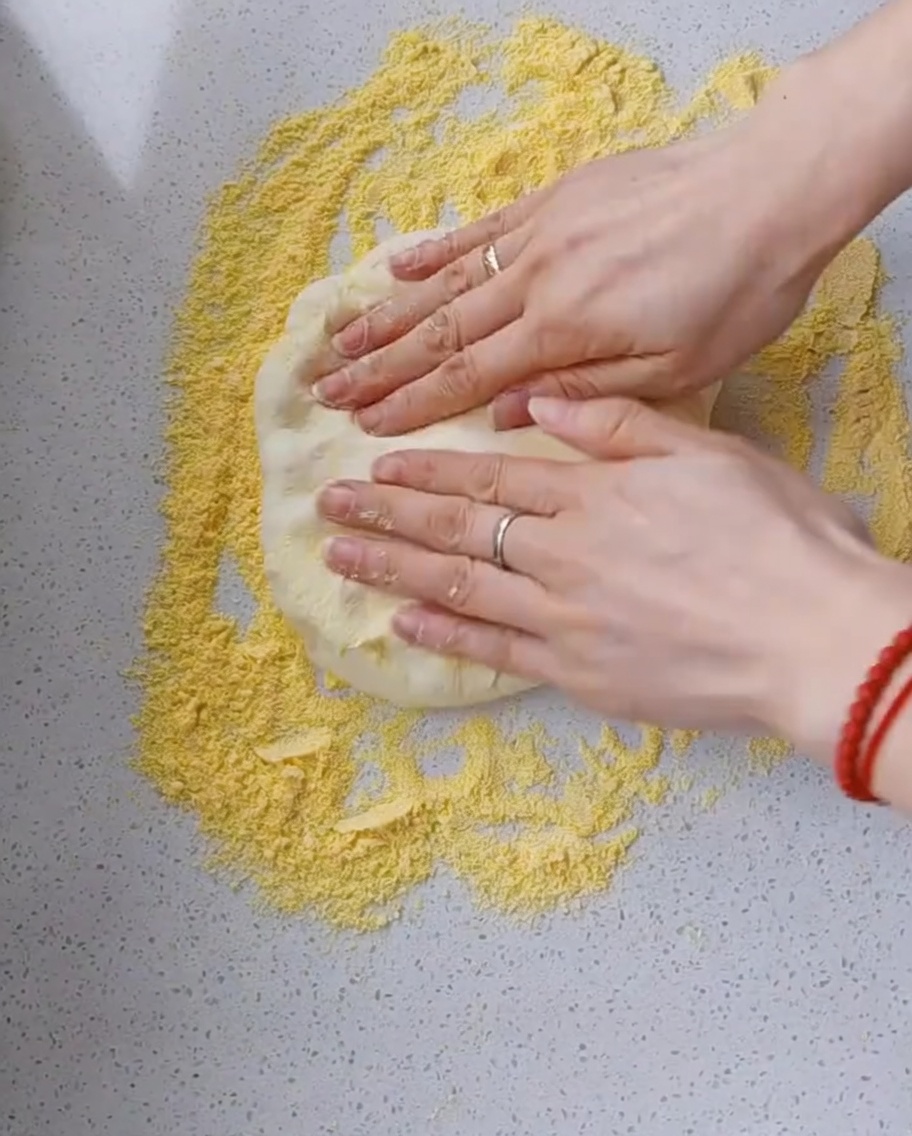
Carefully transfer the dough onto your cornmeal-dusted work surface. Using your fingertips, gently press down into the dough, starting from the center and slowly working your way outwards. This pushes the trapped air towards the edges to create a puffy crust.
Tip: Be gentle and take your time stretching; do not use a rolling pin, as it will crush the air bubbles you carefully developed during fermentation. - 10Stretch the dough
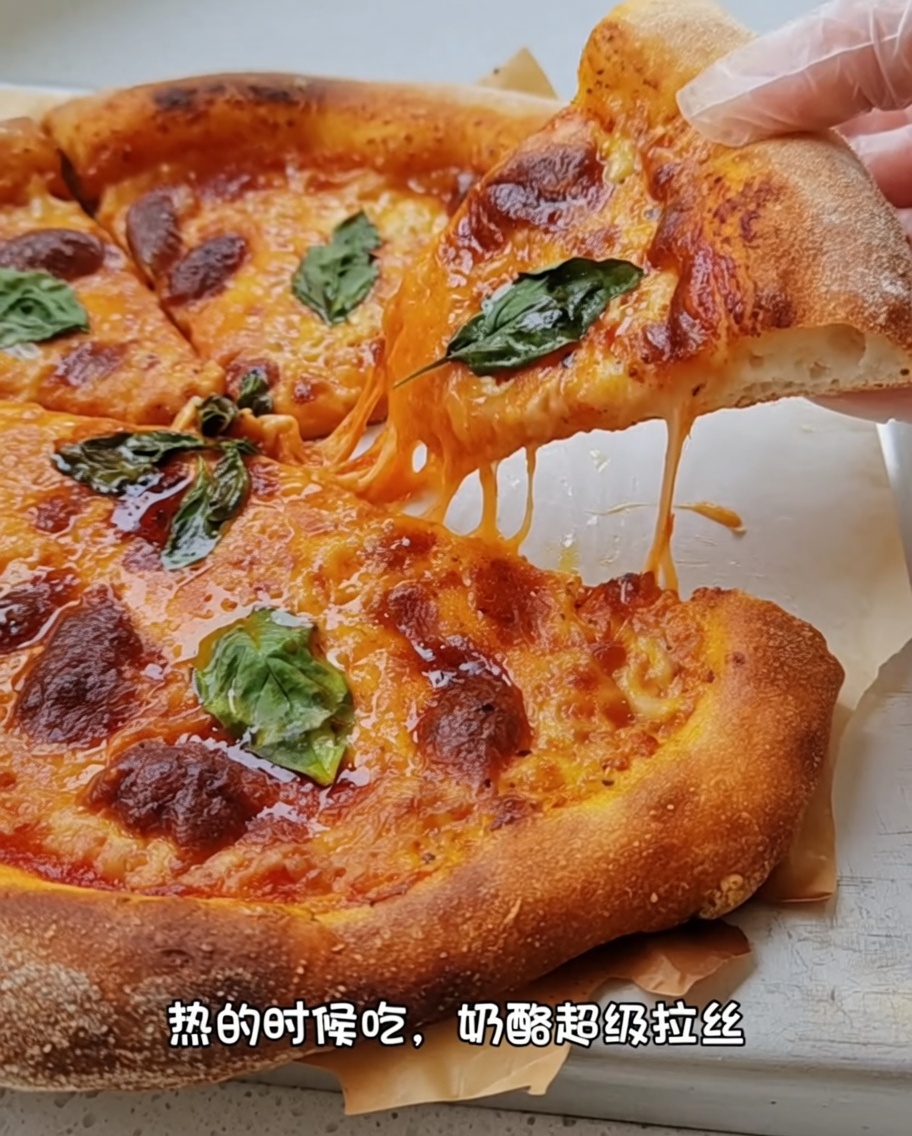
With the dough rested and pliable, use your fingers to press from the center outward. Then, carefully use your knuckles underneath the dough to gently stretch it further until it reaches the desired size and thinness.
Tip: Be gentle with your knuckles to avoid tearing the delicate, aerated dough. - 11Transfer to tray
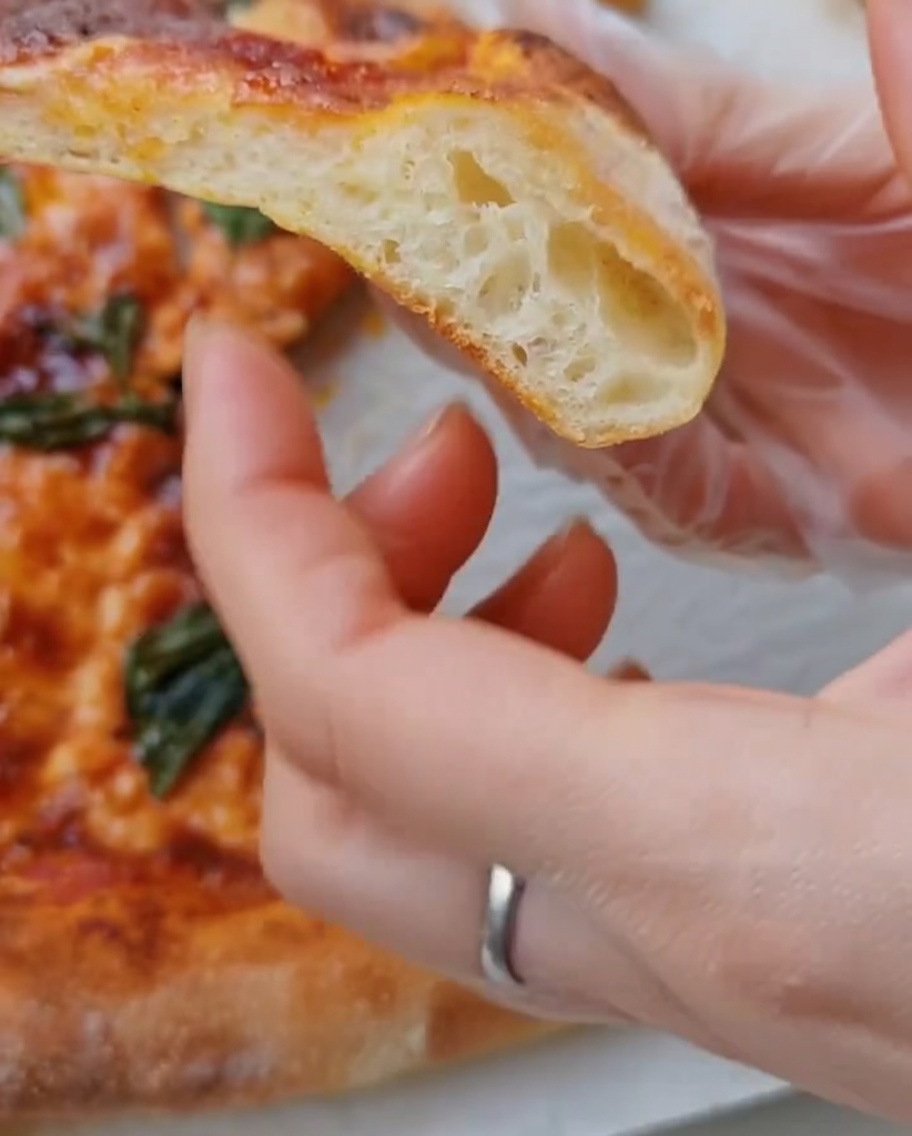
Carefully lift the stretched dough and place it onto a baking sheet lined with parchment paper. Gently adjust the edges to ensure an even shape, ready for toppings.
Tip: If the dough feels sticky, ensure there is a light dusting of cornmeal or flour on your work surface. - 12Add tomato sauce
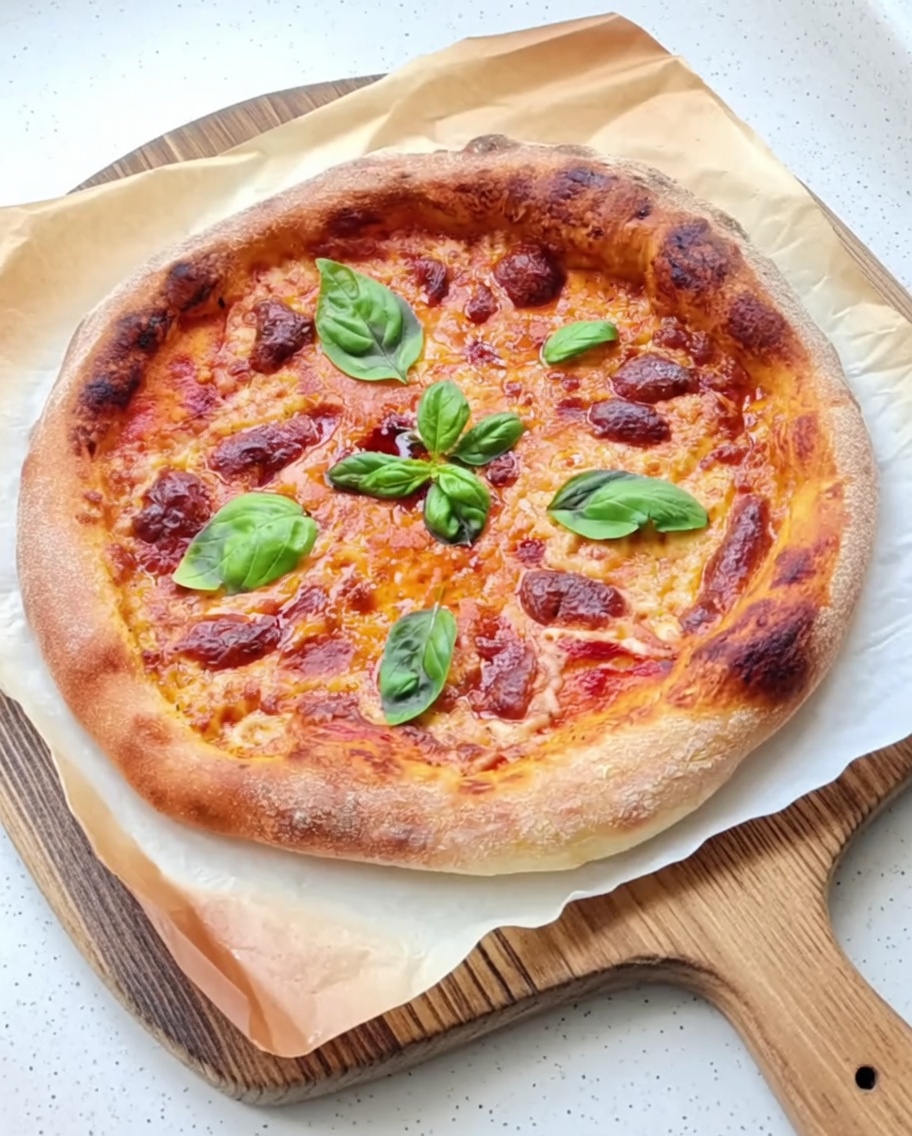
Squeeze a generous amount of Italian tomato sauce onto the center of the pizza dough. Use the back of a spoon to spread it evenly in a circular motion, leaving a small border for the crust.
Tip: Keep the sauce layer thin to ensure the crust stays crispy during baking.