Authentic Pan-Fried Neapolitan Pizza
Experience authentic Neapolitan pizza right at home without an oven, featuring a naturally fermented crust, rich tomato sauce, and fresh buffalo mozzarella.
Neapolitan pizza is a world-renowned culinary tradition cherished for its simple yet high-quality ingredients and distinctive artisanal crust. Making it without a traditional wood-fired oven requires a clever combination of pan-searing and surface torching to achieve that characteristic blistered texture. By using high-gluten flour and allowing a long fermentation process, you develop deep flavor and a wonderfully airy structure.
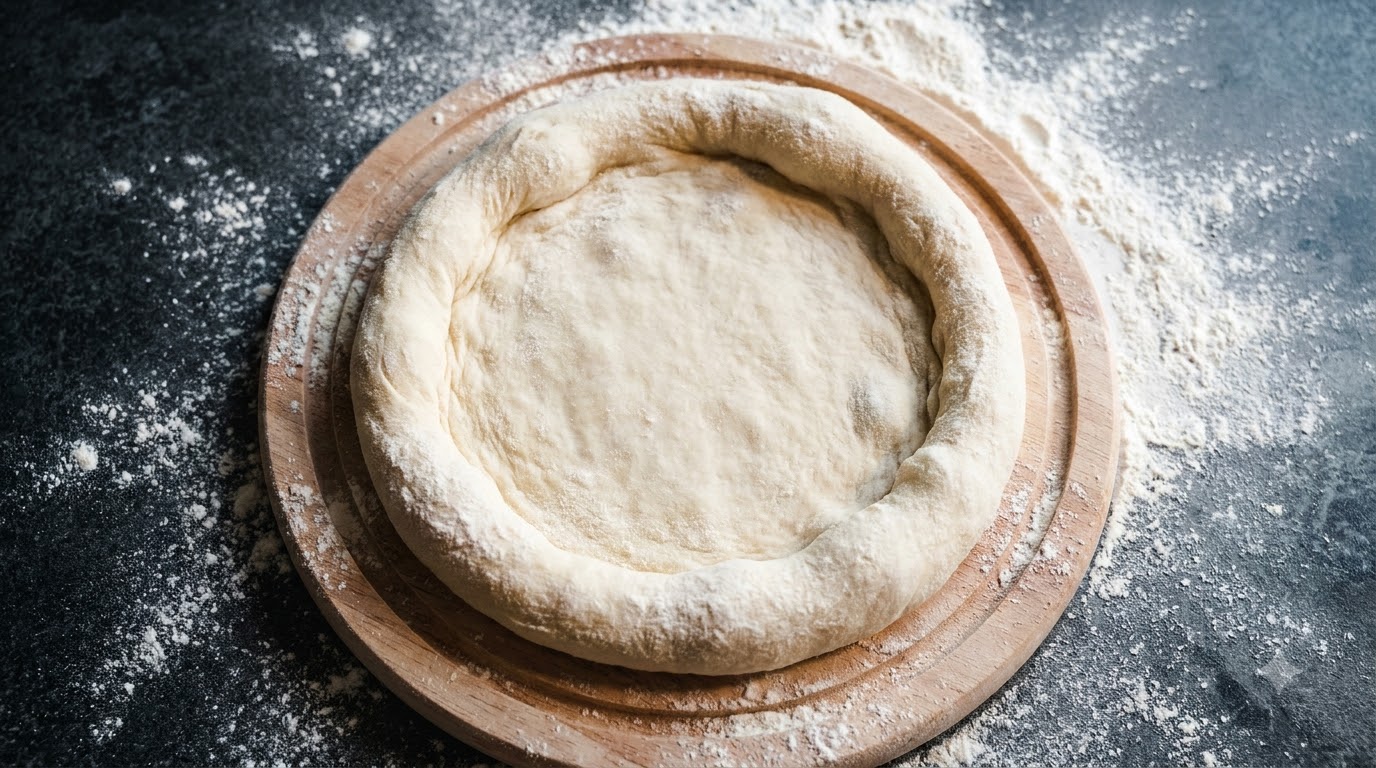
Ingredients
- 272 g high-gluten flour
- 161 ml water
- 4 g dry yeast
- 8 g salt
- 1 can canned whole peeled tomatoes
- 1 pinch sugar
- 2 tbsp olive oil
- 1 ball fresh water buffalo mozzarella
- to taste fresh basil leaves
- to taste cherry tomatoes
Instructions
- 1Pour Water into Bowl
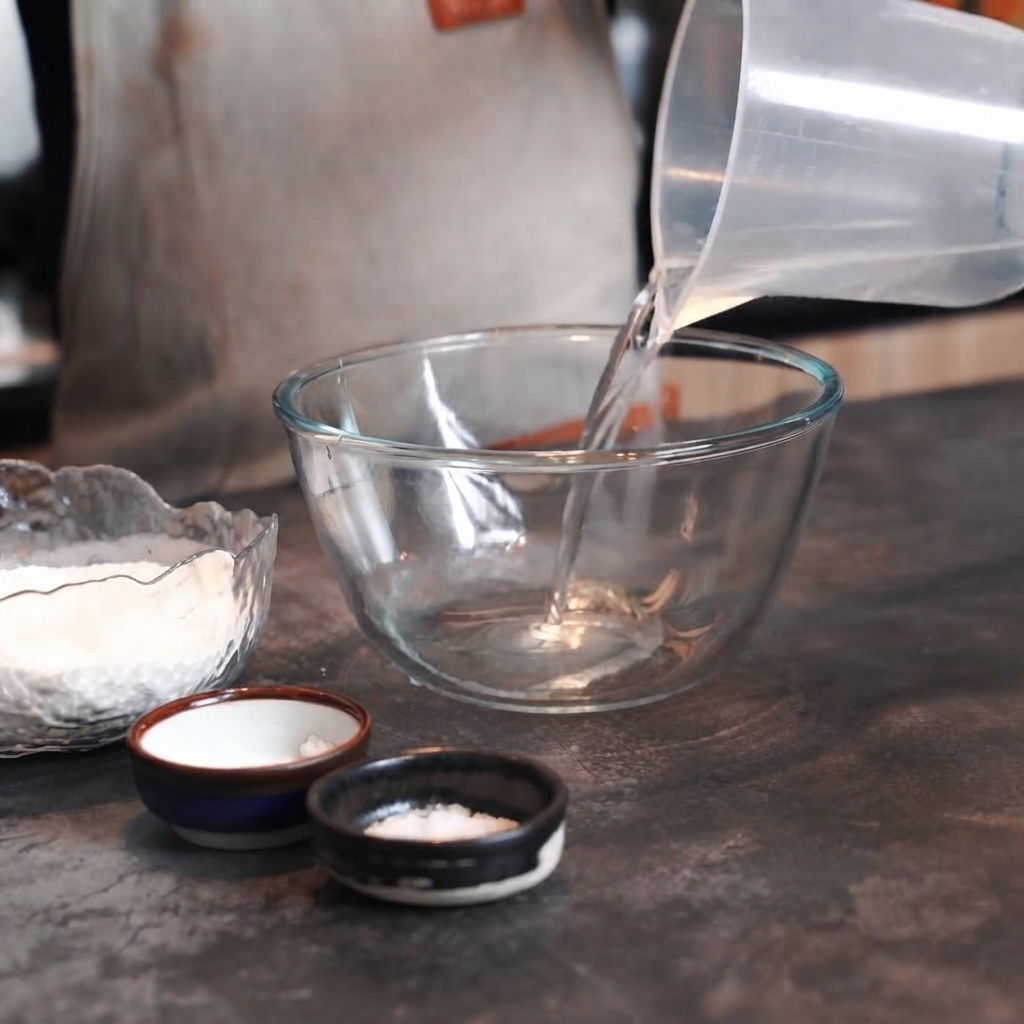
Pour 161g of water from a measuring container into a clear glass bowl to begin preparing the pizza dough mixture.
Tip: Ensure the water measurement is precise for proper dough hydration. - 2Add Salt to Water
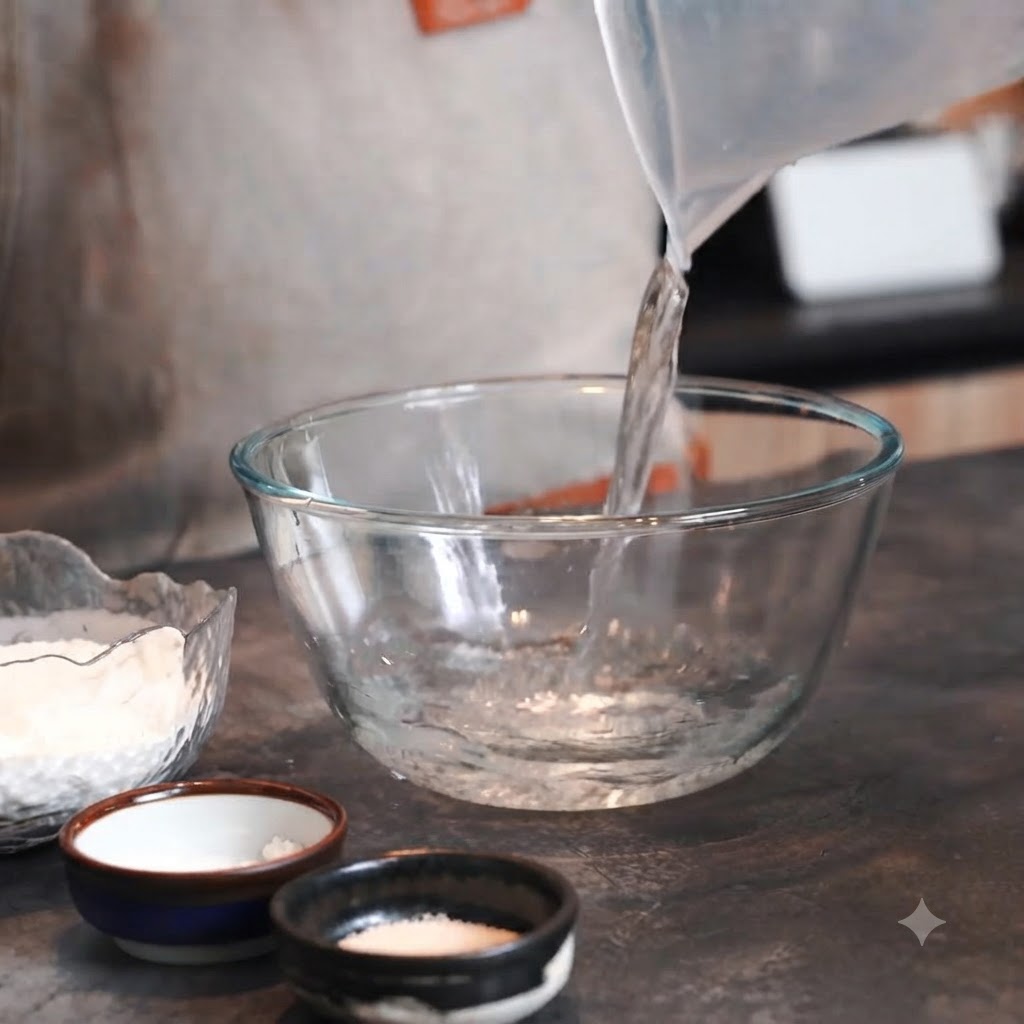
Add 8g of salt from a small container into the bowl containing the water, preparing it to be dissolved.
Tip: Dissolve the salt completely in the water before adding flour and yeast. - 3Dissolve Salt in Water
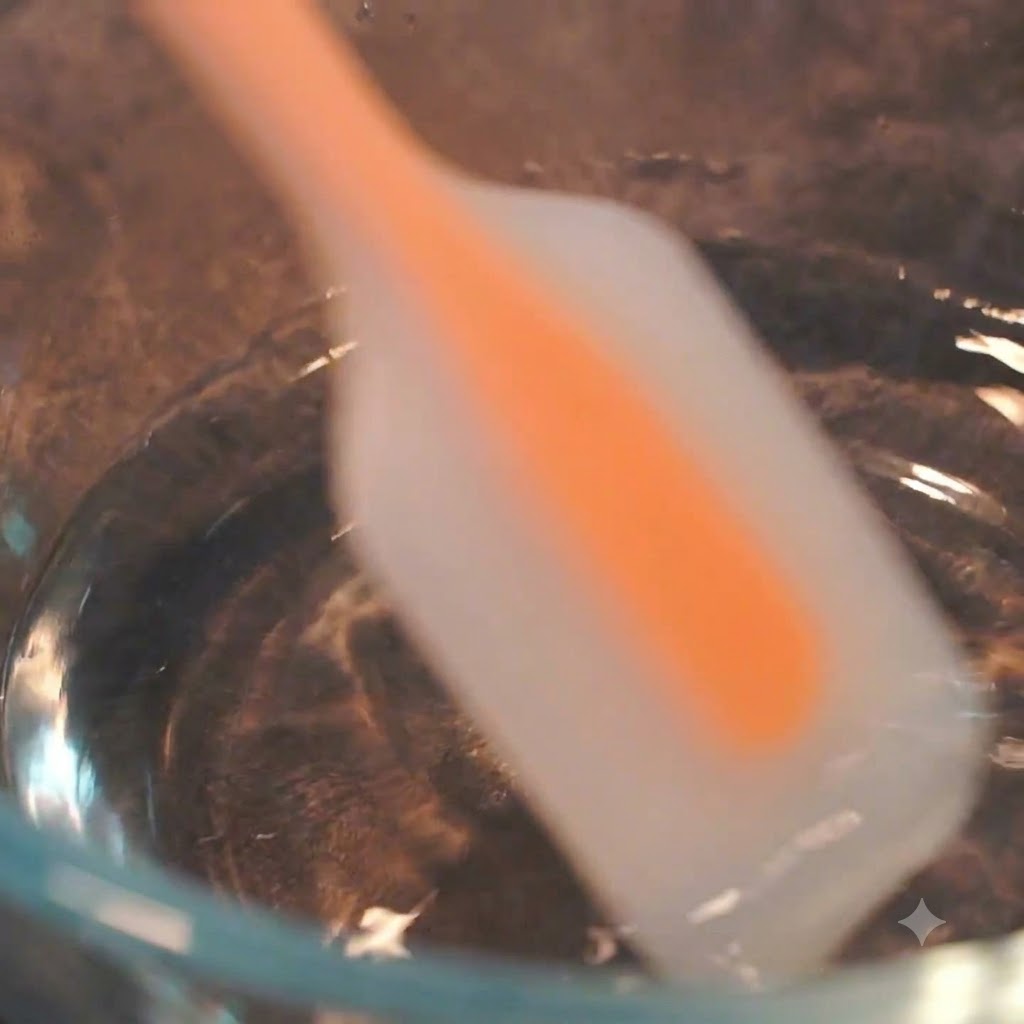
Pour 161g of water into a glass bowl, add 8g of salt, and use a silicone spatula to stir the mixture until the salt is completely dissolved.
Tip: Ensure the salt is fully dissolved before adding flour and yeast to achieve even fermentation. - 4Stir Water and Salt
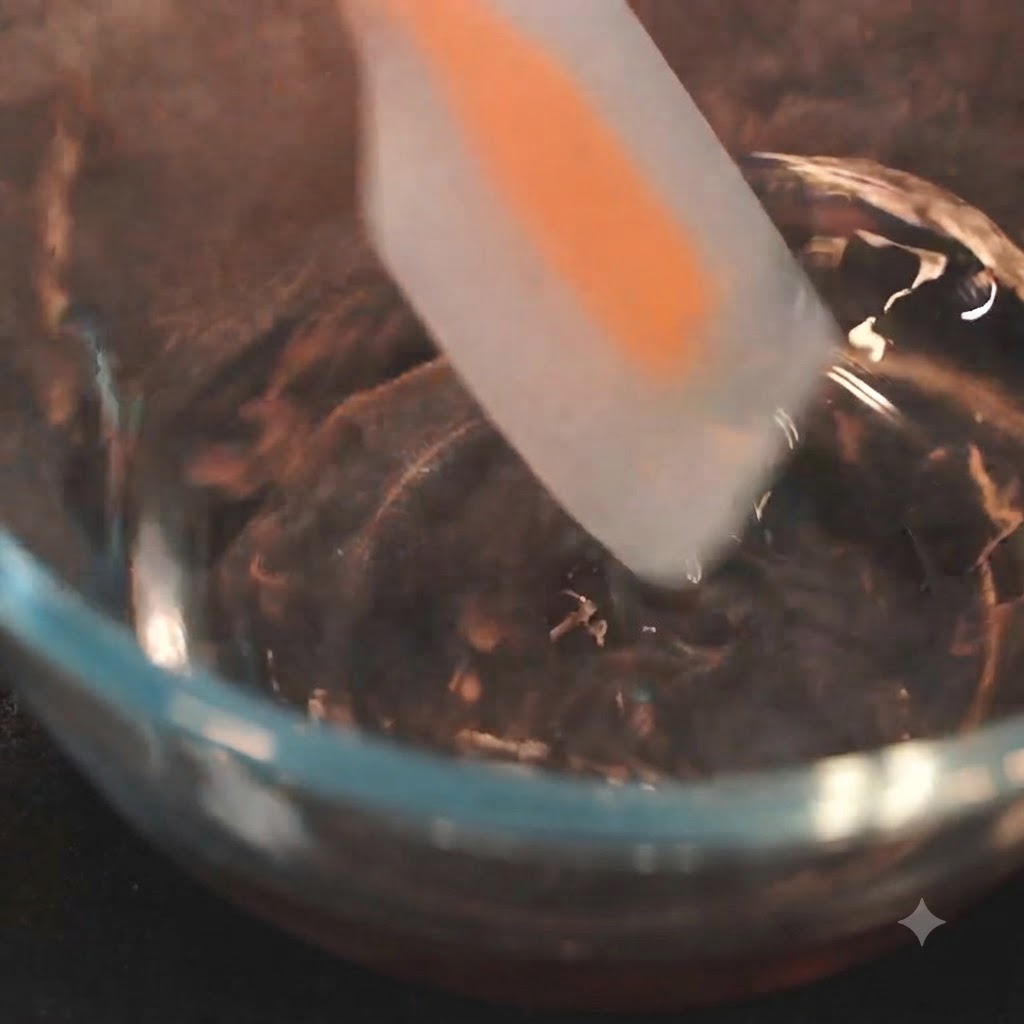
Stir the water and salt mixture in the glass bowl until the salt is completely dissolved.
Tip: Stir thoroughly until no salt grains remain at the bottom. - 5Incorporate Flour and Yeast
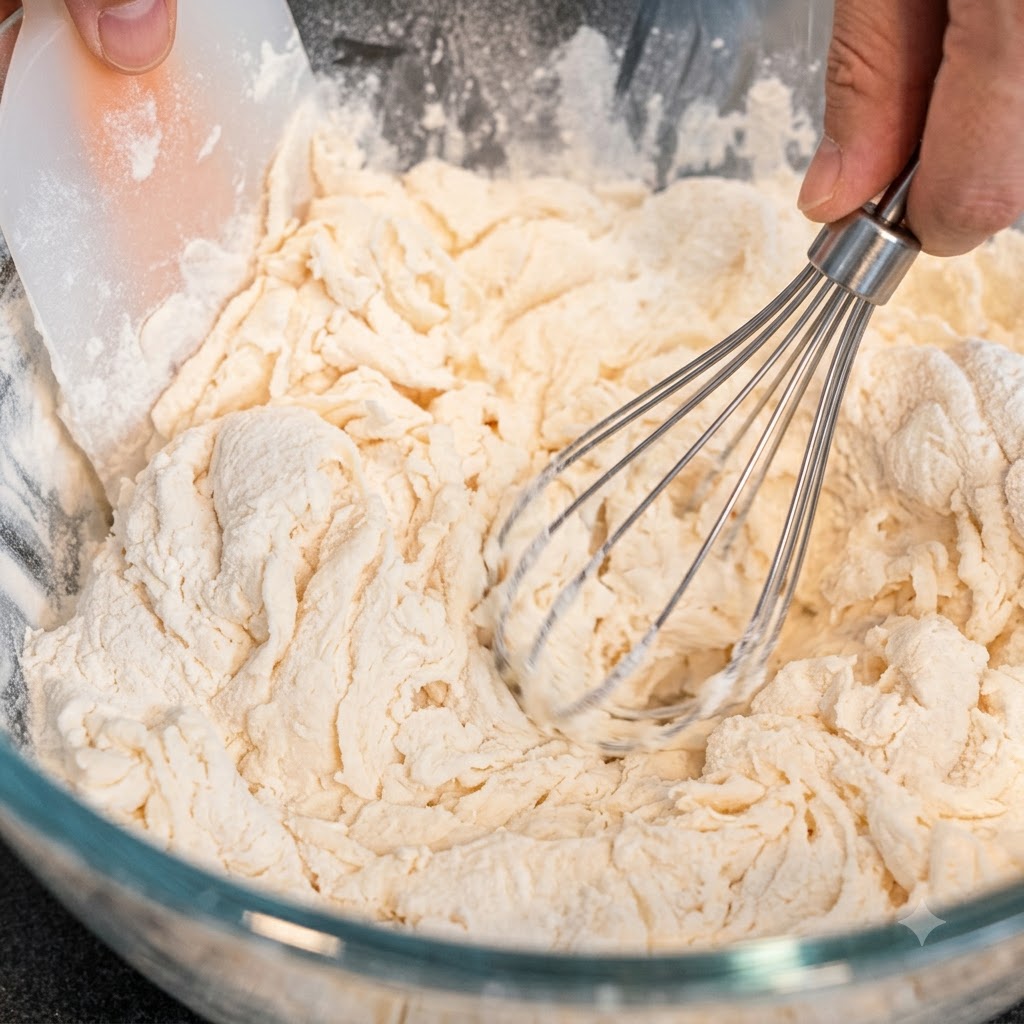
Add 272g of high-gluten flour and 4g of dry yeast into the water mixture, then use a whisk and spatula to combine them.
Tip: Mix continuously to ensure the yeast distributes evenly throughout the flour. - 6Ferment the Dough
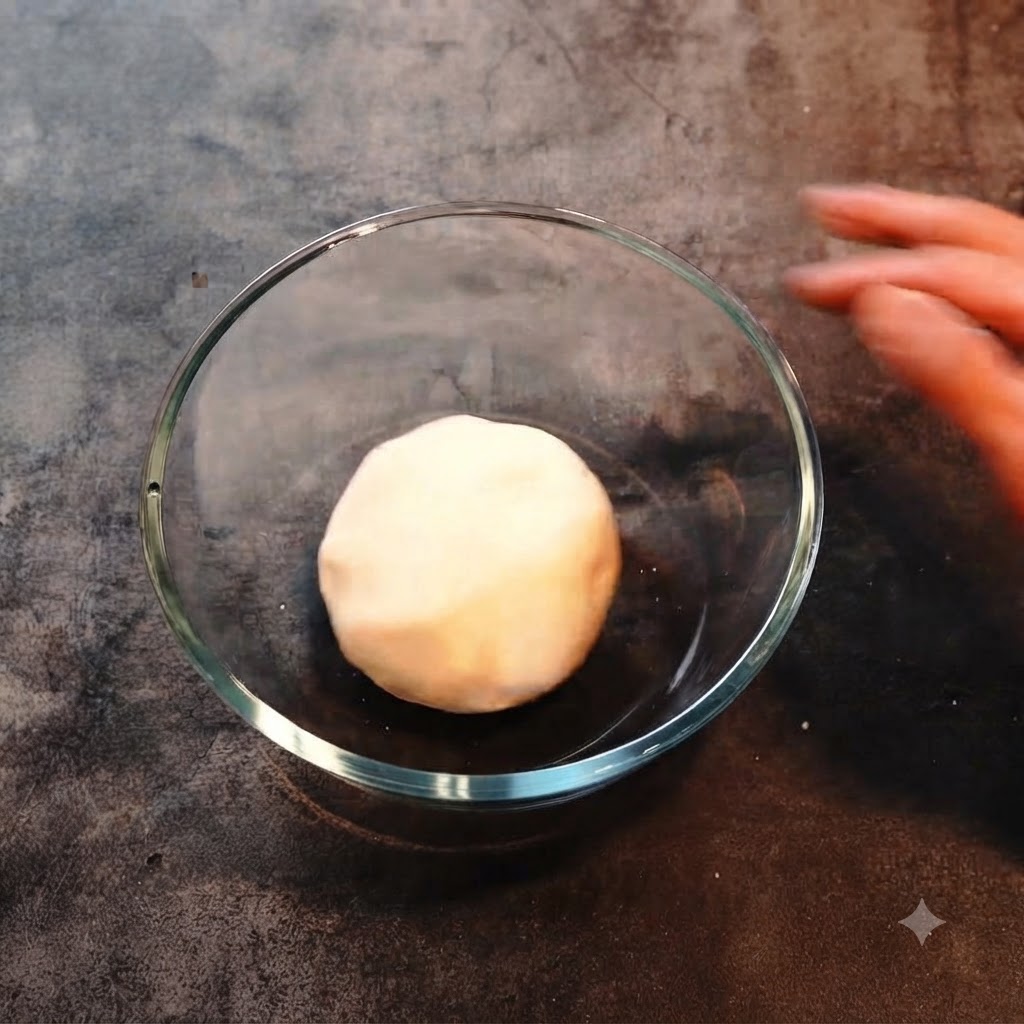
Place the kneaded dough ball inside a clean glass bowl, cover it tightly with plastic wrap, and allow it to ferment for 2 hours to begin the rising process.
Tip: Ensure the bowl is large enough to allow the dough to double in size. - 7Divide the fermented dough
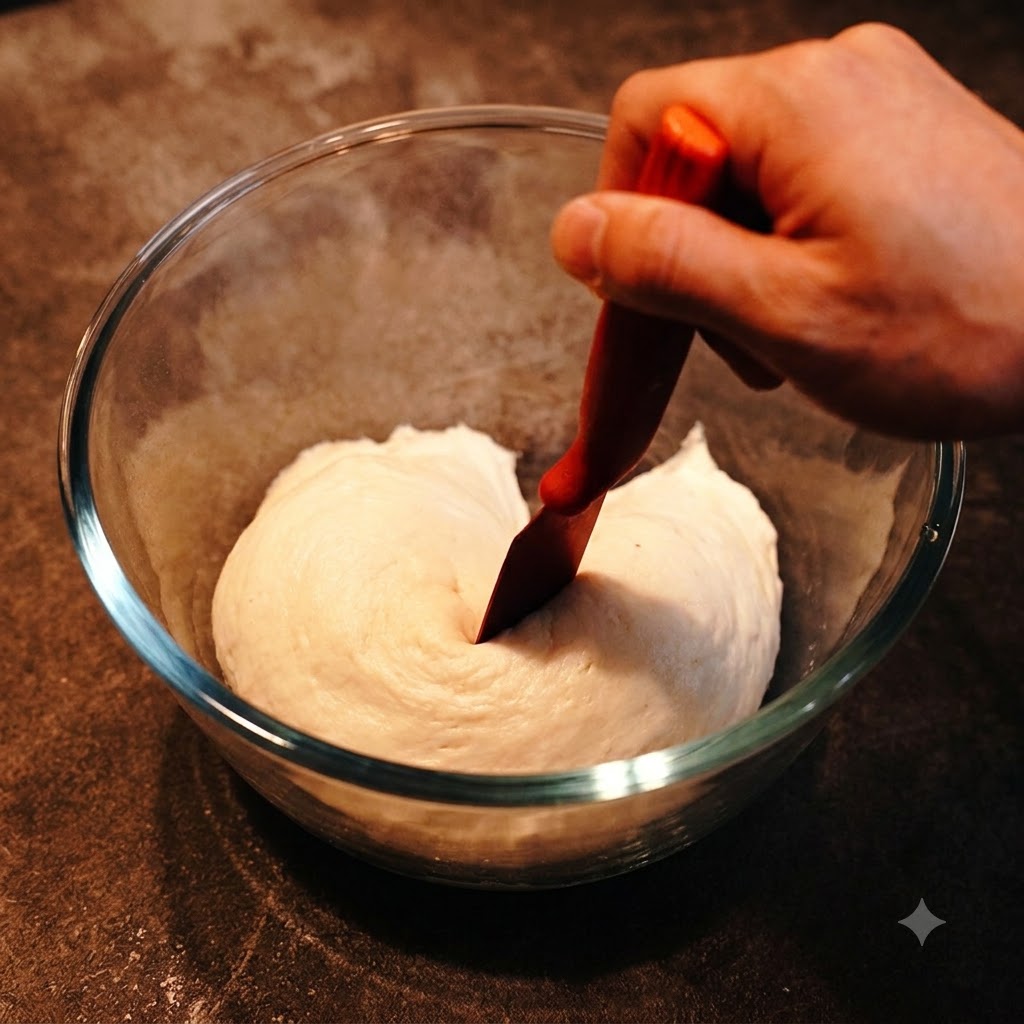
Take the fermented dough out of its container and use a dough cutter or spatula to slice the dough cleanly in half, preparing it to be shaped into individual portions.
Tip: Make clean, decisive cuts to avoid tearing the gluten structure of the dough. - 8Shape the dough ball
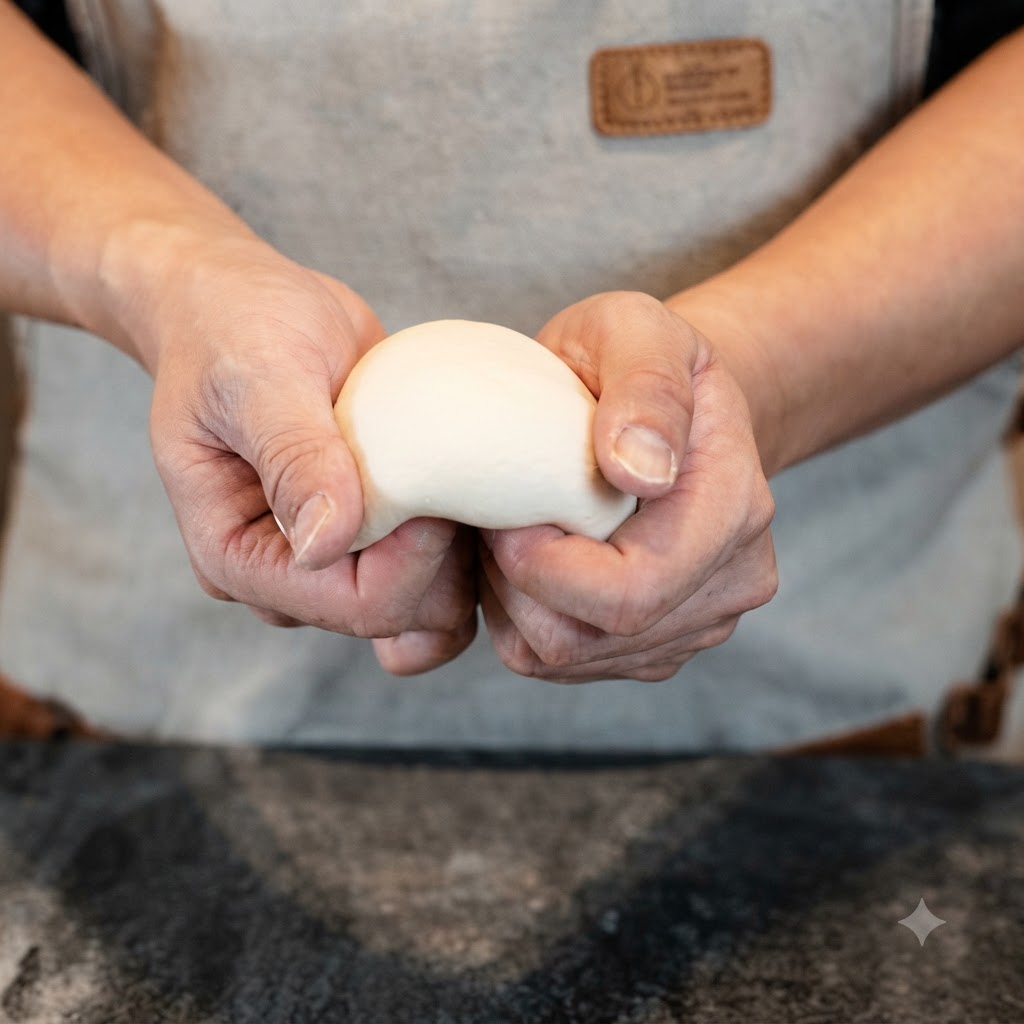
Take one half of the divided dough and shape it into a smooth ball by repeatedly folding the outer edges inward toward the center to create surface tension.
Tip: Tucking the edges underneath tightly creates a smooth, round top surface which helps trap gas during the final rise. - 9Second Fermentation
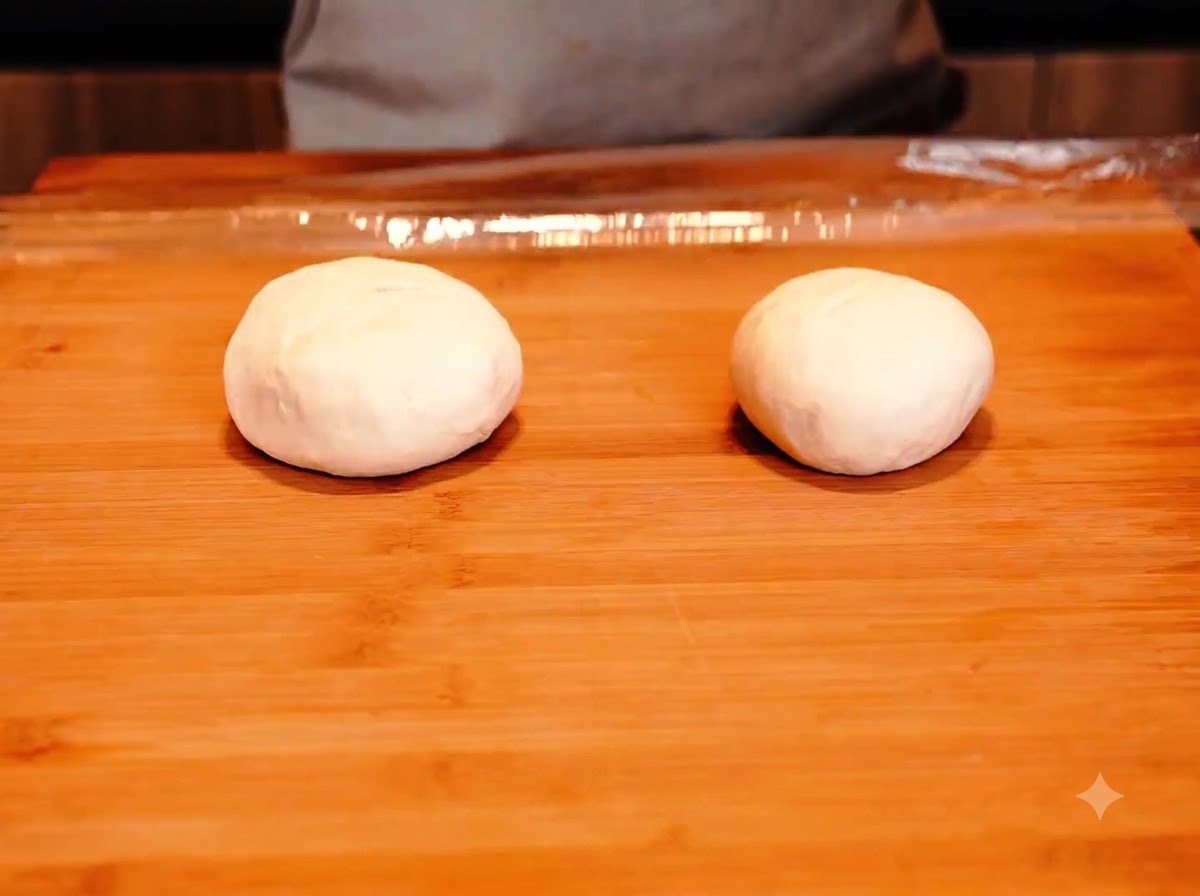
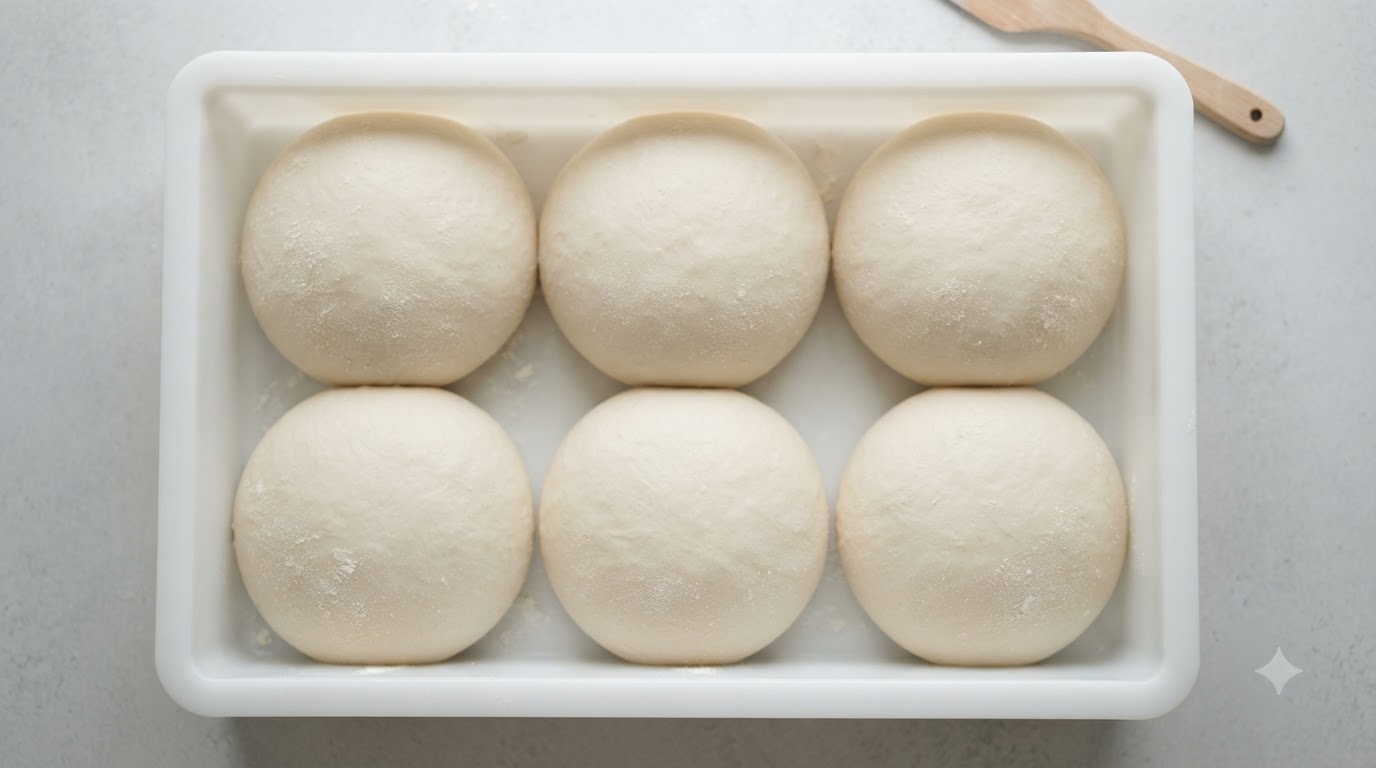
Place the two shaped dough balls onto a floured wooden board, leaving enough space between them, and cover them loosely with plastic wrap for a 6-hour secondary fermentation.
Tip: Keep the plastic wrap loosely draped so the dough has room to expand upward and outward. - 10Uncover the Dough Balls
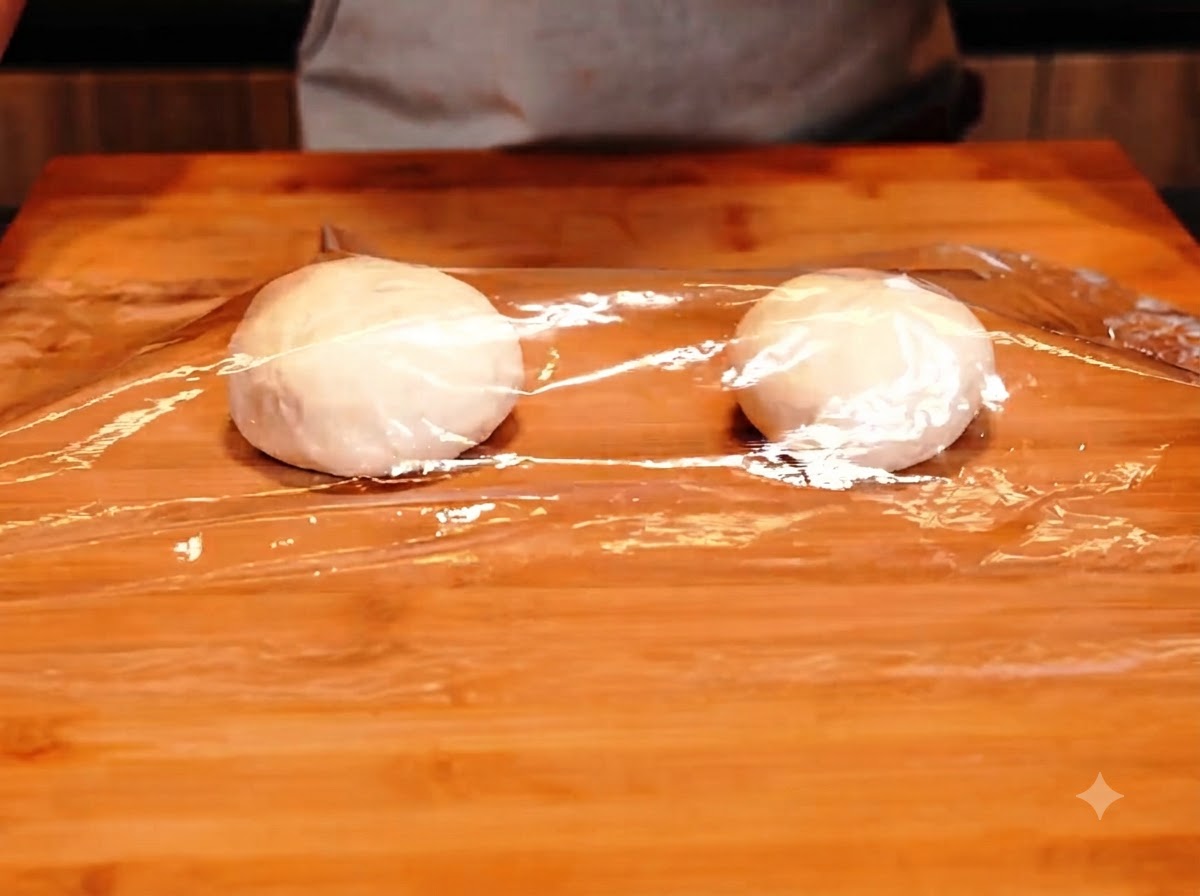
Once the long resting period has finished carefully remove the plastic wrap from the expanded dough portions to prepare them for the flat shaping stage.
Tip: Handle the dough very gently at this stage to avoid deflating the trapped gas bubbles that create the airy crust. - 11Press and shape the pizza base
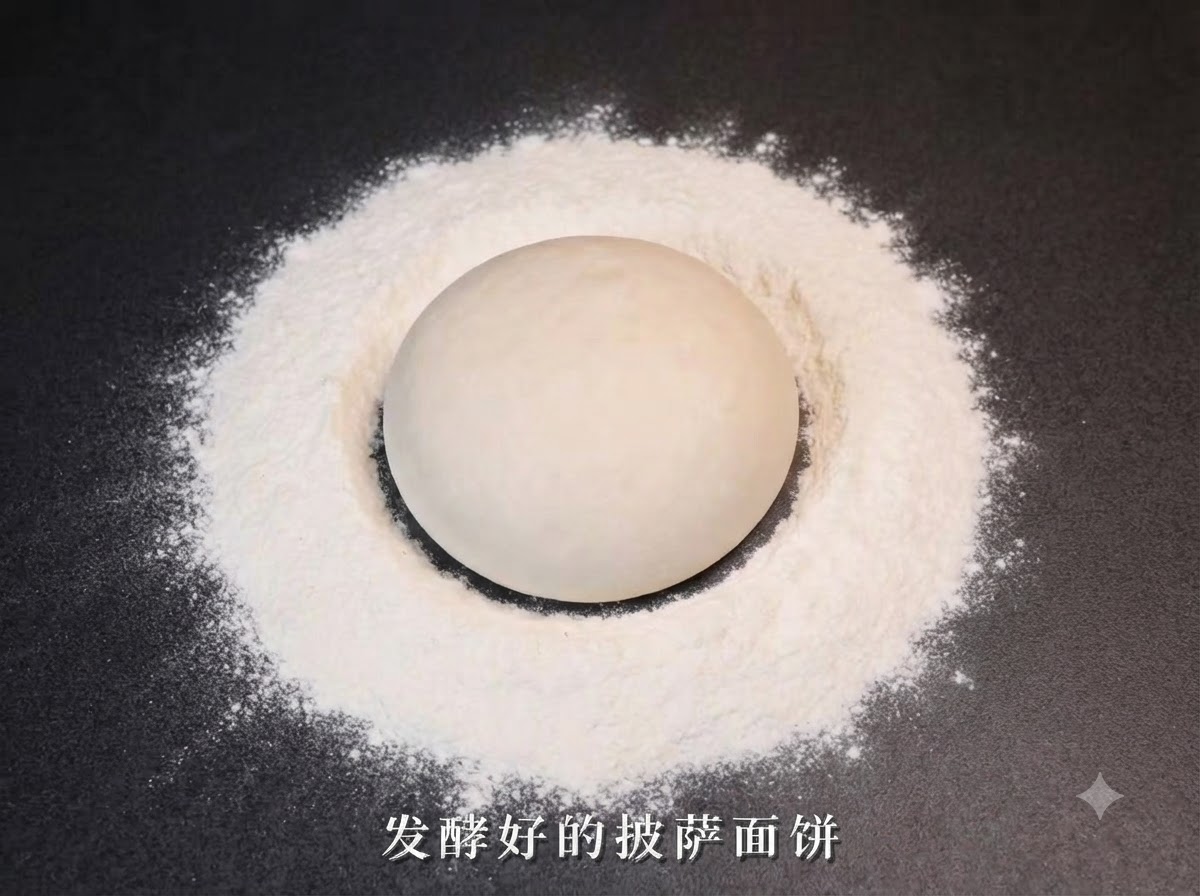
Sprinkle a layer of flour on the working surface, place the fermented pizza dough on it, and use your hands to gently press and push the dough outward into a flat circle.
Tip: Press from the center toward the edges to preserve the air bubbles inside the crust. - 12Prepare canned peeled tomatoes
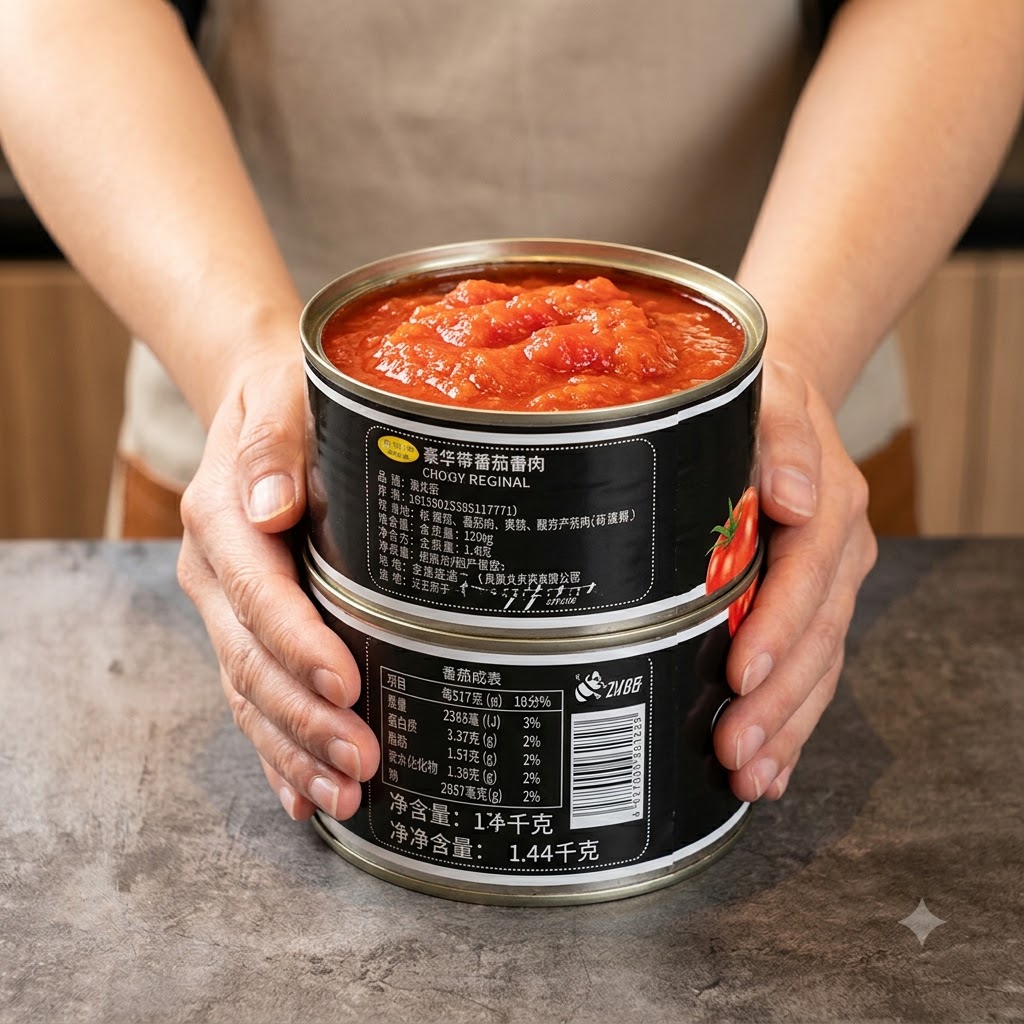
Take out a can of whole peeled tomatoes, which will serve as the base sauce for the Neapolitan pizza.
Tip: Whole peeled Italian plum tomatoes provide the best natural flavor and texture for authentic pizza sauce. - 13Prepare the Tomato Sauce
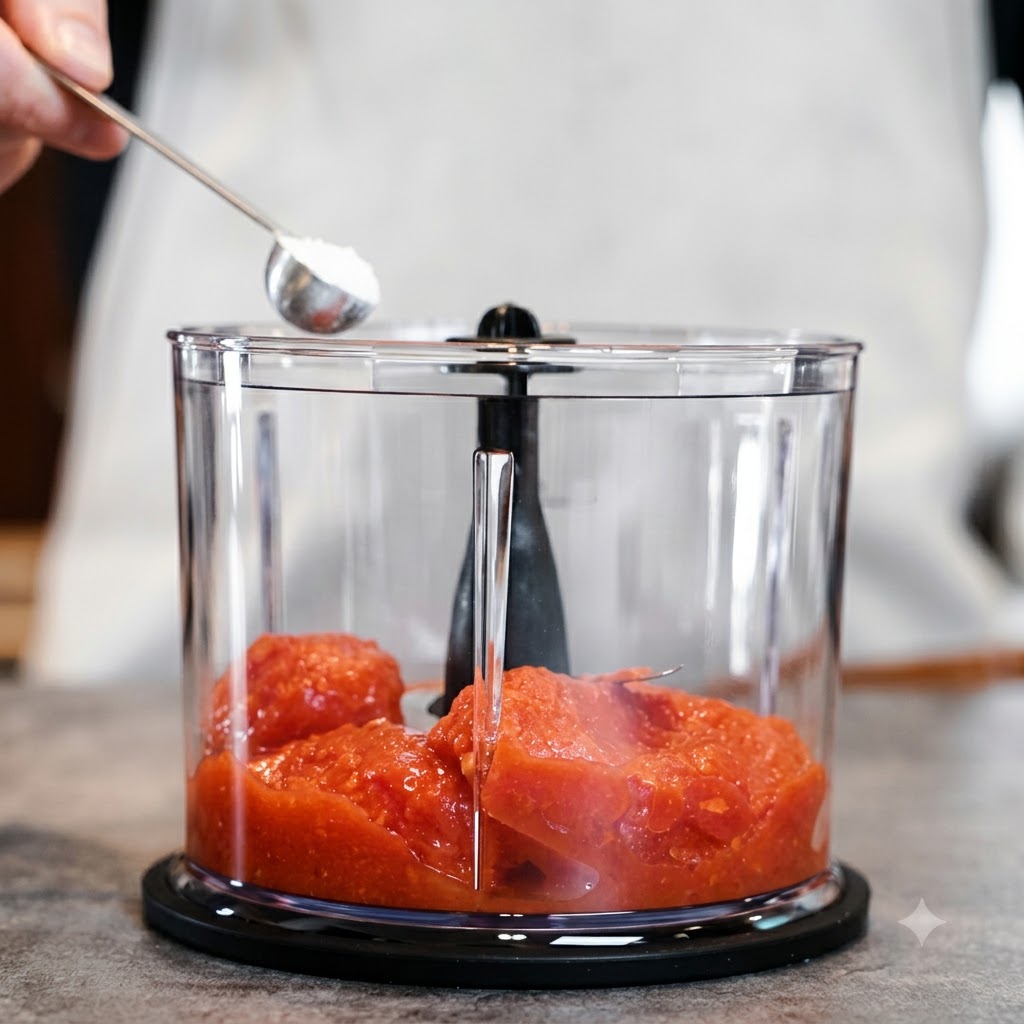
Open the can of whole peeled tomatoes, pour them into a blender jar, and add a small pinch of sugar to balance the natural acidity before blending into a smooth sauce.
Tip: Only a small amount of sugar is needed to mellow the sharp acidity without making the sauce sweet. - 14Blend the tomato sauce
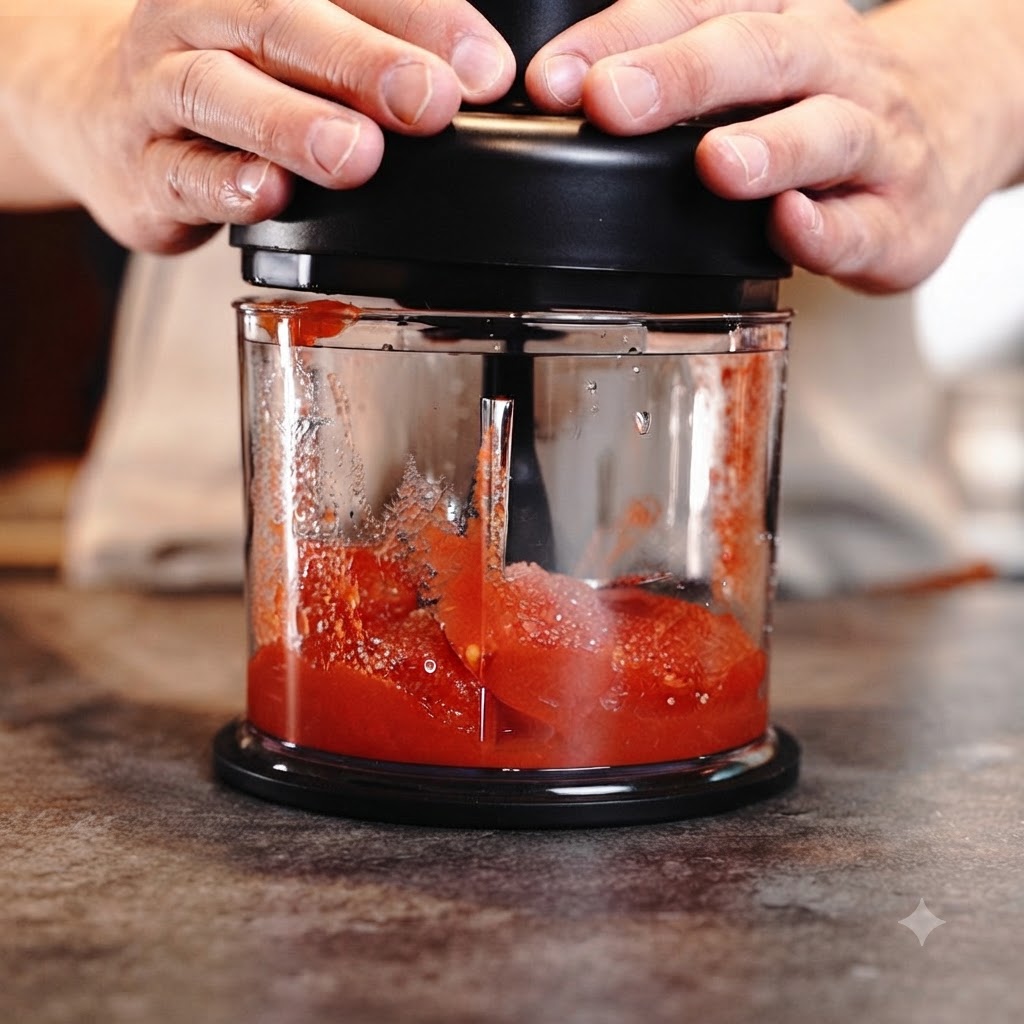
Secure the lid on the small electric food processor and press down to blend the whole peeled tomatoes and sugar into a smooth, even sauce.
Tip: Pulse briefly if you prefer a chunkier sauce, or blend longer for a smoother consistency. - 15Slice Cherry Tomatoes
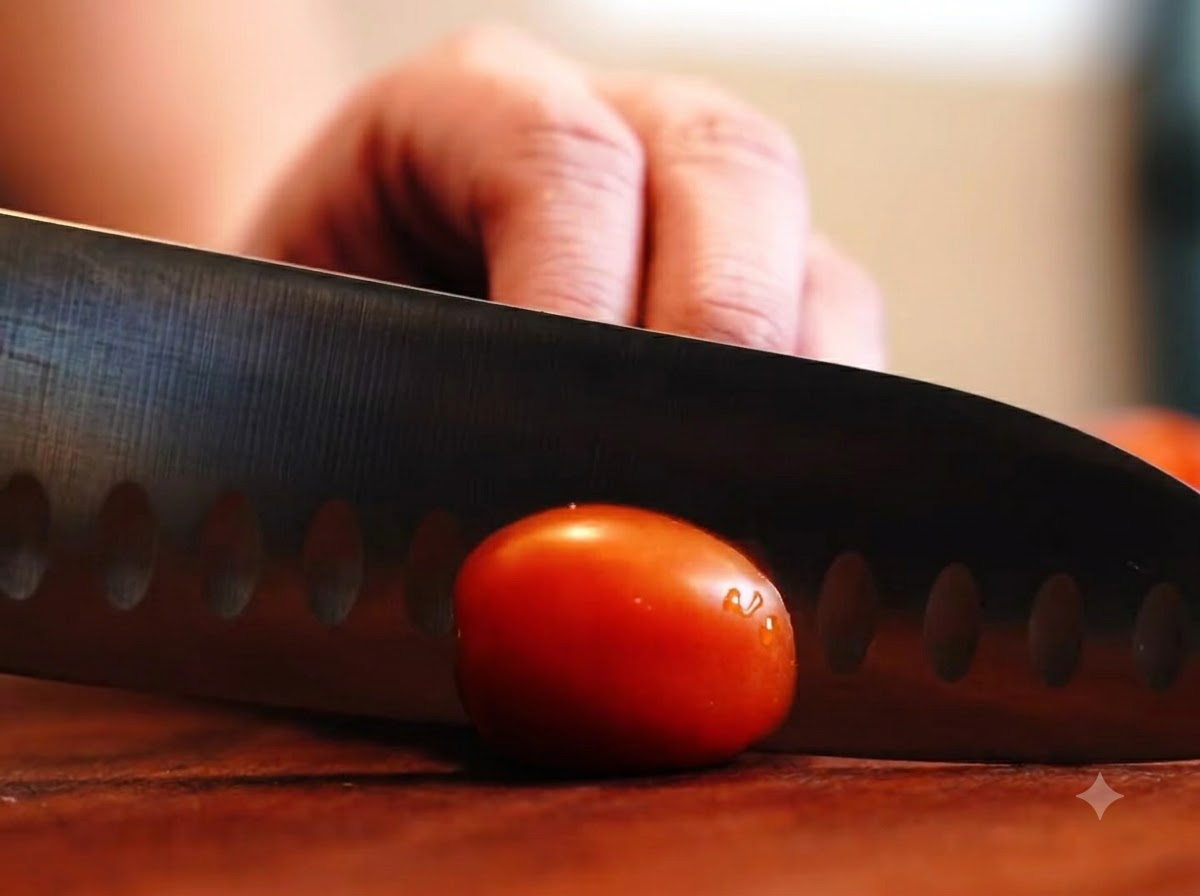
Take fresh cherry tomatoes and use a sharp knife to slice them in half on a wooden cutting board, preparing them to be used as a topping for the pizza.
Tip: Keep your fingers curled inward while cutting to ensure safety and precision. - 16Spread the Tomato Sauce
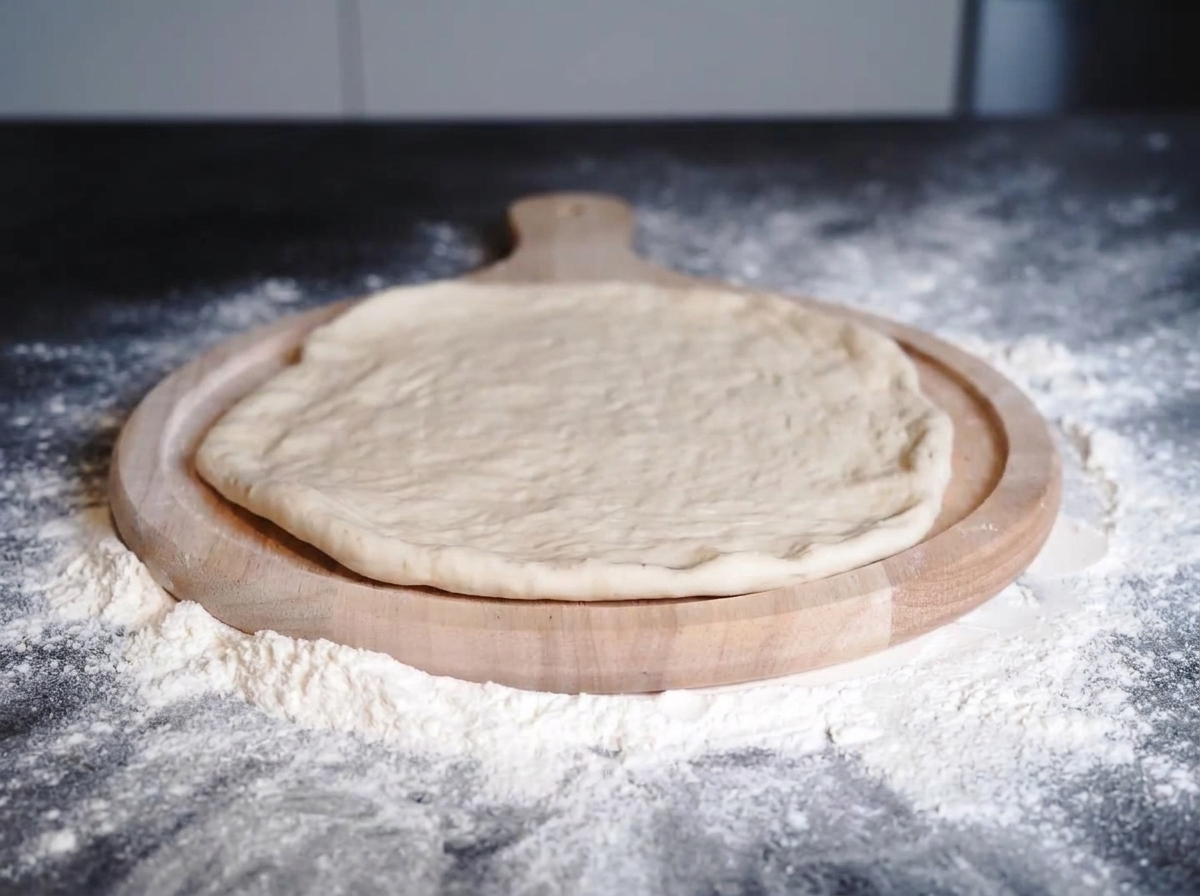
Take the blended tomato sauce and spread it in an even circular motion over the center and outwards on the prepared pizza dough, leaving a small border for the crust.
Tip: Do not overload the center with sauce to prevent the dough from becoming soggy during cooking. - 17Add Cherry Tomatoes
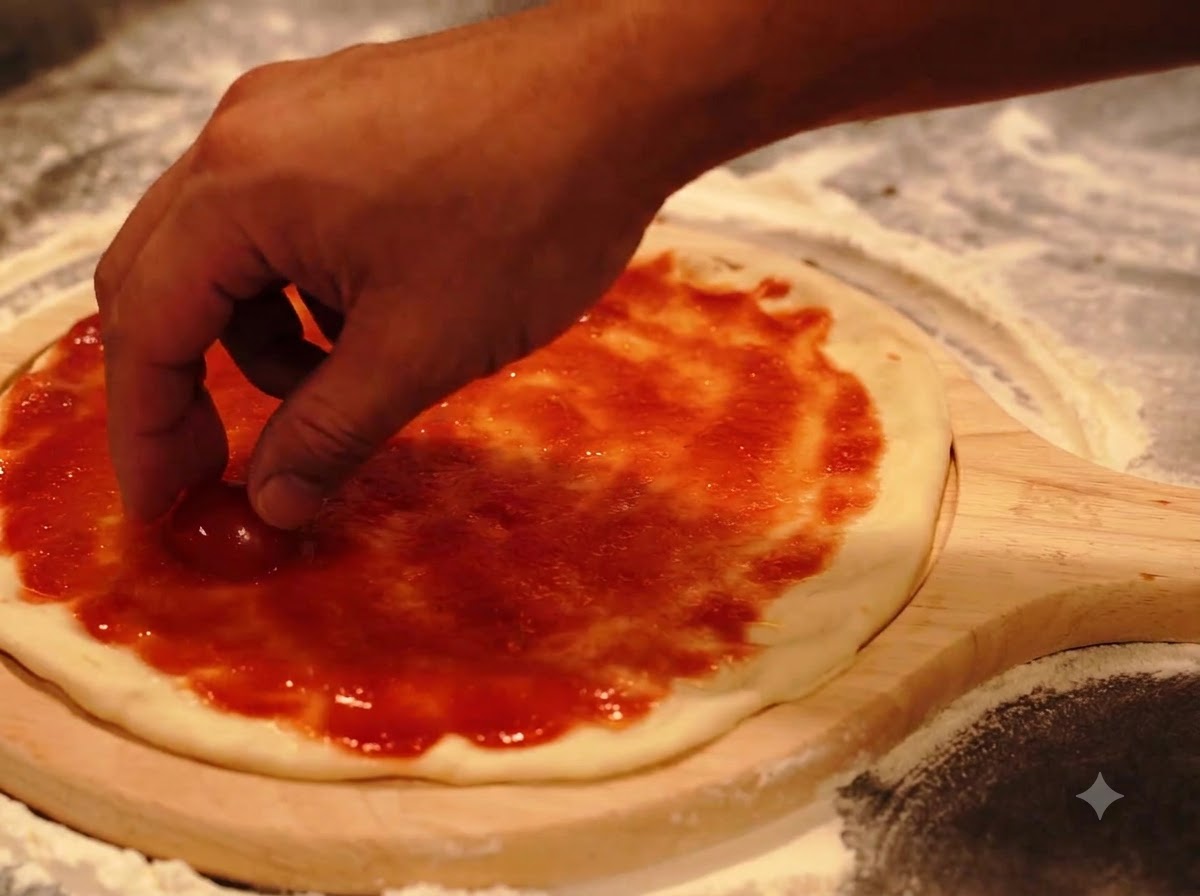
Take the halved cherry tomatoes and carefully place them one by one across the surface of the pizza dough that has already been covered with tomato sauce.
Tip: Distribute the tomato halves evenly so every slice of the finished pizza will have good flavor balance. - 18Add Mozzarella and Olive Oil
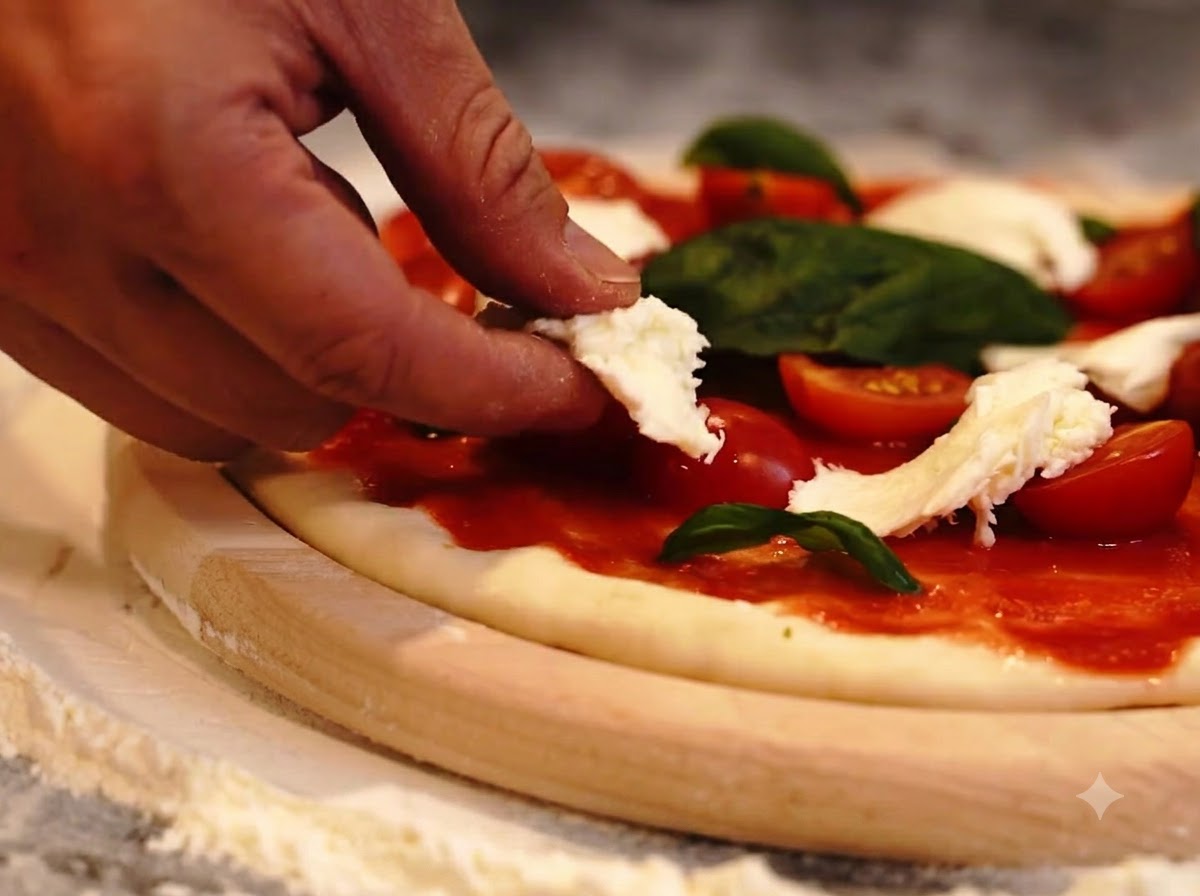
Tear pieces of fresh water buffalo mozzarella cheese and place them onto the pizza alongside the basil and tomatoes, then drizzle olive oil over the top.
Tip: Using fresh buffalo mozzarella provides a rich, creamy texture and authentic Neapolitan flavor. - 19Cook with Pan and Blowtorch
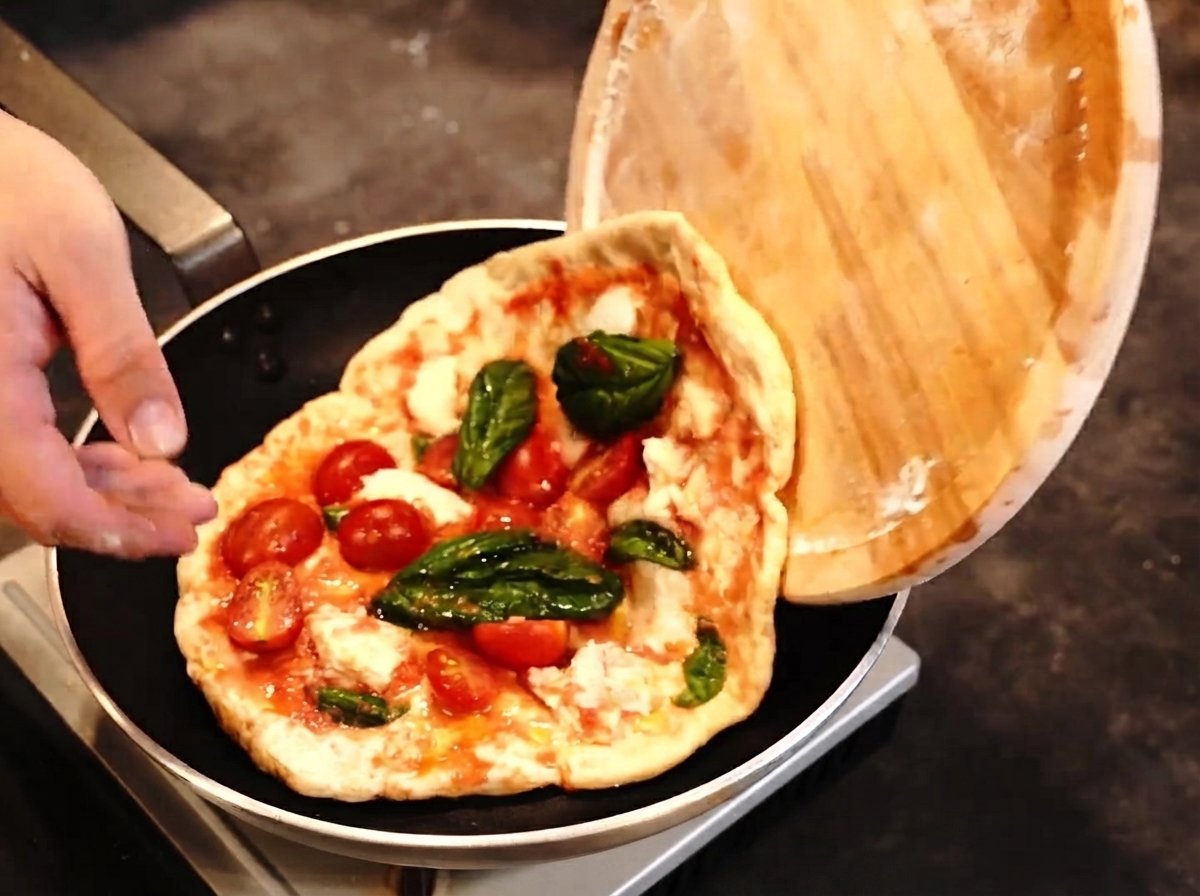
Transfer the assembled pizza into a pan over low heat on the stove, and simultaneously use a culinary blowtorch to toast the top surface and melt the cheese.
Tip: Keep the blowtorch moving evenly to brown the crust and melt the cheese without burning the toppings.