Ultimate Homemade Hawaiian Pizza 2.0
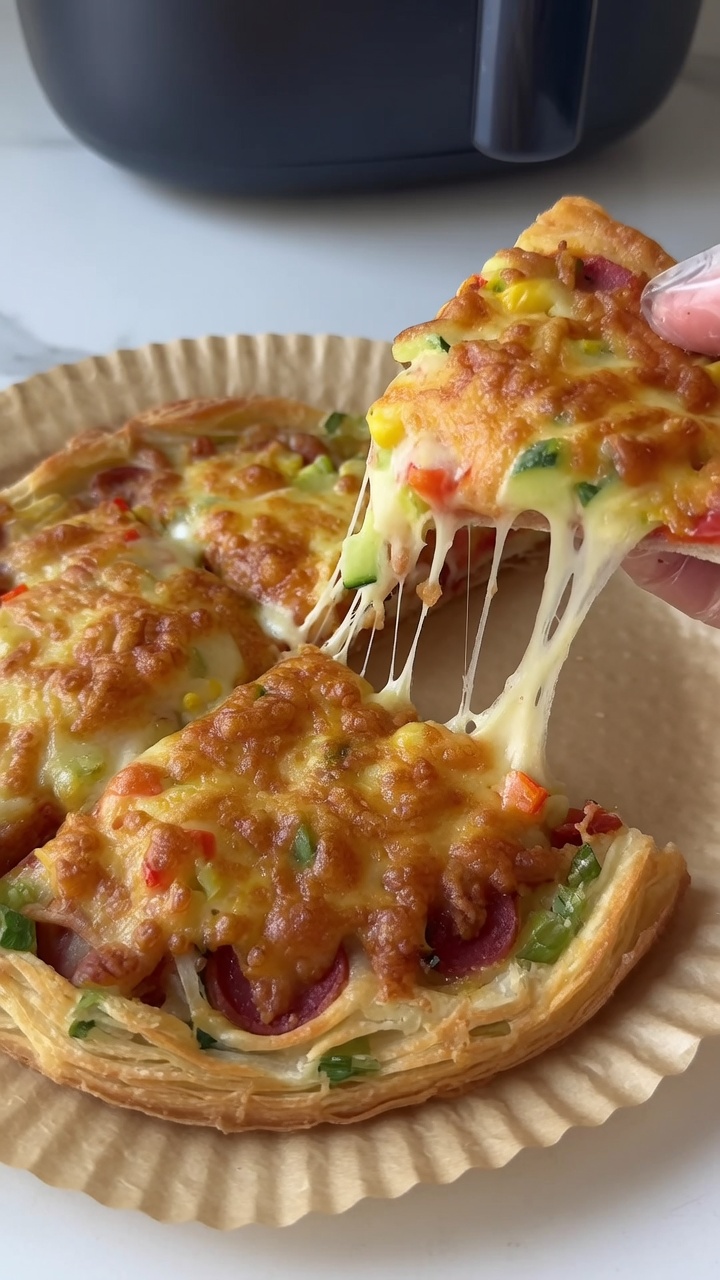
Upgrade your pizza night with this Hawaiian Pizza 2.0. Sweet pineapple, savory ham, and fresh shrimp meet a crispy, breadcrumb-crusted dough for the ultimate tropical slice.
The classic Hawaiian pizza gets a much-needed upgrade in this recipe. By incorporating sweet corn, tender green peas, and fresh shrimp alongside the traditional ham and pineapple, the flavor profile becomes richer and more textured. A unique breadcrumb-dusted crust ensures every bite finishes with a satisfying, golden crunch.
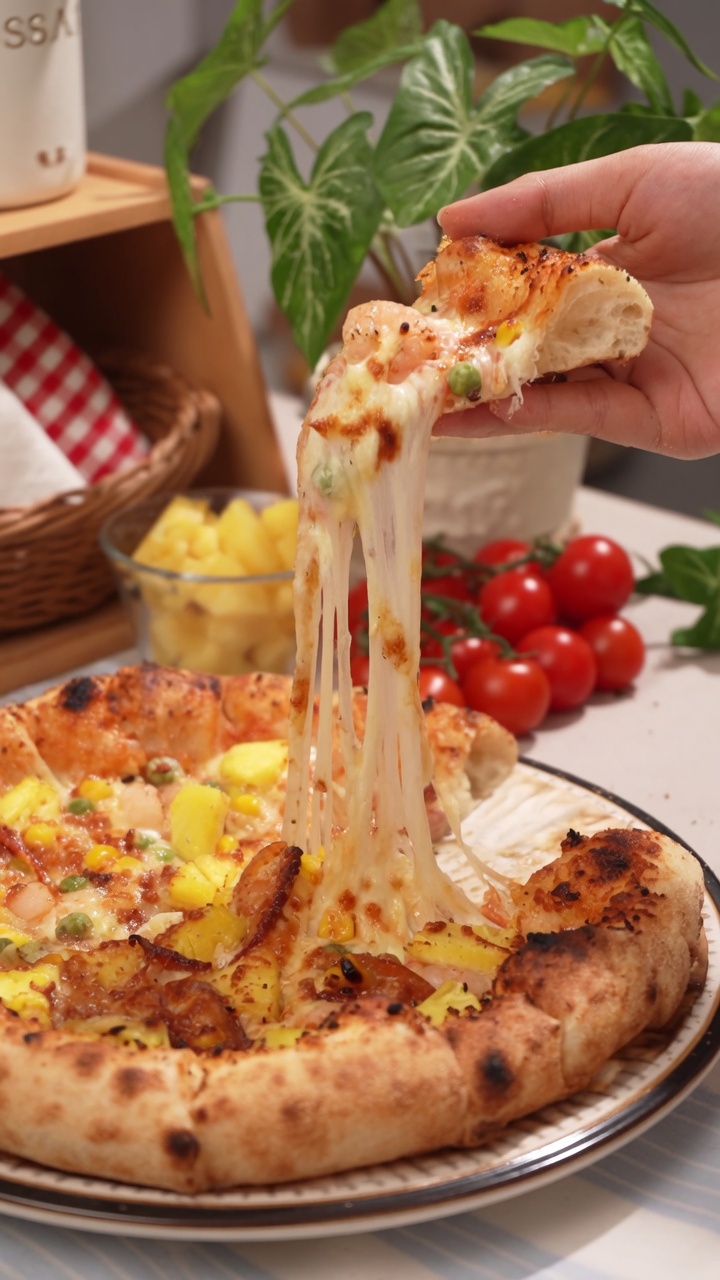
Ingredients
- 250 g pizza flour
- 20 g pizza crust pre-mix powder
- 150 ml ice water
- 1 tsp salt
- 1 tsp active dry yeast
- 1 tbsp olive oil
- 1/2 cup tomato sauce
- 1.5 cups shredded mozzarella cheese
- 100 g thick-cut ham
- 100 g cooked shrimp
- 1/2 cup pineapple chunks
- 1/4 cup sweet corn kernels
- 1/4 cup green peas
- 2 tbsp panko breadcrumbs
Instructions
- 1Activate the yeast
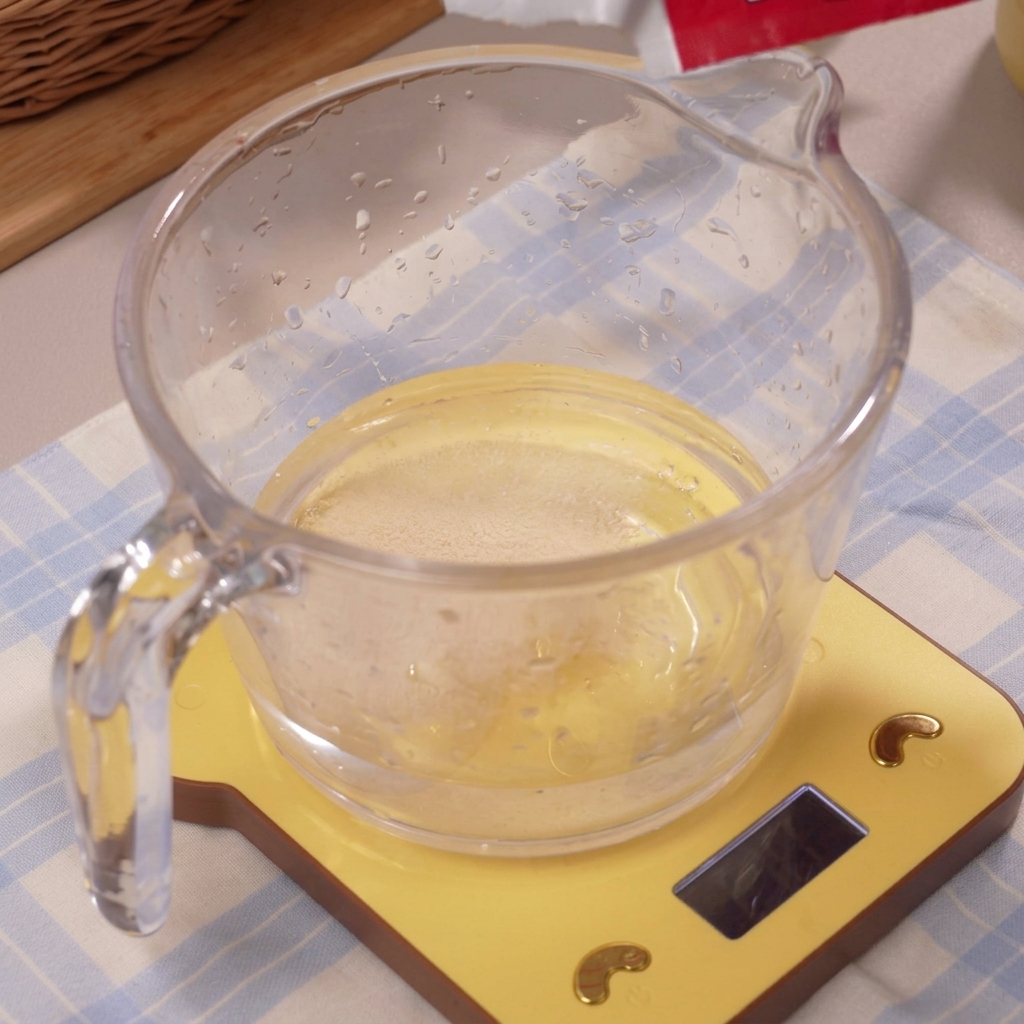
Pour the measured ice water into a container. Add the yeast to the water and whisk gently until it is fully dissolved. Cold water is crucial to maintain the proper temperature for yeast activity.
Tip: Ensure the water is cold as specified to maintain the proper temperature for yeast activity. - 2Combine liquid and dry ingredients
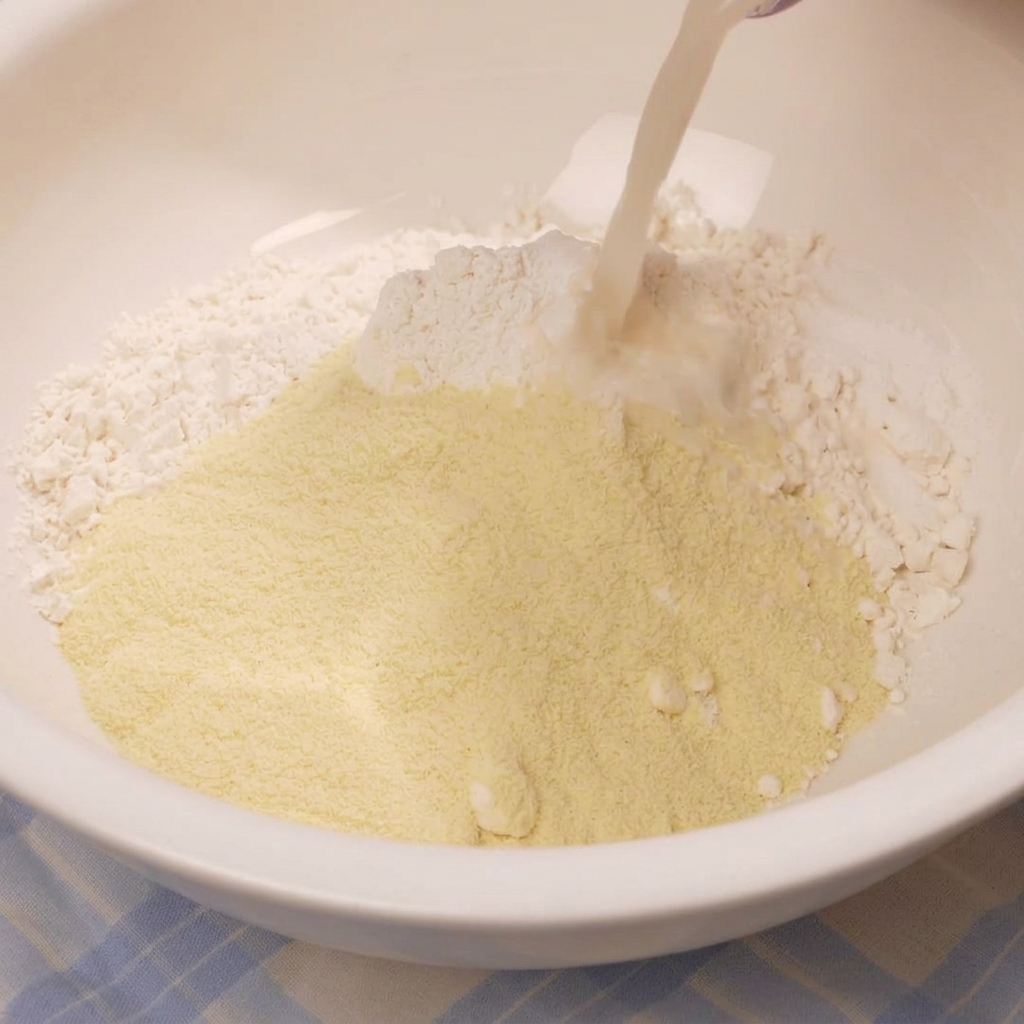
Pour the prepared ice water and yeast liquid mixture into a large mixing bowl containing the pizza flour, pre-mix powder, and salt. Make sure to scrape down the sides so all the liquid is incorporated.
Tip: Using ice water is essential here, as it helps control the doughs temperature during mixing and prevents the yeast from activating too early. - 3Mix into a dough
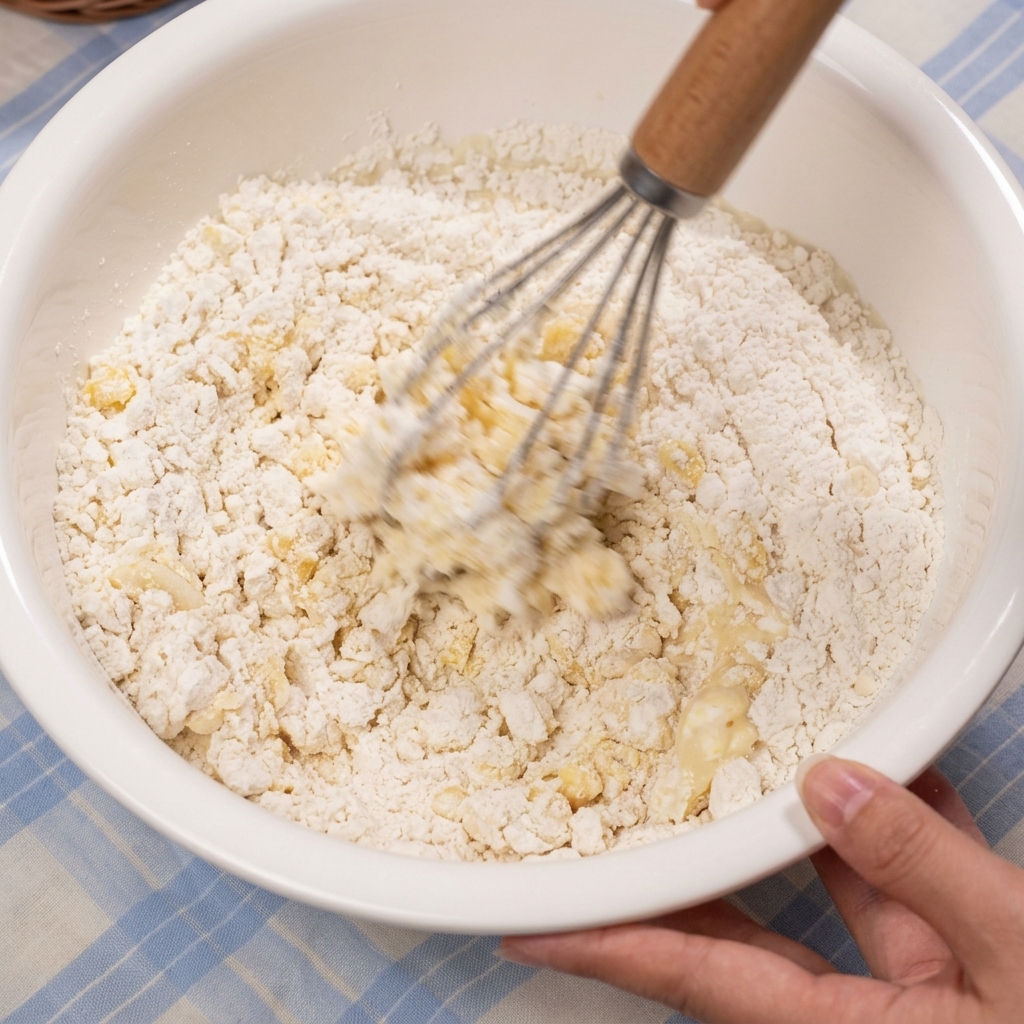
Stir the wet and dry ingredients together in the bowl until they begin to form a shaggy dough. Keep mixing to ensure all the dry flour is fully hydrated before moving on to kneading.
Tip: A whisk or sturdy spoon works perfectly for this initial mixing stage before you need to use your hands. - 4Incorporate oil and knead
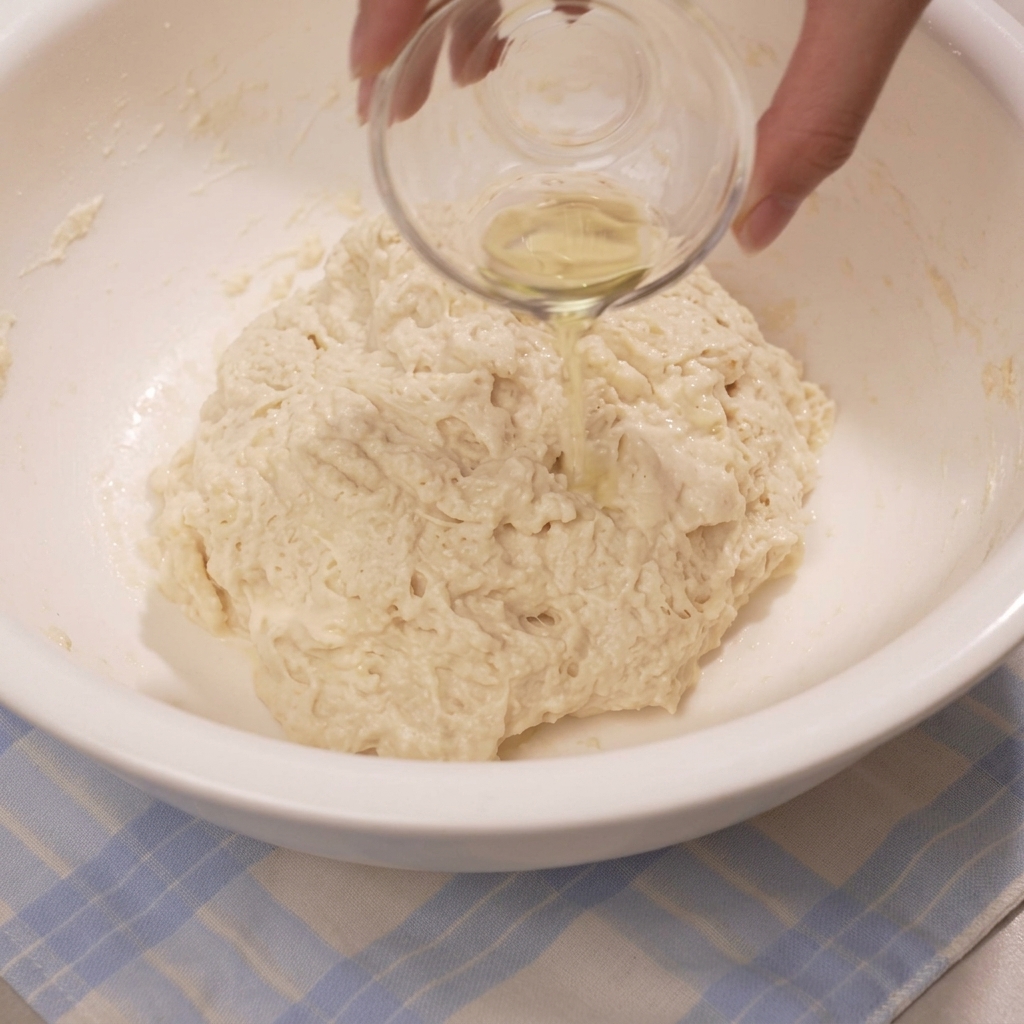
Pour a small amount of oil over the shaggy dough mixture. Knead the dough thoroughly by hand until it becomes a smooth, cohesive mass. Cover and let rest at room temperature for 30 minutes.
Tip: The oil helps create a crisp crust on the outside while keeping the inside soft and tender. - 5Stretch and fold the dough

With gloved hands, grab the edge of the dough, stretch it upwards, and fold it over to the opposite side. Rotate the bowl and repeat this stretching and folding motion to build structure in the dough.
Tip: Keep your fingers slightly damp or gloved to prevent the dough from sticking to your hands during this process. - 6Slice the ham
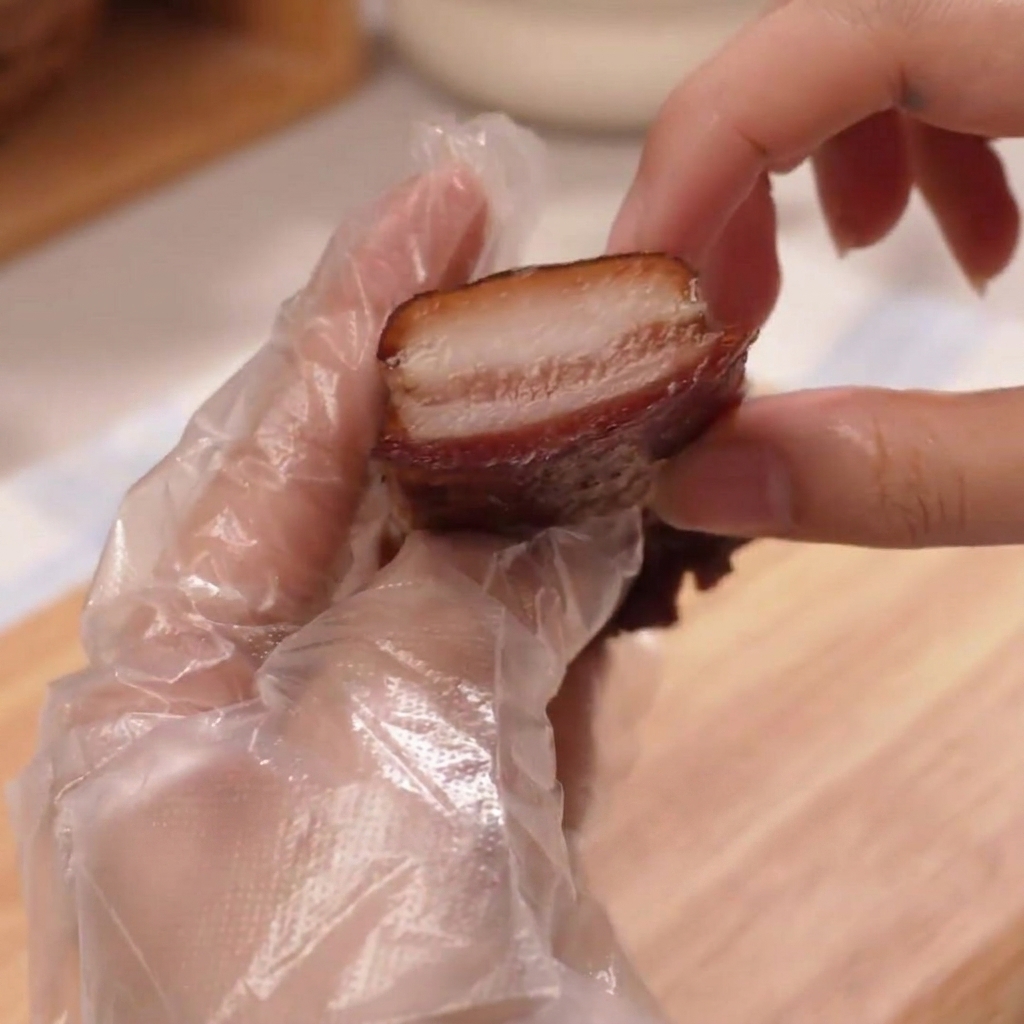
Cut the savory ham into thick, uniform pieces. Using thick cuts ensures the ham remains juicy and flavorful even after the high-heat baking process.
Tip: Thick cuts of ham hold up better in the high heat of a pizza oven without drying out. - 7Shape the dough base
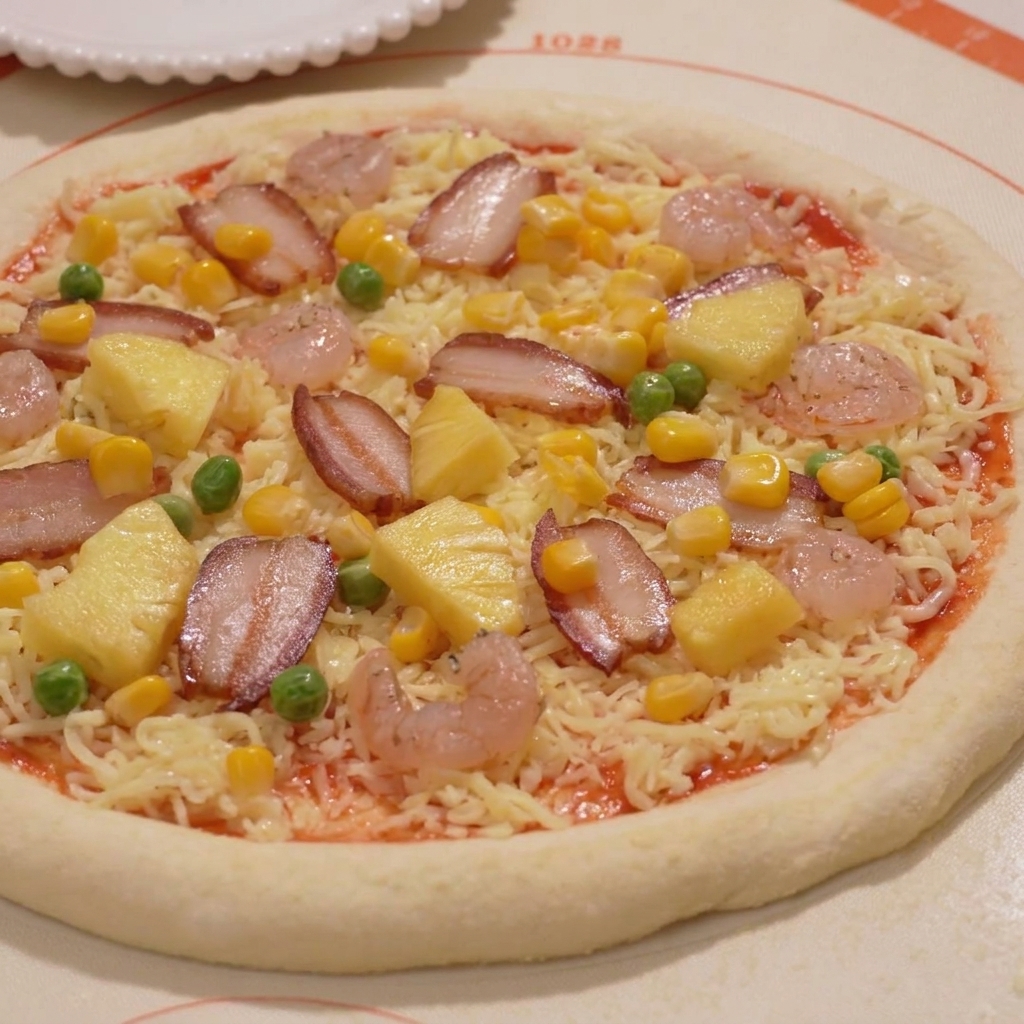
Take the proofed dough ball and place it on a work mat. Using your hands, gently press down from the center outwards to flatten the dough into a uniform round pizza base.
Tip: Avoid overworking the dough at this stage to keep the final crust light and airy. - 8Stretch the pizza crust
Pick up the dough and carefully stretch it by rotating it through your hands, allowing gravity and gentle pulling to expand the crust to the desired size and thickness.
Tip: Be gentle during the rotation to ensure the crust maintains an even thickness and doesnt tear. - 9Apply tomato sauce
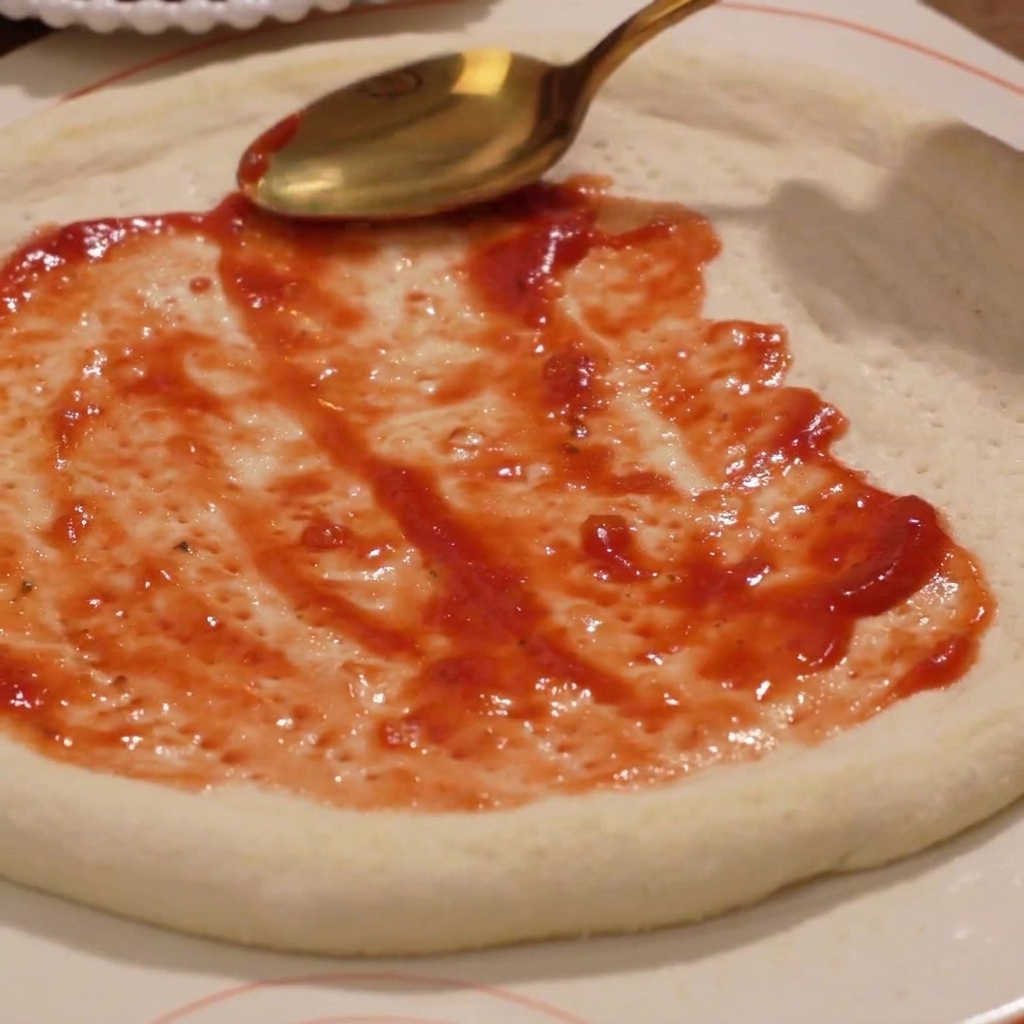
Ladle a generous portion of tomato sauce onto the center of the pizza dough. Use the back of a spoon to spread the sauce in an even layer, leaving a small border around the edge for the crust.
Tip: Use a circular motion starting from the center to ensure even coverage without over-saucing the middle. - 10Add shredded cheese
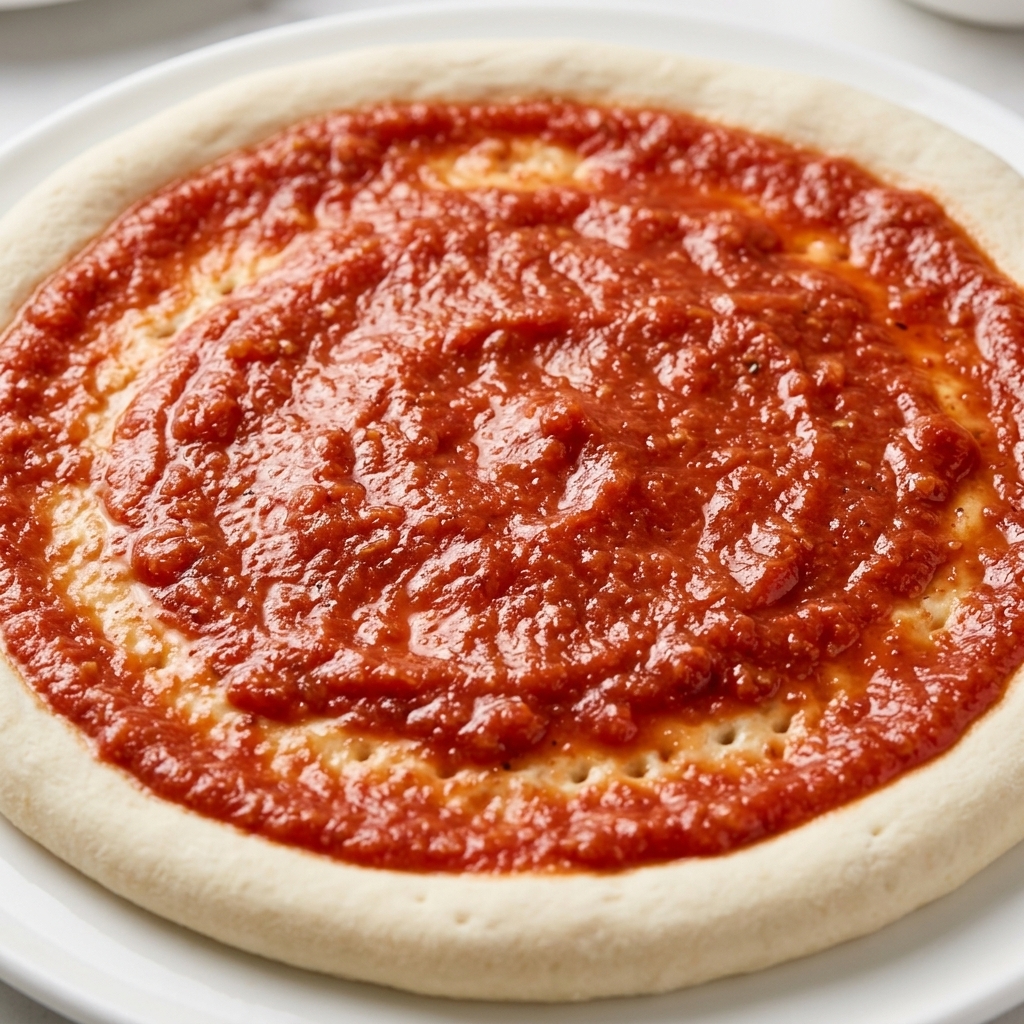
Evenly sprinkle the shredded cheese over the sauce-covered pizza base. Ensure the cheese is distributed edge-to-edge for a perfectly melted result.
Tip: A mix of mozzarella and other melting cheeses works best for a classic pizza pull. - 11Arrange pizza toppings
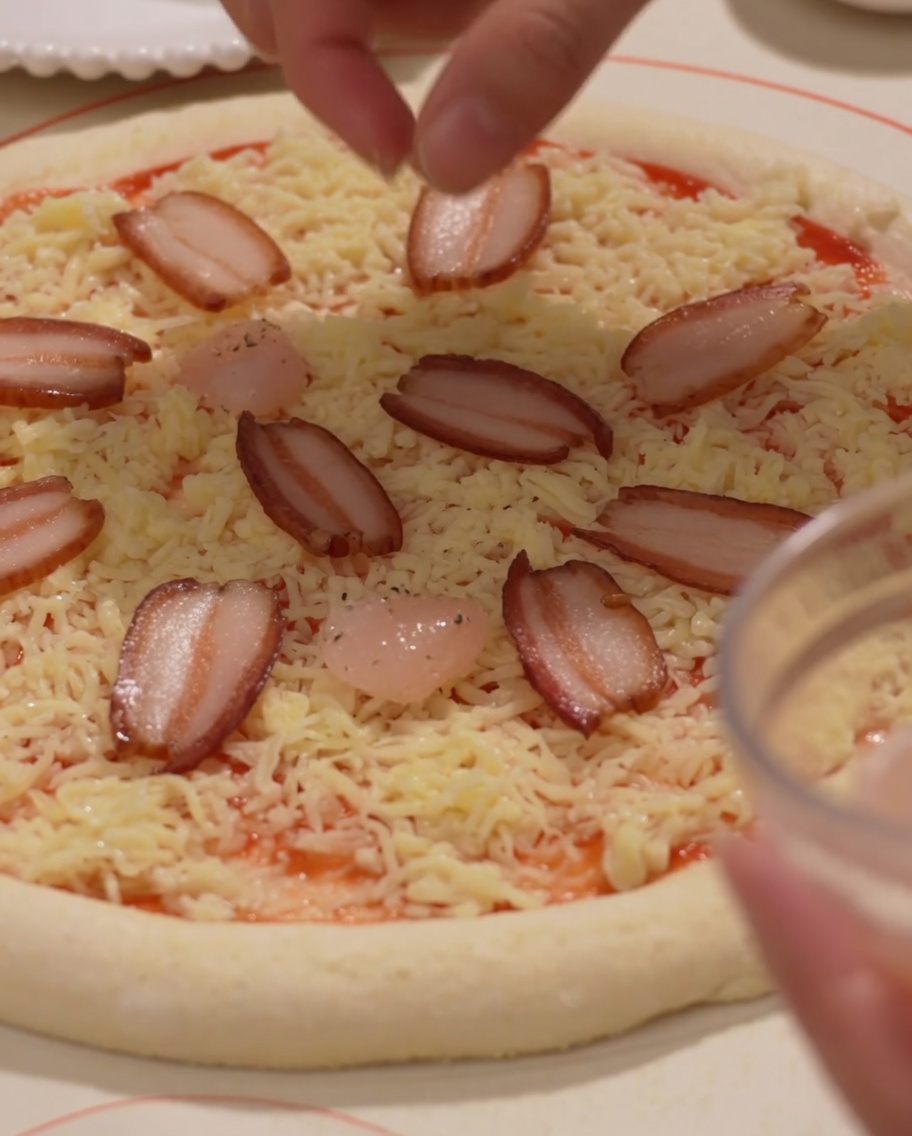
Take your prepared pizza base and arrange slices of ham and shrimp evenly across the cheese-covered surface. This builds the flavorful foundation for your Hawaiian pizza before adding the rest of the colorful toppings.
Tip: Make sure to space the ham and shrimp evenly so every slice gets a good portion of the main proteins. - 12Add final toppings
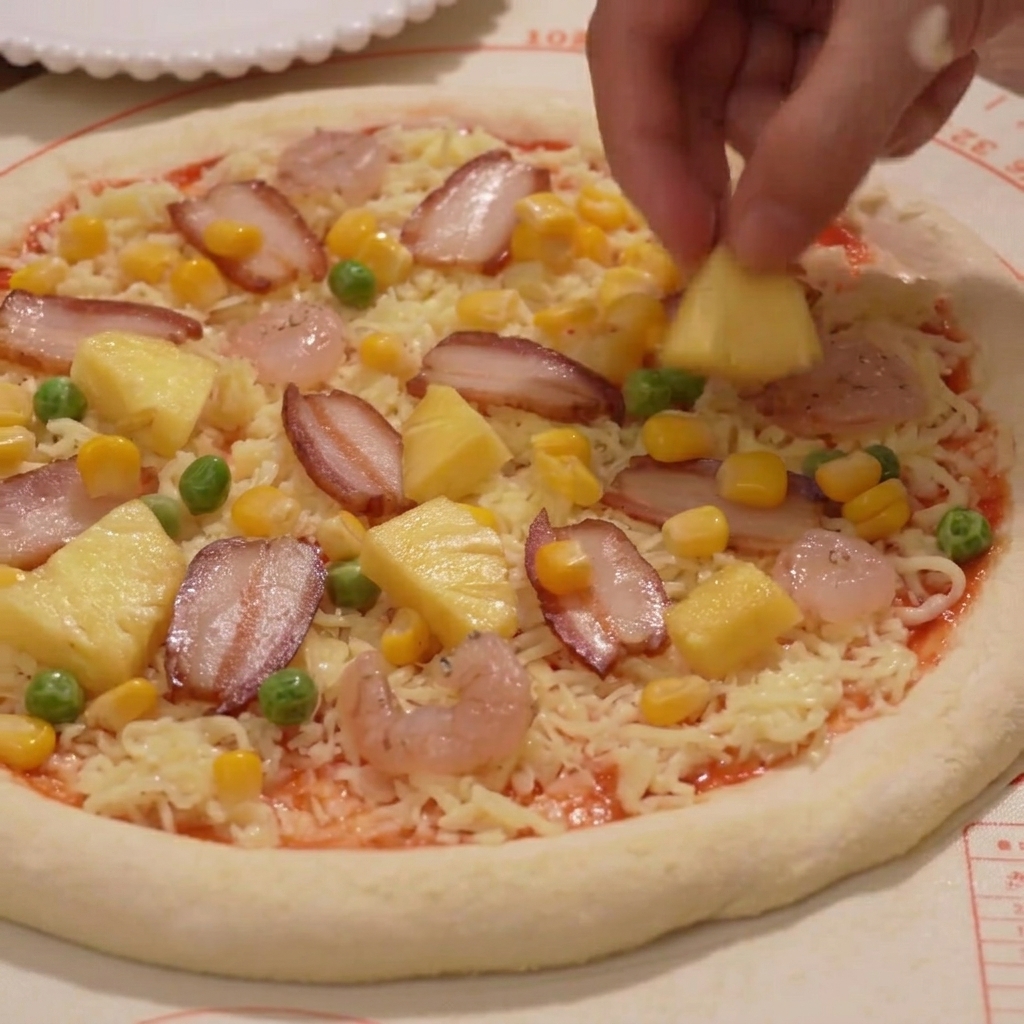
Distribute pineapple chunks, sweet corn, and green peas across the pizza to add texture and sweetness. Pat the pineapple dry before adding to ensure a perfectly crisp pizza base.
Tip: Pat the pineapple chunks dry before adding them to prevent the pizza from becoming soggy during baking. - 13Garnish the crust
Lightly sprinkle breadcrumbs along the outer edge of the pizza crust. This simple addition creates an extra crispy, golden texture that elevates the overall crunch of the finished pizza.
Tip: Use panko breadcrumbs for a lighter, crunchier result than traditional fine breadcrumbs.