Authentic Yanji Pork Soup Rice (Dwaeji Gukbap Style)
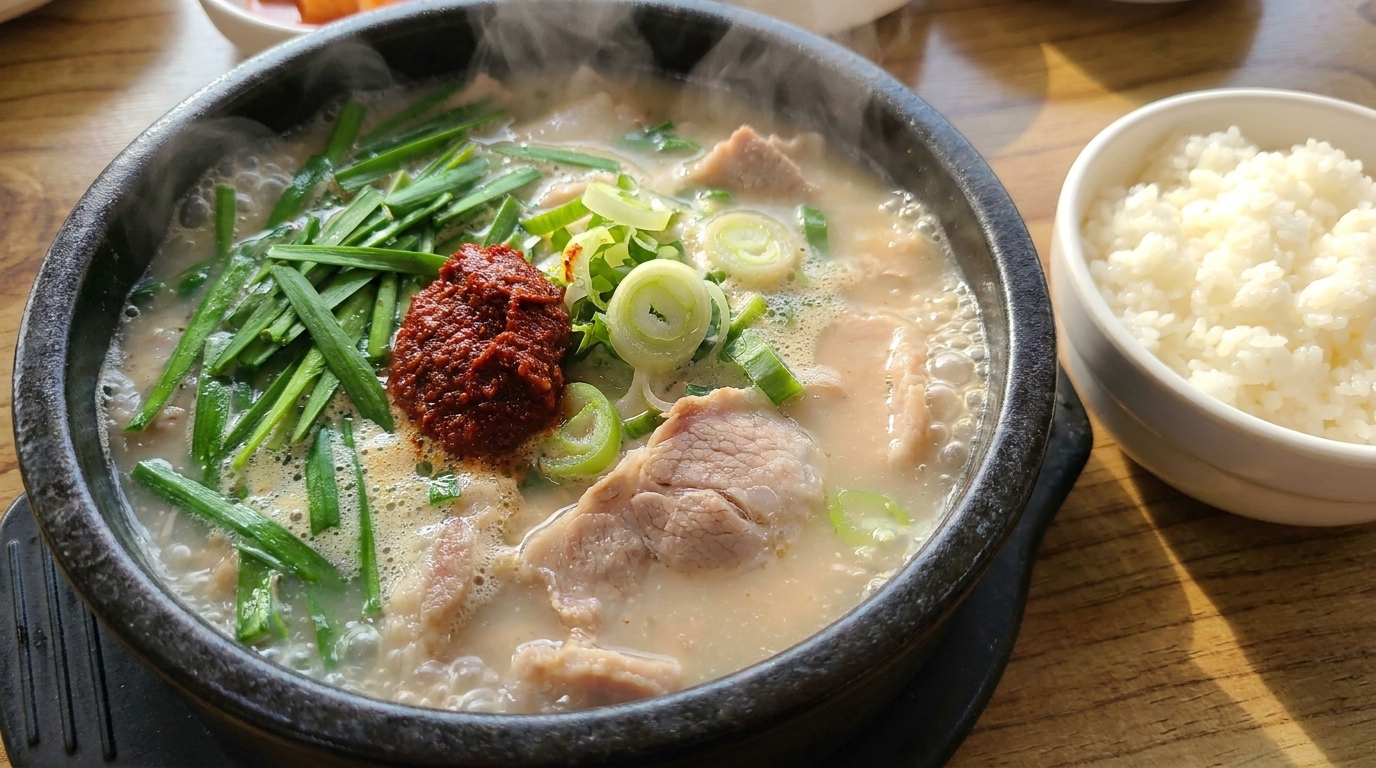
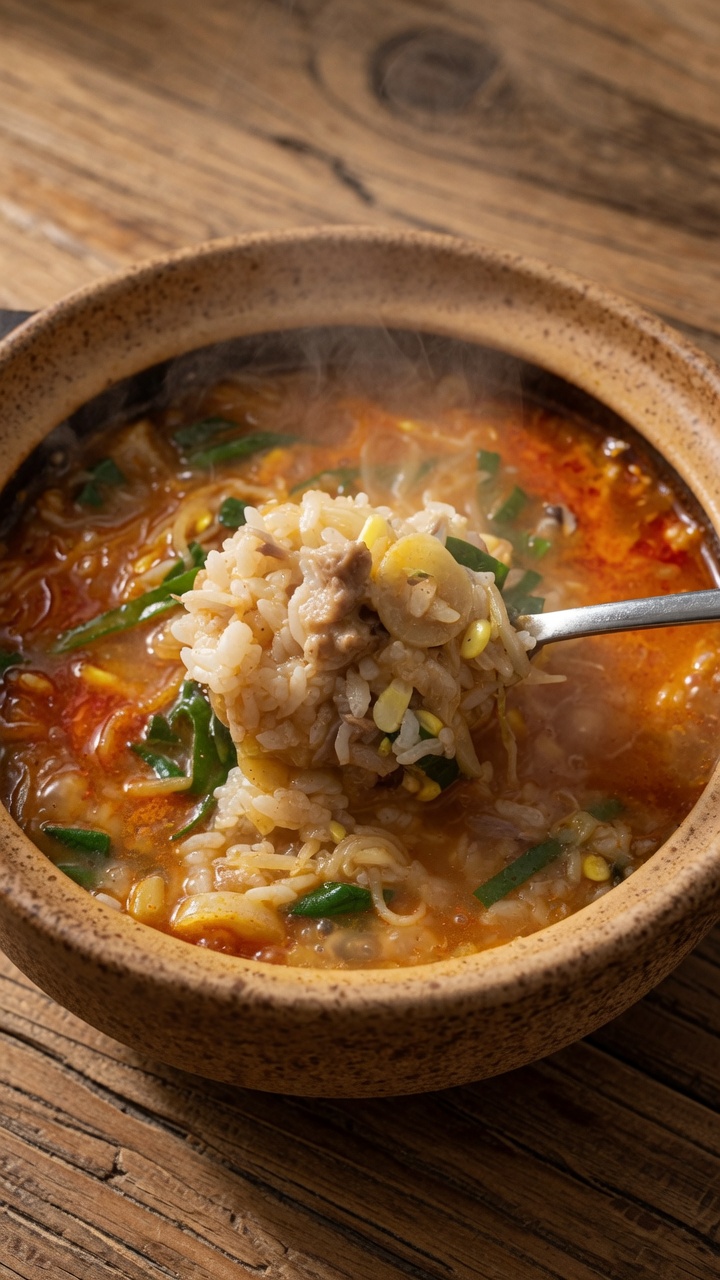
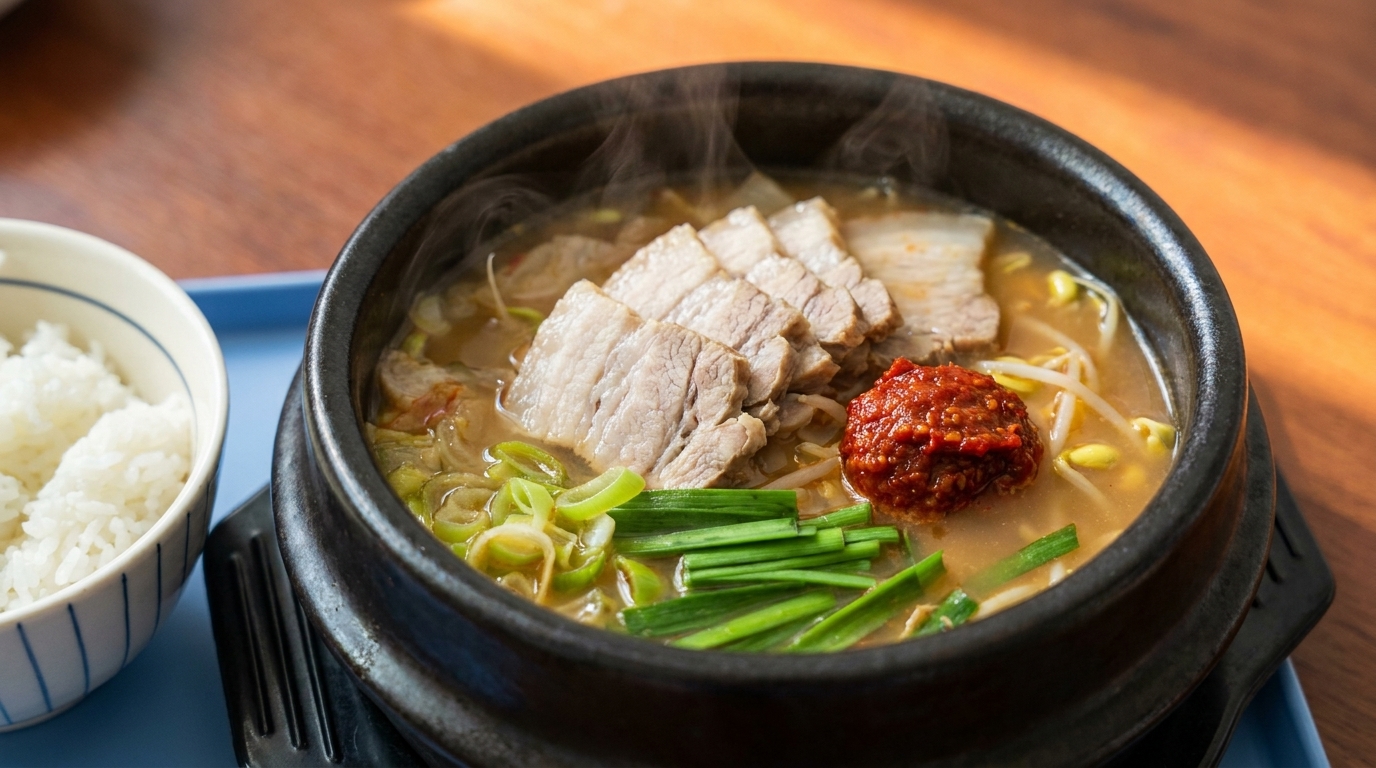
A hidden gem of Yanji cuisine, this pork soup rice features a rich, slow-simmered bone broth layered with tender pork belly, fresh aromatics, and spicy paste.
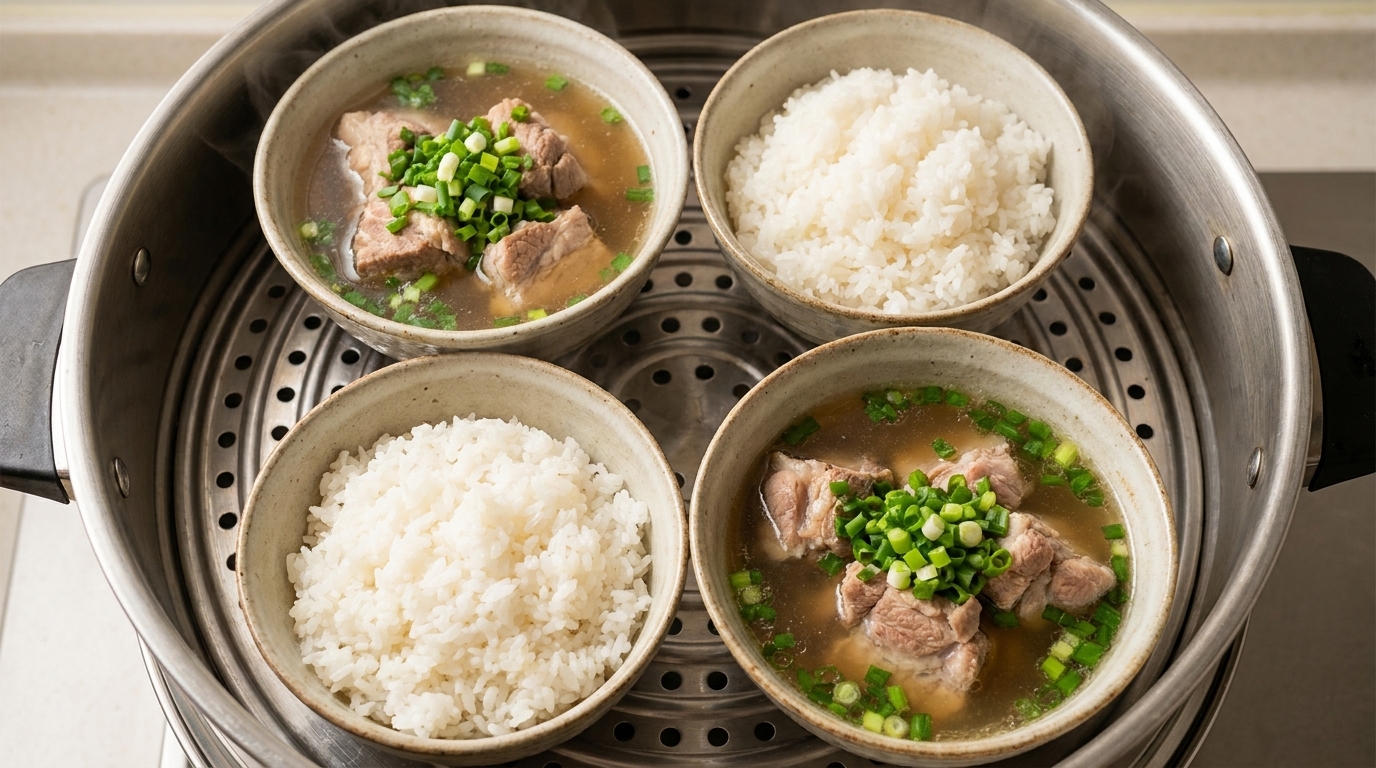
While many flock to Yanji for skewers and cold noodles, the true soul of local comfort food is found in this humble bowl of pork soup rice. Deeply savory and intensely warming, it is a staple that powers the region. This recipe captures that authentic, homestyle essence, balancing creamy bone broth with the bright heat of traditional Korean seasonings and the earthy finish of purple perilla.
Ingredients
- 500 g pork belly
- 500 g pork bone
- 1 bunch scallions
- 1 unit onion
- 100 g bean sprouts
- 20 g ginger
- 5 cloves garlic
- 200 ml cooking wine
- 2 tbsp Korean chili paste
- 1 tbsp chili powder
- 1 tbsp fish sauce
- 1 tsp purple perilla powder
- 1 tbsp dried shrimp
- 50 g fresh chives
- to taste bay leaves
- to taste peppercorns
Instructions
- 1Blanch the pork
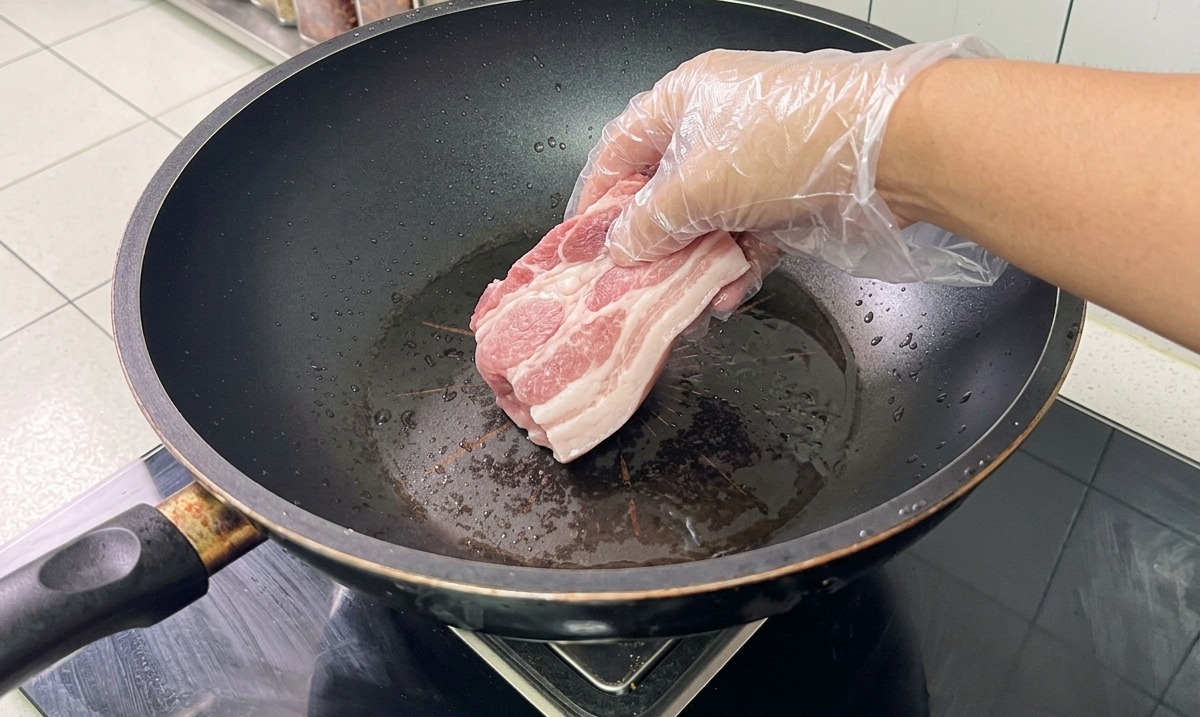
Place the pork belly and pork bones into a wok with cold water, adding bay leaves, peppercorns, and scallion sections. Bring to a boil, skim off any foam that rises to the surface, and simmer for 5 minutes. Remove the meat and rinse thoroughly with warm water to ensure a clean broth.
Tip: Blanching in cold water helps draw out impurities more effectively than starting in hot water. - 2Prepare the braising pot
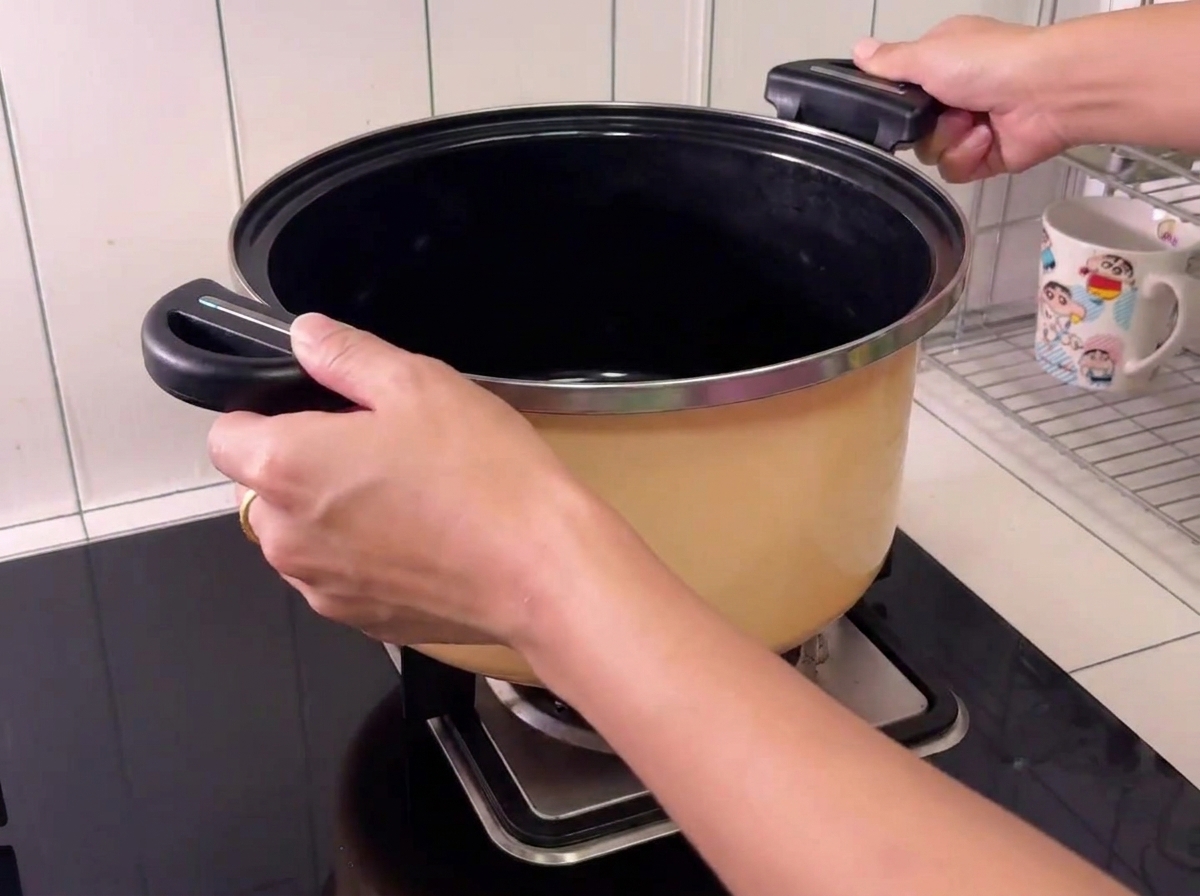
Transfer the blanched pork belly and pork bones into a pressure cooker. Pour in a bottle of cooking wine to help neutralize odors and enhance the depth of the broth.
Tip: Using a pressure cooker is key to achieving a rich, flavorful bone broth in a shorter amount of time. - 3Add aromatics
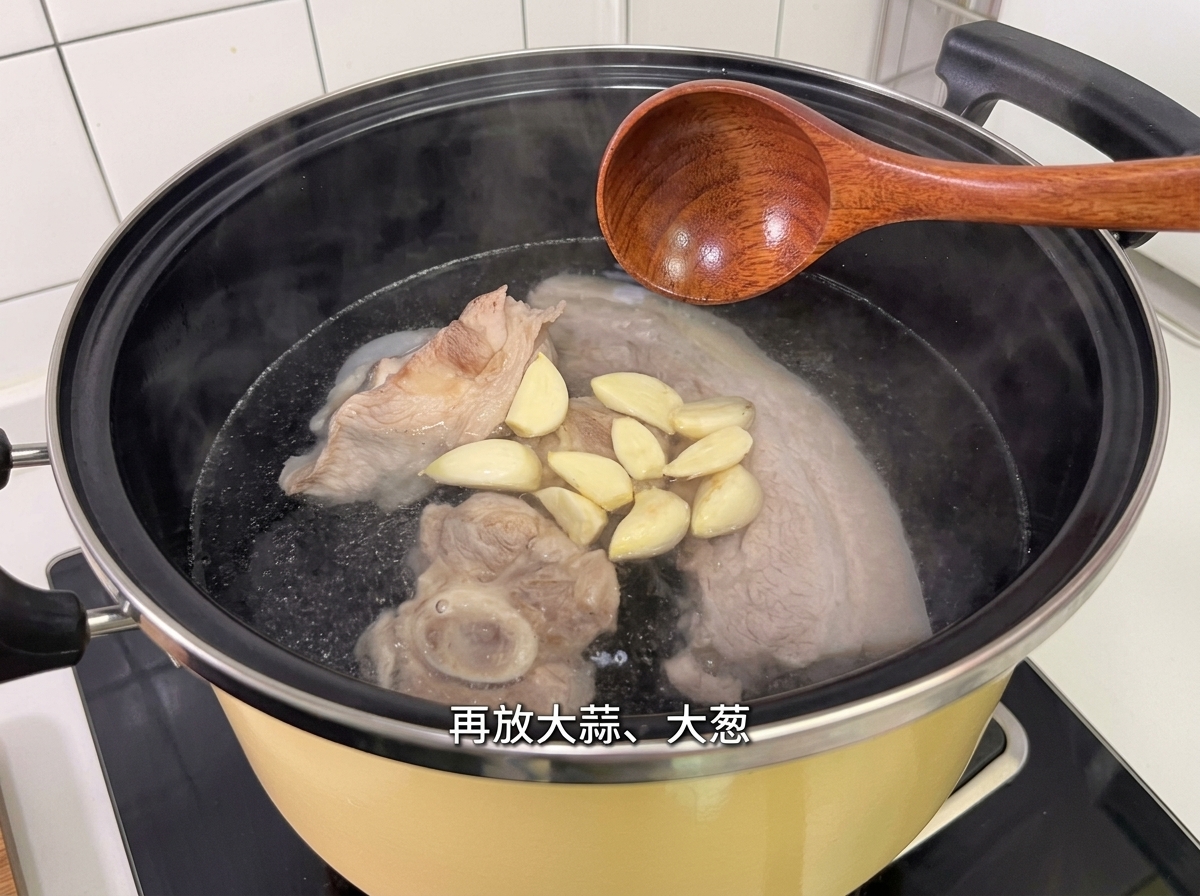
Add the prepared aromatics to the pressure cooker: large garlic cloves, scallions, onion, ginger, peppercorns, and bay leaves. Pour in plenty of hot water, then bring to a boil before covering the pot to simmer on low heat for 40 minutes.
Tip: Adding hot water instead of cold water helps maintain the temperature and flavor profile of the broth. - 4Slice the pork belly
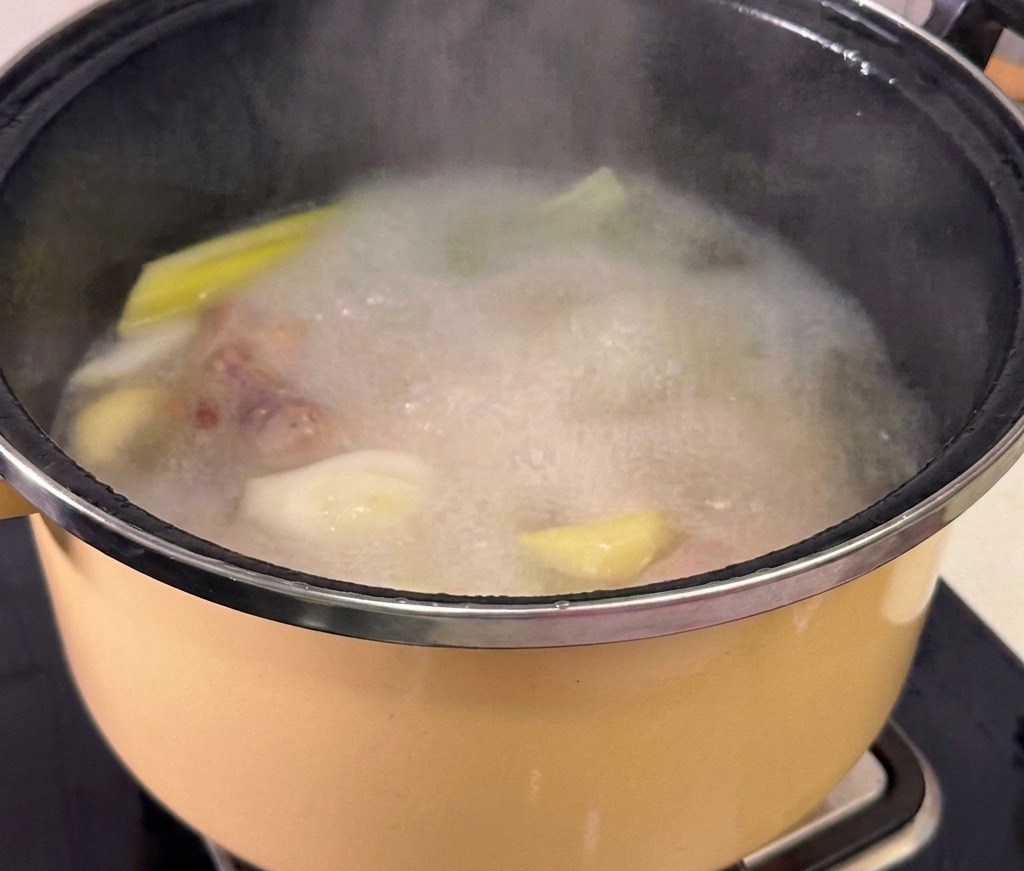
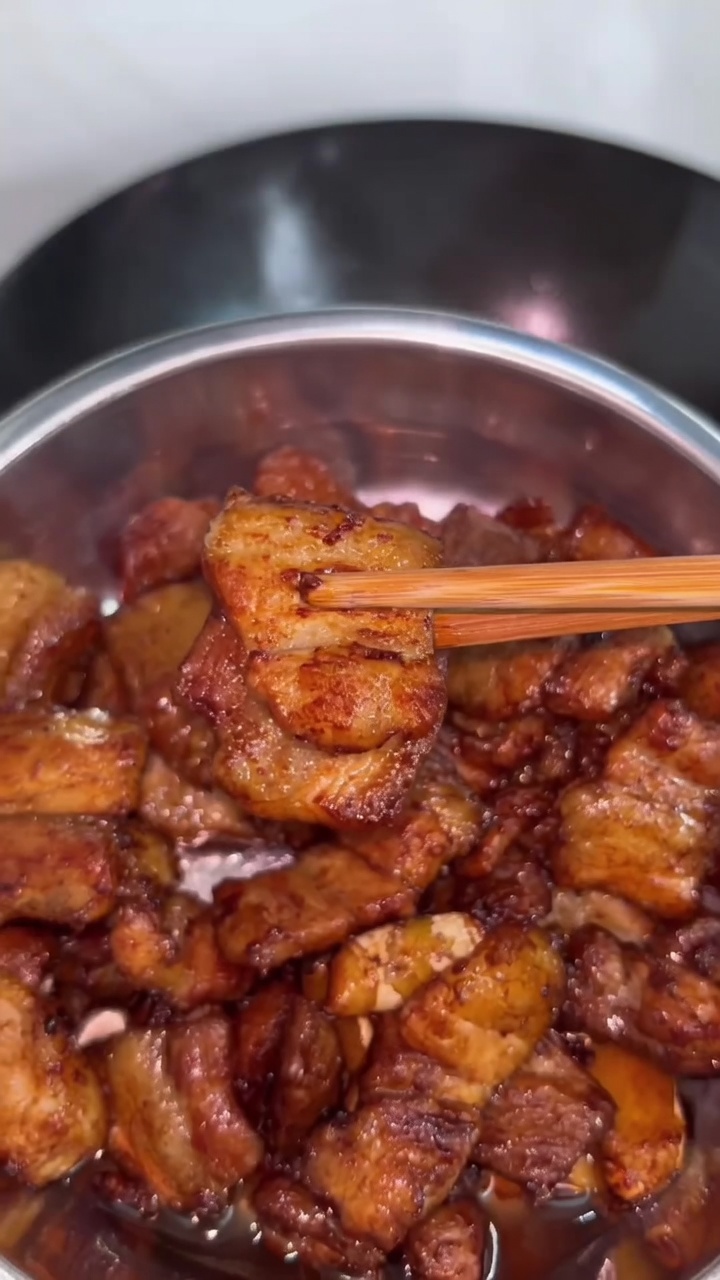
After 20 minutes of simmering, carefully remove the pork belly from the pressure cooker. Once slightly cooled, slice it into thin, even pieces on a cutting board, ready for assembly.
Tip: Removing the pork belly earlier than the bones keeps the meat tender without overcooking it. - 5Mix the signature sauce
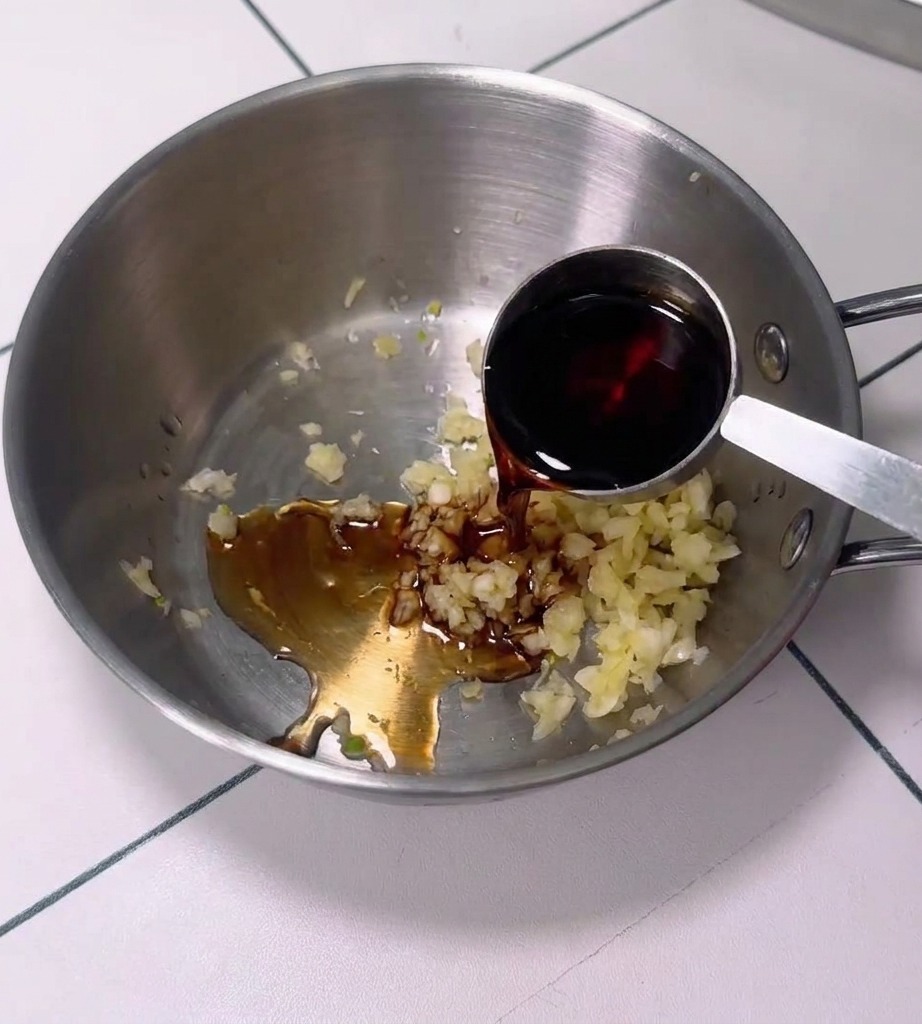
In a small metal bowl, prepare the signature soup rice sauce by whisking together minced garlic, fish sauce, Korean chili paste, chili powder, and a splash of the simmering bone broth until well combined.
Tip: Adjust the ratio of chili paste to chili powder based on your preferred spice level. - 6Shred the meat
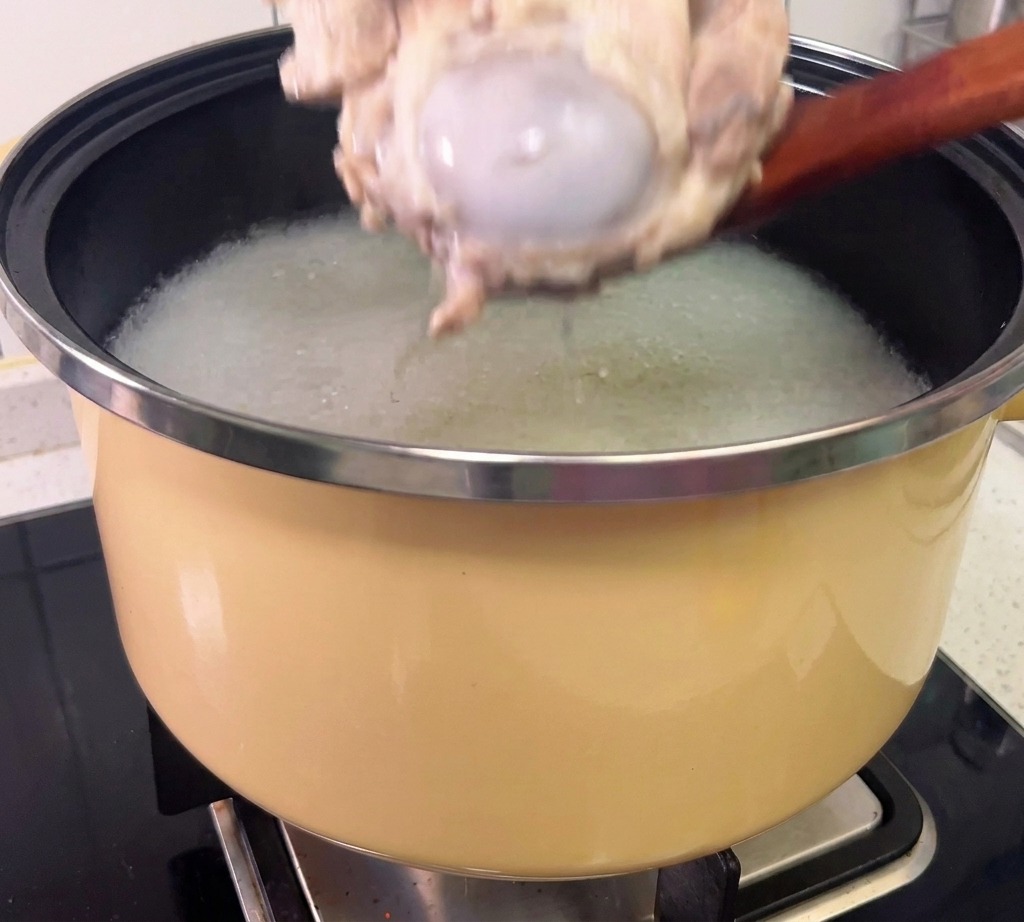
Once the full 40 minutes of cooking time is complete, remove the pork bones from the pot. Using protective gloves, carefully shred the tender meat off the bones to use for the base of the soup.
Tip: Ensure the meat is still warm for easier shredding from the bone. - 7Prepare the clay pot base
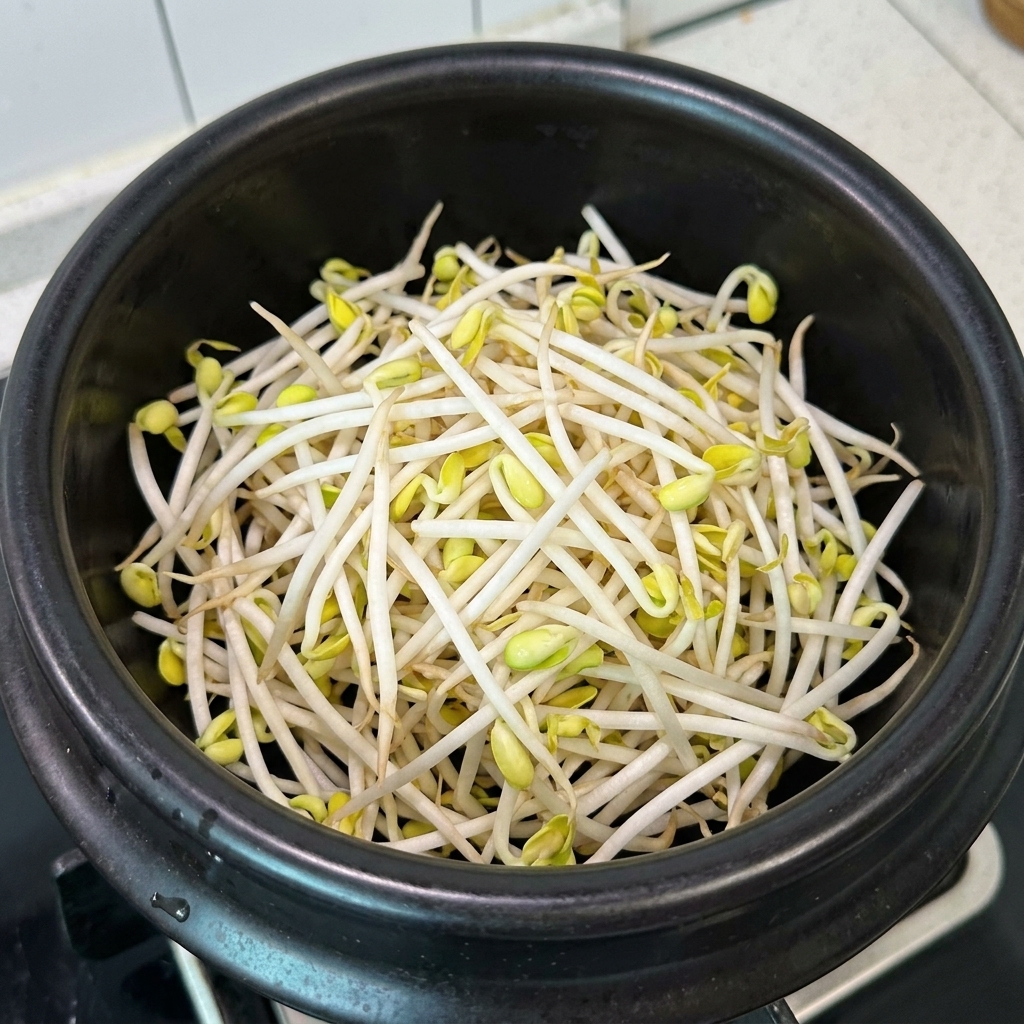
In a clay pot, create the foundation for your soup by arranging a generous portion of fresh bean sprouts at the bottom. Layer the previously shredded pork meat evenly over the bean sprouts to ensure flavor distribution.
Tip: Using a clay pot helps maintain consistent heat, keeping your soup piping hot until the very last bite. - 8Pour in the bone broth
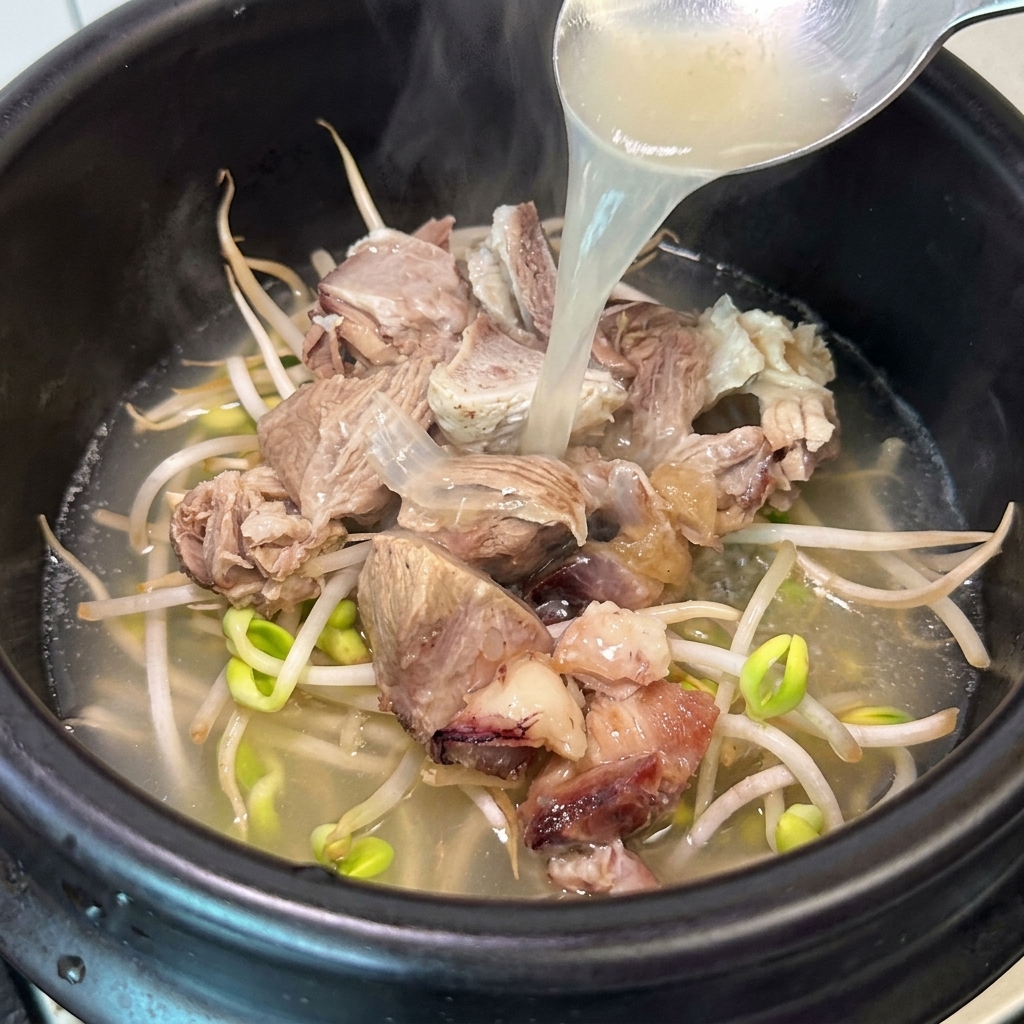
Carefully ladle the hot, cloudy bone broth over the bean sprouts and shredded meat in the clay pot. Place the pot on the stove and bring the liquid to a steady boil.
Tip: Pouring the broth hot reduces the time needed to reach a boil, preserving the texture of the bean sprouts. - 9Garnish with pork and aromatics
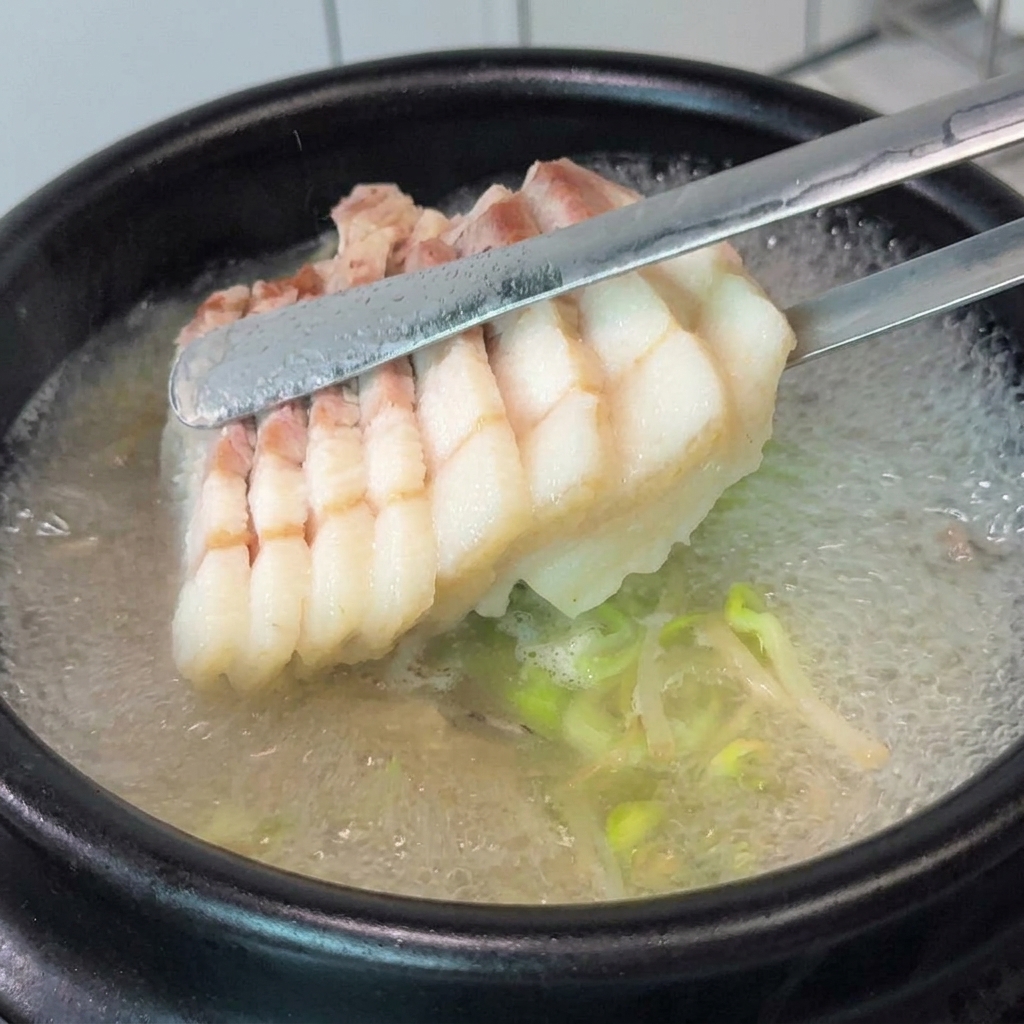
Once the soup is boiling, carefully arrange the thin slices of pork belly on top. Add a sprinkle of dried shrimp for extra depth and a generous handful of freshly chopped chives to brighten the dish.
Tip: Adding the pork belly last ensures it stays tender and refreshing rather than becoming overcooked in the broth. - 10Finish with signature seasoning
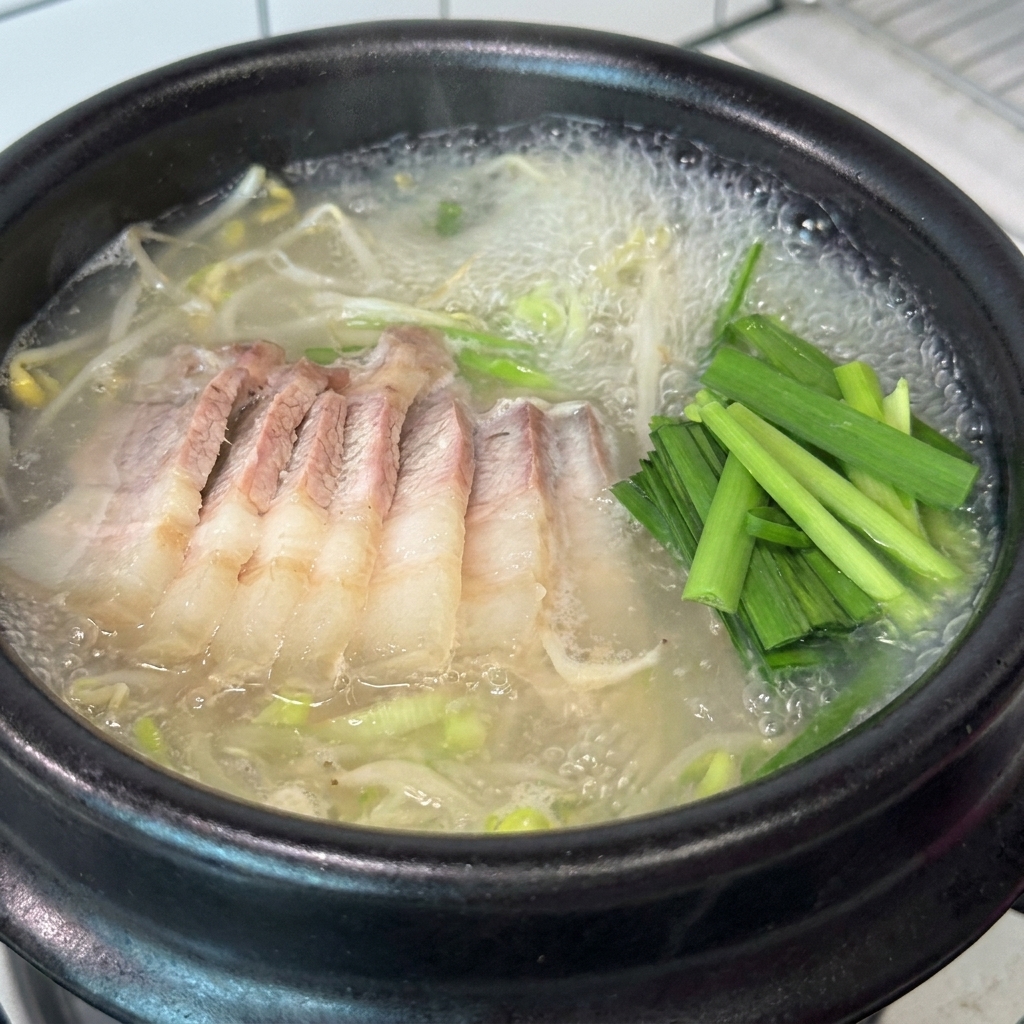
Complete the dish by placing a spoonful of the signature spicy sauce in the center. Finally, finish with a light sprinkle of purple perilla powder to add a unique, aromatic final touch.
Tip: The perilla powder is the secret to the authentic flavor profile of this soup; dont skip it!