Classic Butter Brioche Hamburger Buns
Soft, buttery, and cloud-like brioche hamburger buns made easily at home. Achieve a rich bakery-style texture with a glossy golden crust without complex techniques.
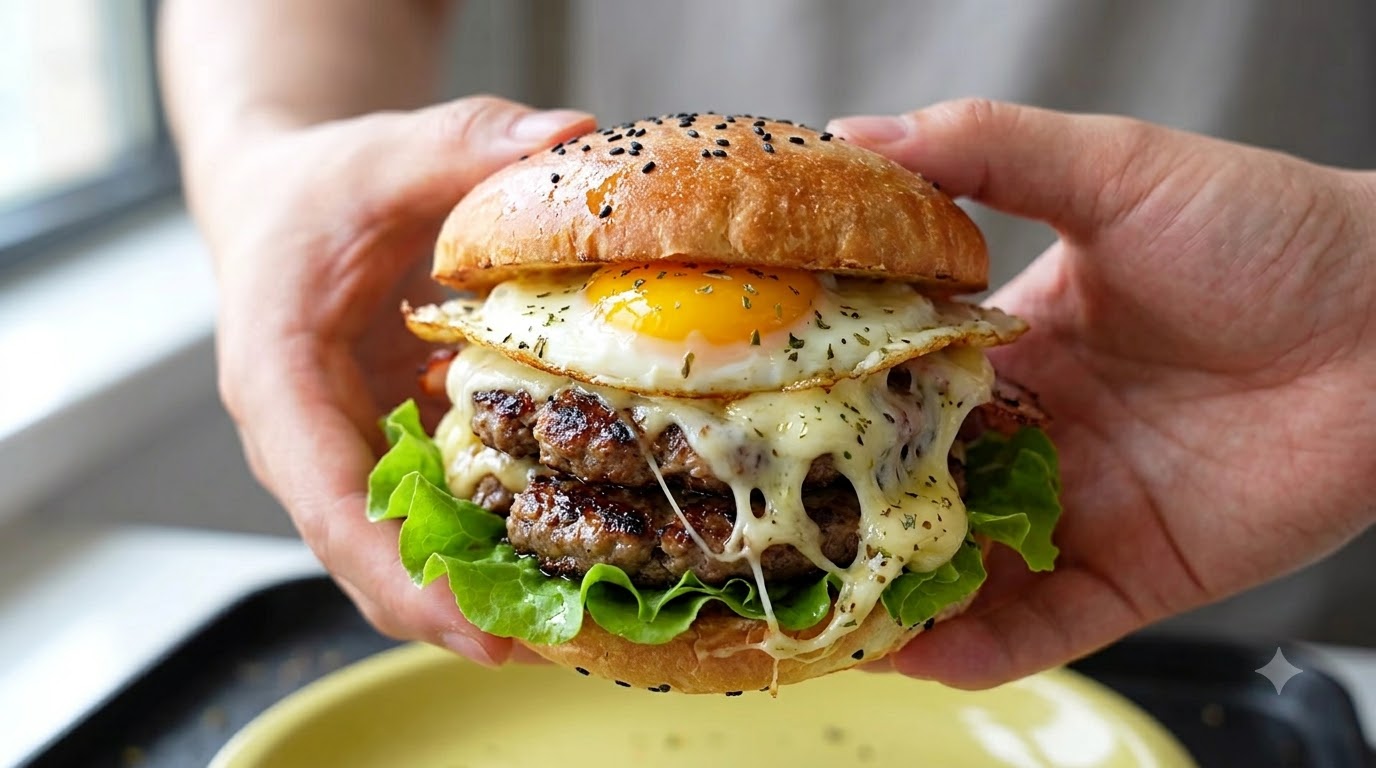
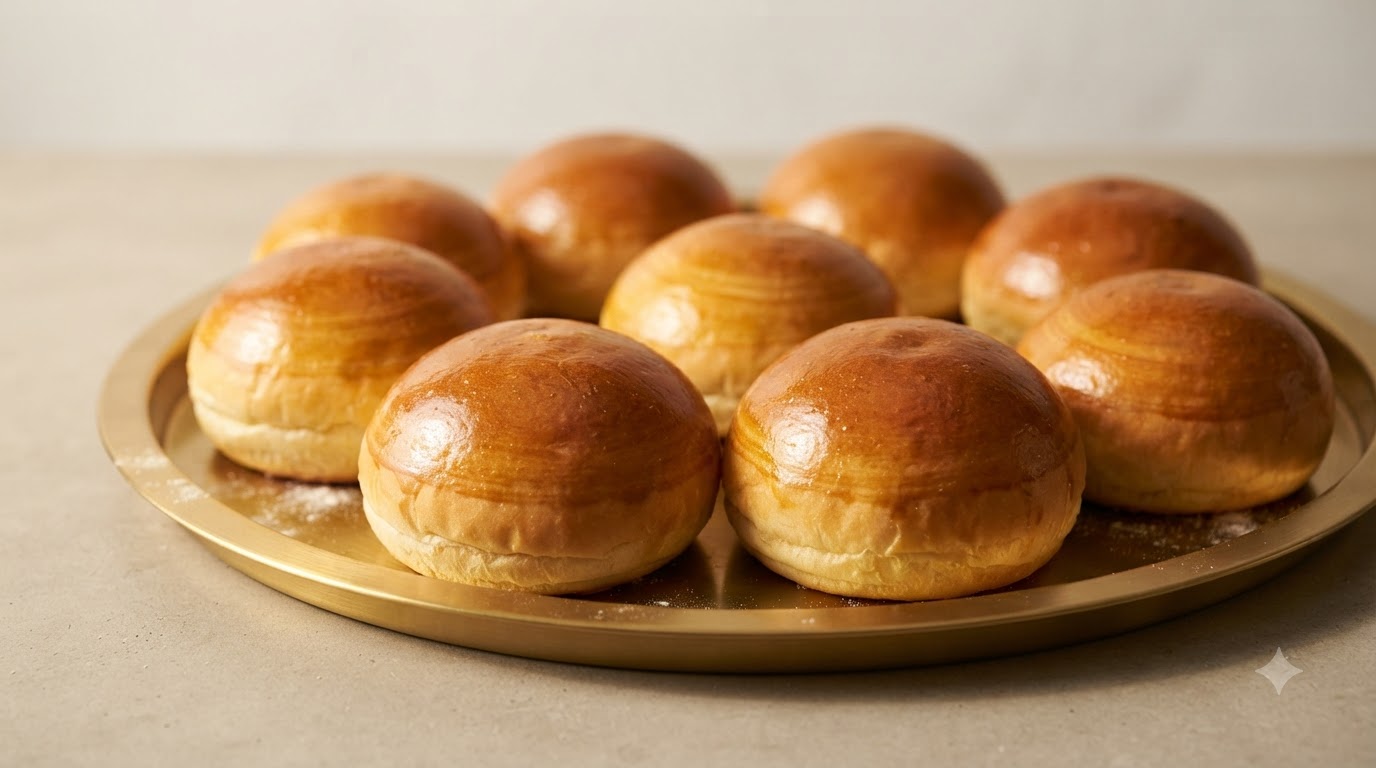
These classic butter brioche hamburger buns bring the bakery straight to your kitchen. With a rich, creamy dough and a golden egg-washed crust, they offer the perfect balance of pillowy softness and rich flavor to elevate any homemade burger.
Ingredients
- 500 g bread flour
- 60 g granulated sugar
- 6 g instant yeast
- 5 g salt
- 2 large eggs
- 180 ml cold milk or water
- 60 g unsalted butter
- 1 egg for egg wash
Instructions
- 1Combine ingredients in the mixing bowl
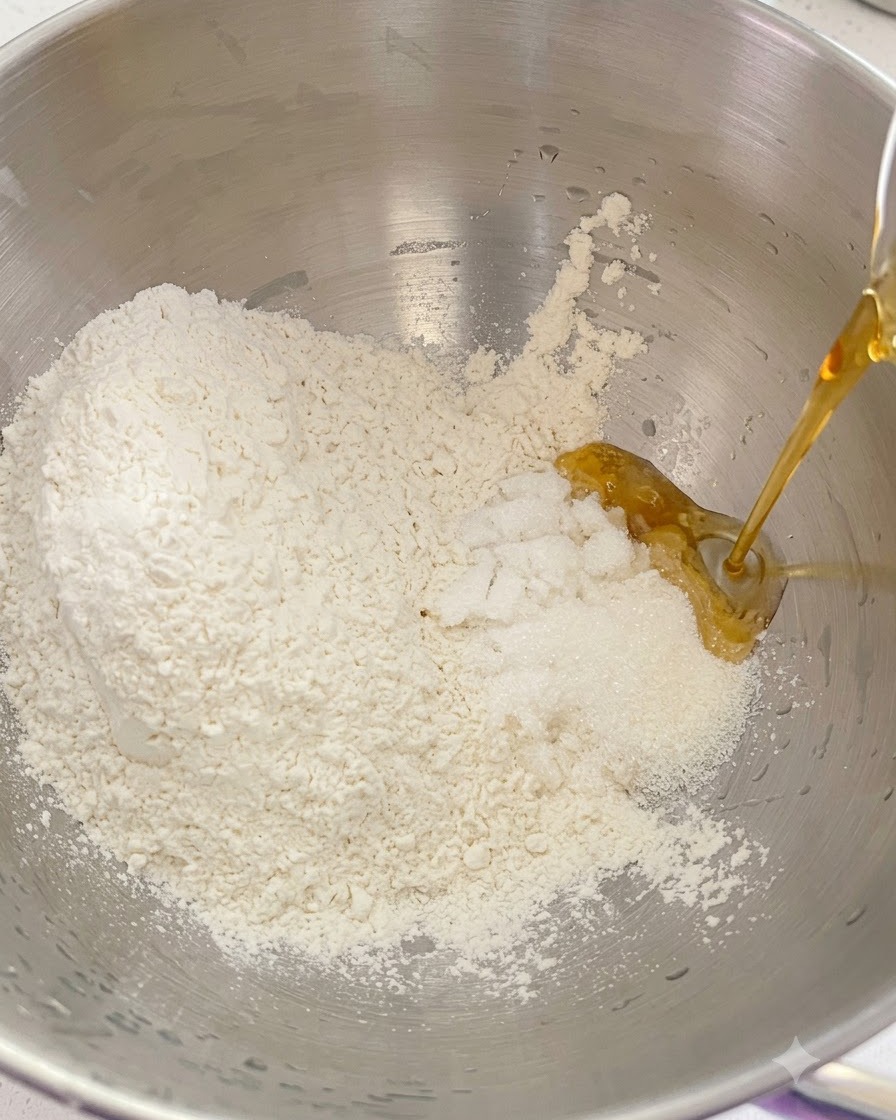
Add all recipe materials except for the salt and butter into the stand mixer bowl to begin preparing the dough. During warmer summer months, it is recommended to use refrigerated or frozen liquid ingredients when kneading the dough.
Tip: Always chill your liquids in the summer to keep the dough temperature down during mixing. - 2Check for initial thick film
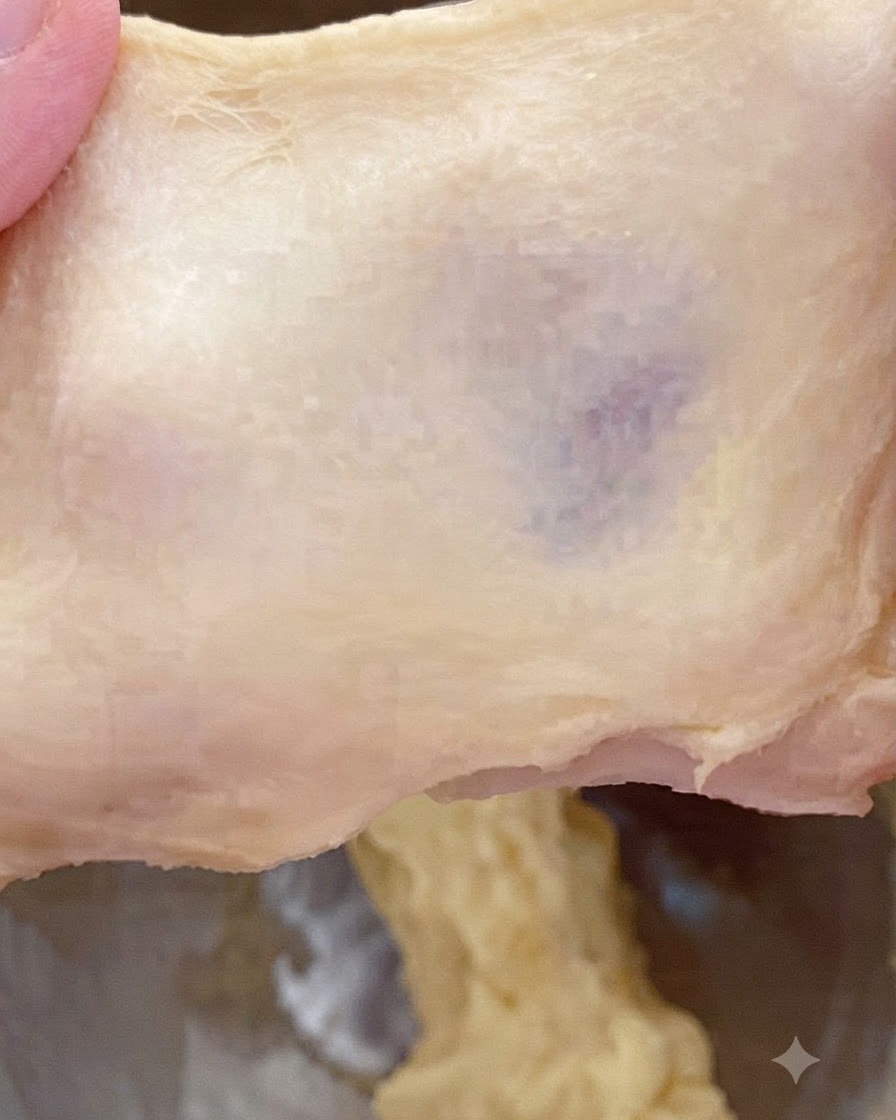
Stir the ingredients on low speed for 2 to 3 minutes, then switch to medium-high speed to develop the gluten until a thick film forms. Test the dough by gently pulling it apart to check its stage; a rough texture that tears easily with a serrated edge indicates it is ready for the next addition.
Tip: Do not skip checking the gluten development stage before adding fats. - 3Add butter and salt
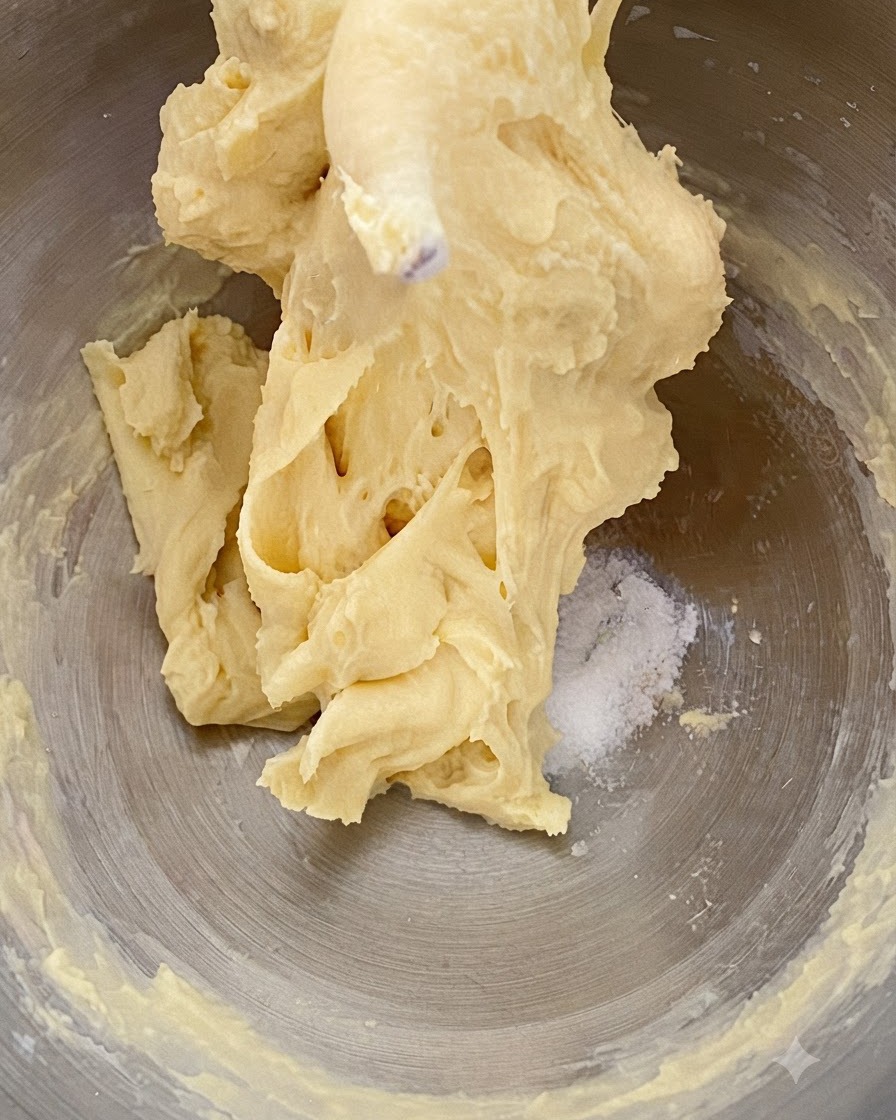
Incorporate the salt and butter directly into the mixing bowl with the dough. Because brioche relies on a generous amount of butter and liquid eggs, the dough will naturally feel slightly sticky at this stage.
Tip: Resist the urge to blindly add extra flour, as stickiness is completely normal for brioche dough. - 4Knead to glove membrane stage
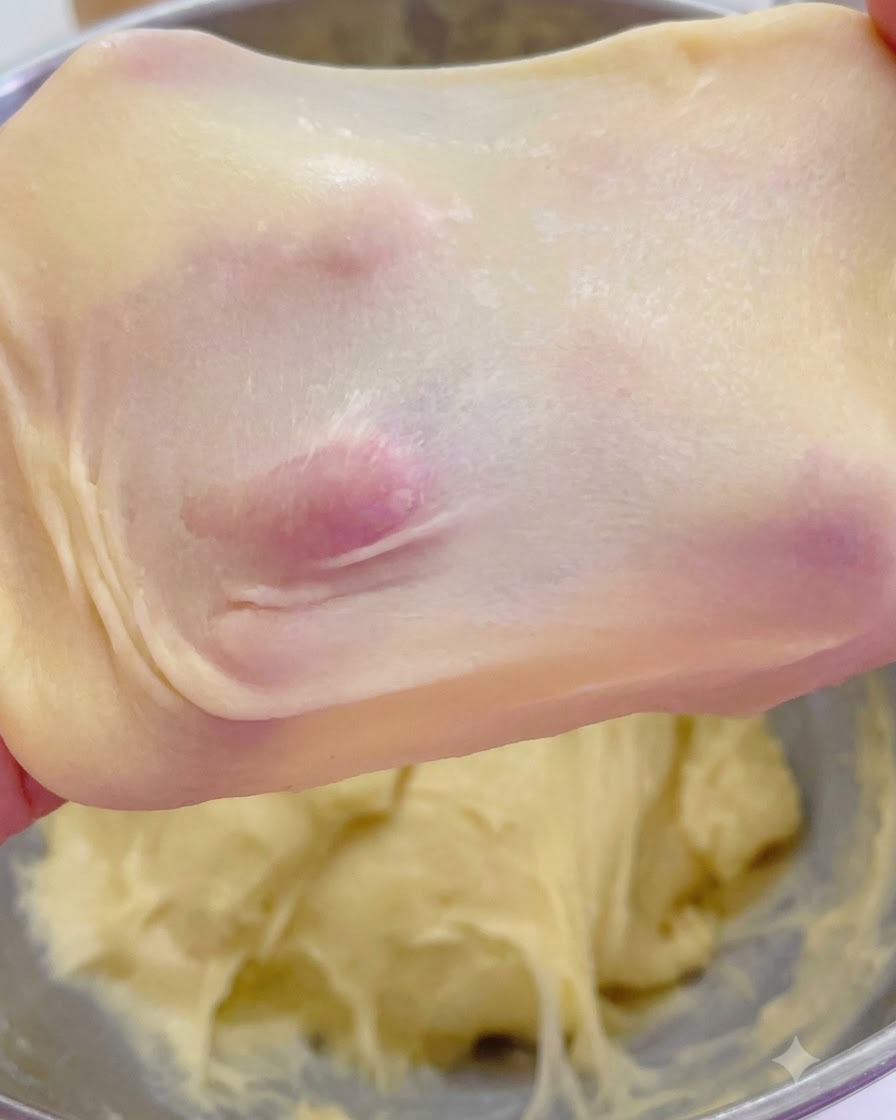
Continue kneading the dough after adding the butter and salt until it reaches a smooth consistency. Stretch a small piece of the dough carefully to test for a thin, translucent, and elastic windowpane membrane.
Tip: A successful glove membrane ensures the bread will rise well and hold its fluffy texture. - 5Shape and ferment the dough
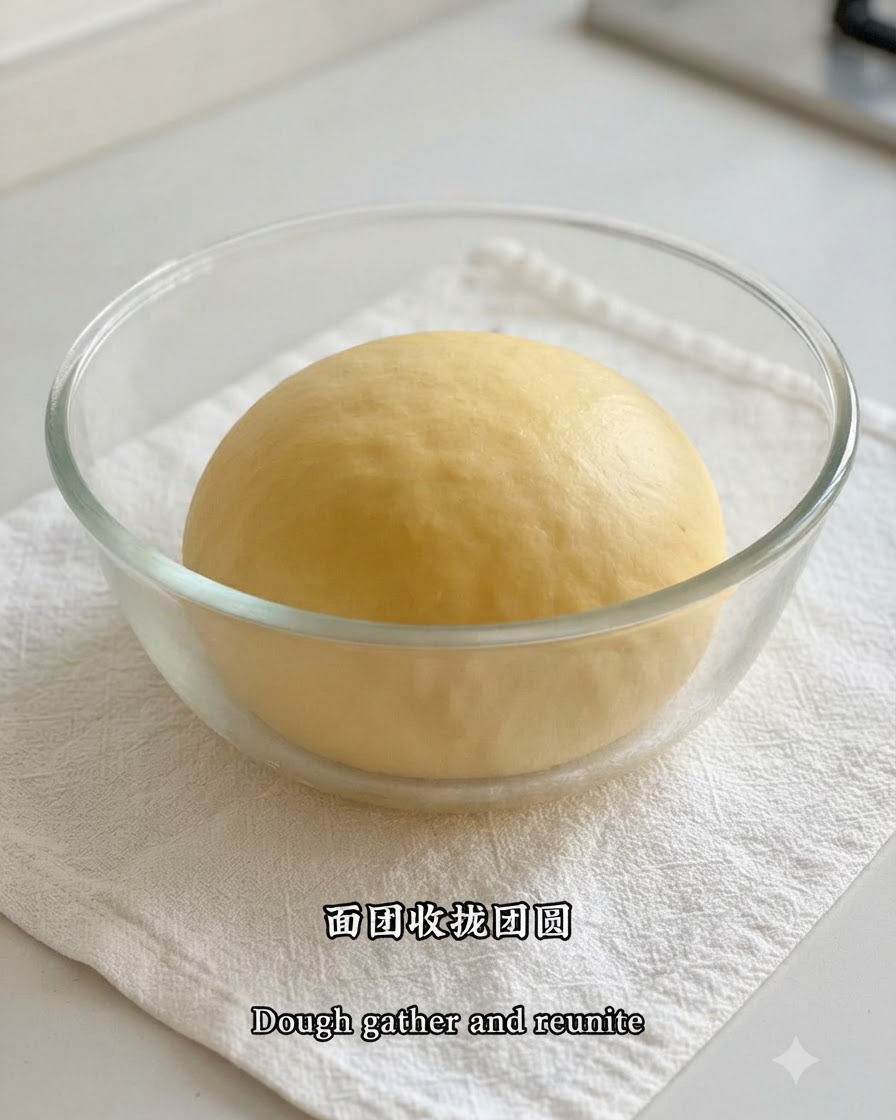
Gather and reunite the kneaded dough into a smooth, tight round ball. Place the rounded dough into a clean glass basin, cover it with plastic wrap, and let it ferment at room temperature or inside an oven until it grows to 1.5 times its original size.
Tip: Ensure your proofing environment is draft-free for optimal rising. - 6Punch down and degas the dough
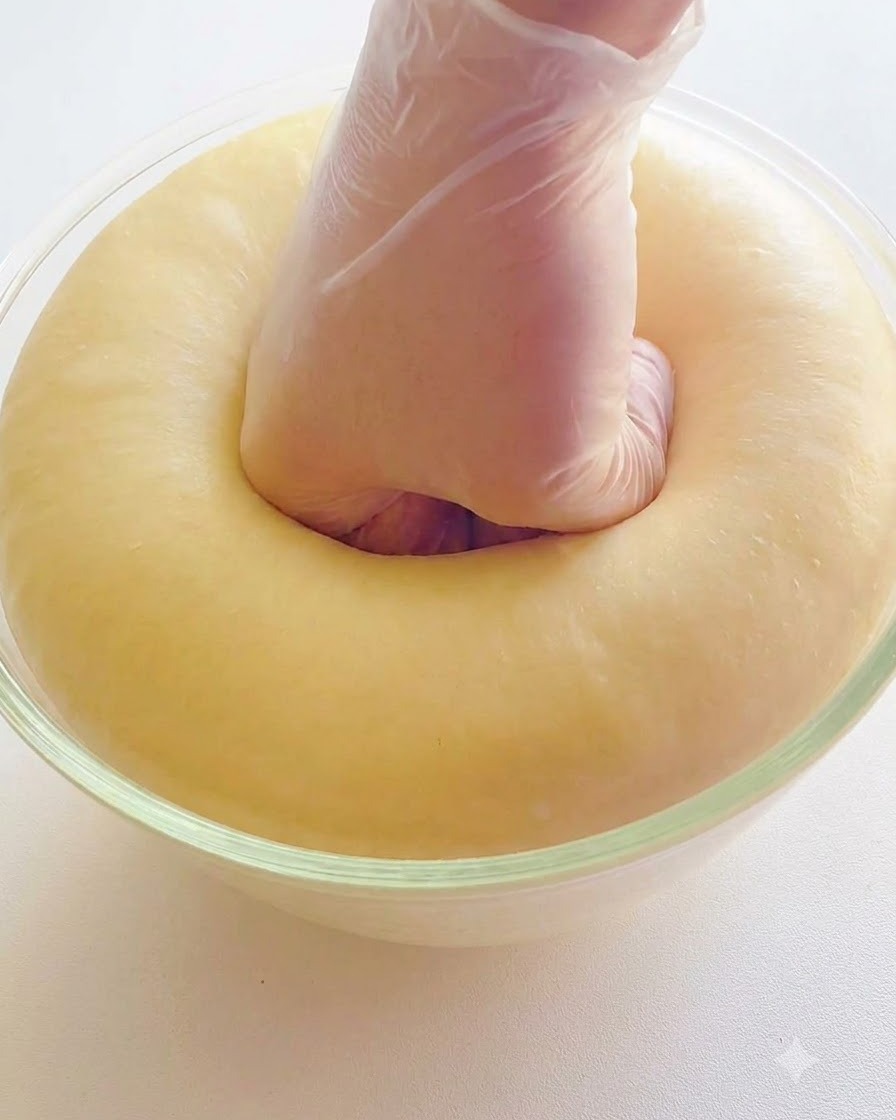
Once the fermented dough has expanded and is full of gas, press down firmly into the center with a gloved hand to release the trapped air. This deflation step prepares the dough for portioning and shaping.
Tip: Press firmly to expel all large pockets of gas before dividing the dough. - 7Divide the dough
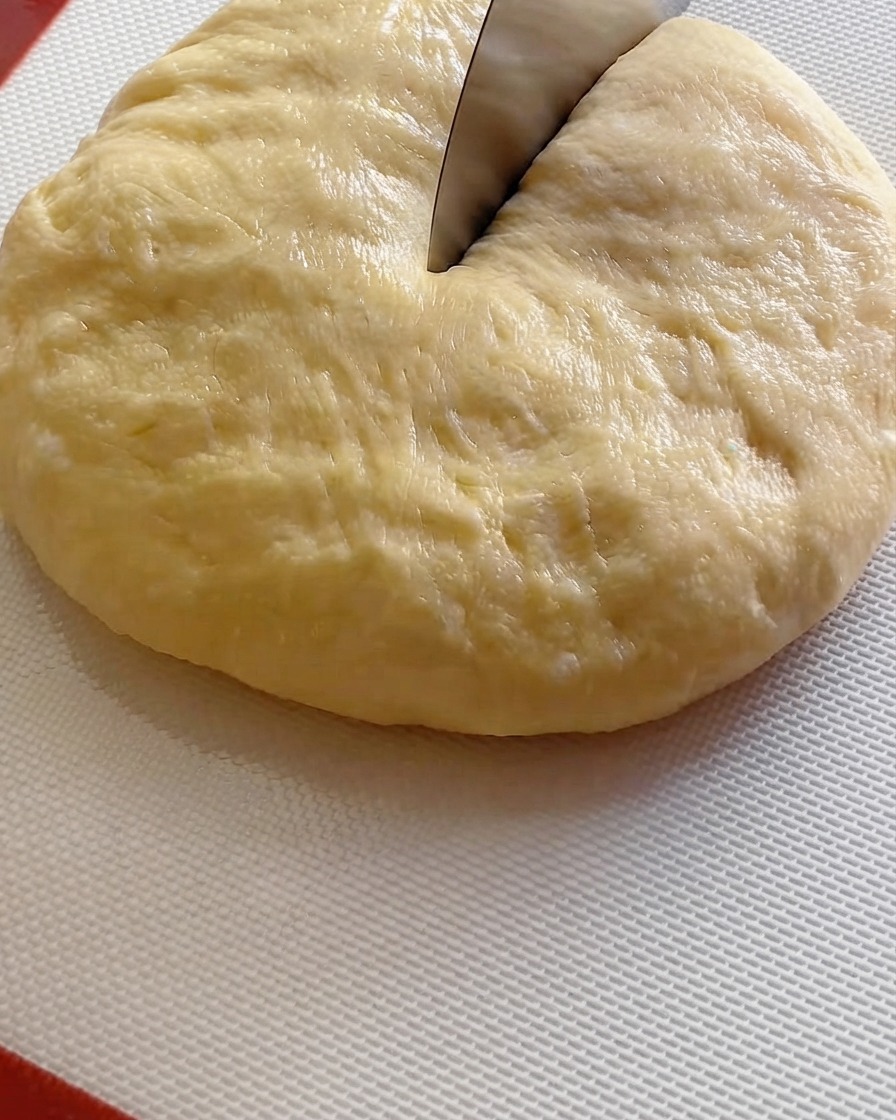
Take the fermented and deflated dough, and use a dough cutter to divide it evenly into nine equal portions.
Tip: Keep the portions uniform so the burger buns bake evenly. - 8Shape the dough balls
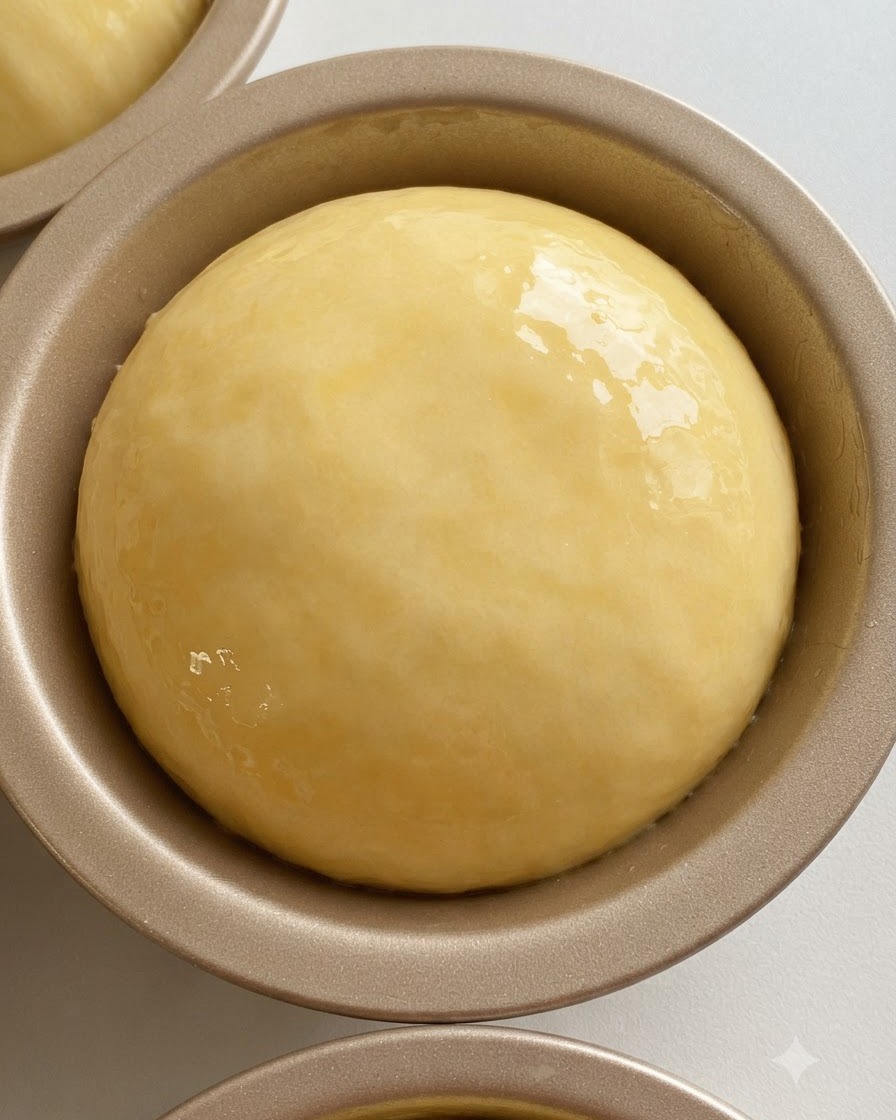
Take an individual dough piece, press to exhaust air, fold inward toward the center to seal tightly, and round it up.
Tip: Ensure the bottom interface is tightly sealed to maintain a smooth top surface during rising.