Oven-Smoked Wagyu Beef Brisket
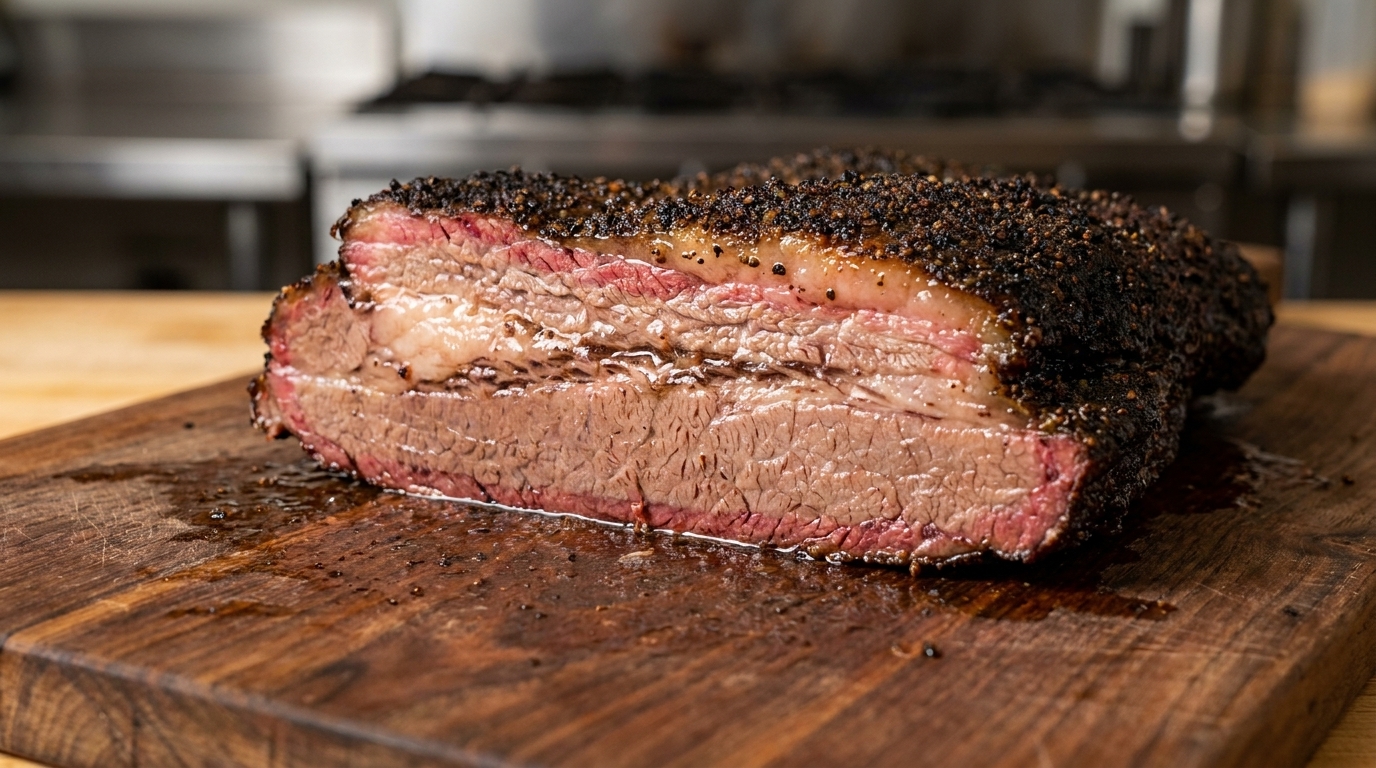
Achieve authentic smokehouse flavors right in your home oven. This tender Wagyu beef brisket features a beautiful bark and a delicate peach wood aroma.
Smoking a brisket indoors might seem intimidating, but this resourceful technique brings barbecue-house magic to a standard home kitchen. By using a sealed foil packet with peach wood chips, the meat gently absorbs a deep, savory smoke aroma. A low-temperature slow-bake then guarantees a melt-in-your-mouth texture that rivals traditional low-and-slow pit smoking. Served chilled as a cold cut, it is remarkably versatile for summer gatherings or as a healthy, protein-packed snack.
Ingredients
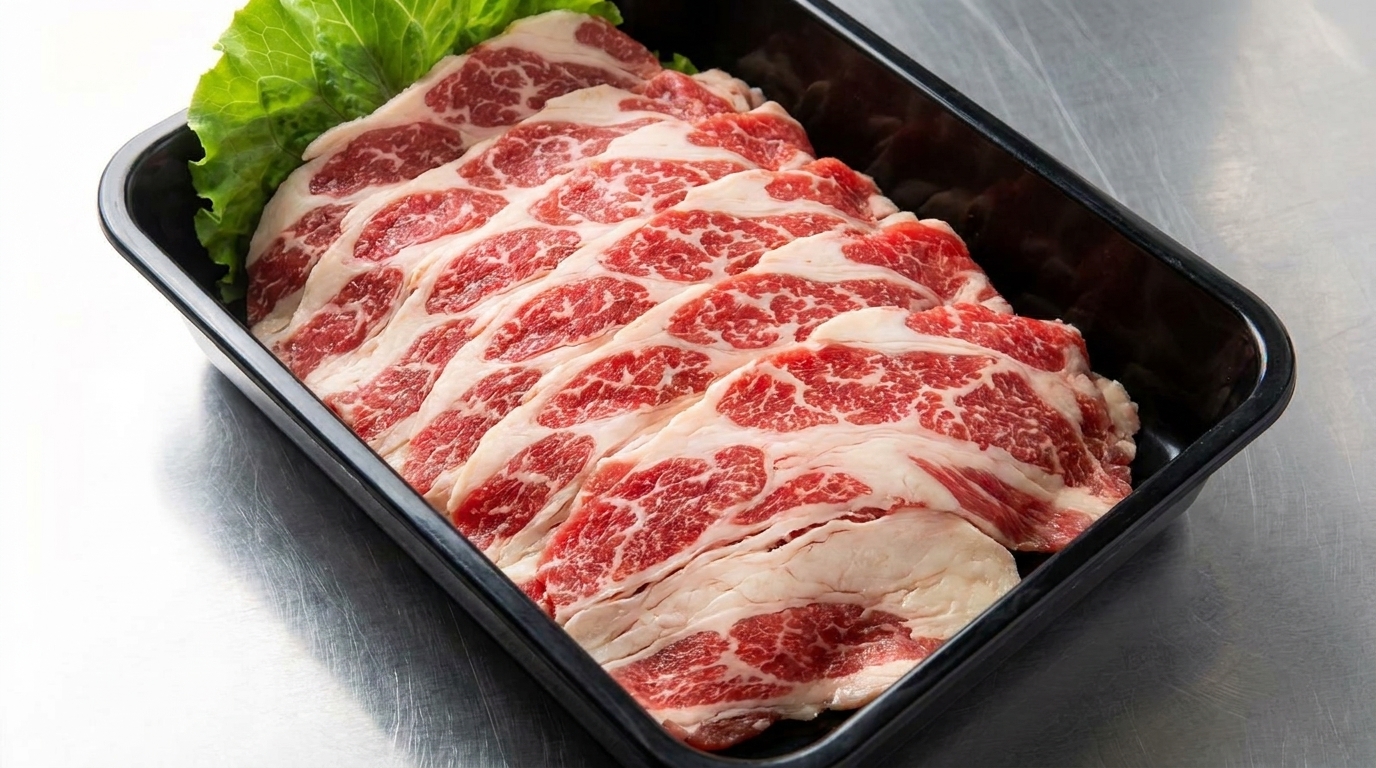
- 1 whole piece Wagyu beef brisket
- to taste salt
- to taste black pepper
- generous amount barbecue seasoning rub
- 2 tbsp cooking oil
- 1 cup peach wood chips
- 1 cup water
Instructions
- 1Season the brisket
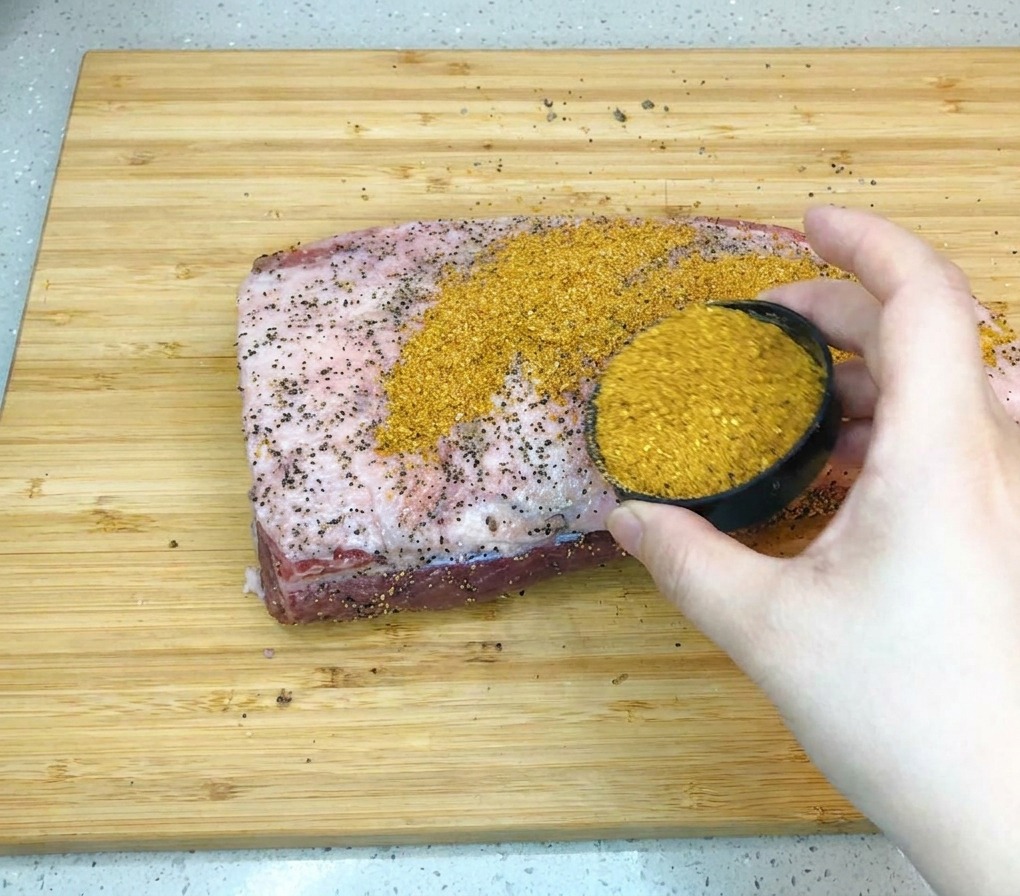
Generously sprinkle your barbecue seasoning rub evenly across the entire surface of the raw Wagyu beef brisket. Make sure to cover the meat well, as this rub will combine with the natural juices to form a deeply flavorful crust during cooking.
Tip: Be thorough with your seasoning. Since brisket is a thick cut of meat, a generous coating of rub ensures every bite is well-flavored. - 2Marinate the brisket
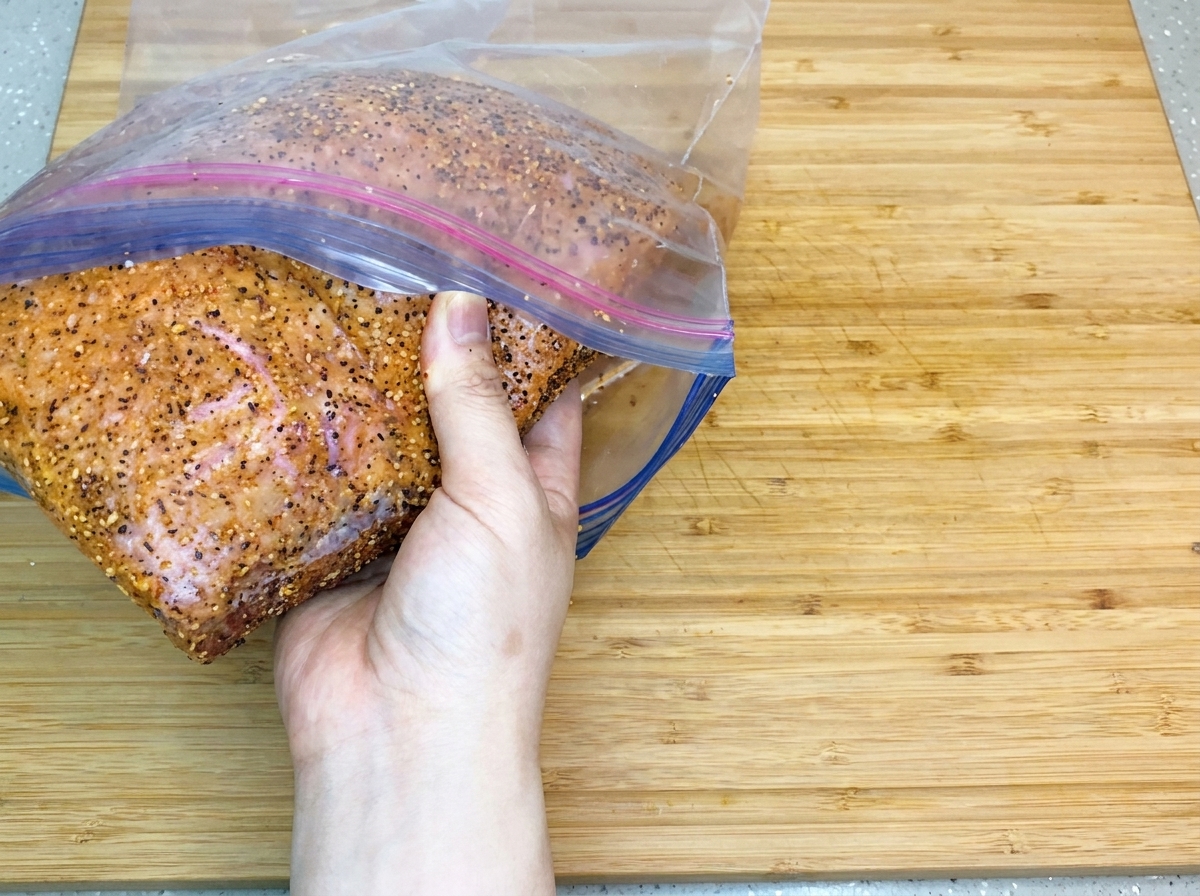
Place the seasoned Wagyu beef brisket inside a large plastic ziplock bag. Seal it carefully and store it in the refrigerator to marinate for four days, allowing the spice rub and flavors to penetrate deeply into the meat.
Tip: Ensure the bag is properly sealed to prevent air exposure, which helps the seasoning distribute evenly over the four days. - 3Coat with oil after marination
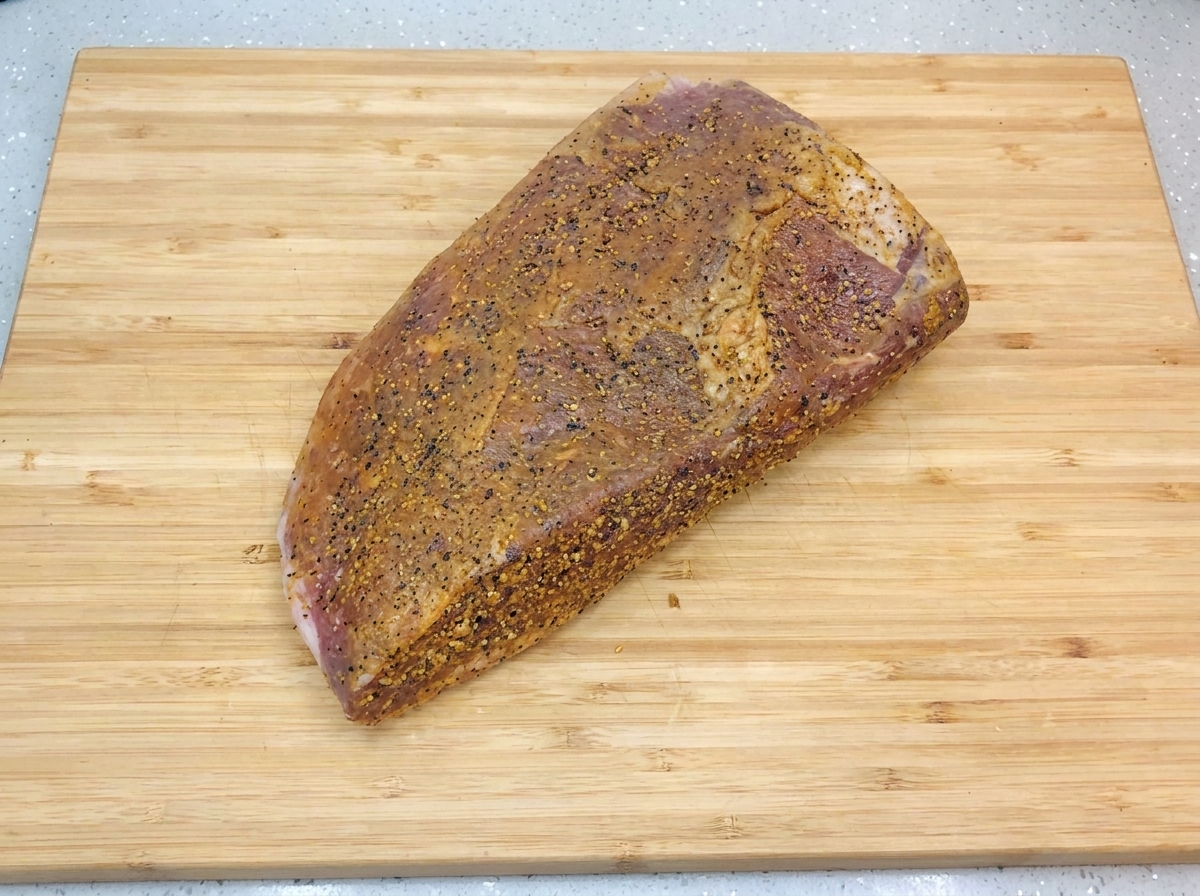
After marinating the brisket in the refrigerator for four days, remove it from the bag and place it back onto the cutting board. Coat the surface evenly with a generous amount of cooking oil to help conduct the heat and ensure an even, beautiful sear in the pan.
Tip: Oiling the meat instead of the pan helps prevent the loose spices in the rub from burning instantly when hitting the hot skillet. - 4Sear the fat side first
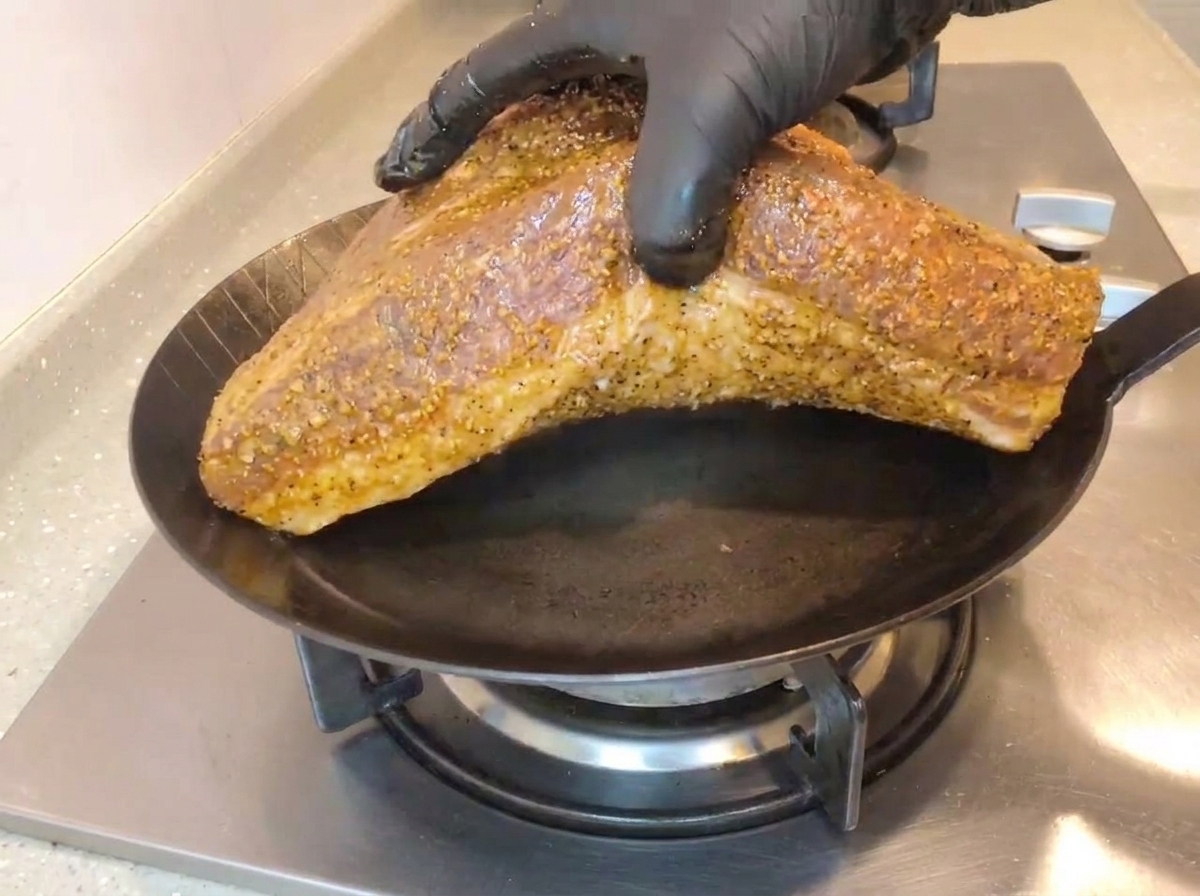
Carefully place the oiled beef brisket fat-side down into a preheated, hot skillet to begin searing. Starting with the fatty side allows the intense heat to render out the natural beef fat, which will baste the meat and help develop a rich flavor foundation.
Tip: Press down gently on the brisket as it hits the pan to ensure full, even contact between the meats surface and the hot metal. - 5Sear all sides until caramelized
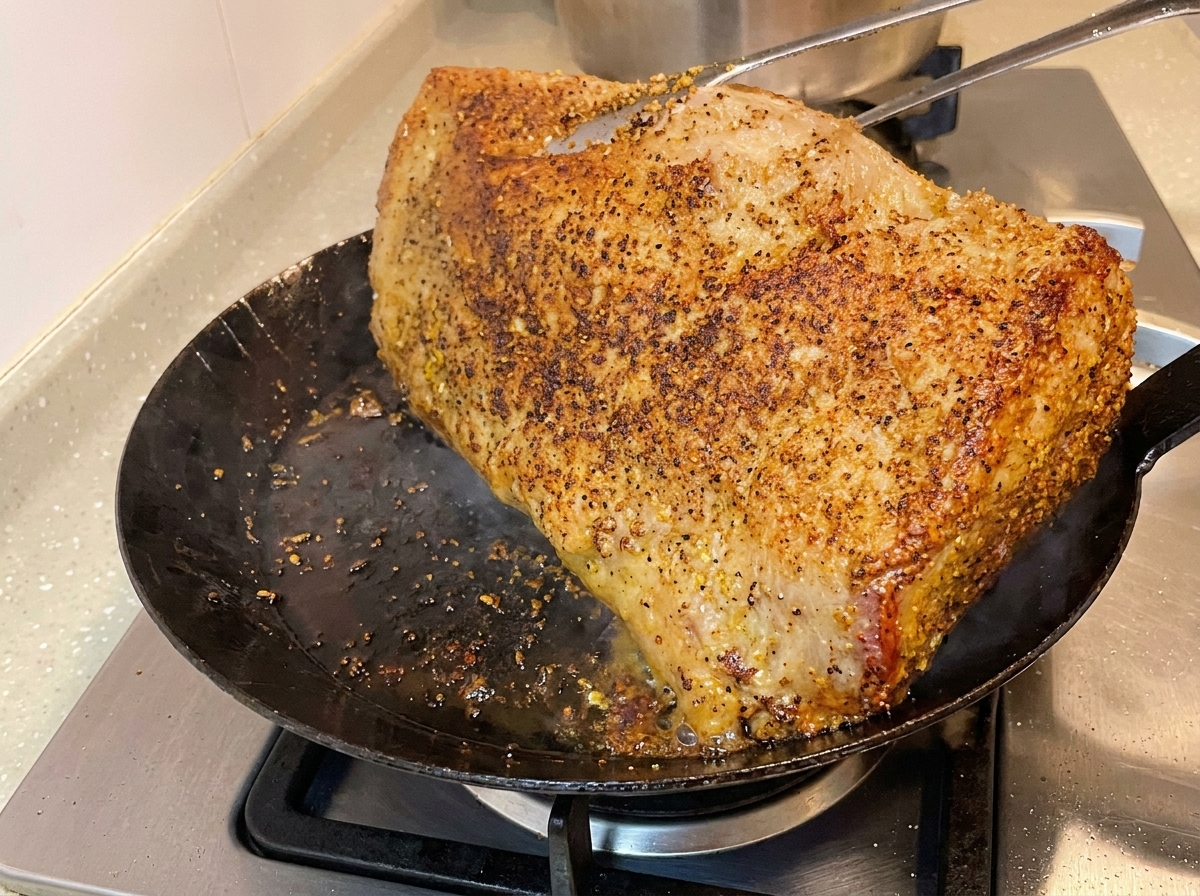
Use heavy-duty kitchen tongs to turn the beef brisket over in the pan. Continue searing every single side of the meat until a beautiful, deep golden-brown caramelized crust forms over the entire exterior. This locks in flavor and creates the perfect texture before smoking.
Tip: Dont rush this process; getting a high-quality crust on all edges is essential for the depth of flavor in the final dish. - 6Add the wood chips
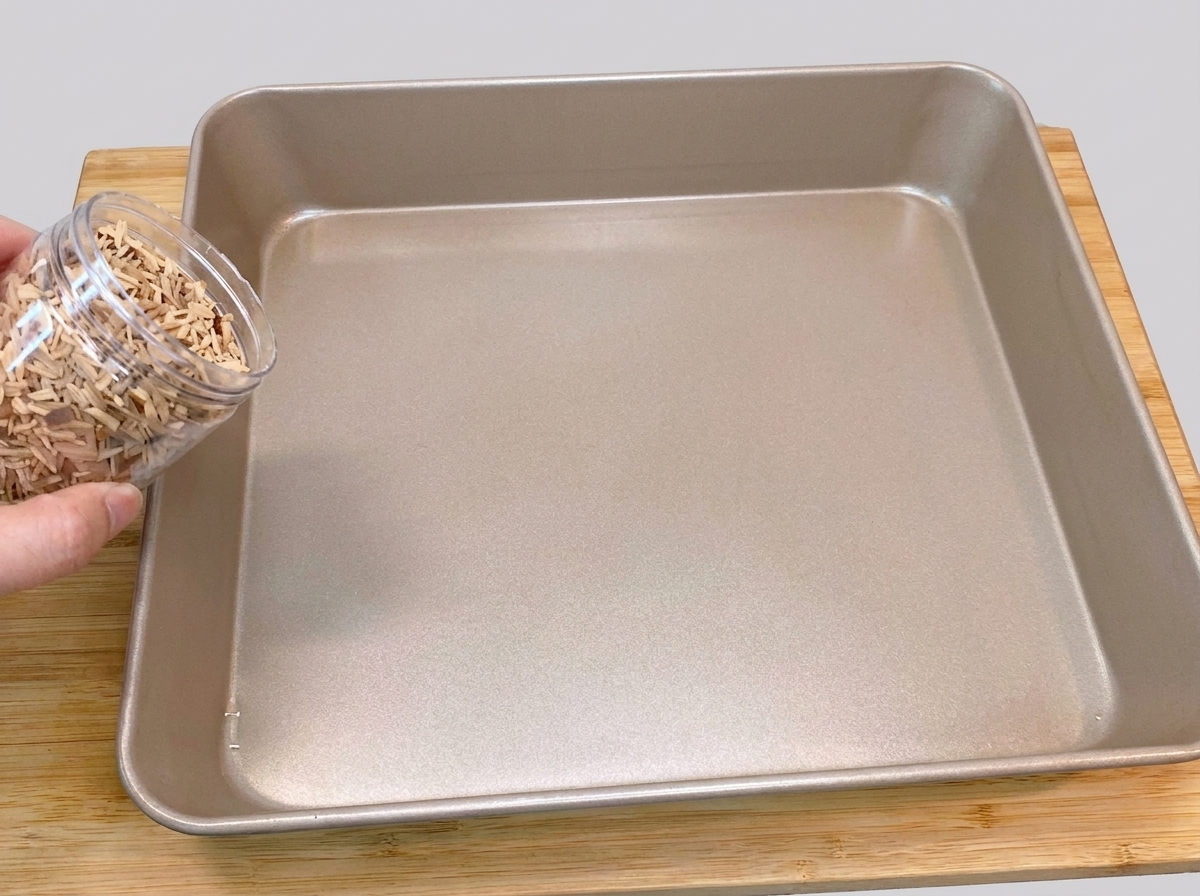
Pour peach wood chips evenly into the bottom of a clean, square metal baking pan. This forms the base layer for smoking the meat, providing a rich, aromatic fragrance as the chips heat up during the cooking process.
Tip: Spread the wood chips out in an even layer to guarantee consistent smoke production across the entire bottom of the pan. - 7Position the wire rack
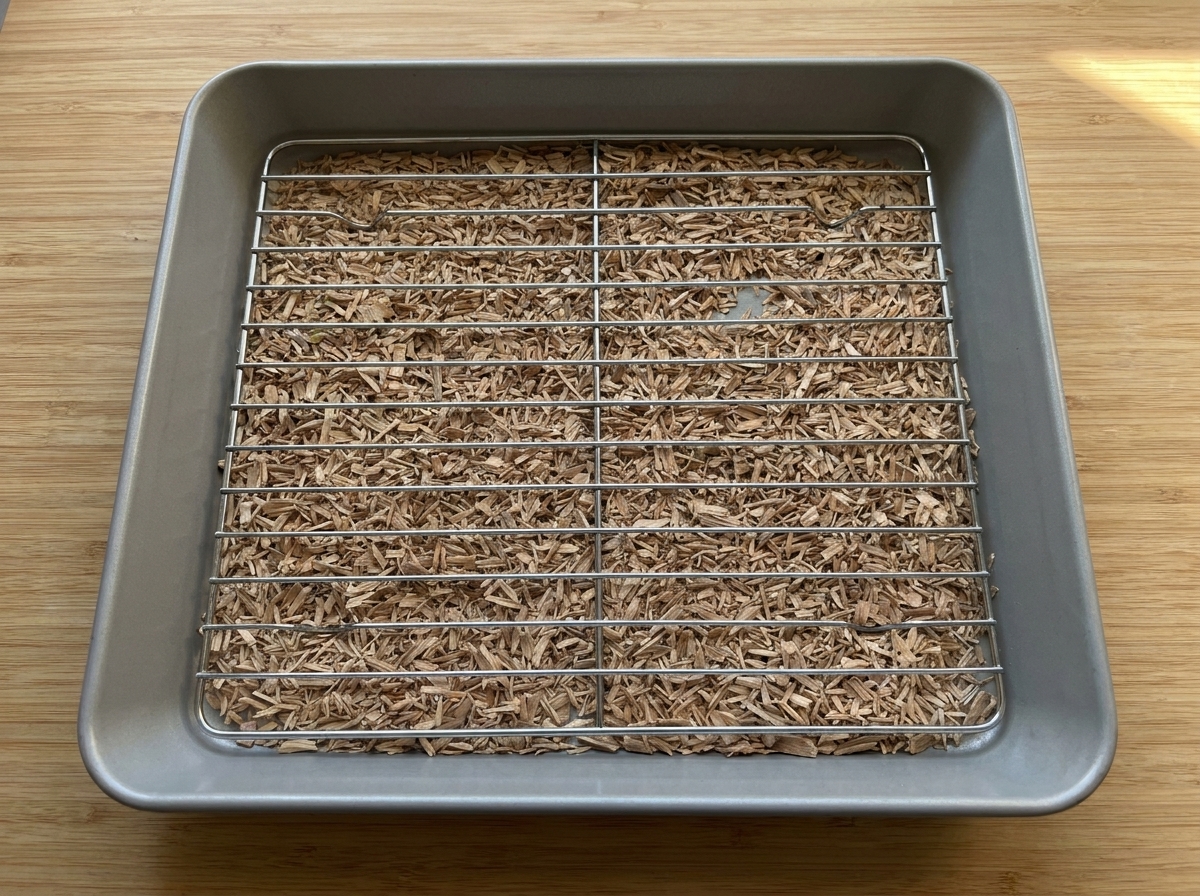
Place a metal wire cooling rack inside the baking pan directly on top of the spread-out wood chips. This elevates the beef brisket, allowing the hot smoke to circulate freely around the meat while keeping it from touching the burning wood.
Tip: Ensure the rack sits firmly and flatly over the wood chips so the beef remains stable during smoking and roasting. - 8Wrap the pan tightly with foil
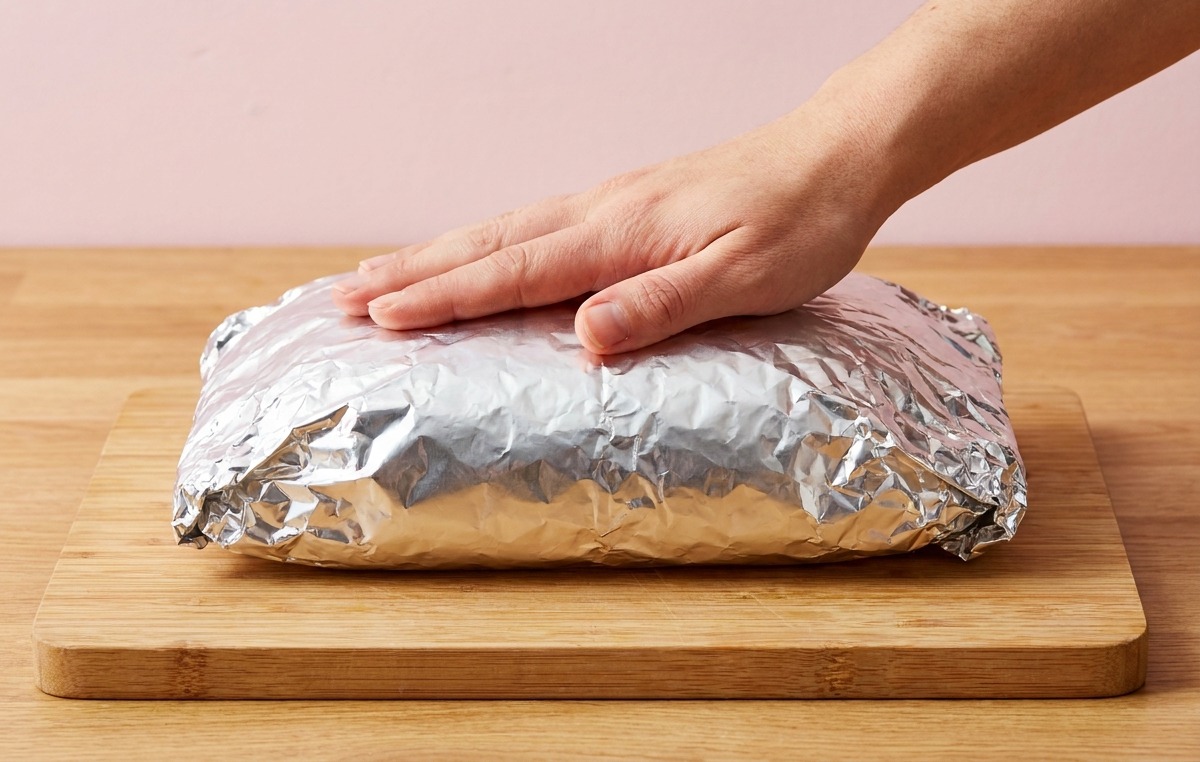
Place the seared beef brisket on a wire rack inside the baking pan over the wood chips. Pull a sheet of aluminum foil over the pan and press tightly along the edges to seal it completely, ensuring the smoke remains trapped inside during baking.
Tip: An airtight seal is crucial here; it prevents the smoke from escaping, allowing the peach wood aroma to fully infuse into the brisket. - 9Smoke in the oven
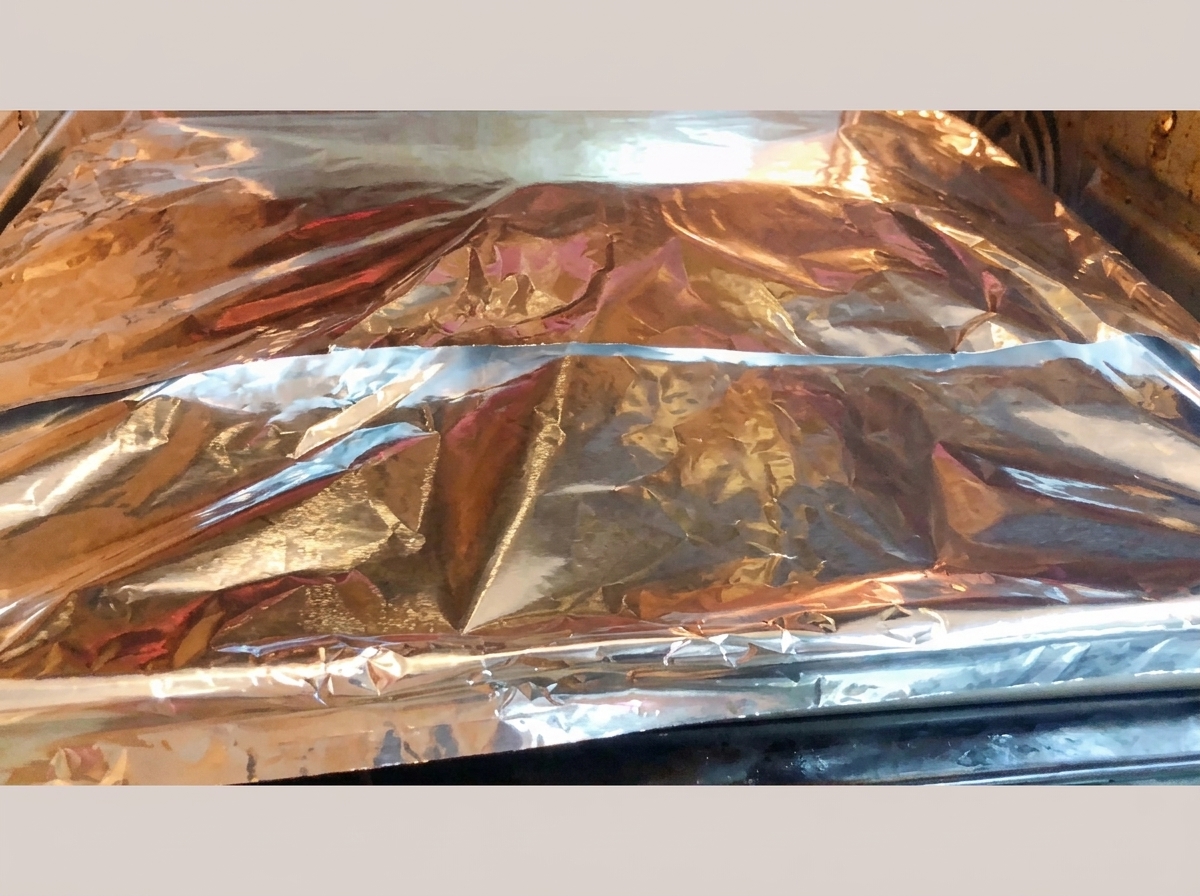
Place the tightly foil-wrapped baking pan containing the seasoned beef brisket and wood chips into a preheated oven at 230 degrees Celsius. Bake and smoke for 15 minutes, allowing the intense heat to ignite the wood chips and infuse the meat with deep flavor.
Tip: Make sure the foil seal is completely airtight before putting the pan in the oven to lock the smoke inside and keep it from filling your kitchen. - 10Uncover the smoked brisket
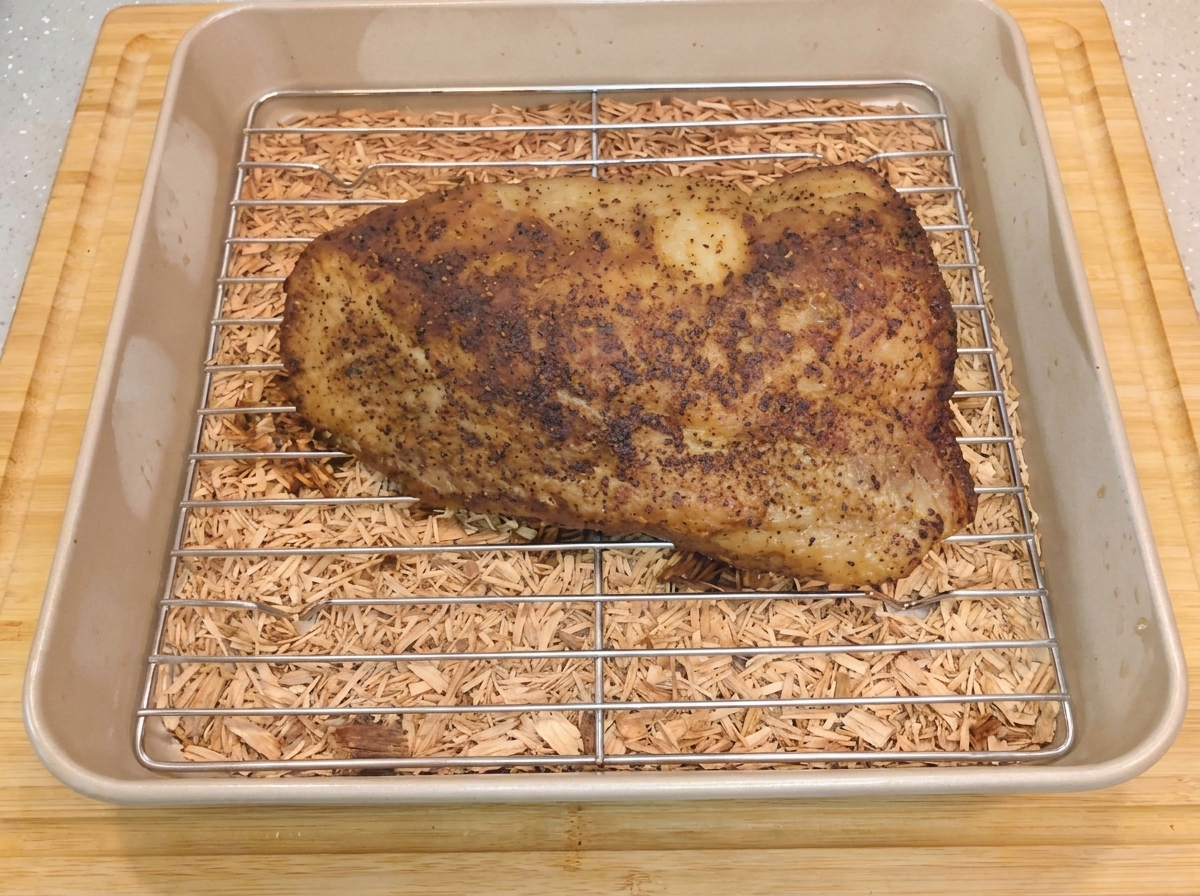
Carefully remove the aluminum foil after the smoking process and let the meat rest for half an hour. Uncovering the pan reveals a beautifully seared, hot smoked beef brisket resting on the wire rack, filled with a delicate, savory wood-smoke aroma.
Tip: Watch out for trapped hot steam when first peeling back the aluminum foil to avoid steam burns. - 11Add water to the pan
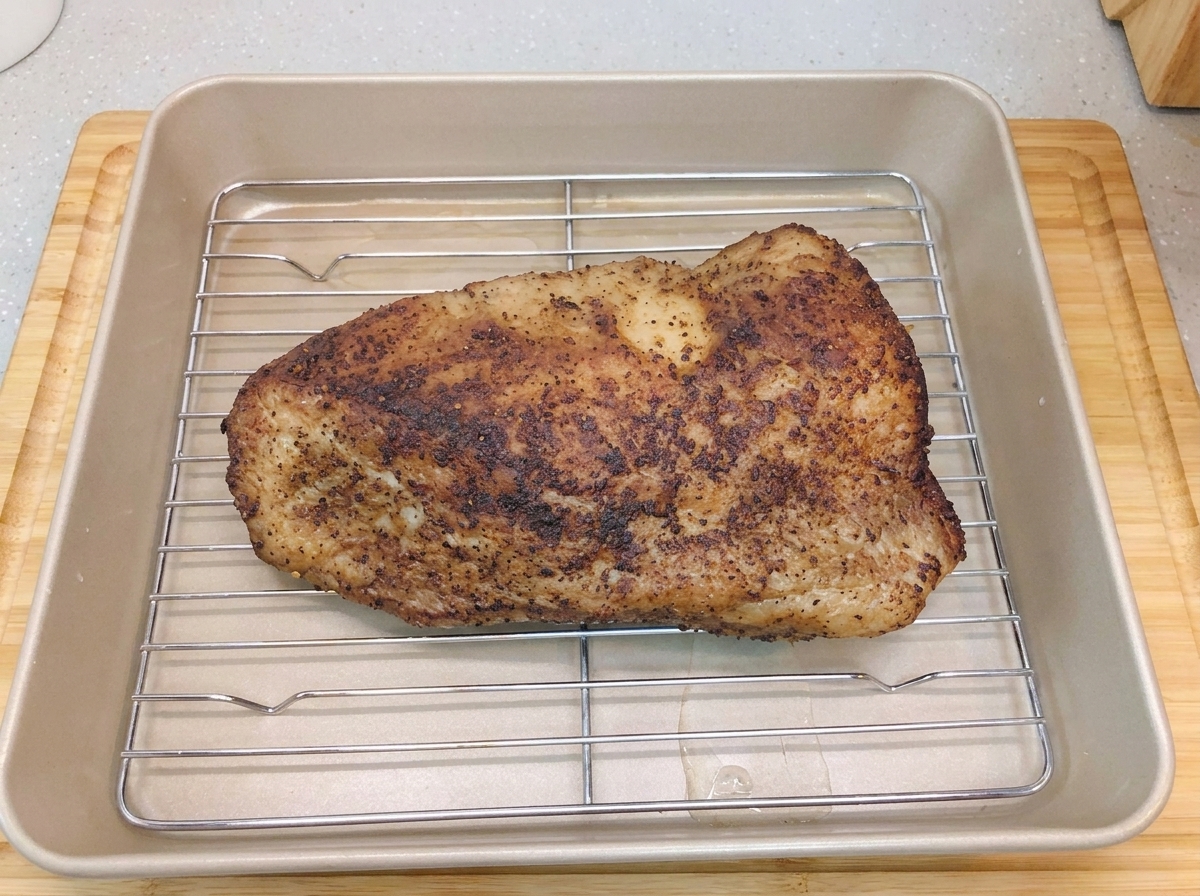
After the initial smoking phase, place the beef brisket on a wire rack over a clean baking pan. Carefully pour water into the bottom of the pan beneath the rack to provide moisture for the upcoming low-temperature slow-cooking stage.
Tip: Make sure the water level stays below the wire rack so the beef brisket doesnt sit directly in the liquid. - 12Cover the pan with foil
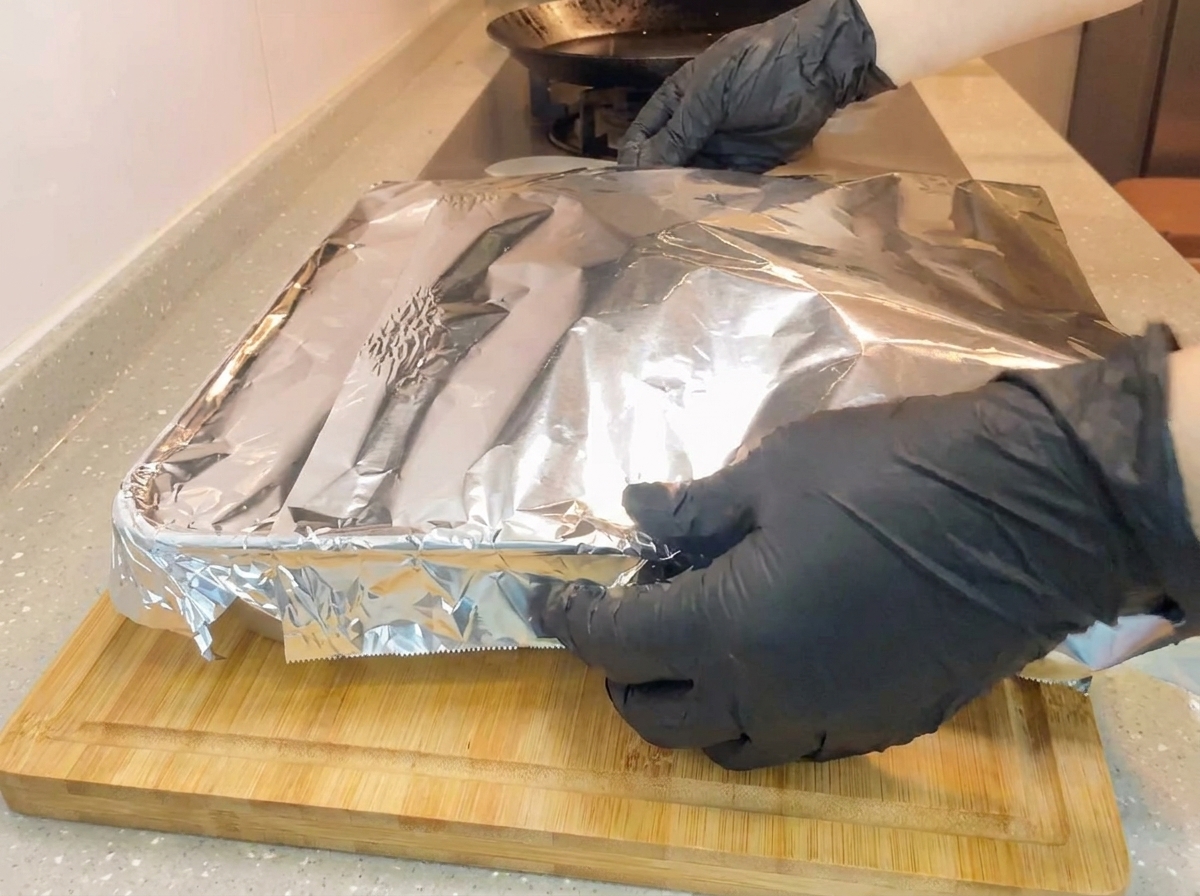
Cover the entire baking pan containing the brisket and water with a fresh sheet of aluminum foil. Press the edges securely around the rim to form a tight seal that will trap moisture and steam during baking.
Tip: Using gloved hands ensures a firm wrap around the hot pan edges without getting burned. - 13Slow-bake the brisket
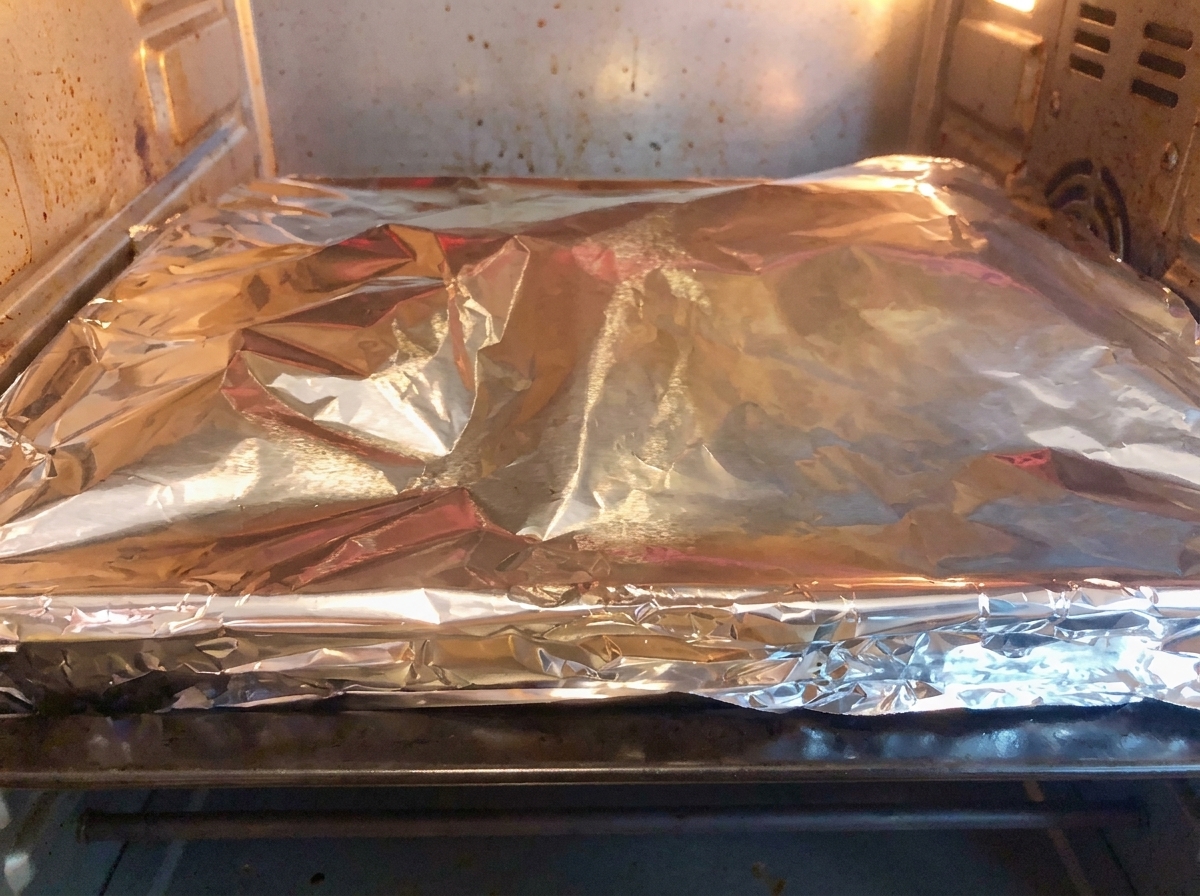
Place the securely covered baking pan into the oven preheated to 120 degrees Celsius. Let it slow-bake for one and a half hours, which effectively slow-steams the meat to keep it tender and juicy.
Tip: Keep the oven door closed throughout the cooking time to maintain a stable low temperature and keep the steam inside. - 14Slice the brisket
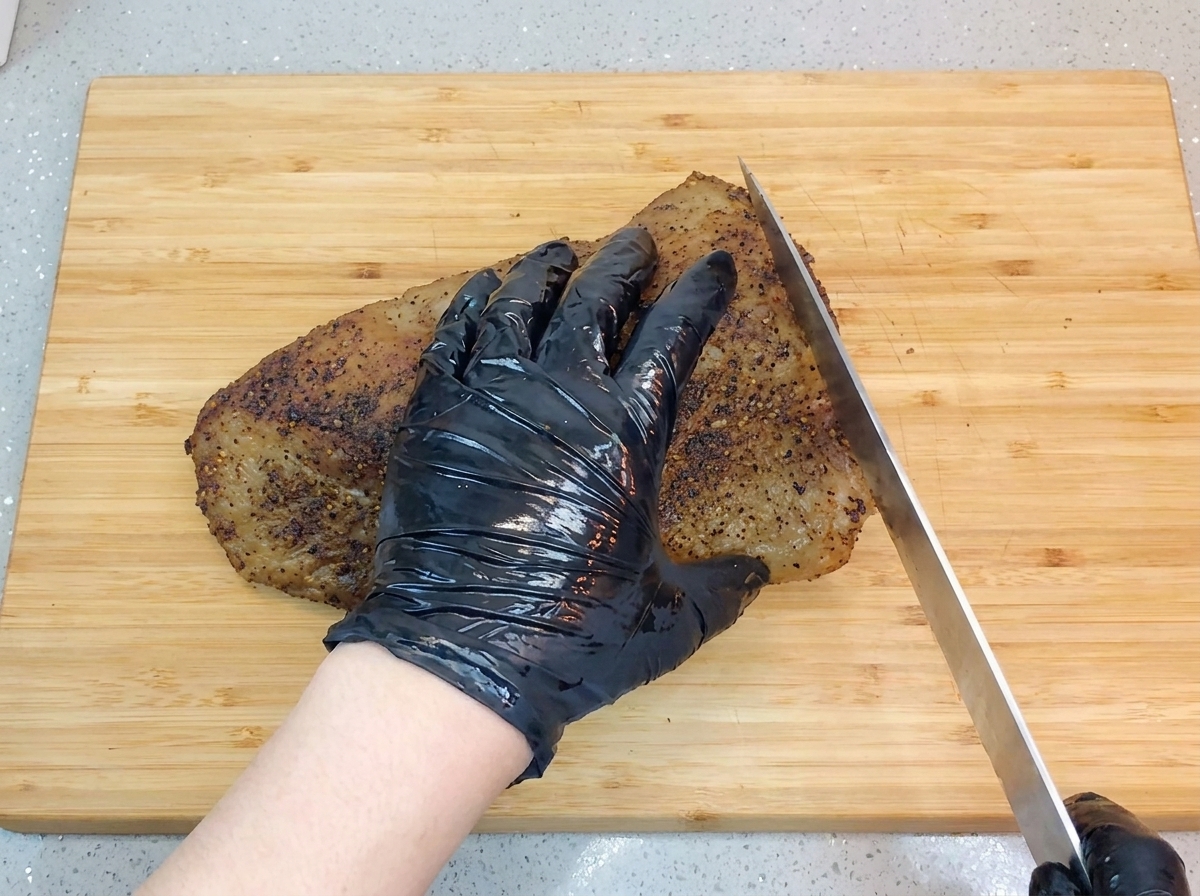
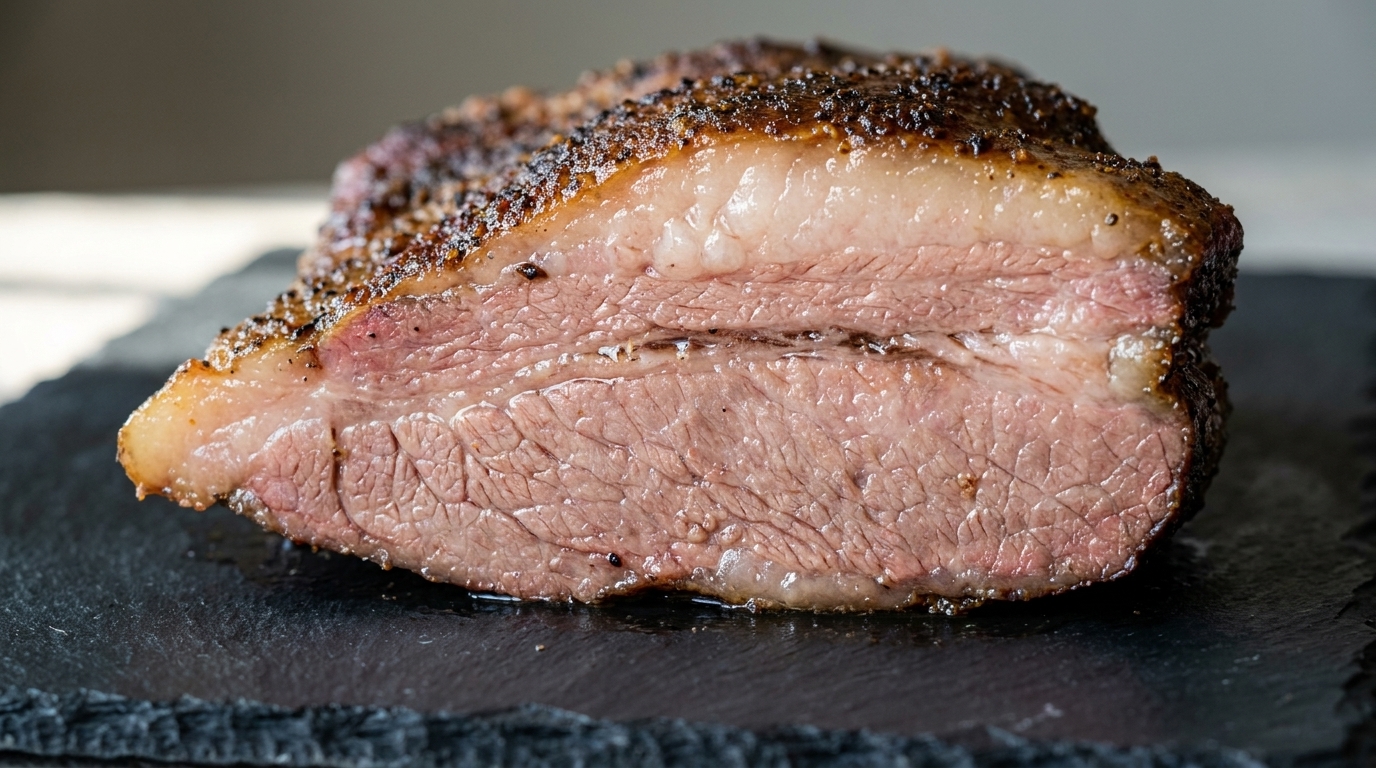
Once the beef brisket has completely cooled down, place it on a wooden cutting board. Use a sharp chefs knife to slice the meat into clean, thin pieces, revealing a juicy and beautifully textured interior.
Tip: Letting the brisket cool completely before slicing is crucial; otherwise, the meat may fall apart and lose its juices.