Classic Korean Kimchi Fried Rice (Kimchi Bokkeumbap)
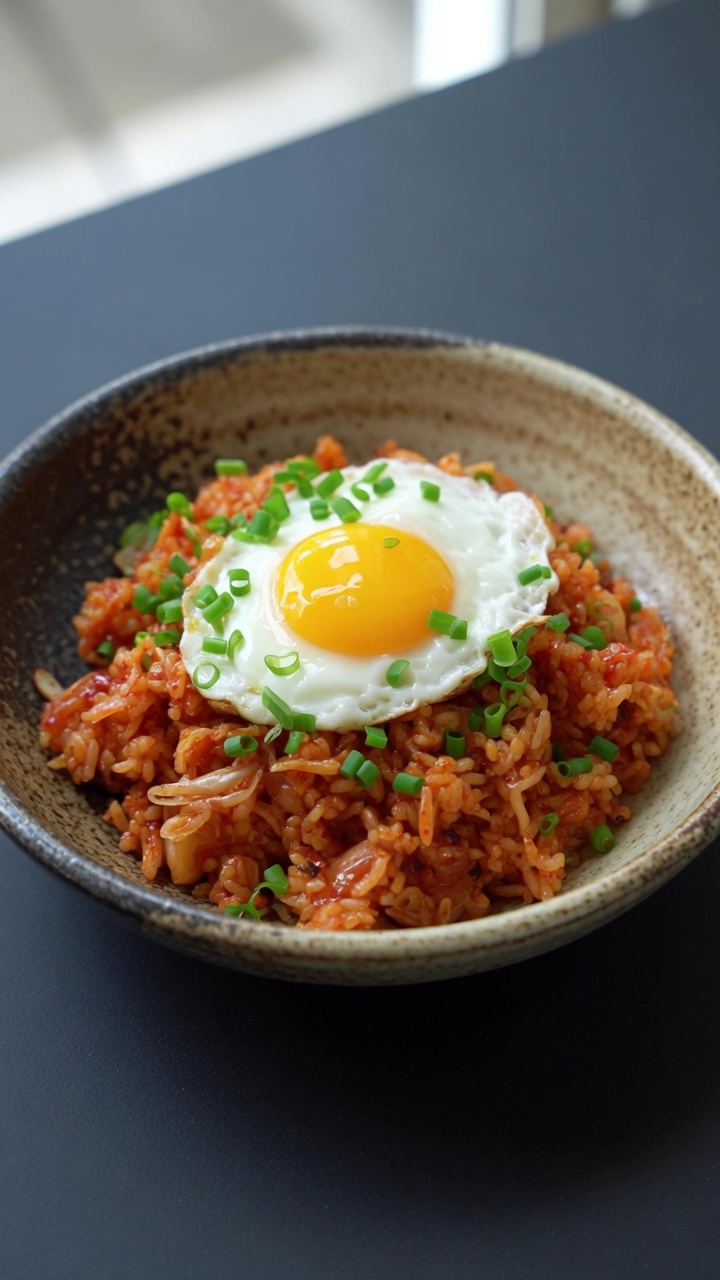
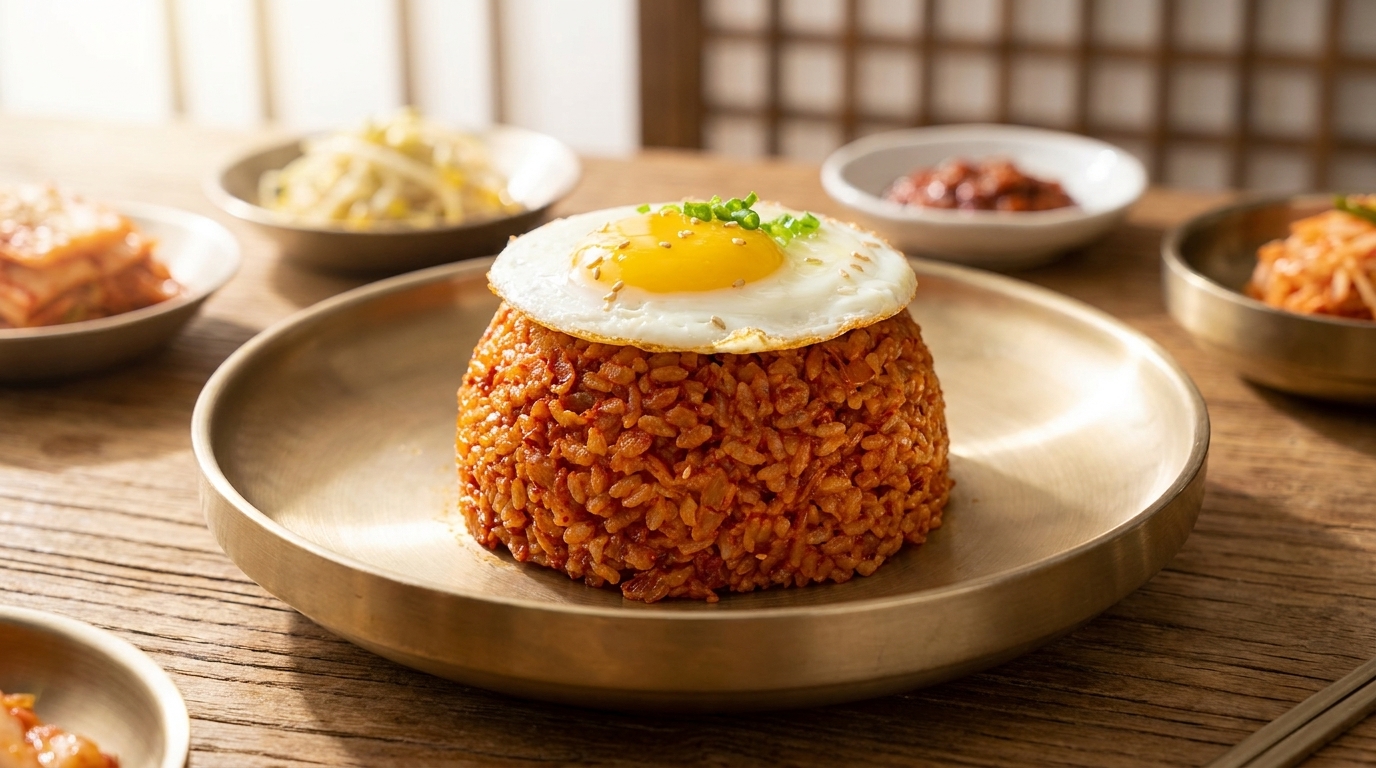
This savory, tangy, and slightly spicy kimchi fried rice is the ultimate Korean comfort food. Topped with a sunny-side-up egg, it is quick, flavorful, and filling.
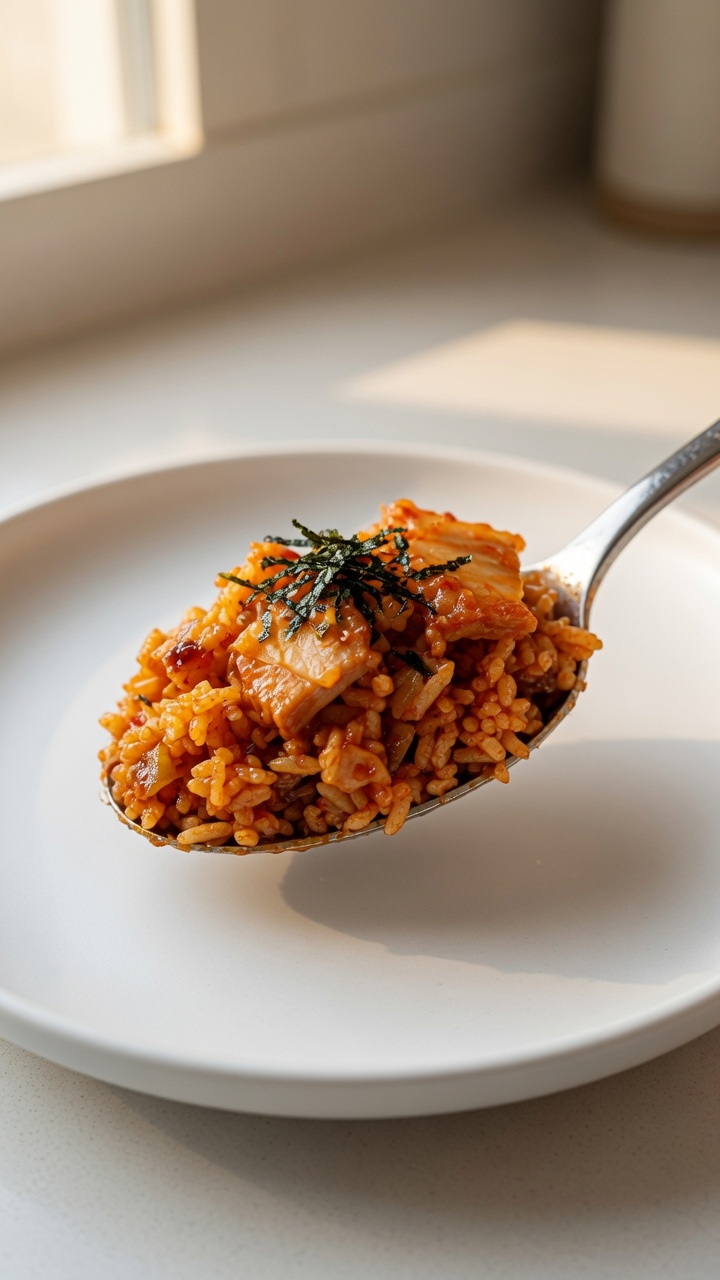
Kimchi fried rice, or Kimchi Bokkeumbap, is a beloved staple in Korean home cooking that transforms fermented kimchi into a vibrant, caramelized masterpiece. The magic lies in frying the aged kimchi with savory pork belly, allowing the juices to concentrate and infuse every grain of rice. It is a perfect dish for using up leftover rice and enjoying the deep, addictive flavors of Korean cuisine in under thirty minutes.
Ingredients
- 200 g aged kimchi, chopped
- 150 g pork belly, thinly sliced
- 2 cups cooked white rice, chilled
- 2 tbsp gochujang or secret stir-fry sauce
- 2 stalks green onions, sliced
- 1 large egg
- 1 tbsp vegetable oil
- to taste toasted sesame seeds
Instructions
- 1Sear the pork belly
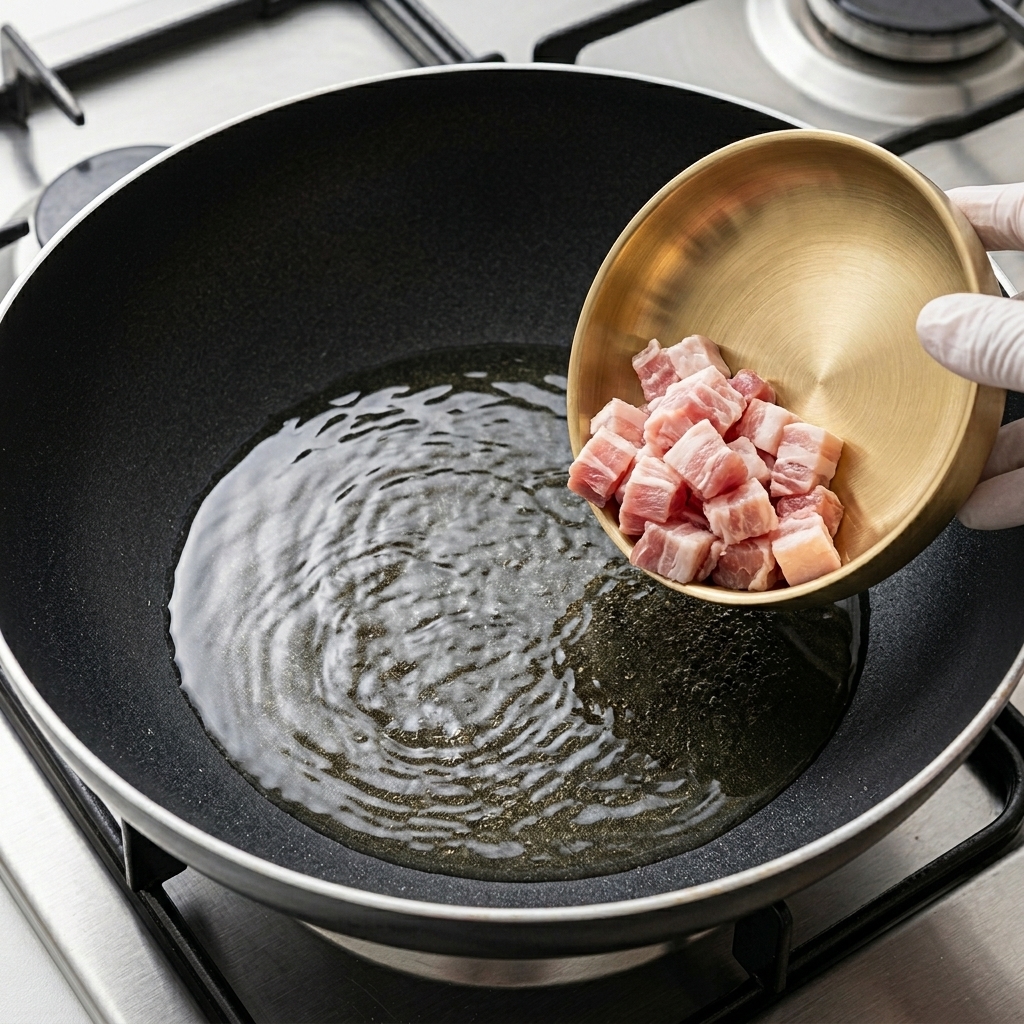
Place the thinly sliced pork belly into a hot frying pan. Cook the meat until it turns slightly golden and the fat begins to render, providing a savory base for the fried rice.
Tip: Keep the heat at medium-high to get a nice sear on the pork without drying it out. - 2Add green onions
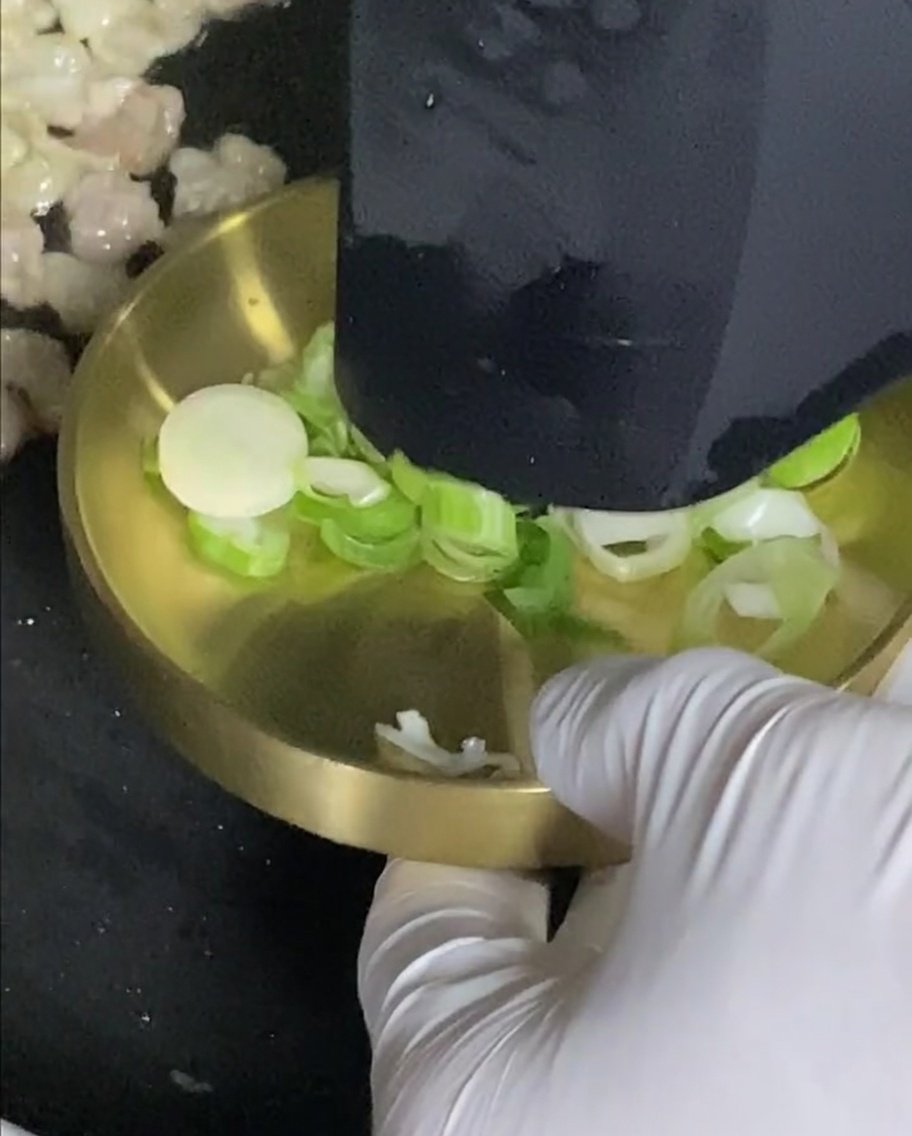
Add the sliced green onions into the pan with the browning pork belly. Stir-fry briefly until they become fragrant and soften slightly, infusing the pork fat with onion flavor.
Tip: Dont overcook the onions; they should remain bright and aromatic. - 3Stir-fry the kimchi
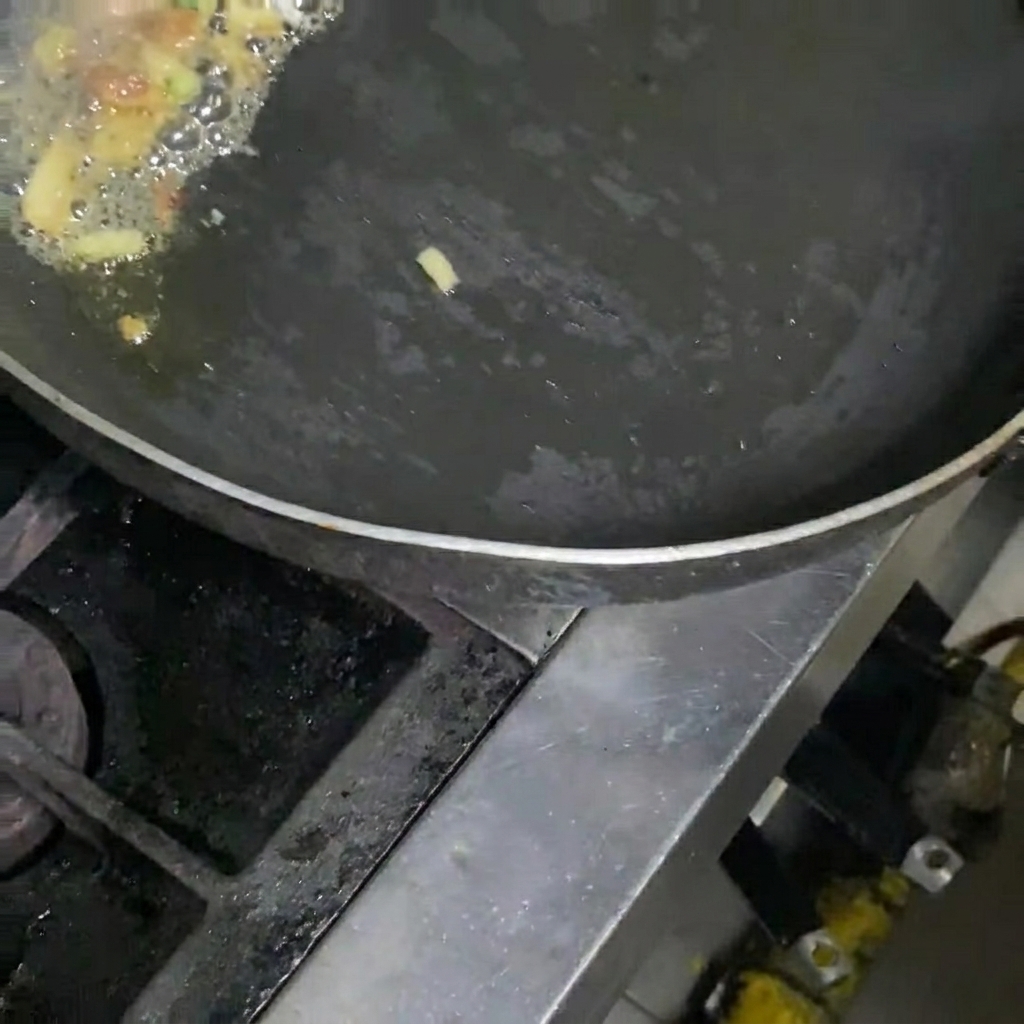
Add the chopped kimchi to the pan. Stir-fry everything over high heat, allowing the kimchi to caramelize and blend with the pork and onion mixture.
Tip: Frying the kimchi over high heat intensifies its savory-tangy profile. - 4Incorporate the secret sauce
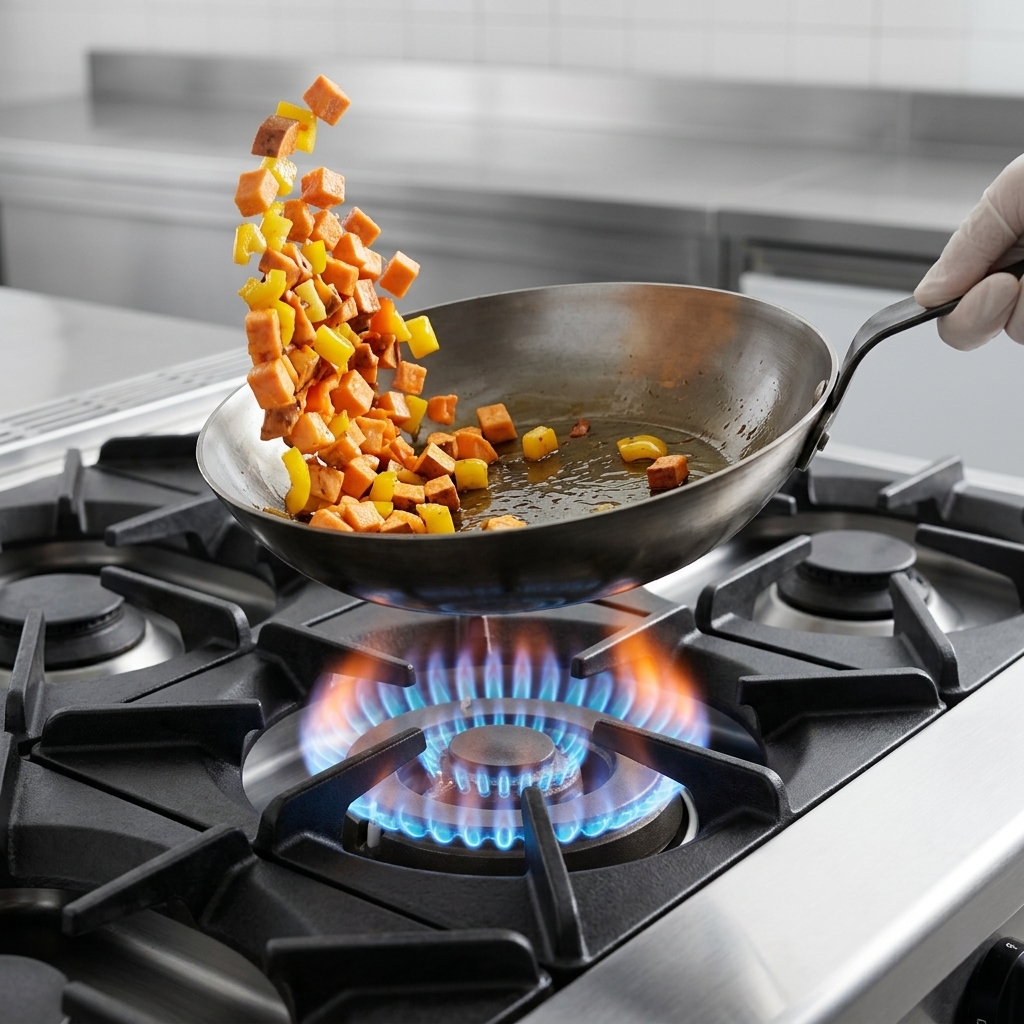
Pour the secret sauce into the pan containing the kimchi and pork mixture. Mix thoroughly to ensure the sauce coats all ingredients evenly.
Tip: Stir quickly to prevent the sauce from burning on the bottom of the pan. - 5Add the rice
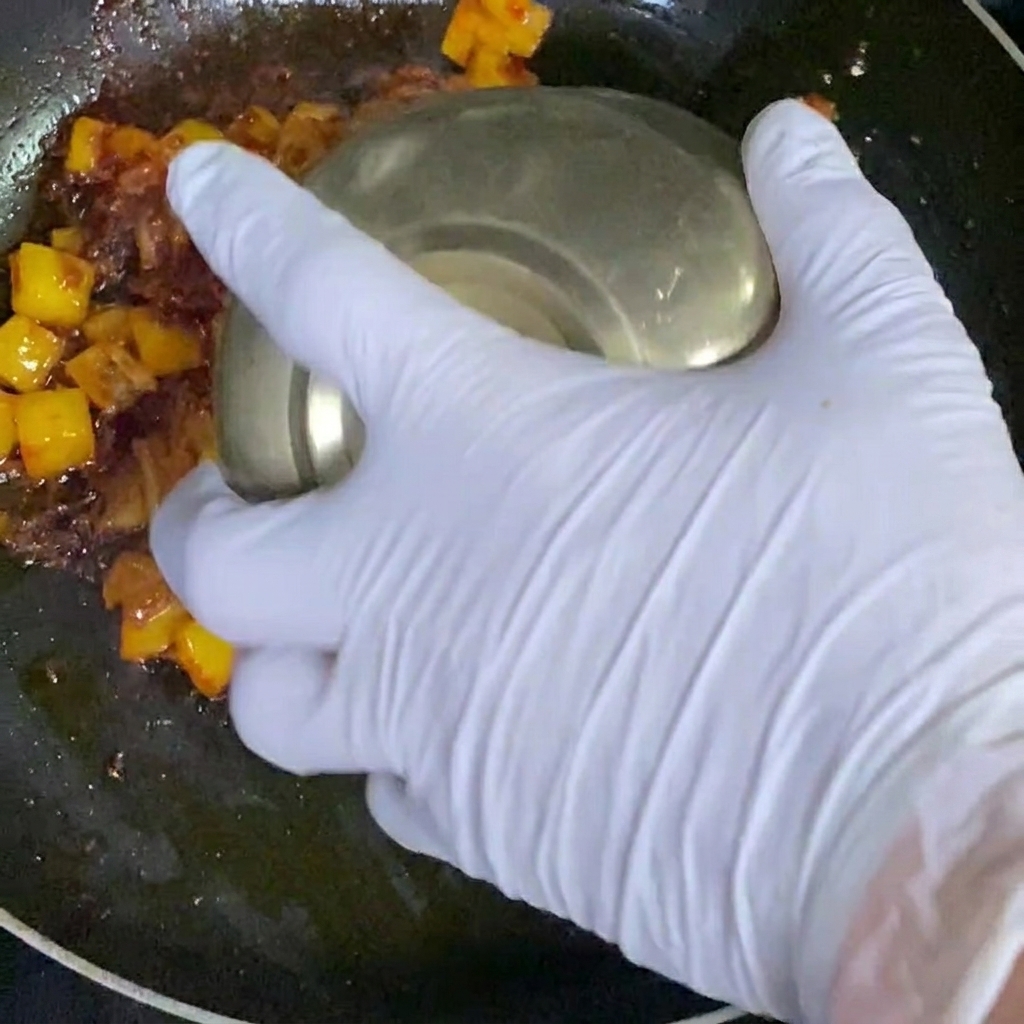
Add a portion of cooked white rice to the pan. Combine it with the kimchi, pork, and sauce mixture, tossing everything together until the rice is well-coated and evenly colored.
Tip: Using day-old cold rice works best for fried rice as it separates easily and doesnt get mushy. - 6Finish frying the rice
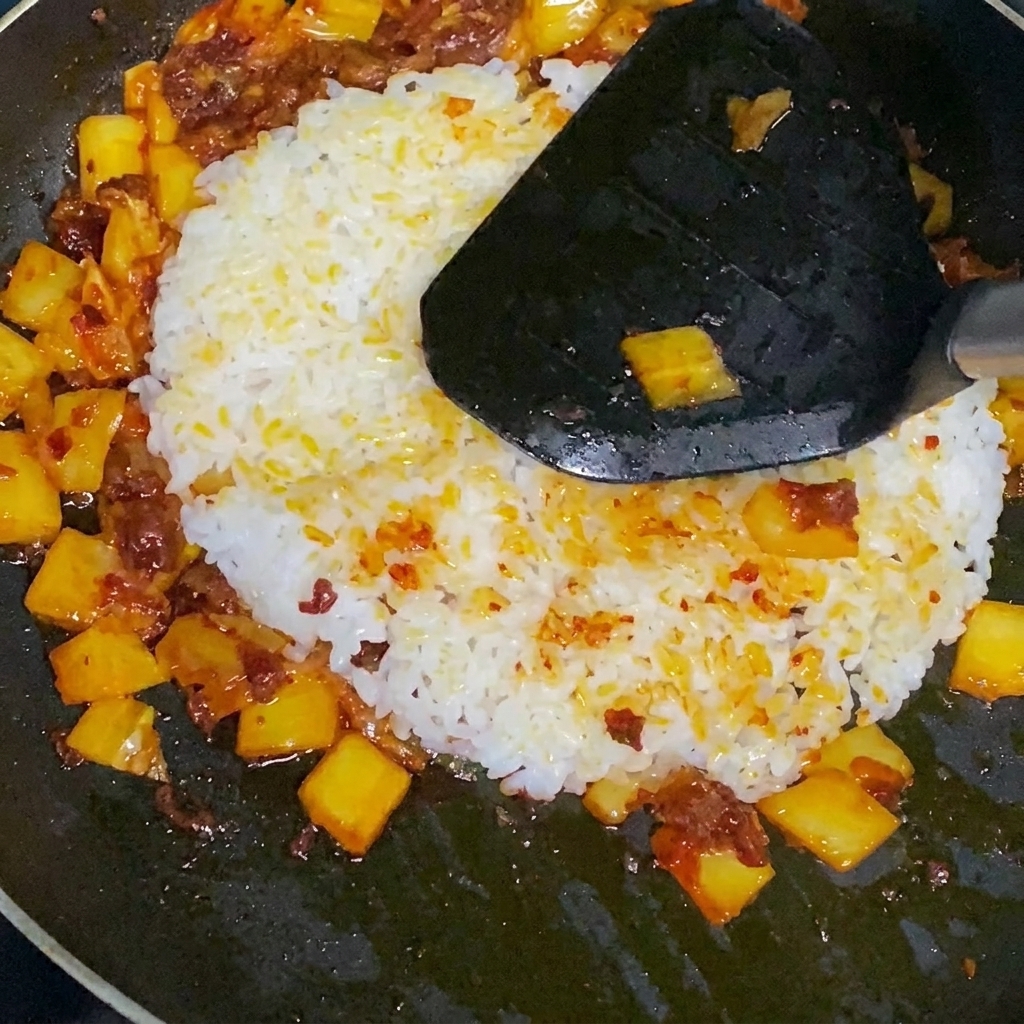
Continue to stir and fry the rice, kimchi, and sauce mixture together over the heat until everything is thoroughly combined and heated through.
Tip: Make sure every grain of rice is coated with the sauce for maximum flavor.