Homemade Kimchi
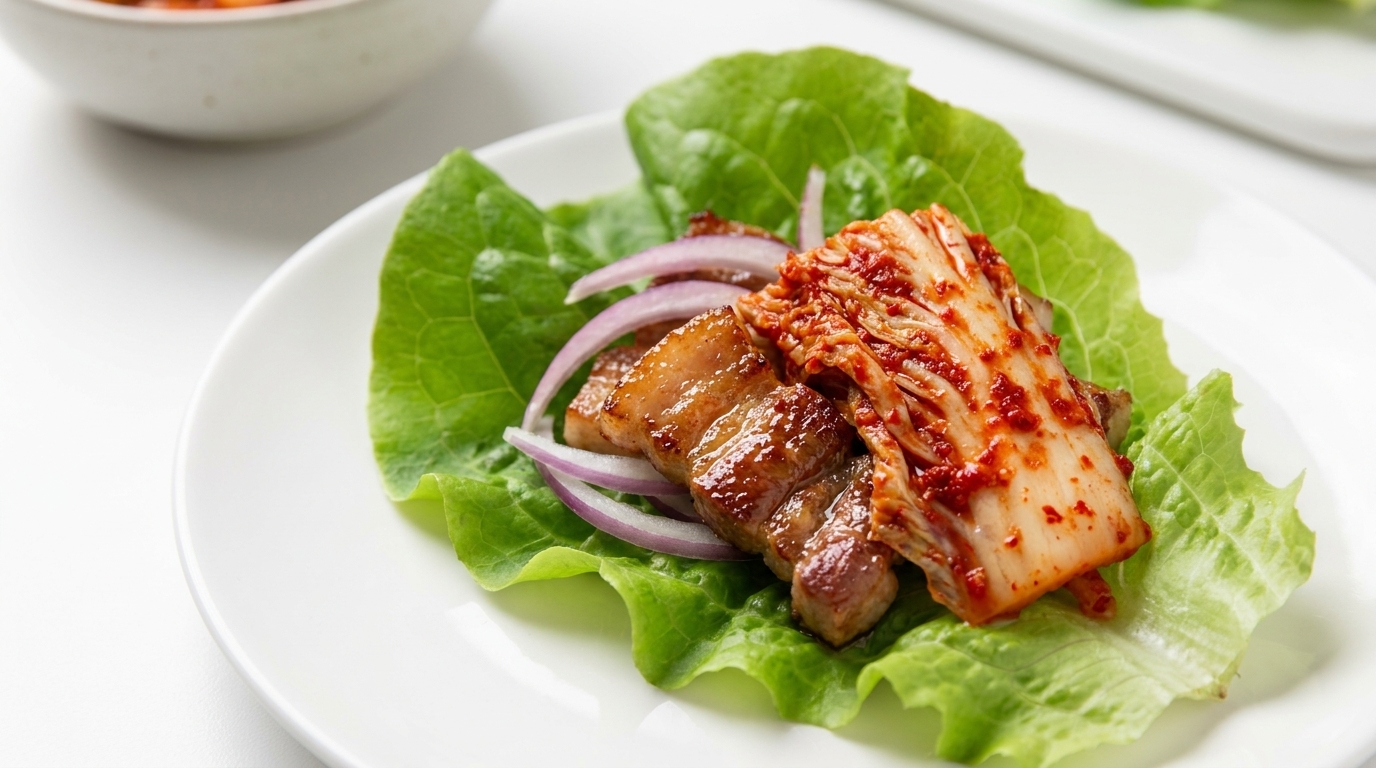
Korean BBQ Lettuce Wraps
Master the art of homemade kimchi and pair it with sizzling Korean BBQ in these crisp, flavorful lettuce wraps. A perfect blend of spicy, tangy, and savory.
Korean BBQ is as much about the experience as it is the flavors, relying on the contrast between succulent, grilled meats and the bright, fermented punch of homemade kimchi. Creating your own kimchi at home allows you to control the depth of umami and tanginess, resulting in a side that elevates any meal. When served in fresh lettuce leaves with thin slices of caramelized red onion, it creates a balanced, vibrant bite that is quintessential to the Korean dining tradition.
Ingredients
- 1 whole napa cabbage
- 1/2 cup coarse sea salt
- 1 red onion
- 1/2 apple
- 1/2 pear
- 5 cloves garlic
- 2 tbsp glutinous rice flour
- 1 cup water
- 1 cup red chili flakes (gochugaru)
- 2 tbsp sugar
- 2 tbsp dried baby shrimp
- 1 bunch green chives
- 500 g pork belly
- 300 g beef slices
- 1 head lettuce
Instructions
- 1Cut the napa cabbage
Place the whole napa cabbage on a cutting board and cut it in half lengthwise. This prepares the cabbage for easier salt application in the following step.
Tip: Make sure to keep the cabbage stable while cutting to ensure clean halves. - 2Salt the cabbage
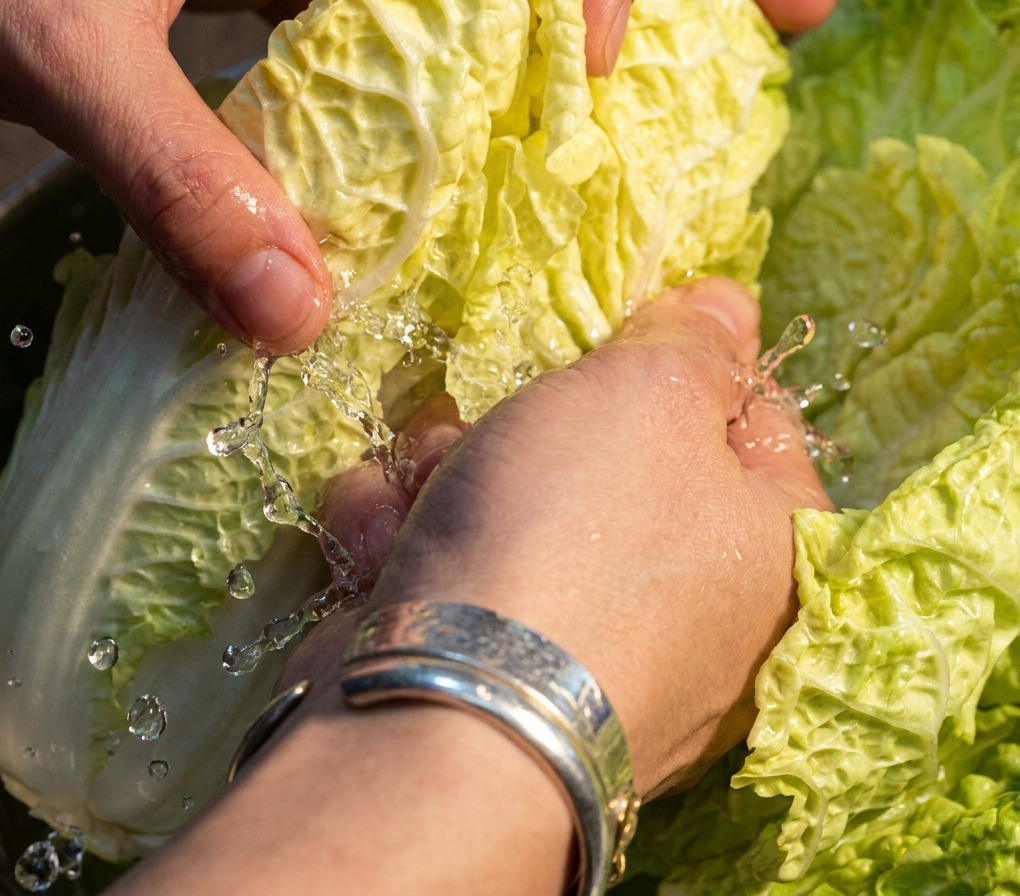
Carefully rub salt evenly between each leaf of the napa cabbage halves. This process draws out excess moisture, which is essential for the texture of the kimchi.
Tip: Be thorough when salting between the inner leaves to ensure even wilting. - 3Press the cabbage
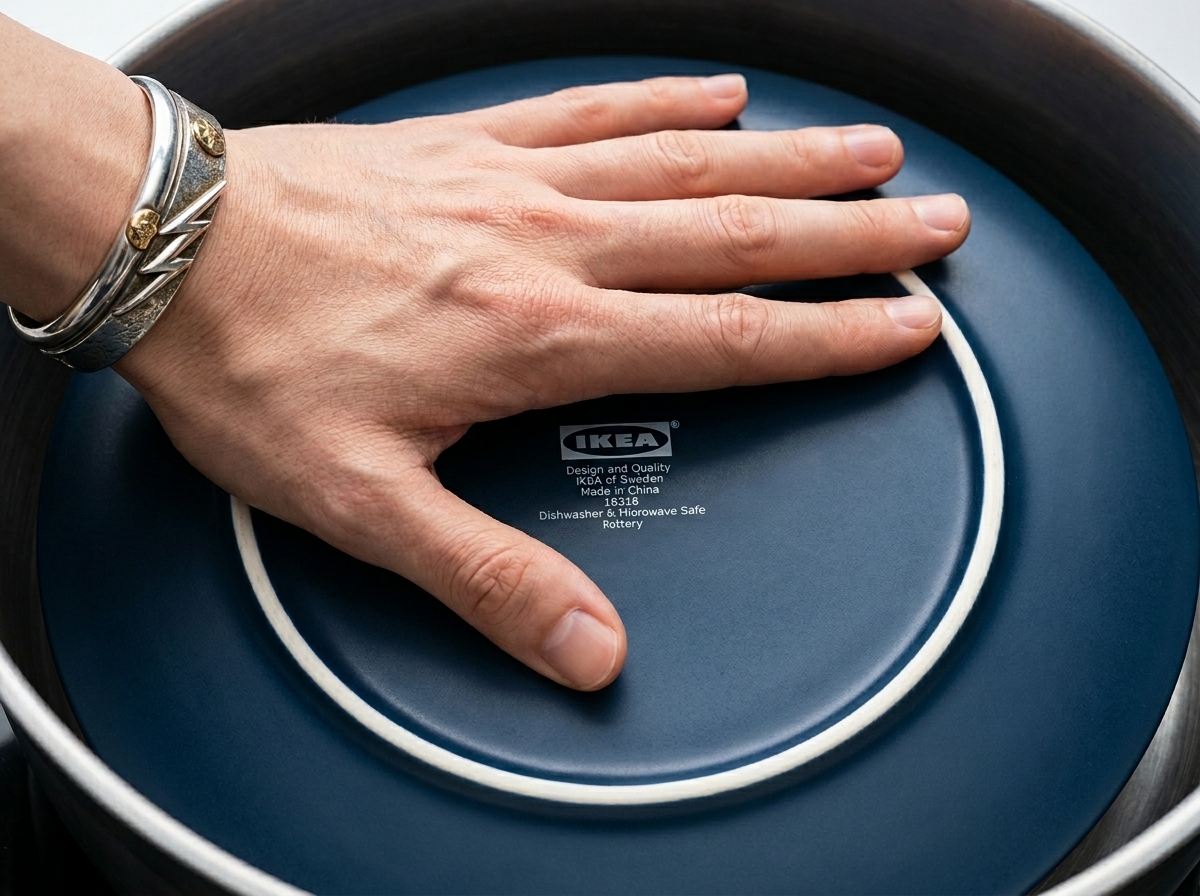
Place a heavy plate directly on top of the salted cabbage halves. The weight helps press out excess water from the leaves over time.
Tip: Use a heavy, clean object if you do not have a perfectly sized plate to ensure even pressure. - 4Prepare the onion
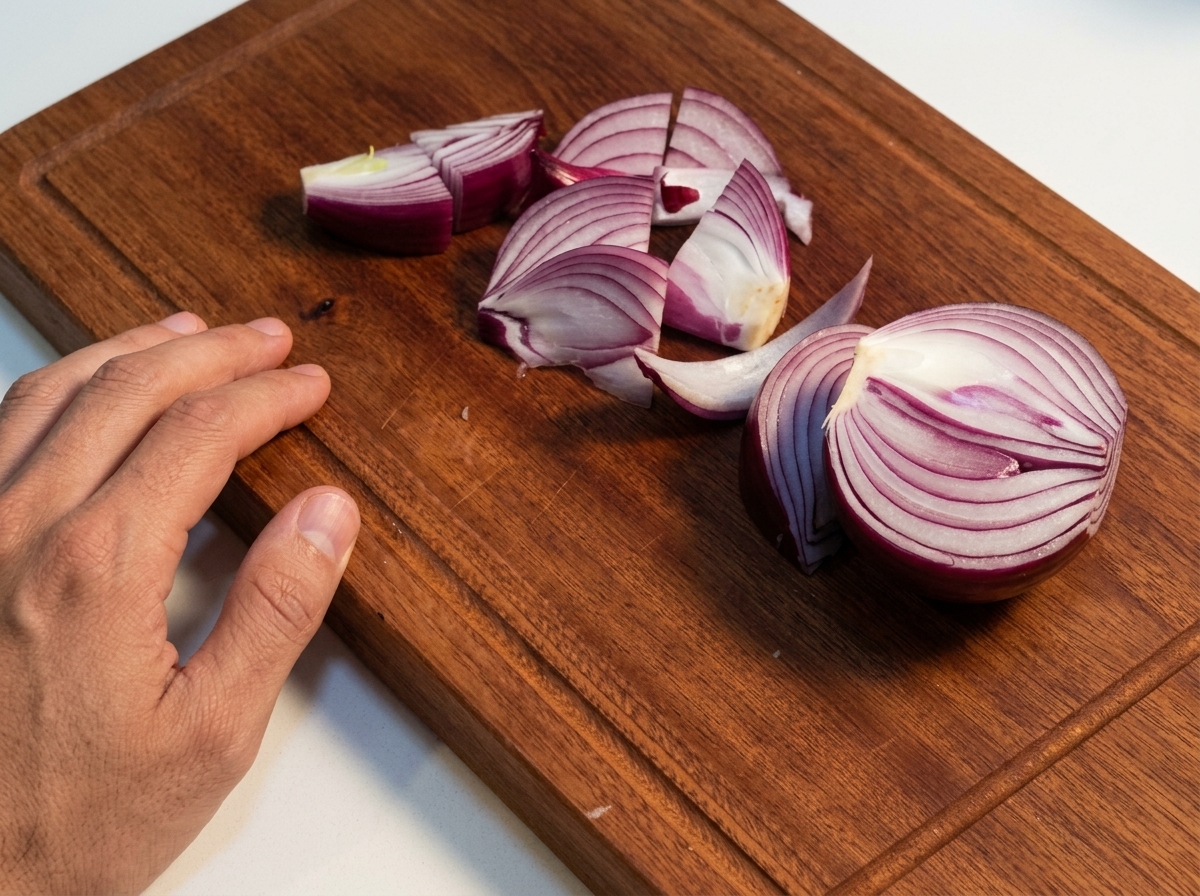
On a clean cutting board, chop the raw red onion into thick, manageable chunks. These will be blended later for the kimchi paste.
Tip: Large chunks are fine since they will be processed in a blender. - 5Prepare the kimchi base
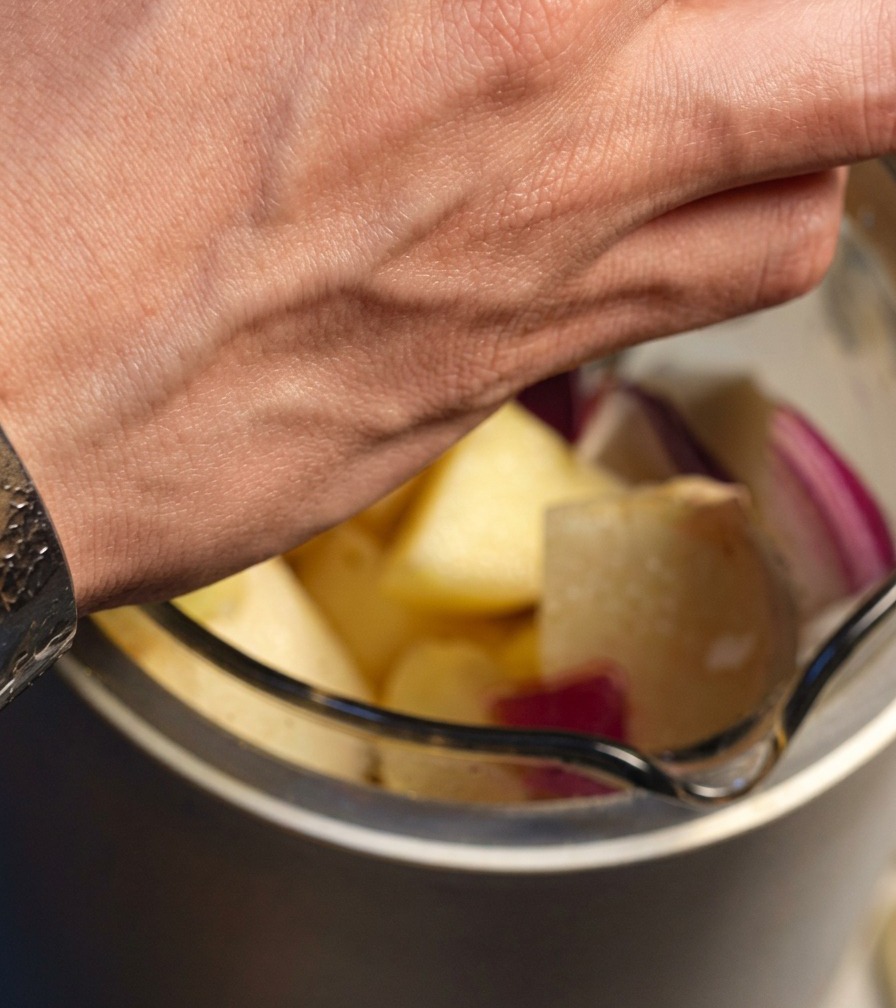
Combine the chopped red onion, apple pieces, pear chunks, and peeled garlic in a blender pitcher. These ingredients create the base of the flavorful kimchi sauce.
Tip: Ensure the fruit and aromatics are relatively uniform in size for smoother blending. - 6Cook the rice flour paste
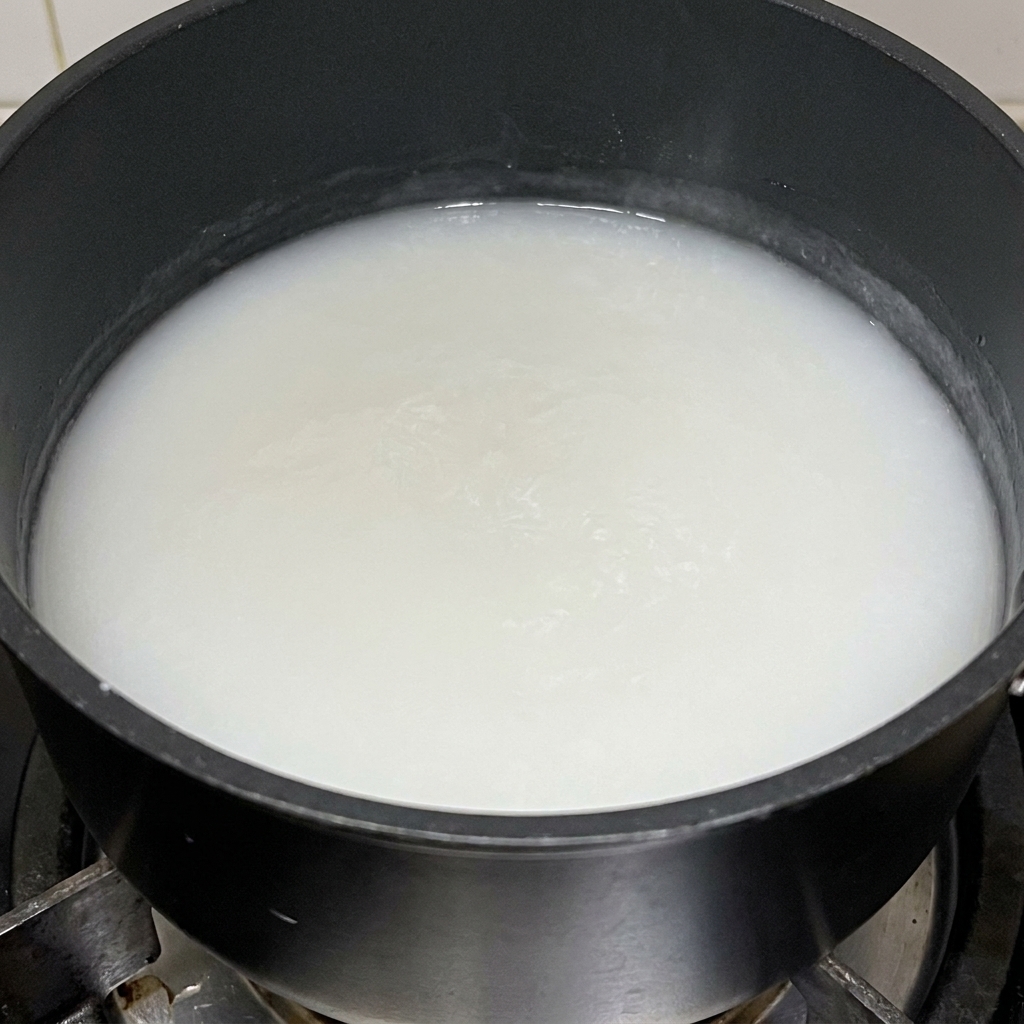
In a pot, combine glutinous rice flour and water. Stir continuously over heat until the mixture thickens into a smooth, white paste. This paste acts as a binder for the kimchi seasoning.
Tip: Keep stirring constantly to prevent the flour from clumping or burning at the bottom of the pot. - 7Combine chili flakes with rice paste
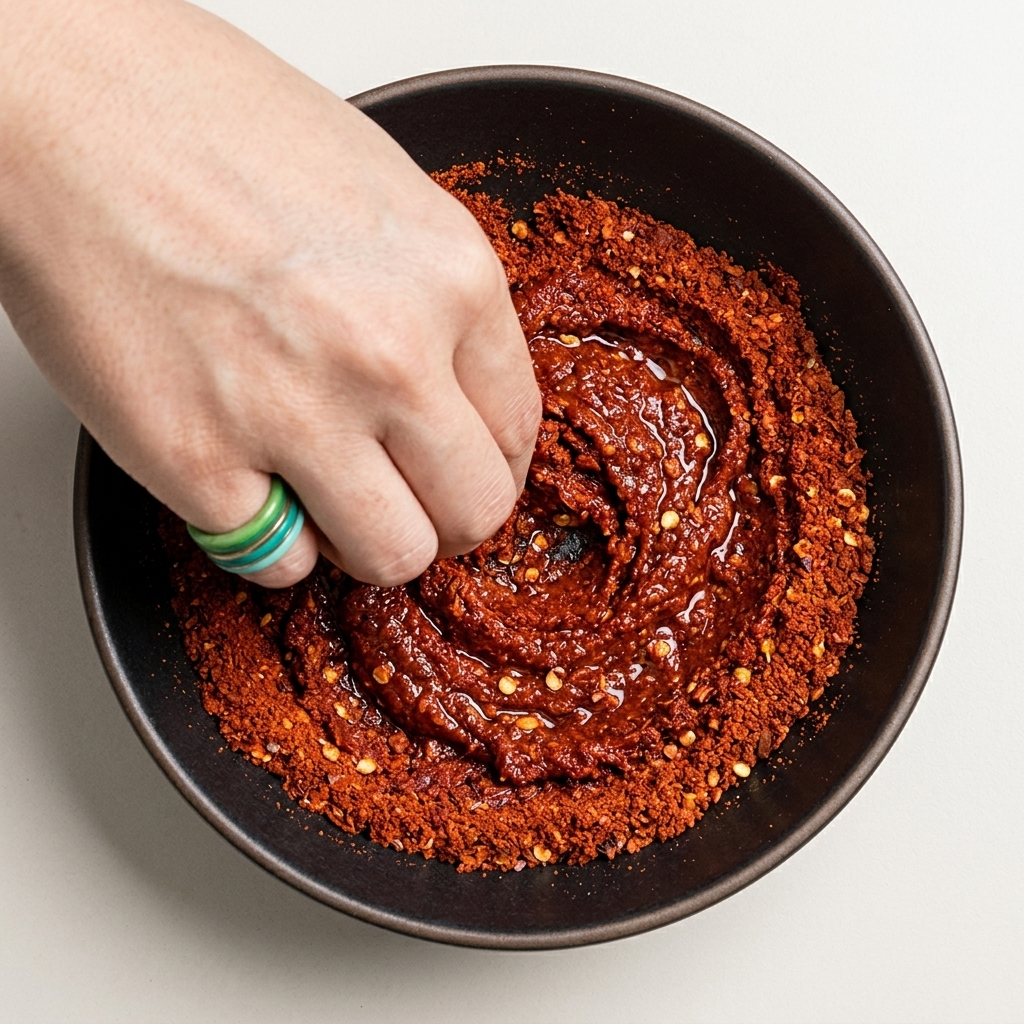
Add the vibrant red chili flakes into the cooled glutinous rice paste within the mixing bowl. Use your hand to thoroughly mix the flakes into the paste until the mixture is uniform in color and texture.
Tip: Ensure the rice paste has cooled completely before adding the chili flakes to prevent the mixture from becoming too gummy. - 8Season the kimchi paste
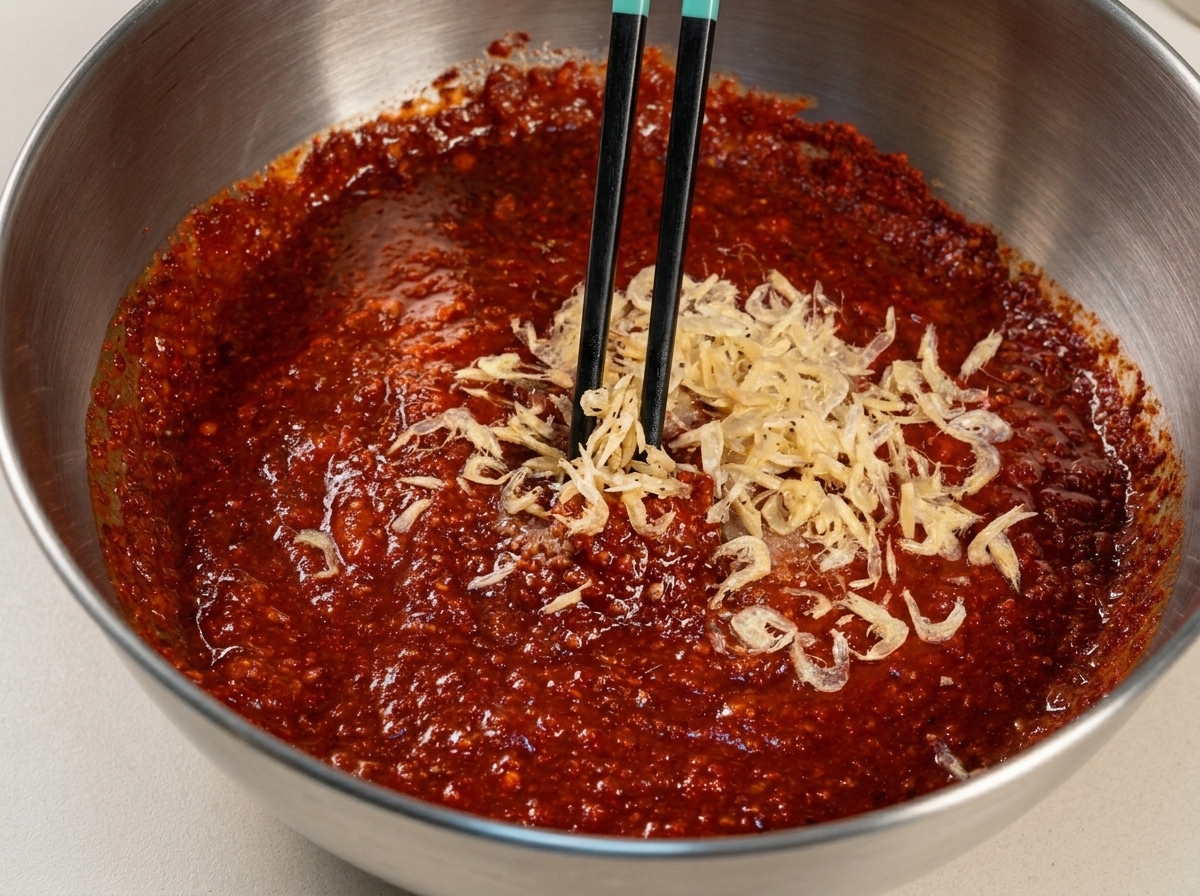
Incorporate the salt, sugar, and dried baby shrimp into the prepared red chili paste mixture. Stir well with chopsticks to ensure the seasonings are evenly distributed throughout the base.
Tip: Dried baby shrimp add a necessary depth of umami; if unavailable, you can substitute with a small amount of fish sauce. - 9Add fruit and vegetable puree
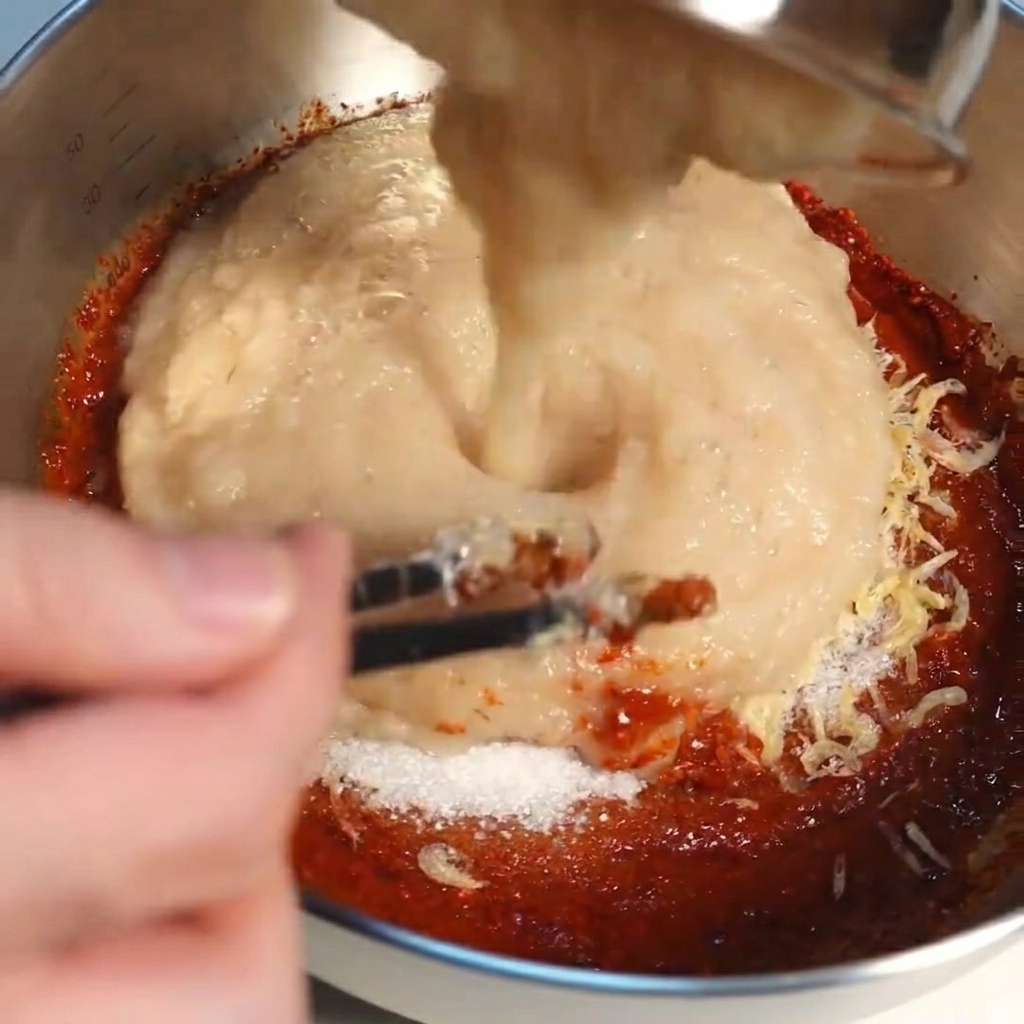
Pour the blended fruit and vegetable mixture into the bowl containing the chili paste base. Mix thoroughly until the puree is fully incorporated into the chili seasoning, creating a smooth and aromatic kimchi marinade.
Tip: Use a spatula to scrape every bit of the puree from the blender jar to avoid waste. - 10Incorporate fresh chives
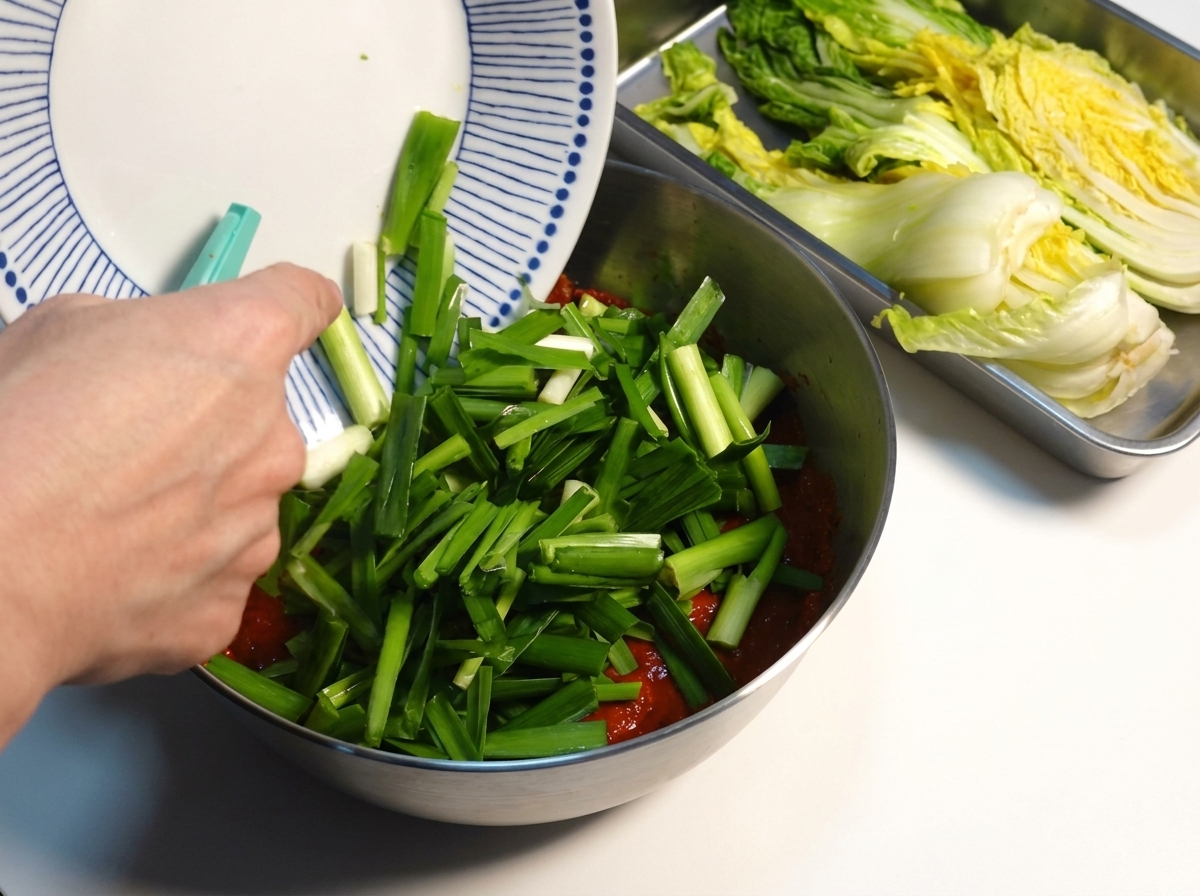
Fold the freshly chopped green chives into the red chili paste mixture. Mix gently to ensure the chives are evenly distributed throughout the marinade, adding fresh flavor and texture.
Tip: Add the chives at the end to keep them crisp and vibrant in the finished kimchi. - 11Drain the brined cabbage
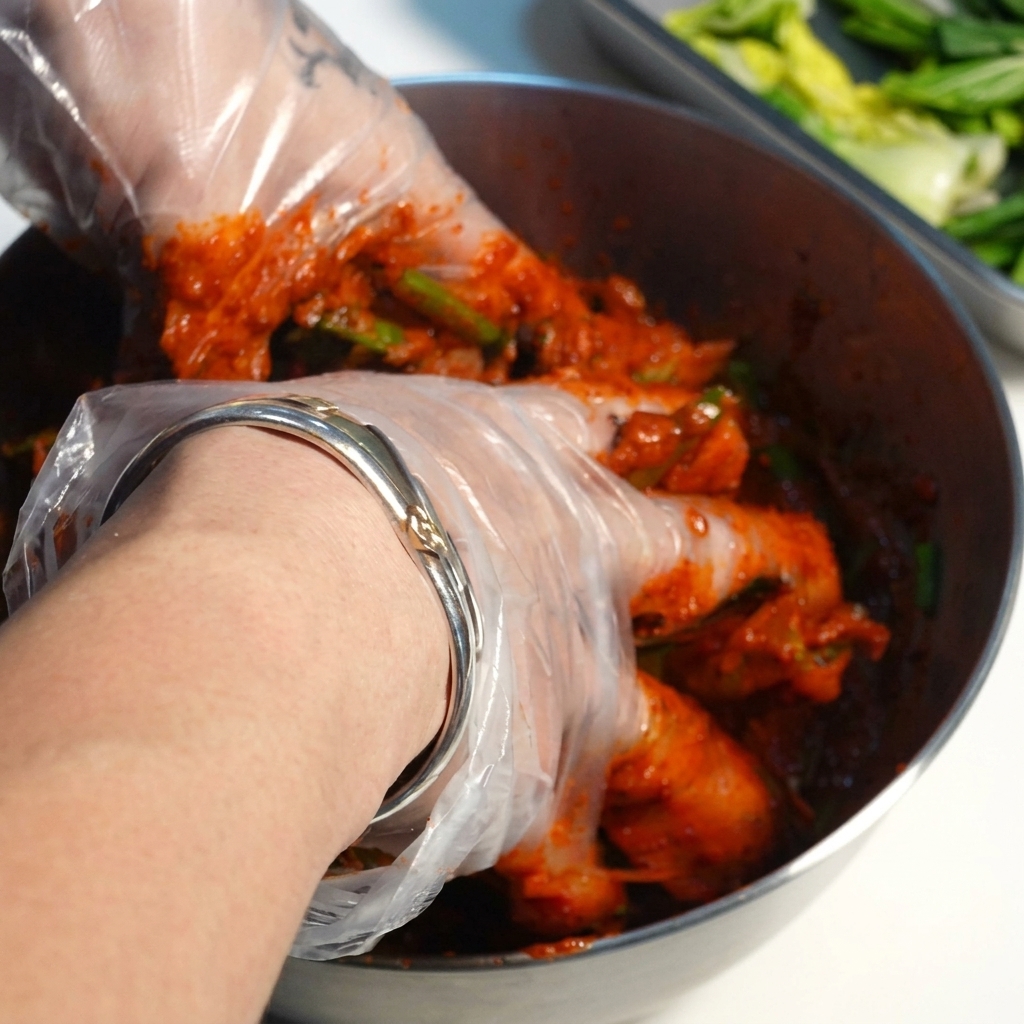
Take the softened, brined napa cabbage halves and squeeze them firmly to remove any excess liquid. Ensure the cabbage is well-drained so that the seasoning paste adheres properly to the leaves.
Tip: Thoroughly draining the cabbage is crucial to prevent the final kimchi from becoming too watery. - 12Season the cabbage leaves
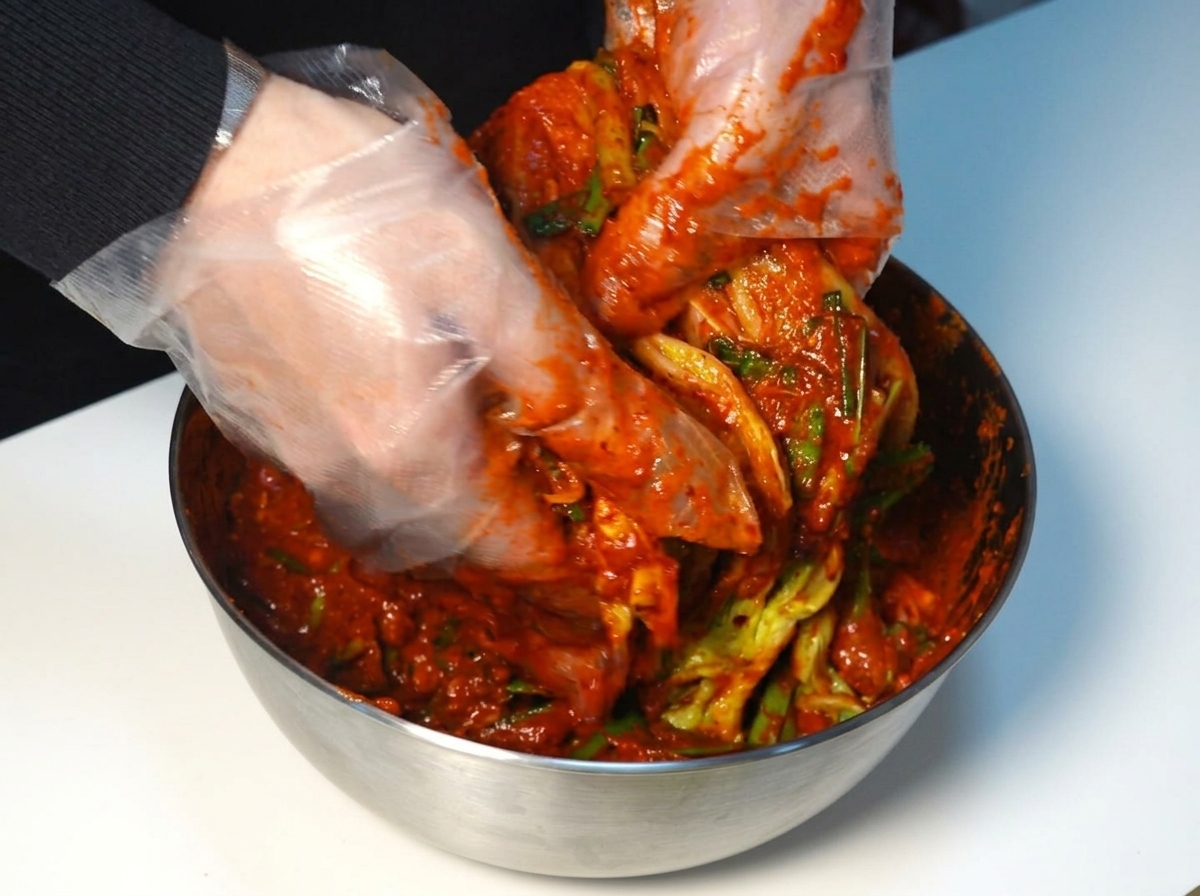
Wearing gloves, take a portion of the prepared red chili paste and rub it thoroughly onto every leaf of the napa cabbage. Ensure the seasoning reaches the base of each leaf and is evenly coated throughout.
Tip: Work the paste deeply into the leaves near the stem for better flavor penetration during fermentation. - 13Pack the kimchi
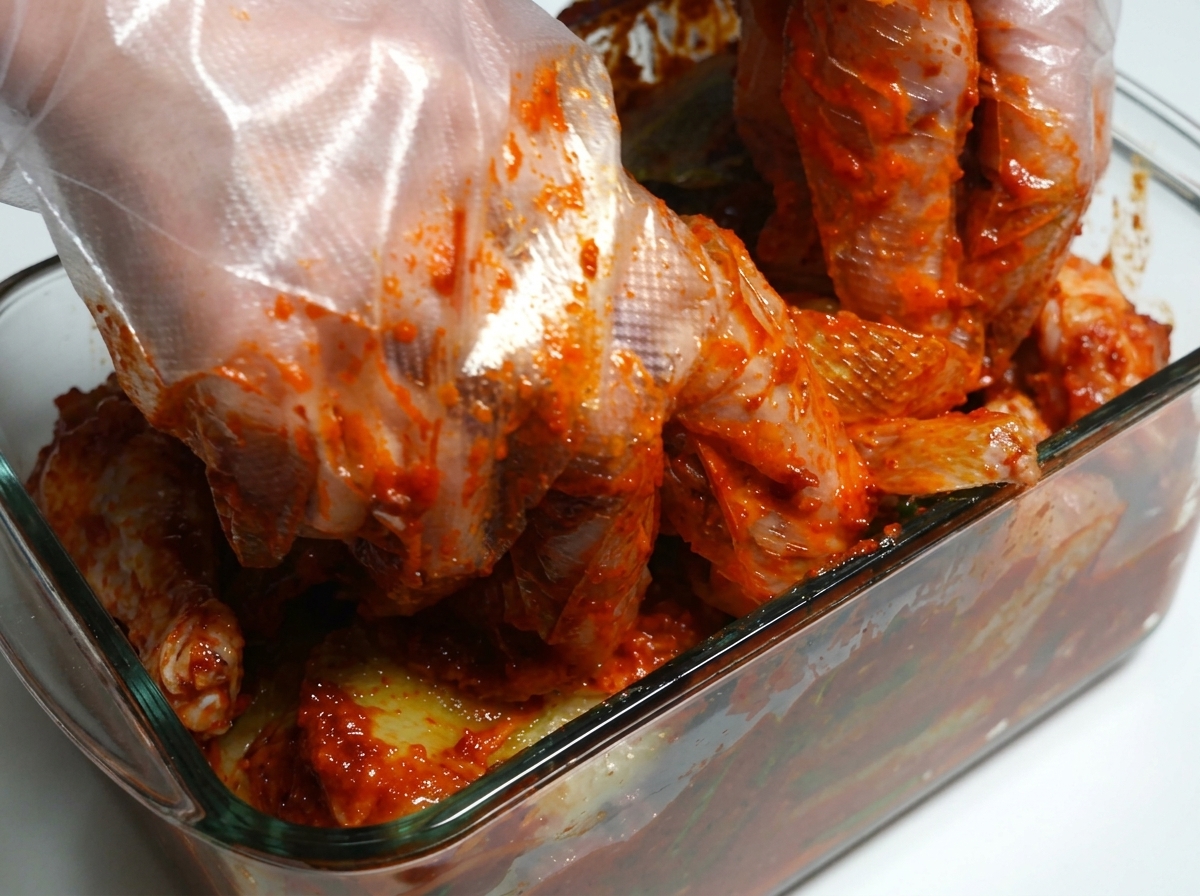
Place the seasoned napa cabbage into a clean, airtight glass container. Press down firmly as you pack the cabbage to remove any air pockets, which helps in the fermentation process and prevents spoilage.
Tip: Wearing food-safe gloves is highly recommended during this step to avoid staining your hands and to protect your skin from the spicy chili paste. - 14Seal the container
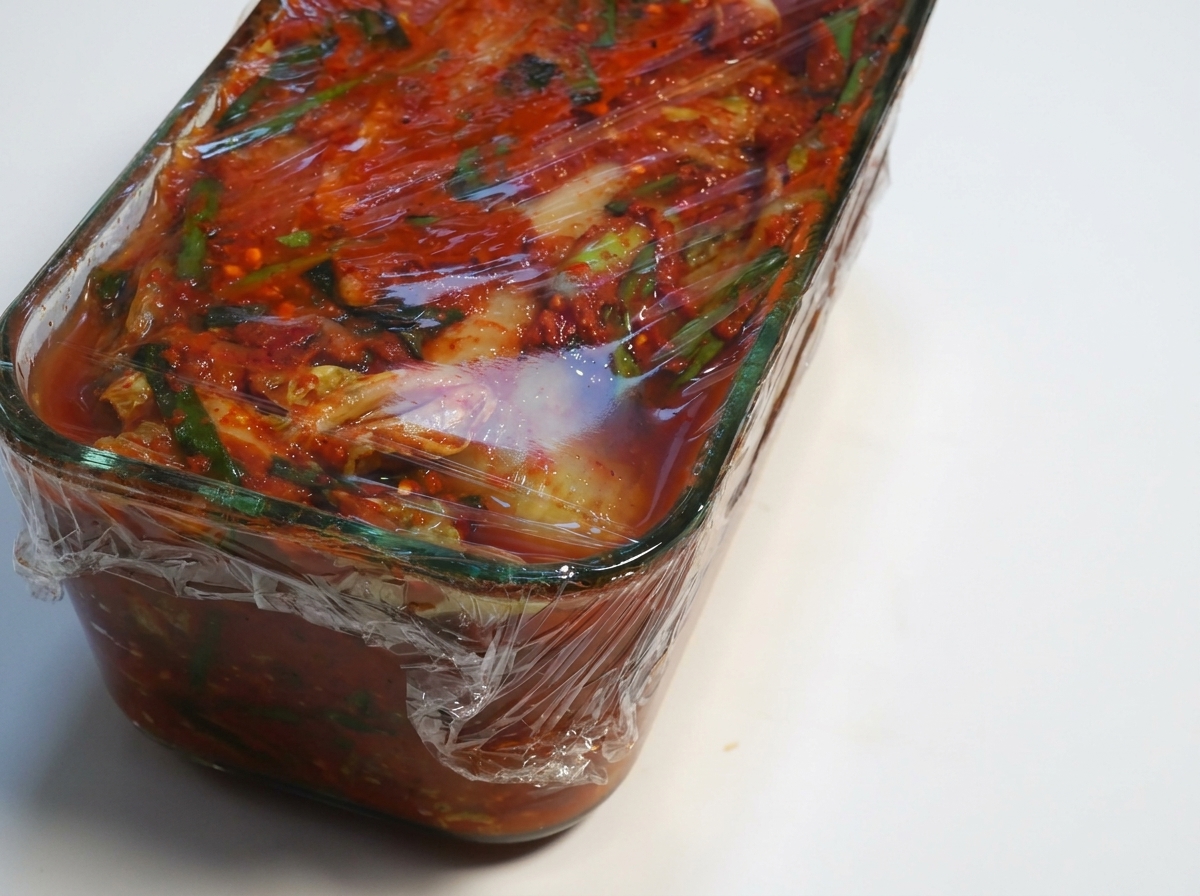
Cover the top of the glass container tightly with a layer of plastic wrap before placing the lid on. This creates an extra barrier to keep the kimchi airtight and prevent the pungent odor from escaping during fermentation.
Tip: Ensure the rim of the container is wiped clean before sealing to guarantee an airtight fit. - 15Reveal the fermented kimchi
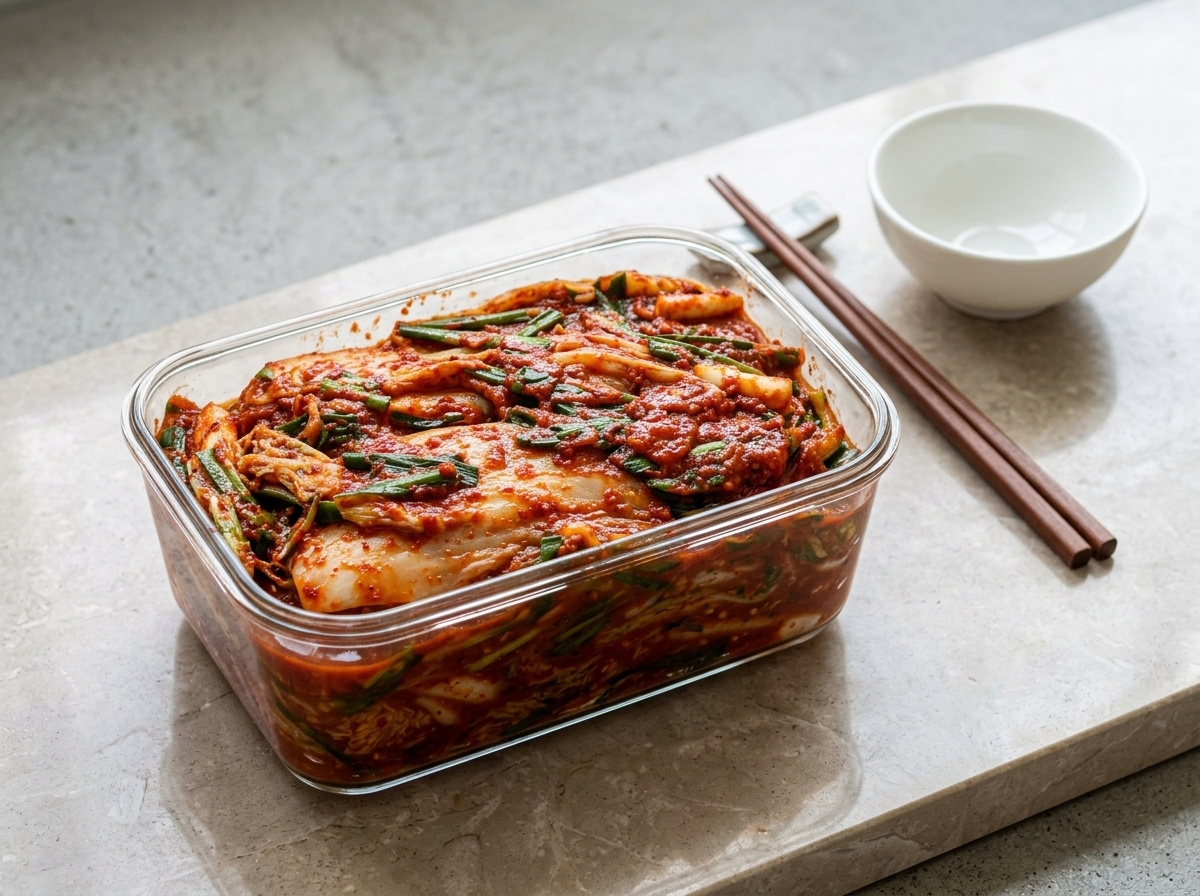
Carefully remove the plastic wrap to expose the fermented kimchi. At this stage, the cabbage should be deeply colored and aromatic, indicating it is ready to be served or used in cooking.
Tip: The fermentation time can vary based on temperature; check your kimchi occasionally for the desired level of tanginess. - 16Grill the meats
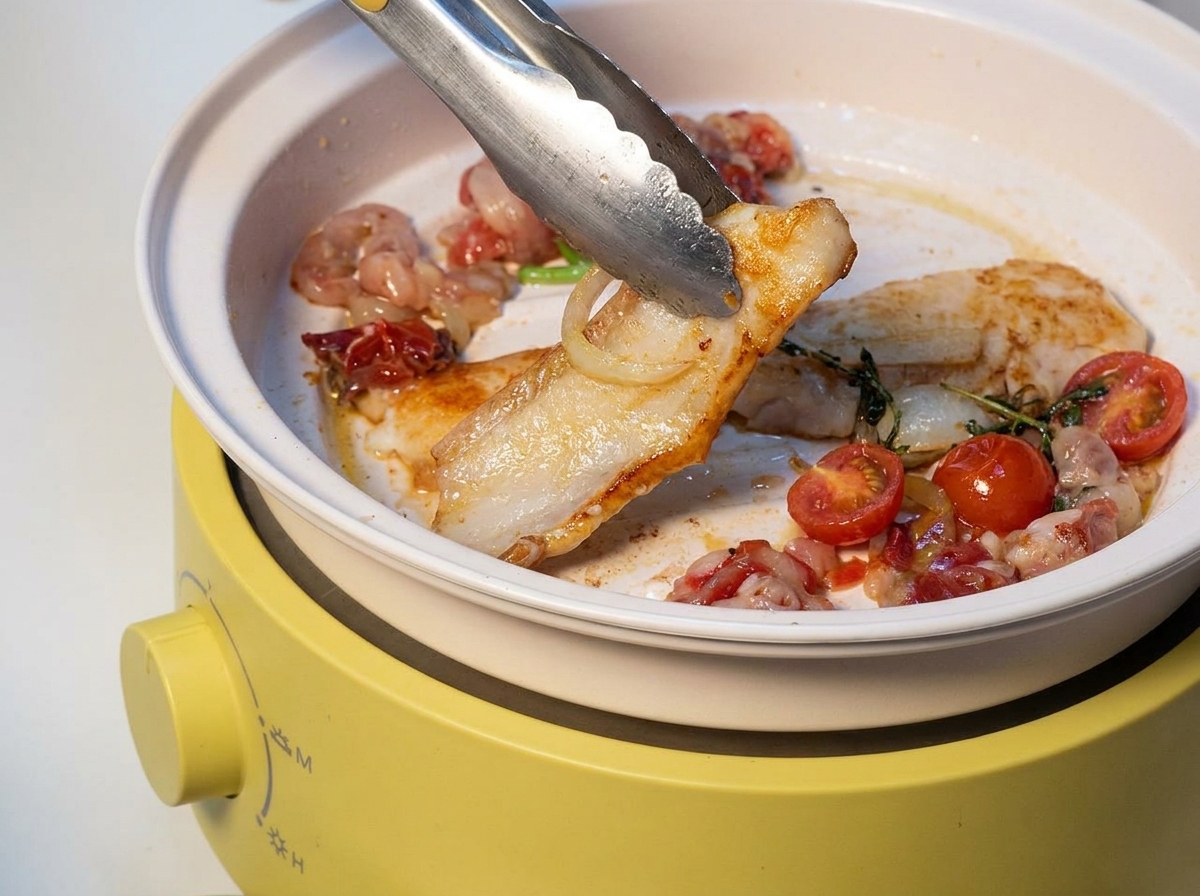
Place slices of pork belly, beef, and onion on the preheated electric grill. Cook the ingredients until the meats are browned and fully cooked, and the onions are softened and caramelized.
Tip: Do not overcrowd the grill to ensure the meat sears properly instead of steaming.