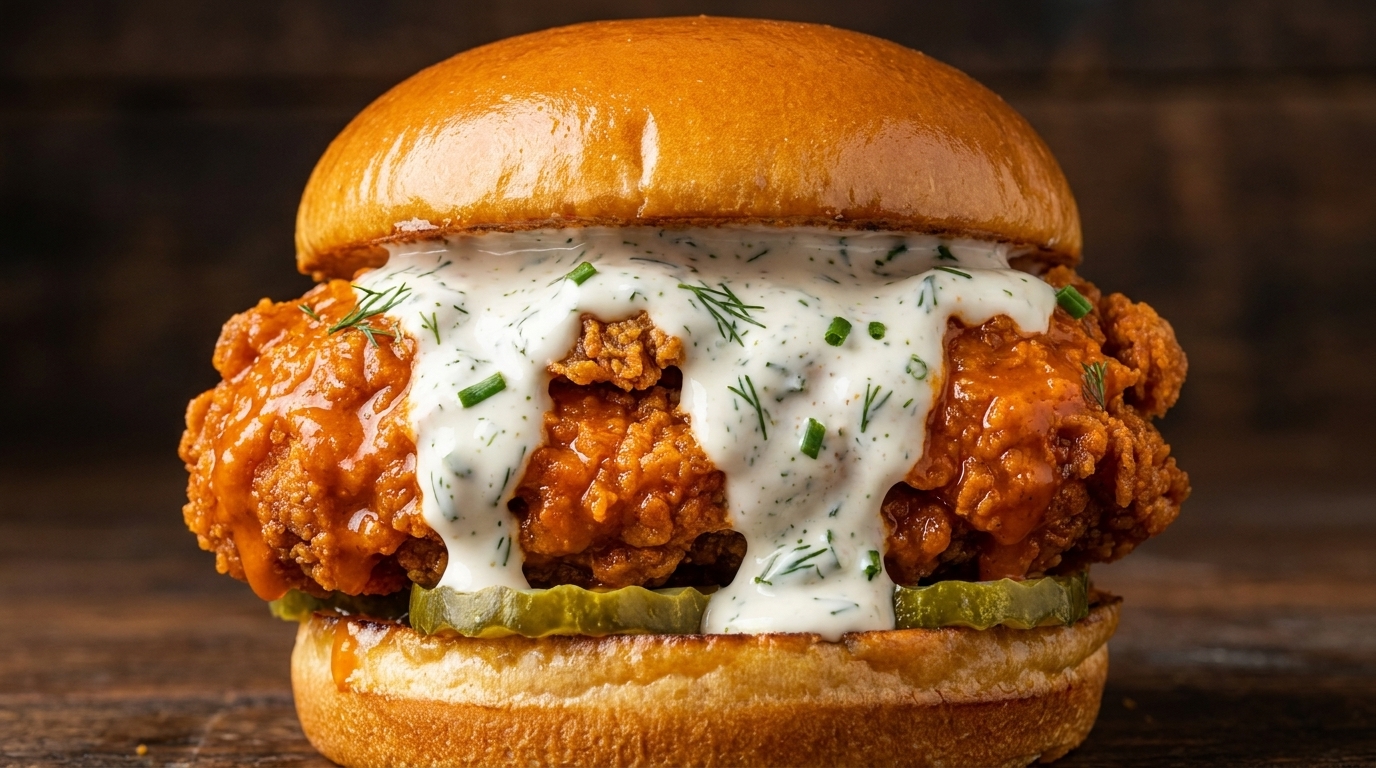
Korean Garlic Spicy Fried Chicken Burger
Quick-Pickled Slaw
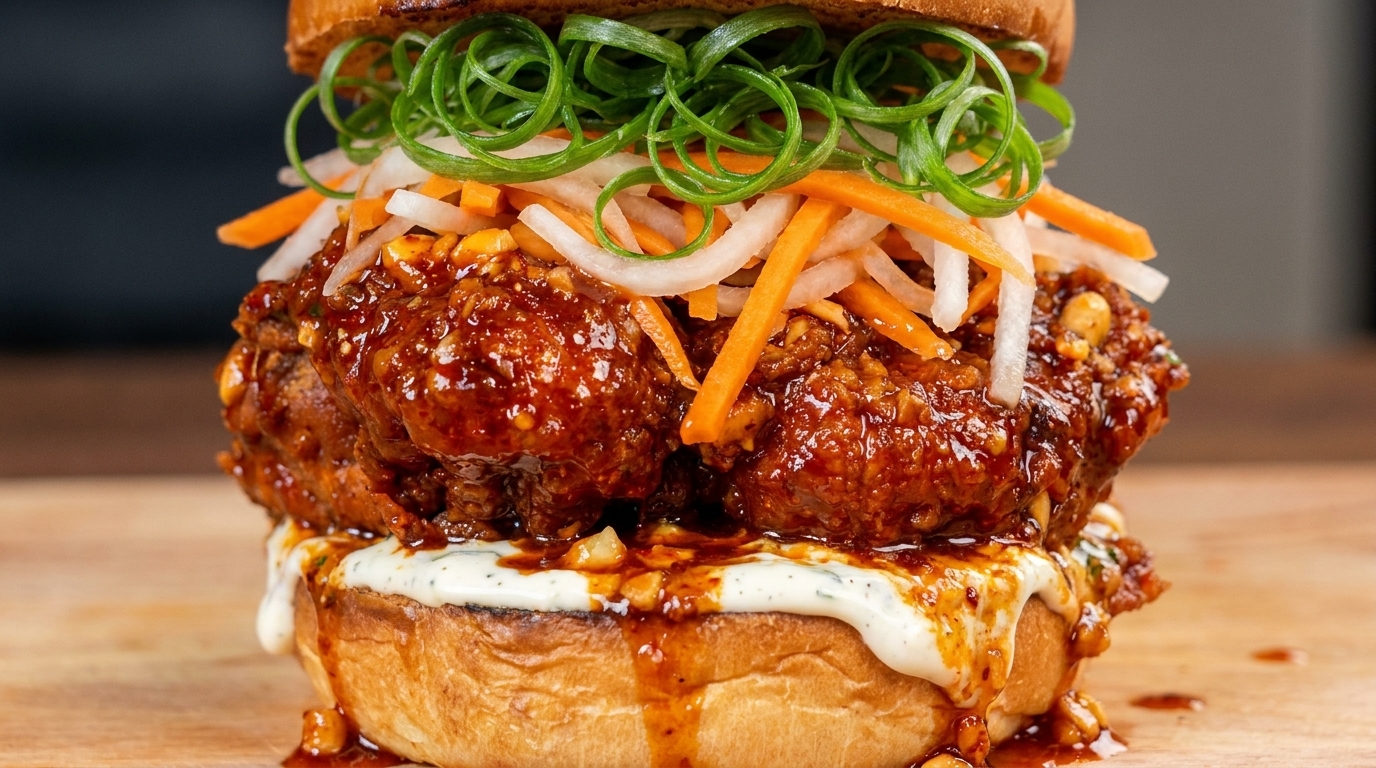
A towering Korean-inspired masterpiece featuring double-fried chicken in a sticky garlic-gochujang glaze, balanced by zesty pickled vegetables and cooling ranch.
This burger is a symphony of textures and bold Korean flavors. The star is the thick, shatteringly crisp chicken crust—inspired by nostalgic childhood snacks—drenched in a pungent, sweet, and spicy garlic glaze. To keep the richness in check, we pair it with a bright, vinegar-based vegetable slaw and fresh scallion curls, creating a perfect balance of heat and acid.
Ingredients
- 2 pieces boneless, skin-on chicken thighs
- 250 ml milk
- 1 tbsp lemon juice
- 100 g all-purpose flour
- 100 g cornstarch
- 12 tsp baking soda
- 100 g white radish (daikon)
- 100 g carrots
- 2 red chilies
- 100 ml white vinegar
- 2 tbsp brown sugar
- 3 tbsp gochujang (Korean chili paste)
- 3 cloves garlic
- 2 tbsp crushed peanuts
- 2 brioche buns
- to taste yogurt-based ranch sauce
- optional green onions
Instructions
- 1Prep the pickled vegetables
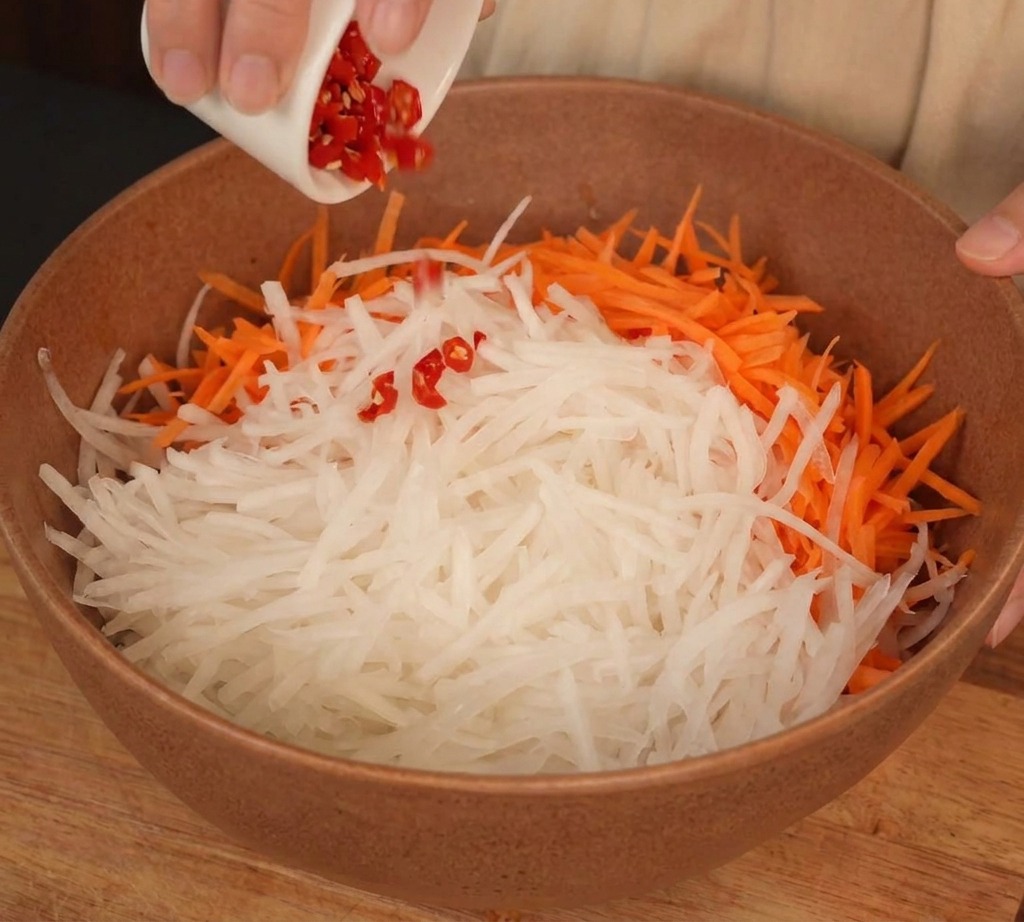
Begin by julienning white radish and carrots into thin, uniform strips. Place them in a large mixing bowl and add finely chopped red chilies. This combination provides a colorful and crunchy base for the quick-pickle garnish that will top the chicken burger.
Tip: Try to keep the julienned pieces the same thickness so they pickle evenly and offer a consistent crunch in every bite. - 2Add the pickling brine
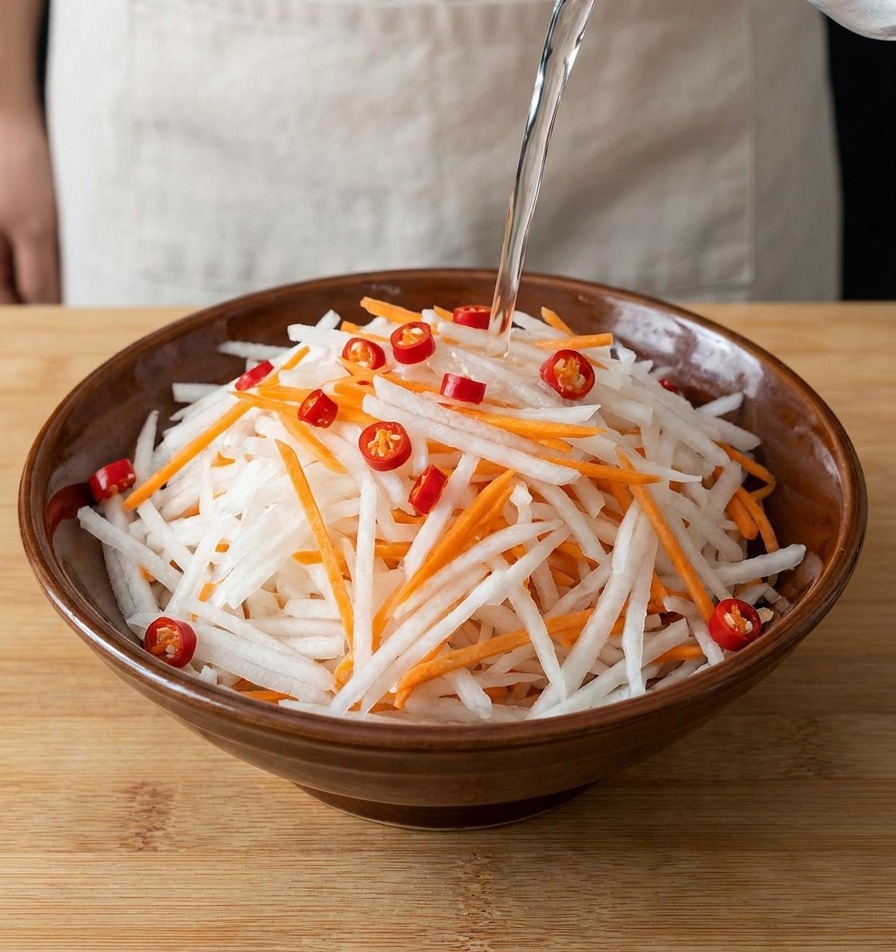
Prepare a sweet and sour brine by mixing water, white vinegar, and sugar. Pour the liquid over the shredded vegetables until they are completely submerged. The acidity will soften the vegetables while maintaining their crisp texture and adding a bright tang.
Tip: For the best flavor, let these sit overnight in the refrigerator. The longer they marinate, the more the flavors will develop. - 3Sauté the minced garlic
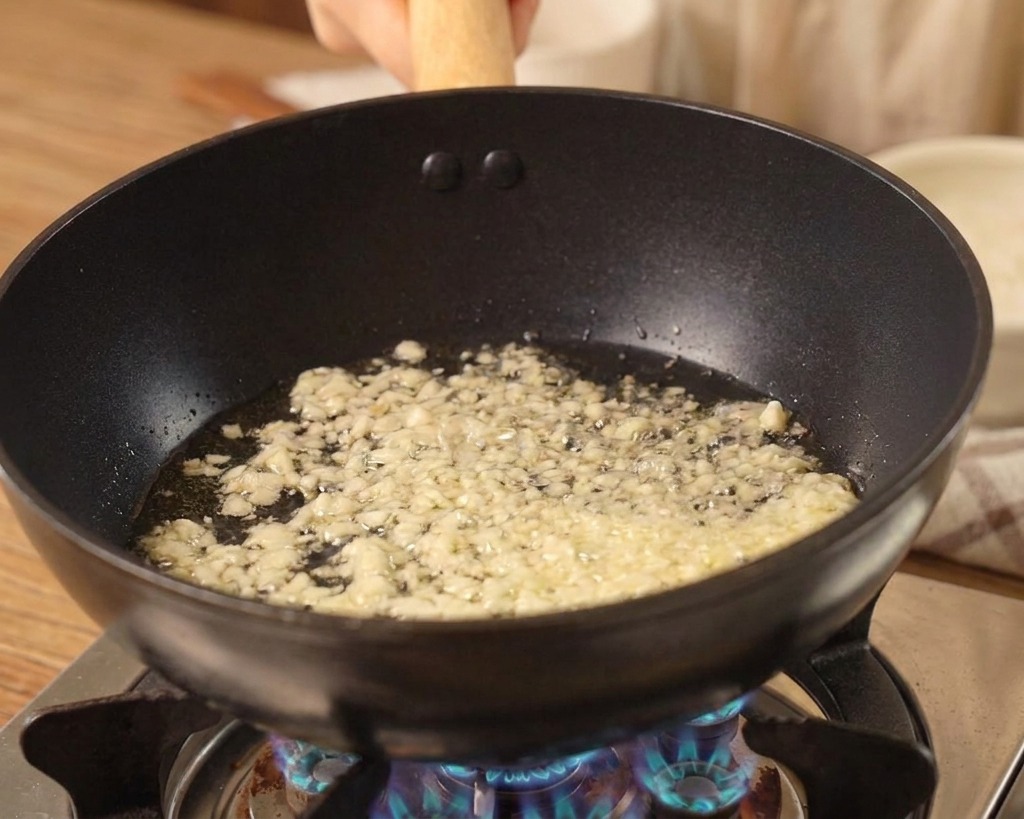
Heat a small amount of oil in a frying pan over medium heat. Add finely minced garlic and sauté it, stirring frequently. Cook until the garlic becomes fragrant and just starts to turn a light golden color, creating a base for the Korean-style glaze.
Tip: Watch the garlic closely and keep it moving. It can go from aromatic to burnt very quickly, which would make the sauce bitter. - 4Incorporate the chili paste
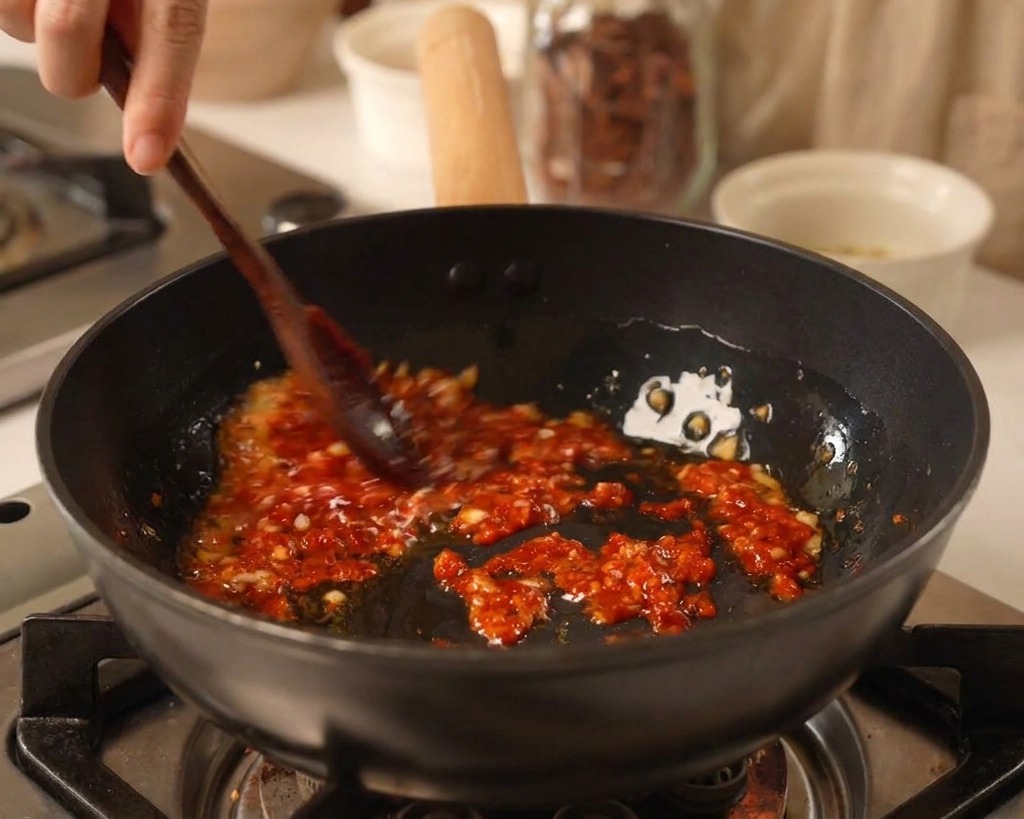
Add a generous amount of Korean red chili paste (gochujang) to the pan with the sautéed garlic. Use a wooden spatula to stir and break down the paste, allowing it to meld with the oil and garlic base before adding sweeteners.
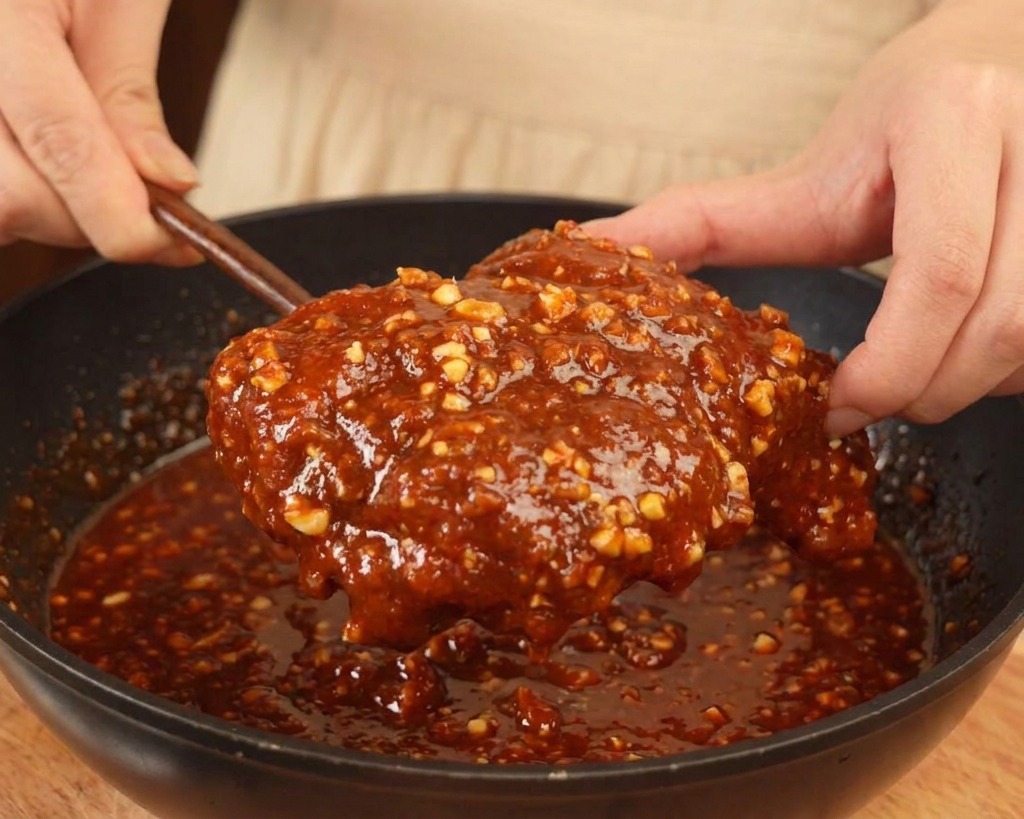
Tip: Gochujang is thick and sticky; mixing it with the hot oil helps loosen it up and deepens its flavor before you add other ingredients. - 5Thicken the glaze
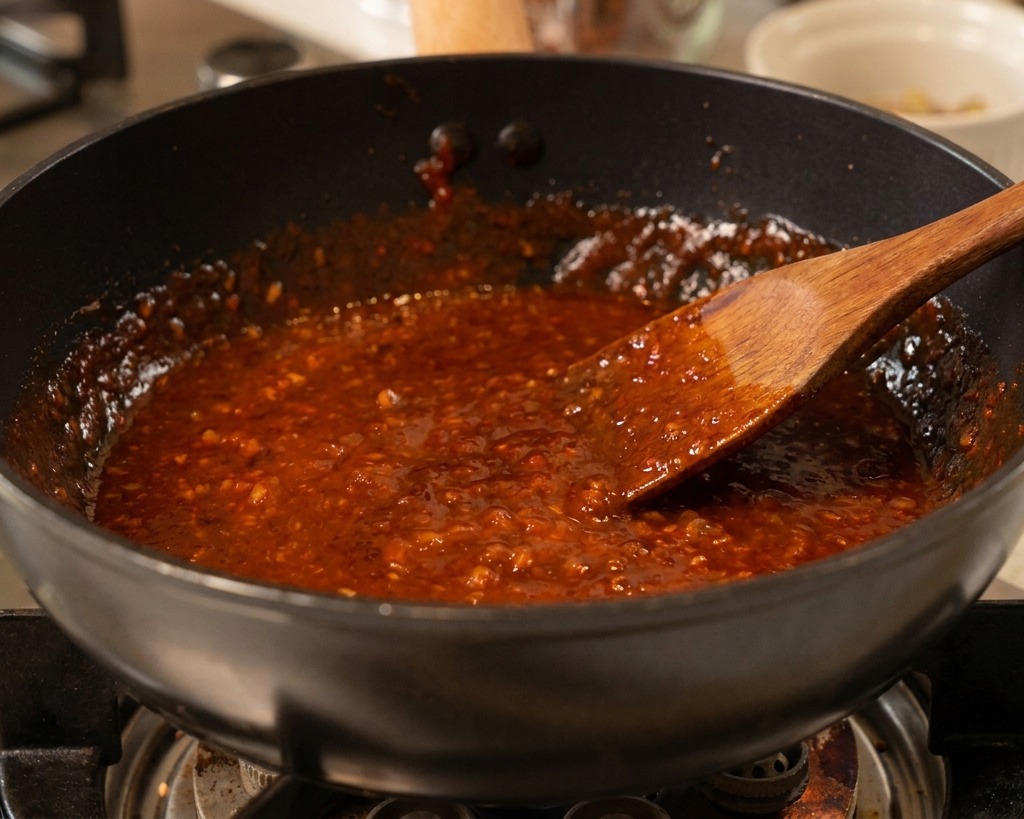
Stir in brown sugar and chili powder, then let the sauce simmer over medium-low heat. Continue stirring as the glaze bubbles and reduces. It should become thick, glossy, and dark red, eventually coating the fried chicken perfectly.
Tip: If the sauce gets too thick too quickly, add a tablespoon of water or mirin to thin it out to the desired consistency. - 6Season the chicken

Place raw chicken thighs in a large bowl. Add salt, lemon juice, chili powder, white pepper, and garlic powder. Pour in a small amount of milk to help tenderize the meat and act as a binder for the dry seasonings.
Tip: Massage the seasonings and milk into the meat with your hands to ensure every piece is thoroughly and evenly coated before marinating. - 7Create the batter

Pour equal parts flour and cornstarch along with a pinch of baking soda directly over the marinated chicken thighs. This one bowl method incorporates the marinade liquid into the dry ingredients to create a thick heavy batter that forms a substantial crunchy crust when fried.
Tip: Starting with the marinade liquid as your base ensures the batter is packed with the same garlic and chili flavors used to season the meat. - 8Check the batter consistency
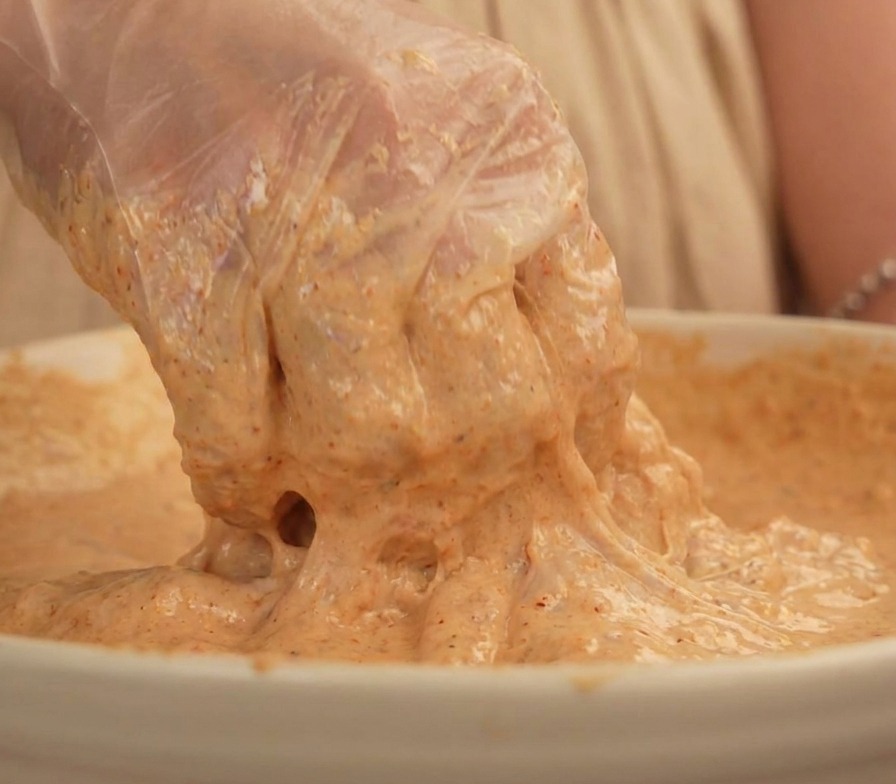
Mix the ingredients thoroughly until a thick opaque paste forms around the chicken. Lift a piece to ensure the batter is clinging heavily to the surface as it should feel substantial and not run off easily. This thick coating is inspired by crunchy childhood snacks.
Tip: If the batter feels too wet sprinkle in a bit more cornstarch until it reaches a sticky pasty texture. - 9Fry at medium heat
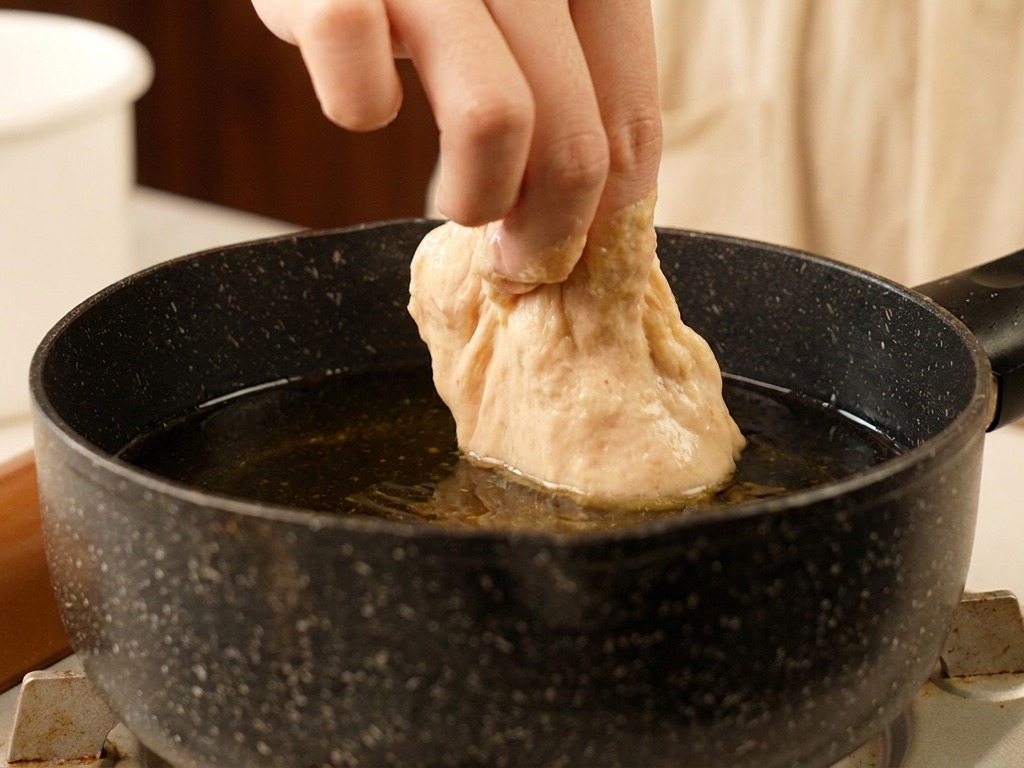
Carefully lower the battered chicken into a pan of hot oil. Fry at medium heat for about three minutes. The goal here is to cook the chicken through and set the thick crust without burning the exterior too quickly.
Tip: Use a thermometer to aim for an oil temperature around 325°F (160°C) for this initial fry. - 10Perform a double fry
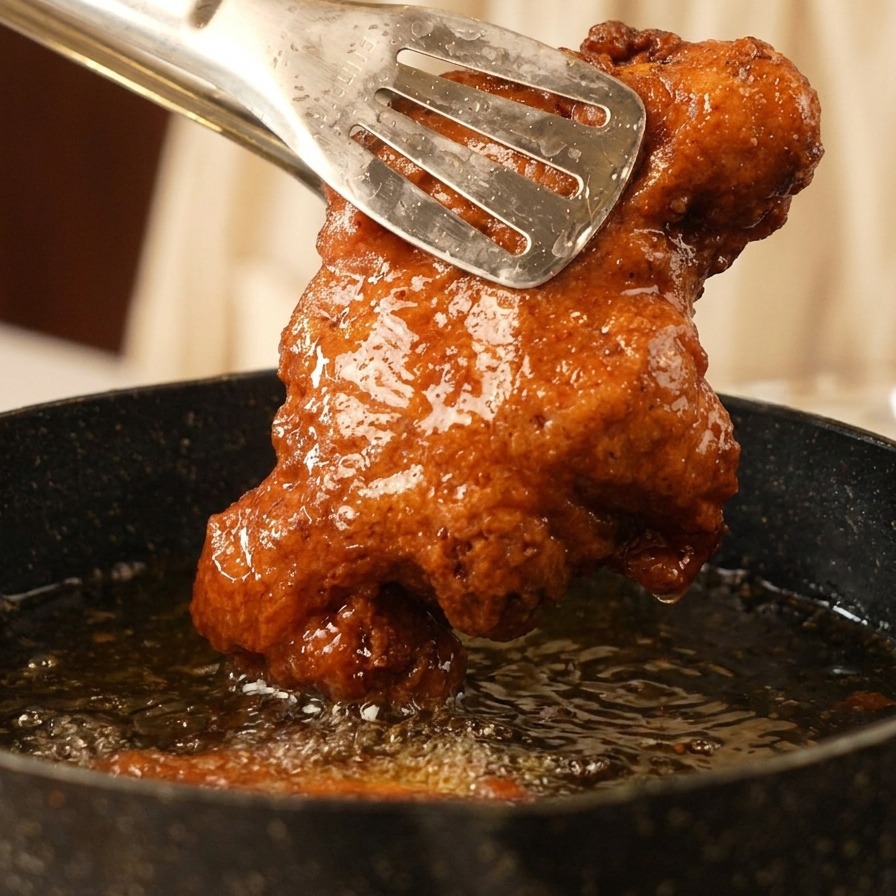
After the initial three minute fry remove the chicken and briefly increase the oil temperature. Return the chicken to the oil for a final 30 second double fry. This technique removes excess oil and moisture from the crust resulting in a shatteringly crisp finish.
Tip: The second fry should be much hotter around 375 F or 190 C to quickly crisp the exterior without overcooking the meat inside. - 11Rest and slice the chicken
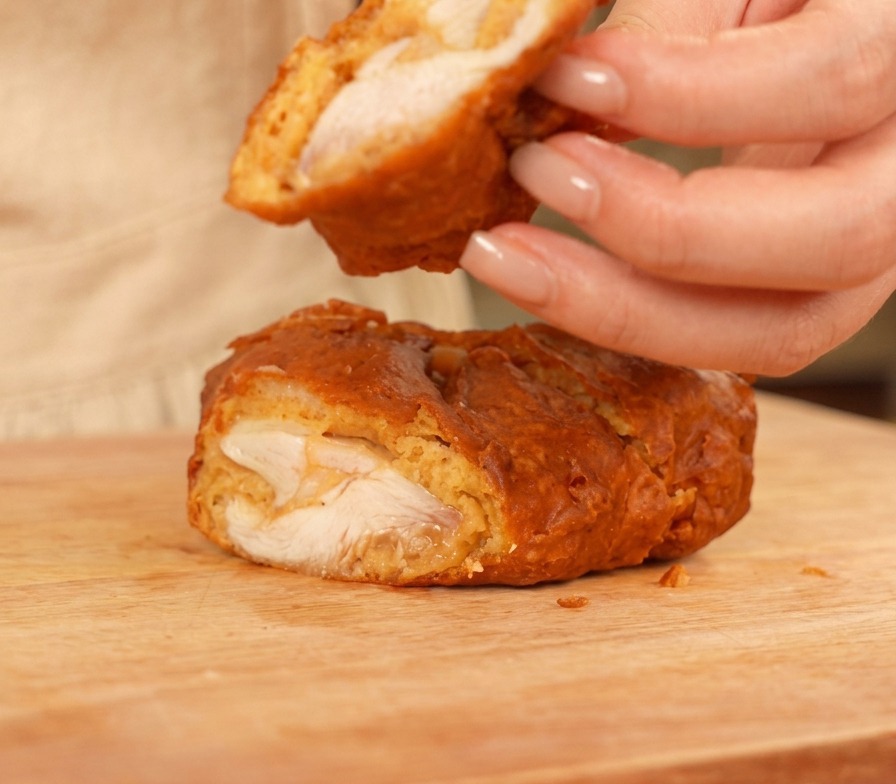
Allow the fried chicken to rest on a wire rack for a minute before slicing. This prevents the bottom from becoming soggy and lets the juices redistribute. The cross-section should reveal fully cooked, white meat encased in a thick, airy, golden crust.
Tip: Always let fried chicken rest on a wire rack for a minute before slicing to keep the bottom from getting soggy. - 12Glaze the chicken
Submerge the hot, crispy chicken into the prepared Korean-style garlic glaze. Toss or turn the pieces until every nook and cranny of the crunchy crust is fully saturated with the sweet and spicy sauce. The added crushed peanuts in the sauce provide an extra layer of texture.
Tip: For the best flavor, glaze the chicken immediately before serving so the crust maintains its crunch under the sauce. - 13Apply the ranch sauce base
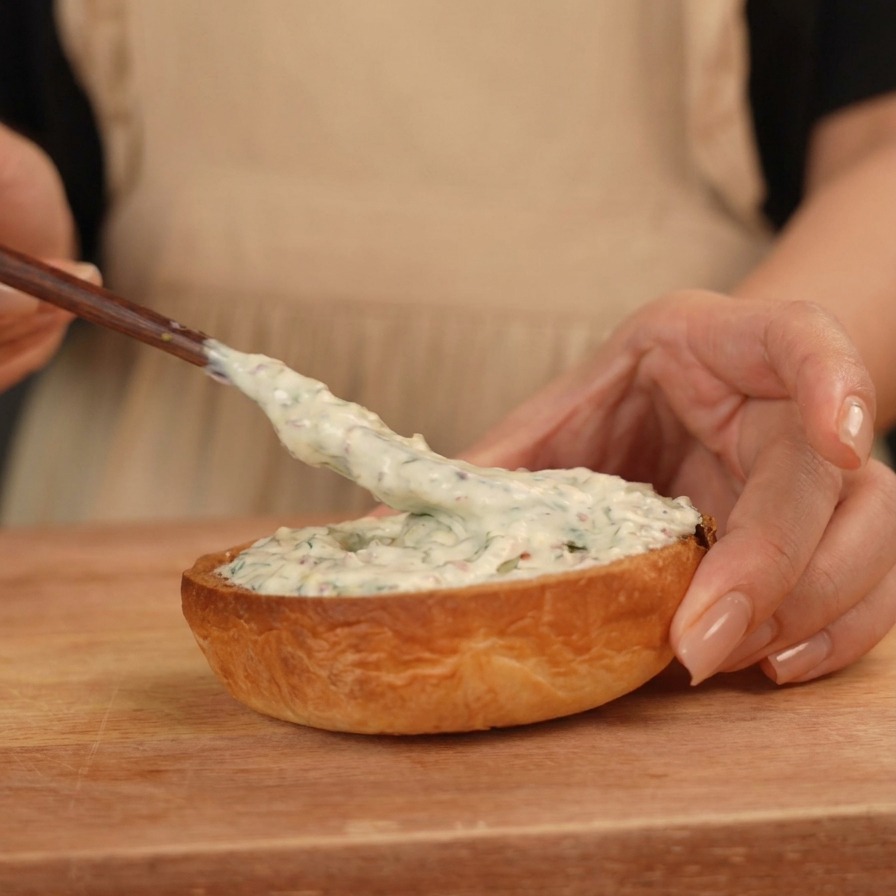
Begin the final assembly by spreading a thick layer of the homemade yogurt-based ranch sauce onto the bottom half of a toasted bun. This creamy layer acts as a cooling base to balance the spicy flavors coming next.
Tip: Toasting the bun first creates a light crust that prevents the sauce from soaking in and making the bread soggy. - 14Place the glazed chicken patty
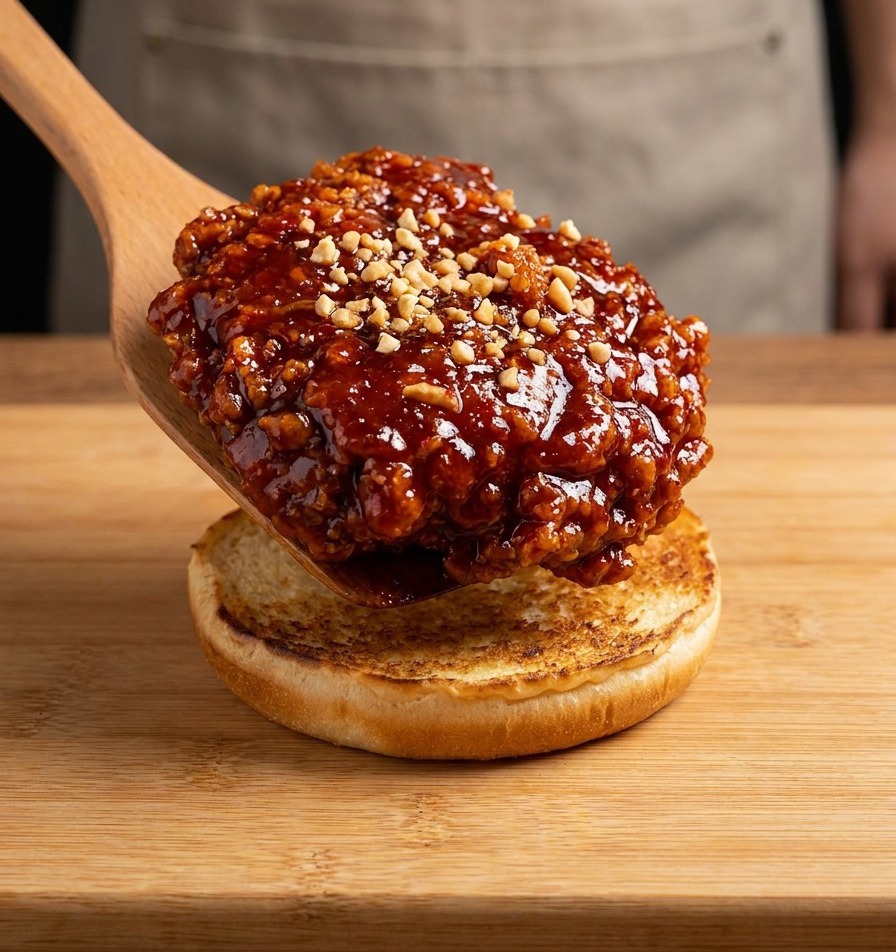
Place the double-fried chicken thigh, now thoroughly coated in the sweet and spicy Korean-style garlic glaze and crushed peanuts, directly onto the sauced bun. Ensure the glaze has cooled slightly so it clings to the crust rather than running off.
Tip: Make sure the glaze has cooled slightly before coating so it clings to the chicken without running off too quickly. - 15Layer the pickled vegetables
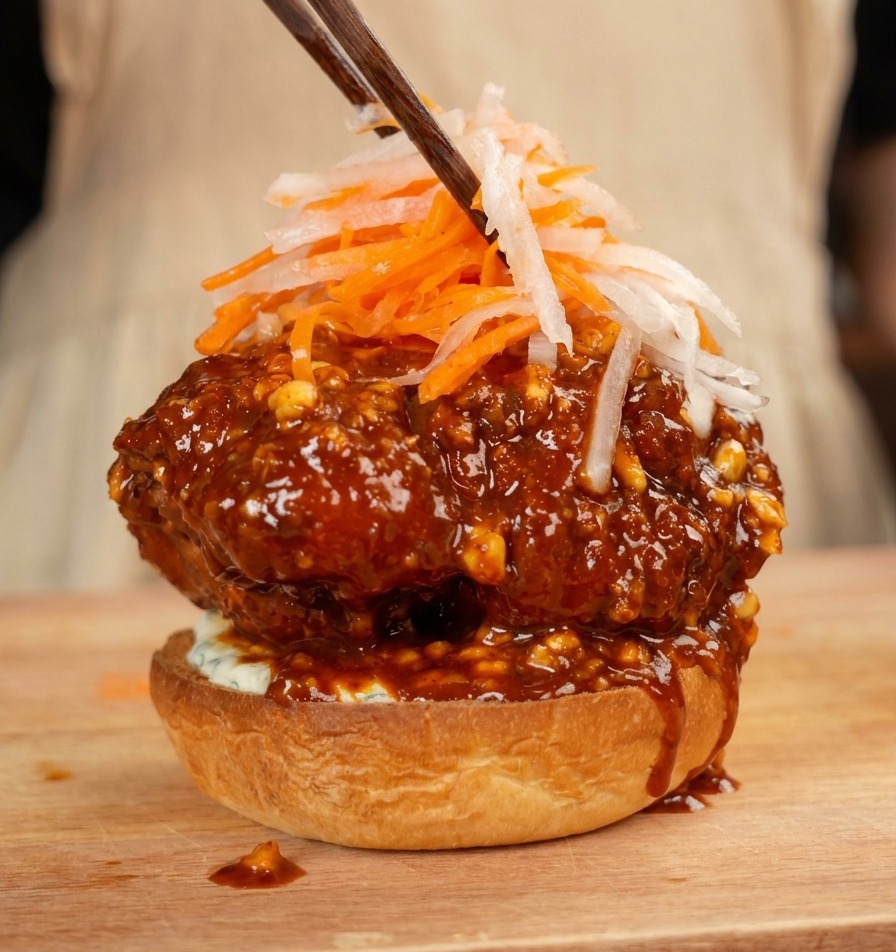
Add a generous mound of the sweet and sour pickled radish and carrot shreds on top of the chicken. These crisp vegetables provide a refreshing acidity that cuts through the richness of the fried meat and glaze.
Tip: Pat the pickled vegetables dry with a paper towel before adding them to keep the burger from getting watery. - 16Finish with green onions
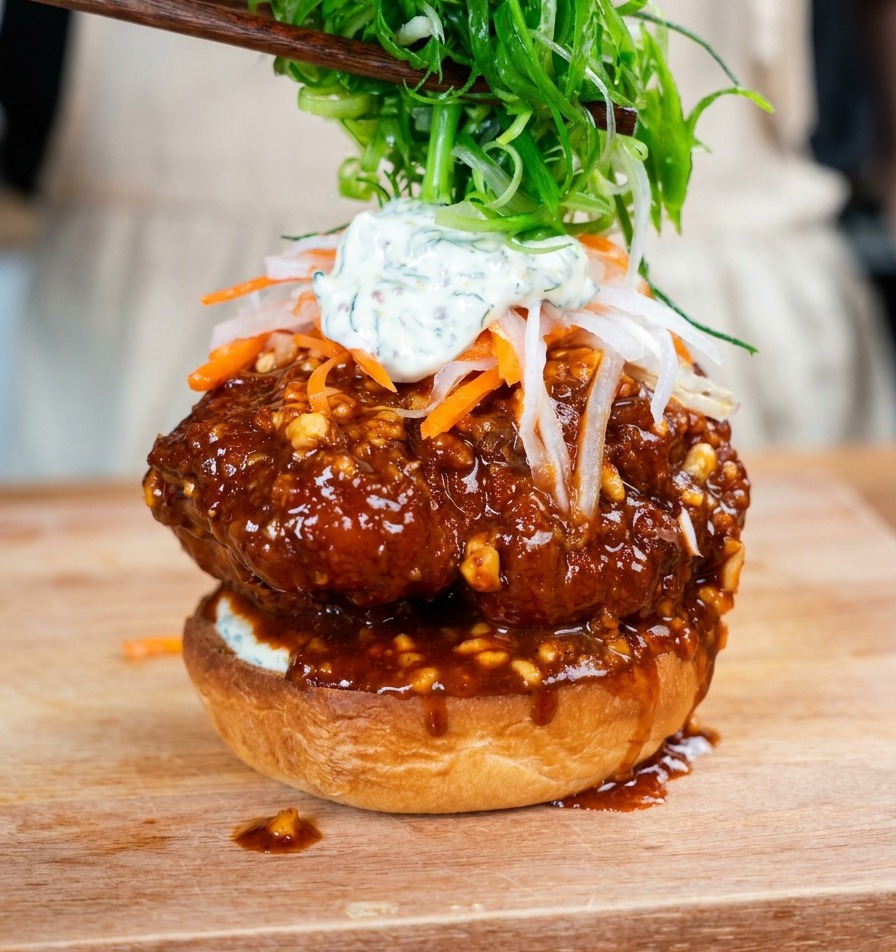
Place a final dollop of ranch sauce and a large bunch of julienned green onions on top to finish the assembly. The fresh onions add a sharp aromatic finish and a vibrant look to the burger.
Tip: For the best presentation, soak the julienned green onions in ice water for 5 minutes so they curl up beautifully.