Crispy Golden Lava Burgers
Sweet Cream Filling
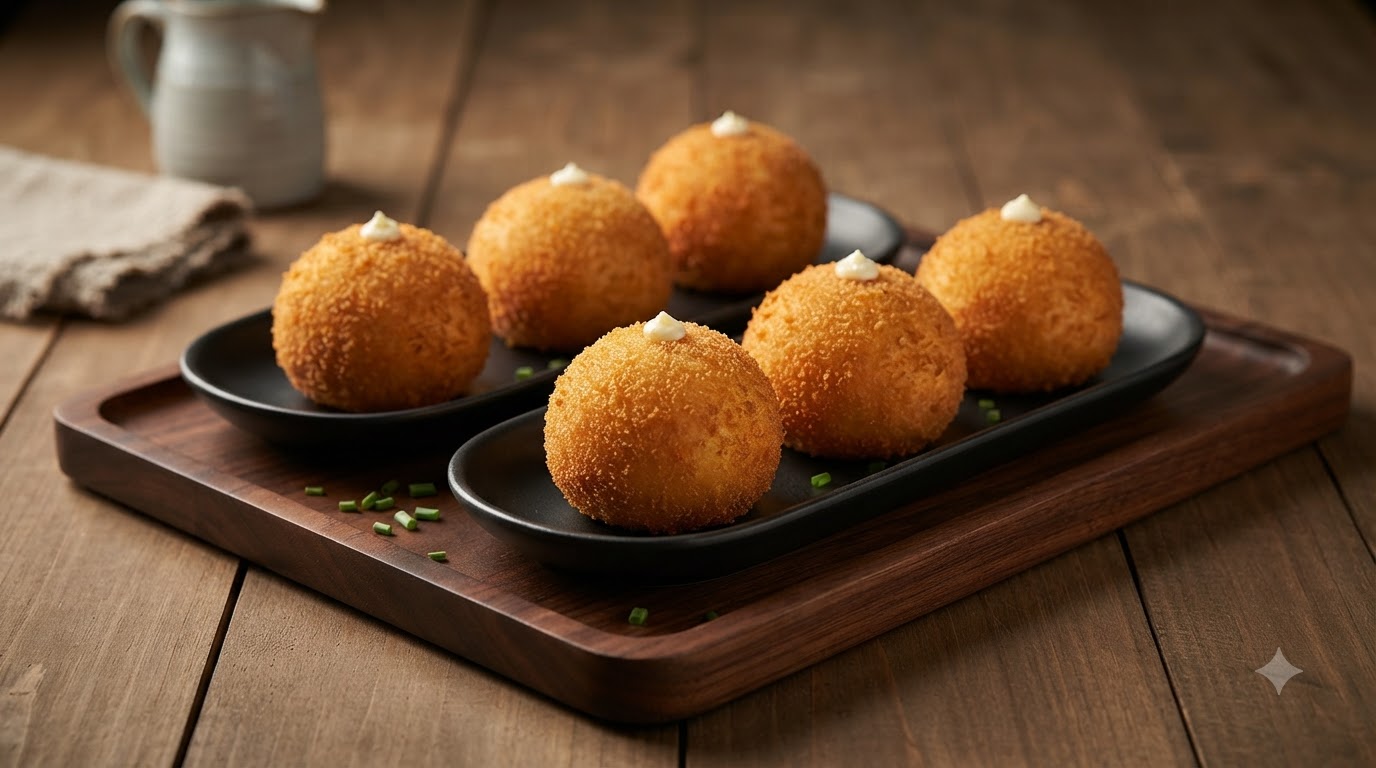
Crispy on the outside and rich on the inside, these golden-brown fried lava burgers feature an airy dough shell filled with a luscious, melting cream center.
Lava burgers combine the satisfying crunch of a breadcrumb-crusted, deep-fried bun with a delightful surprise of smooth, flowing cream hidden inside. This playful culinary creation elevates classic sweet buns by turning everyday baking and frying into an interactive treat. Perfect for parties, street-food style gatherings, or as a fun weekend baking project, they offer a wonderful contrast of textures from the first crispy bite to the rich center.
Ingredients
- 300 g bread flour
- 4 g instant yeast
- 30 g sugar
- 3 g salt
- 150 ml milk
- 30 g unsalted butter
- 20 g butter for filling
- 100 g bread crumbs
- 100 ml lava cream filling
- 1 L vegetable oil for frying
Instructions
- 1Mix Dry and Wet Ingredients
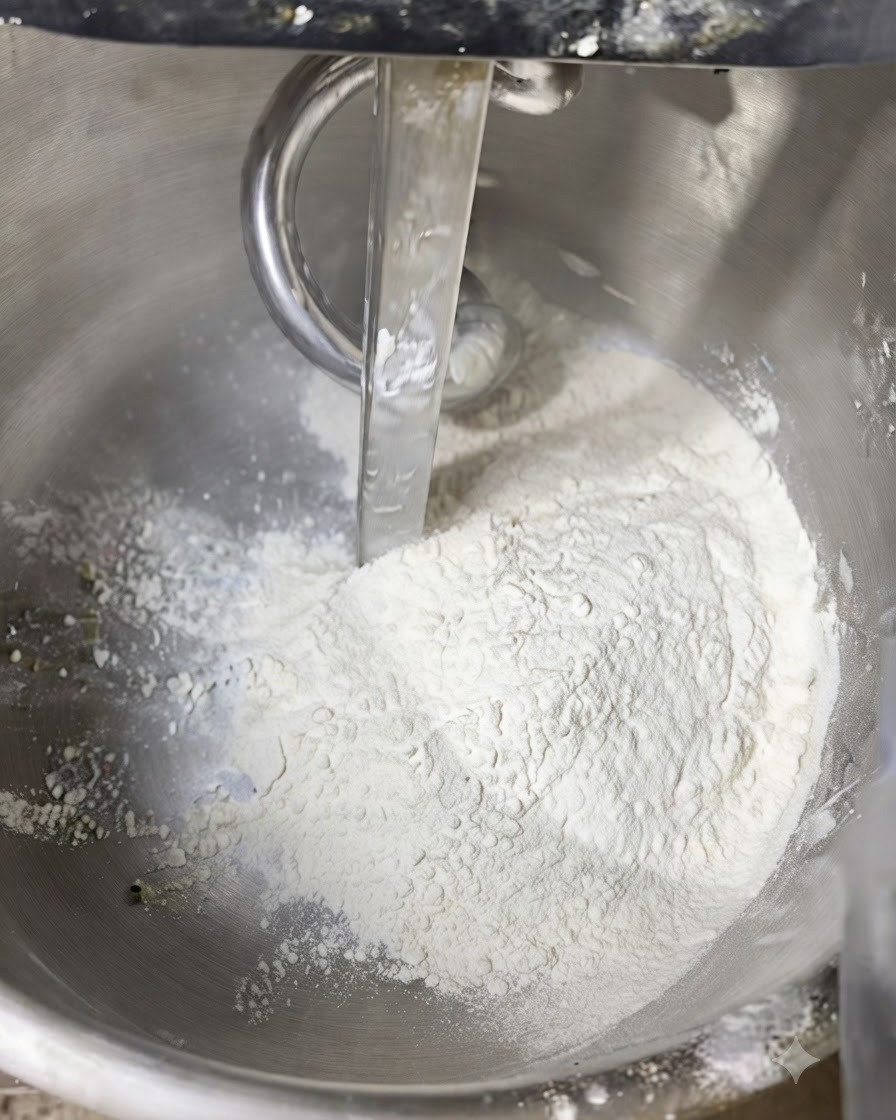
Weigh all the dry raw materials, then add all the wet raw materials into the mixer bowl. Perform low-speed mixing evenly until smooth, and high-speed beating until smooth.
Tip: Ensure dry and liquid ingredients are properly combined at a low speed first to prevent splashing before beating at a high speed. - 2Add Butter to Dough
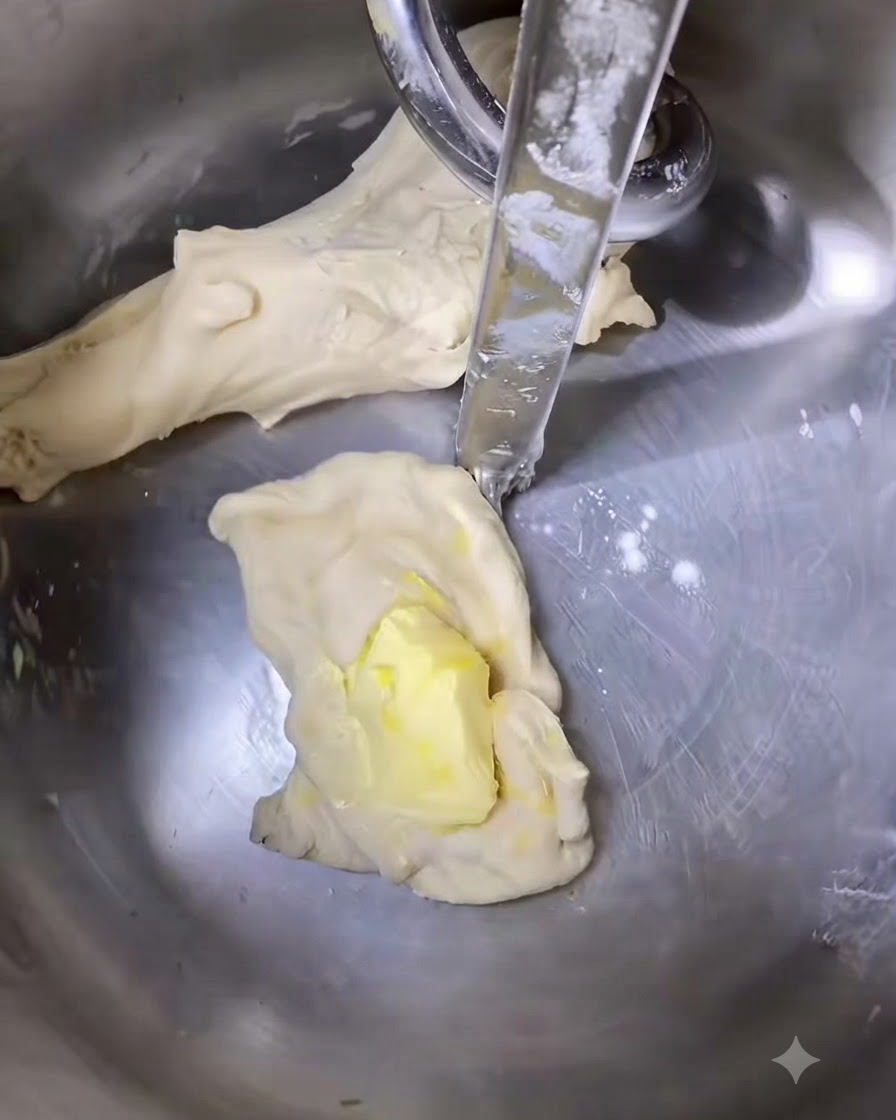
After beating the dough until smooth, add the butter and continue mixing at a low speed until incorporated.
Tip: Add the butter once the initial dough has reached a smooth consistency so it blends evenly. - 3Beat to Glove Membrane State
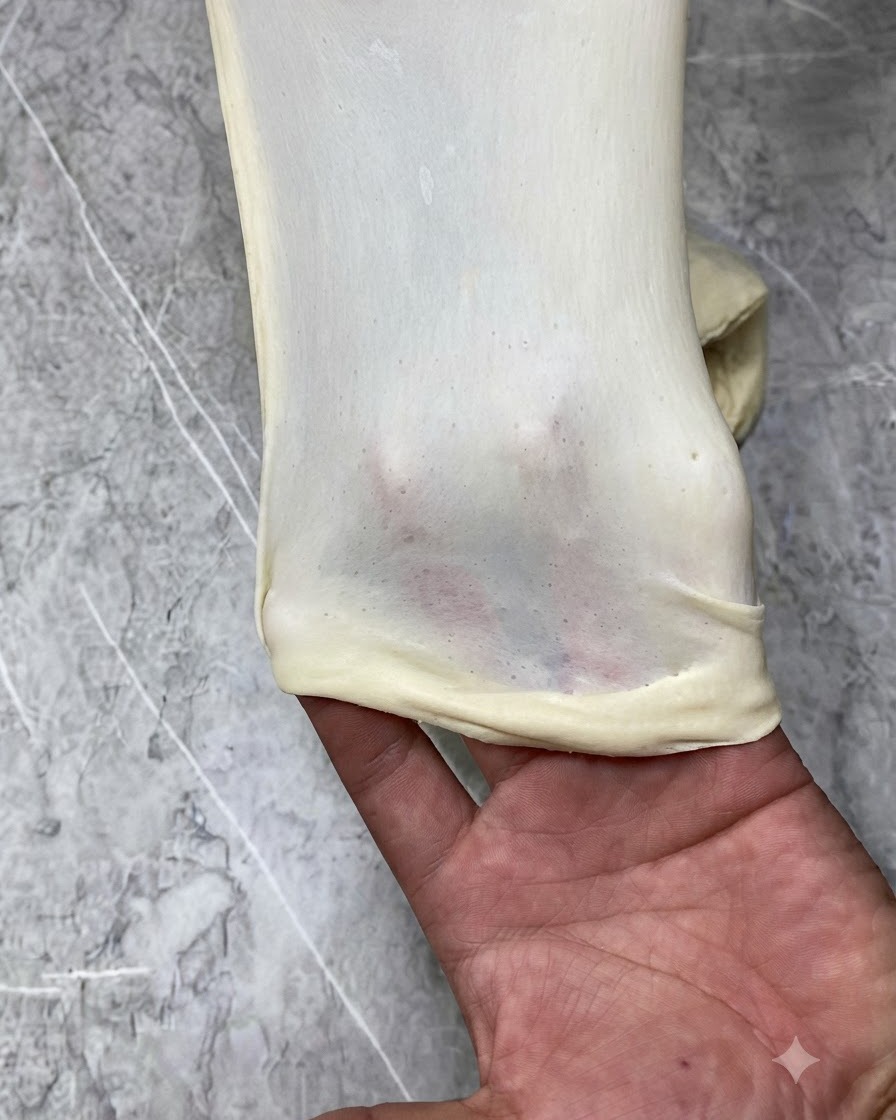
Continue beating the dough after adding butter until it reaches a glove membrane state, showing high elasticity when stretched.
Tip: The glove membrane state ensures the bread will have a soft and fluffy texture after baking. - 4Divide and Shape Dough Portions
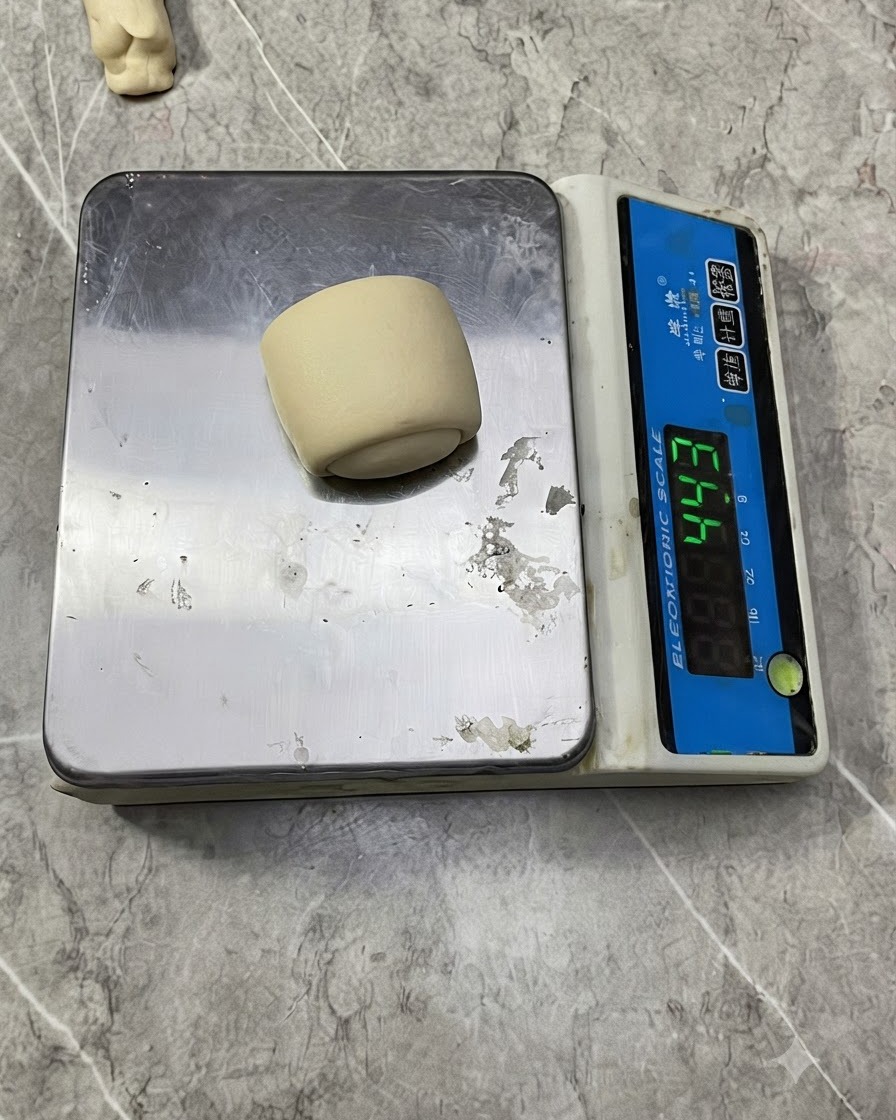
Perform division of the dough into 40-gram pieces, rolling each piece into a small, smooth round ball.
Tip: Weigh each portion accurately to ensure even cooking and uniform size. - 5Fill and Seal Dough Balls
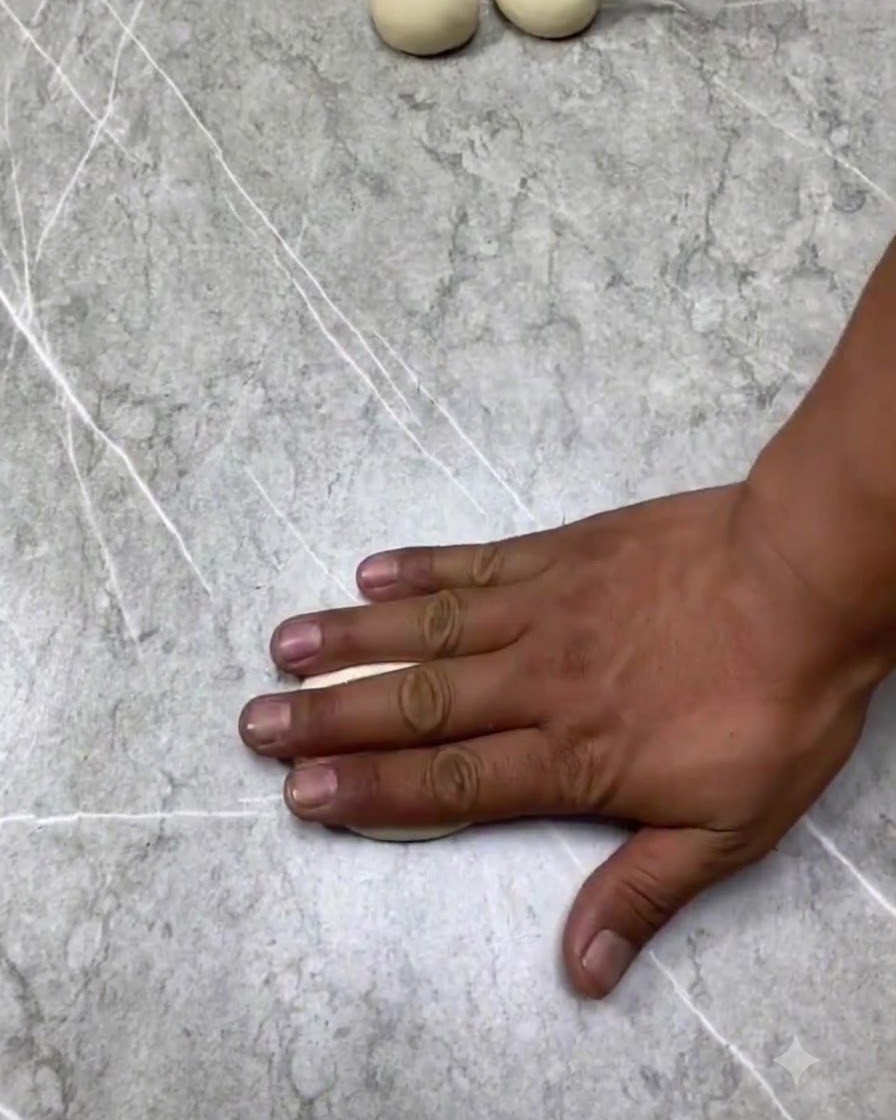
After resting the relaxed dough pieces, flatten them, squeeze 5 grams of butter into the center, wrap tightly, and pinch shut to seal.
Tip: Pinch the edges securely to prevent the butter filling from leaking out during the frying process. - 6Coat with Breadcrumbs
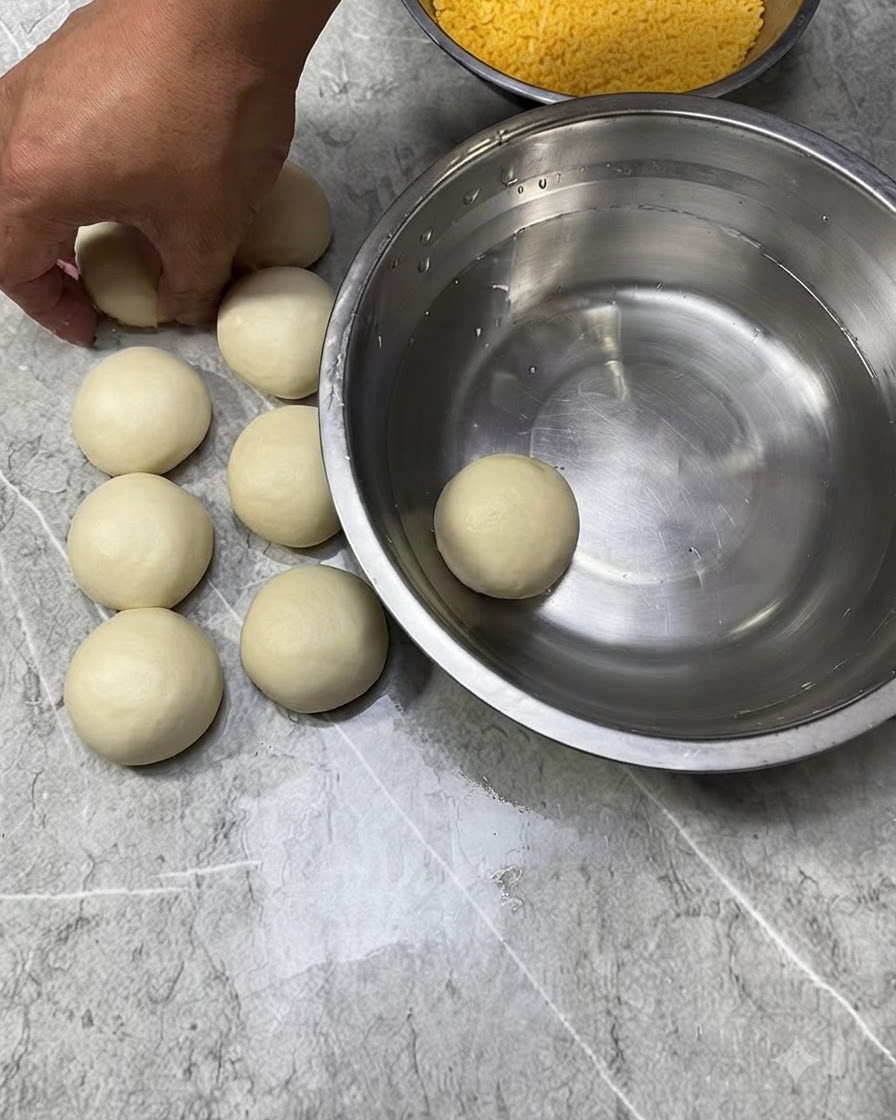
Give the little burgers a bath to wet all skin surfaces, take them out, place them into a basin filled with breadcrumbs, and shake to coat with an even layer of breadcrumbs.
Tip: Ensure the surface is thoroughly wet so the breadcrumbs adhere evenly across the entire dough ball. - 7Arrange and Ferment Dough Balls
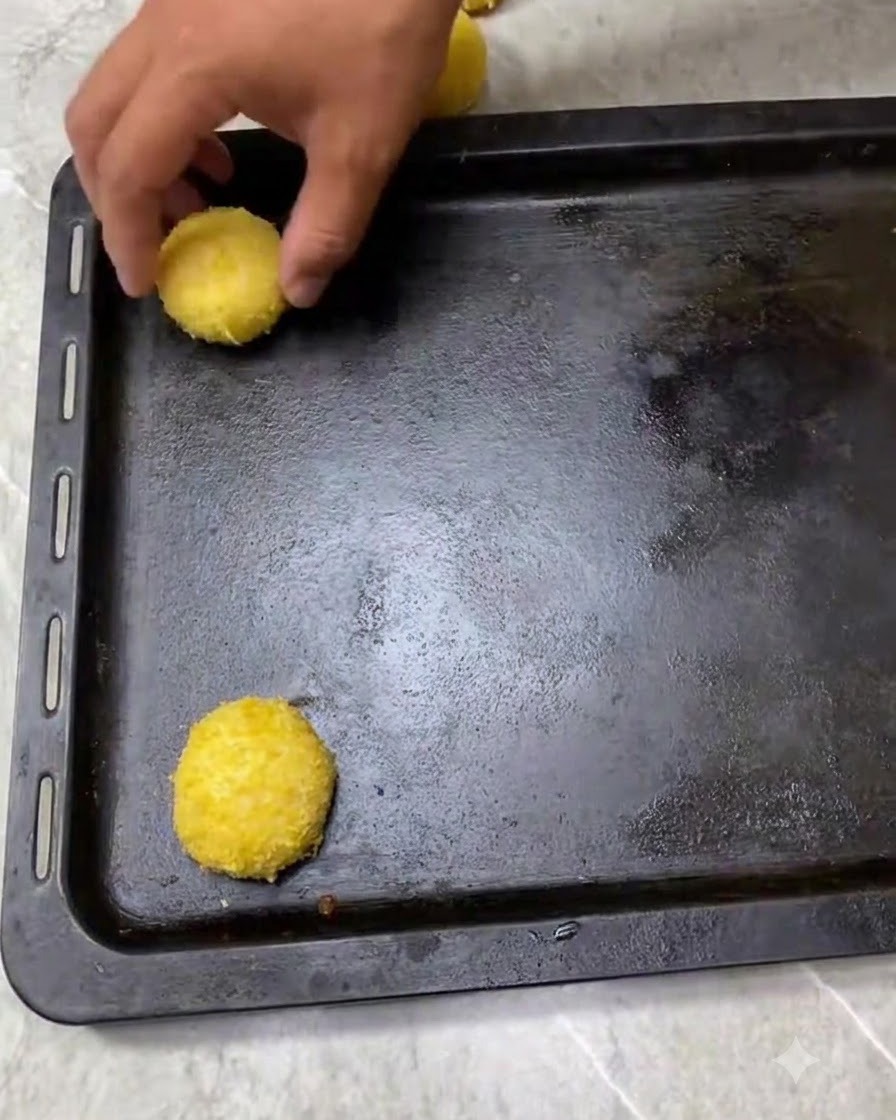
Place the breadcrumb-coated dough balls onto a baking tray and let them ferment until they expand to 1.5 times their original size.
Tip: Ensure there is enough space between each ball to allow for even expansion during fermentation. - 8Fry the Dough Balls
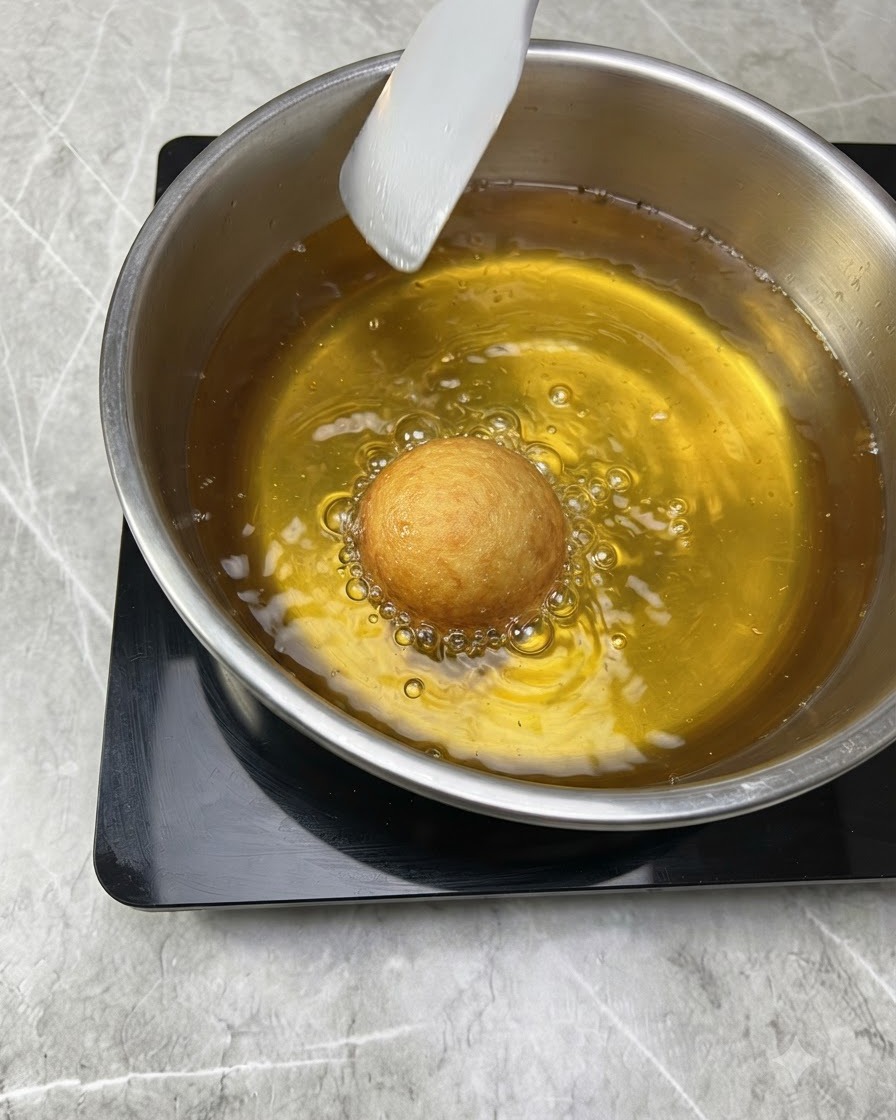
Heat oil in a pot to 170 degrees until it shows steady bubbles without smoke, then place the fermented dough balls in and fry until both sides turn golden yellow before removing.
Tip: Maintain the oil temperature carefully to prevent the crust from burning before the inside cooks through. - 9Create Filling Openings
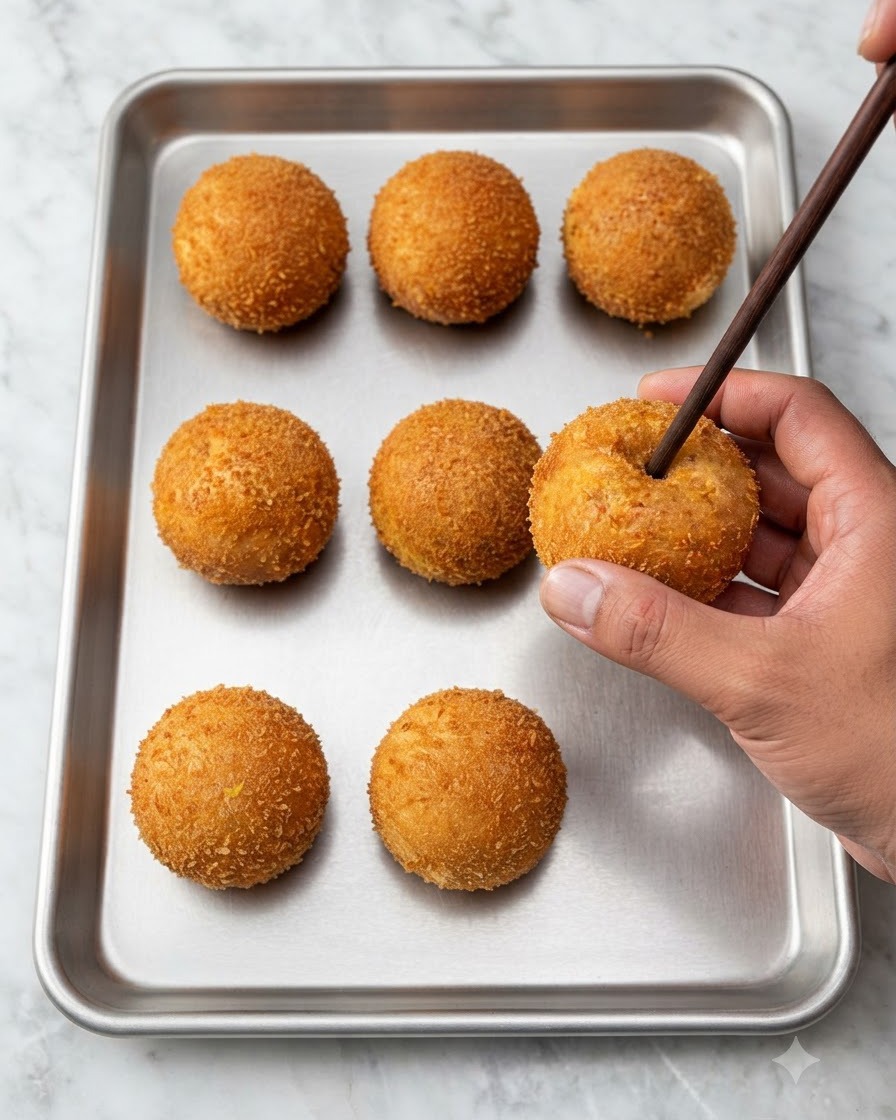
Allow the fried buns to cool down completely, then use a chopstick to poke a few small holes in the middle of each bun to prepare for filling.
Tip: Wait until the buns are cooled so they hold their shape firmly while being poked. - 10Fill with Lava Cream
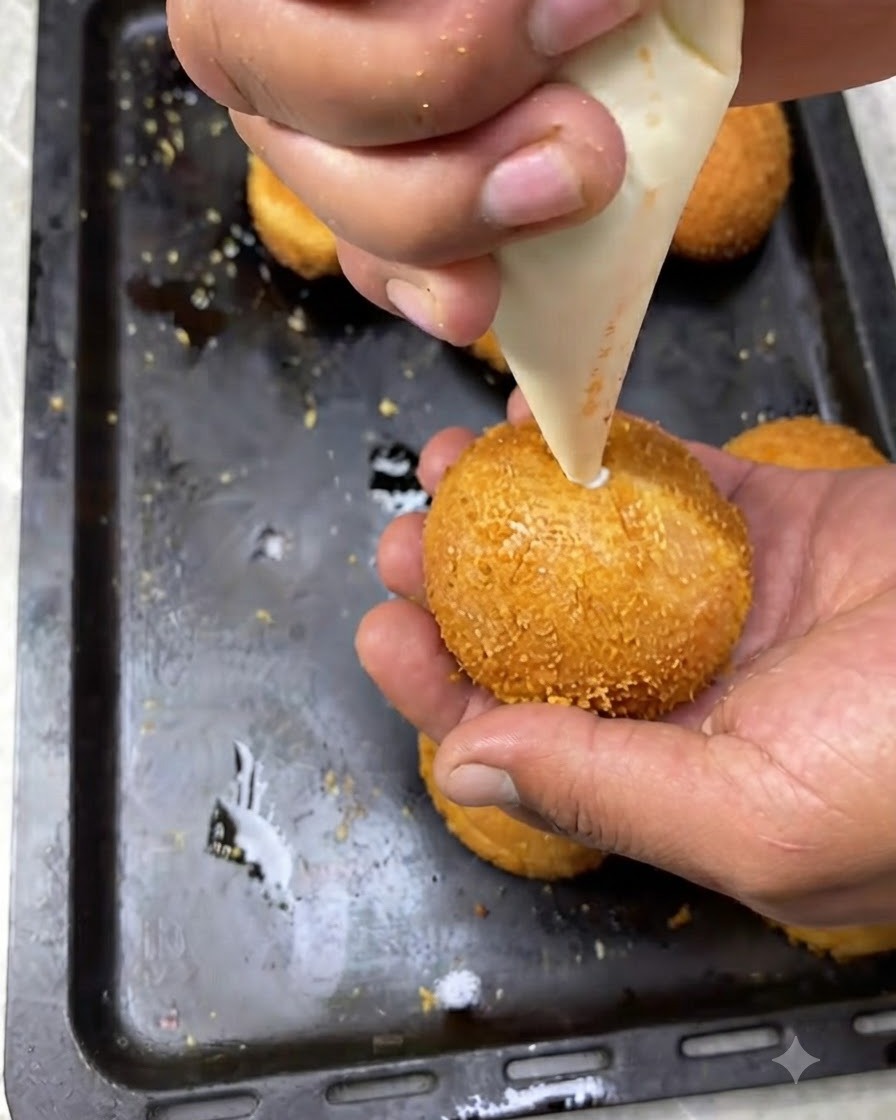
Insert a piping bag filled with the lava filling into the prepared hole of each cooled fried burger and squeeze the cream inside to finish.
Tip: Fill gently so the creamy filling incorporates smoothly without splitting the fried crust.