Spicy Noodle Fried Chicken Burger
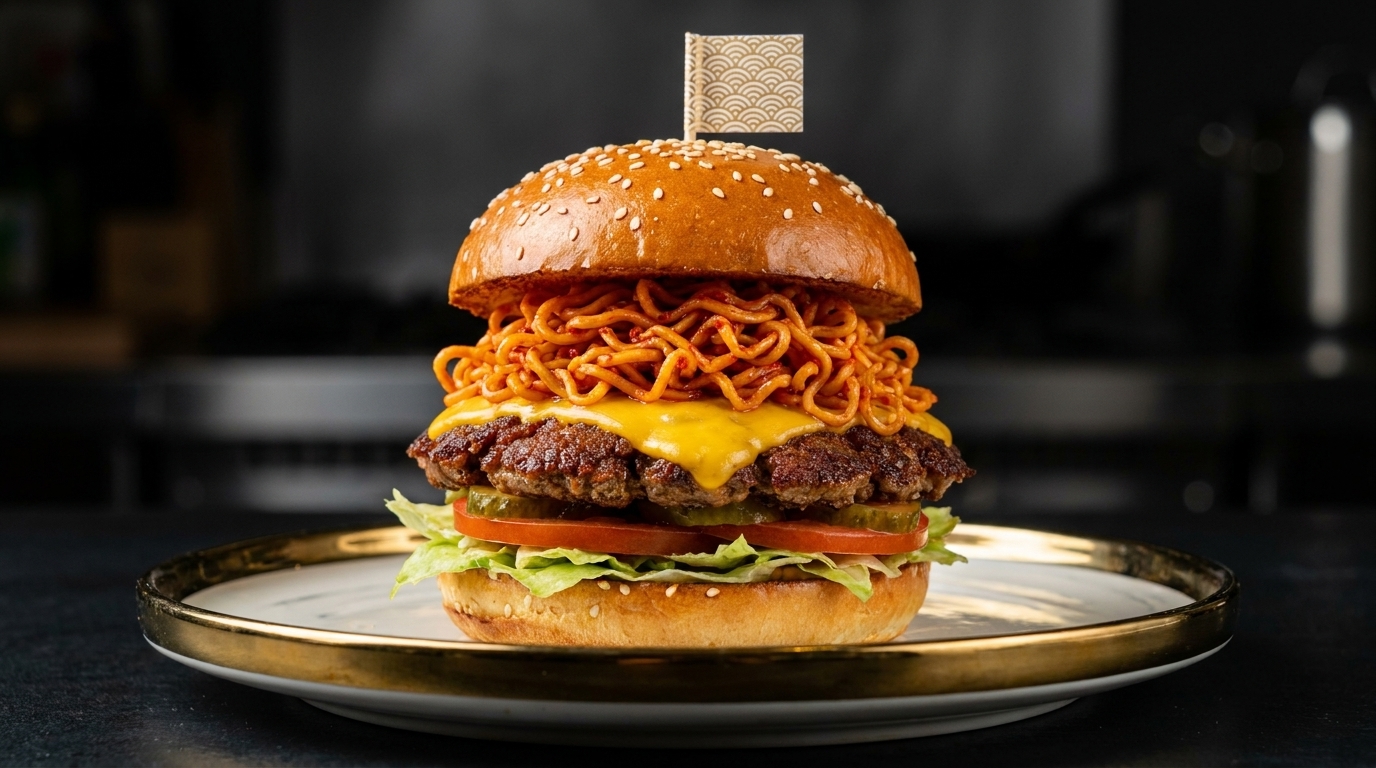
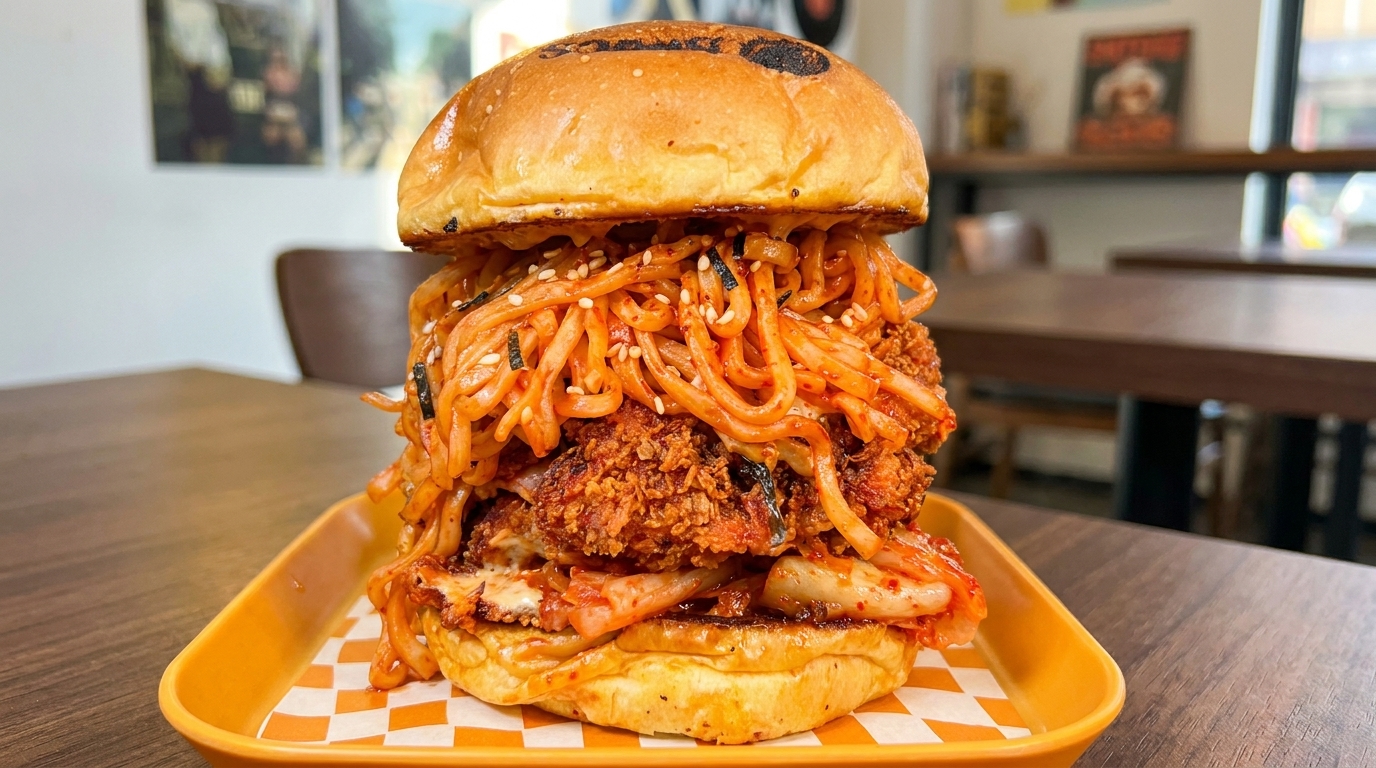
Experience the ultimate fusion burger: a crispy, cheese-stuffed fried chicken patty topped with vibrant kimchi and a mountain of spicy Korean-style noodles.
This Spicy Noodle Fried Chicken Burger is a bold, maximalist creation that pushes the boundaries of comfort food. By combining the satisfying crunch of a deep-fried, cheese-encased chicken breast with the punchy, acidic heat of kimchi and chewy, saucy spicy noodles, it offers a layered experience of texture and flavor that is as impressive as it is delicious.
Ingredients
- 1 whole chicken breast
- 2 slices cheese
- 1 pack spicy instant noodles
- 1 cup kimchi
- 2 g salt
- 2 g onion powder
- 2 g black pepper powder
- 3 g chili powder
- 5 g light soy sauce
- 5 g oyster sauce
- 2 g honey
- as needed starch
- 1 egg
- as needed breadcrumbs
- 1 burger bun
- to taste secret sauce
Instructions
- 1Trim the chicken breast
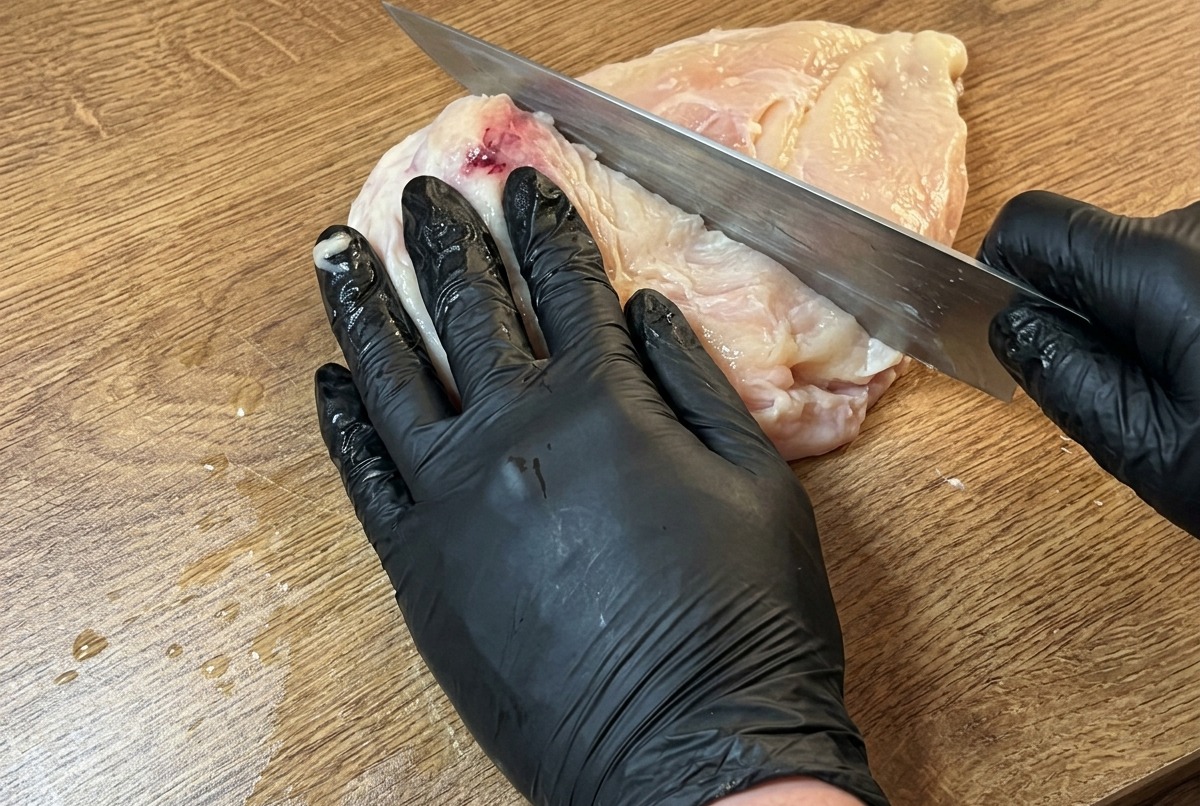
Place the raw chicken breast on a cutting board. Use a sharp knife to carefully remove any fascia and visible fat from the surface of the meat to ensure a smooth texture.
Tip: Keep your knife angled slightly to cleanly lift and remove the silver skin without wasting too much meat. - 2Wash the chicken breast
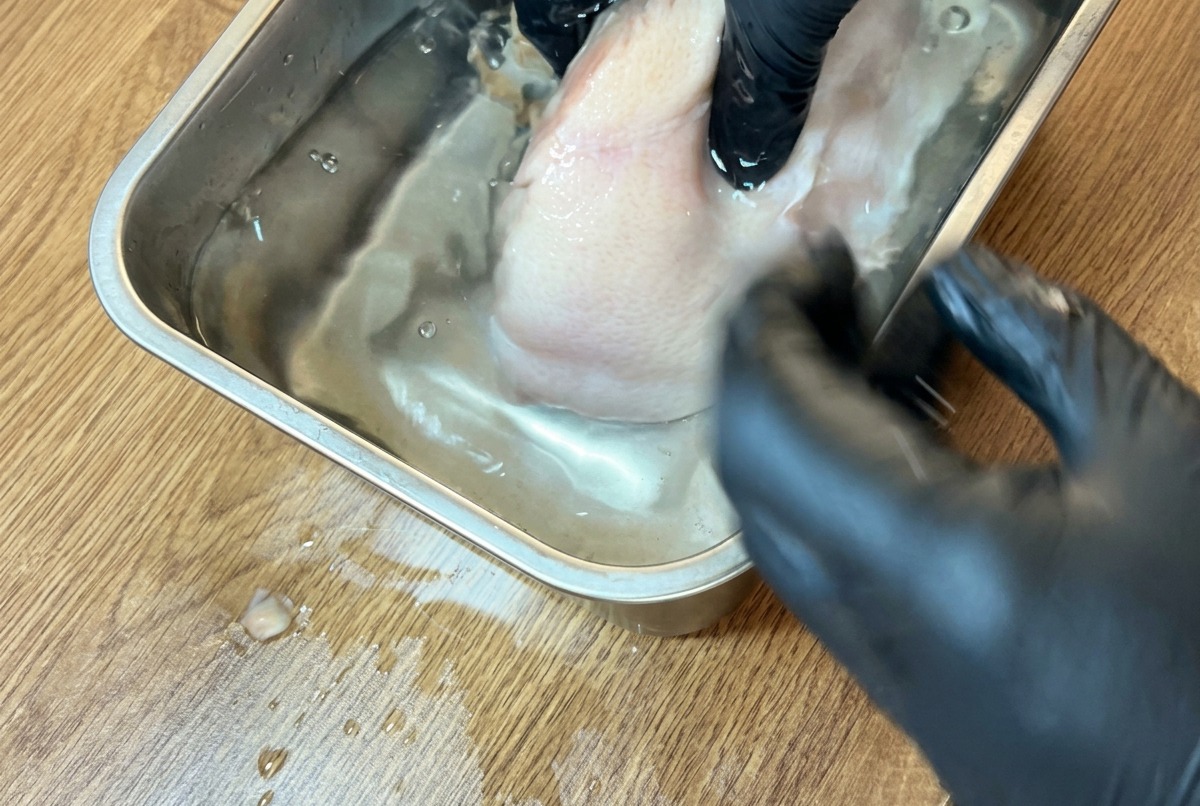
Prepare a bowl or metal pan filled with clear water. Submerge the chicken breast, gently washing both the front and back sides to ensure it is clean before preparation.
Tip: Ensure the water is clean and fresh; change it if it becomes cloudy during the washing process. - 3Pat dry
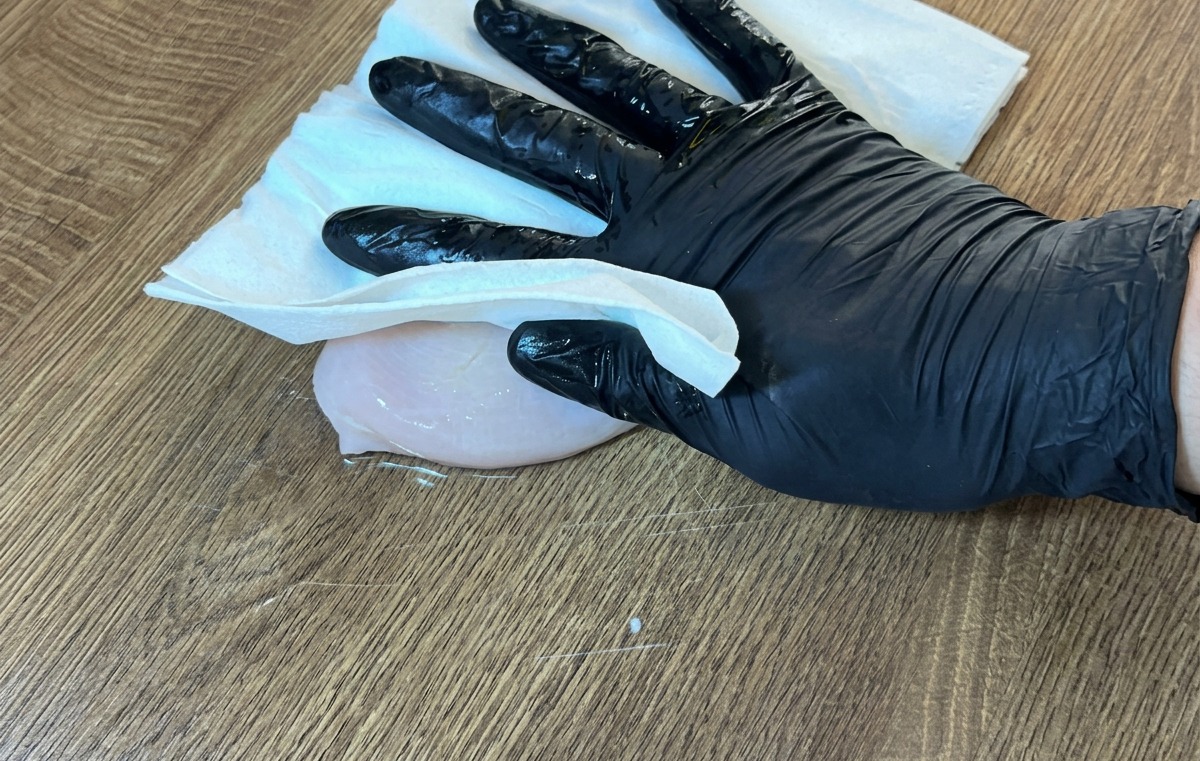
Remove the chicken breast from the water and place it on a clean surface. Use a paper towel to pat both sides dry thoroughly, which helps in seasoning and cooking properly.
Tip: Removing excess moisture is crucial to ensure the seasonings adhere well to the chicken surface. - 4Butterfly the chicken
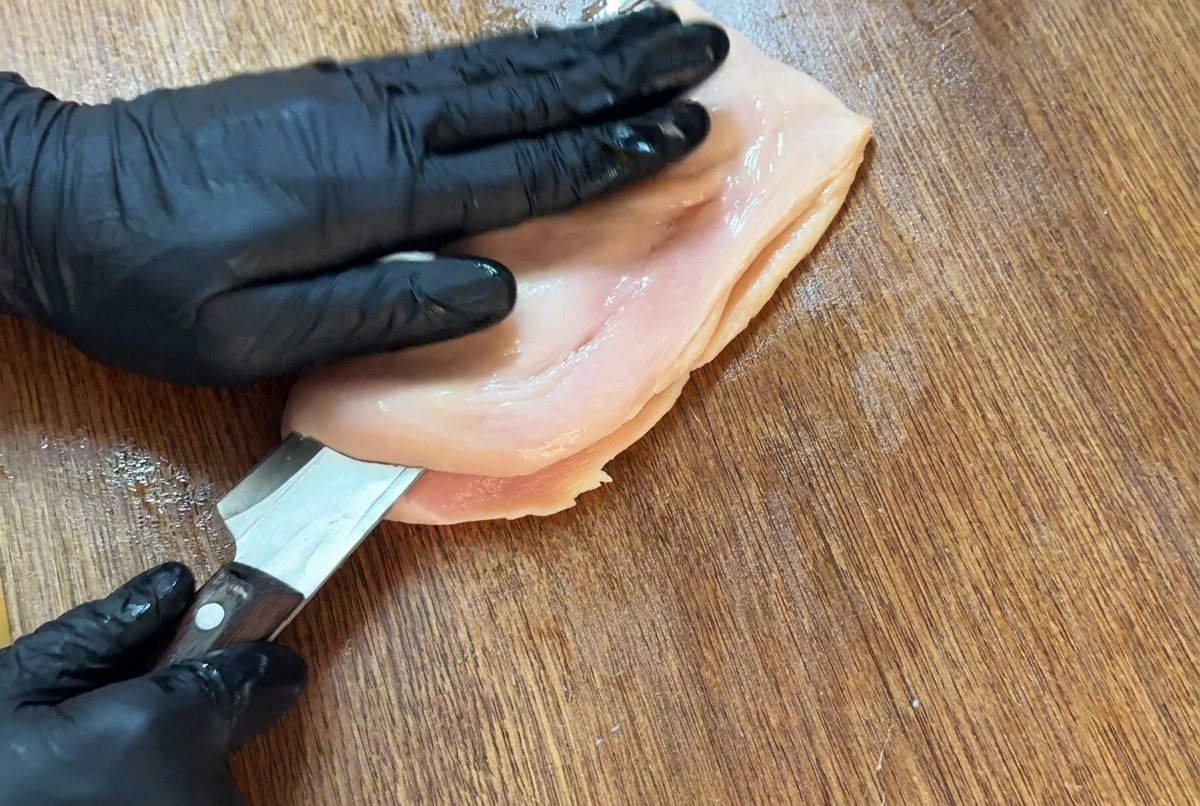
Using a sharp knife, slice the chicken breast horizontally through the middle, stopping just before the edge to open it up like a book. This creates a larger, thinner surface area.
Tip: Keep your non-cutting hand flat and steady on top of the chicken to ensure an even slice. - 5Flatten and tenderize
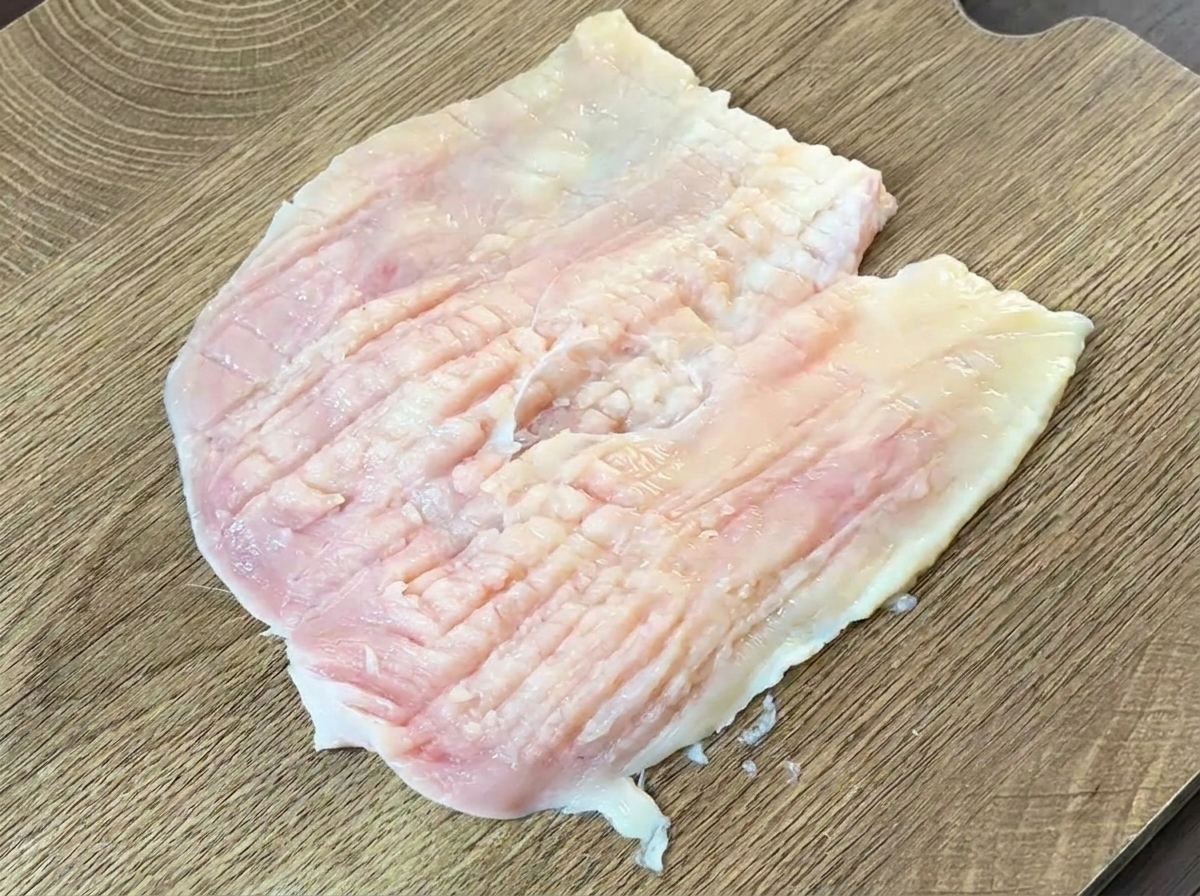
Once butterflied, flatten the chicken breast. Use the heavy back edge of your knife to gently pound and tenderize the meat, which helps it absorb flavors and cook evenly.
Tip: Apply firm but controlled taps; you want to tenderize the fibers without tearing the meat apart. - 6Season the chicken
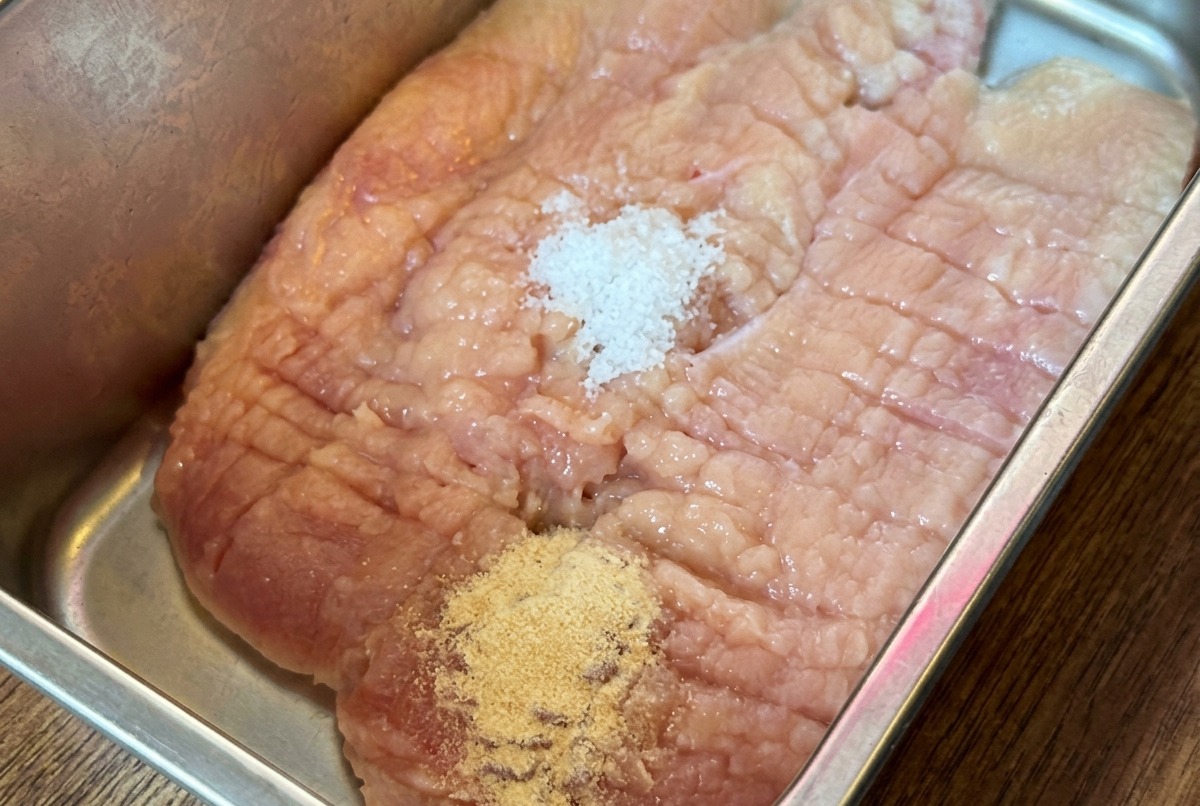
Place the prepared chicken in a tray. Evenly sprinkle 2 grams of salt, 2 grams of onion powder, 2 grams of black pepper, and 3 grams of chili powder over the meat. Add 5 grams of light soy sauce, 5 grams of oyster sauce, and 2 grams of honey.
Tip: Massage the seasonings into the meat thoroughly to ensure deep flavor penetration before chilling. - 7Season the chicken breast
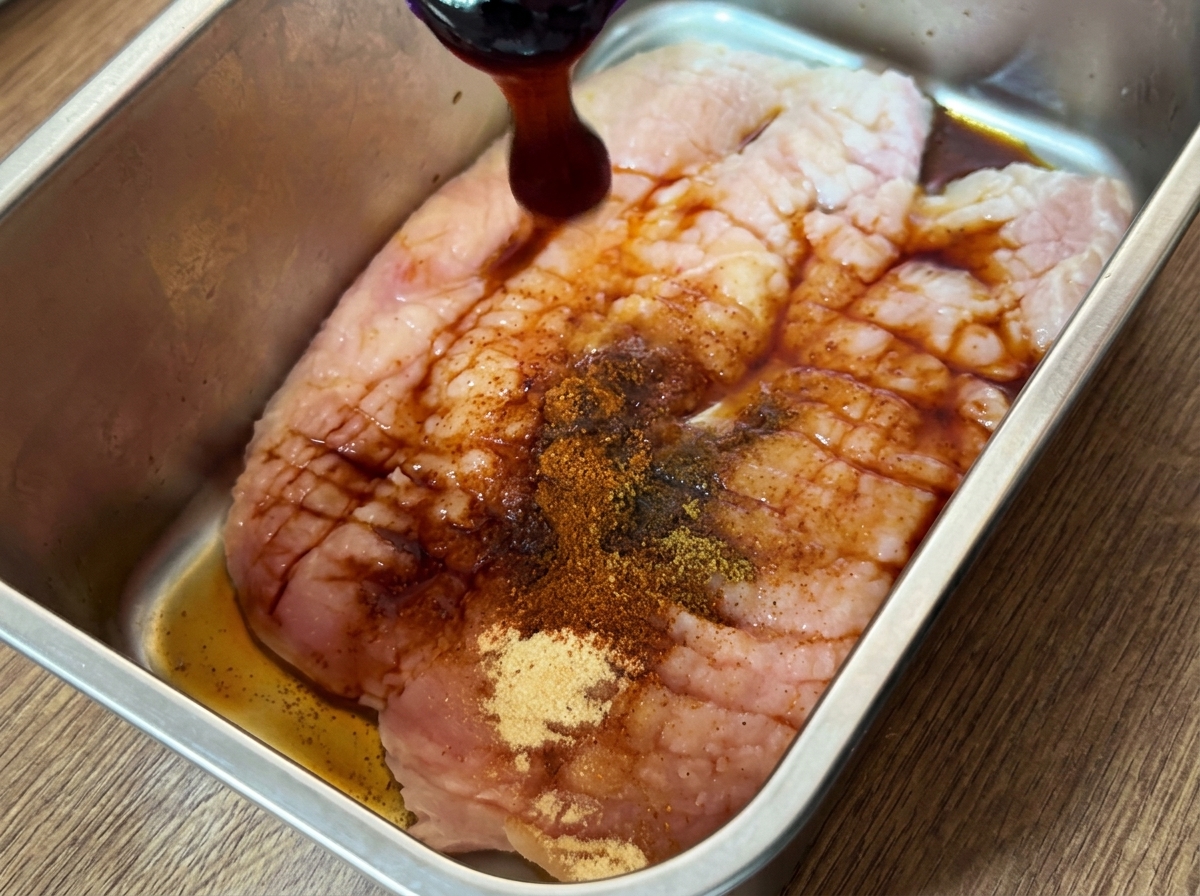
Place the butterflied and tenderized chicken breast in a container. Add refined salt, onion powder, black pepper powder, chili powder, light soy sauce, oyster sauce, and honey to the meat.
Tip: Ensure the chicken is thoroughly patted dry with paper towels before seasoning so it absorbs the flavors better. - 8Marinate the chicken
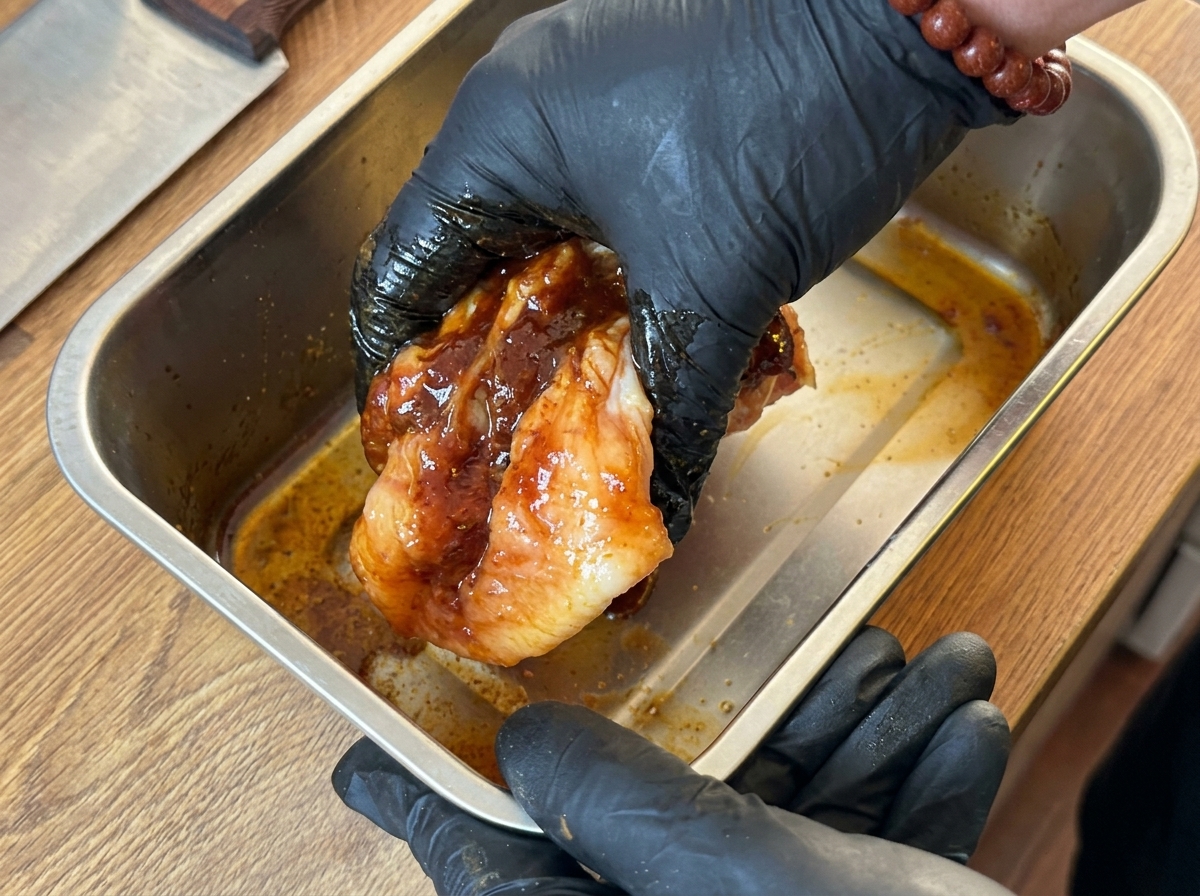
Using gloved hands, thoroughly massage the sauces and spices into the chicken breast to ensure even coverage. Cover the container with plastic wrap and let it chill in the refrigerator for two hours.
Tip: Marinating for at least two hours is crucial for the chicken to become flavorful and tender. - 9Chill the marinated chicken
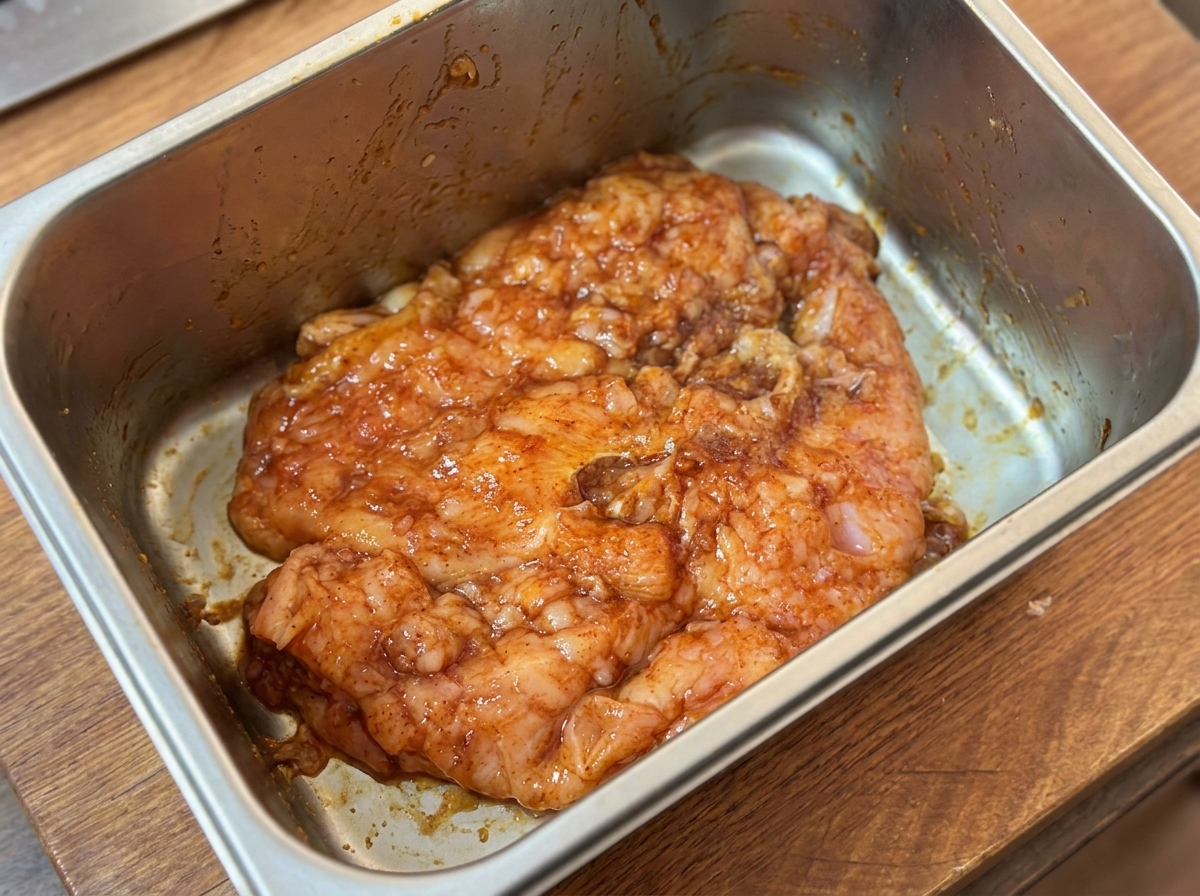
Seal the container of marinated chicken with plastic wrap. Place it in the refrigerator for two hours to allow the flavors to penetrate the meat.
Tip: Tightly sealing the container prevents the marinade from drying out and keeps the fridge organized. - 10Add cheese filling
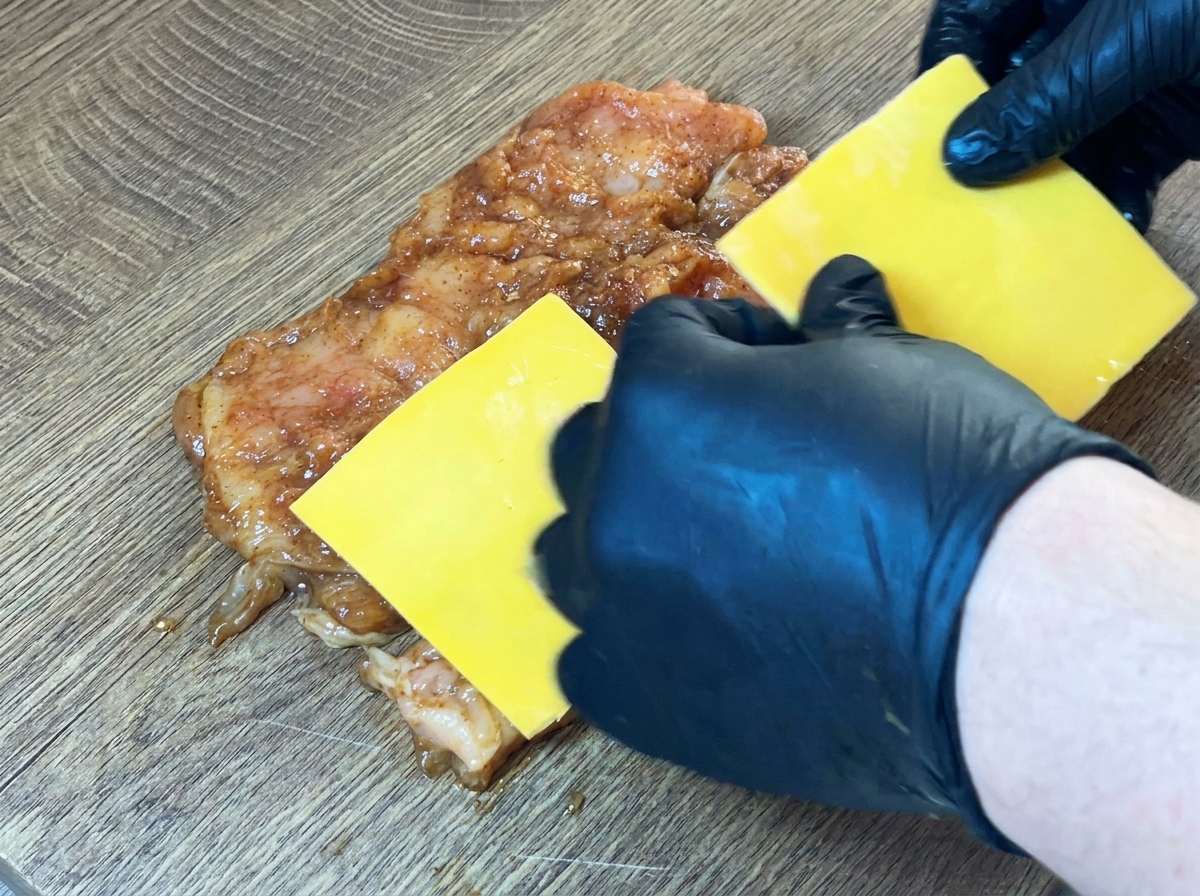
Remove the marinated chicken from the fridge and lay it out flat. Place two slices of cheese in the center of the meat.
Tip: Make sure the cheese slices are centered to allow for easier folding and sealing of the chicken. - 11Fold the chicken
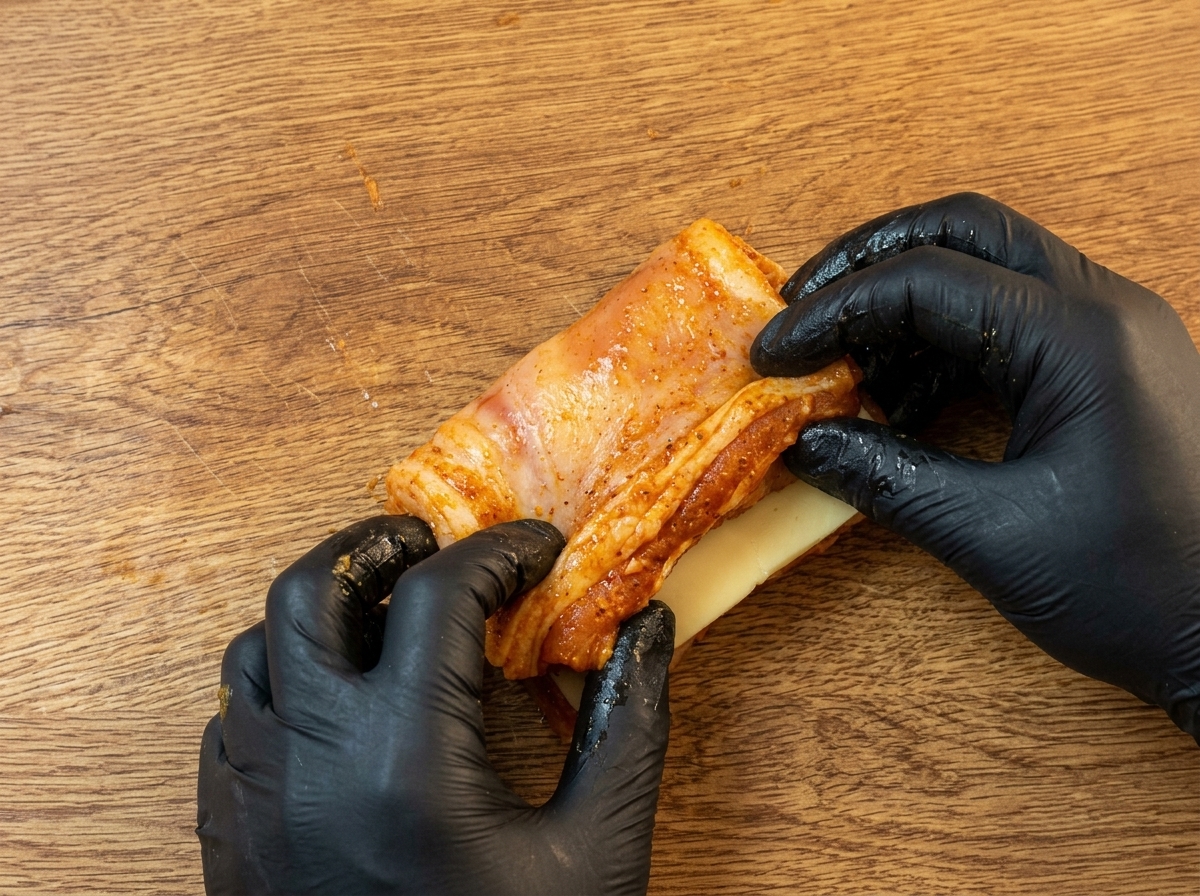
Carefully fold the chicken breast in half, ensuring the cheese slices are completely enclosed within the meat to prevent leaking during frying.
Tip: Ensure the edges are tucked well to keep the cheese inside while cooking. - 12Coat with starch
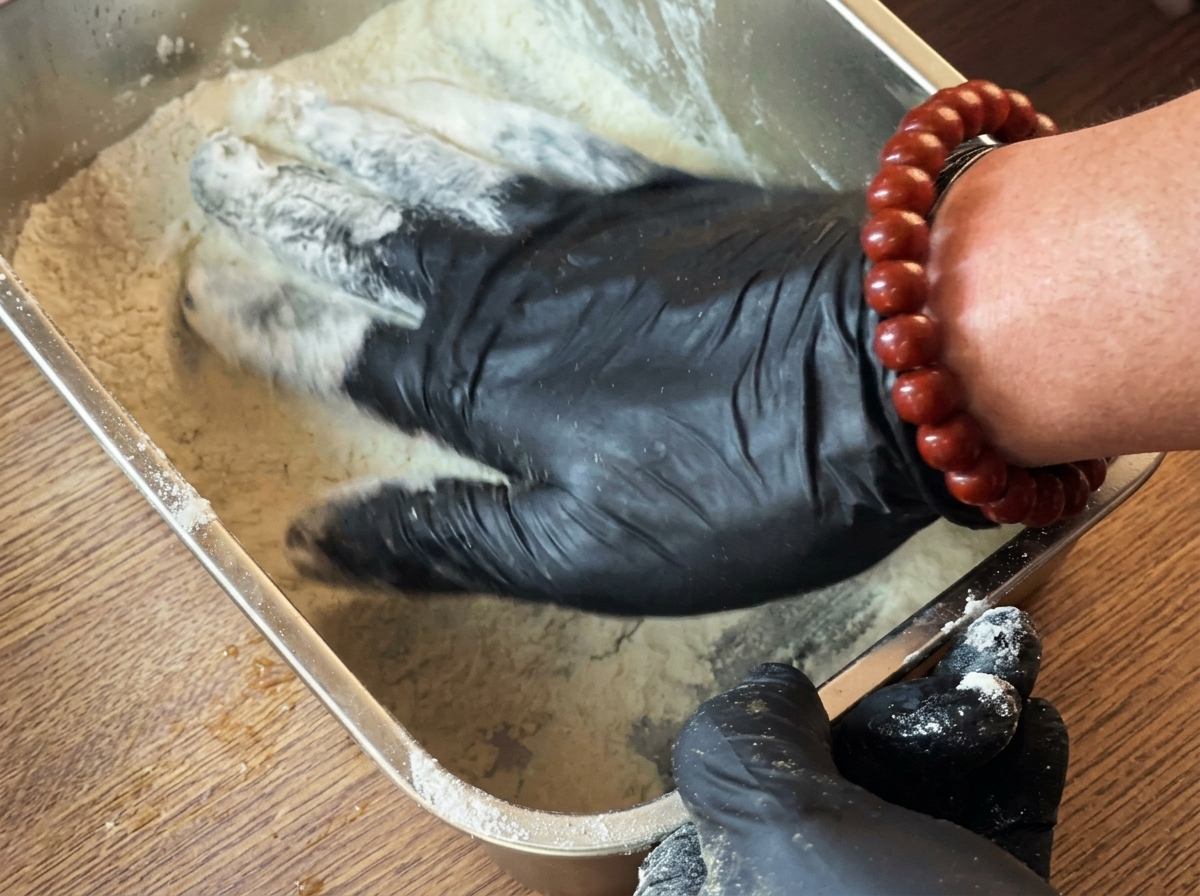
Take the stuffed chicken breast and coat it thoroughly with a layer of starch. This will help create a crispy exterior once fried.
Tip: Shake off any excess starch to ensure an even, thin coating before dipping in egg wash. - 13Egg wash coating
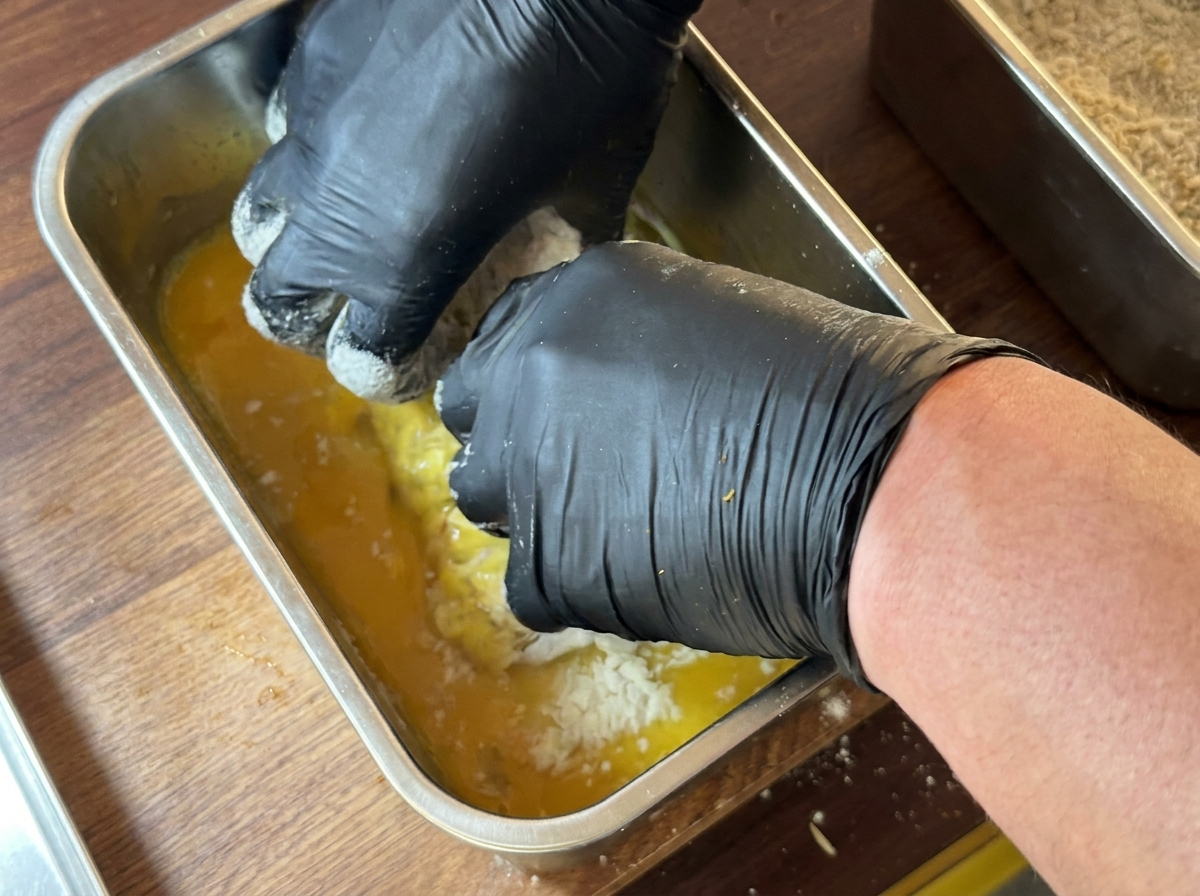
Take the starch-coated chicken breast and dip it thoroughly into the prepared yellow egg wash mixture. Ensure every part of the chicken is evenly coated with the egg wash to help the breadcrumbs adhere perfectly in the next step.
Tip: Make sure to coat the meat evenly for a consistent fried texture. - 14Bread the chicken
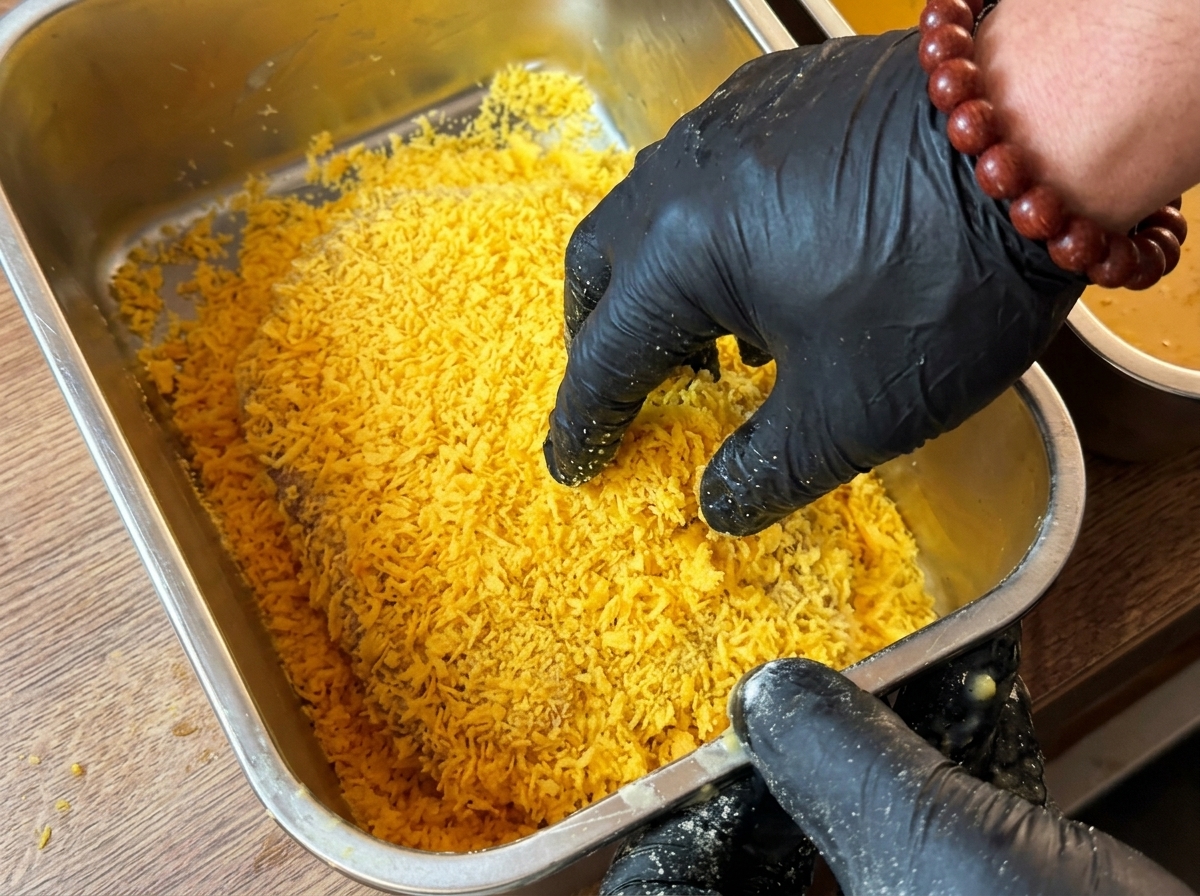
Take the chicken breast that has been coated in starch and egg wash, and press it firmly into a tray of breadcrumbs to ensure an even, thick layer on all sides.
Tip: Press the breadcrumbs into the meat to help them adhere better during frying. - 15Fry the chicken
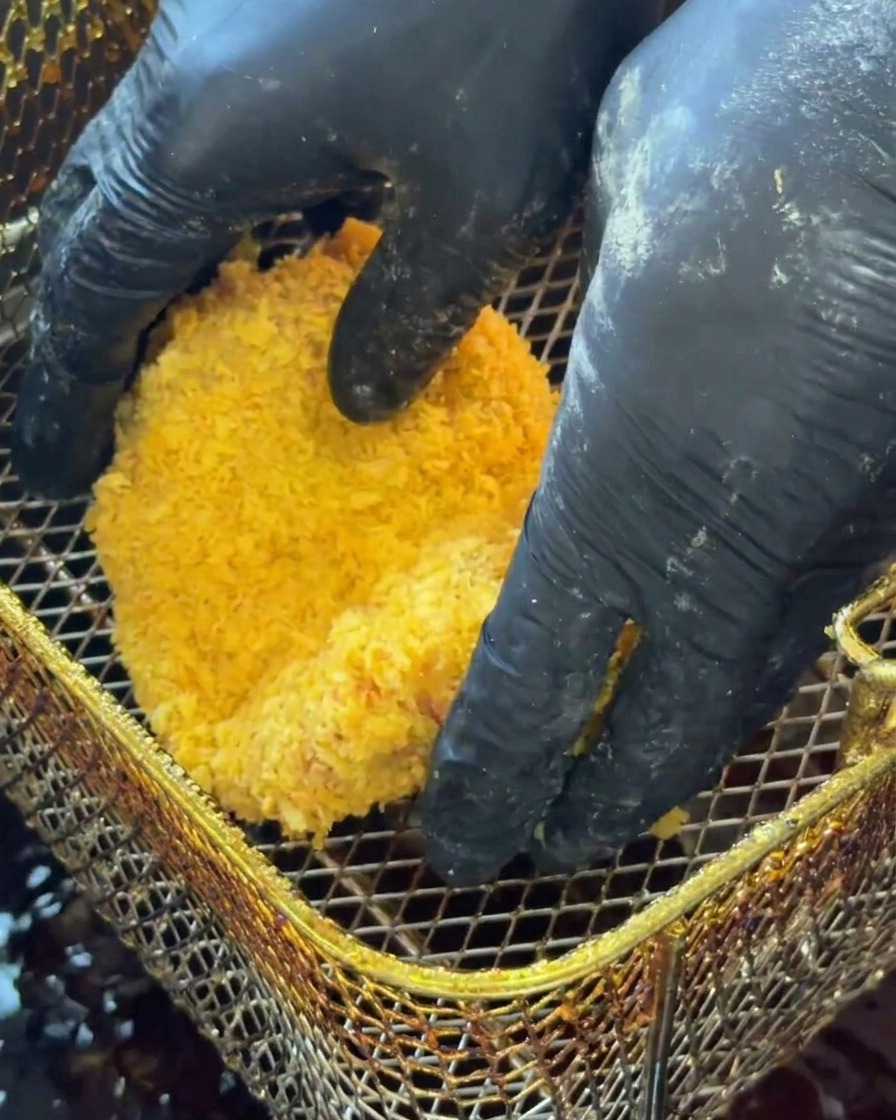
Carefully lower the breaded chicken patty into the hot frying oil. Deep fry at 200 degrees for 3 minutes, then reduce the heat to 120 degrees and continue frying for 7 minutes until the exterior is perfectly golden brown.
Tip: Maintain a consistent oil temperature for the best crispy texture. - 16Deep fry the chicken
Ensure the chicken patty is completely submerged in the hot oil. Fry until both sides reach a beautiful golden brown color.
Tip: Keep an eye on the oil level to ensure the chicken cooks evenly throughout. - 17Remove and drain the chicken
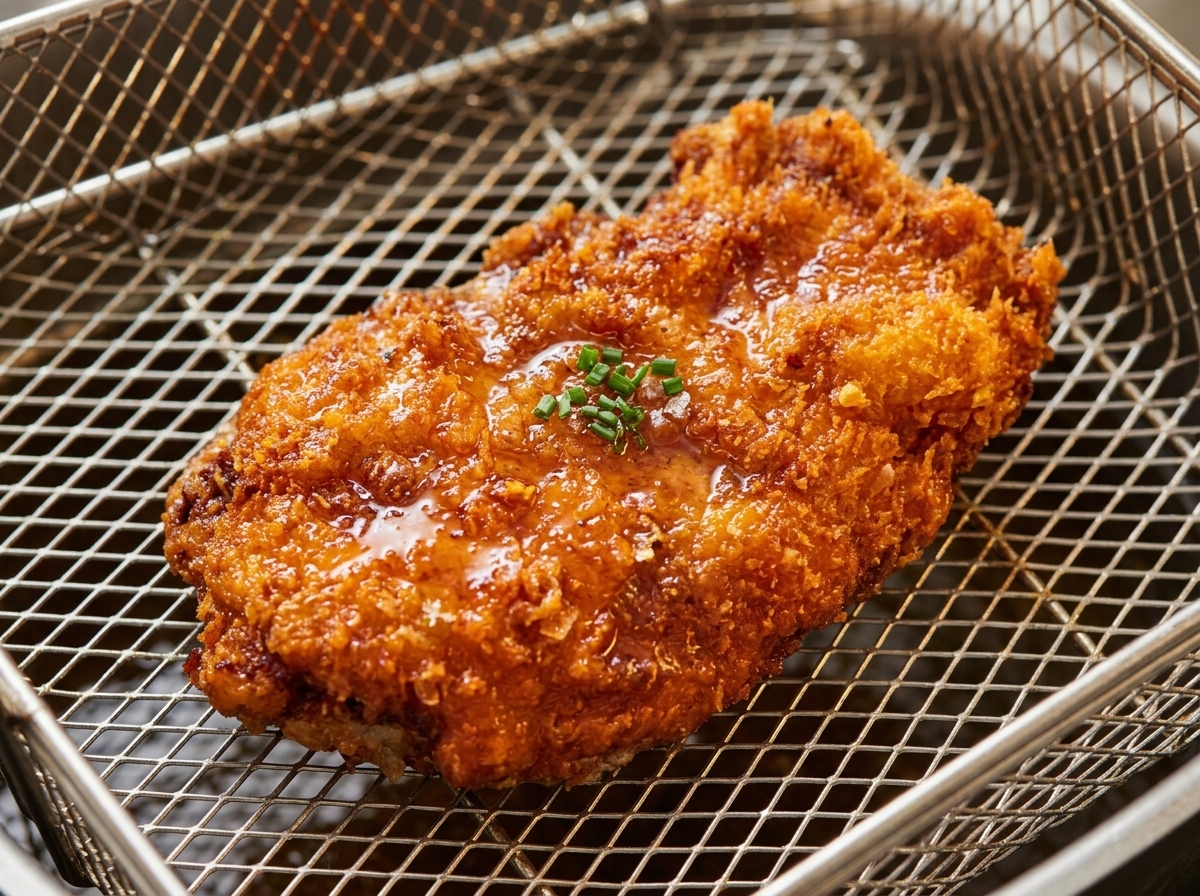
Once the chicken is perfectly golden brown and crispy, carefully lift it out of the oil and set it aside to drain any excess oil.
Tip: Letting the chicken rest for a moment on a wire rack keeps it crispy. - 18Prepare the bun
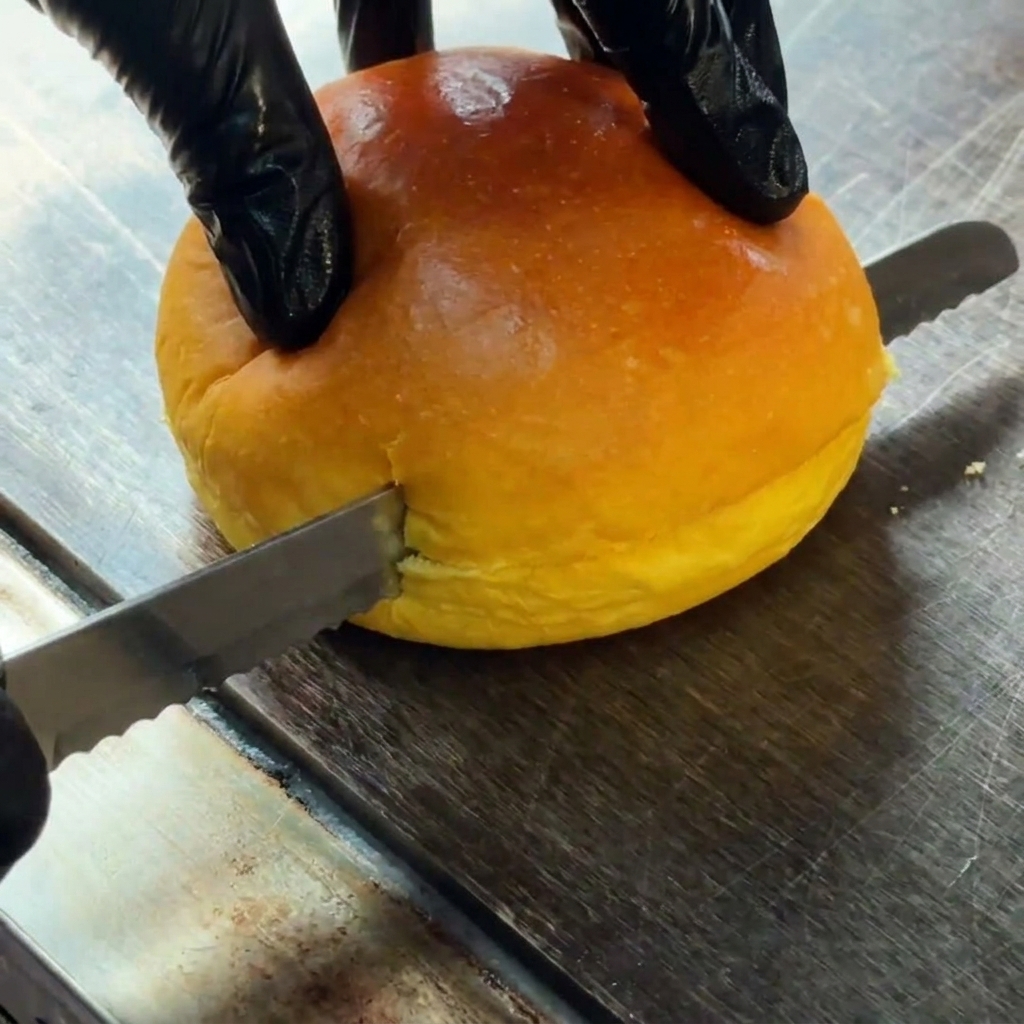
Using a bread knife, carefully slice a smooth, round burger bun in half horizontally. You can then pan-fry the buns until they have a crispy crust.
Tip: A quick pan-fry gives the bun a nice texture that holds up well to the sauce. - 19Toast the burger bun
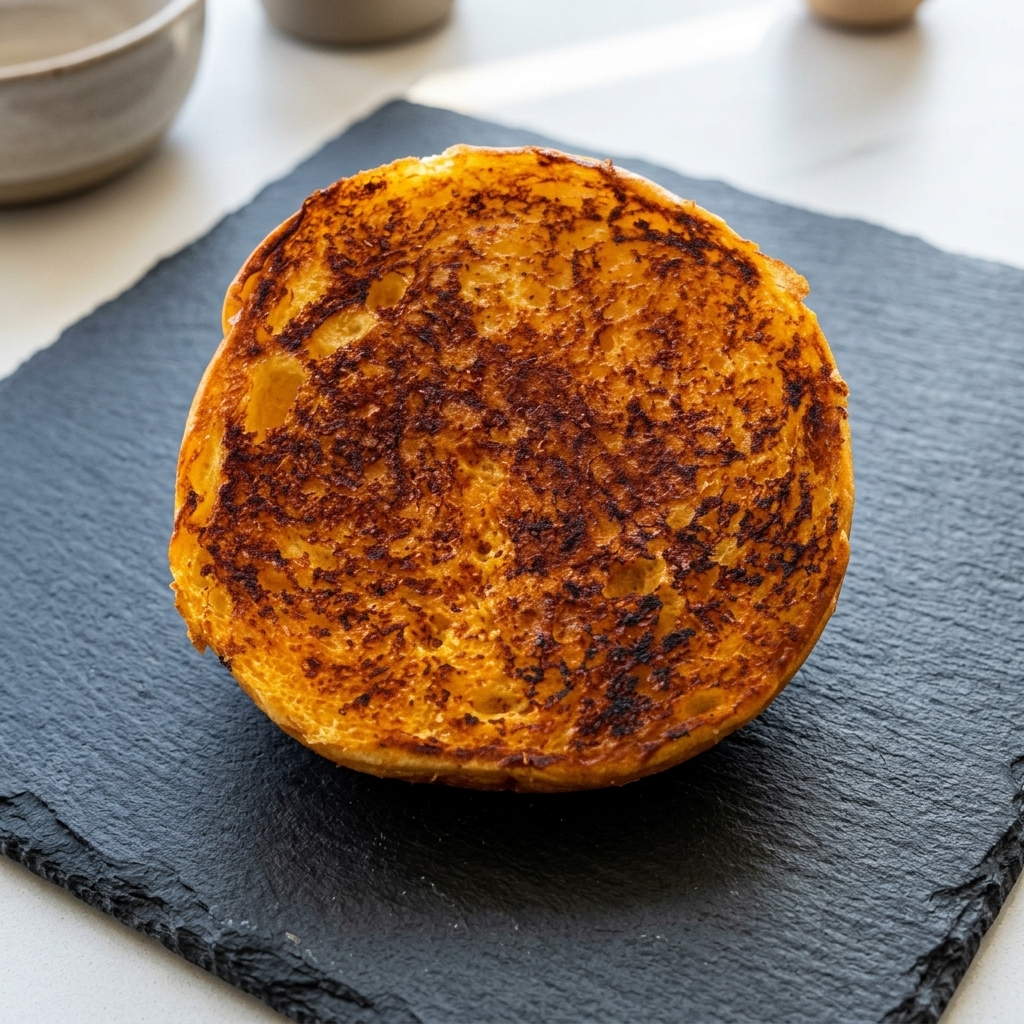
Pan-fry the bottom half of the burger bun until the inside surface develops a deep, golden-brown crust. This toasted layer adds a satisfying crunch and prevents the bread from becoming soggy when the sauce is applied.
Tip: A well-toasted bun creates a barrier that holds up much better to the juicy chicken and creamy sauce. - 20Spread the secret sauce
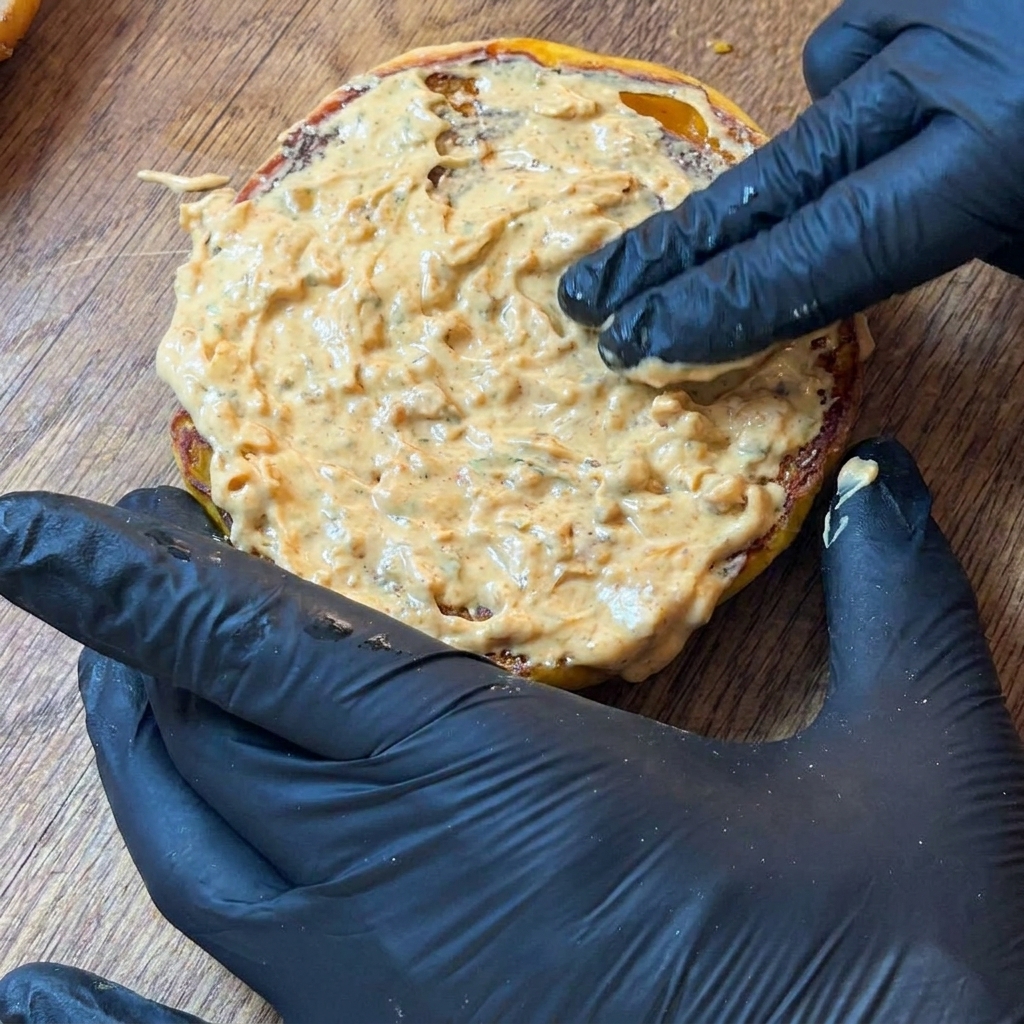
Apply a generous, thick layer of your secret creamy sauce over the toasted surface of the bottom bun. Use your hands or a utensil to spread it completely to the edges, ensuring flavor in every bite.
Tip: Make sure the sauce reaches all the way to the edges so the burger is perfectly seasoned throughout. - 21Slice the fried chicken
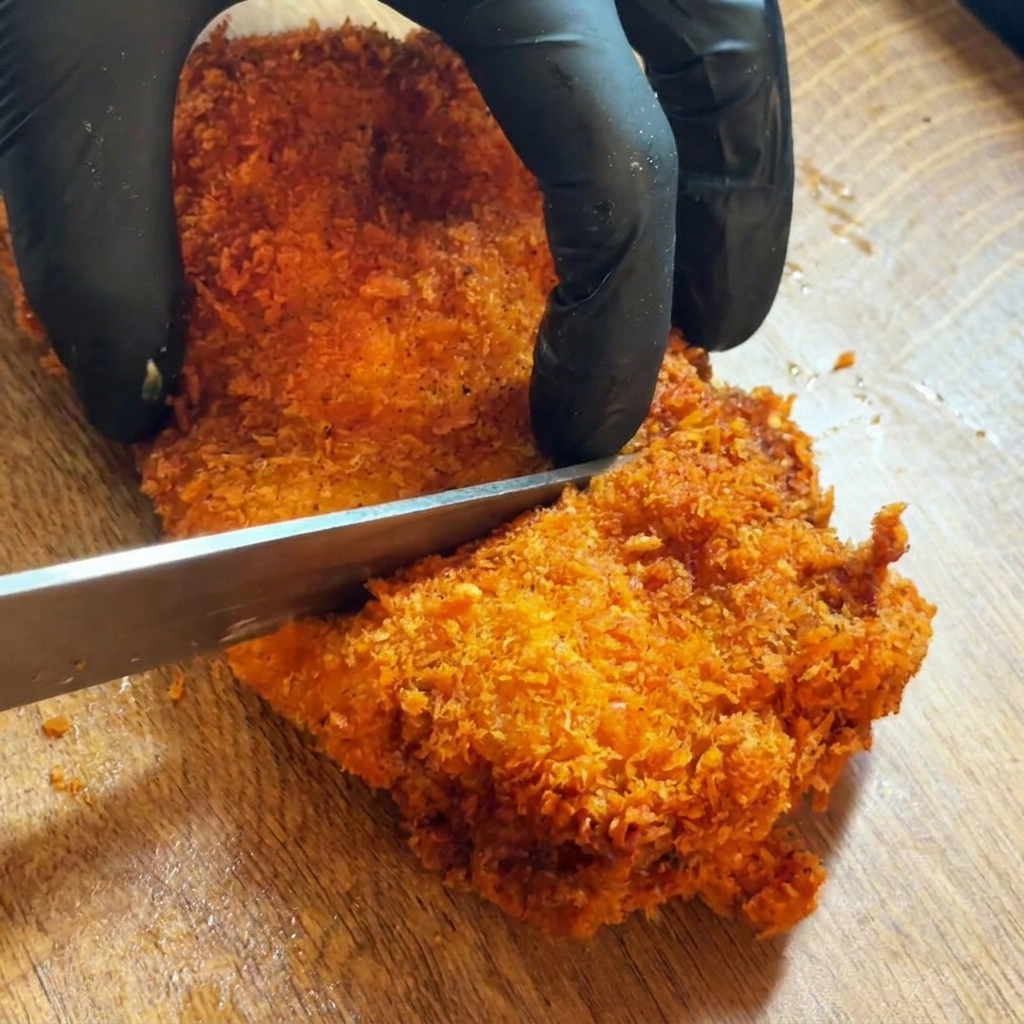
Take the freshly fried, crispy golden-brown chicken patty and use a sharp knife to carefully slice it completely in half. This makes the massive patty easier to stack and reveals the tender, juicy chicken and melted cheese inside.
Tip: Let the fried chicken rest for a minute before slicing to prevent the hot melted cheese from spilling out immediately. - 22Place the first chicken layer
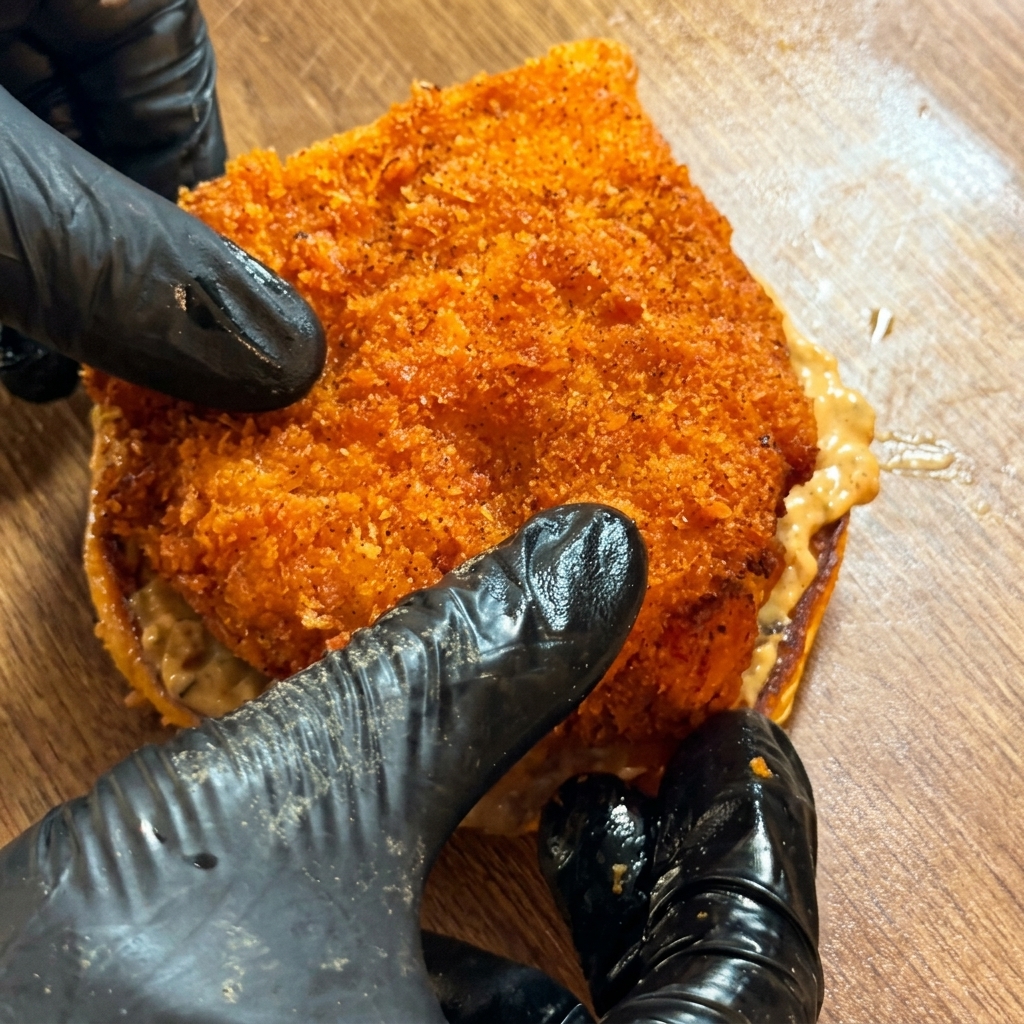
Carefully lift one half of the freshly sliced, crispy fried chicken patty and position it directly onto the sauce-covered bottom bun. Press it down gently to secure it into the sauce.
Tip: Align the crispy edges of the chicken with the edges of the bun to create a stable base for the rest of your toppings. - 23Add kimchi layer
Take the fried chicken patty and place a generous portion of homemade spicy cabbage kimchi directly on top. The acidity and spice of the kimchi cut through the richness of the fried chicken.
Tip: Drain excess liquid from the kimchi before adding it to the burger to keep the bun from getting soggy. - 24Assemble the burger layers
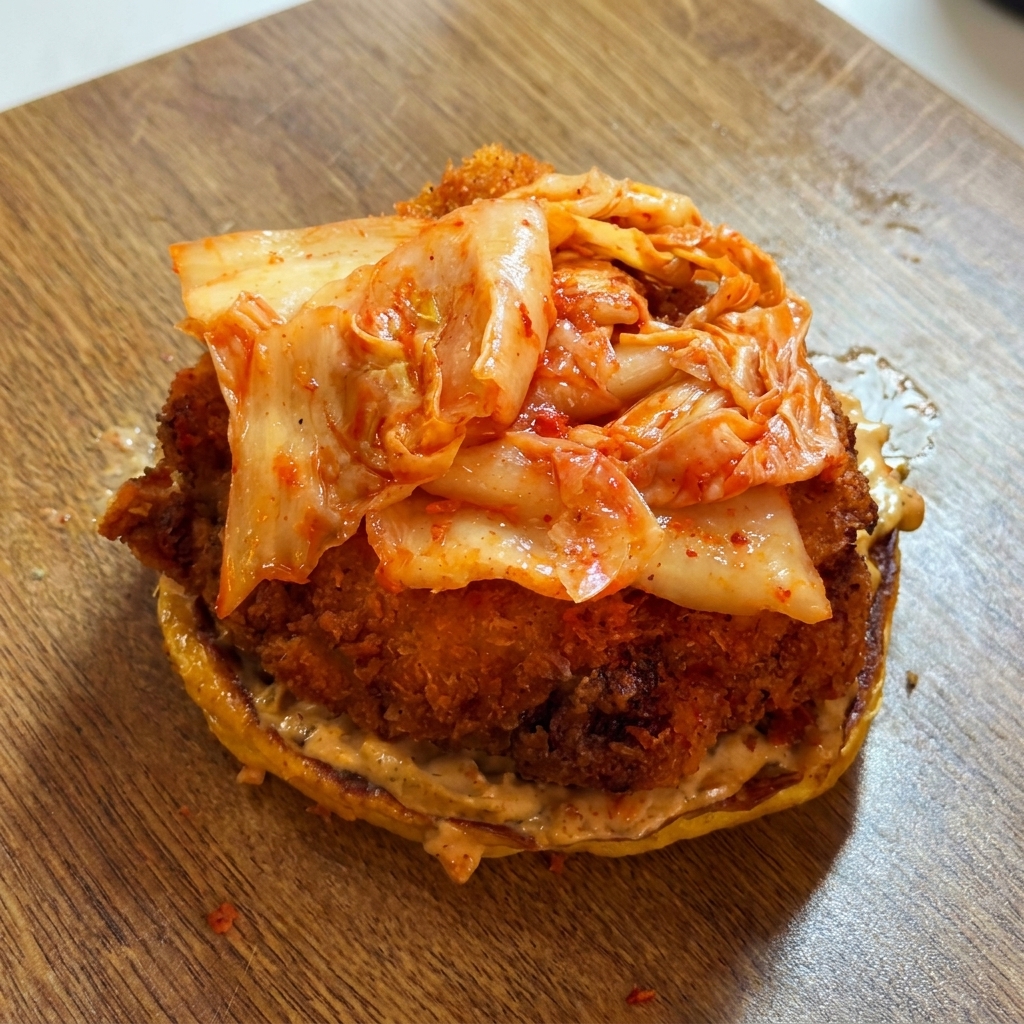
Place the second piece of fried chicken patty over the layer of spicy kimchi, creating a stacked structure for the burger. This layered approach ensures every bite is packed with texture and flavor.
Tip: Press down slightly on the stack to help the ingredients settle before adding the remaining toppings. - 25Add the secret sauce
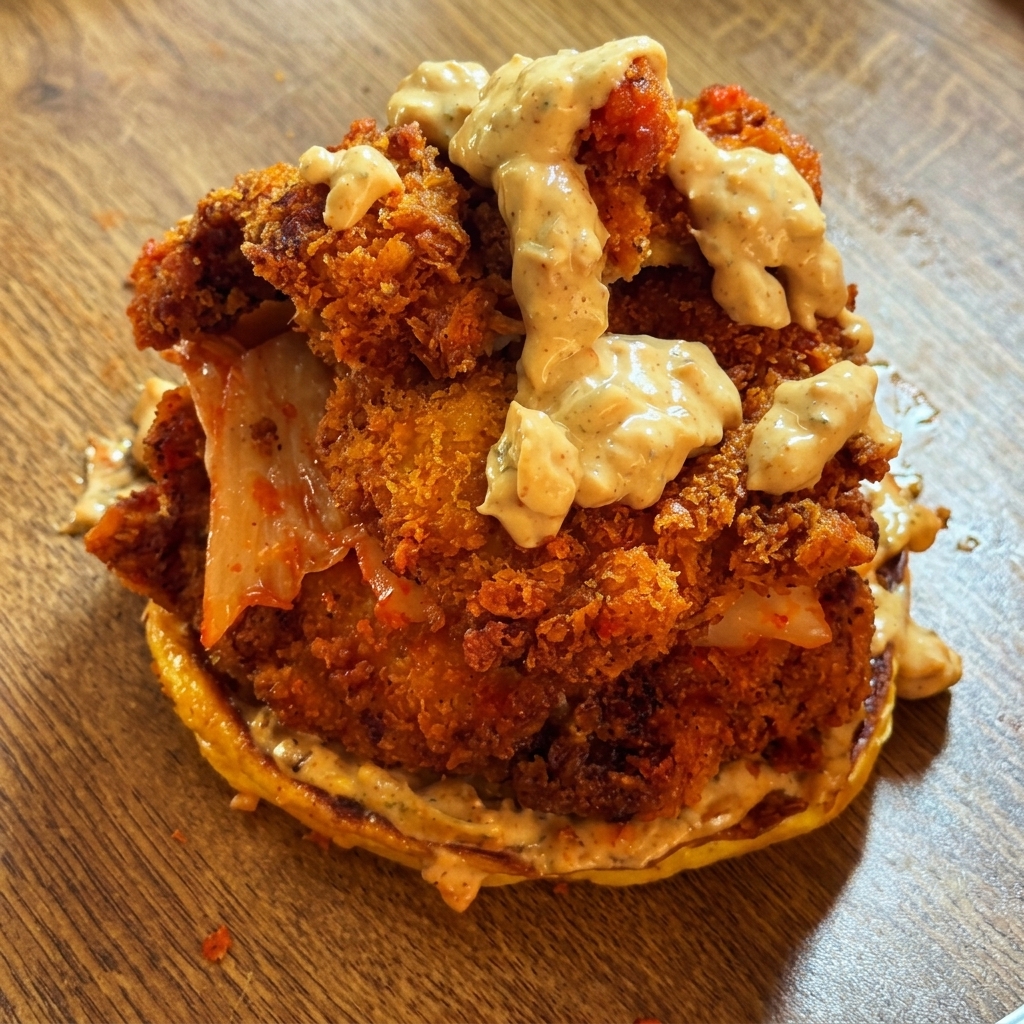
Drizzle a generous amount of the creamy secret sauce over the stacked fried chicken. This sauce adds a rich, savory layer that ties all the ingredients together.
Tip: Use a squeeze bottle for a controlled and even drizzle across the surface. - 26Prepare the spicy noodles
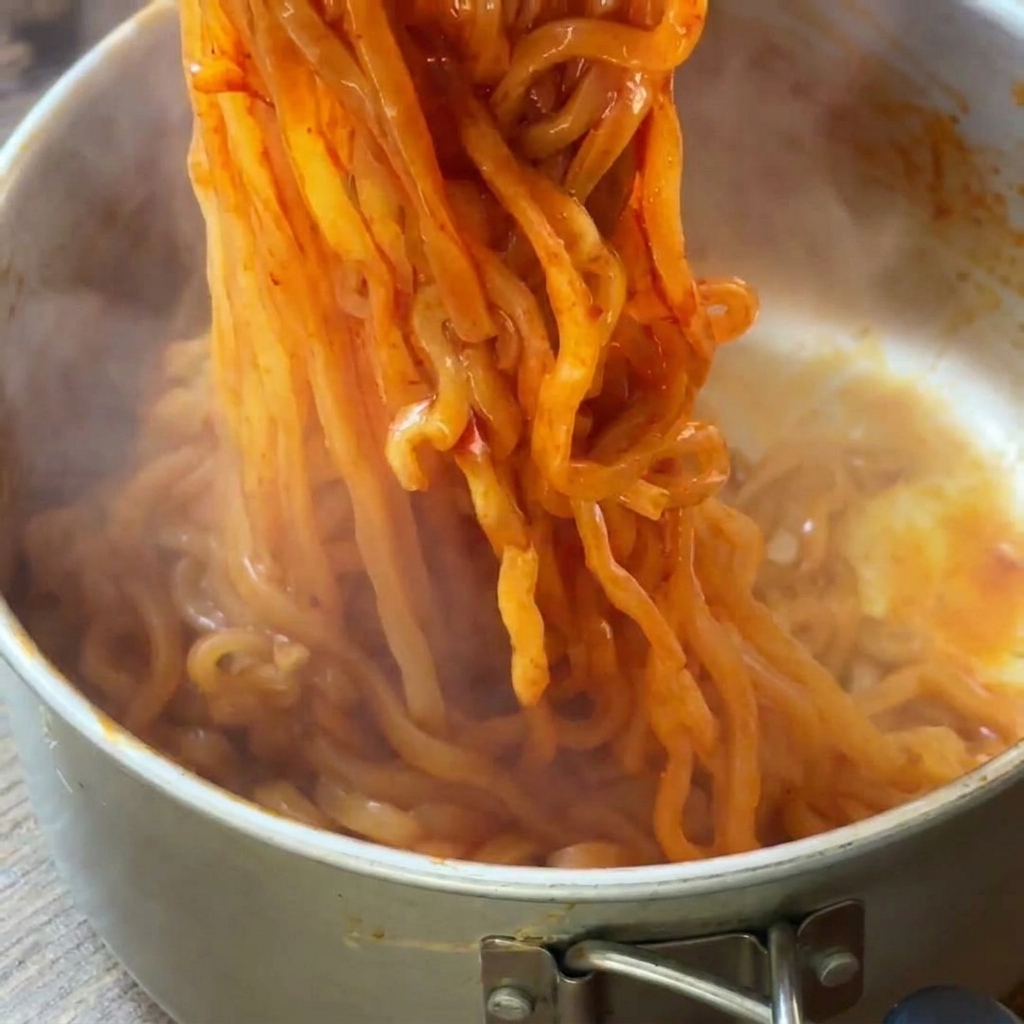
Using wooden chopsticks, lift the cooked spicy red noodles from the pot. Ensure they are well-mixed and ready to be piled onto the burger assembly.
Tip: Cook the noodles until they are al dente so they maintain a good texture when stacked on the burger. - 27Top with spicy noodles
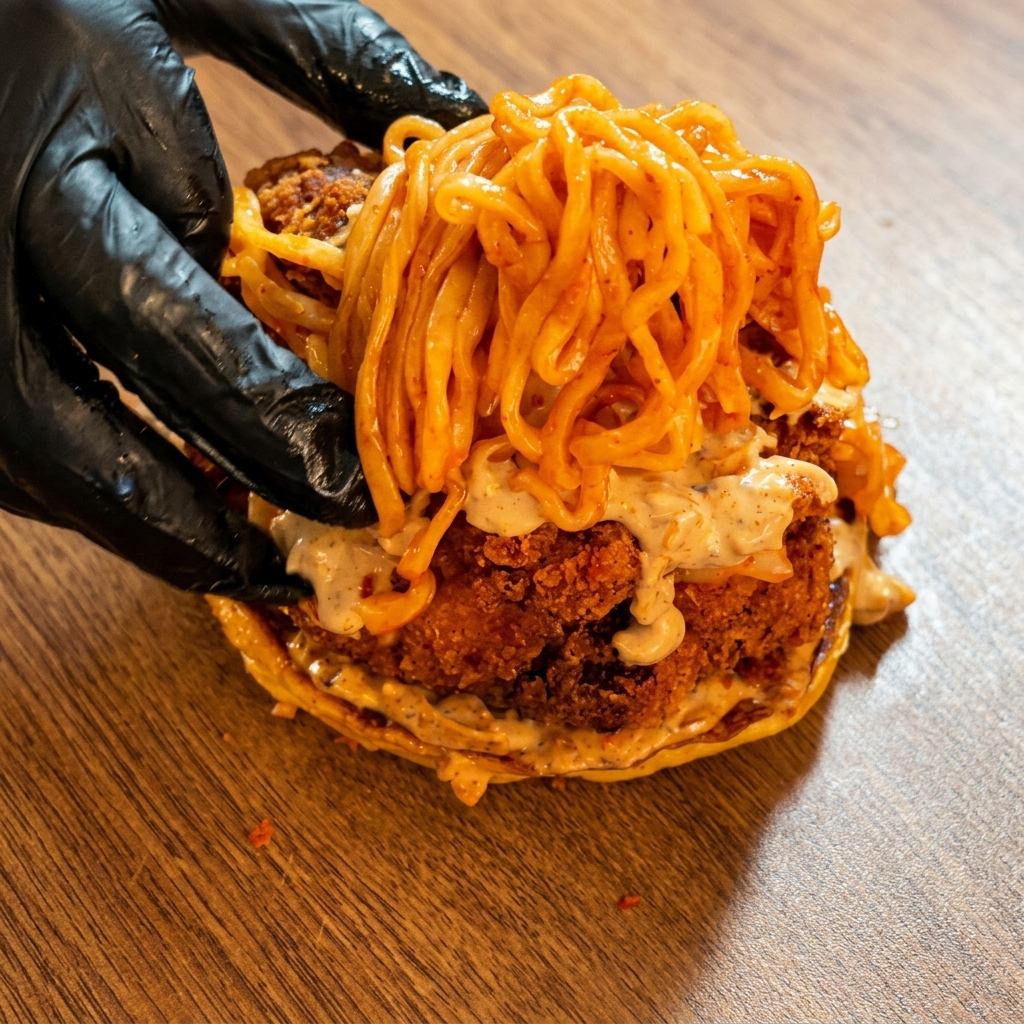
Carefully pile the thick, spicy red noodles high on top of the sauced fried chicken stack. This generous portion of noodles makes the burger truly unique and satisfying.
Tip: Arrange the noodles in a neat pile to maintain the structural integrity of the burger. - 28Season the noodles
Take the boiled spicy noodles that have been mixed with sauce and pile them high onto the prepared chicken burger stack. Sprinkle the dry seasoning packet from the spicy noodles, which includes sesame seeds and seaweed flakes, over the top of the noodle mound to add extra flavor and texture.
Tip: Make sure to pile the noodles high to give the burger its impressive, towering look.