Authentic Korean Short Rib Soup (Galbitang)
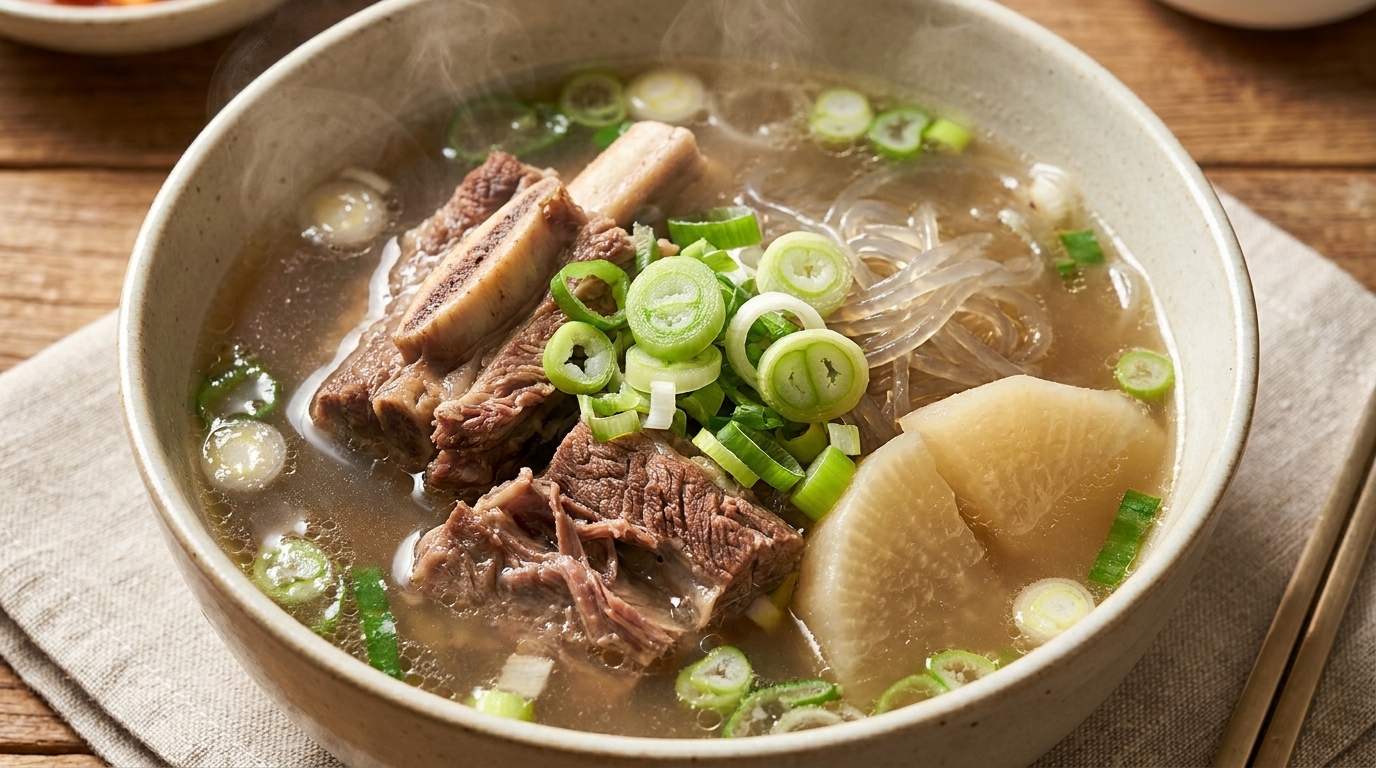
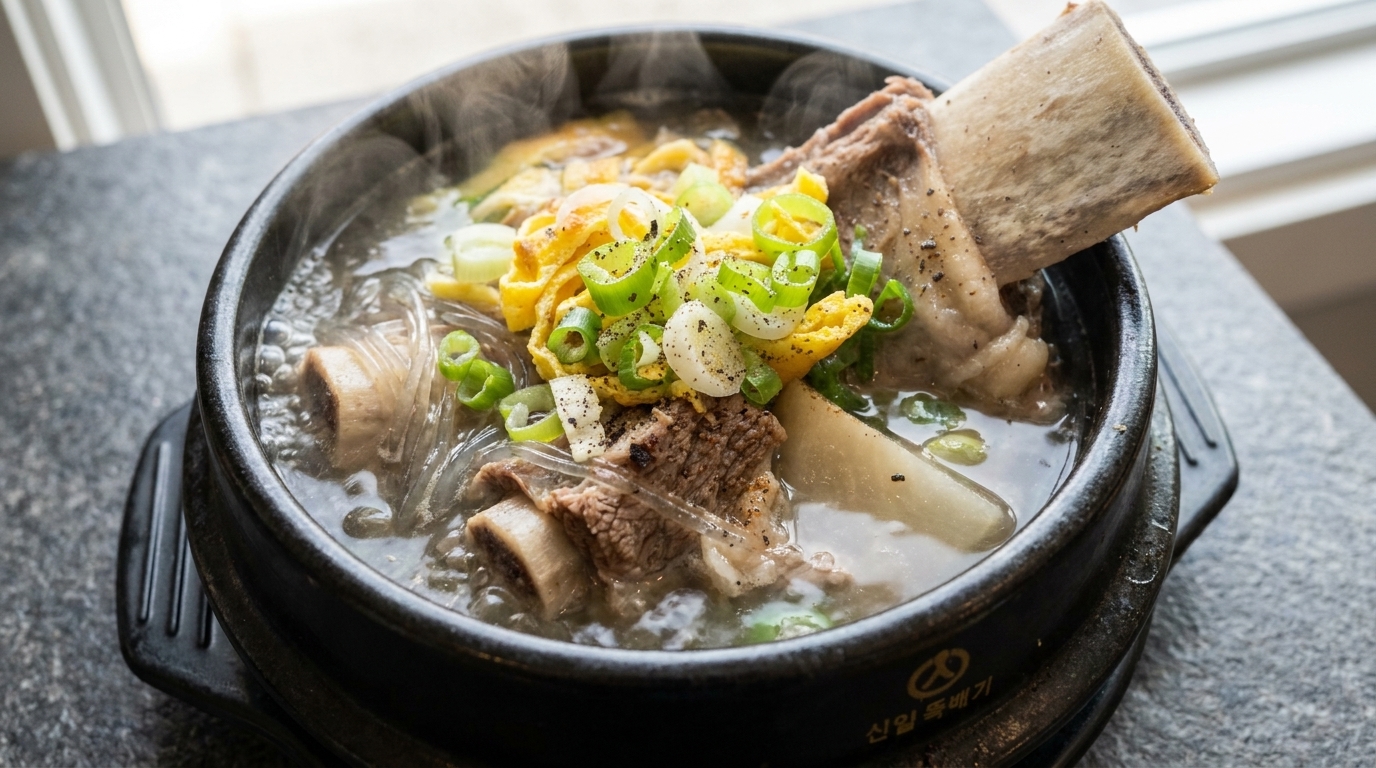
Experience the deep, comforting warmth of traditional Galbitang. This clear, slow-simmered beef short rib soup is a staple of Korean cuisine, featuring tender bone-in meat, radish, and delicate glass noodles.
Galbitang is a beloved Korean classic that exemplifies the beauty of slow-cooked comfort food. By simmering premium beef short ribs with radish and aromatics, you create a broth that is at once incredibly rich and remarkably clear. Often served on special occasions, this soup is a nourishing, heart-warming dish that perfectly balances savory depth with the clean, sweet undertones of slow-simmered radish.
Ingredients
- 1 kg bone-in beef short ribs
- 1 large Korean white radish (mu)
- 1 head garlic cloves
- 1 piece fresh ginger
- 1 whole sweet onion
- 1 bunch green onions
- 100 g sweet potato glass noodles (dangmyeon)
- 2 eggs
- to taste black pepper
- to taste salt
Instructions
- 1Select the beef short ribs
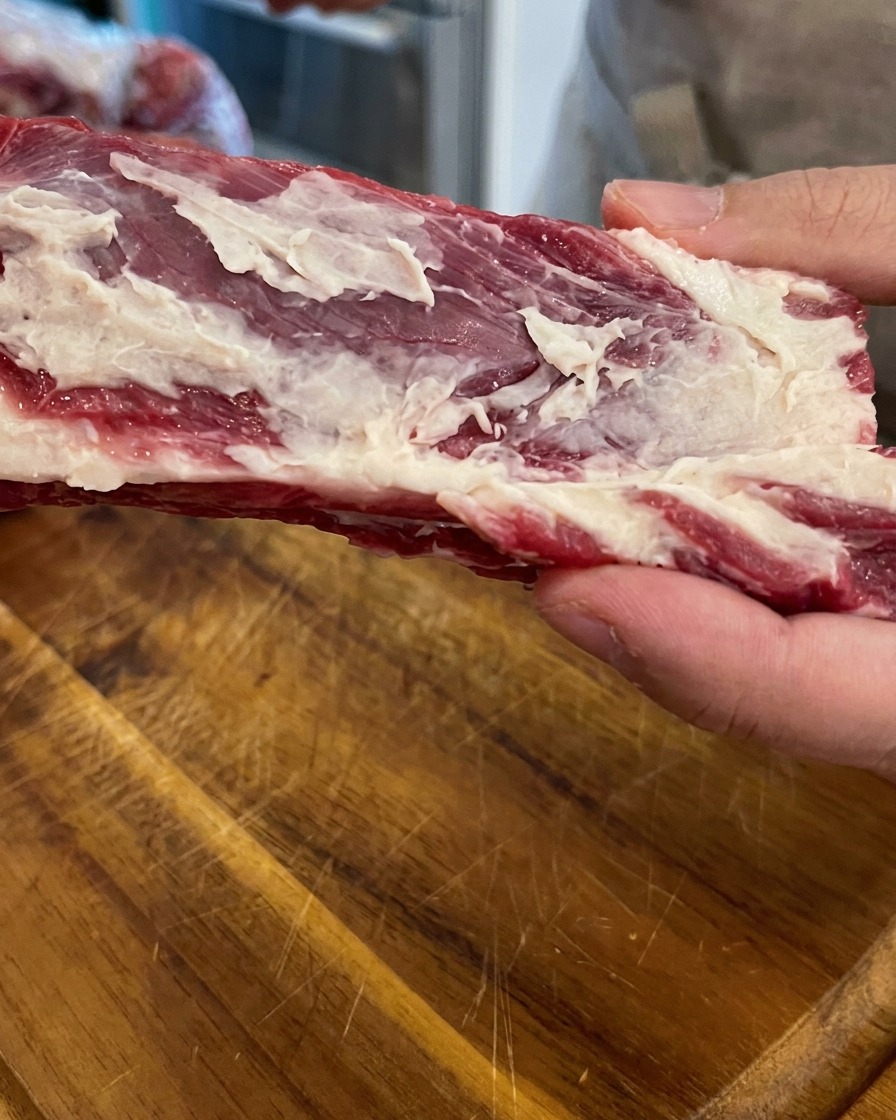
Begin with high-quality, bone-in beef short ribs, which are the foundational ingredient for Galbitang. Ensure the cuts have a good amount of meat and white fat marbling, as this will provide a rich, fragrant, and flavorful base for the soup.
Tip: Bone-in ribs are essential for authentic flavor, as the bones release marrow and collagen during boiling. - 2Prepare the Korean radish
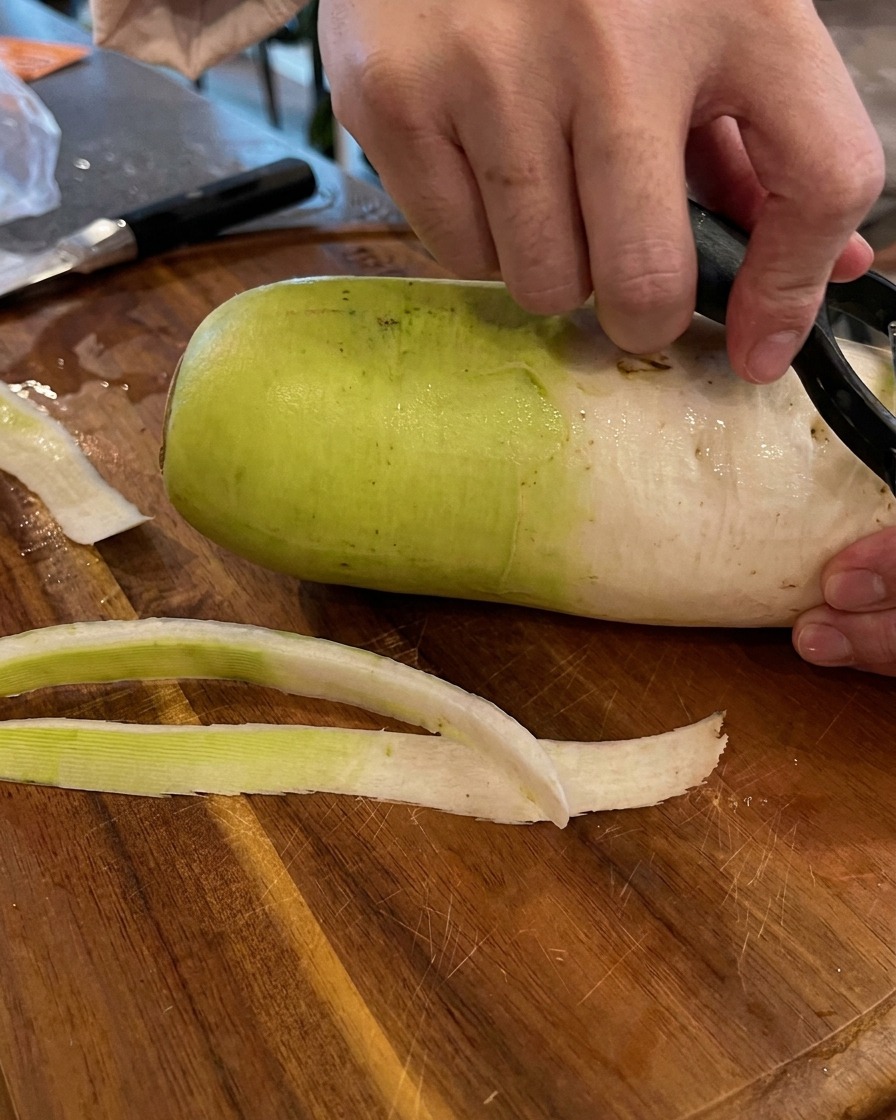
Take a large white radish, commonly used in Korean soups to add a refreshing sweetness, and use a vegetable peeler to remove the outer skin. This radish will help balance the rich beef flavor of the soup and make the broth clean and delicious.
Tip: Peel the radish deeply if the skin feels particularly thick or tough to ensure a tender texture when cooked. - 3Halve the sweet onion
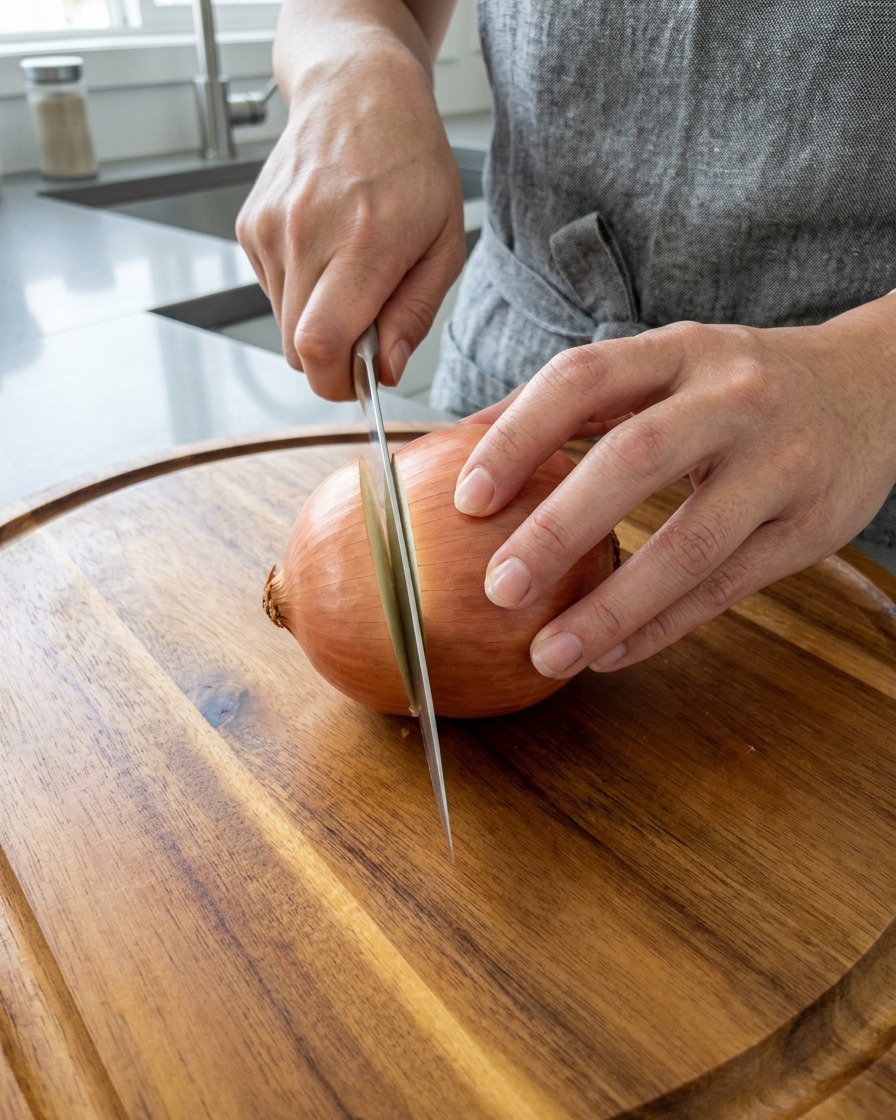
Place a sweet onion on a wooden cutting board and carefully slice it in half. The onion acts as a primary aromatic to naturally sweeten the soup and build a fragrant depth of flavor in the broth.
Tip: Leaving the skin on the onion while boiling can add a richer, deeper color to your stock, though peeling it is fine for a clearer broth. - 4Slice the fresh ginger
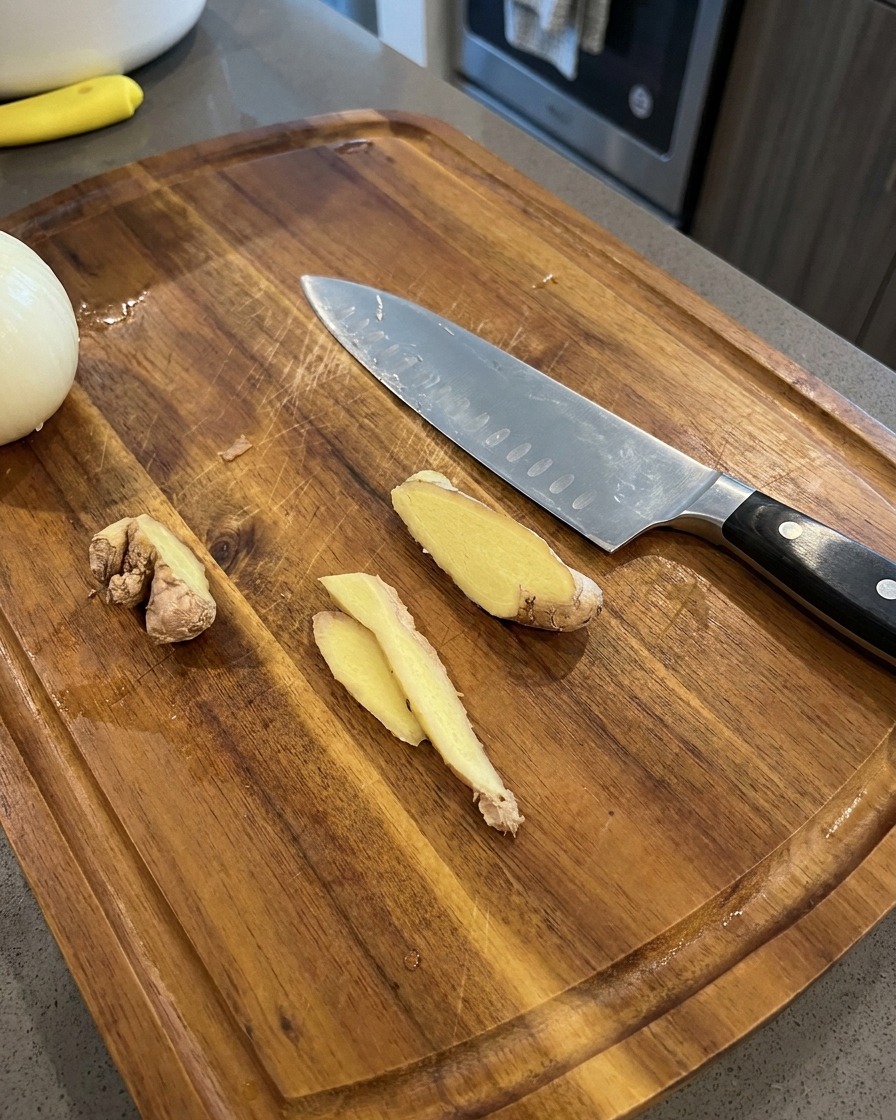
Take a piece of fresh ginger and slice it into thin, even pieces. Ginger is an essential aromatic in Galbitang that helps neutralize any gamey odors from the beef and adds a subtle, warm fragrance to the soup.
Tip: There is no need to peel the ginger for making broth, as long as it is washed thoroughly beforehand. - 5Blanch the short ribs
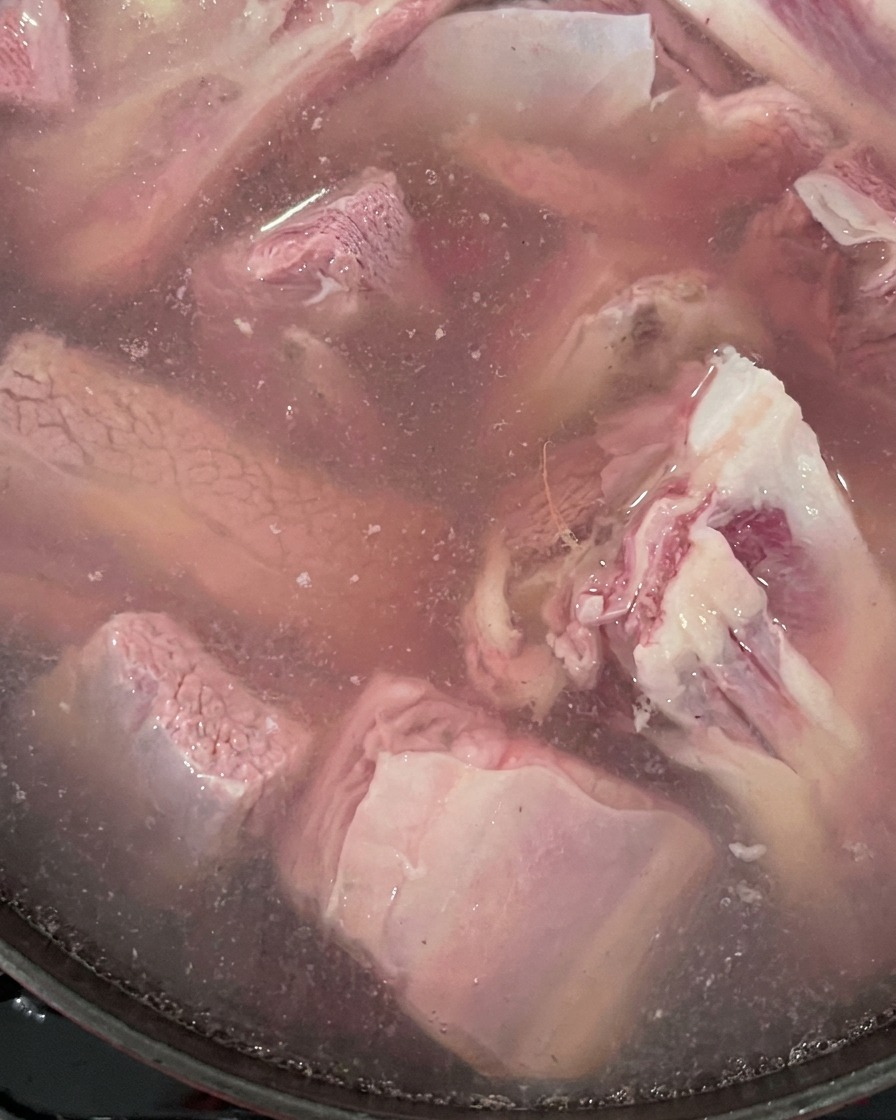
Submerge the raw beef short ribs into a pot of water along with the ginger slices and bring it to a boil. This blanching step is necessary to remove impurities, excess fat, and any residual blood from the bones to ensure a clean-tasting Galbitang.
Tip: Start with cold water when blanching to allow the blood and impurities to draw out gradually as the water heats up. - 6Rinse the ribs
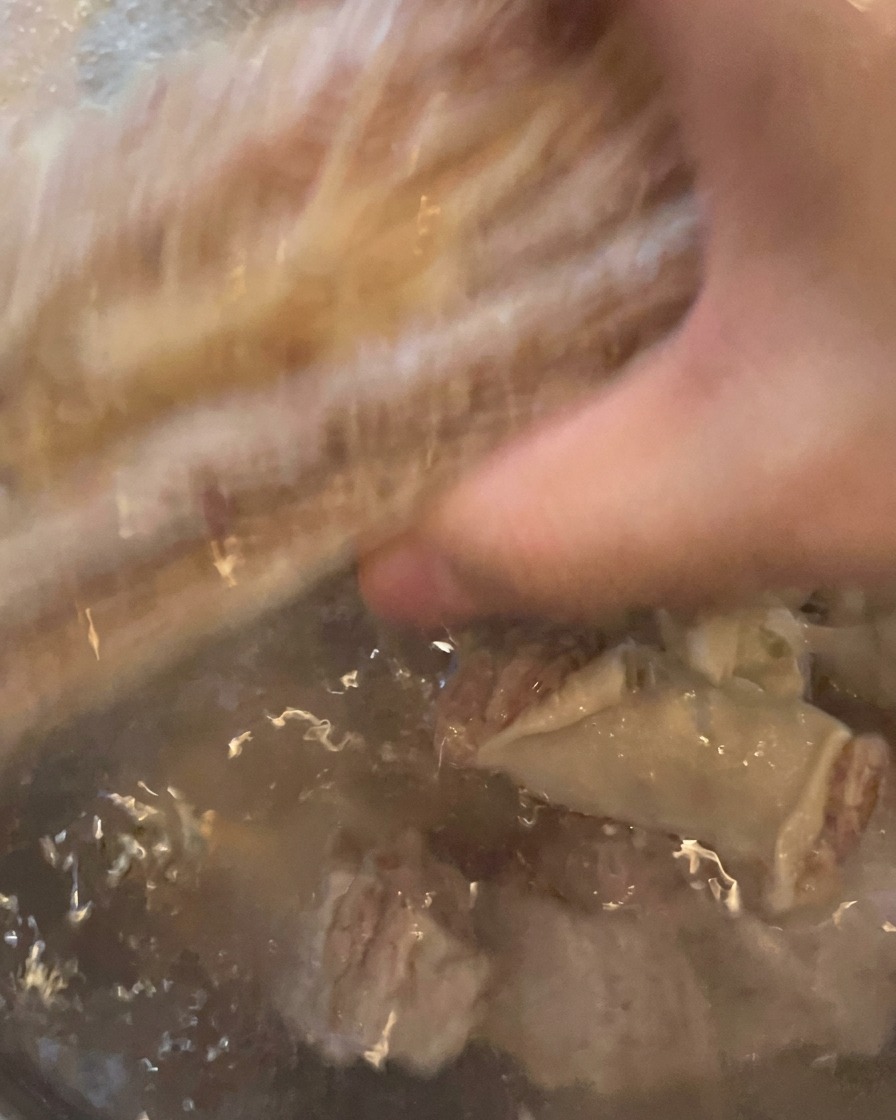
After blanching the short ribs to remove impurities, rinse them thoroughly under cold running water. This ensures the broth remains clean, clear, and free of any foam or unwanted particles.
Tip: Be thorough when rinsing each piece to ensure all loose residue from the blanching process is completely washed away. - 7Transfer to the pot
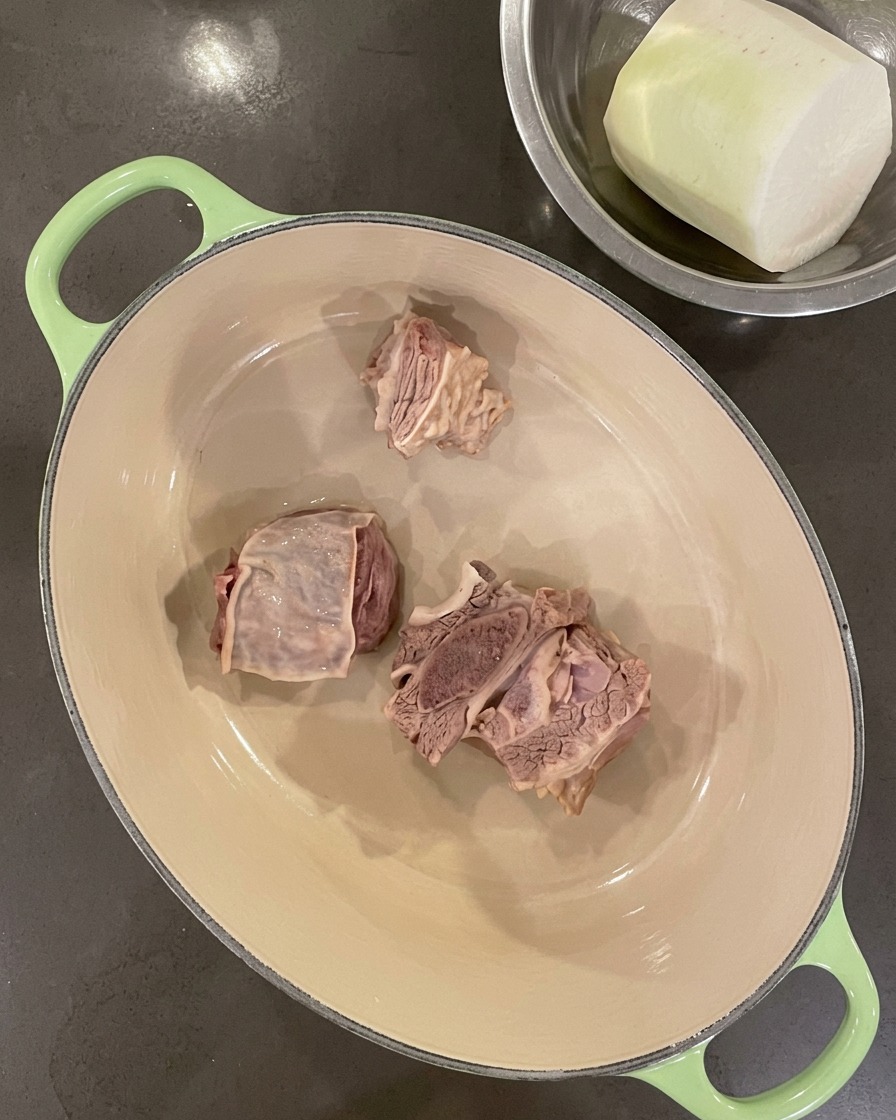
Carefully place the cleaned, blanched short ribs into a clean pot. Ensure they are distributed evenly to make space for the aromatics and vegetables that will follow.
Tip: Using a heavy-bottomed pot like a Dutch oven helps maintain an even, steady simmer, which is key for a good soup. - 8Add aromatics
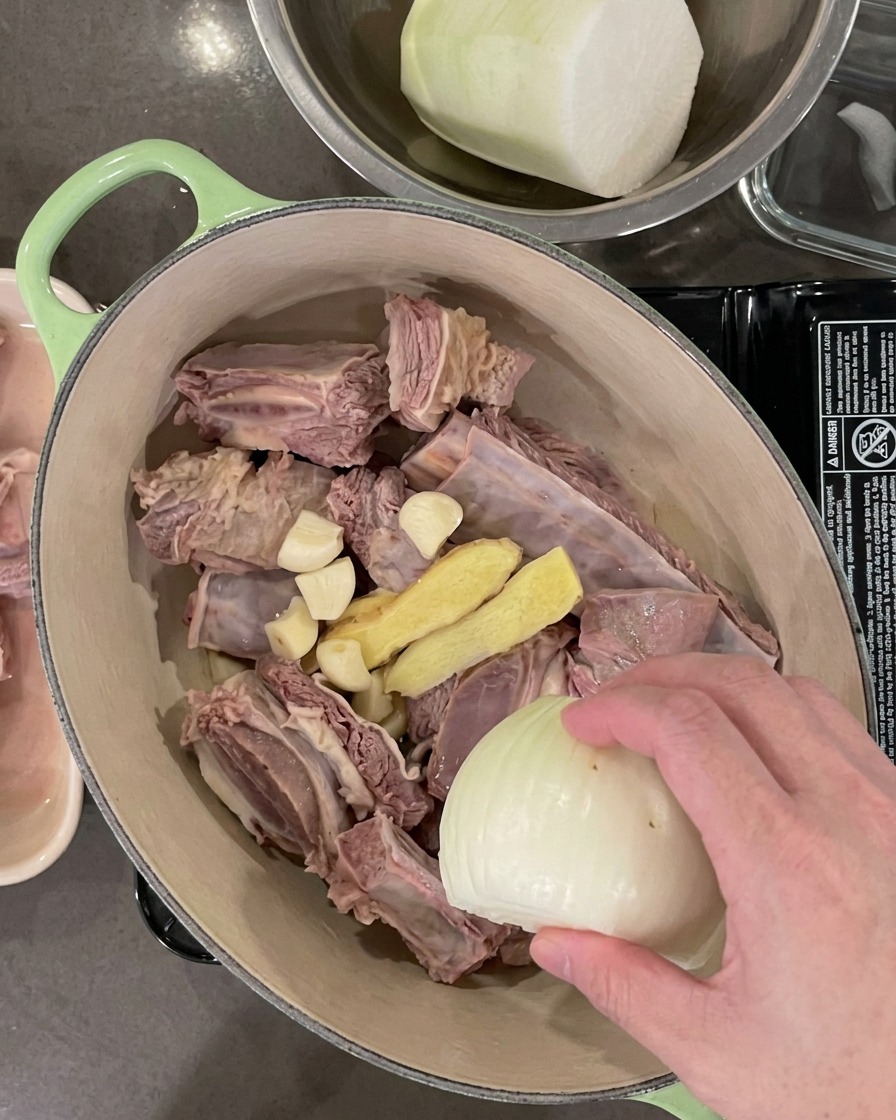
Add the peeled garlic cloves, sliced ginger, half an onion, and fresh green onions into the pot with the ribs. These ingredients infuse the base of the broth with fragrant, savory notes.
Tip: Crushing the garlic cloves slightly before adding them can help release their essential oils into the broth more quickly. - 9Incorporate radish
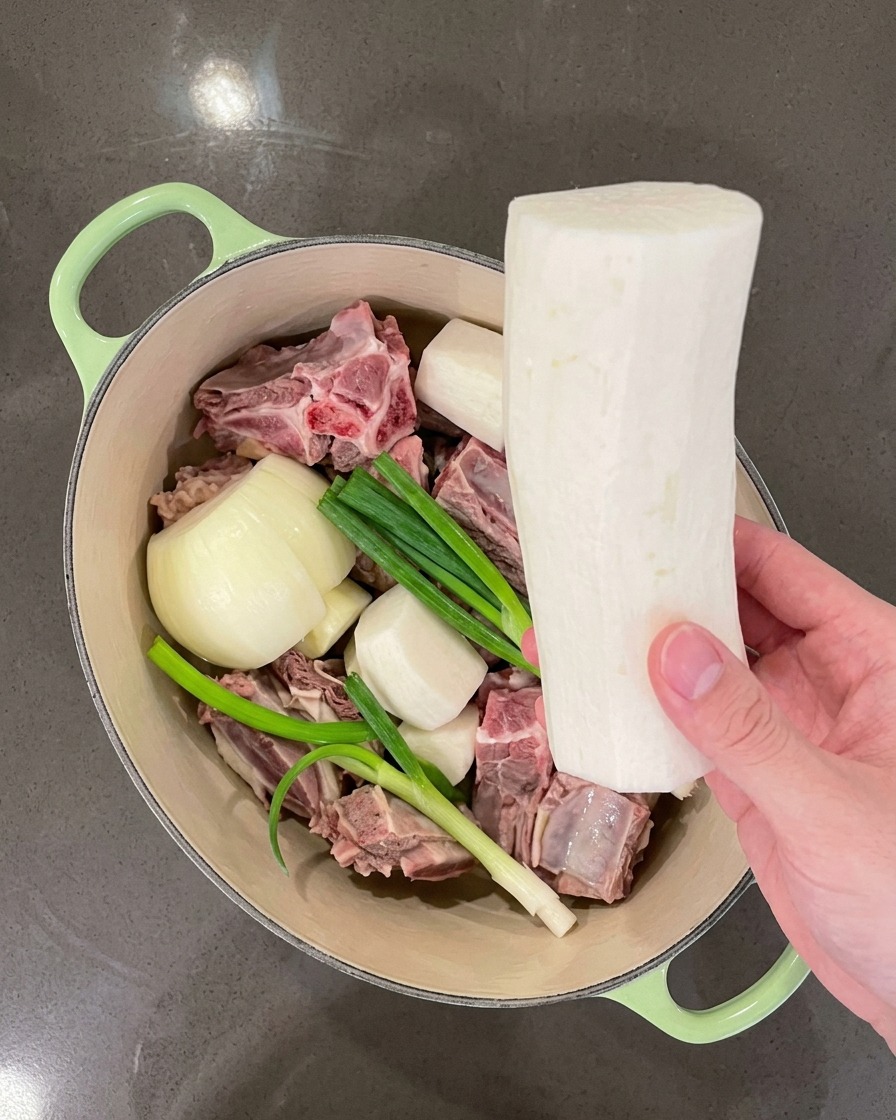
Add large, uniform chunks of peeled white radish into the pot. The radish adds a subtle natural sweetness to the soup and softens beautifully as it simmers with the meat.
Tip: Cutting the radish into large chunks prevents them from disintegrating into the broth during the long cooking time. - 10Add water
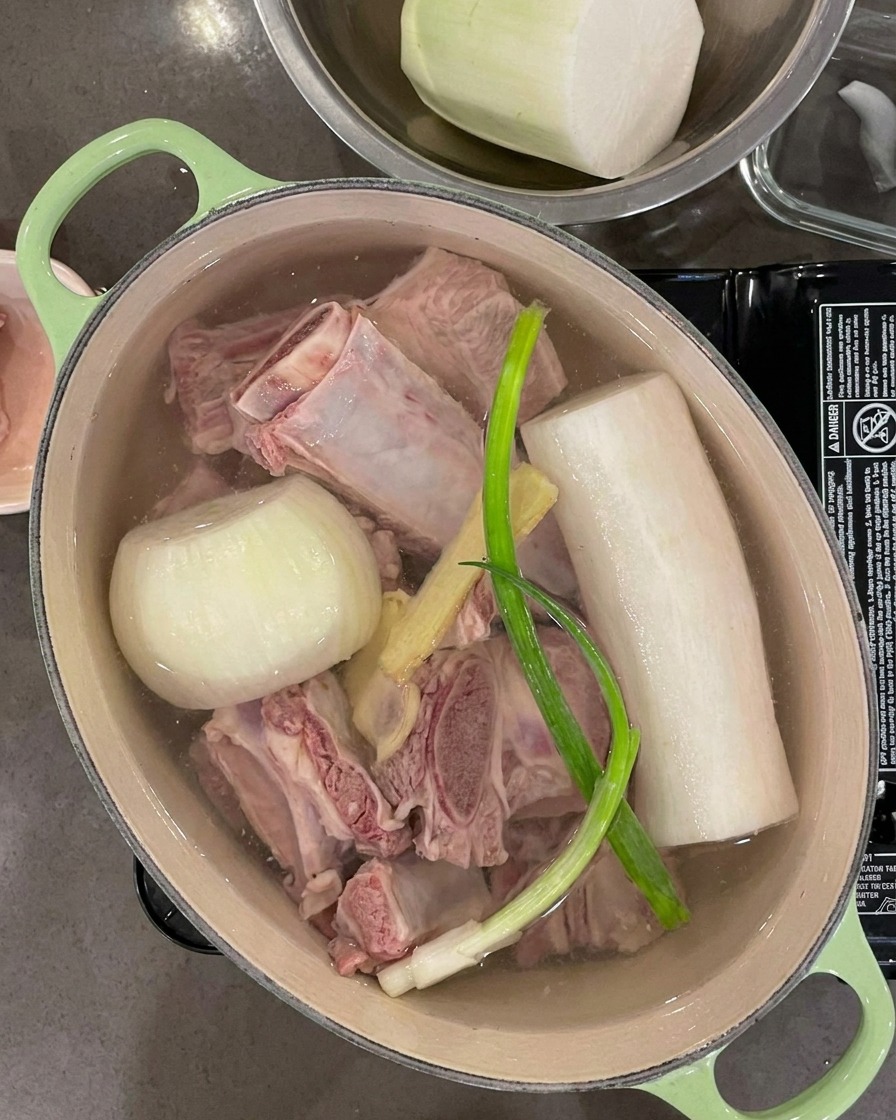
Pour enough water into the pot to fully submerge the ribs, aromatics, and radish. This liquid will become the flavorful base for your Korean short rib soup.
Tip: Use filtered water if possible for a cleaner-tasting broth, and ensure all ingredients are completely covered for even cooking. - 11Skim the broth
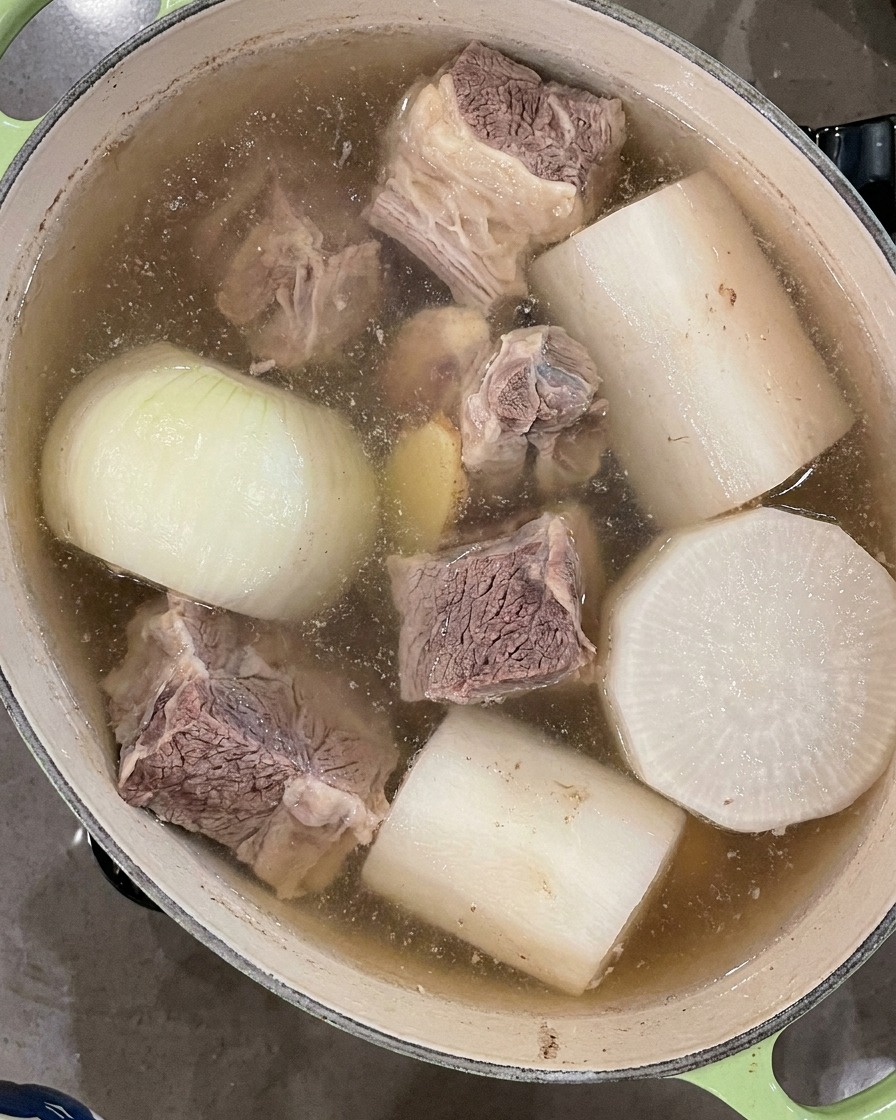
As the broth begins to boil, use a ladle to skim any foam or impurities rising to the surface. Removing this foam is essential for achieving a clear and clean-tasting broth.
Tip: Keep a small bowl of water nearby to rinse the ladle as you skim to keep the process efficient. - 12Soak the glass noodles
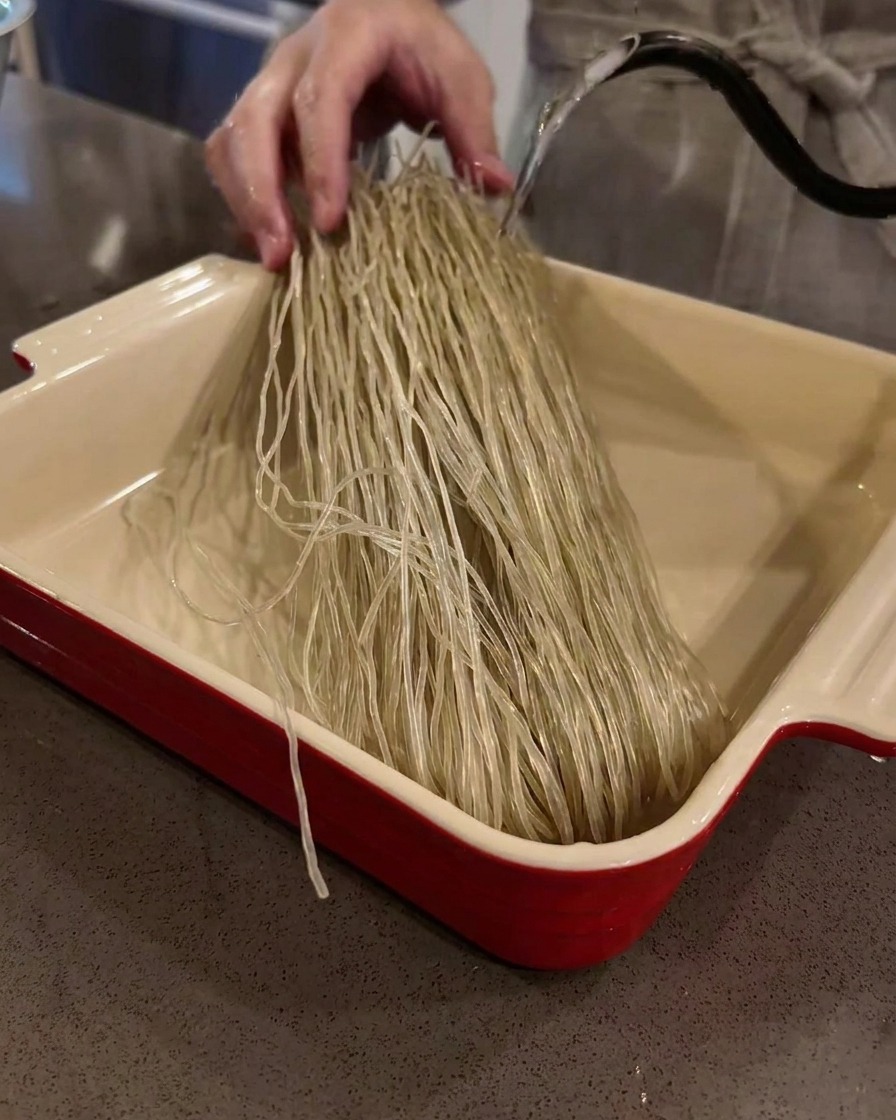
Place the dry sweet potato glass noodles in a shallow baking dish. Pour warm water from a kettle over the noodles until they are fully submerged, allowing them to soften before cooking.
Tip: Using warm water instead of boiling water helps the noodles soften evenly without becoming mushy. - 13Prepare the egg mixture

Crack raw eggs into a small bowl and beat them thoroughly with a spoon until the yolks and whites are fully combined into a smooth, yellow mixture.
Tip: Ensure the eggs are beaten well to create a uniform color for the egg crepe. - 14Fry the egg crepe

Pour the beaten eggs into a preheated, lightly greased flat pan. Spread the mixture thinly and evenly to cook into a delicate, round yellow crepe.
Tip: Keep the heat low to ensure the egg crepe cooks through without browning too quickly. - 15Slice the egg crepe
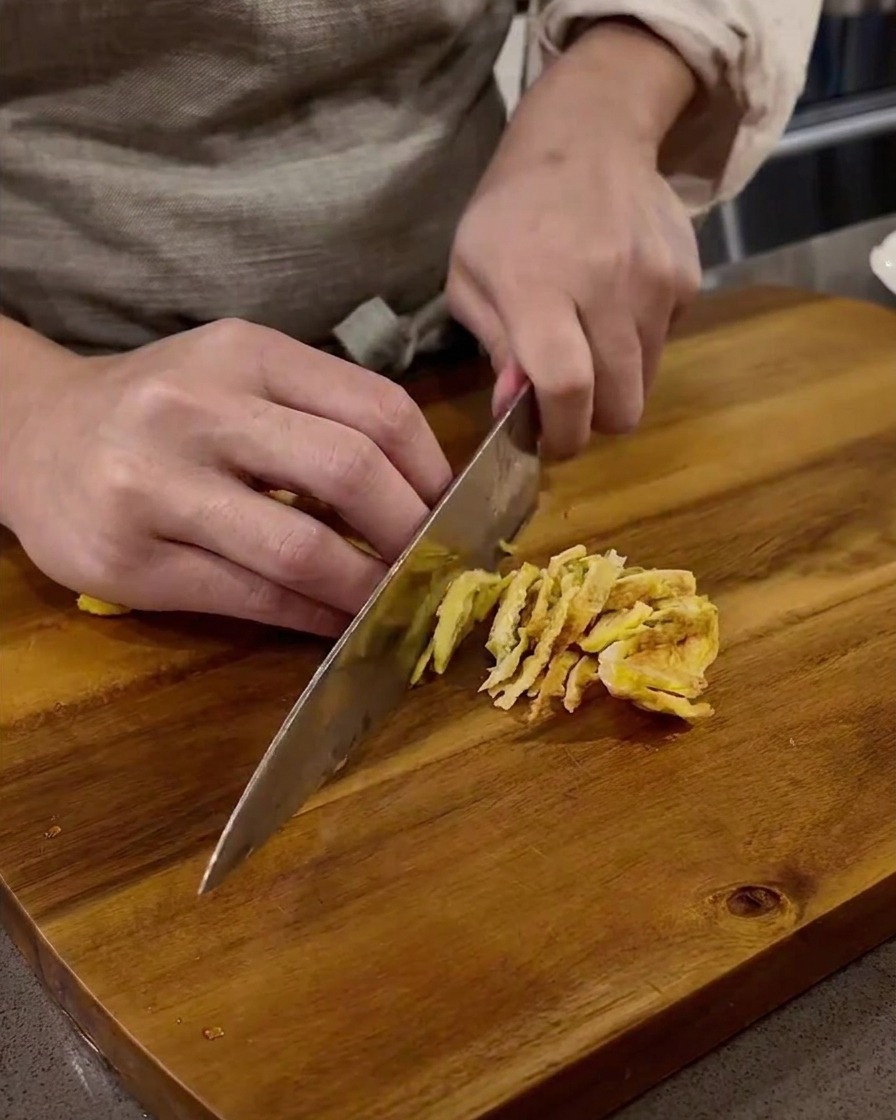
Once cooked, remove the egg crepe from the pan and roll it up. Use a sharp knife to carefully slice the roll into thin, uniform ribbons to be used as a garnish.
Tip: Rolling the crepe tightly makes it much easier to achieve clean, even slices. - 16Chop the green onions
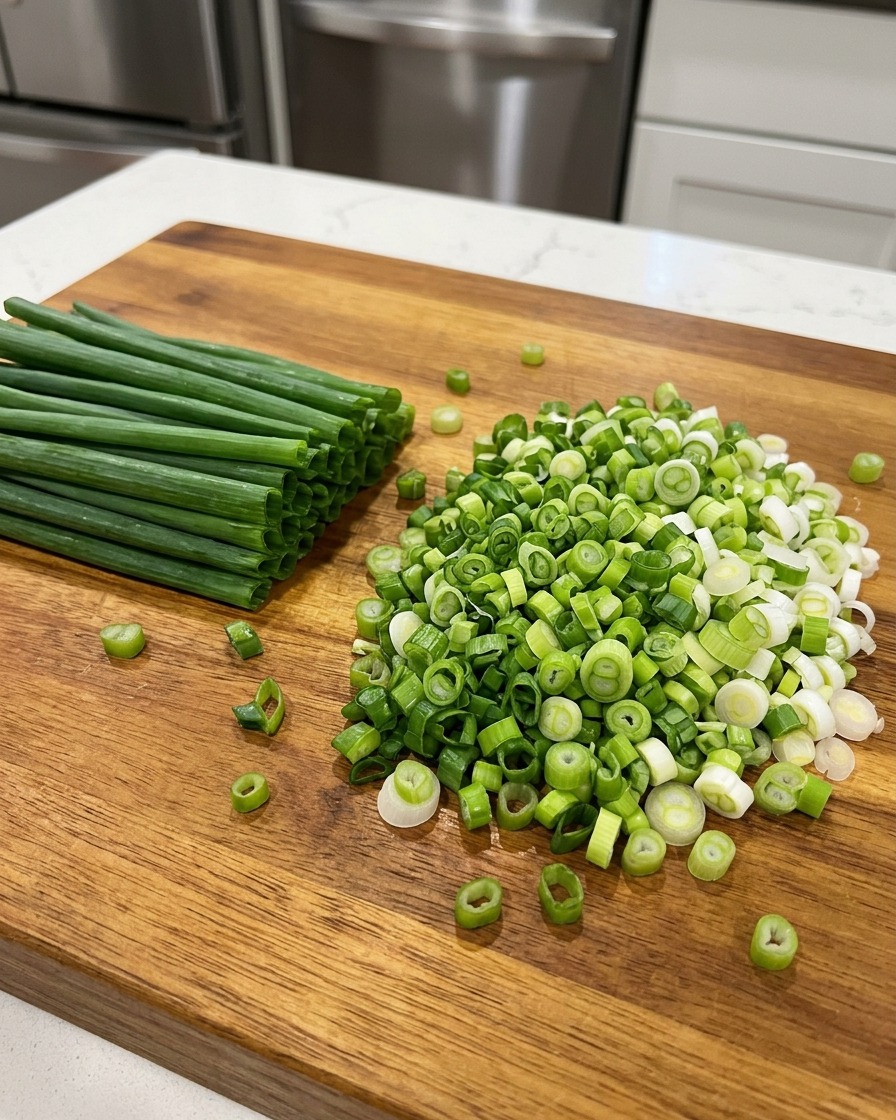
Place fresh green onions on a wooden cutting board and chop them into small, thin rounds to provide a fresh, aromatic finish to the soup.
Tip: Use a sharp knife to avoid crushing the delicate layers of the green onions. - 17Prepare the radish
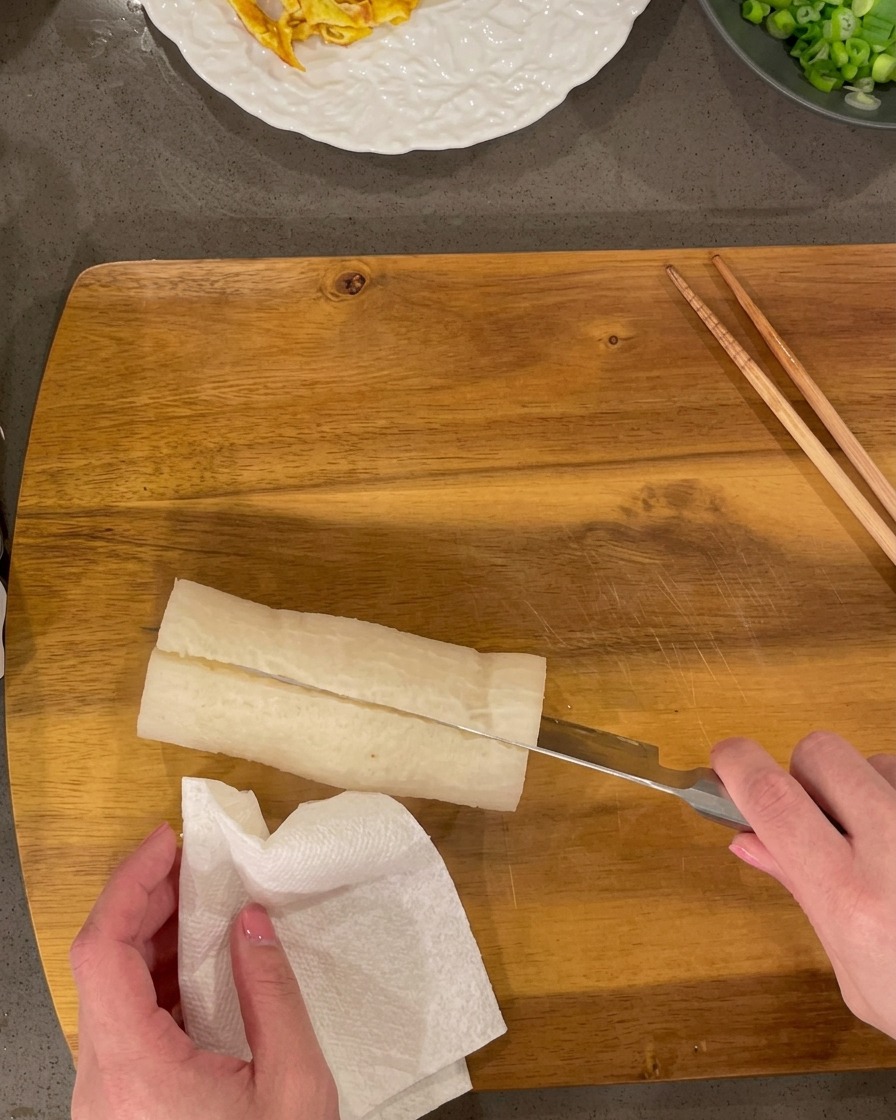
Take the cooked, tender white radish and slice it into bite-sized rectangles. These pieces will absorb the flavor of the broth and add a pleasant texture to the dish.
Tip: Uniform sizing ensures that each piece of radish cooks consistently and looks professional when served. - 18Assemble the ingredients
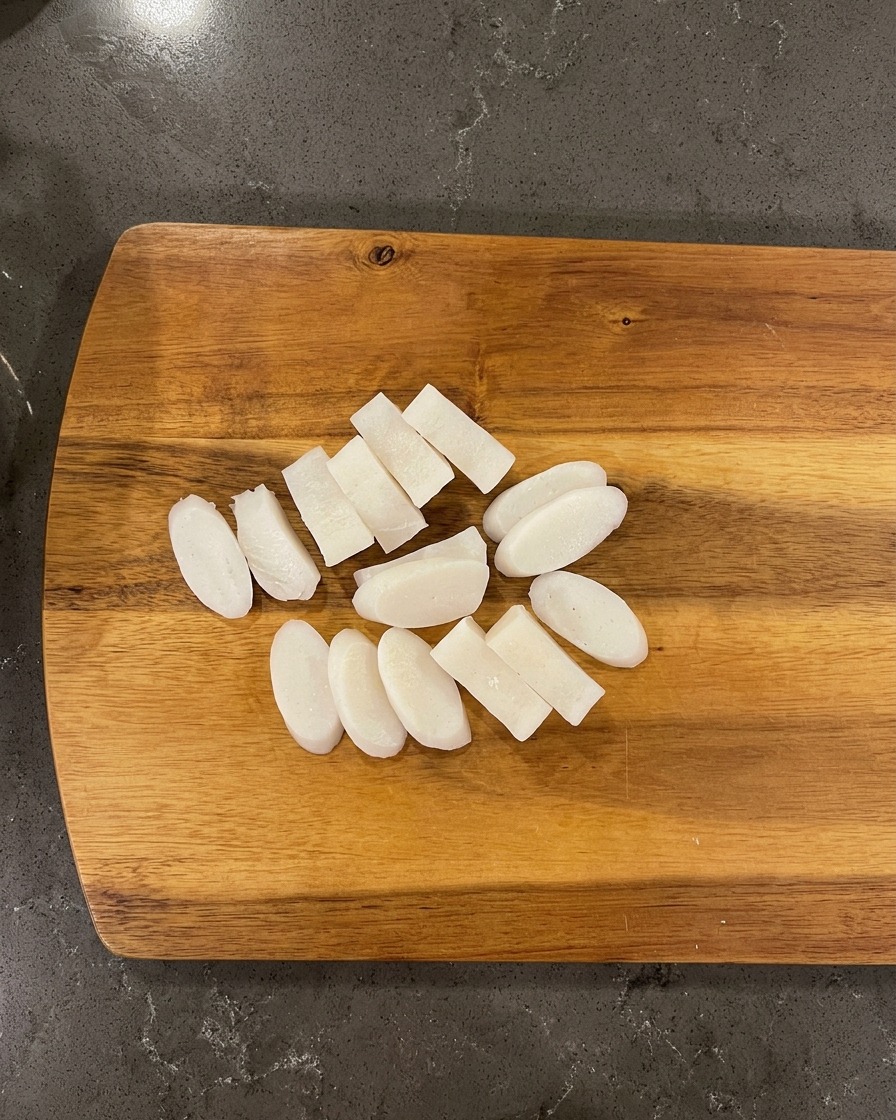
Using a pair of chopsticks, carefully arrange the tender, cooked short ribs and radish slices into your preheated black stone serving pot. Placing them neatly allows for even distribution and an appetizing presentation before the broth is added.
Tip: If using a stone pot, preheating it on the stove for a minute before adding ingredients helps keep the soup piping hot until the very last bite. - 19Add the glass noodles
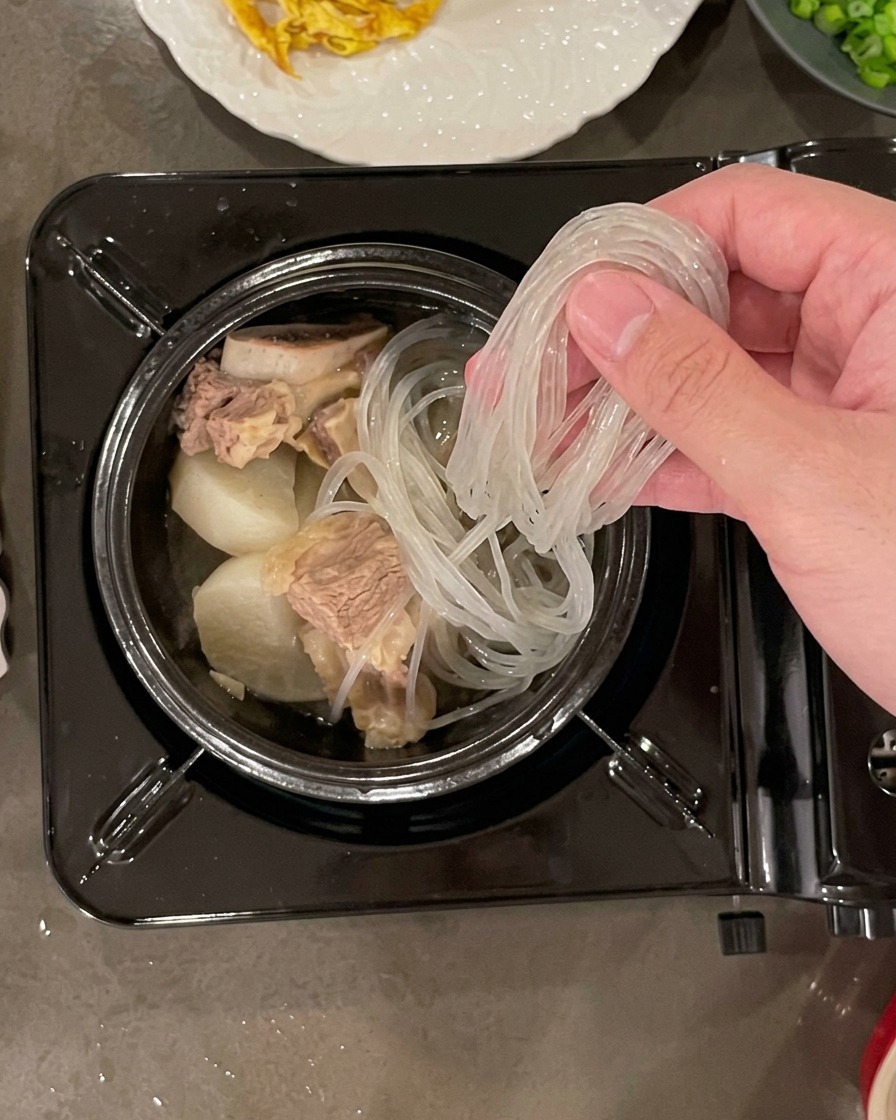
Gently place a handful of pre-soaked glass noodles into the serving pot alongside the beef and radish. The noodles will absorb the rich flavors of the broth as it cooks, becoming perfectly soft and translucent.
Tip: Make sure to soak the glass noodles in warm water until pliable before adding them to the pot, so they cook evenly without clumping. - 20Pour in the hot broth
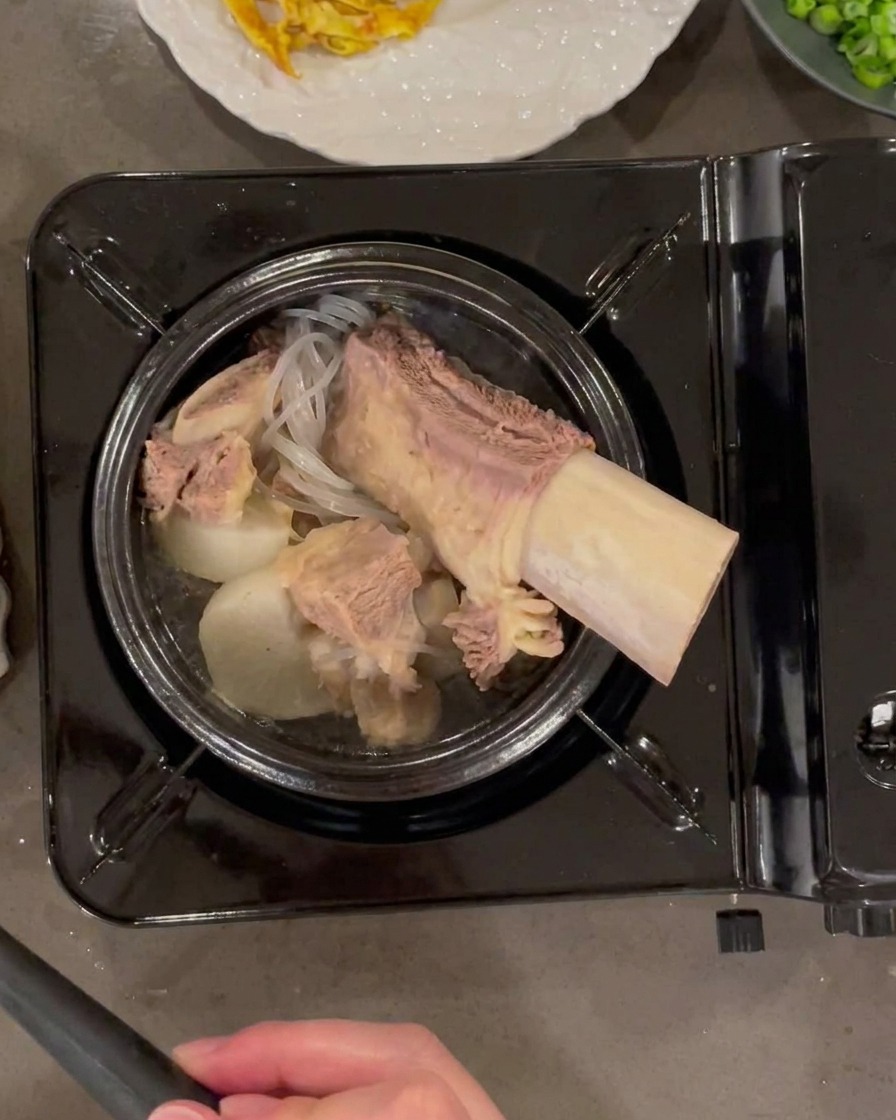
Using a ladle, pour the steaming, clear beef broth over the ingredients in the stone pot until everything is just covered. The heat of the broth will begin to warm the noodles and ribs immediately.
Tip: Ensure your broth is at a rolling boil when pouring it over, as this will help the final dish reach a rapid boil quickly in the stone pot. - 21Season with black pepper
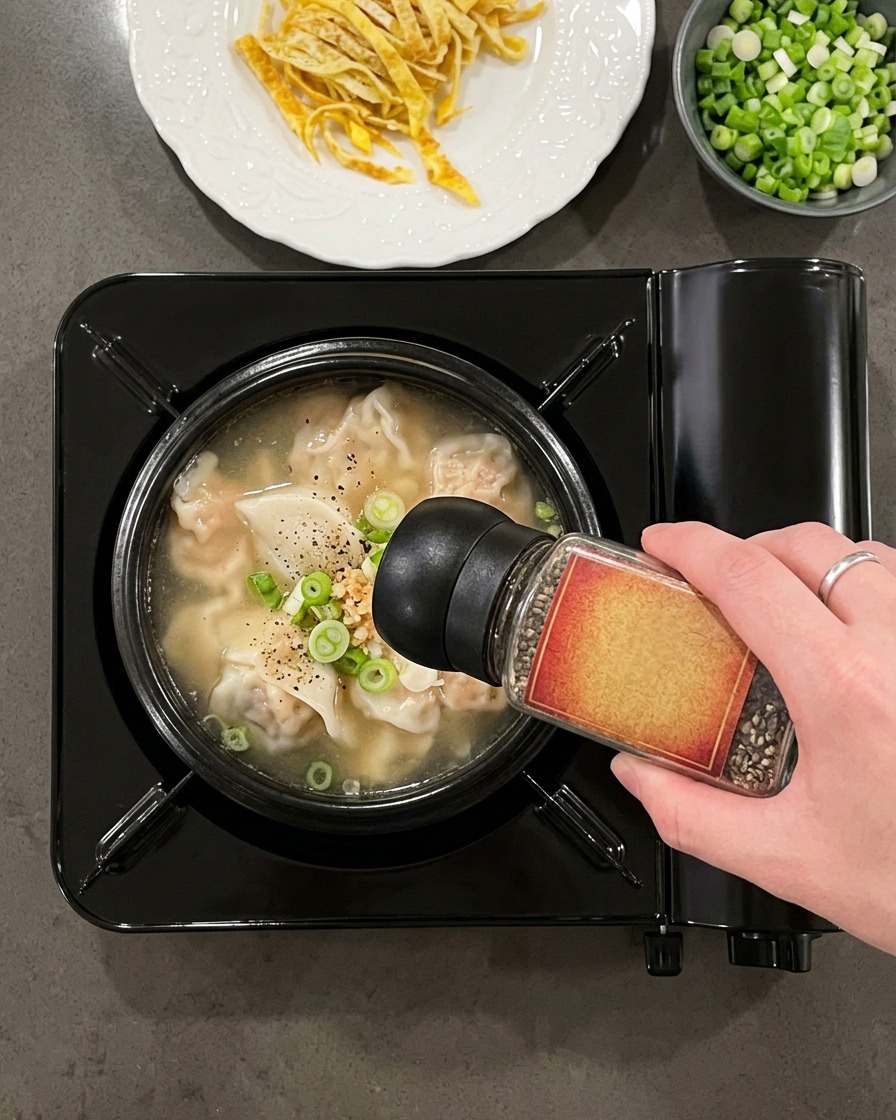
While the soup is bubbling in the serving pot, grind fresh black pepper directly over the top to enhance the savory notes of the beef broth. This simple seasoning adds a necessary depth and a slight aromatic heat to the finished soup.
Tip: Freshly cracked black pepper is significantly more fragrant than pre-ground pepper; use a grinder if possible.