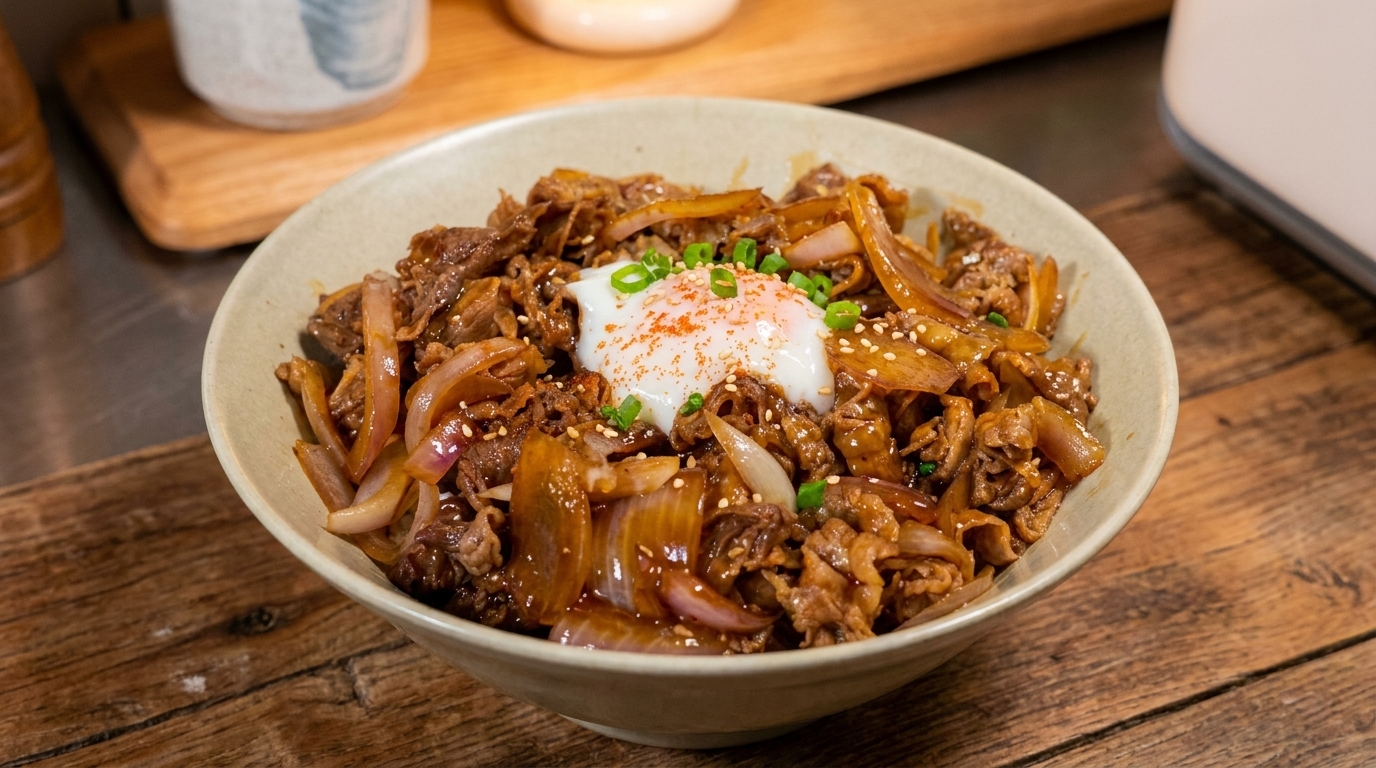
Kimchi Beef Rice Bowl
Raw Egg Yolk
A satisfying Korean-style rice bowl featuring tender caramelized beef stir-fried with tangy kimchi in a spicy-sweet Gochujang glaze, topped with a rich, silky egg yolk.
This Kimchi Beef Rice Bowl, often referred to as a variation of Deopbap, is the ultimate comfort meal. The sharp acidity of fermented kimchi balances the savory richness of seared beef, while the addition of a raw egg yolk creates a luxurious, velvety sauce that ties the whole dish together.

Ingredients
- 200 g thinly sliced beef
- 1 cup fermented kimchi
- 0.5 unit white onion
- 1 bowl cooked white rice
- 1 unit germ-free egg yolk
- 2 tbsp light soy sauce
- 1 tbsp white sugar
- 1 tbsp Korean chili paste (Gochujang)
- 0.5 cup water
- 1 tbsp vegetable oil
- to taste toasted sesame seeds
Instructions
- 1Slice the white onion
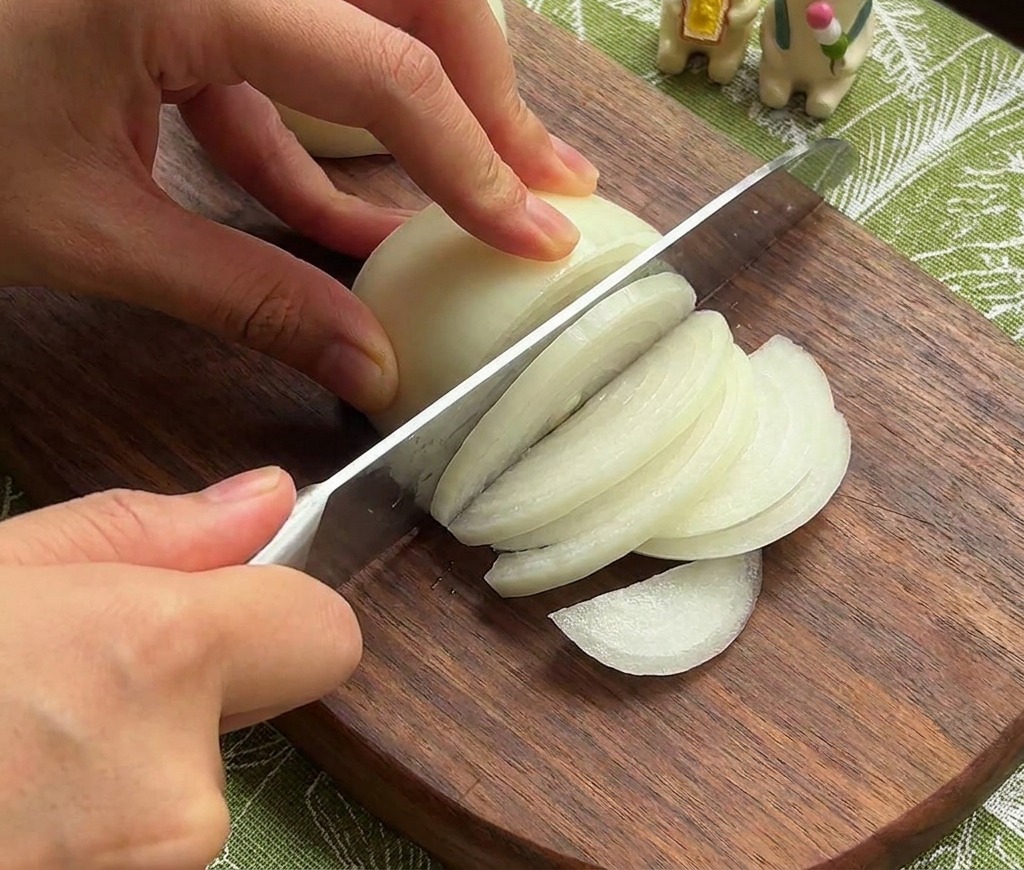
Begin the preparation by slicing half of a raw white onion into thin, uniform strips on a wooden cutting board. These onion strips will be stir-fried later to provide a sweet, aromatic base that complements the savory beef and spicy kimchi.
Tip: Keep the root end of the onion intact while slicing to help hold the layers together, making it easier to achieve even strips. - 2Prepare the seasoning sauce
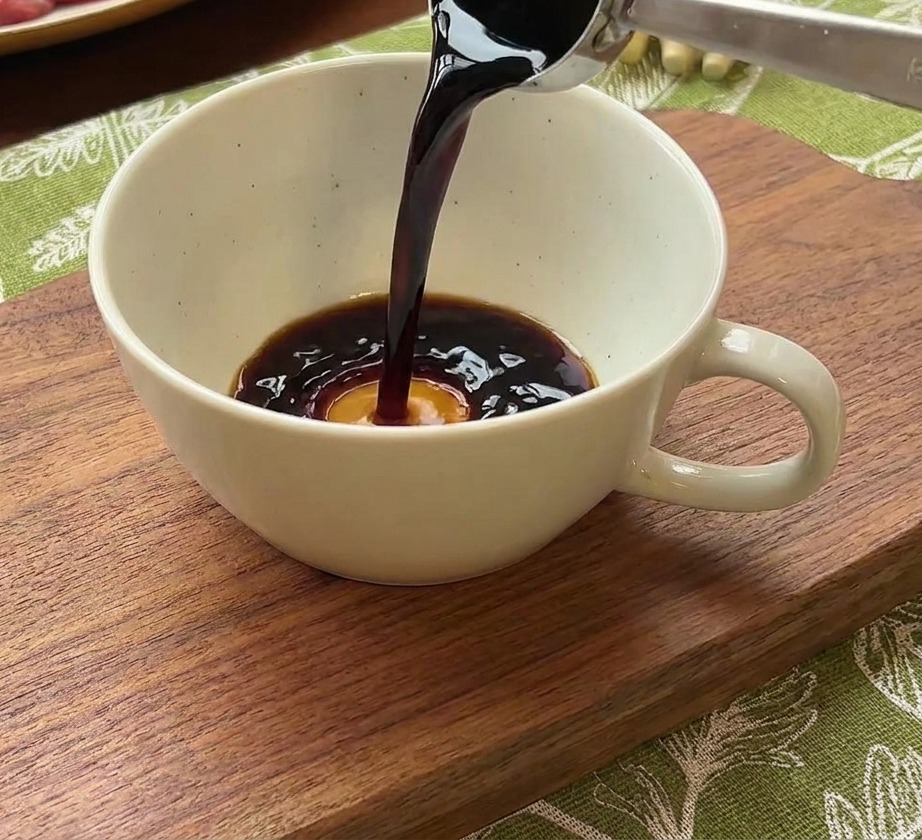
In a small bowl, combine two spoons of light soy sauce, one spoon of sugar, and one large spoon of Korean chili paste with half a bowl of water. Stir the mixture thoroughly until the paste is fully dissolved and the ingredients are well incorporated.
Tip: Mixing the sauce beforehand ensures even flavor distribution and prevents the chili paste from clumping during the stir-fry. - 3Add sugar to the sauce
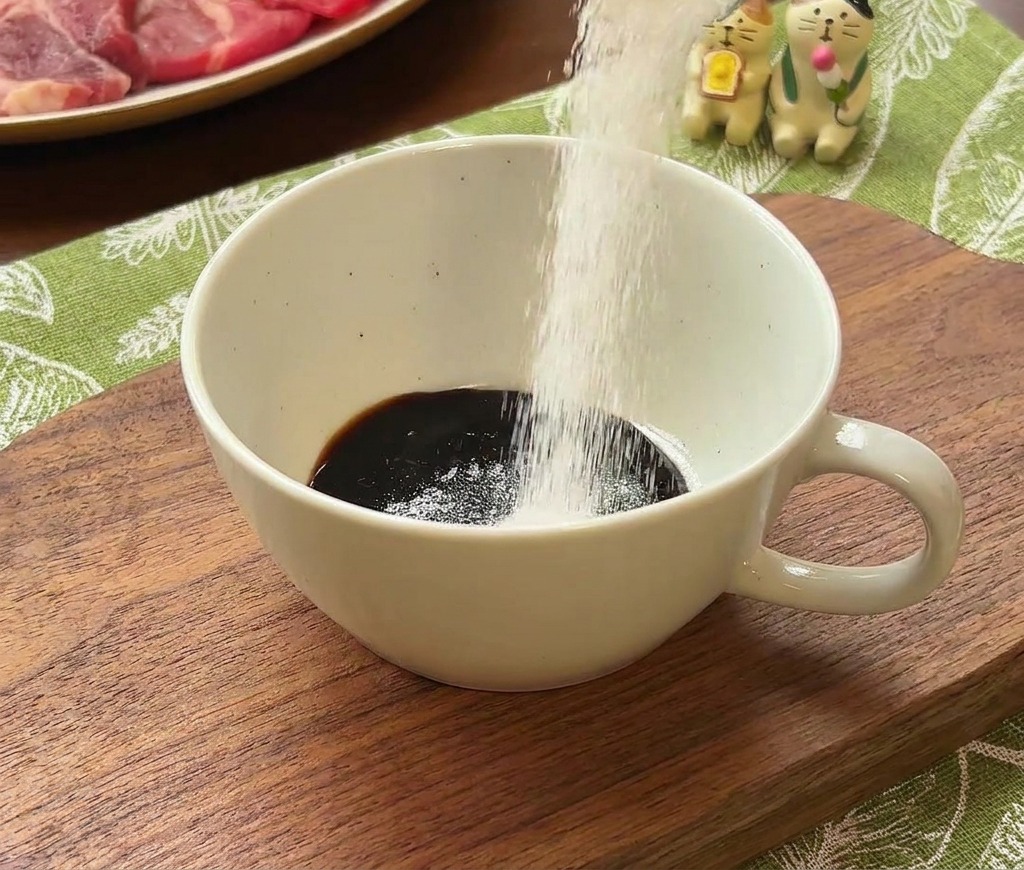
Add one spoonful of white granulated sugar into the bowl containing the soy sauce. The sugar is essential for balancing the saltiness of the soy and will help the beef caramelize beautifully as it cooks in the pan.
Tip: If you prefer a deeper flavor profile, you can substitute the white sugar with light brown sugar or honey. - 4Incorporate Korean chili paste
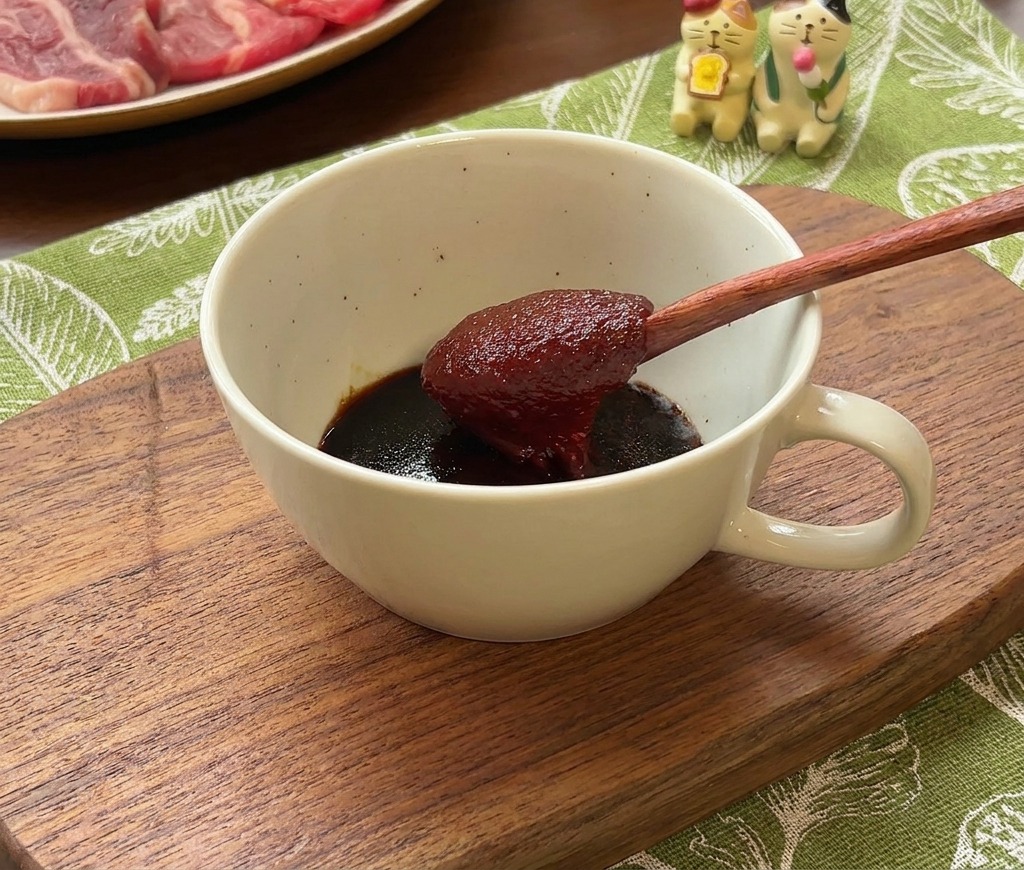
Add a large scoop of thick red Korean chili paste (Gochujang) to the sauce bowl. This fermented paste provides the characteristic spicy-sweet heat and rich red color that defines the flavor of the dish.
Tip: Gochujang is quite dense, so use a spoon to press it against the side of the bowl to help it break down into the liquid ingredients. - 5Dilute the sauce mixture
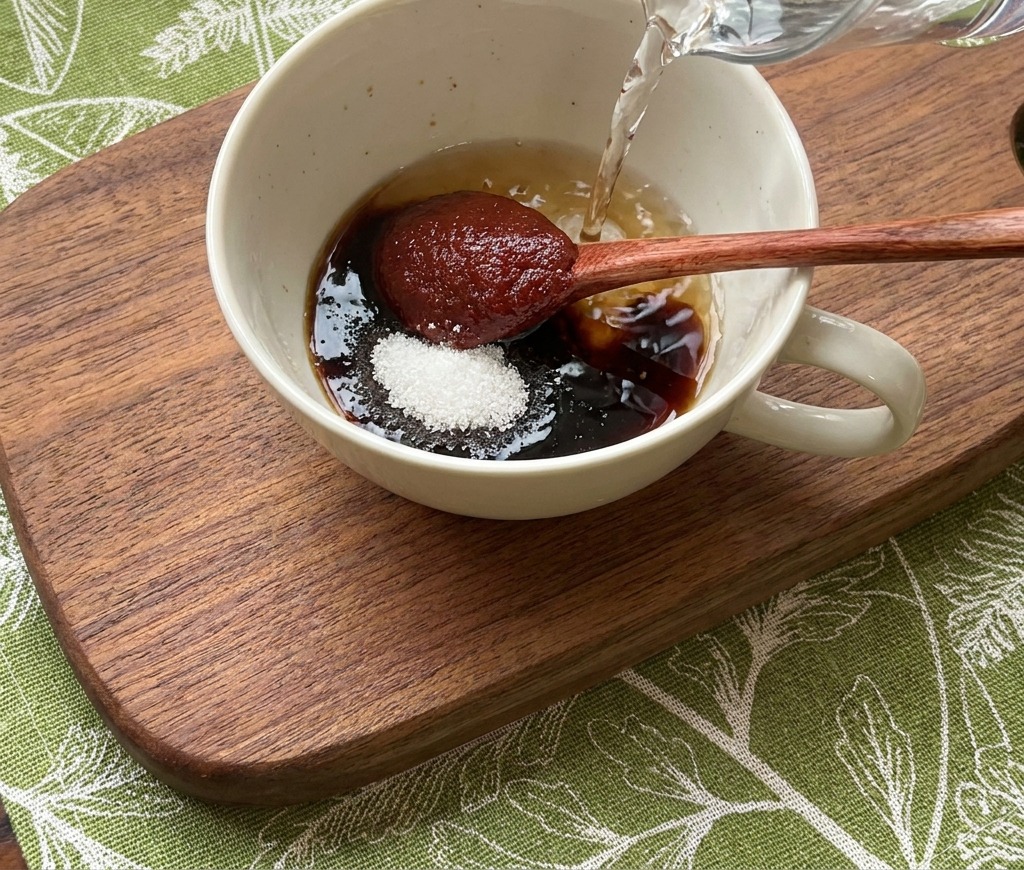
Pour about half a bowl of water into the concentrated mixture of soy sauce, sugar, and chili paste. Thinning the sauce ensures it can easily coat all the ingredients in the pan and prevents it from burning or becoming overly salty during the simmering process.
Tip: Use room temperature or slightly warm water to help the sugar and thick chili paste dissolve more efficiently. - 6Sear the beef slices
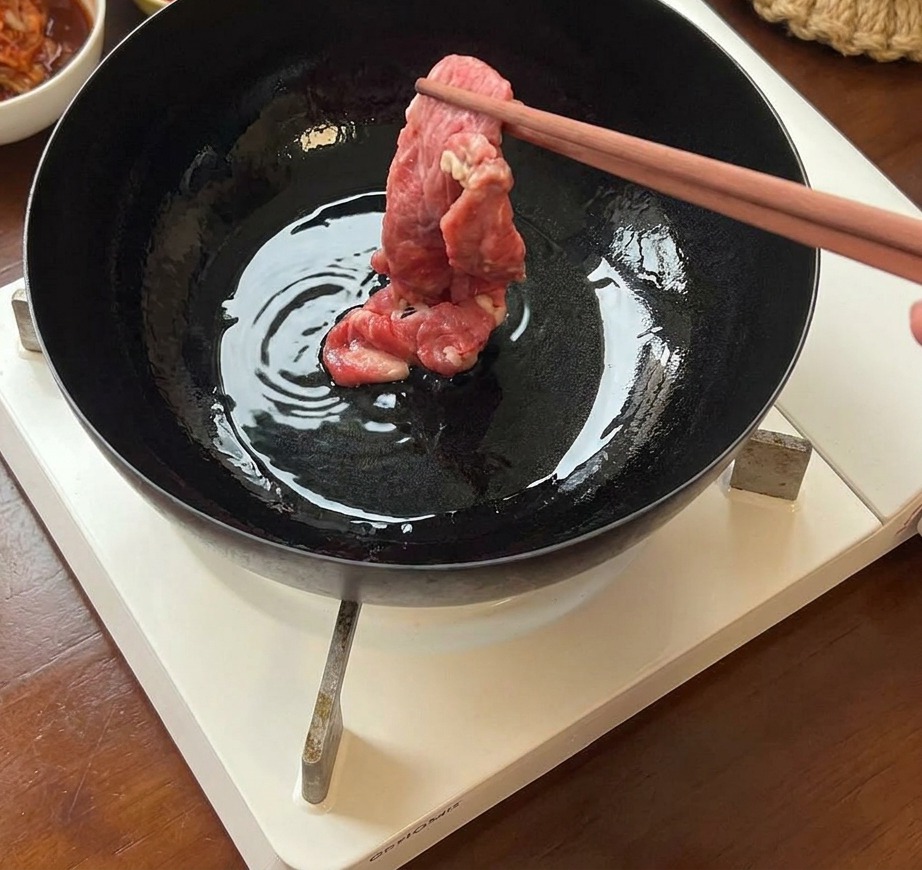
Heat a small iron pan with a bit of oil over medium-high heat. Carefully place the fresh beef slices into the pan and sear them briefly until they begin to change color. This initial browning locks in the juices and creates a flavorful base for the rice bowl.
Tip: Work quickly and avoid overcooking the beef at this stage; a light sear is all you need before removing the slices from the pan. - 7Rest the meat
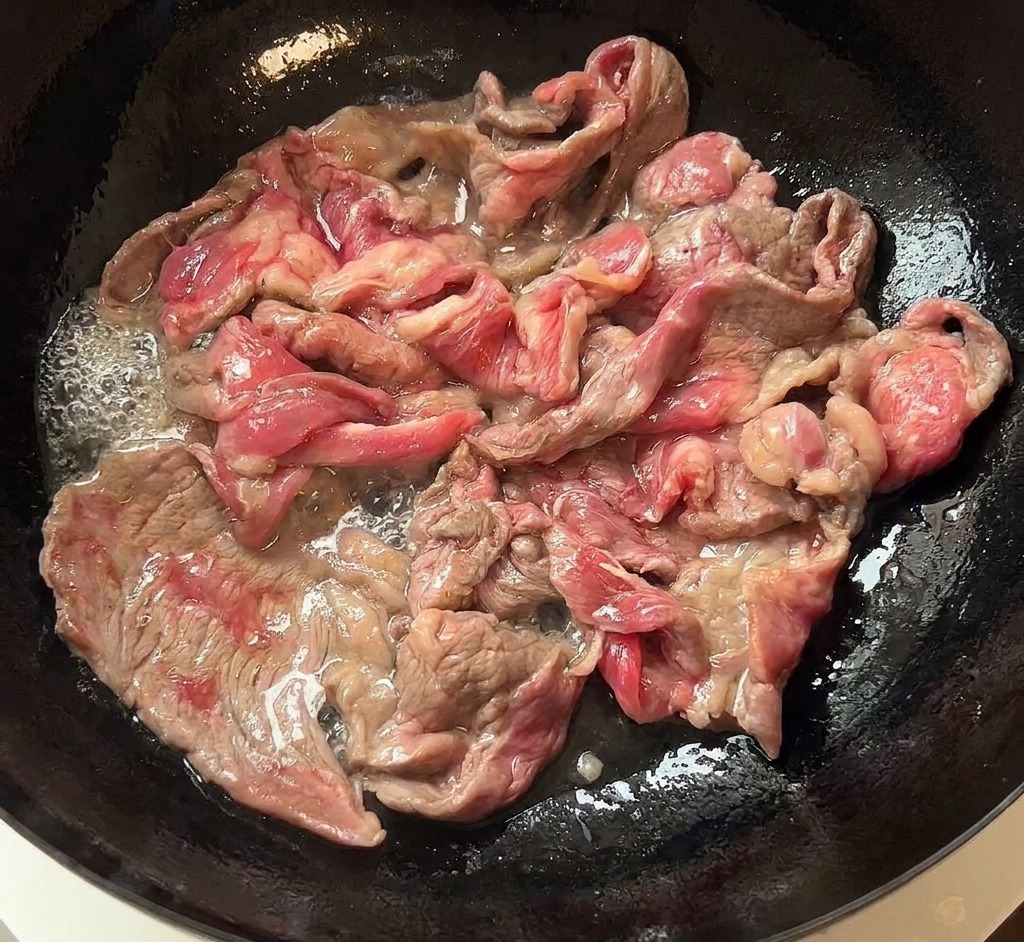
Once the beef is lightly browned transfer it to a separate plate and let it rest. This step ensures the meat remains juicy and tender while you prepare the remaining components of the dish.
Tip: Do not worry about the beef being fully cooked at this stage as it will return to the pan later. - 8Sauté onions and kimchi
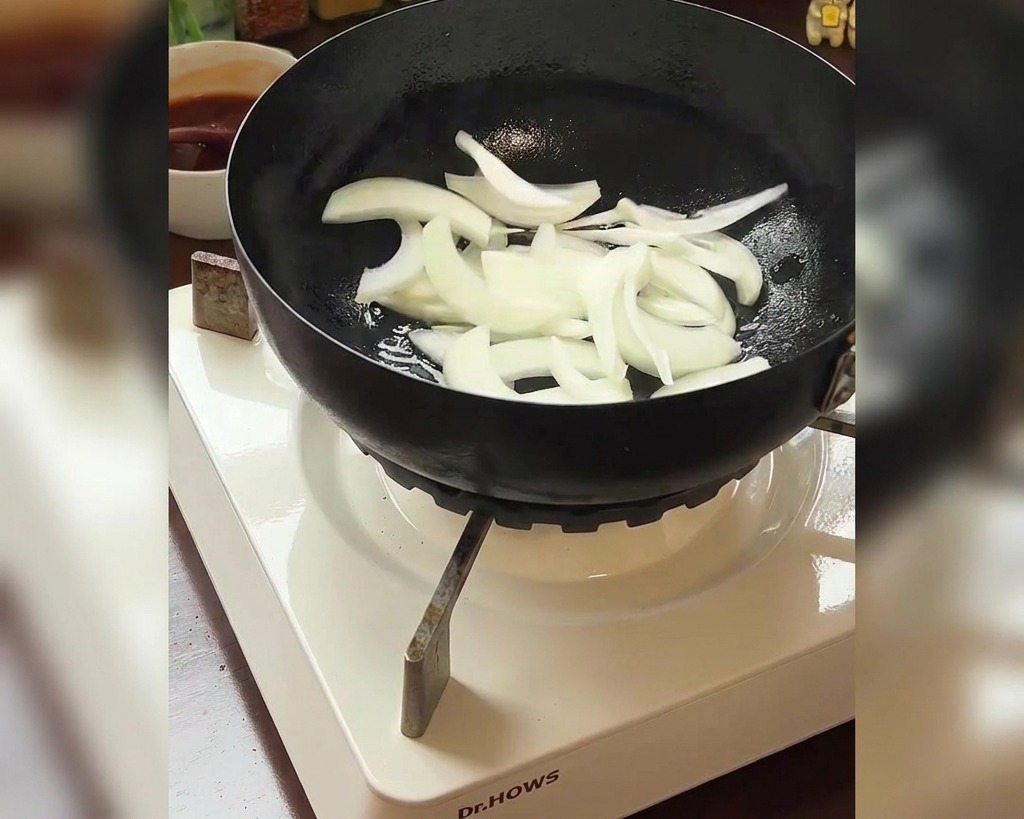
In the same pan used for the beef, add the sliced onion strips and the fermented kimchi. Stir-fry the mixture over medium heat until the onions soften and become translucent, allowing them to pick up the savory bits left behind by the beef.
Tip: Using well-aged kimchi will provide a more intense, sour flavor that balances perfectly with the sweetness of the sauce. - 9Cook until translucent
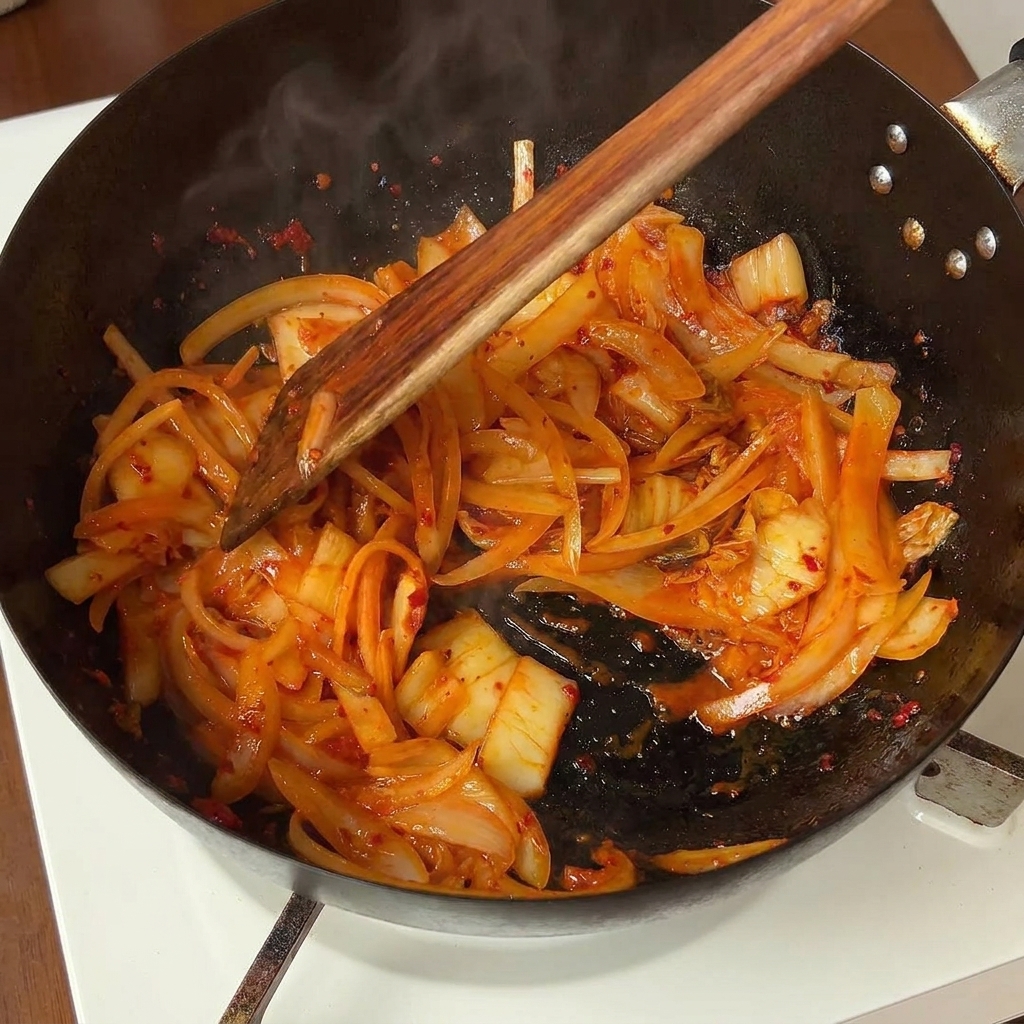
Stir the onions and kimchi frequently to ensure they cook evenly. The goal is to soften the onions and allow the kimchi to release its juices which creates a flavorful base for the stir fry.
Tip: The acidity from the kimchi naturally deglazes the pan which incorporates all the savory bits from the beef into the vegetables. - 10Return beef to the pan
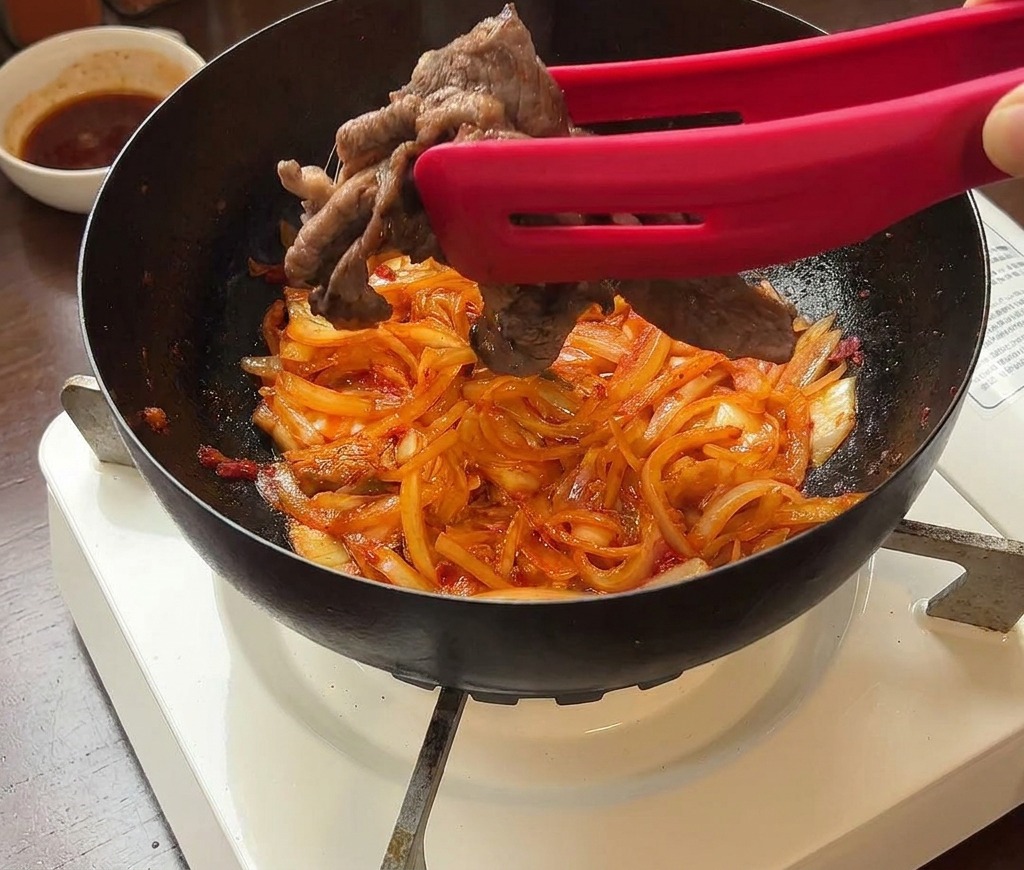
Once the onions and kimchi have softened and become fragrant, add the previously seared beef slices back into the pan. Use tongs to spread the meat evenly over the vegetable base, preparing it to be combined with the sauce.
Tip: Adding the beef back at this stage ensures it stays tender while absorbing the spicy, savory juices from the kimchi. - 11Add the spicy sauce
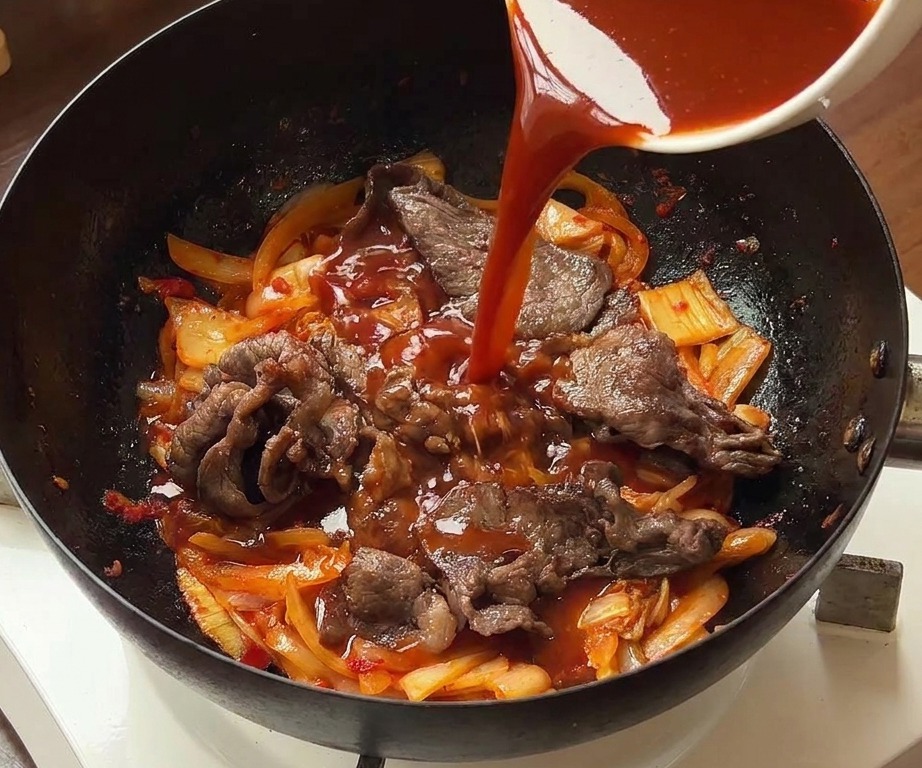
Pour the prepared red sauce—made from Korean chili paste, soy sauce, and sugar—into the pan over the beef, onions, and kimchi. Stir everything together over medium heat to ensure the ingredients are thoroughly and evenly coated in the flavorful mixture.
Tip: If you prefer a saucier dish, you can add an extra splash of water at this stage to prevent the mixture from drying out as it simmers. - 12Simmer and thicken the sauce

Stir the beef and kimchi mixture as it simmers over medium heat. The red Korean chili sauce will begin to reduce and thicken, coating all the ingredients in a rich, glossy glaze that concentrates the spicy and savory flavors.
Tip: Keep an eye on the heat; you want a steady simmer that reduces the liquid without burning the sugars in the sauce. - 13Plate the beef and kimchi
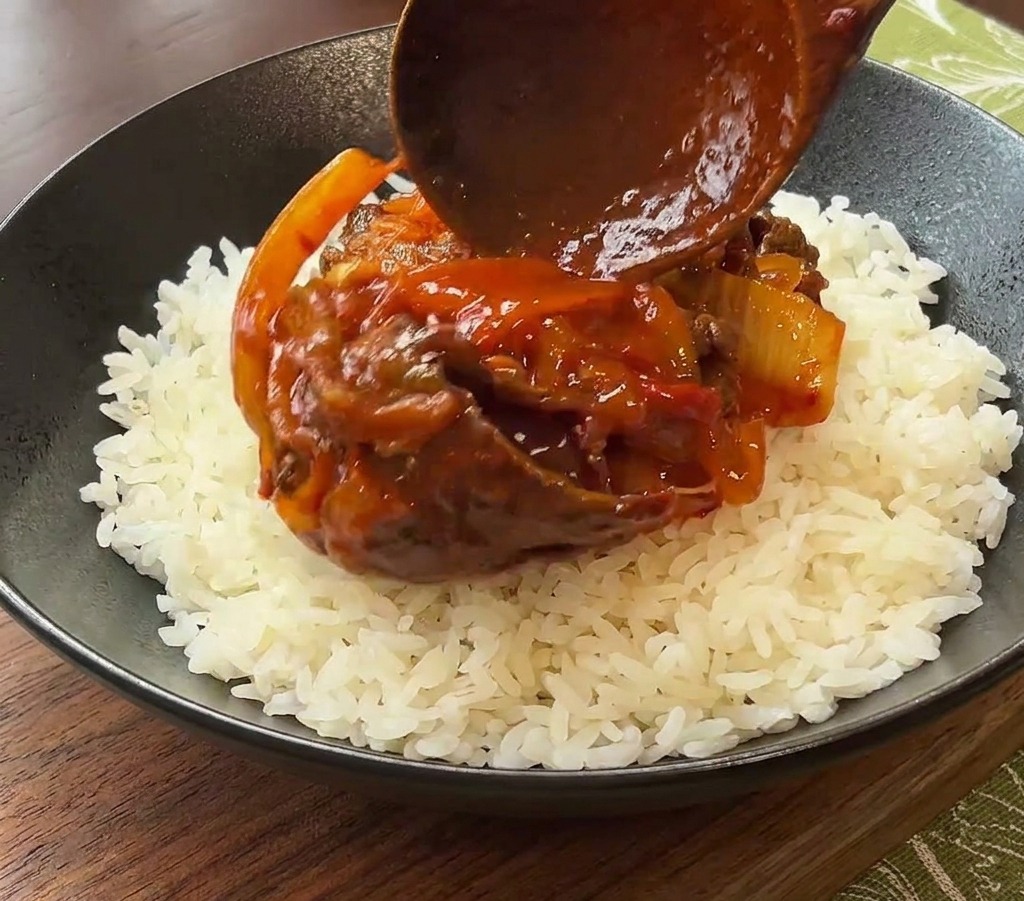
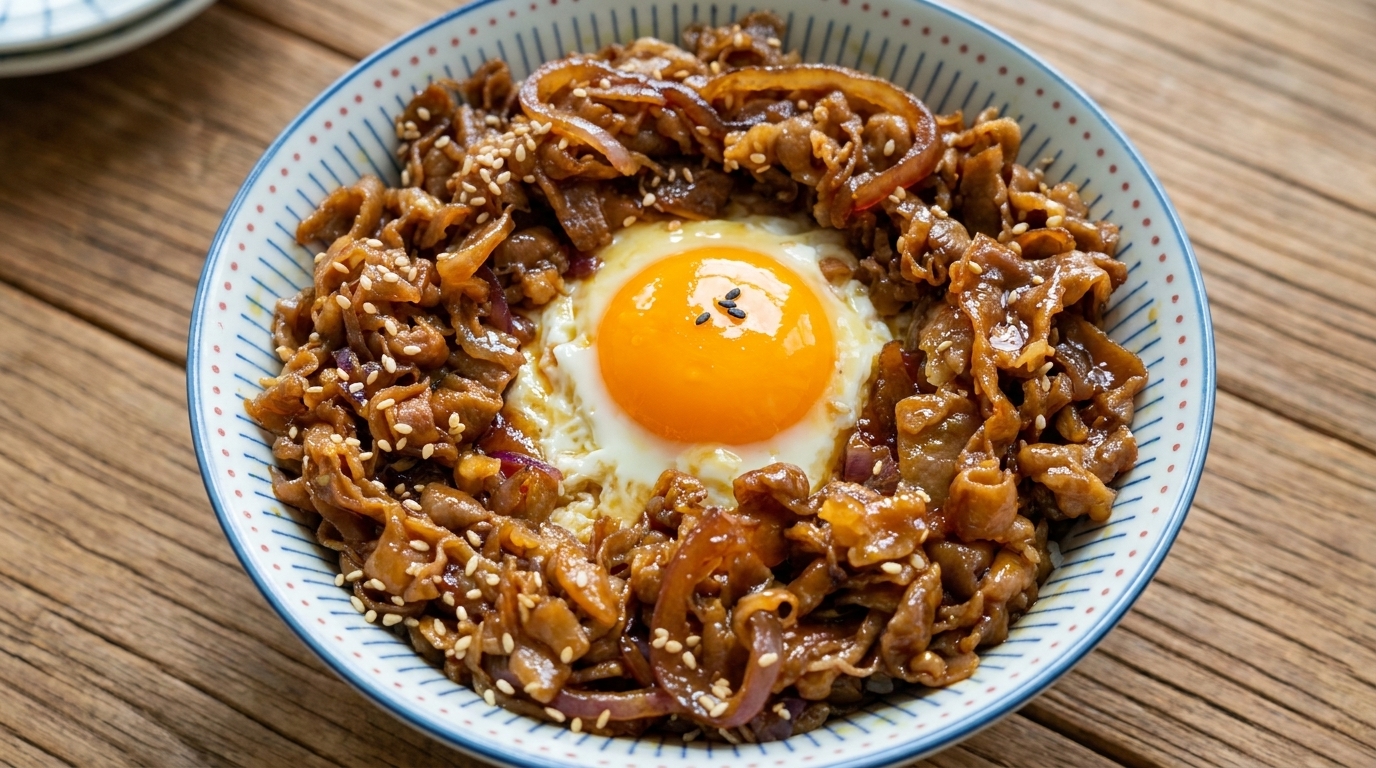
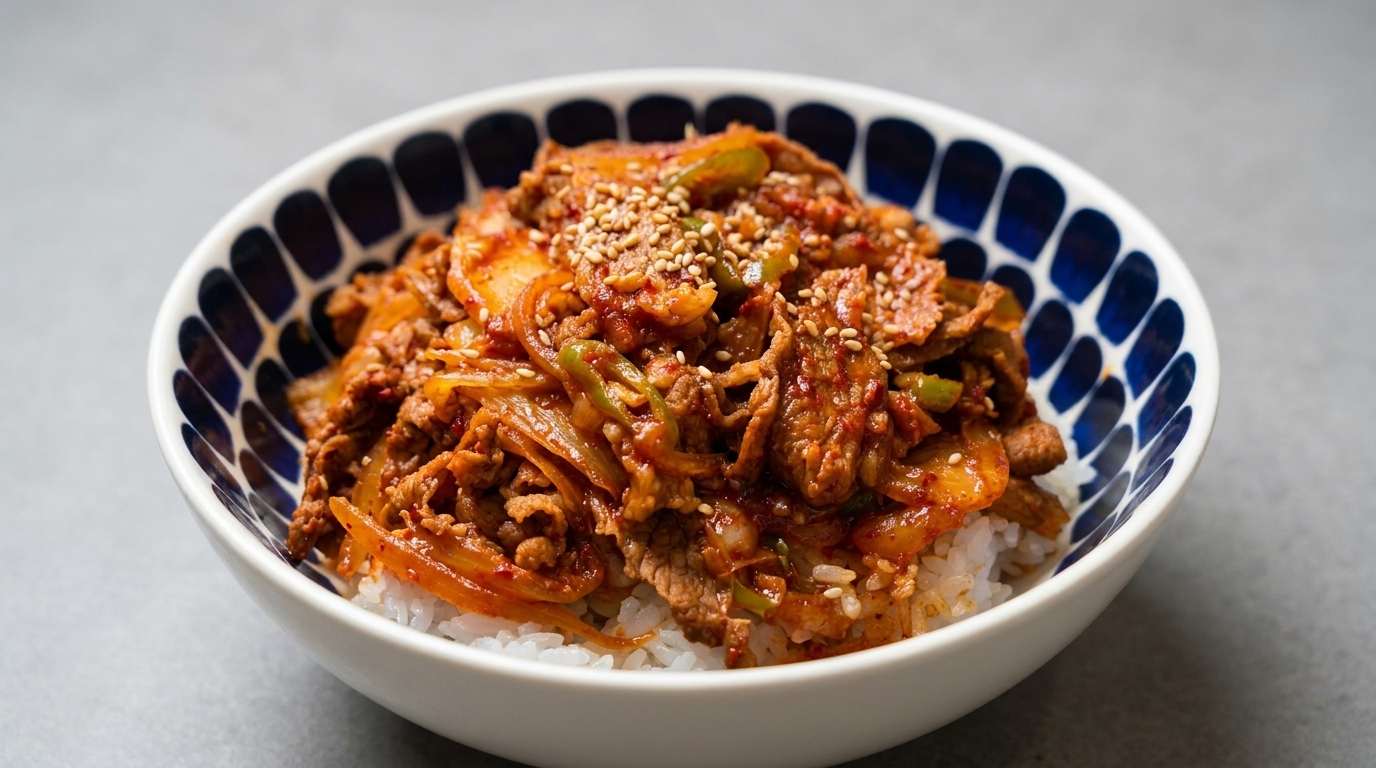
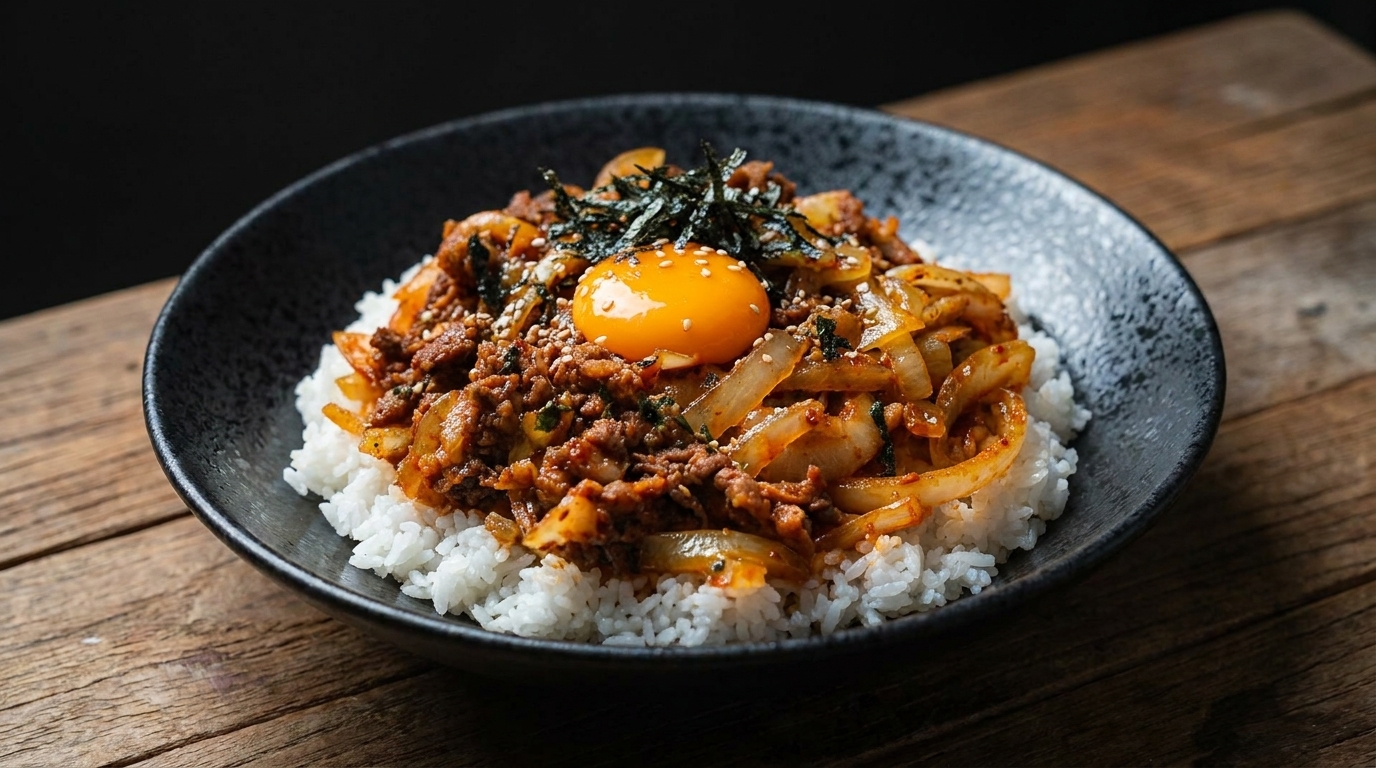
Generously scoop the hot, caramelized beef and kimchi mixture onto a bowl of fluffy, steamed white rice. Ensure the spicy-sweet sauce is drizzled over the rice to allow the flavors to soak in for a more satisfying meal.
Tip: Use a wide, shallow bowl for plating to make it easier to add the final egg yolk garnish and mix everything together before eating. - 14Garnish with egg yolk
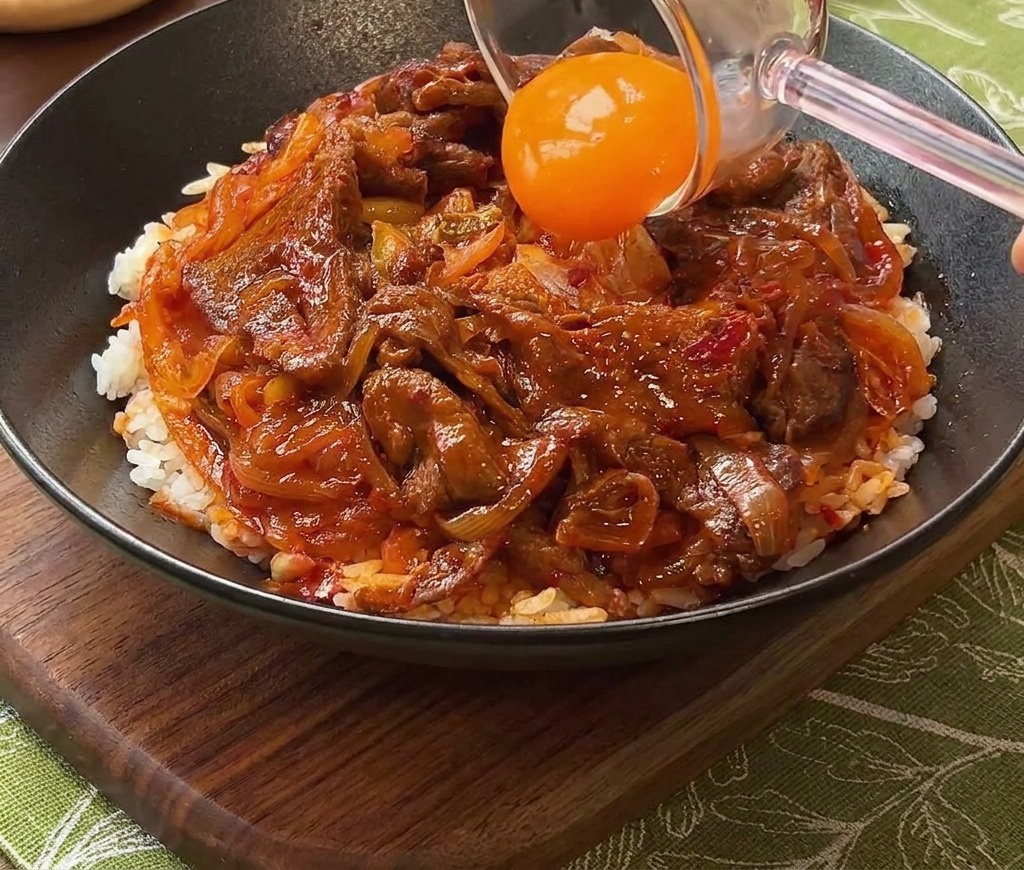
Place a single raw pasteurized egg yolk in the middle of the bowl. The yolk adds a luxurious creamy texture that helps balance the sharp acidity of the kimchi and the heat of the chili paste.
Tip: Always choose pasteurized eggs for recipes calling for raw consumption to ensure food safety.