Torched Salmon Rice Bowl (Aburi Salmon Don)
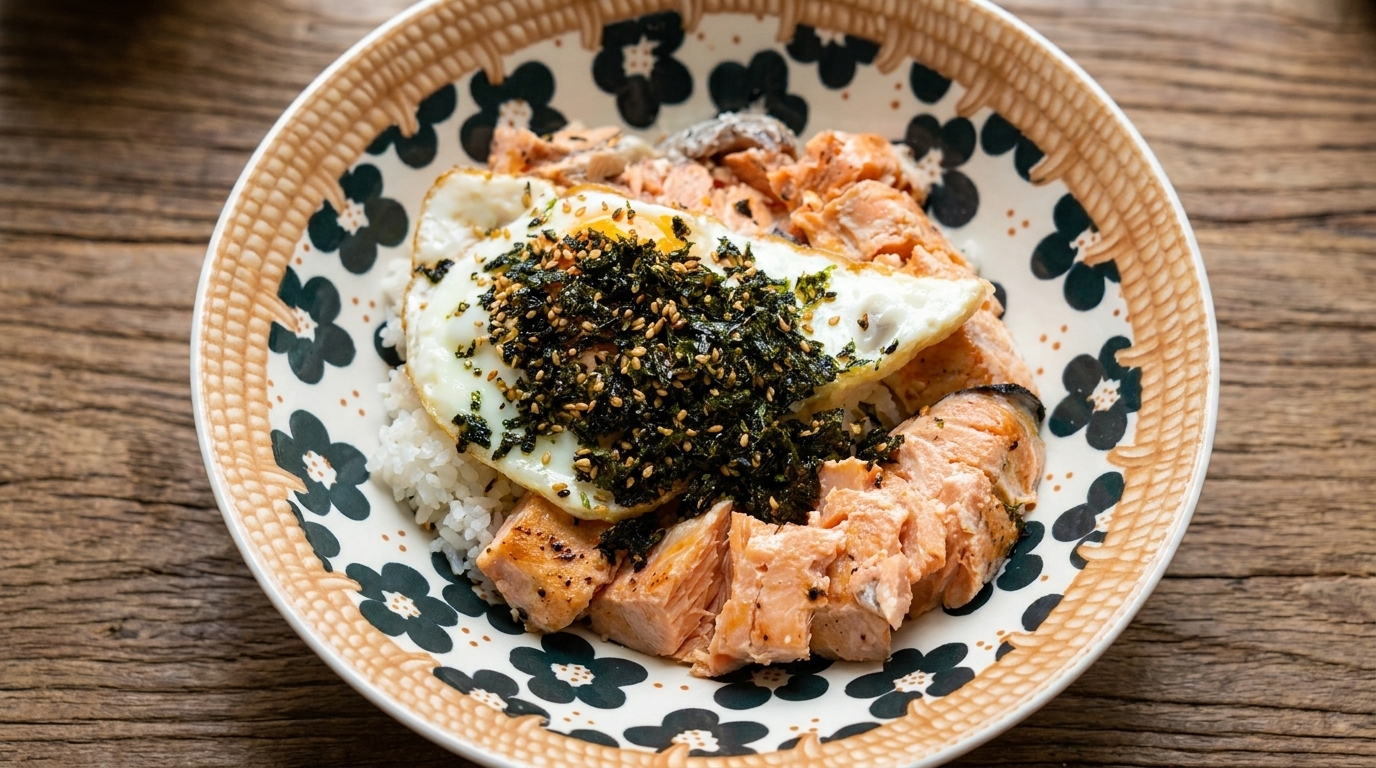
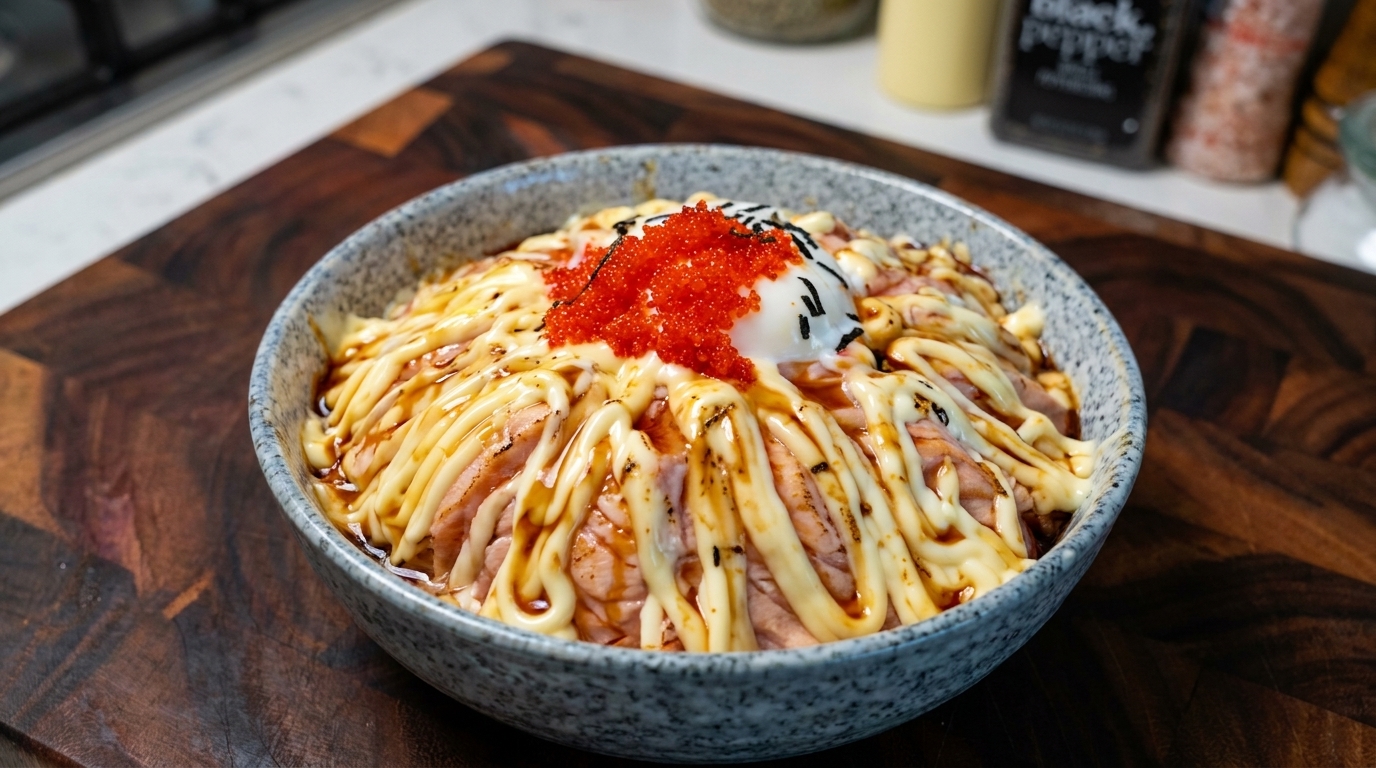
Experience the melt-in-your-mouth magic of torched salmon rice bowls. Topped with a silky hot spring egg and creamy mayonnaise, this dish is a crowd-pleasing favorite.
Inspired by the vibrant food scene in Osaka, this Torched Salmon Rice Bowl is a masterpiece of texture and flavor. The combination of lightly seared salmon, rich Kewpie mayonnaise, and the creamy richness of a perfectly cooked hot spring egg creates a dish that feels like a special treat yet is incredibly easy to prepare at home. It is the perfect balance of smoky, sweet, and savory elements.
Ingredients
- 200 g sashimi-grade salmon
- 1 bowl cooked sushi rice
- 1 large egg
- 2 tbsp Kewpie mayonnaise
- 1 tbsp teriyaki sauce
- 1 tbsp flying fish roe (tobiko)
- 1 tsp crushed seaweed
- to taste water
Instructions
- 1Boil water for the egg
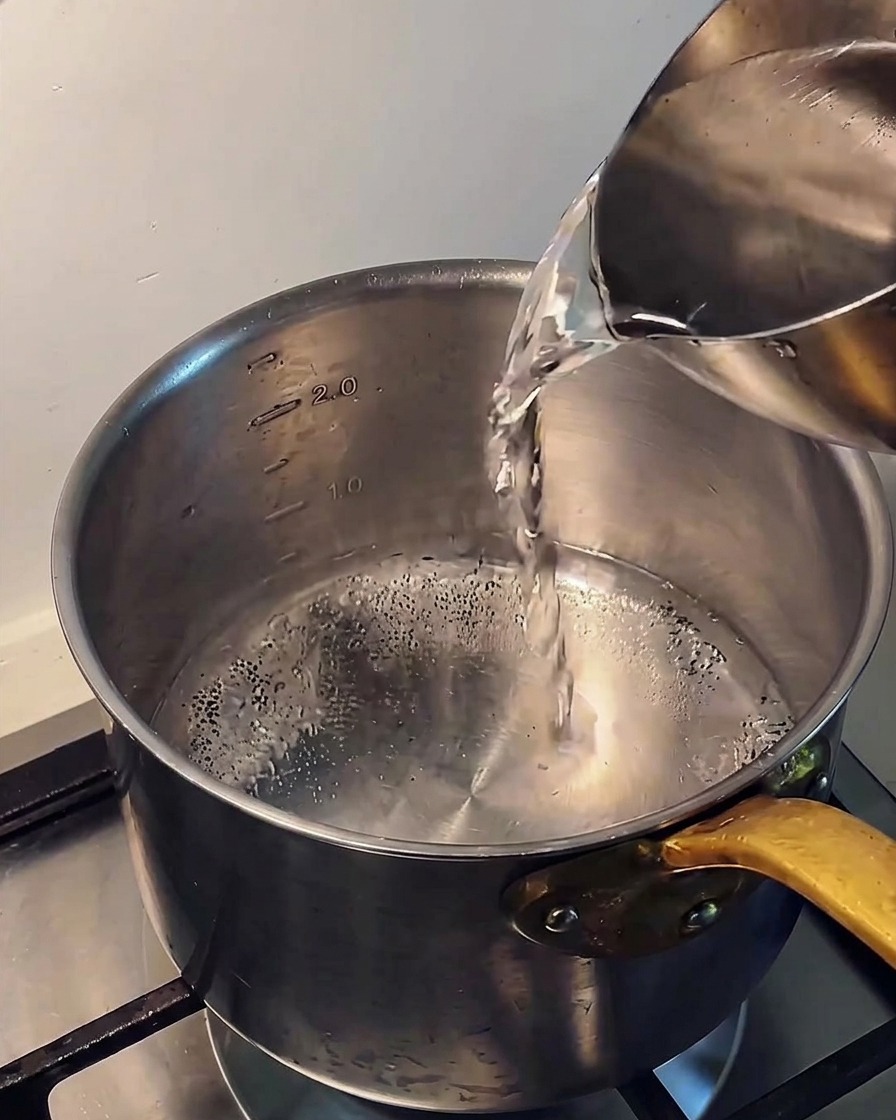
Pour cold water from a metal pitcher into a pot on the stove. Bring the water to a boil, which is the first step in preparing the hot spring egg base.
Tip: Measuring out exactly three cups of water ensures you have the right volume for consistent temperature control. - 2Cook the hot spring egg
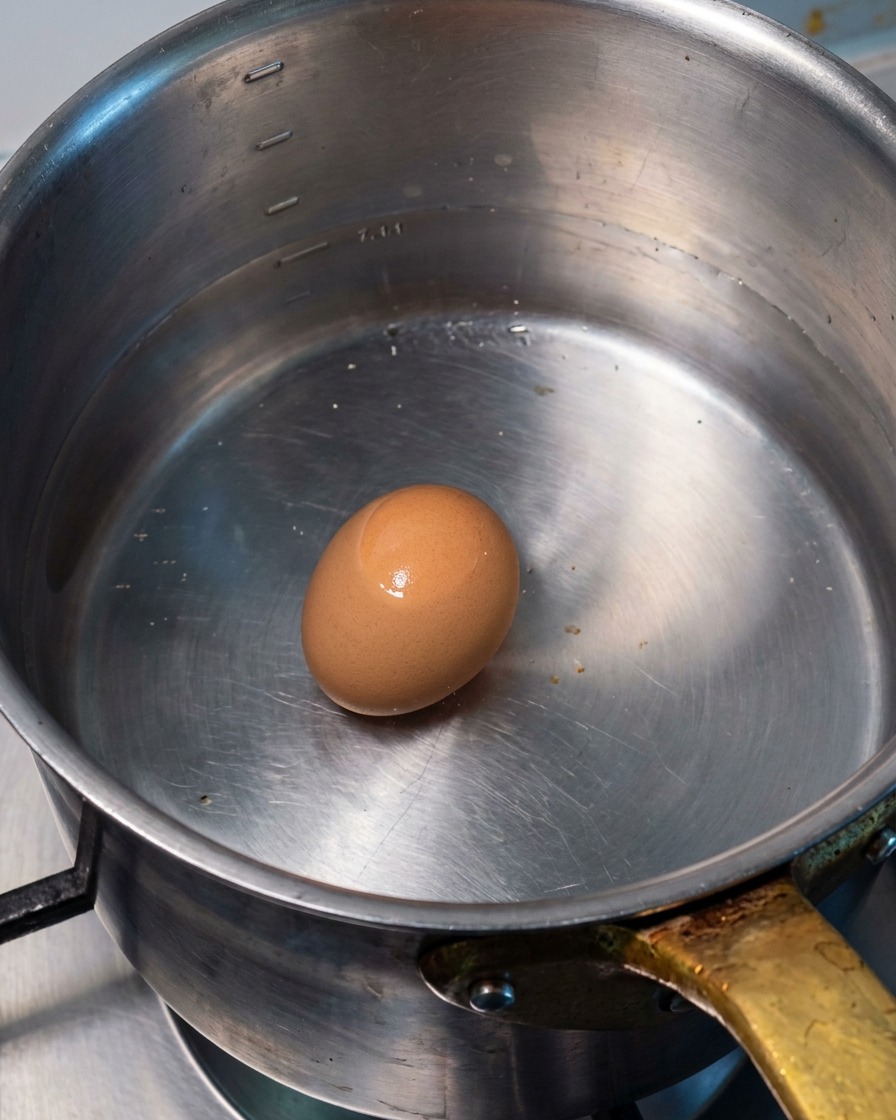
After the initial water boils, add another cup of cold water to lower the temperature. Turn off the heat completely, place a whole egg into the pot, cover it with a lid, and let it sit undisturbed for 10 minutes.
Tip: Adding the cold water before dropping the egg prevents the egg white from overcooking and becoming rubbery. - 3Cool the egg
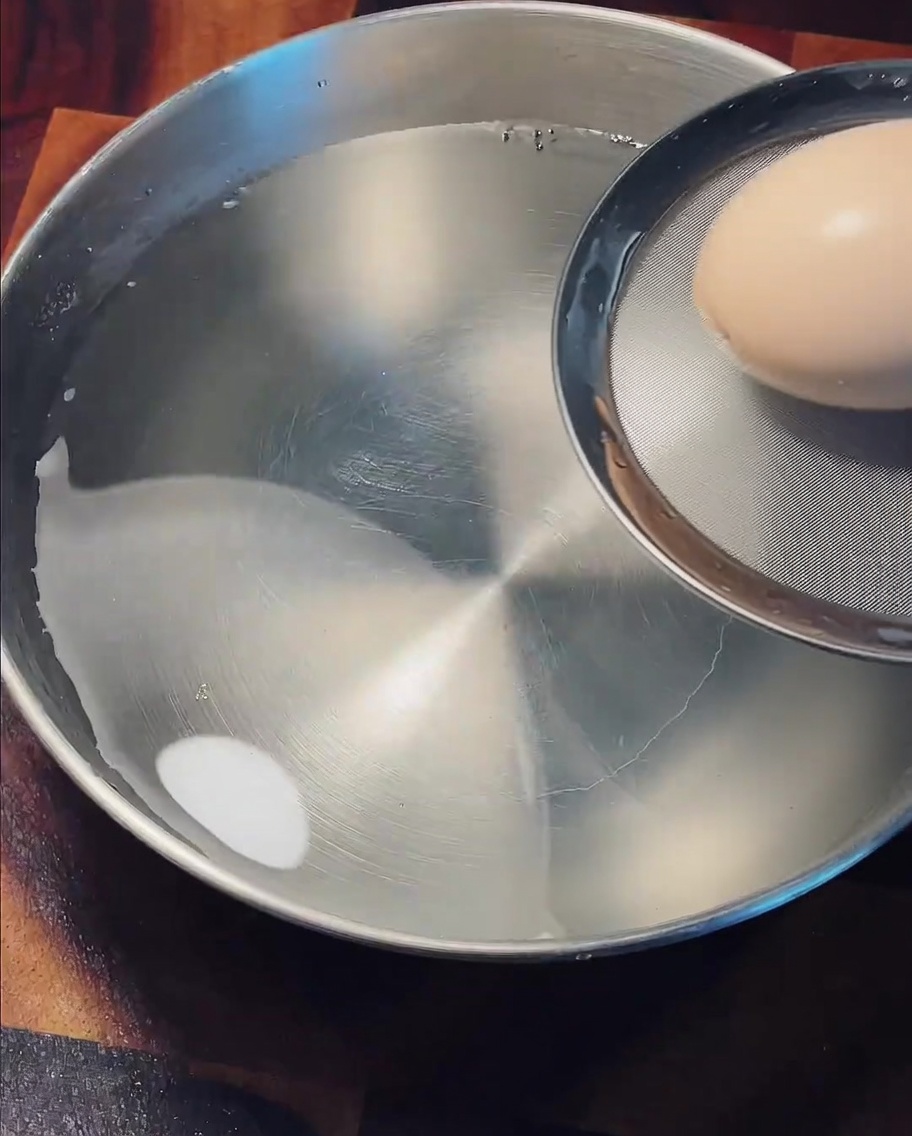
Once the 10 minutes are up, carefully remove the egg from the hot water using a wire skimmer. Immediately transfer it into a bowl of cold water and let it sit for 8 minutes to halt the cooking process.
Tip: An ice bath works even better if you want to ensure the yolk stays perfectly runny. - 4Prepare the rice base
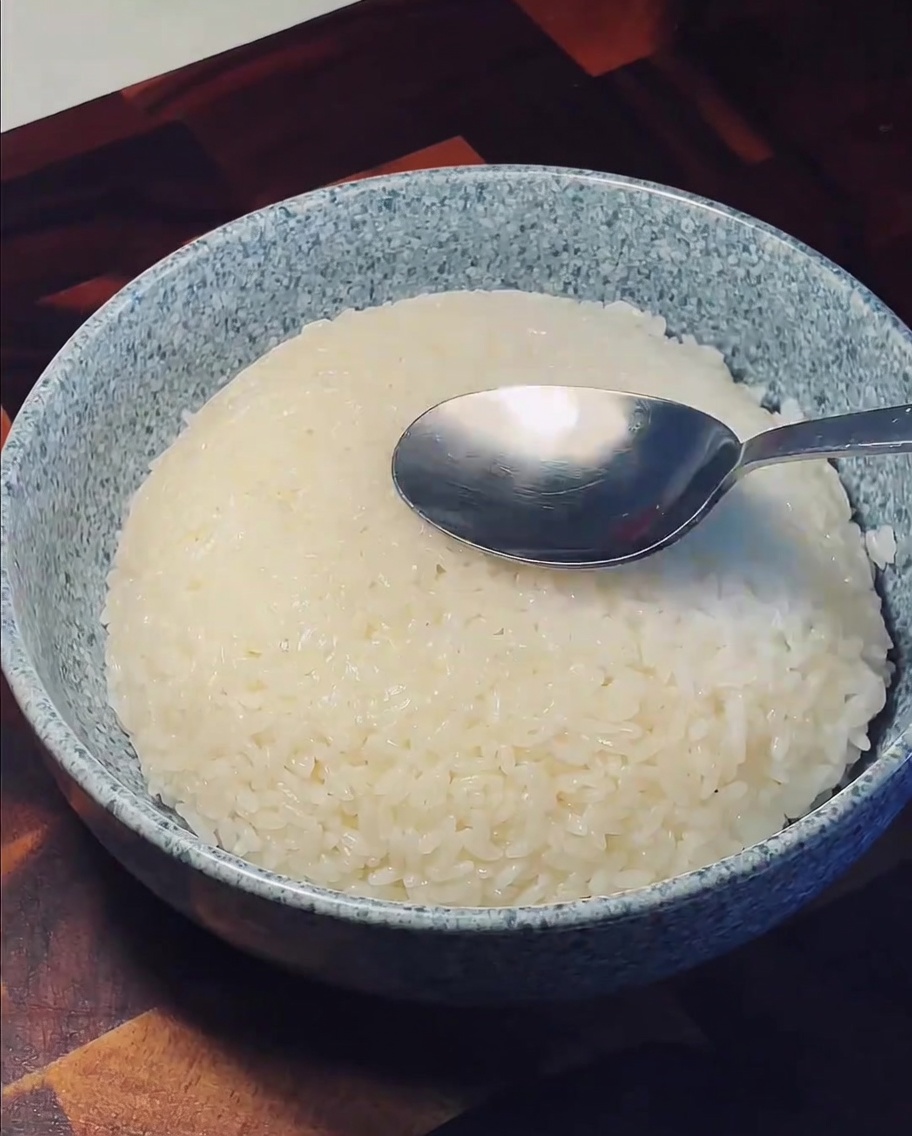
Fill a serving bowl with warm, freshly cooked white rice. Use the back of a metal spoon to press a shallow indentation right in the center of the mound to securely hold the egg later.
Tip: Short-grain sushi rice works best for this dish as it clumps together nicely and holds its shape. - 5Arrange the salmon slices
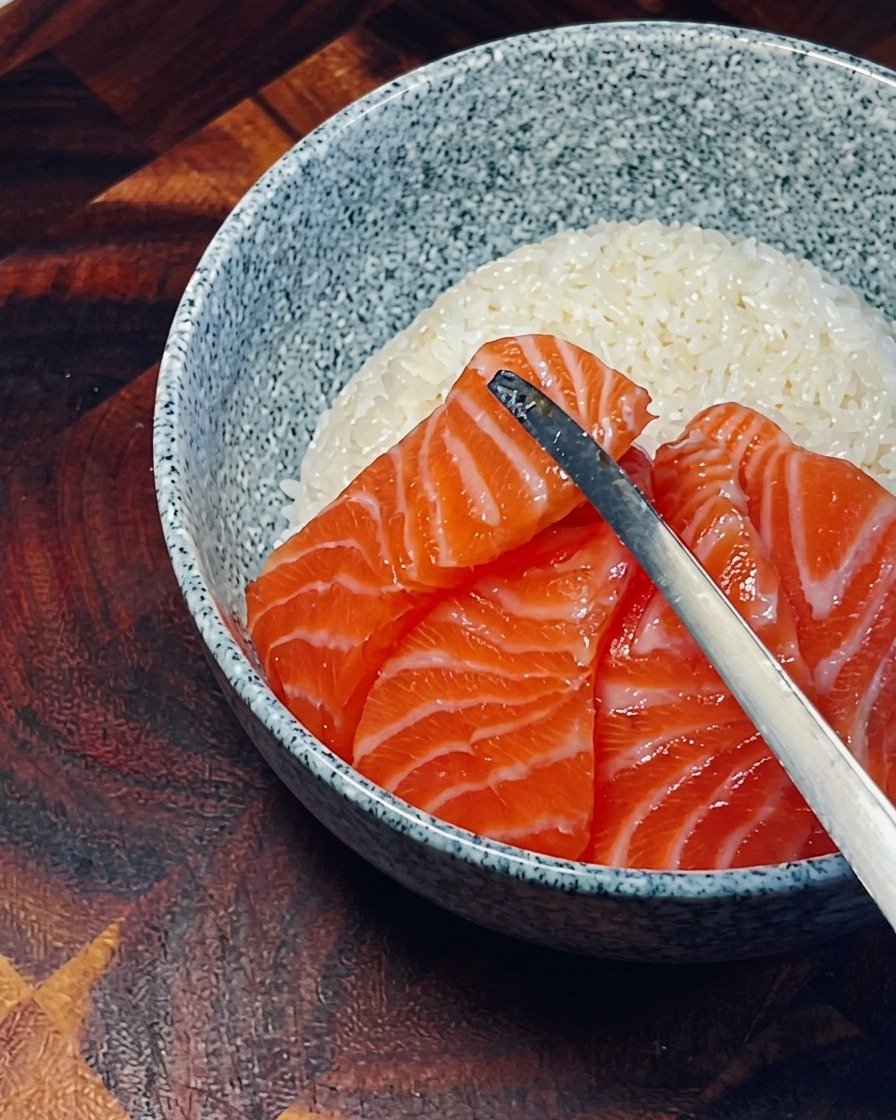
Take fresh, thinly sliced raw salmon and evenly arrange them in an overlapping, circular pattern over the rice. Leave the center indentation exposed for the hot spring egg.
Tip: Ensure you buy high-quality, sashimi-grade salmon since the interior of the slices will remain raw after torching. - 6Torch the salmon
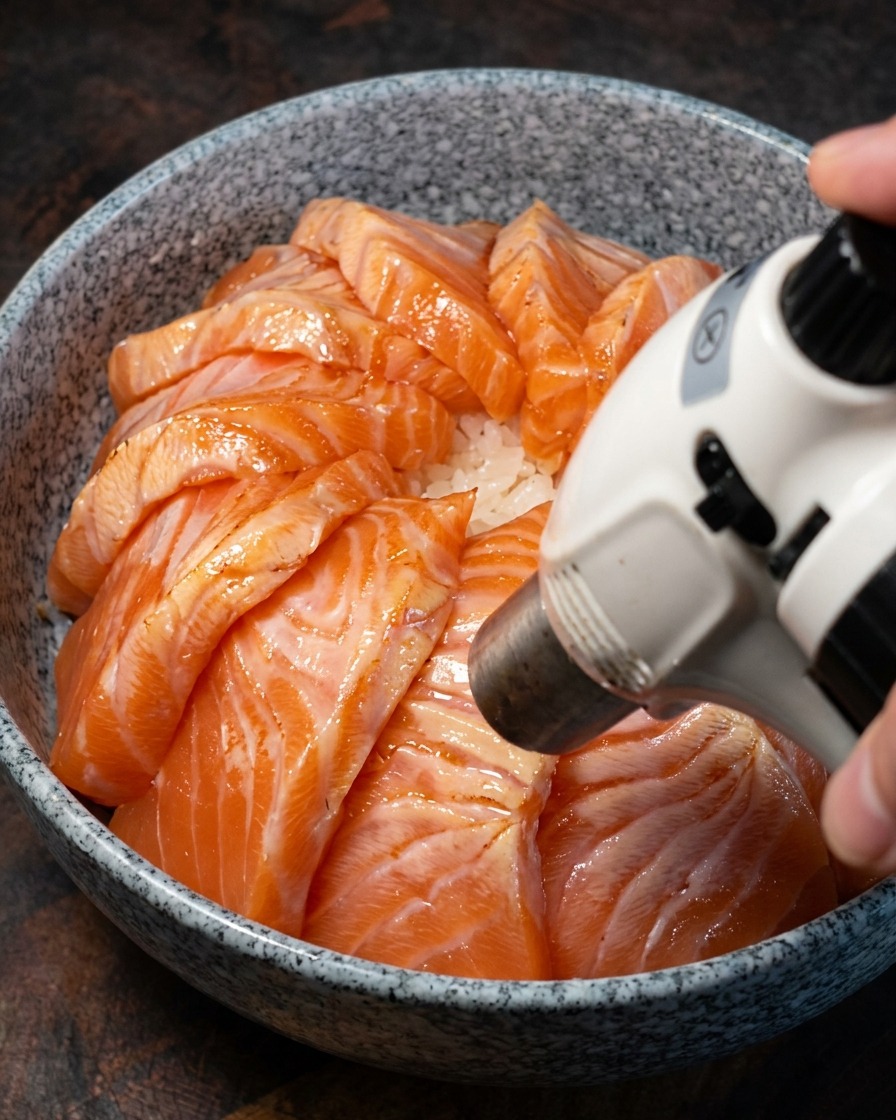
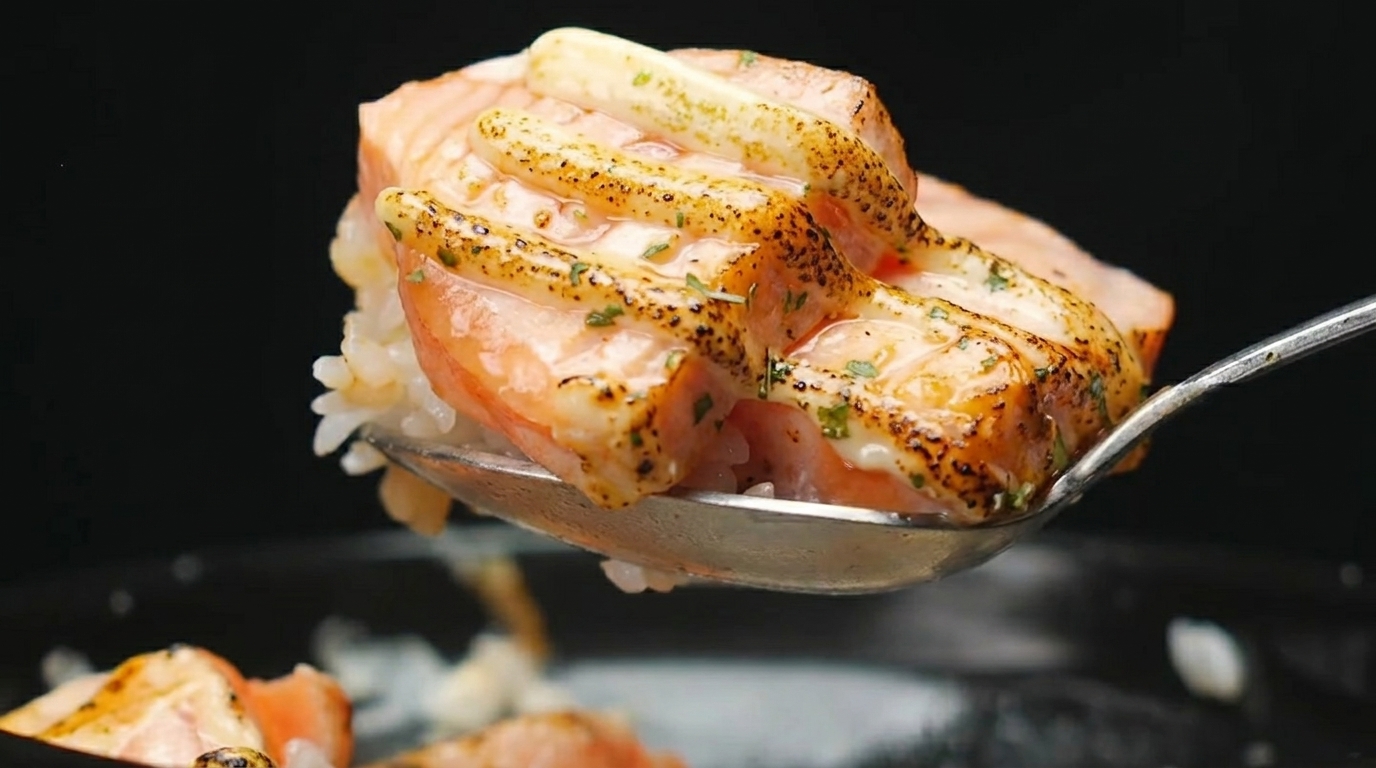
Using a kitchen blowtorch, carefully sweep the flame over the surface of the salmon slices. Sear the fish until the top turns opaque and lightly browned, while keeping the inside raw and tender.
Tip: Keep the blowtorch moving constantly to avoid burning the fish or the rice underneath. - 7Apply mayonnaise
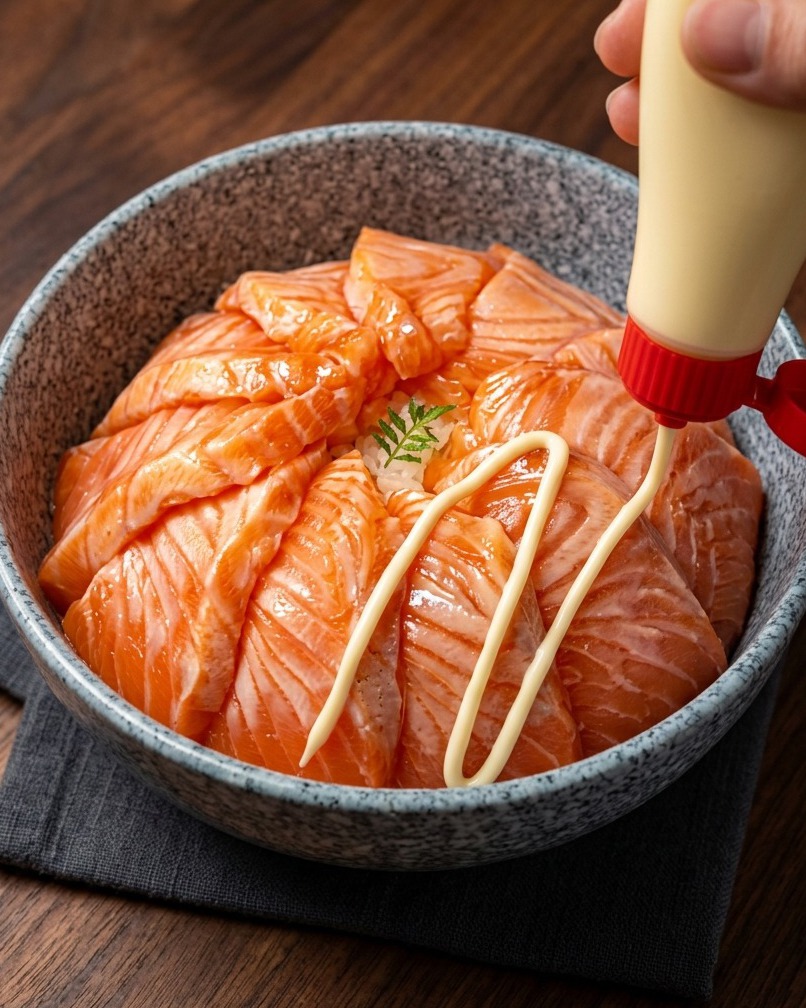
Hold the mayonnaise bottle firmly and squeeze it steadily to create consistent, thick zigzag lines across the entire surface of the seared salmon. This adds a rich, creamy flavor that perfectly complements the delicate fish.
Tip: Use a zigzag motion to ensure the mayonnaise is evenly distributed across all slices. - 8Add teriyaki sauce
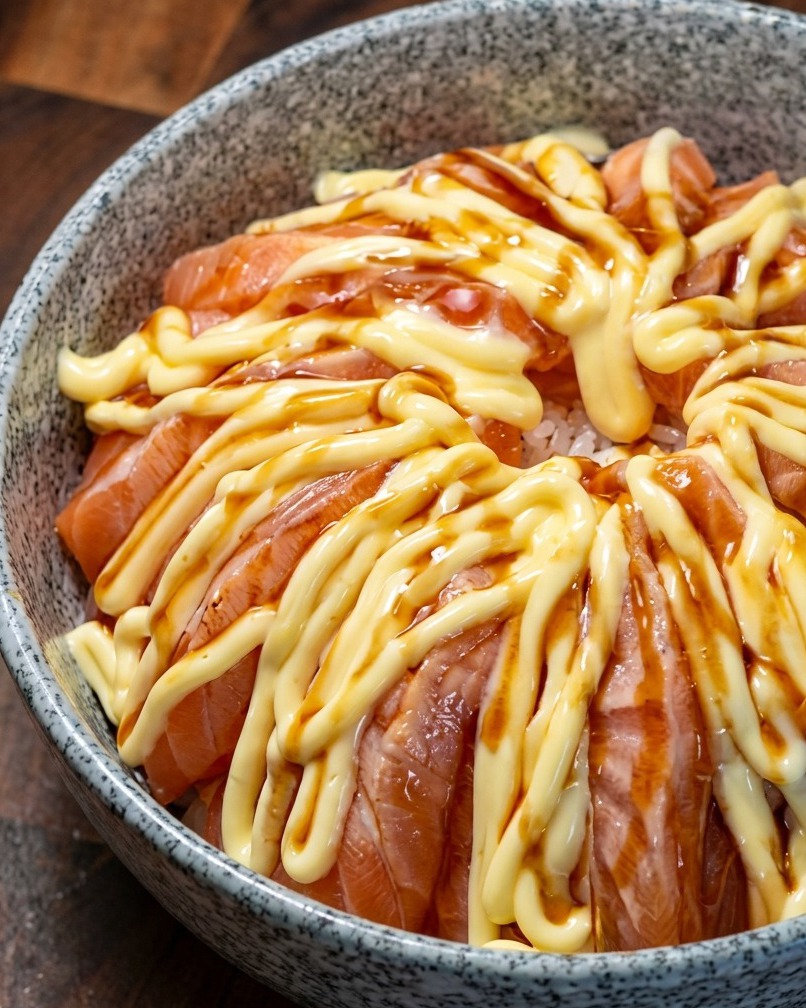
Drizzle a small amount of teriyaki sauce over the mayonnaise-covered salmon. The sweet and savory sauce will sink into the crevices and enhance the overall depth of flavor in the bowl.
Tip: A light drizzle is enough; you dont want to overpower the fresh taste of the salmon. - 9Add the soft-boiled egg
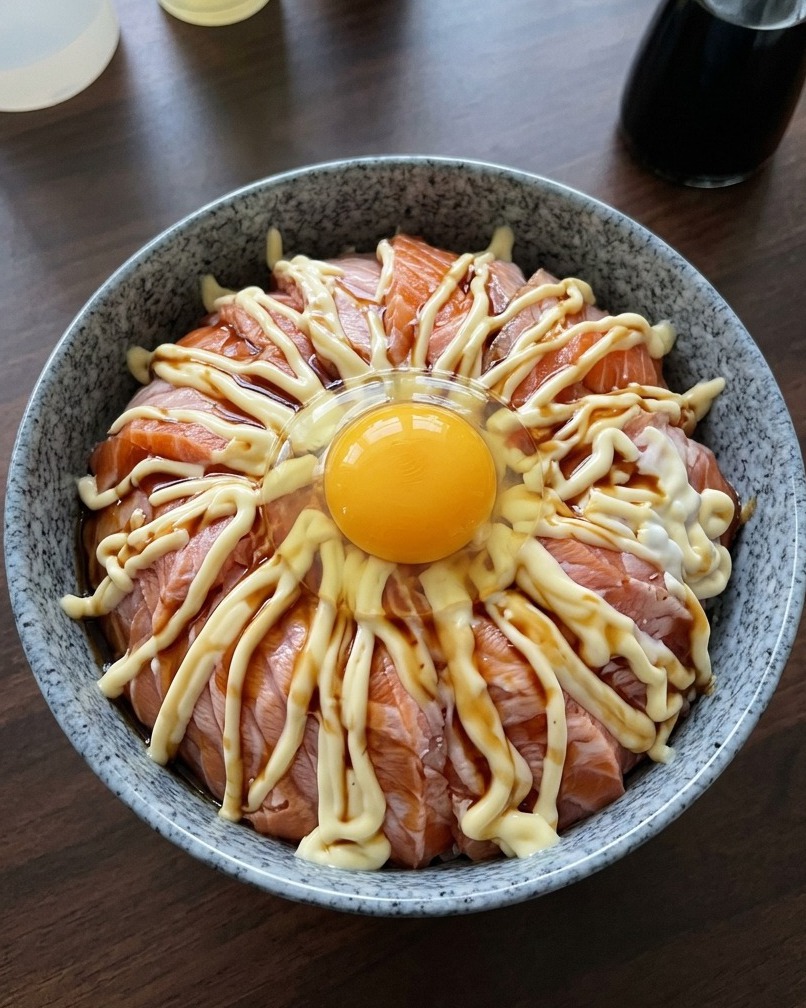
Carefully crack the prepared hot spring egg and place it directly into the center indentation of the rice bowl. The yolk will act as a rich sauce when mixed into the rice and salmon.
Tip: Ensure the egg is perfectly soft-boiled so the yolk remains runny for the best texture. - 10Garnish with fish roe
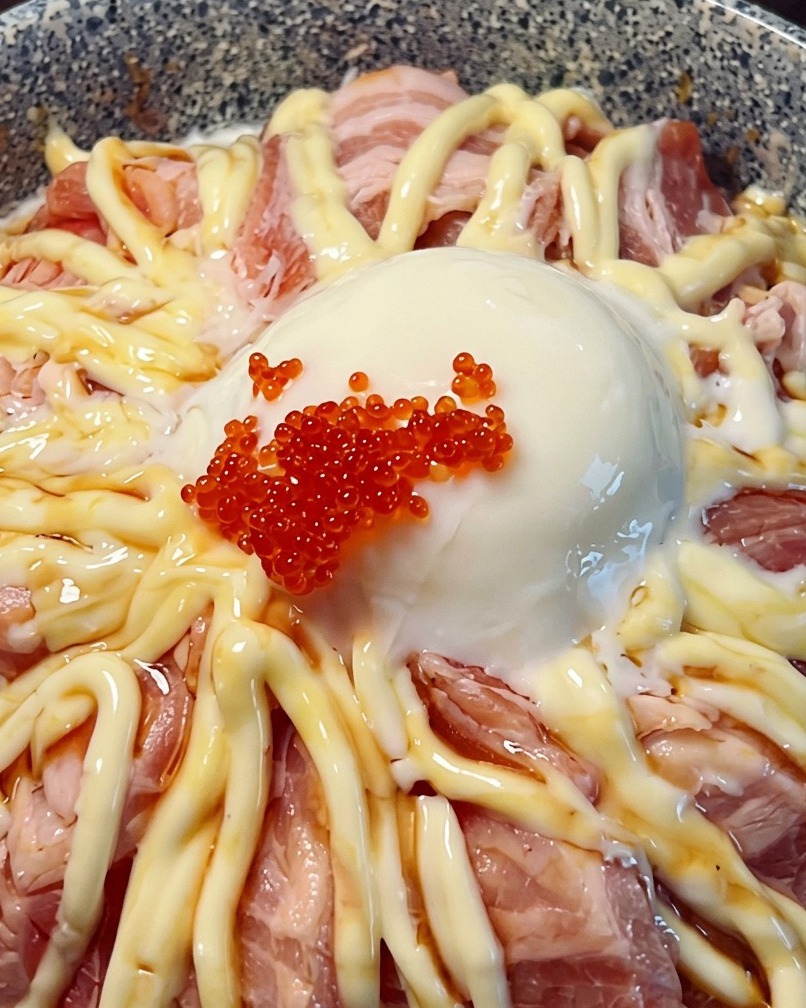
Spoon a generous portion of bright red fish roe (tobiko) onto the top of the soft-boiled egg. The popping texture of the roe provides a delightful contrast to the creaminess of the egg and salmon.
Tip: The vibrant red color also adds a beautiful visual appeal to the final dish. - 11Final torching
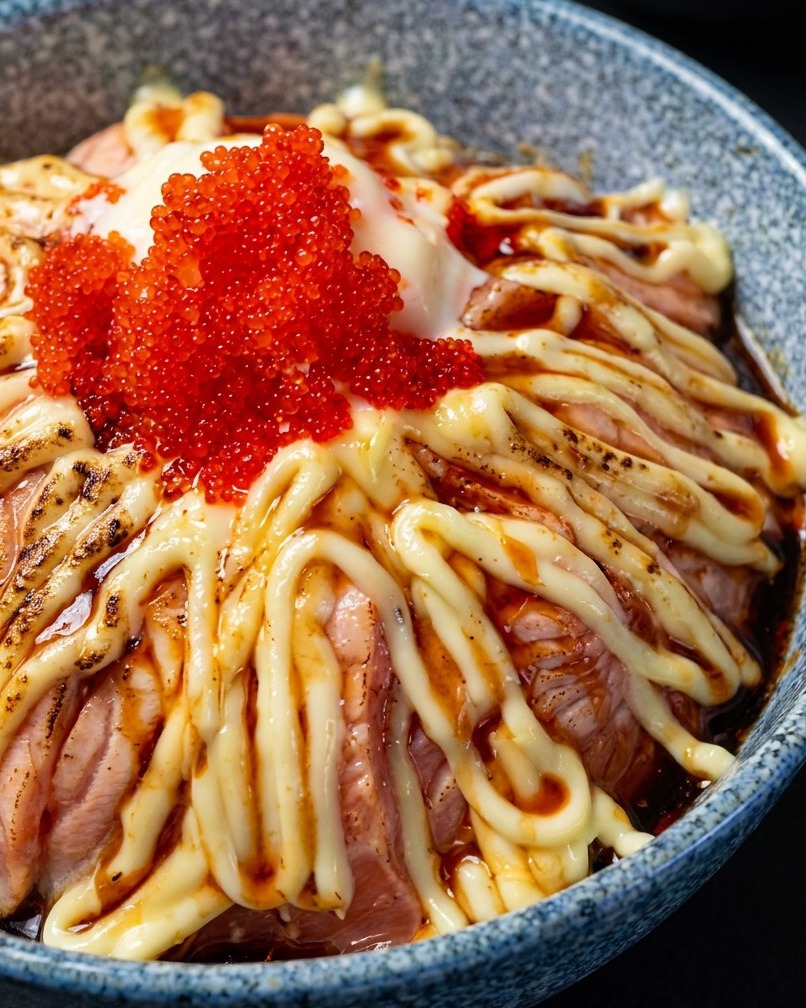
Use a blowtorch to briefly sear the mayonnaise and fish roe. This quick burst of heat fuses the flavors together and brings out a smoky, toasted aroma.
Tip: Keep the torch moving to avoid burning the ingredients; you just want a light char.