Classic Japanese Oyakodon (Chicken
Egg Rice Bowl)
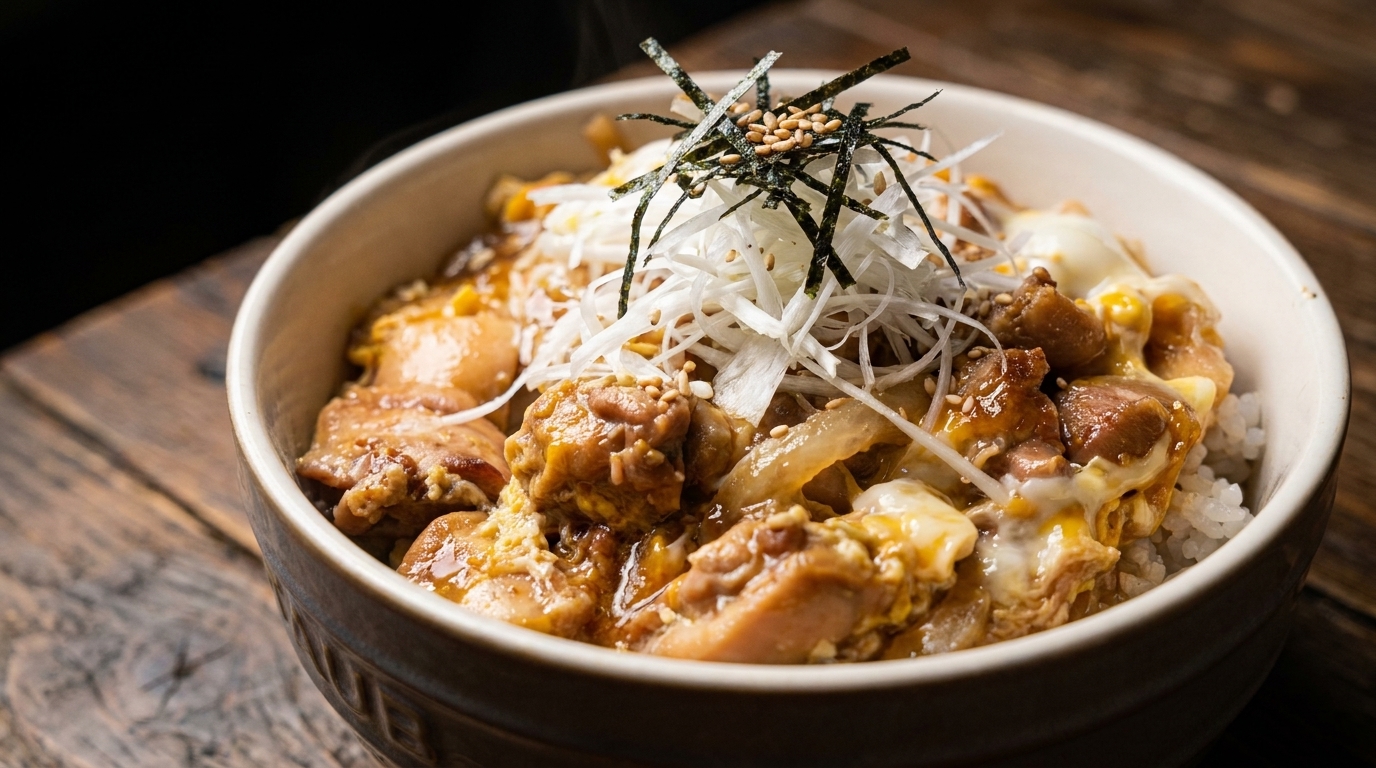
Unlock the secrets of Tokyo's favorite comfort food: tender chicken and sweet red onions simmered in a savory glaze, topped with silky, semi-set eggs.
Oyakodon, which literally translates to Parent and Child bowl, is a cornerstone of Japanese home cooking. This recipe elevates the humble rice bowl by using succulent chicken thighs and aromatic red onions, finished with a glossy egg topping and a rich raw yolk for the ultimate umami experience.
Ingredients
- 300 g boneless chicken thighs
- 1 large red onion
- 1 stalk leek
- 2 large eggs
- 1 bowl steamed white rice
- 1 egg yolk
- 2 tbsp soy sauce
- 1 tbsp oyster sauce
- 1 tbsp sugar
- 2 tbsp sake
- 12 cup water
- 1 tbsp cornstarch
- 12 tsp salt
- to taste black pepper
- optional black sesame seeds
Instructions
- 1Slice the red onion
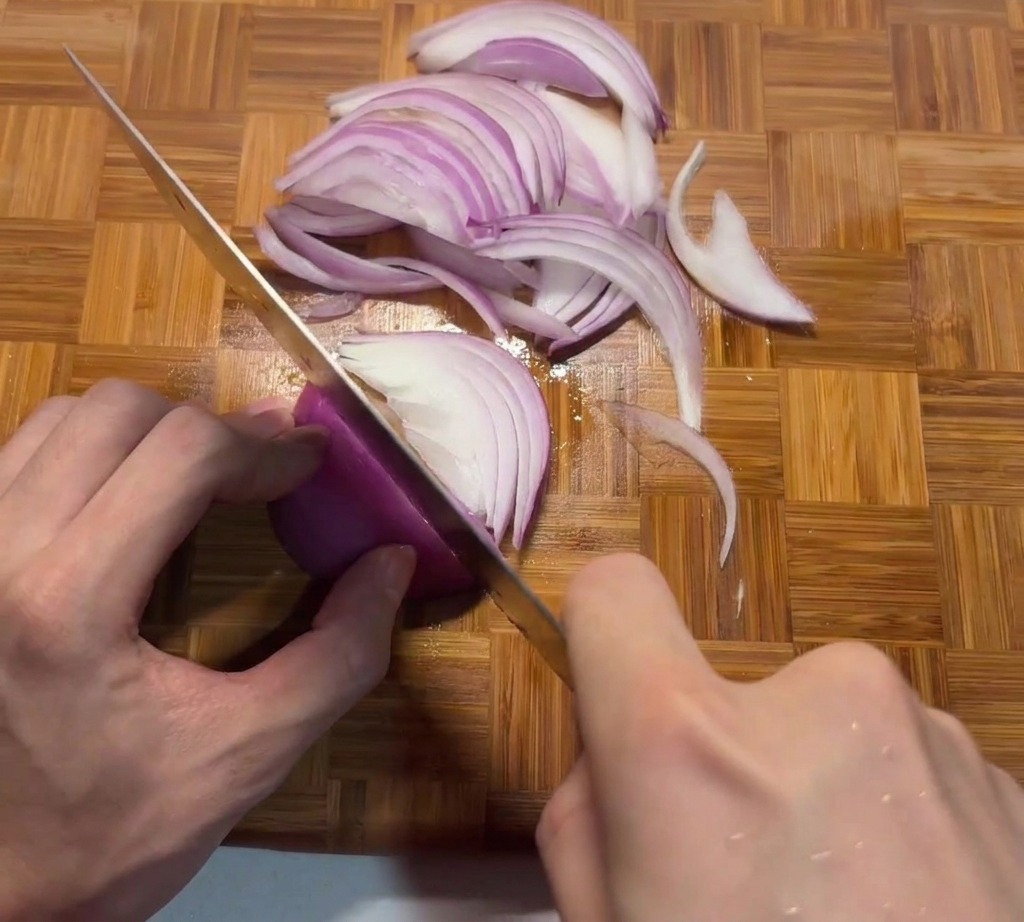
Begin by slicing a red onion into thin, uniform strips. These onions will provide a sweet and aromatic foundation for the Oyakodon, softening beautifully once they are simmered in the savory sauce later in the process.
Tip: For the best texture, slice the onion with the grain (from root to stem) so the strips maintain their shape and dont turn mushy during cooking. - 2Prepare the leeks
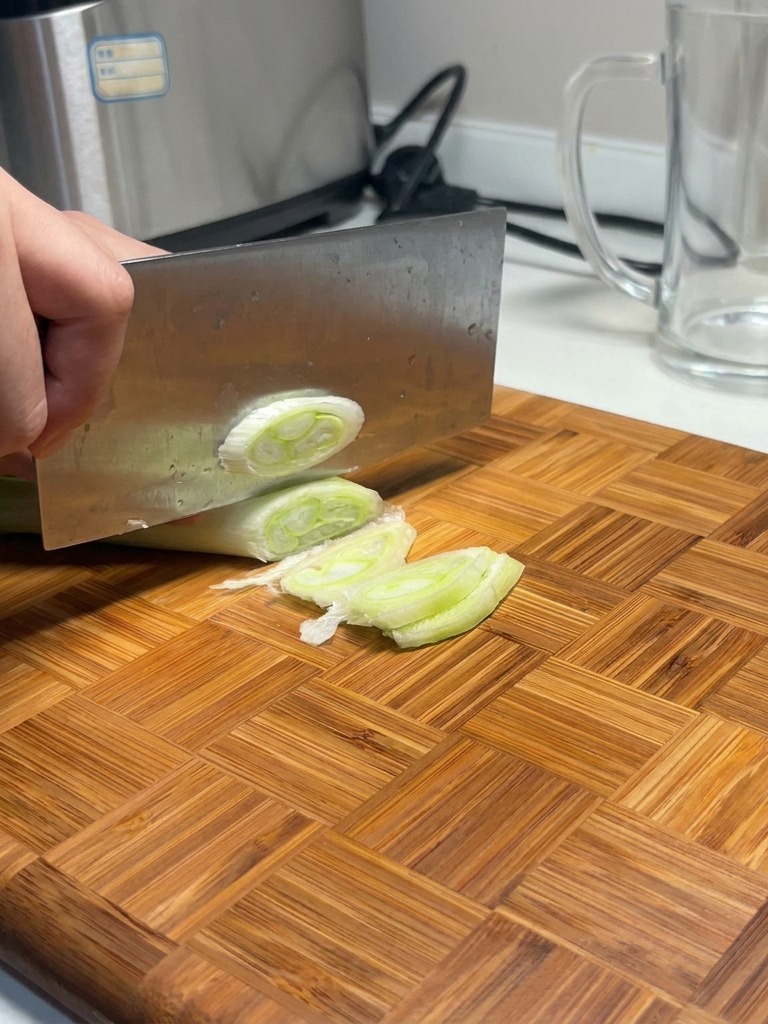
Take a large leek and slice it into rounds. Leeks offer a more delicate and subtle flavor than standard onions, adding a traditional Japanese touch to the finished dish when they are cooked with the eggs.
Tip: Make sure to wash the leeks thoroughly after slicing, as sand and dirt often hide between the tight layers of the stalks. - 3Cut the chicken thighs
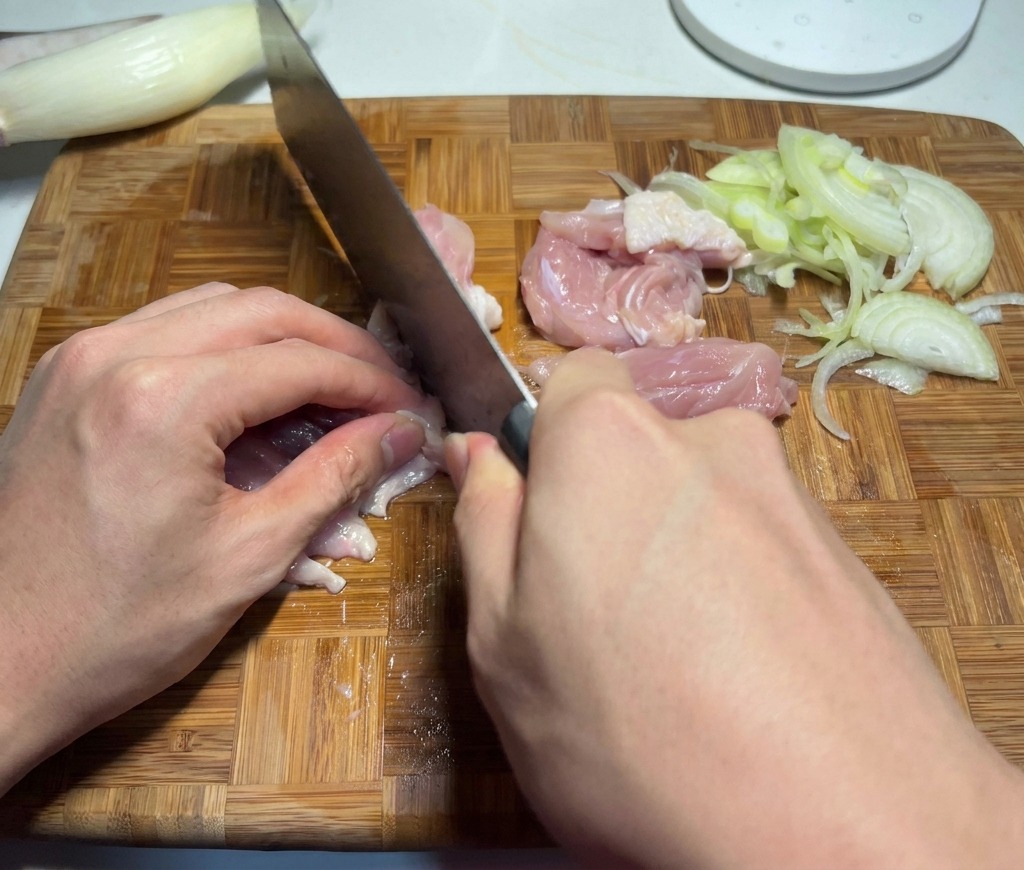
Debone your chicken thighs and cut the meat into bite-sized chunks. Thigh meat is ideal for this recipe as it remains tender and juicy even after being seared and simmered in the sauce.
Tip: Keep the pieces roughly the same size to ensure they all cook through at the same rate when they hit the pan. - 4Season and coat the chicken
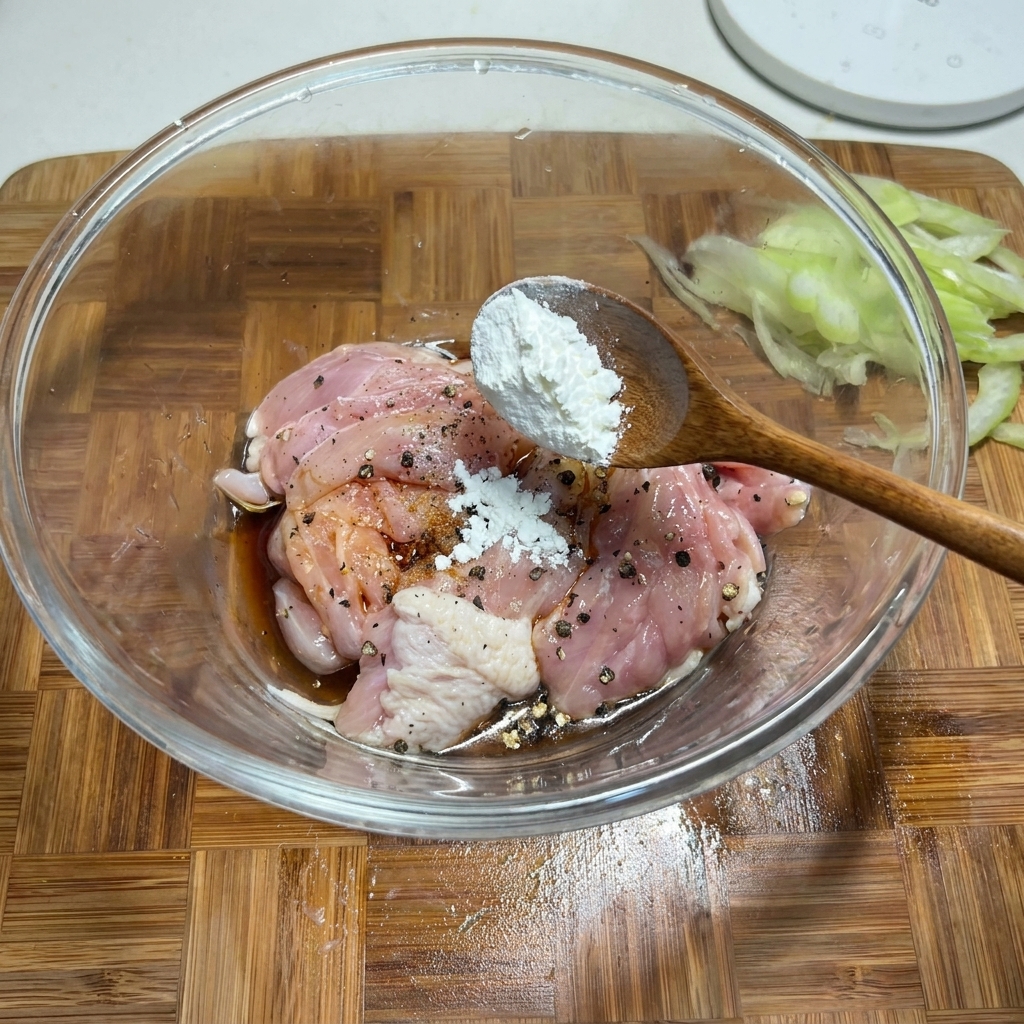
Place the chicken chunks into a glass bowl and add salt, soy sauce, black pepper, and a spoonful of cornstarch. Mix well until every piece is evenly coated, which helps build flavor and texture.
Tip: The cornstarch creates a very thin coating that helps the sauce cling to the chicken and keeps the meat velvety and soft. - 5Prepare the Oyakodon sauce
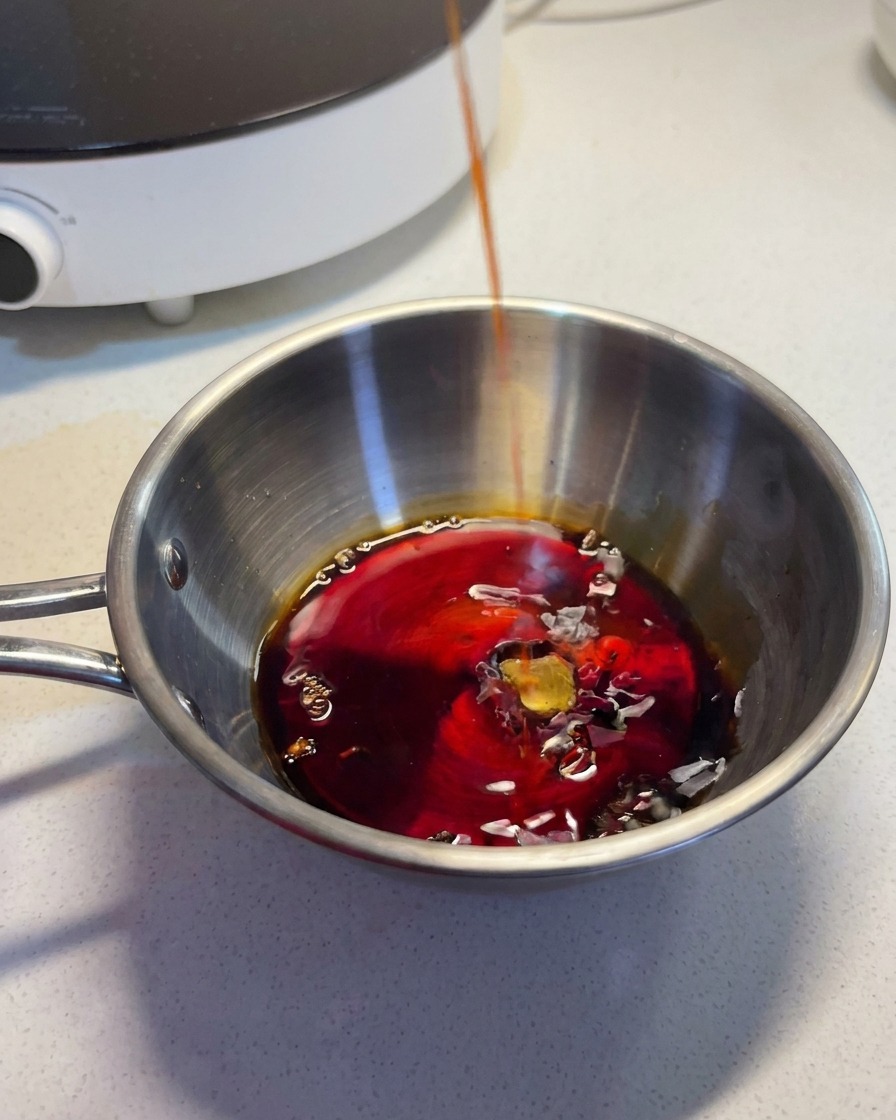
In a small bowl, combine soy sauce, oyster sauce, sugar, sake, and water. Stir the mixture thoroughly to dissolve the sugar and ensure the flavors are well-blended before adding them to the pan.
Tip: You can adjust the amount of sugar slightly depending on whether you prefer a more savory or a sweeter Japanese style sauce. - 6Sear the chicken
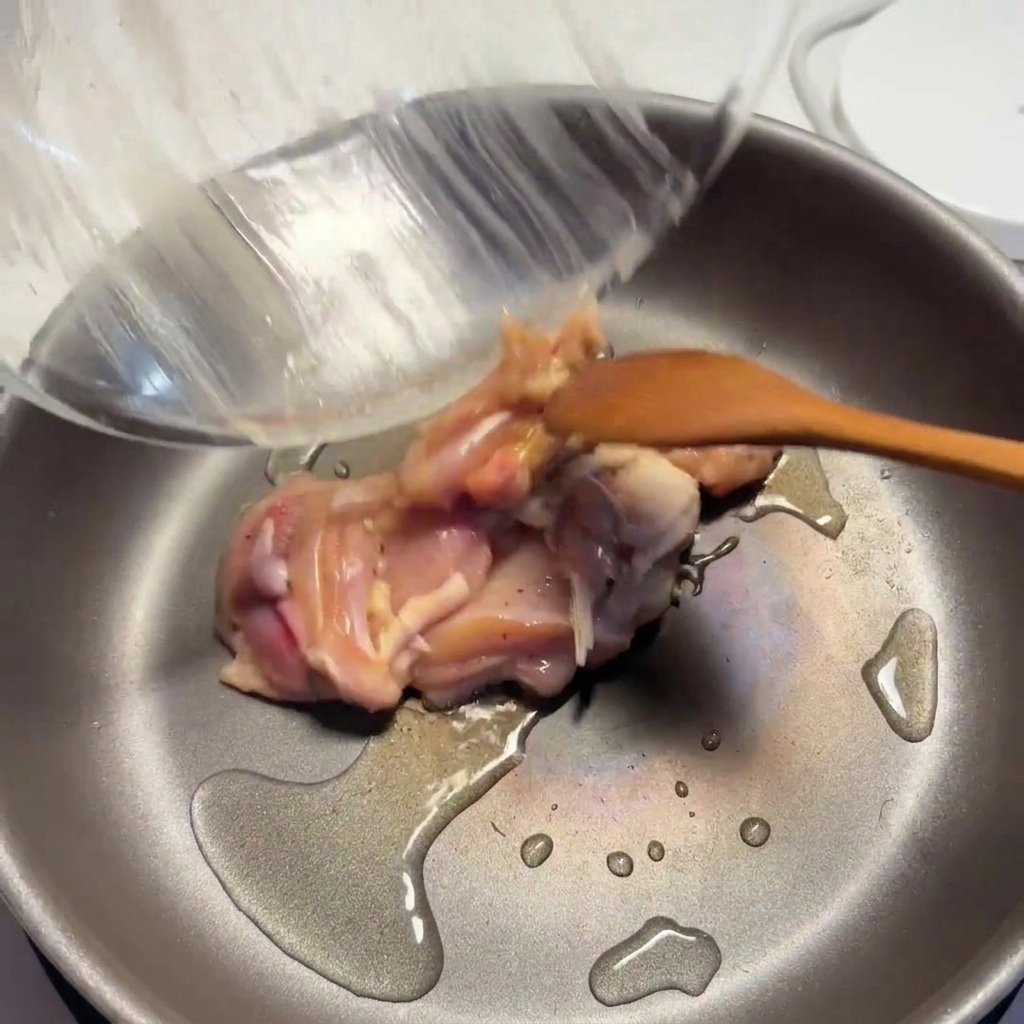
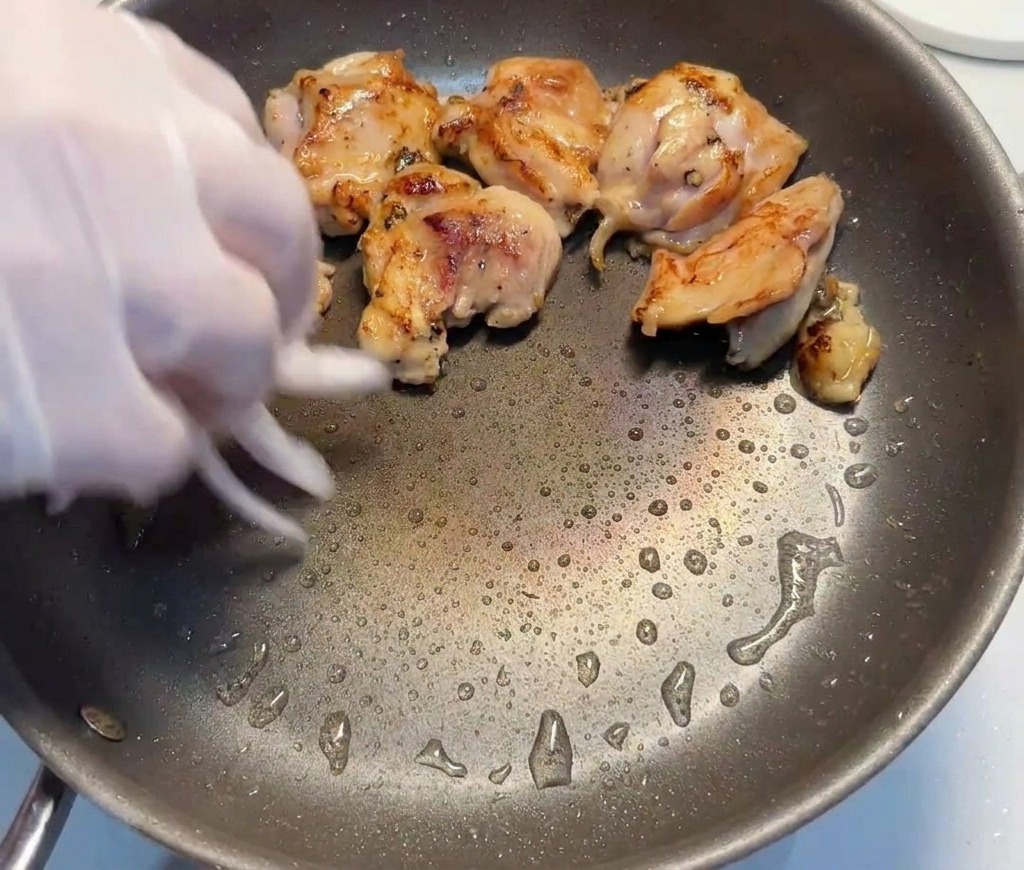
Heat a small amount of oil in a non-stick pan and add the seasoned chicken. Stir-fry the pieces over medium-high heat until the exteriors are lightly browned and fragrant.
Tip: Dont worry about cooking the chicken all the way through at this stage; it will finish cooking once you add the sauce and simmer it later. - 7Add the red onions
Once the chicken thigh pieces are lightly browned on both sides, add the sliced red onions to the pan. Stir-fry them briefly with the chicken until they begin to soften and release their natural sweetness, creating a flavorful base for the dish.
Tip: Red onions provide a mild sweetness and vibrant color that pairs beautifully with the savory chicken. - 8Add the seasoning sauce
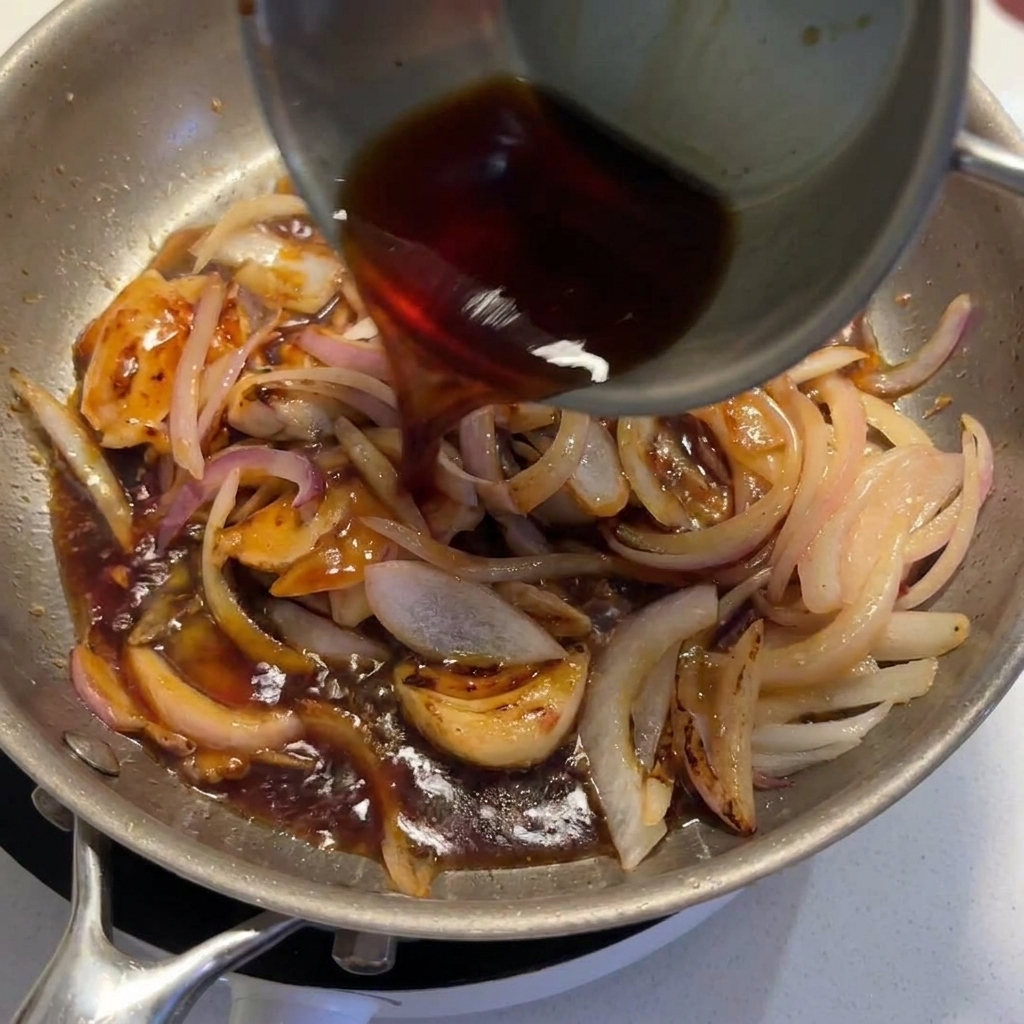
Pour the pre-mixed sauce—composed of soy sauce, oyster sauce, sugar, sake, and water—directly over the browned chicken and onions. Stir gently to ensure the chicken pieces are well-coated in the liquid, which will serve as the flavorful base for simmering.
Tip: Give the sauce a final stir before pouring to make sure the sugar and any seasonings havent settled at the bottom of the bowl. - 9Simmer to tenderize
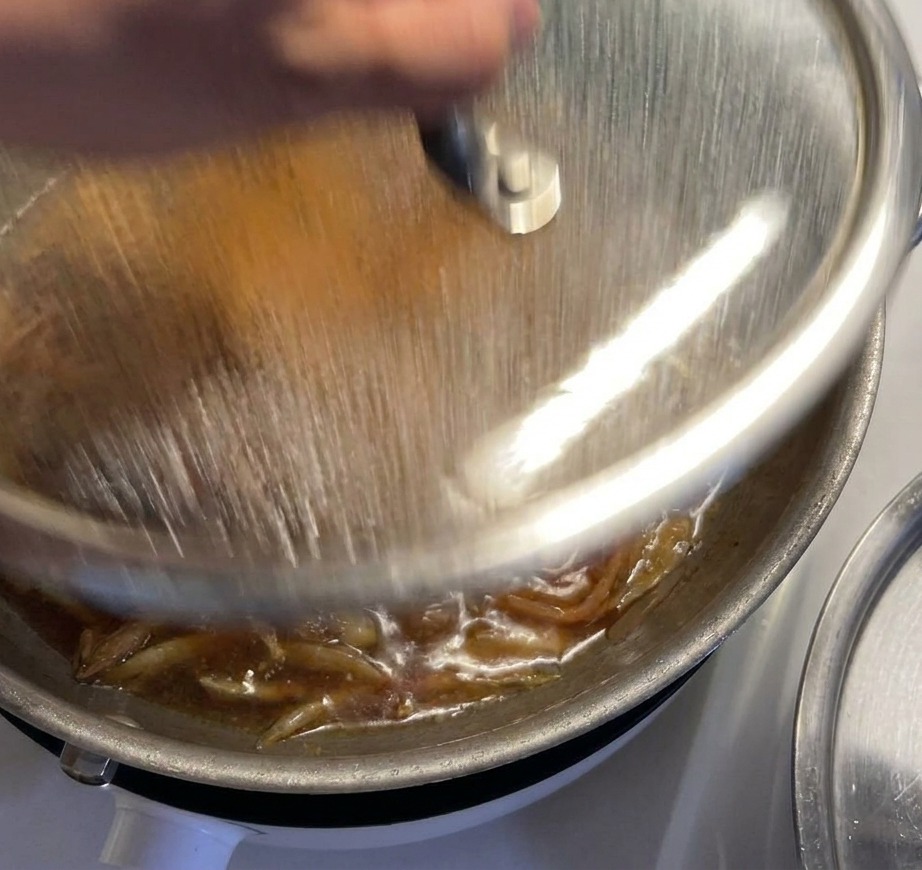
Cover the skillet with a glass lid and allow the mixture to simmer over medium heat for about two minutes. This process ensures the chicken is cooked through to the center while the onions soften and absorb the deep flavors of the sauce.
Tip: Using a transparent lid helps you monitor the sauce level and the doneness of the chicken without releasing steam and heat. - 10Arrange the chicken on rice
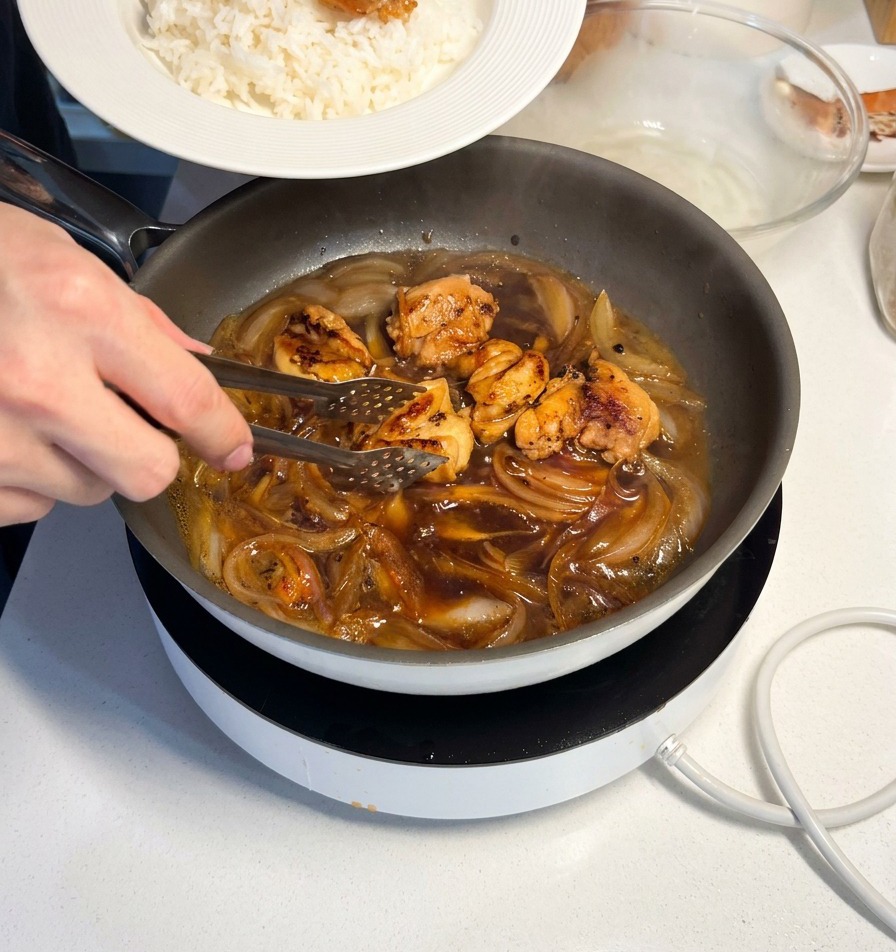
Once the chicken is fully cooked and tender, use metal tongs to carefully lift the pieces out of the pan. Place the glazed chicken thighs on top of a prepared bowl of steamed white rice, leaving the onions and sauce in the pan for the final stage.
Tip: Arranging the chicken on the rice first allows the heat from the meat to warm the rice while you finish preparing the egg topping. - 11Simmer the aromatics
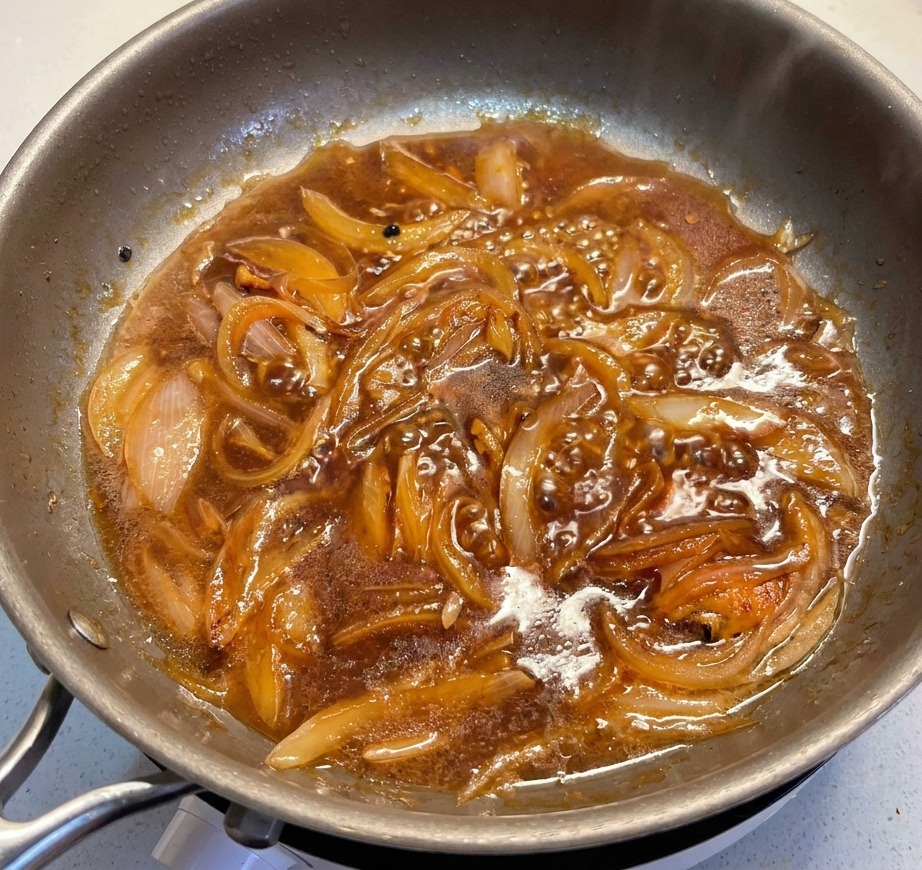
Add the sliced leeks into the pan with the simmering sauce and onions. Let the mixture bubble together for a moment so the leeks soften slightly and the sauce develops a deeper, more cohesive flavor before the final assembly.
Tip: If the sauce reduces too quickly, add a splash of water to keep it loose enough for the eggs to cook evenly in the next step. - 12Add the beaten eggs

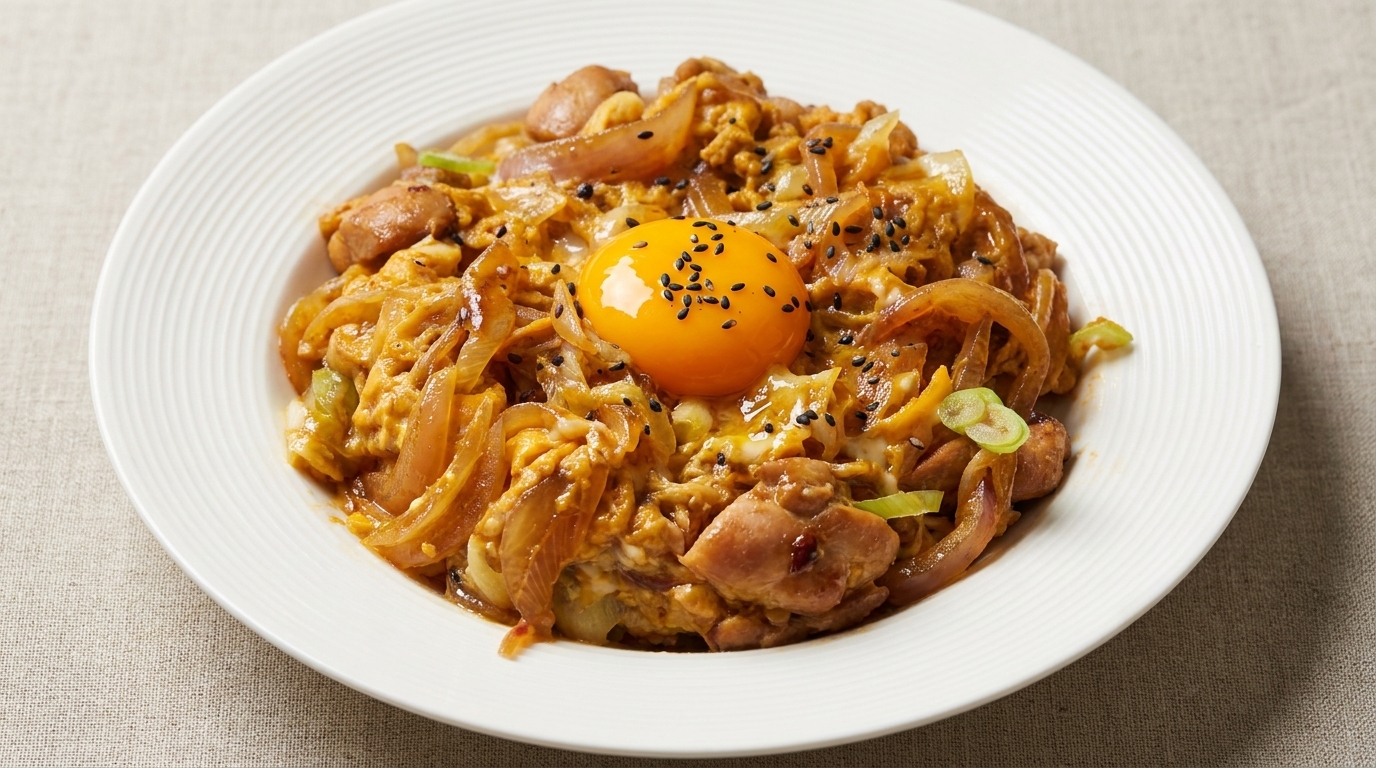
Slowly pour the beaten eggs into the pan, distributing them evenly over the simmering onions and leeks. Let the eggs sit undisturbed for a few moments until they begin to set, creating a soft and silky texture that binds the vegetables together.
Tip: For a classic Oyakodon texture, stop cooking while the eggs are still slightly runny and glossy; they will continue to set from residual heat. - 13Assemble the Oyakodon
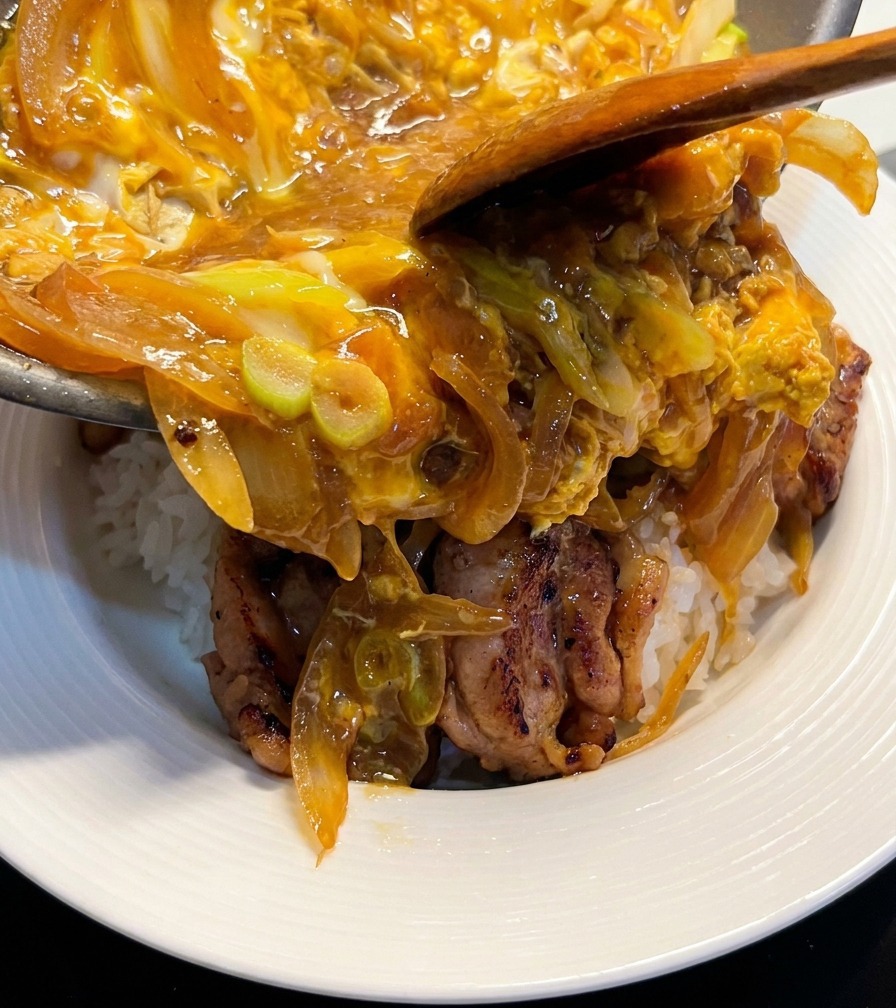
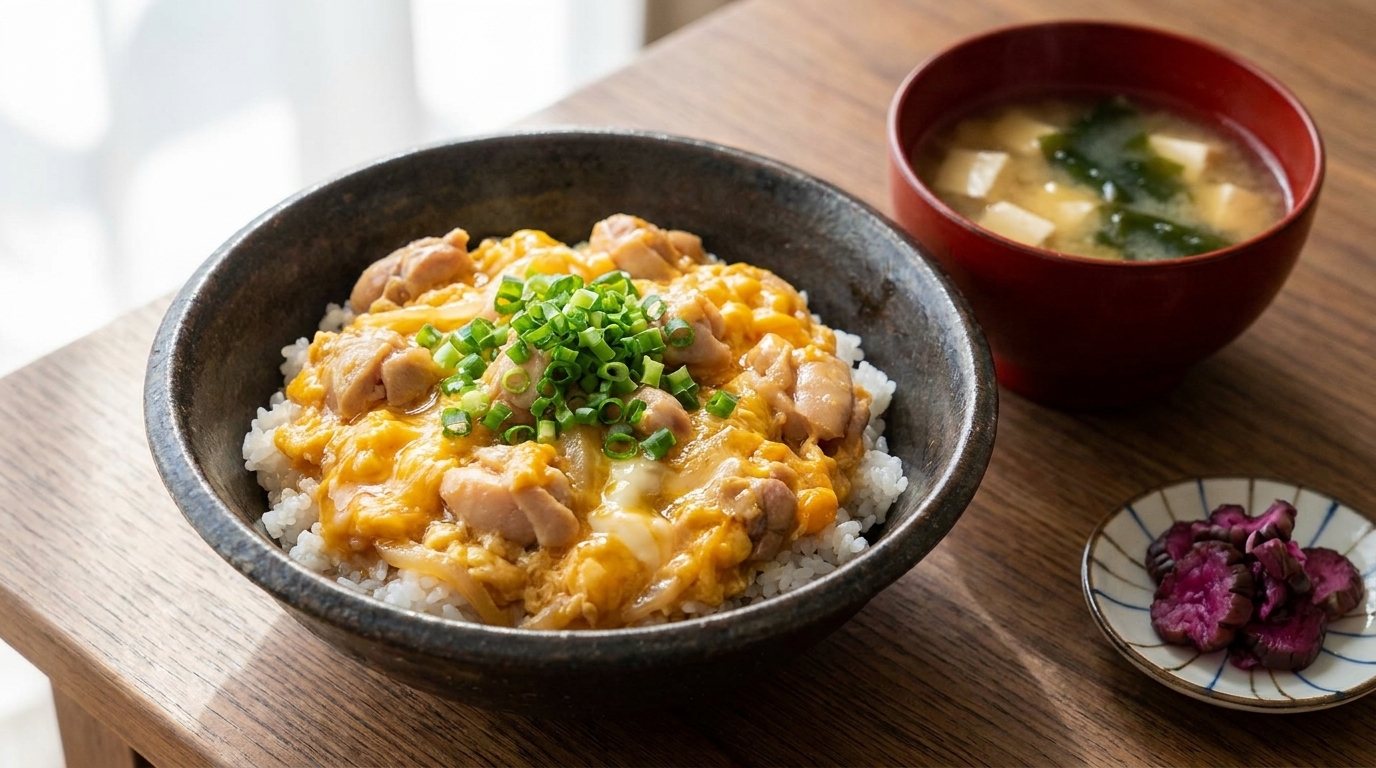
Carefully slide the soft-cooked egg, onion, and leek mixture from the pan directly onto the bowl of rice and seared chicken. The semi-set eggs should drape over the meat, allowing the remaining sauce to soak into the rice.
Tip: For the most authentic texture, ensure the eggs are still slightly runny when you slide them out of the pan; they will continue to set from the residual heat of the rice.