Traditional Japanese Oyakodon (Chicken
Egg Rice Bowl)
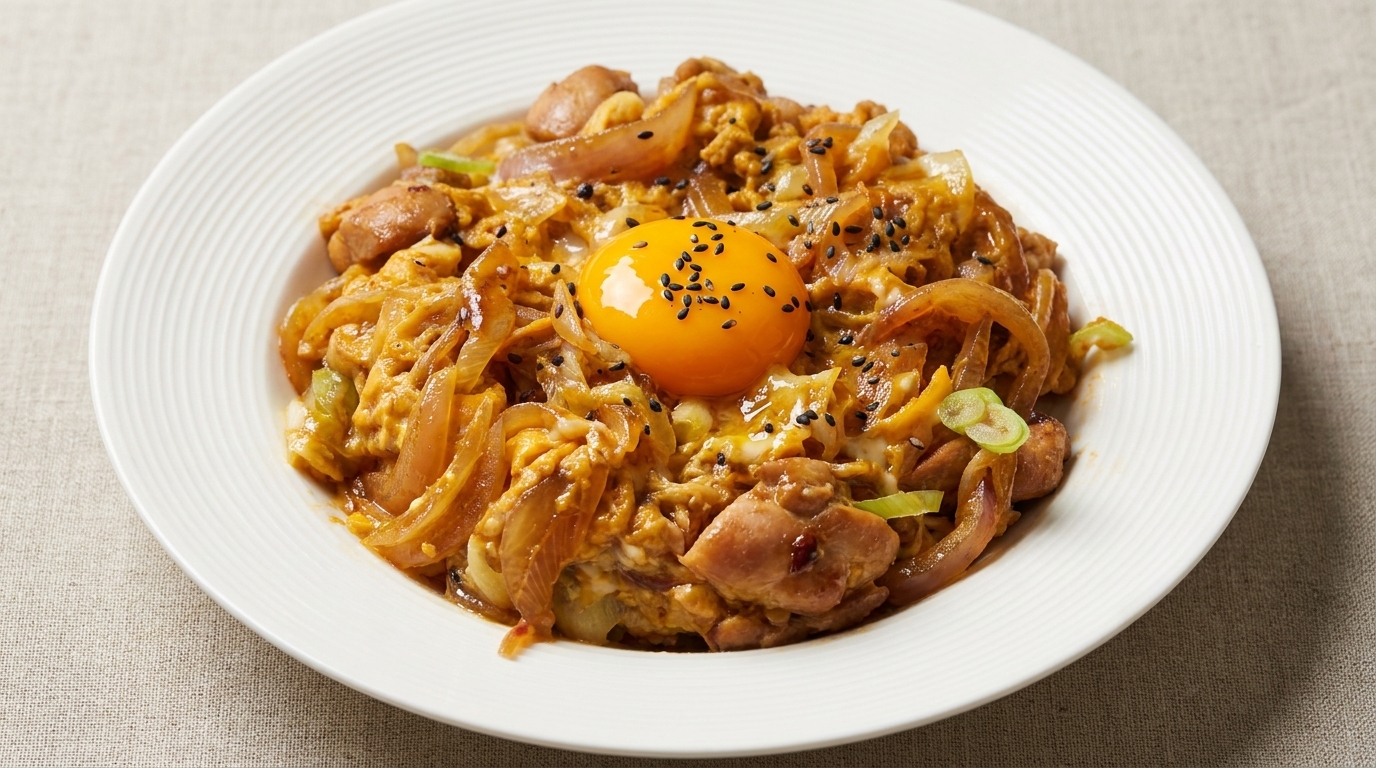
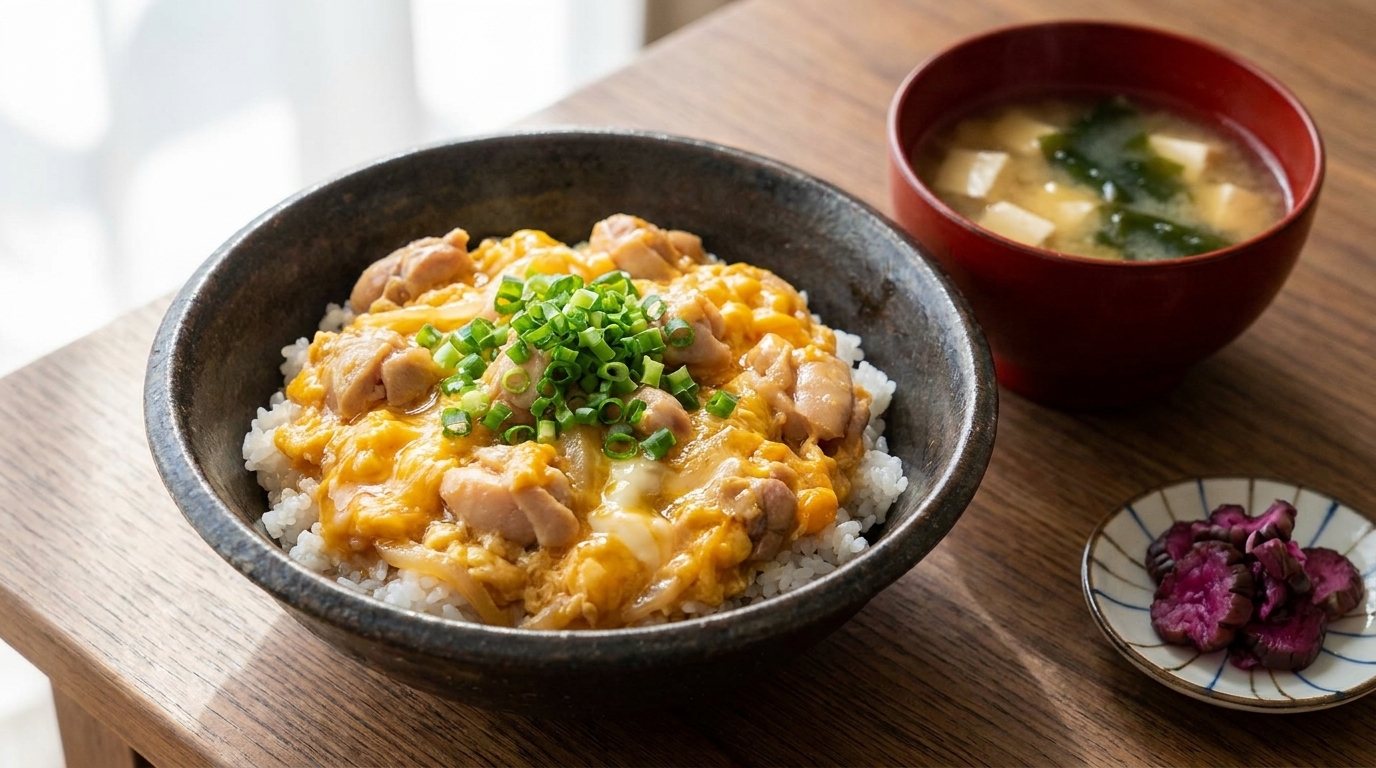
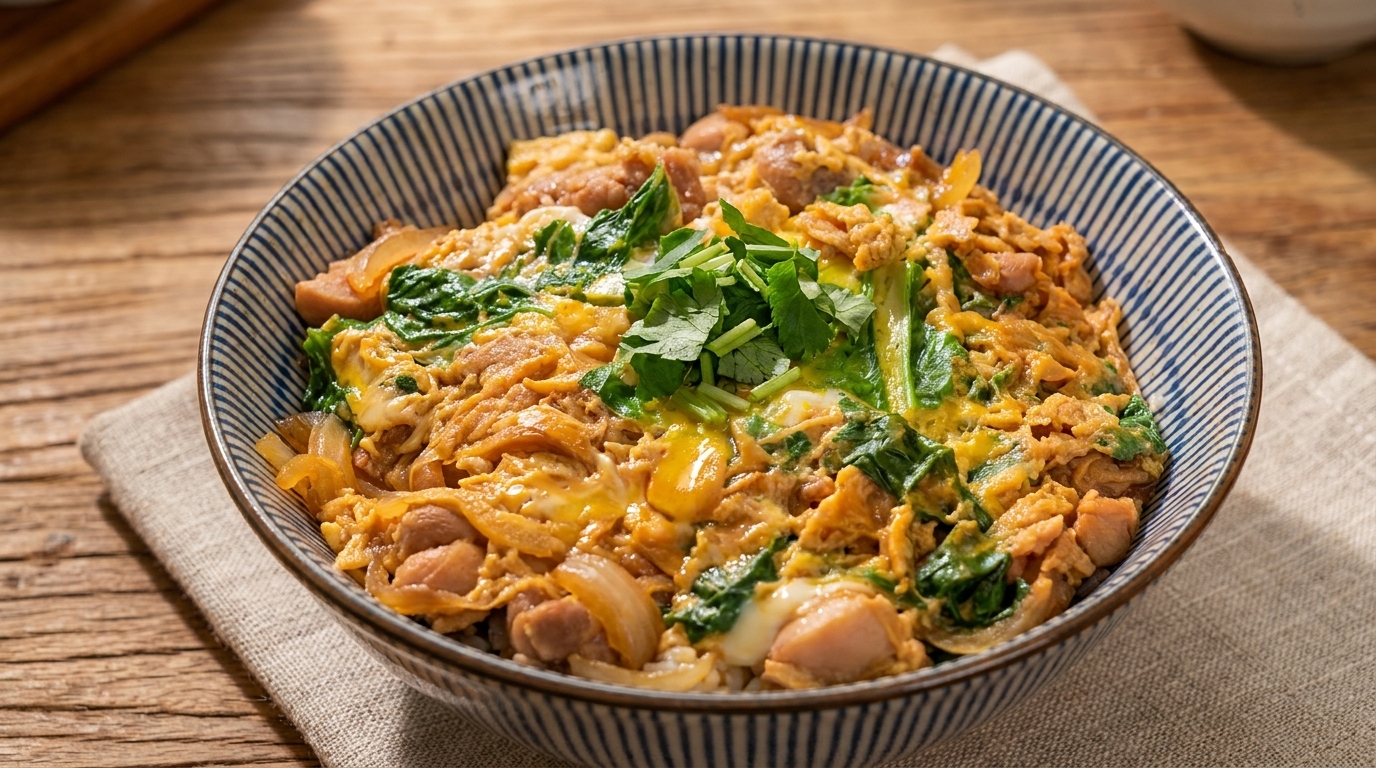
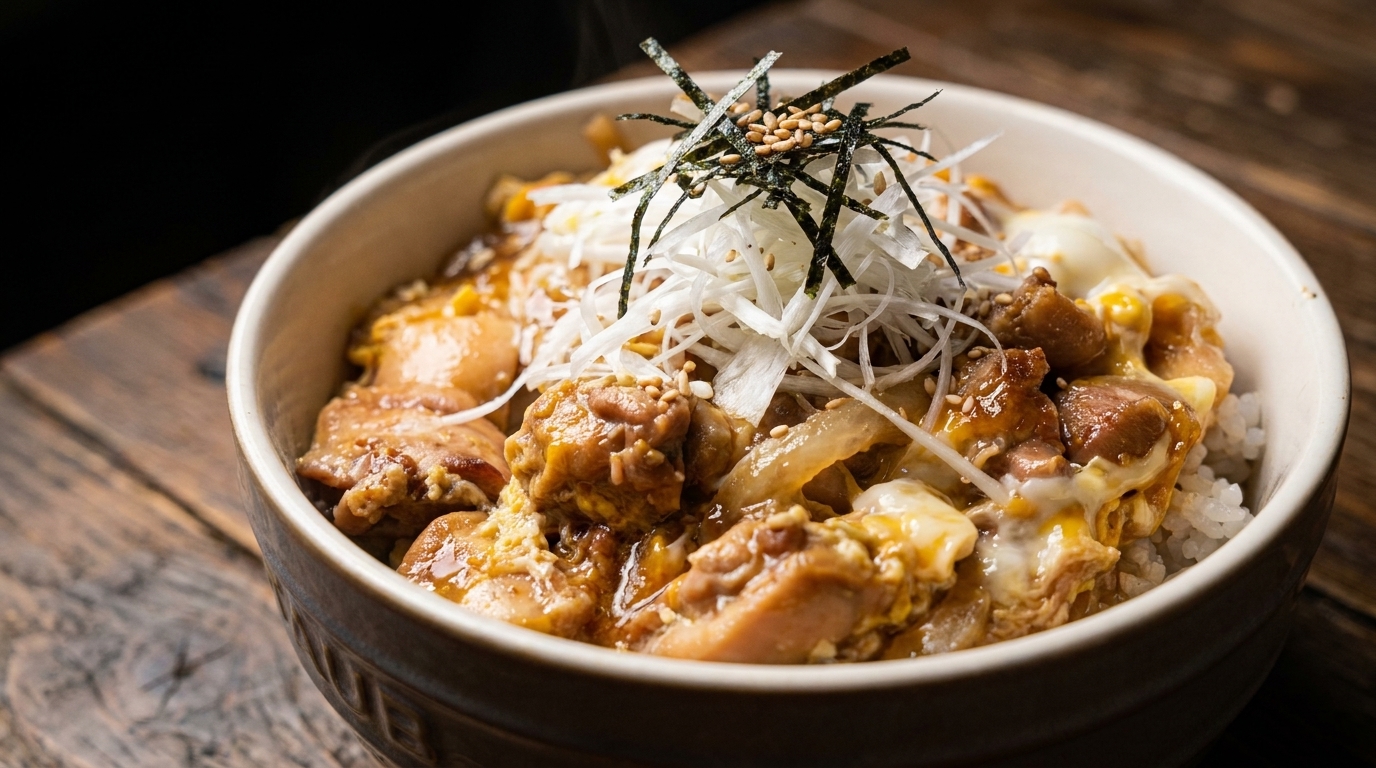
A soul-soothing Japanese staple: tender chicken and silky eggs simmered in a savory dashi broth, served over a steaming bowl of rice.
Oyakodon, literally parent-and-child donburi, is a soul-soothing staple of Japanese home cooking and casual dining. The name poetically refers to the chicken and the egg simmered together in a single pot. This version uses a two-stage egg technique to achieve the perfect balance of set whites and creamy, luscious yolks.
Ingredients
- 150 g boneless chicken thigh
- 12 white onion
- 5 cm Japanese naganegi green onion
- 14 sheet dried nori seaweed
- 2 large eggs
- 1 tbsp bonito soy sauce
- 1 tbsp soy sauce
- 1 tbsp sake
- 1 tbsp mirin
- 100 ml water
- 1 bowl steamed white rice
- to taste white sesame seeds
Instructions
- 1Prepare the nori garnish
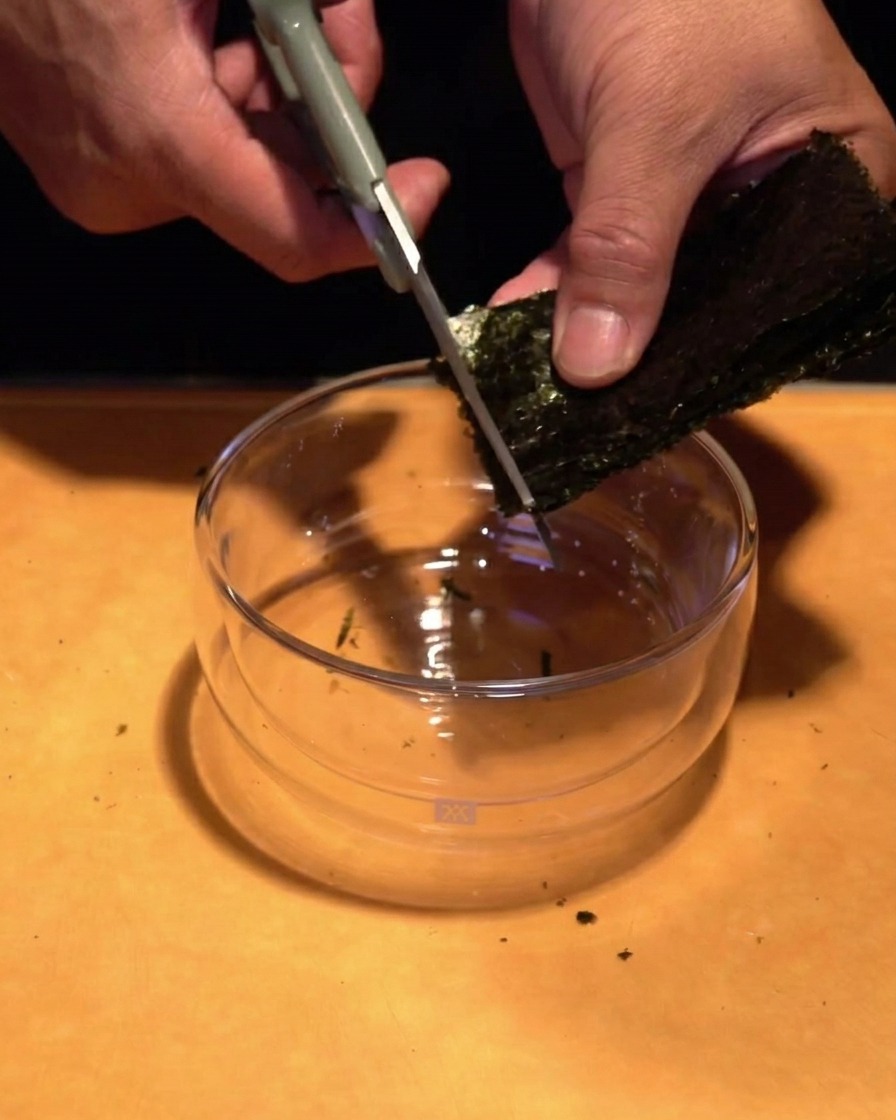
Take a folded sheet of dried nori seaweed and use kitchen shears to cut it into very fine, thin strips directly over a bowl. These nori slivers will provide a savory, umami-rich garnish that complements the sweetness of the Oyakodon sauce.
Tip: Cut the nori just before serving to ensure the strips stay crisp and dont absorb moisture from the air. - 2Prepare the seasoning liquids
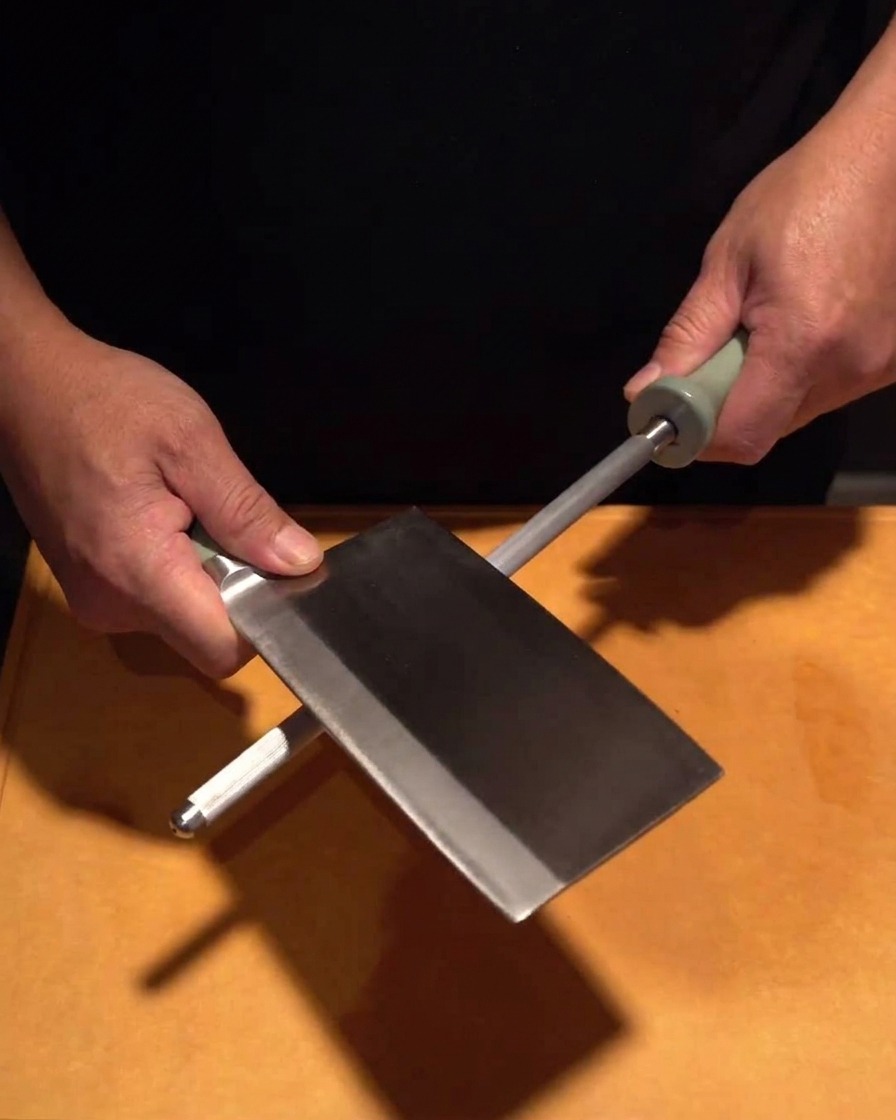
Gather the bonito soy sauce regular soy sauce sake and mirin. Having these components measured and ready ensures the cooking process remains efficient and prevents the chicken from overcooking.
Tip: Pre measuring your liquids allows you to focus on the heat and texture of the eggs later. - 3Slice the white onion
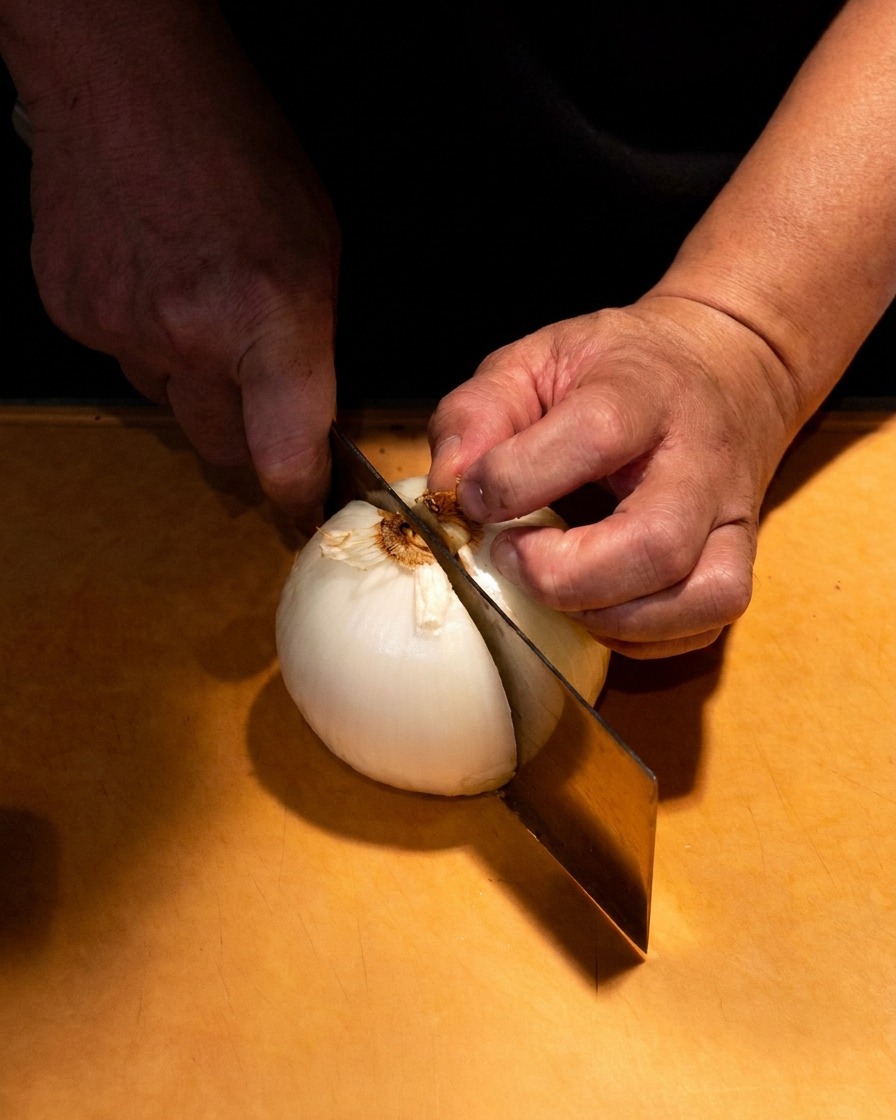
Peel a white onion and slice it in half from the root to the stem. Place the flat side down and slice vertically from end to end to create thin uniform wedges. This technique allows the onion to cook evenly and meld perfectly with the chicken.
Tip: Slicing along the grain helps the onion retain some texture after simmering rather than turning into mush. - 4Prepare the Japanese long onions
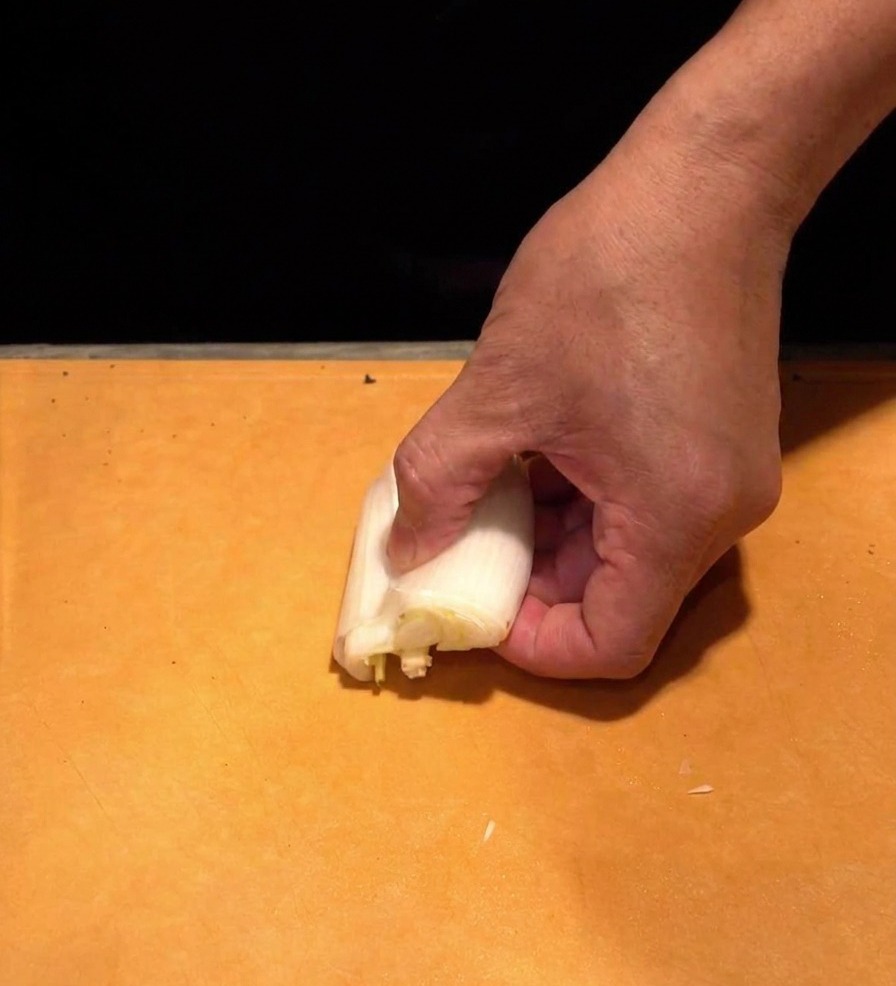
Take the white section of the Japanese naganegi (long onion) and slice it into very fine, thin slivers. These delicate pieces will provide a mild, aromatic crunch that balances the rich savory flavors of the finished dish. Using a sharp knife is essential here to get the precision needed for these thin cuts.
Tip: If you find the raw onion flavor too strong, soak the slivers in ice water for a few minutes and pat them dry before serving. - 5Cut the chicken thighs
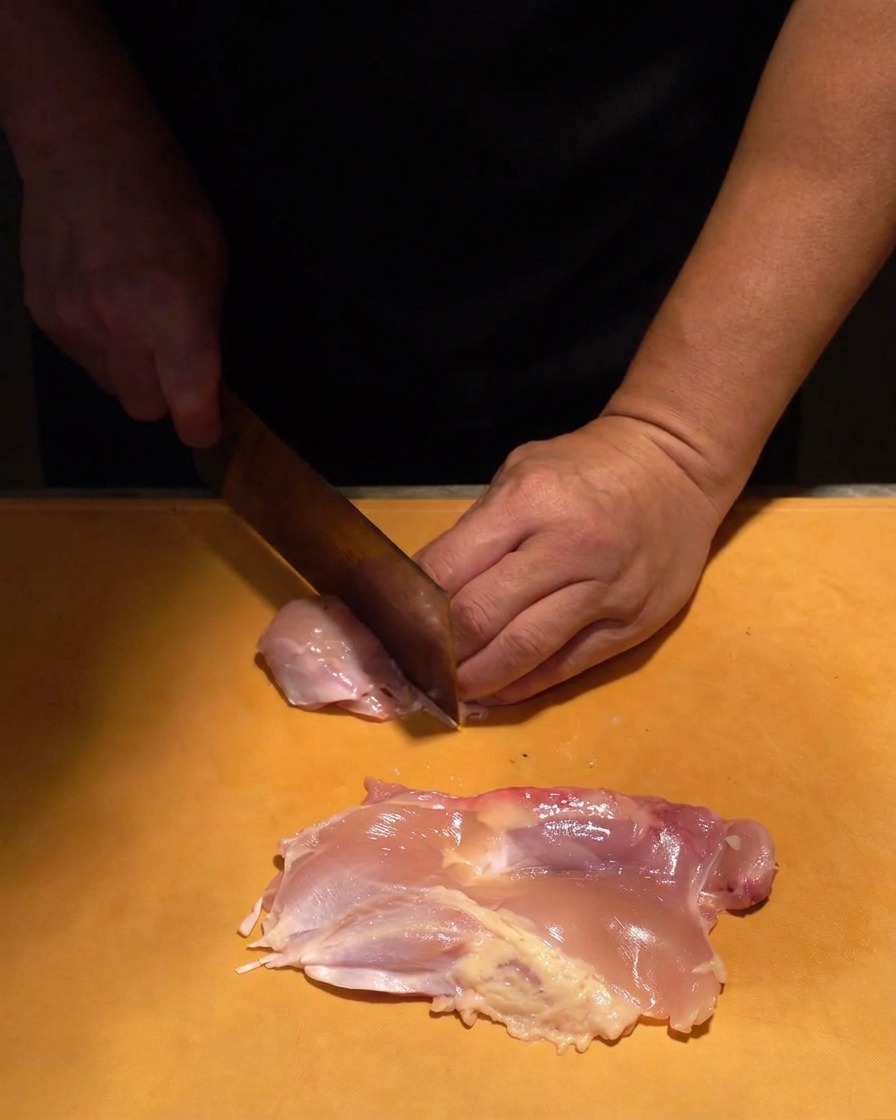
Trim any excess fat from the boneless chicken thigh and cut the meat into small, bite-sized pieces. Using chicken thigh instead of breast ensures the meat remains succulent and tender throughout the simmering process.
Tip: Slightly freezing the chicken for 20 minutes before cutting makes it much firmer and easier to slice into clean chunks. - 6Combine the base ingredients
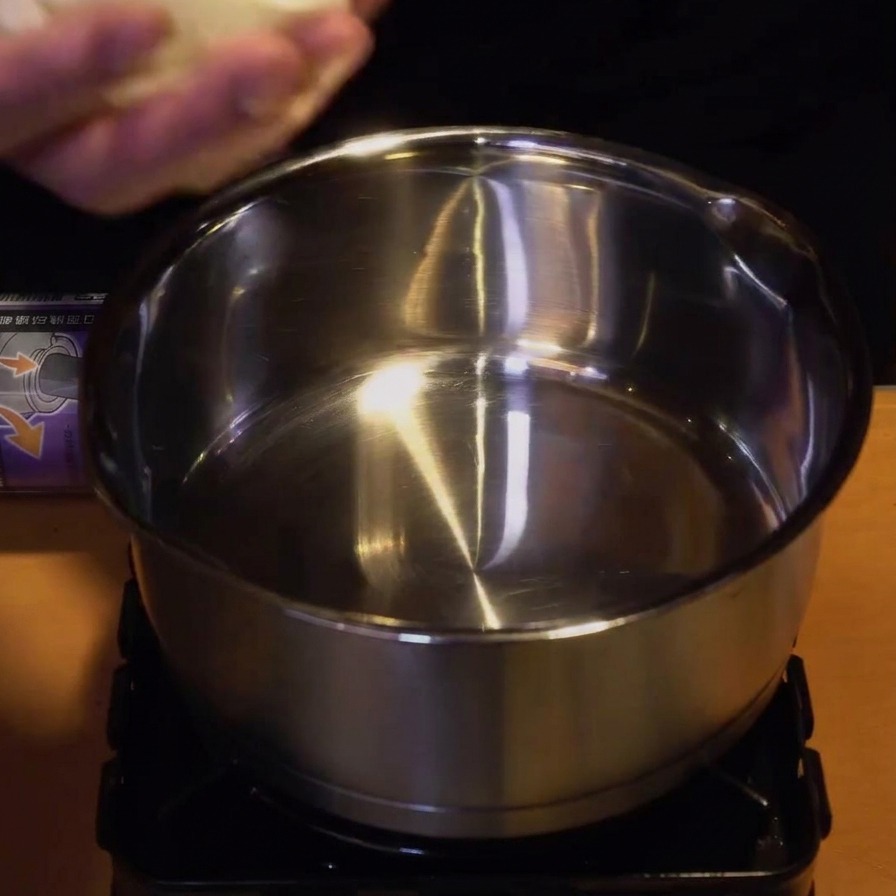
Place the sliced white onions and bite-sized chicken thigh pieces into a small stainless steel pot. Starting with these ingredients together allows the onions to soften and release their natural sweetness while the chicken begins to absorb the flavors of the upcoming seasonings.
Tip: For the best flavor and texture, use boneless, skin-on chicken thighs cut into uniform pieces. - 7Season with bonito soy sauce
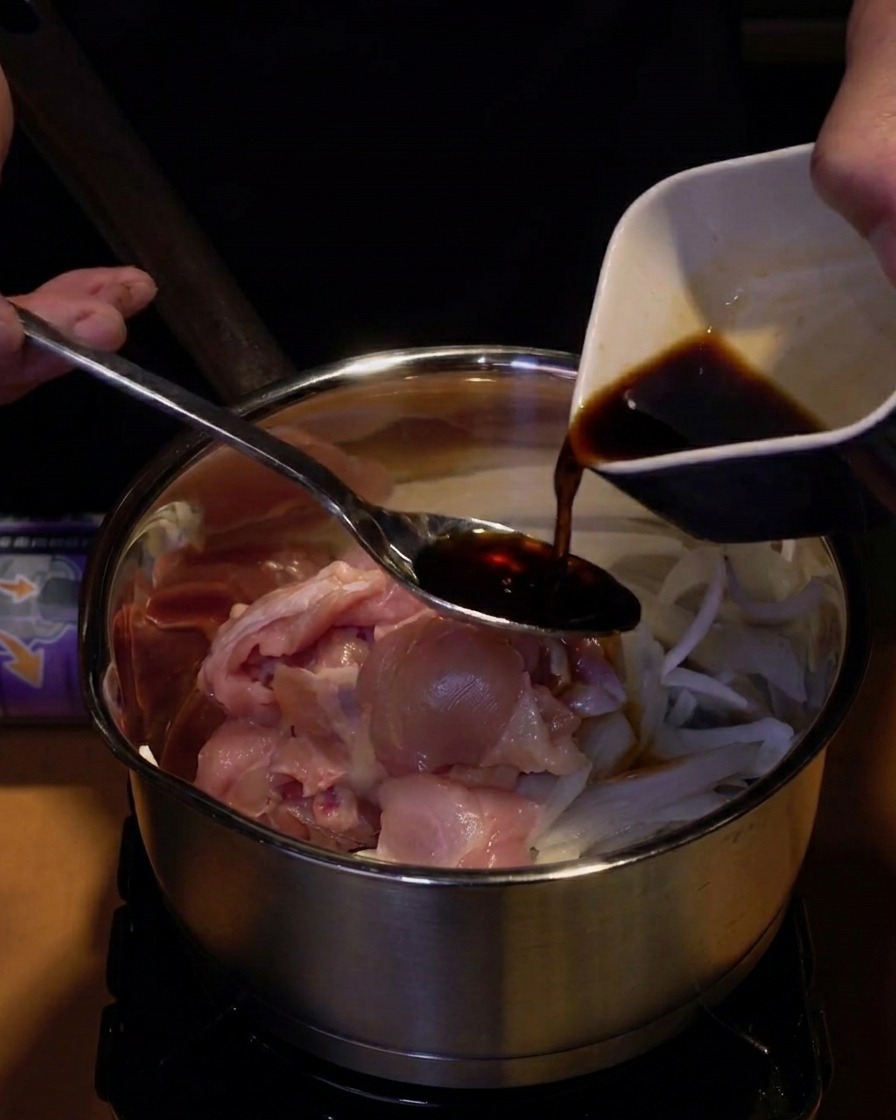
Carefully pour the dark bonito soy sauce over the chicken and onion mixture in the pot. This specific type of soy sauce provides a rich umami depth and a subtle smoky note that is essential for an authentic Japanese Oyakodon broth.
Tip: If you cannot find bonito soy sauce, you can substitute it with a mixture of regular soy sauce and a pinch of dashi powder. - 8Add regular soy sauce
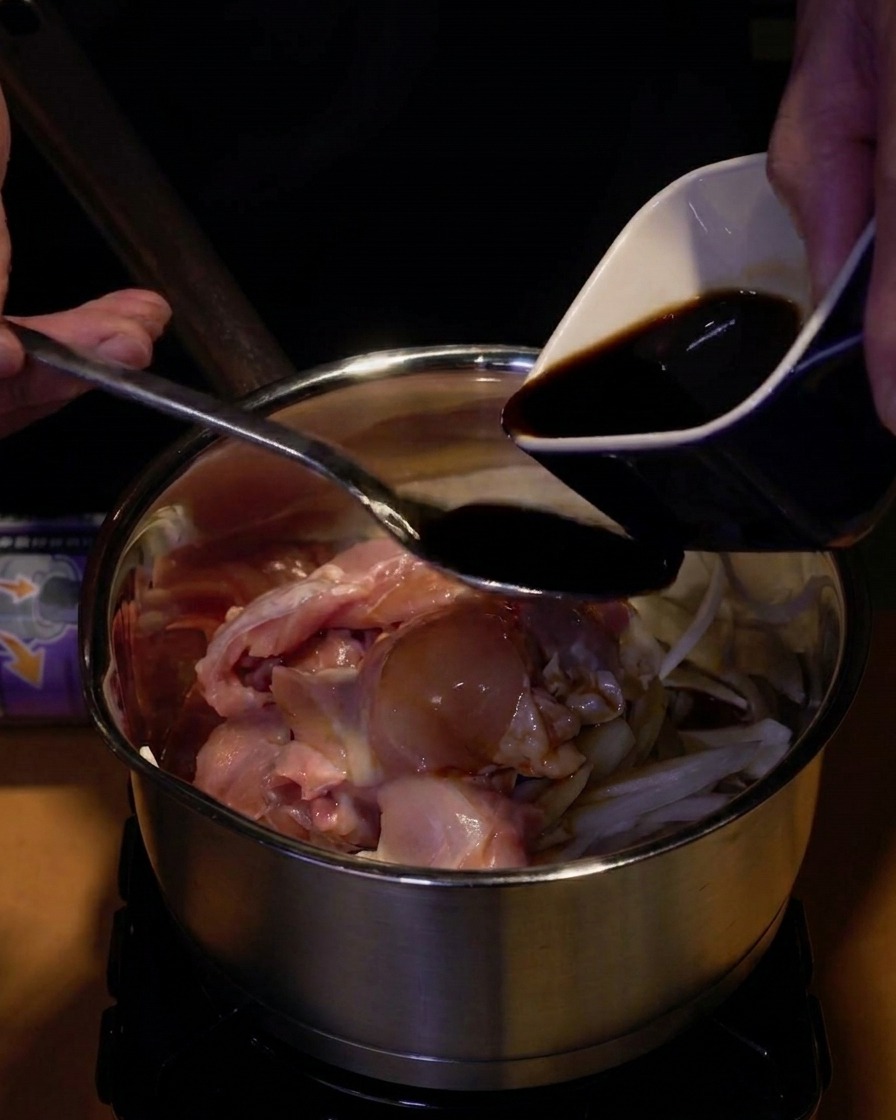
Add a measure of regular soy sauce to the pot. This balances the seasoning and ensures the characteristic savory depth of the traditional simmering liquid, complementing the sweetness of the onions.
Tip: Using a high-quality, naturally brewed soy sauce will yield a cleaner and more complex flavor profile. - 9Include sake for depth
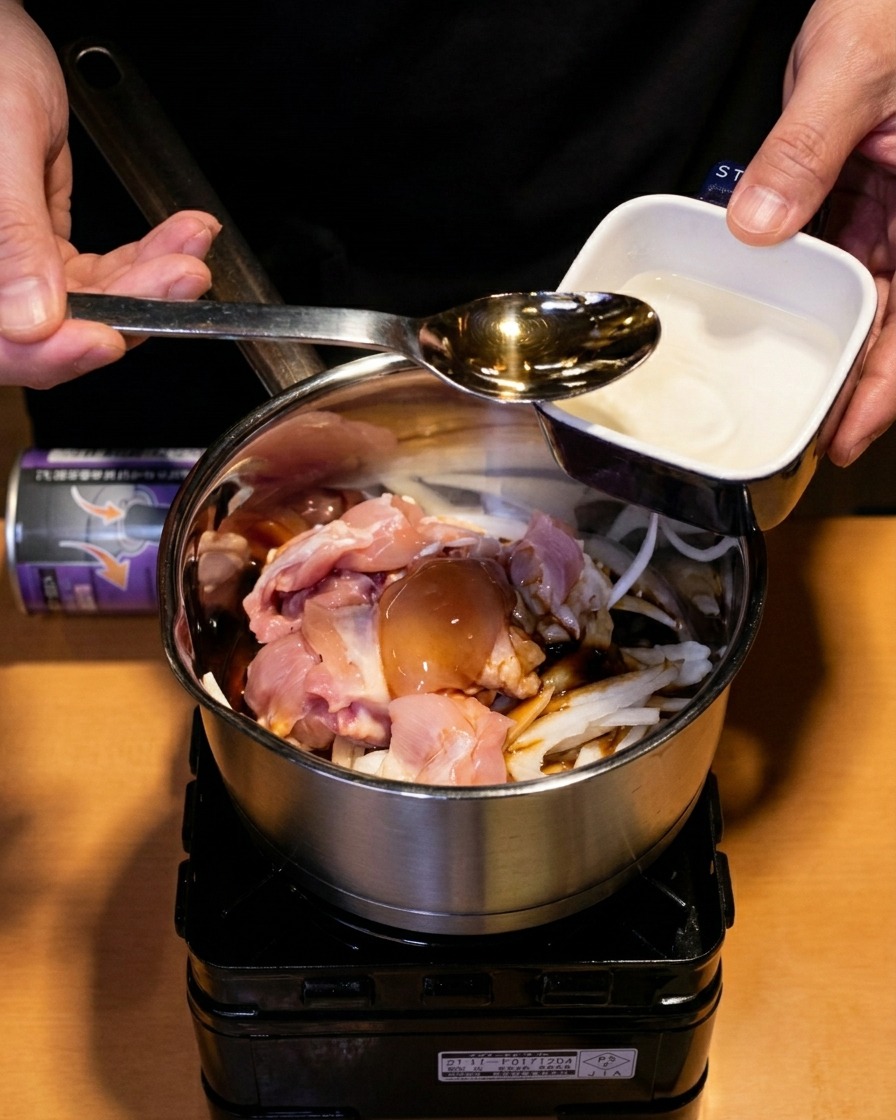
Pour a spoonful of clear sake into the pot. The sake acts as a flavor enhancer tenderizing the chicken and removing any unwanted scents while adding a light refined aroma to the sauce base.
Tip: The alcohol content will evaporate during the simmering process leaving only the rich flavor behind. - 10Sweeten with mirin
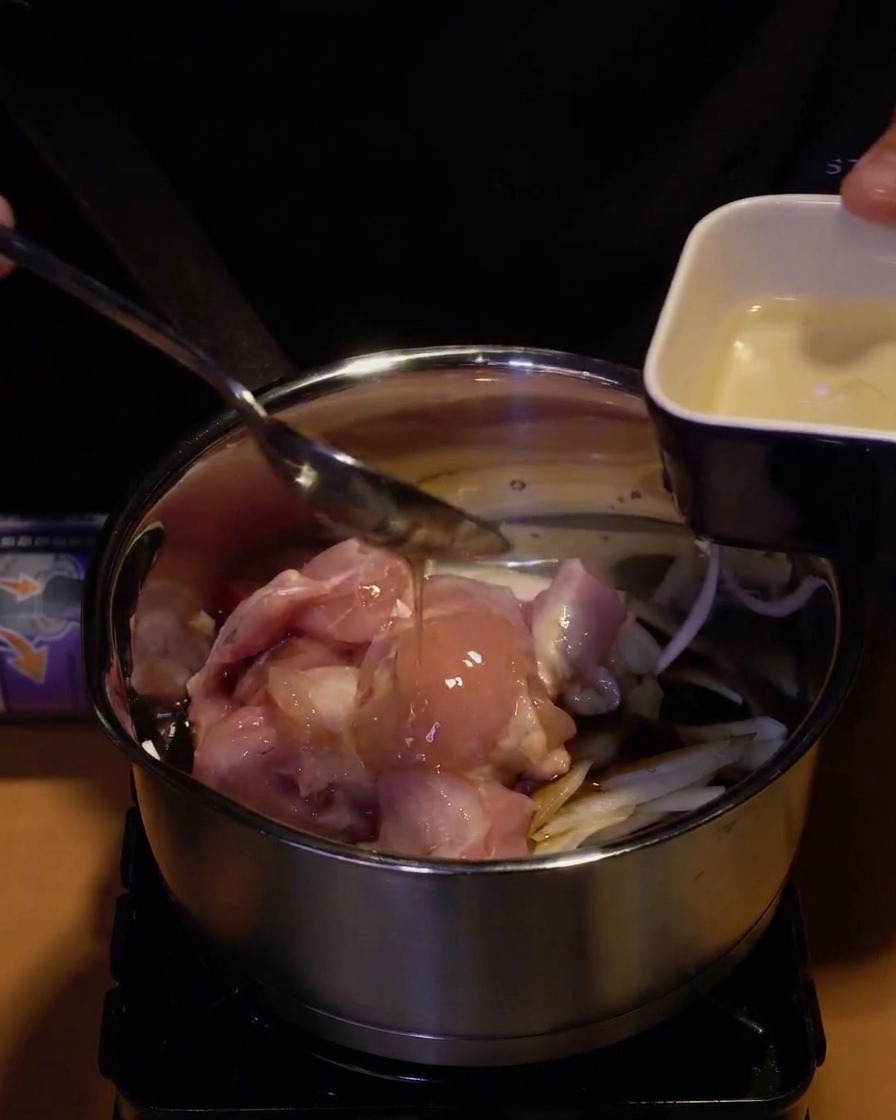
Add a spoonful of mirin to the pot. This sweet Japanese rice wine provides a gentle sweetness that balances the soy sauce and gives the final dish a professional gloss.
Tip: If mirin is unavailable you can use a small amount of sugar dissolved in sake as a quick substitute. - 11Adjust the liquid level
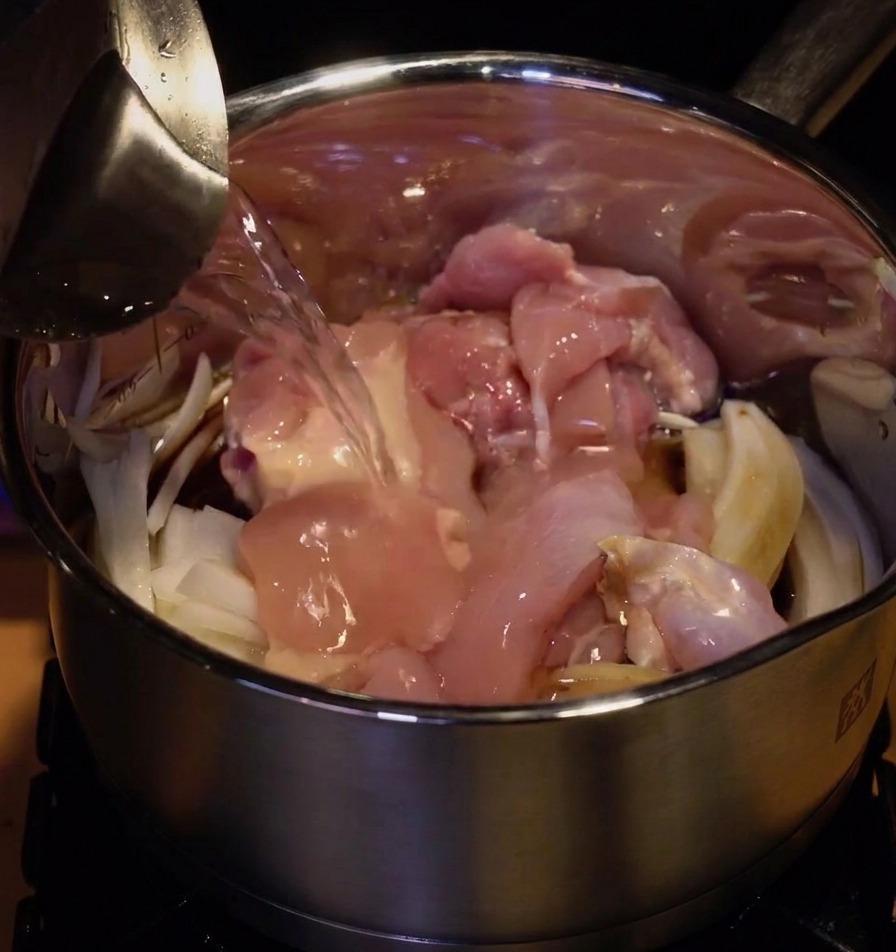
Pour fresh water into the pot over the raw chicken pieces and sliced onions. Continue pouring until the liquid rises just enough to match the height of the ingredients. This creates the perfect ratio of broth to solids, ensuring the chicken is fully submerged to cook through while keeping the sauce concentrated.
Tip: Ensure the water is at room temperature so it doesnt seize the meat, allowing for a more even cooking process as it comes to a simmer. - 12Simmer the chicken and onions
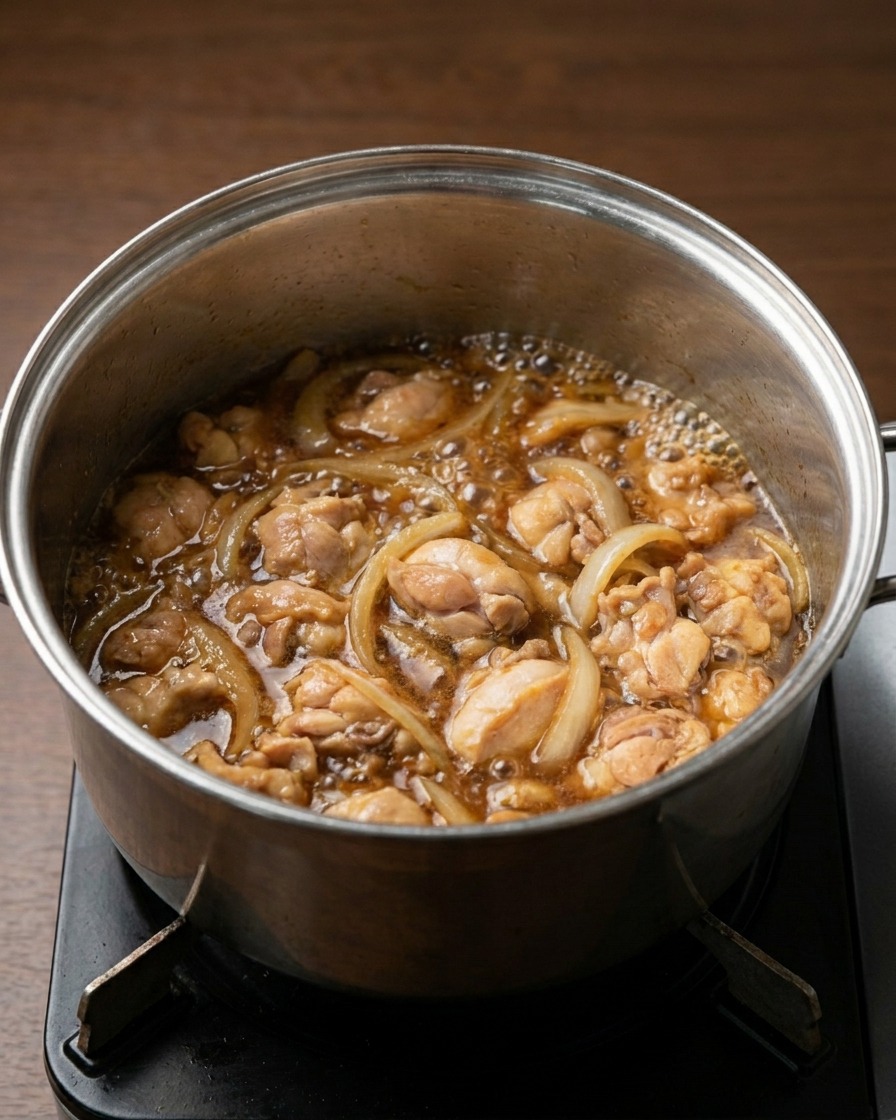
Allow the chicken and onions to simmer gently in the dark, savory broth composed of soy sauce, sake, and mirin. As the liquid bubbles, the onions will soften and turn translucent, while the chicken absorbs the umami-rich flavors of the bonito stock base.
Tip: Keep the heat at a medium-low simmer. If the broth boils too vigorously, the chicken may become tough instead of tender. - 13Add the egg whites
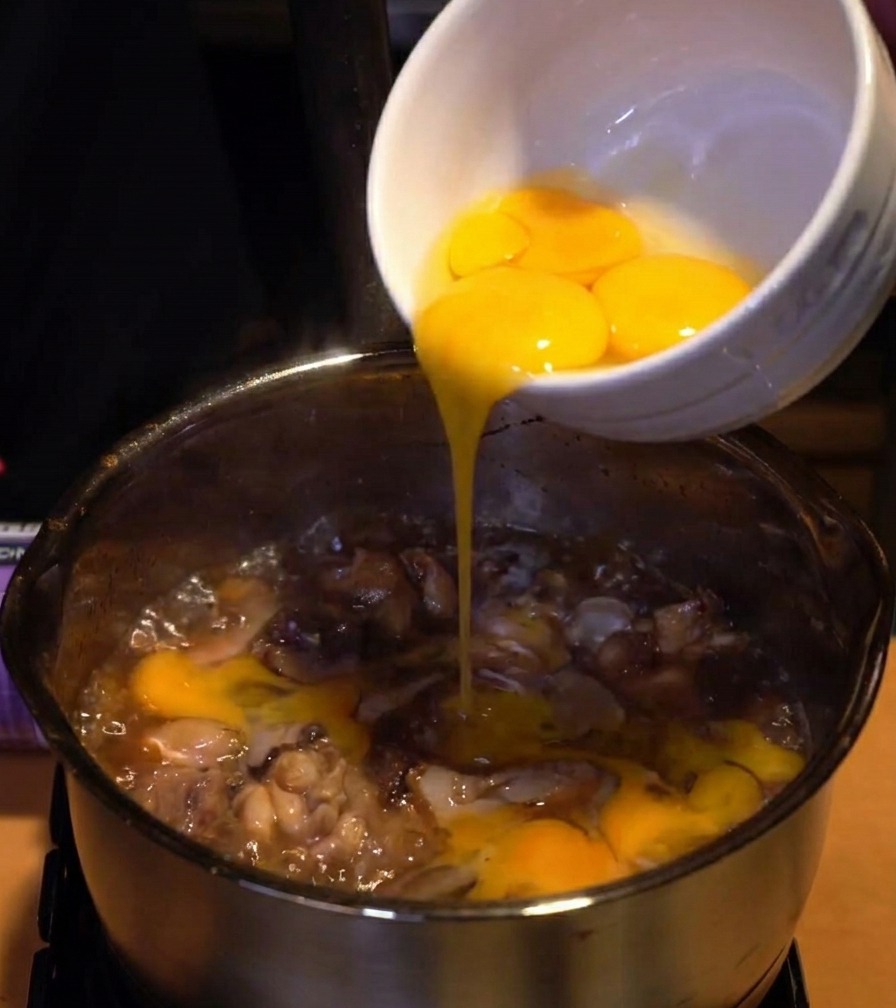
Slowly pour the beaten egg whites into the boiling pot using a circular motion. By adding the whites first, you create a soft, white foundation that sets around the chicken and onions, providing a beautiful textural contrast to the yolks that will be added later.
Tip: Pouring in a circle helps the eggs distribute evenly across the surface rather than clumping in one spot. - 14Steam the eggs
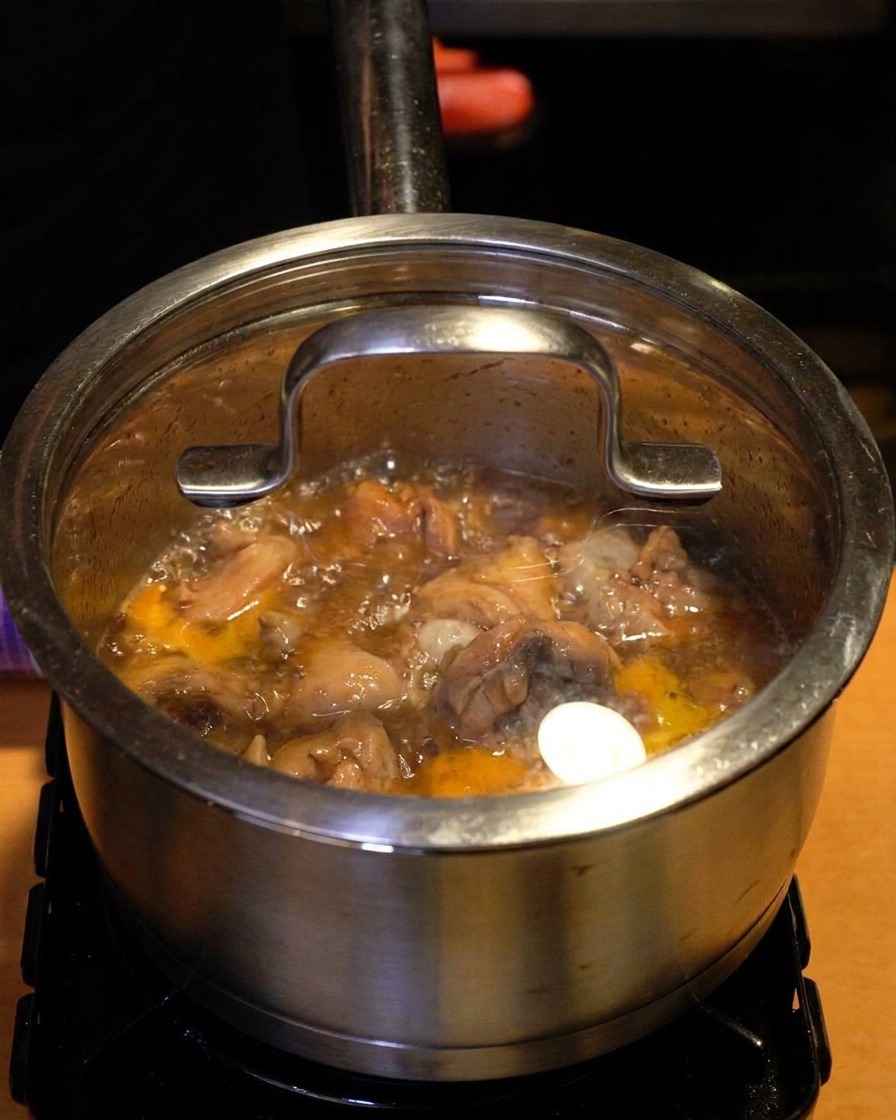
Cover the pot with a glass lid and let the mixture steam for exactly 15 seconds. This brief period of trapped heat allows the egg whites to set perfectly without overcooking the chicken.
Tip: Using a glass lid is helpful because it allows you to monitor the eggs as they cook without lifting the lid and letting the steam escape. - 15Add the egg yolks
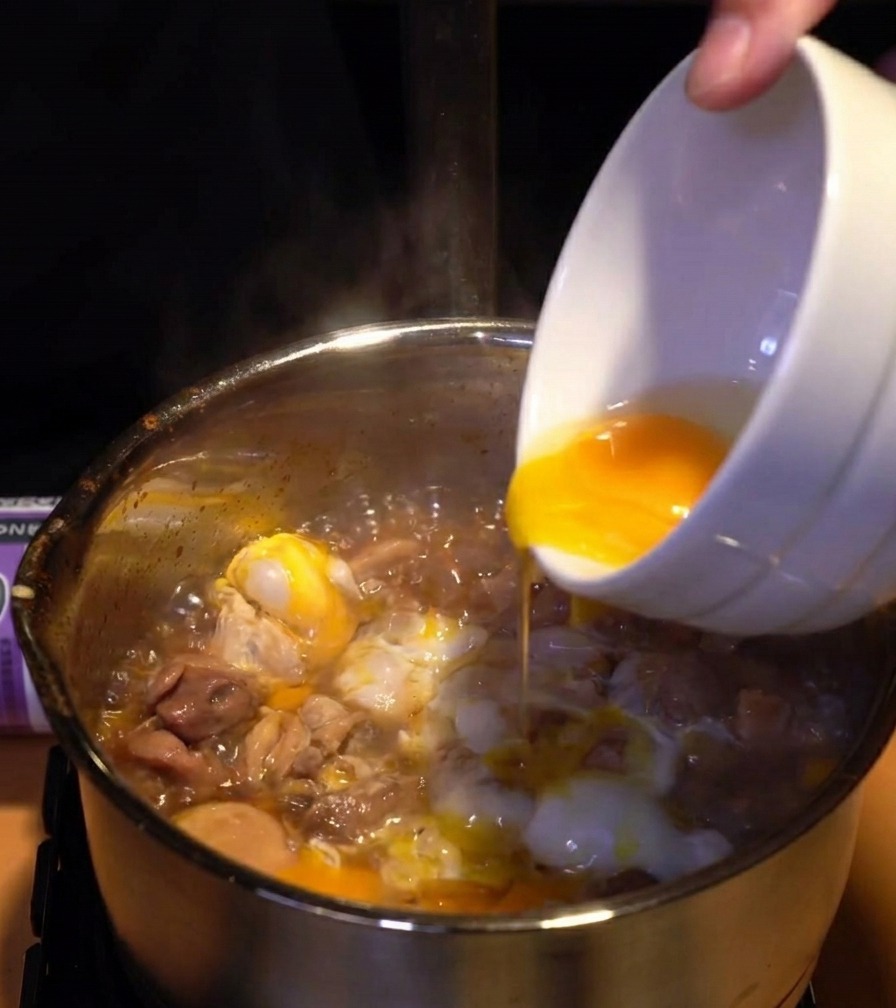
Carefully pour the vibrant yellow egg yolks over the top of the partially set whites. This two stage egg process ensures the dish has a rich creamy finish with pockets of bright yellow yolk.
Tip: Turn off the heat immediately after adding the yolks to ensure they stay creamy and remain soft. - 16Set the eggs with residual heat
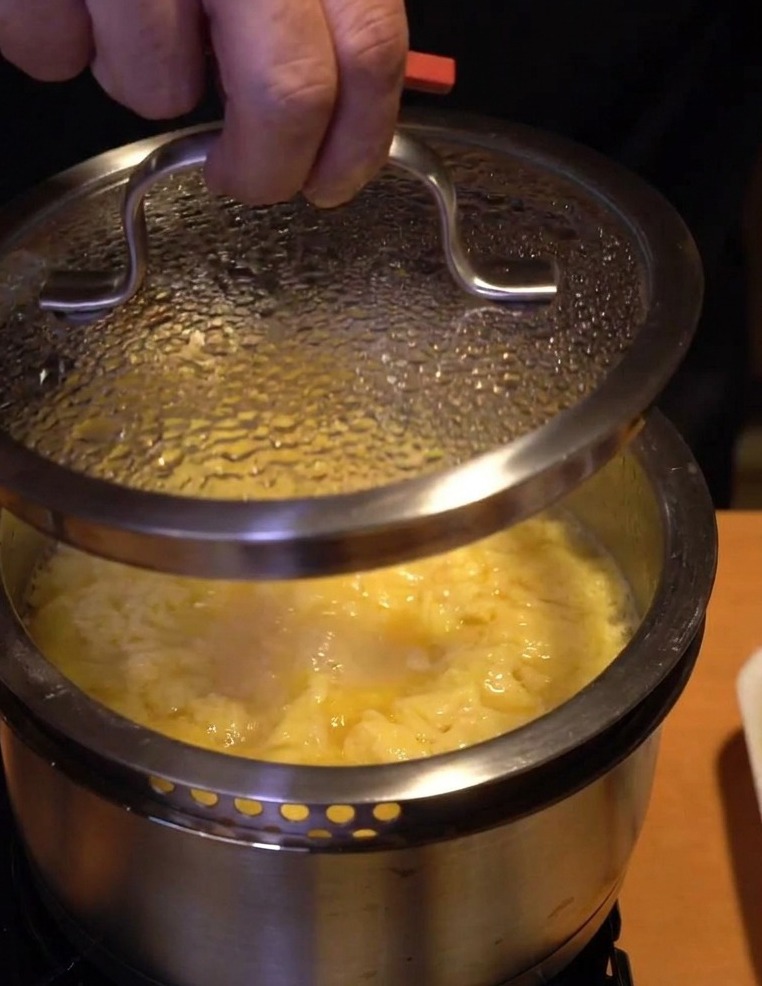
After adding the egg yolks, immediately turn off the heat and cover the pot with a lid. Allow the mixture to sit for exactly 10 seconds. This uses the residual heat to gently set the eggs, ensuring they stay silky and luscious rather than becoming tough or rubbery.
Tip: Keep the lid closed for the full 10 seconds as the trapped steam is what creates the perfect soft set texture characteristic of a great Oyakodon.