Classic Oyakodon (Japanese Chicken
Egg Rice Bowl)
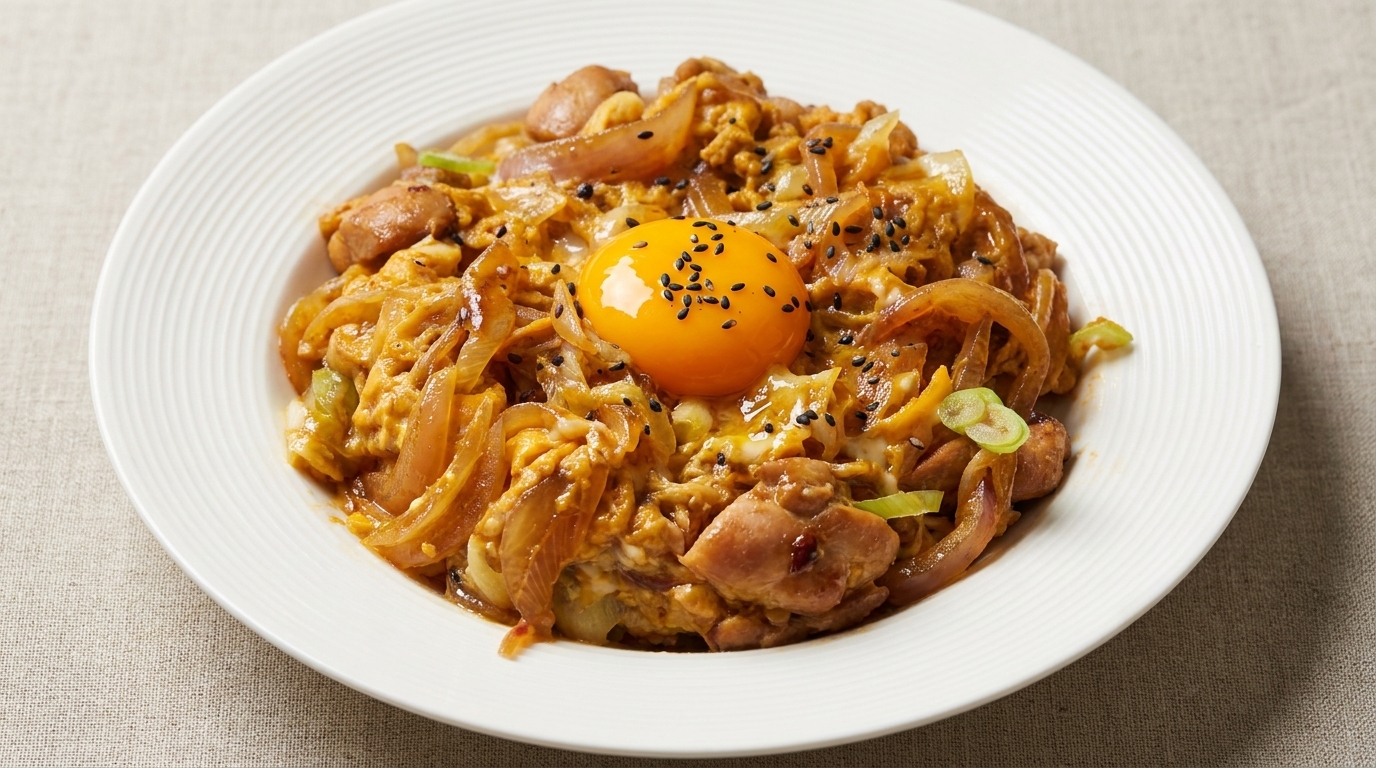
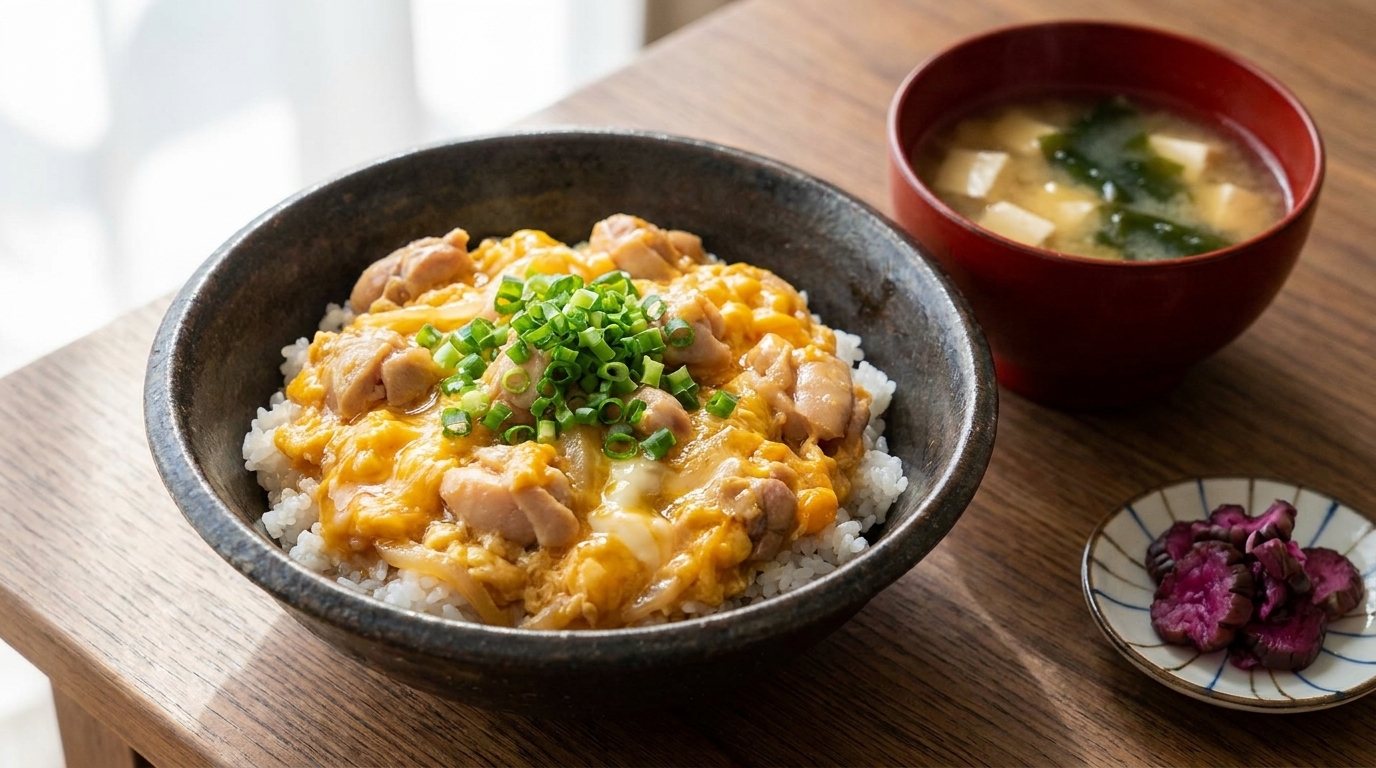
A soul-warming Japanese classic featuring tender chicken and silky, half-set eggs simmered in a sweet-savory dashi broth over a bed of fluffy rice.
Oyakodon translates to parent and child bowl and is a poetic name for a dish that brings together chicken and egg in perfect harmony. This staple of Japanese home cooking relies on a delicate balance of dashi, soy sauce, and mirin to create a rich, savory glaze. The hallmark of a great bowl is the texture of the eggs which are soft, glistening, and just barely set to create a luxurious sauce for the steamed rice beneath.
Ingredients
- 200 g chicken thigh meat
- 1 medium white onion
- 2 large eggs
- 1 tbsp salad oil
- 100 ml oyakodon sauce (dashi, soy sauce, and mirin blend)
- 1 bowl steamed white rice
- 1 stalk green onion
- optional miso soup
- to taste purple pickles (shibazuke)
Instructions
- 1Slice the onion
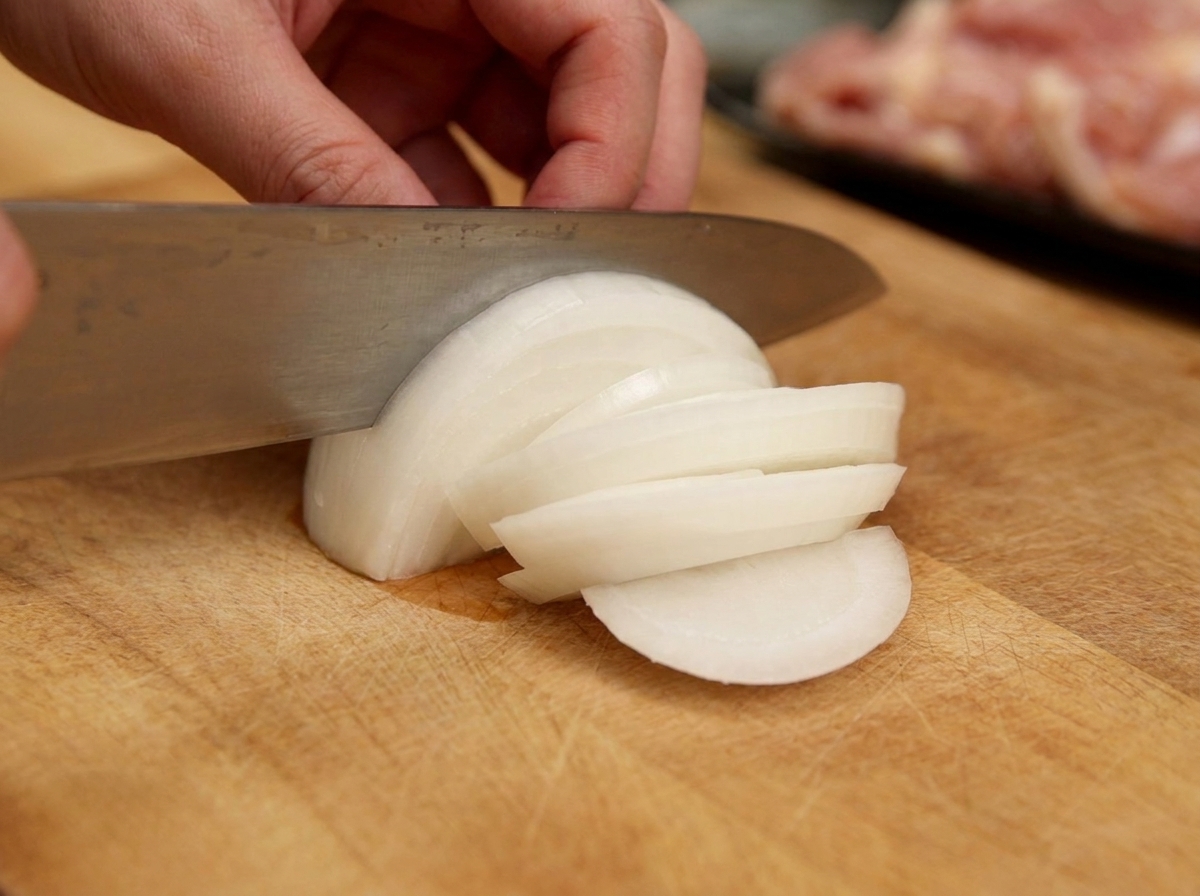
Thinly slice a white onion into even strips on a wooden cutting board. These thin slices will soften quickly and provide a delicate sweetness that balances the savory dashi broth in the Oyakodon.
Tip: For the best texture, slice the onion against the grain to help it break down and become tender during simmering. - 2Prepare the chicken
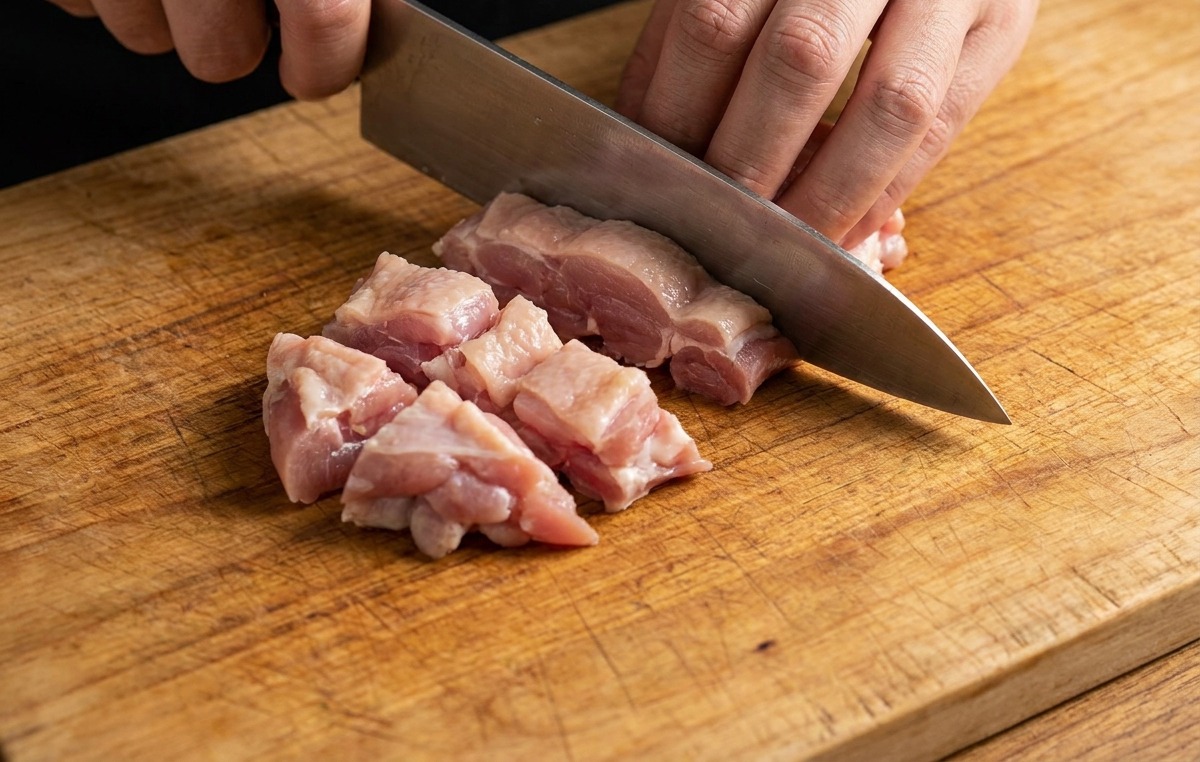
Cut the raw chicken thigh meat into small, uniform bite-sized pieces. Using thighs rather than breast meat ensures the chicken remains juicy and flavorful after being simmered in the sauce.
Tip: Try to keep the pieces roughly the same size so they cook evenly throughout the sautéing and simmering stages. - 3Beat the eggs
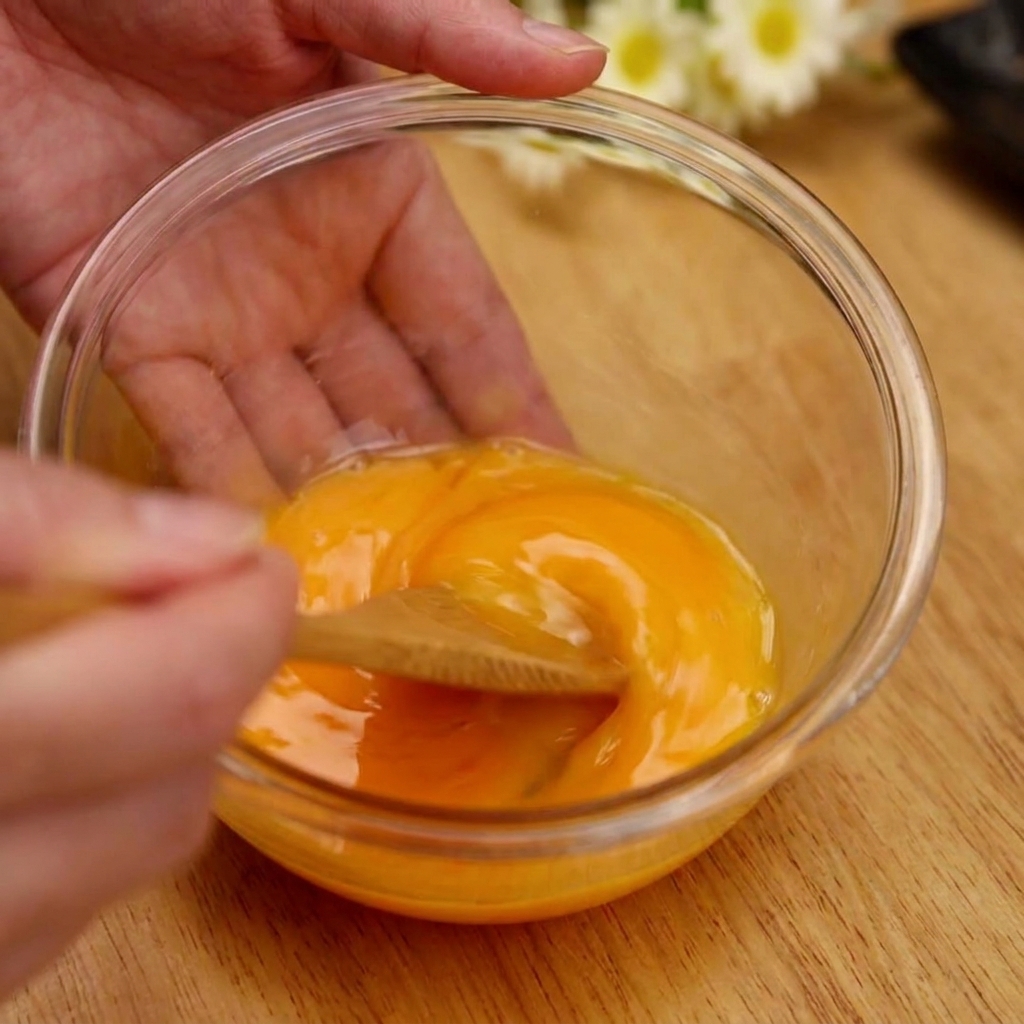
Crack two eggs into a glass bowl and whisk them with wooden chopsticks until the yolks and whites are just combined. You dont need to over-mix; a slightly streaky consistency is perfect for this dish.
Tip: A light whisking helps achieve the classic fluffy and layered texture of the eggs when they are poured into the simmering pan. - 4Sauté the chicken pieces
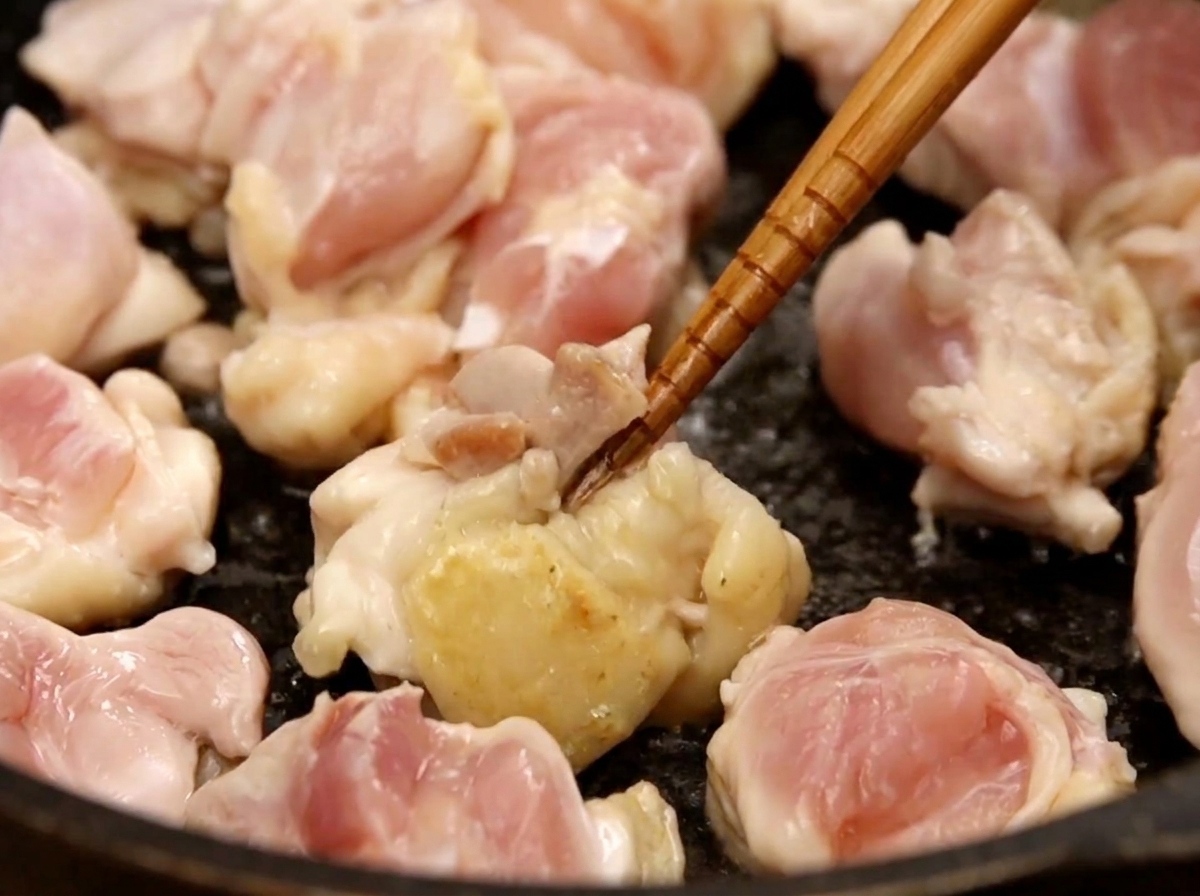
Heat a small amount of salad oil in a frying pan and add the bite-sized chicken thigh pieces. Sauté them over medium-high heat, using chopsticks to turn the pieces frequently. Continue cooking until the exteriors are lightly browned and the meat is partially cooked, which develops a rich flavor base for the Oyakodon.
Tip: Make sure the pan is hot before adding the chicken to get a good sear without the meat sticking. - 5Add the sliced onions
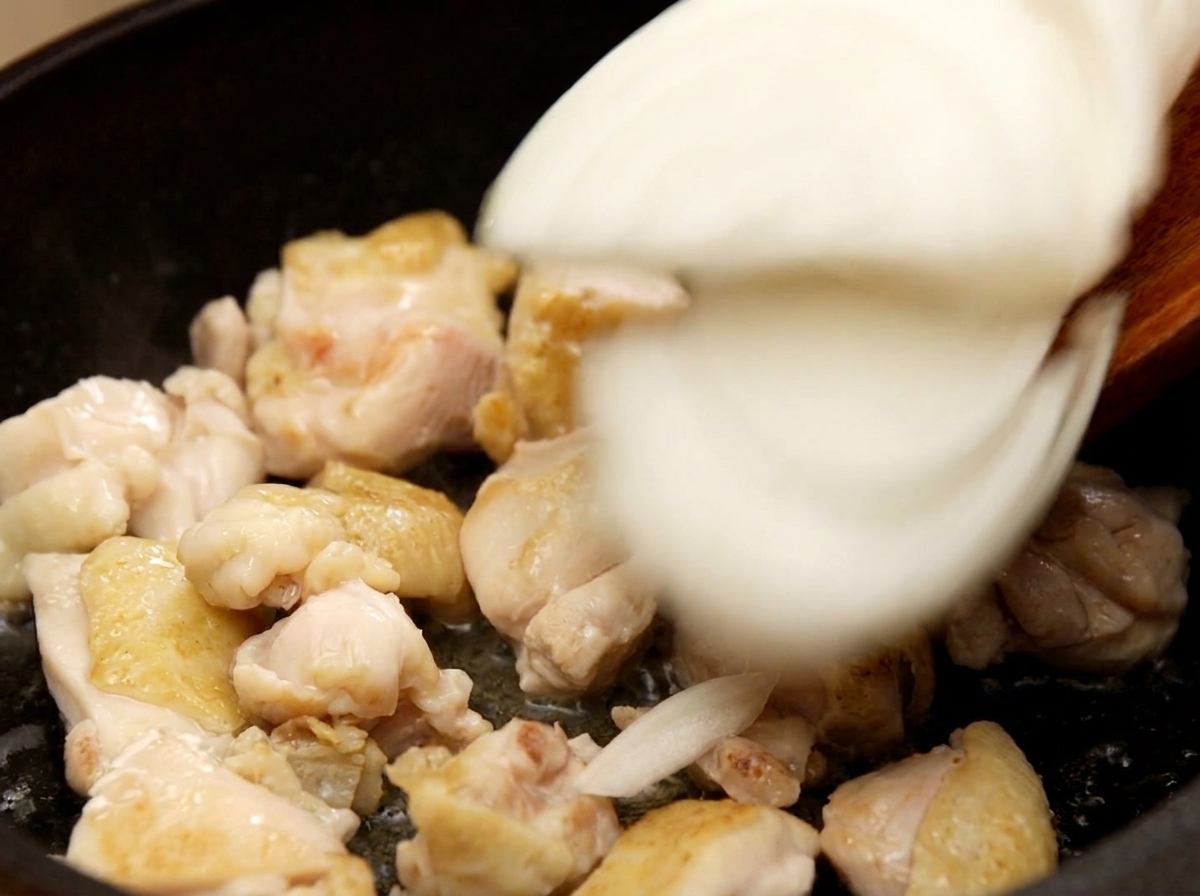
Once the chicken is partially cooked, add the sliced onions into the frying pan. Stir the onions with the chicken so they can pick up the savory juices from the meat as they begin to soften.
Tip: Sauté the onions until they are just translucent before adding the simmering sauce for the best flavor profile. - 6Add the simmering sauce
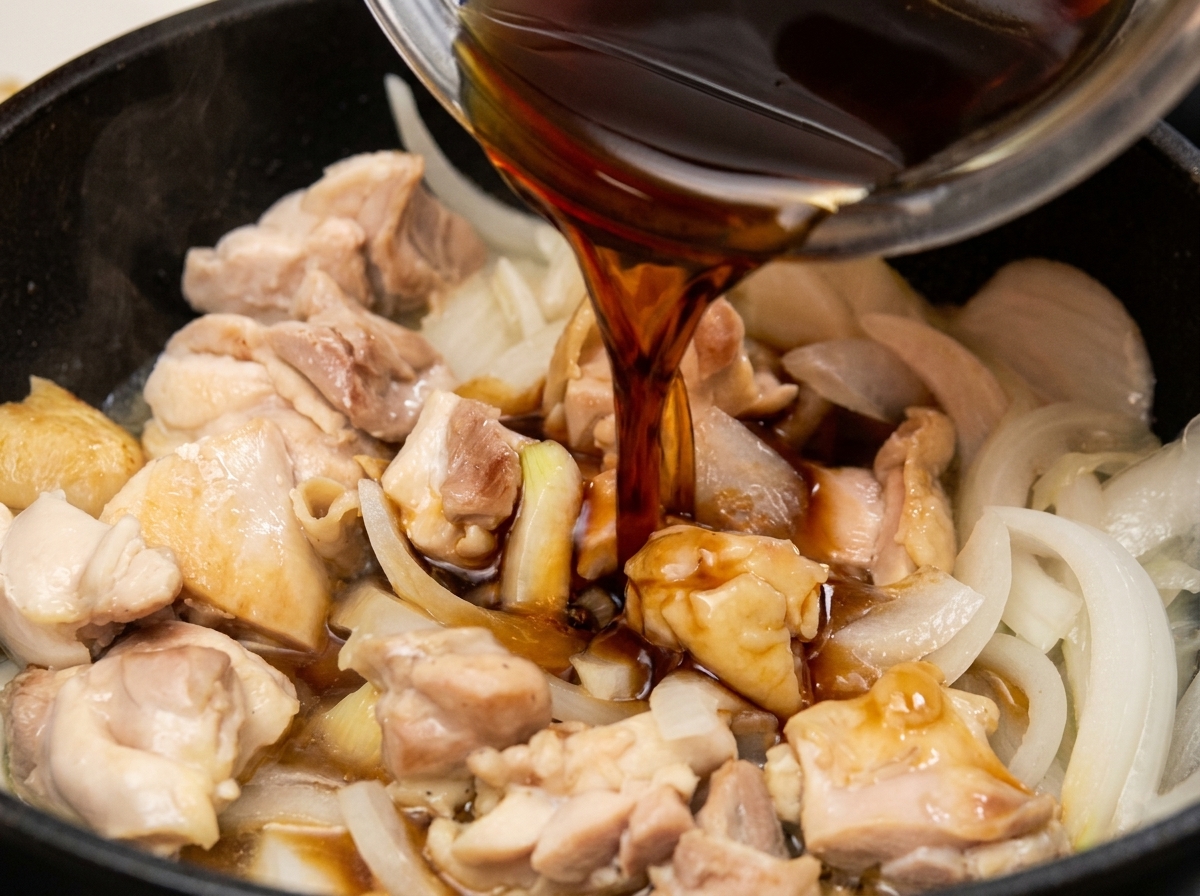
Pour the dark soy-based simmering sauce evenly over the chicken and onions in the pan. This savory-sweet liquid will braise the ingredients and infuse them with deep flavor as it reduces.
Tip: Adjust the heat to a steady simmer to allow the sauce to reduce by about half, which intensifies the flavors of the dashi, soy, and mirin. - 7Add the first egg layer
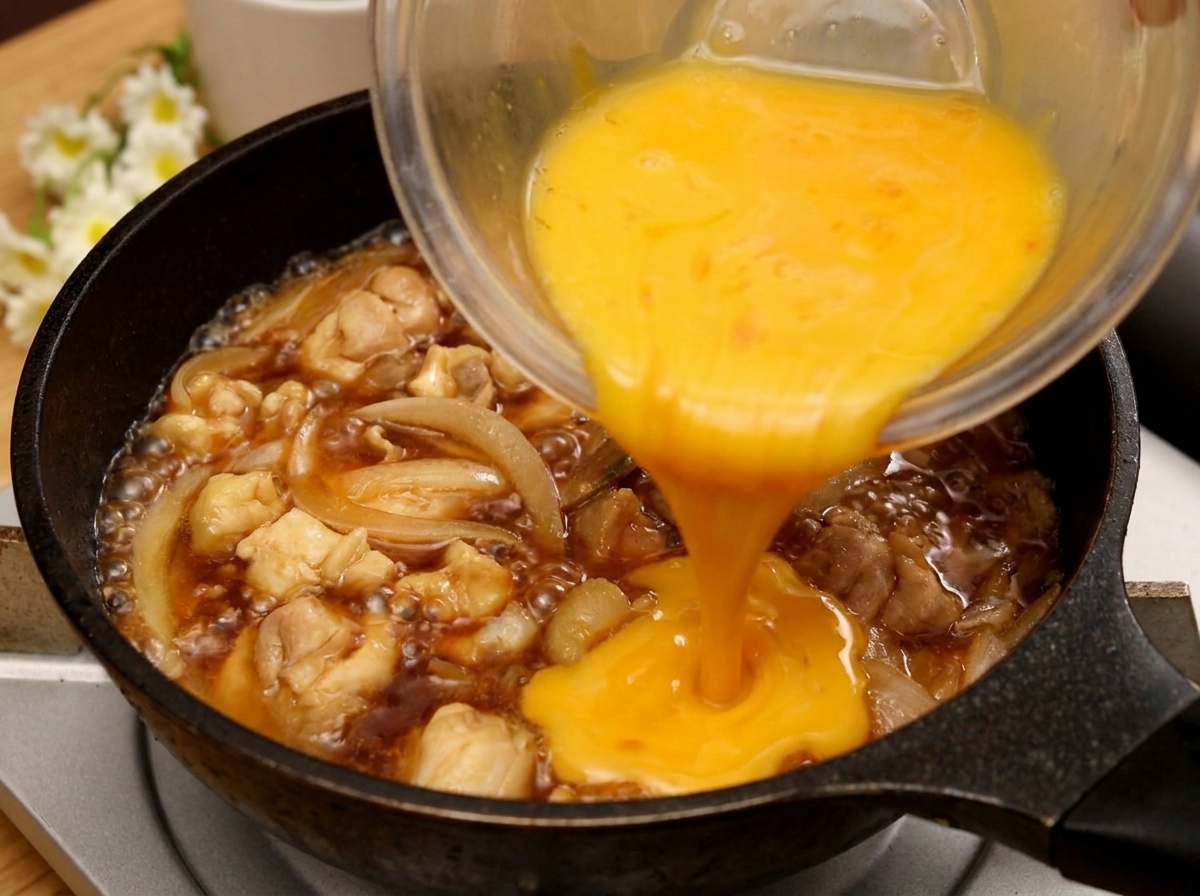
Once the sauce has reduced by about half, pour in two-thirds of the beaten egg mixture. Move the pan slightly to distribute the eggs evenly over the chicken and onions to form a soft base layer.
Tip: Pouring in stages ensures a layered, fluffy texture for the Oyakodoncite: 4. - 8Add the remaining egg
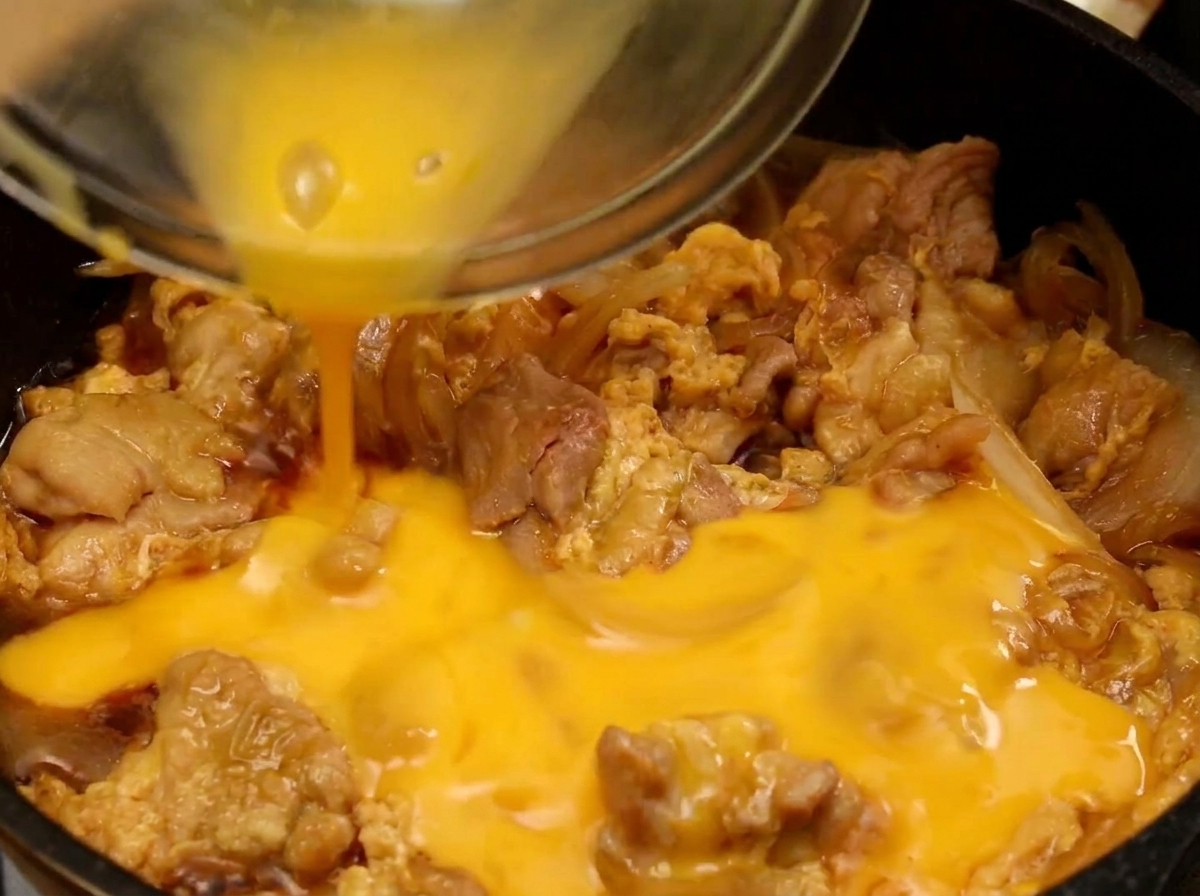
Pour the remaining third of the egg mixture evenly across the pan to ensure full coverage. Heat for exactly 10 more seconds until the eggs are beautifully half-set and glistening.
Tip: Ensure the egg covers the entire surface for a uniform, fluffy finishcite: 4. - 9Slide onto rice bowl
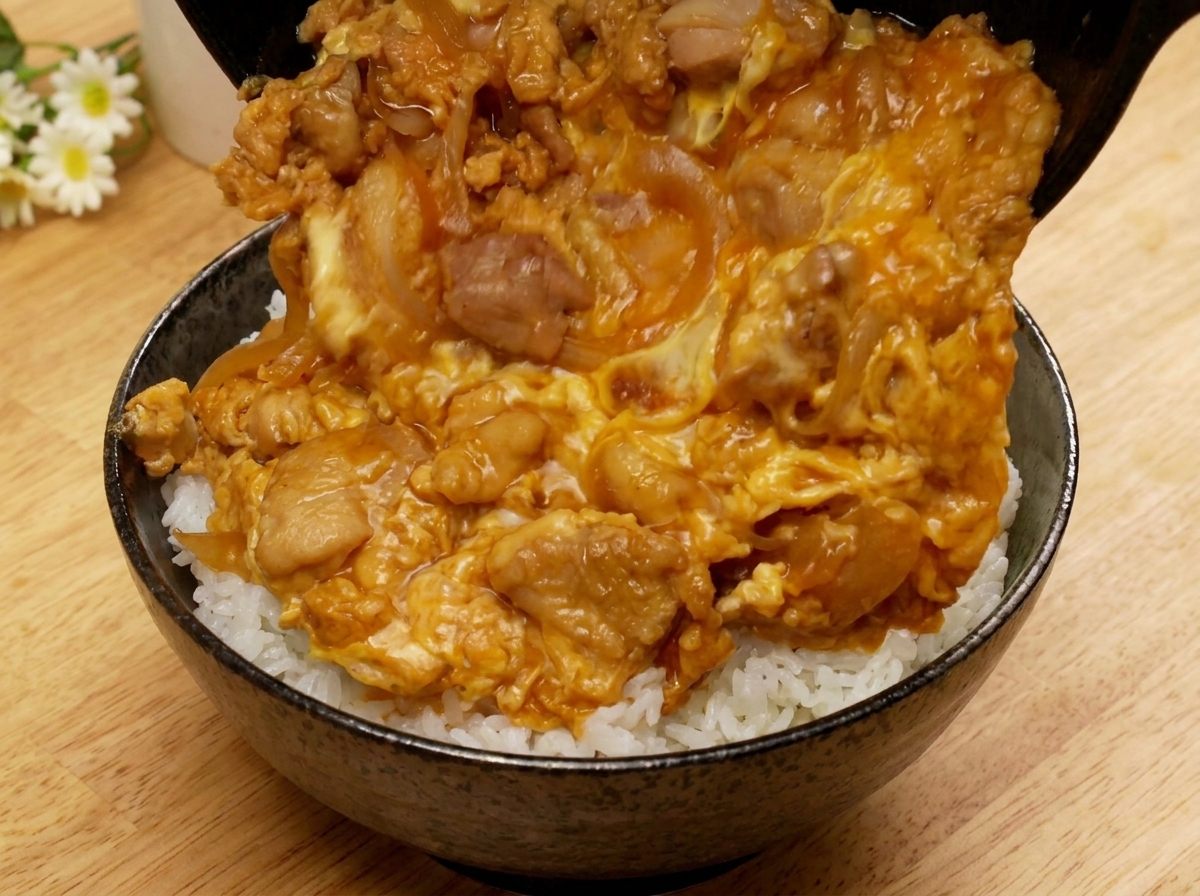
Carefully tilt the pan and slide the cooked chicken and soft, half-set egg mixture onto a bowl of steamed white ricecite: 4.
Tip: Slide the mixture gently to maintain the fluffy structure of the half-set eggscite: 4. - 10Garnish with green onions
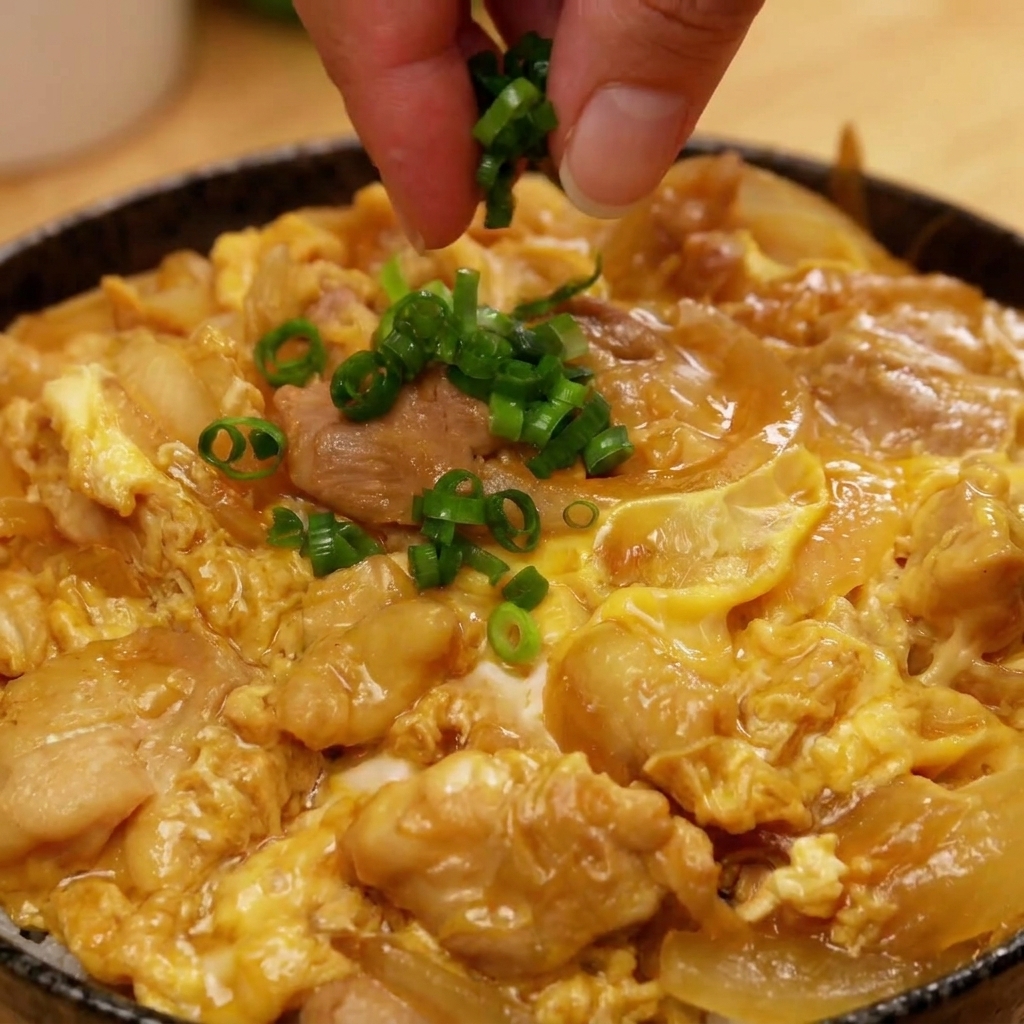
Complete the classic set meal by garnishing the center of the bowl with finely chopped green onionscite: 4. This adds a fresh flavor and a vibrant pop of colorcite: 4.
Tip: Thinly sliced scallions provide a delicate crunch and professional presentationcite: 4.