Flower Margherita Pizza
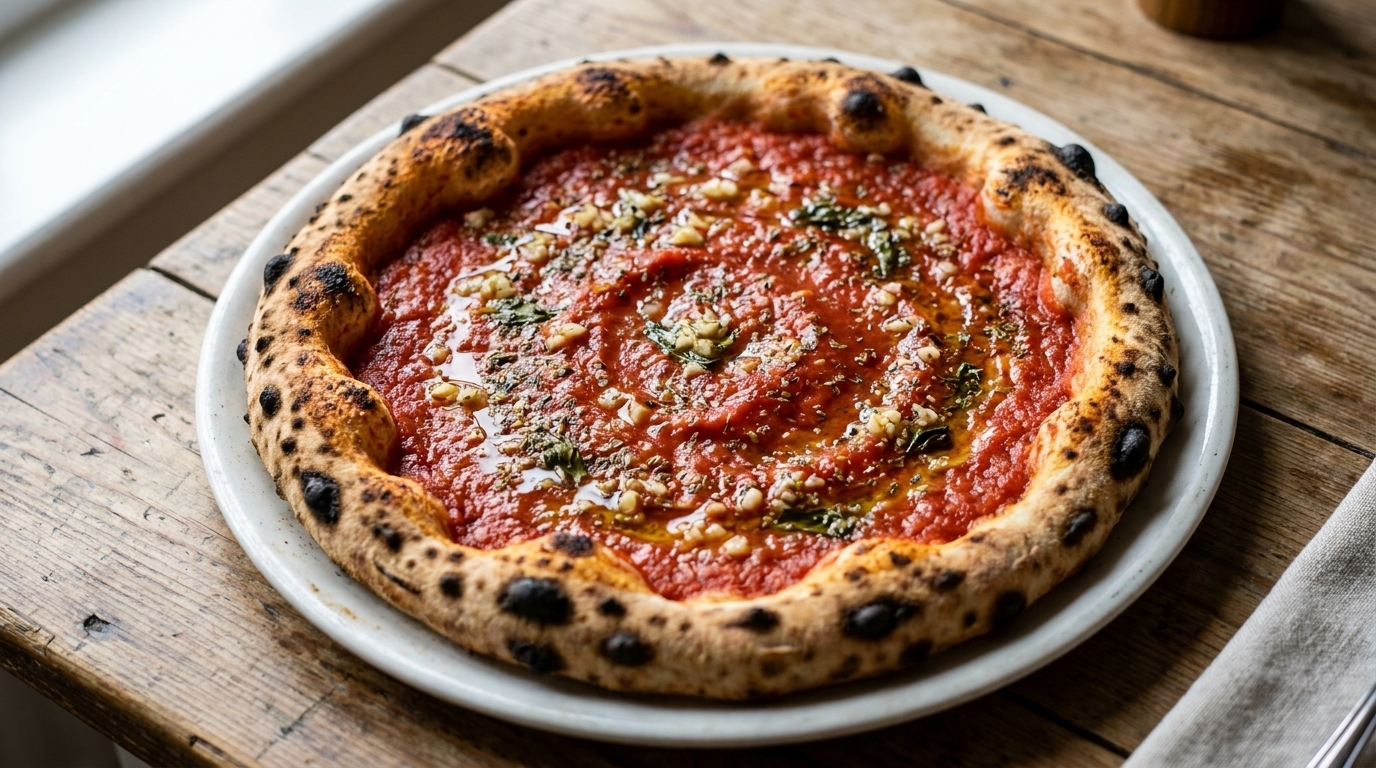
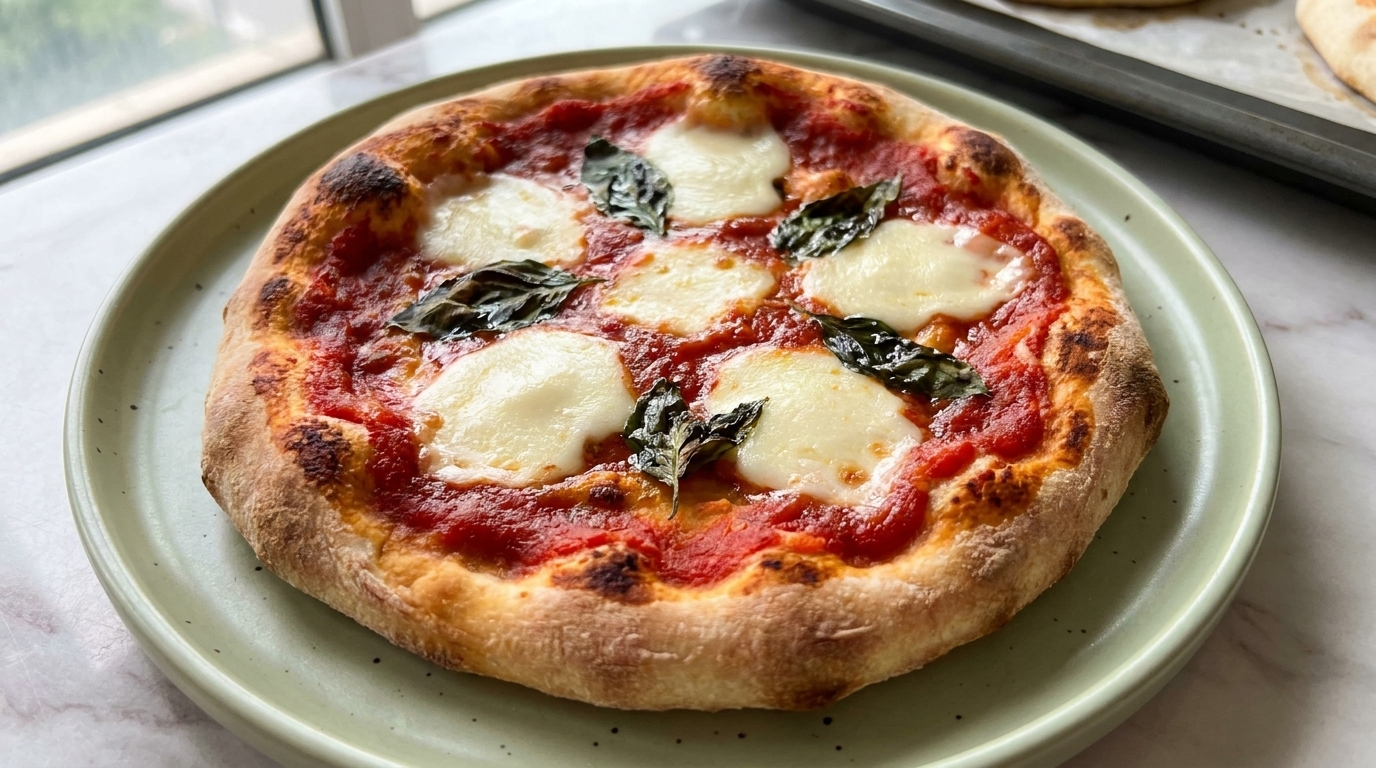
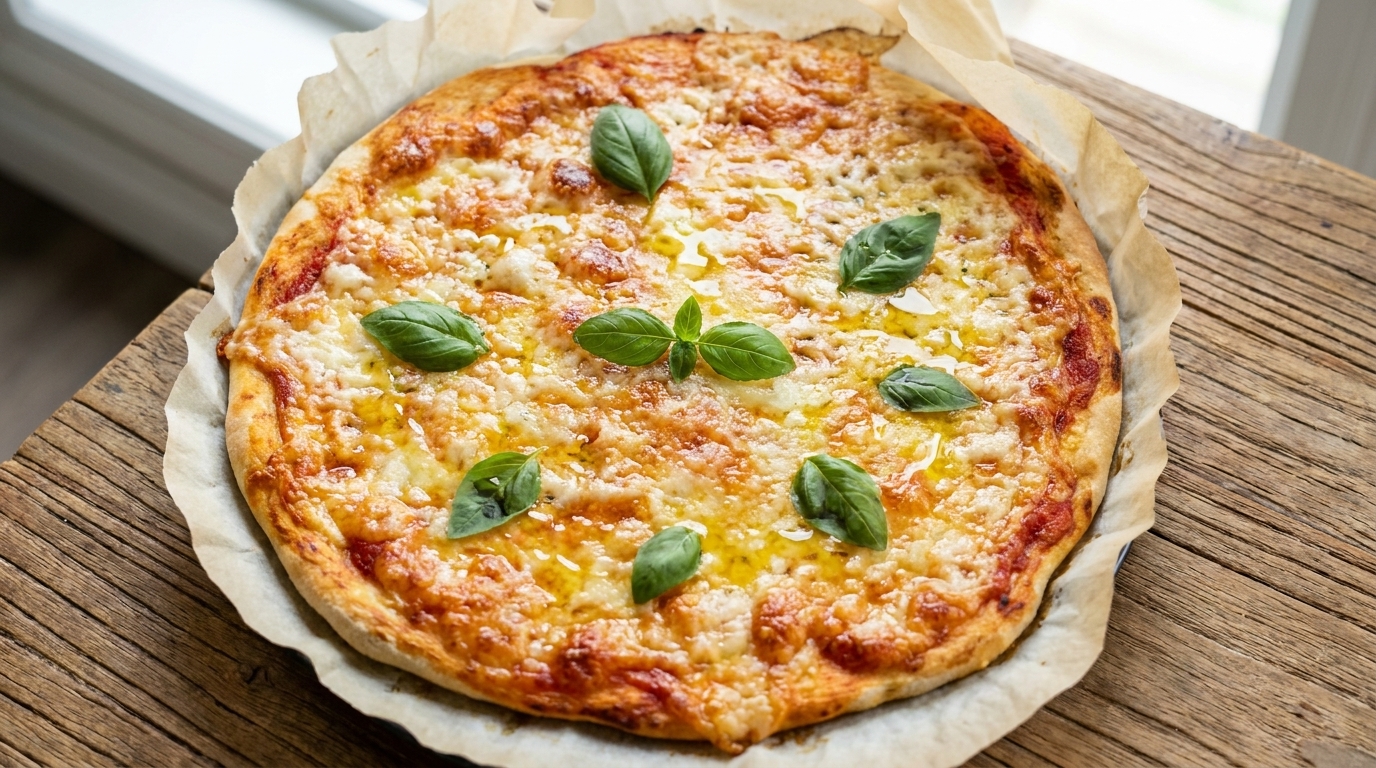
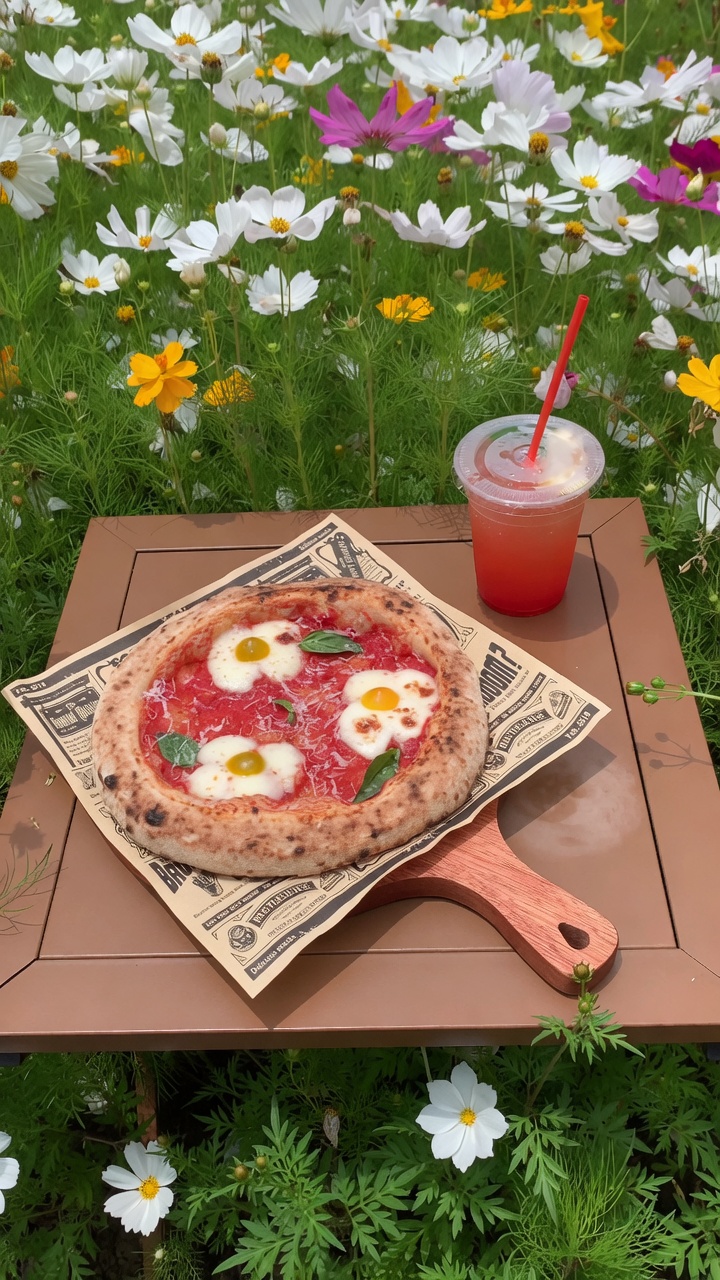
A charming twist on the classic Margherita, featuring mozzarella arranged in delicate flower petals on a vibrant tomato base, baked to leopard-spotted perfection.
The Margherita pizza is a timeless Italian masterpiece, beloved for its simplicity and balance of fresh ingredients. This version adds a whimsical touch by shaping the mozzarella into flower patterns, creating a visually stunning presentation that is perfect for outdoor dining and garden gatherings. It celebrates the artistry of traditional dough handling combined with creative, modern plating.
Ingredients
- 250 g pizza dough
- 3 tbsp tomato sauce
- 100 g mozzarella cheese
- to taste dusting flour
- optional fresh basil leaves
Instructions
- 1Remove the dough
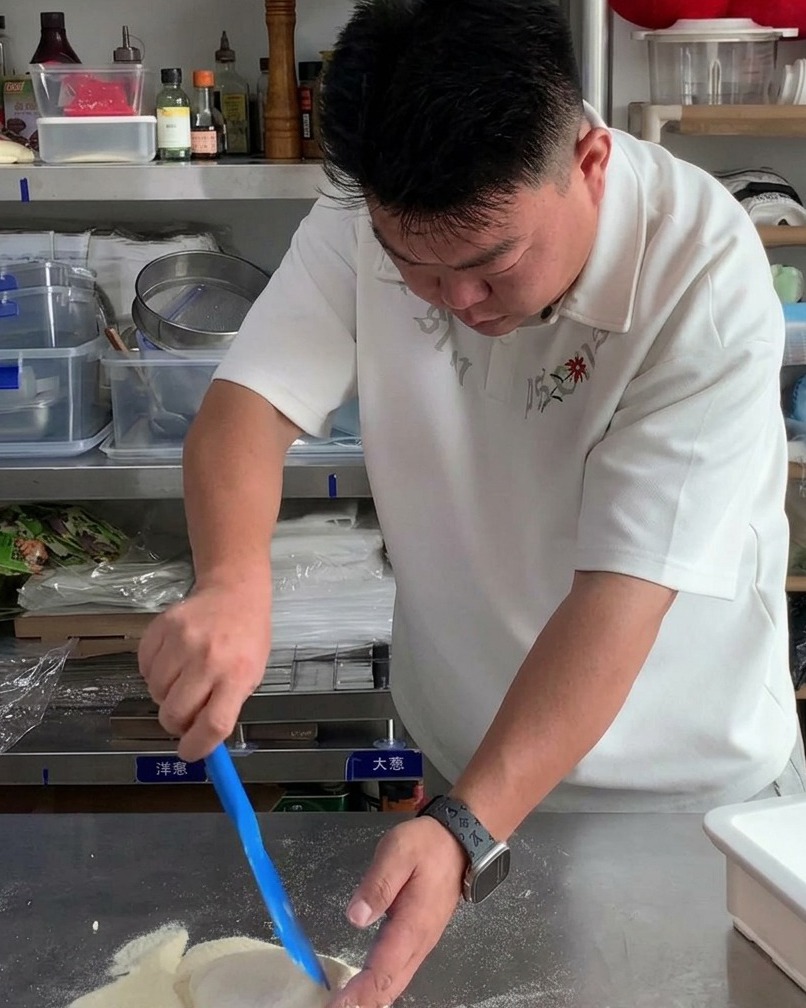
Gently remove the prepared raw pizza dough from its storage tray using a clean plastic or metal scraper. Place it onto a work surface dusted with flour to prevent sticking.
Tip: Handle the dough gently to avoid deflating the air pockets that have formed during proofing. - 2Dust with flour
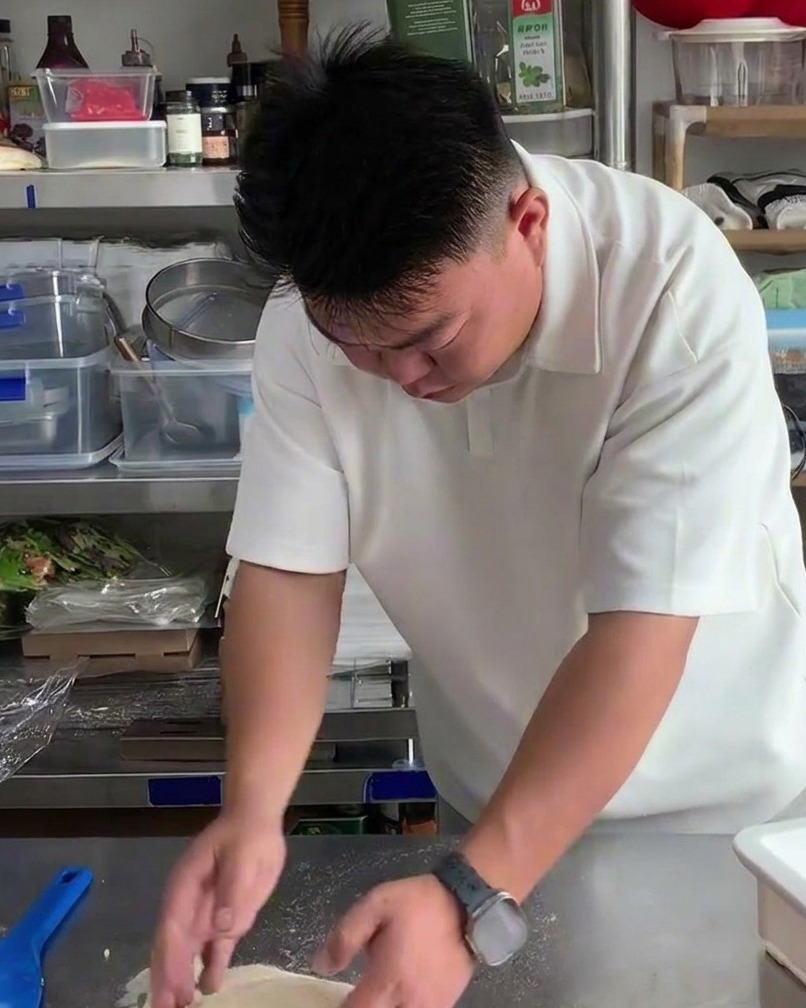
Lightly sprinkle dusting flour over the raw dough ball and the stainless steel work surface. This prevents the dough from adhering to the surface during the shaping process.
Tip: Use a light hand with the flour to avoid incorporating too much extra starch, which can make the crust tough. - 3Flatten the dough
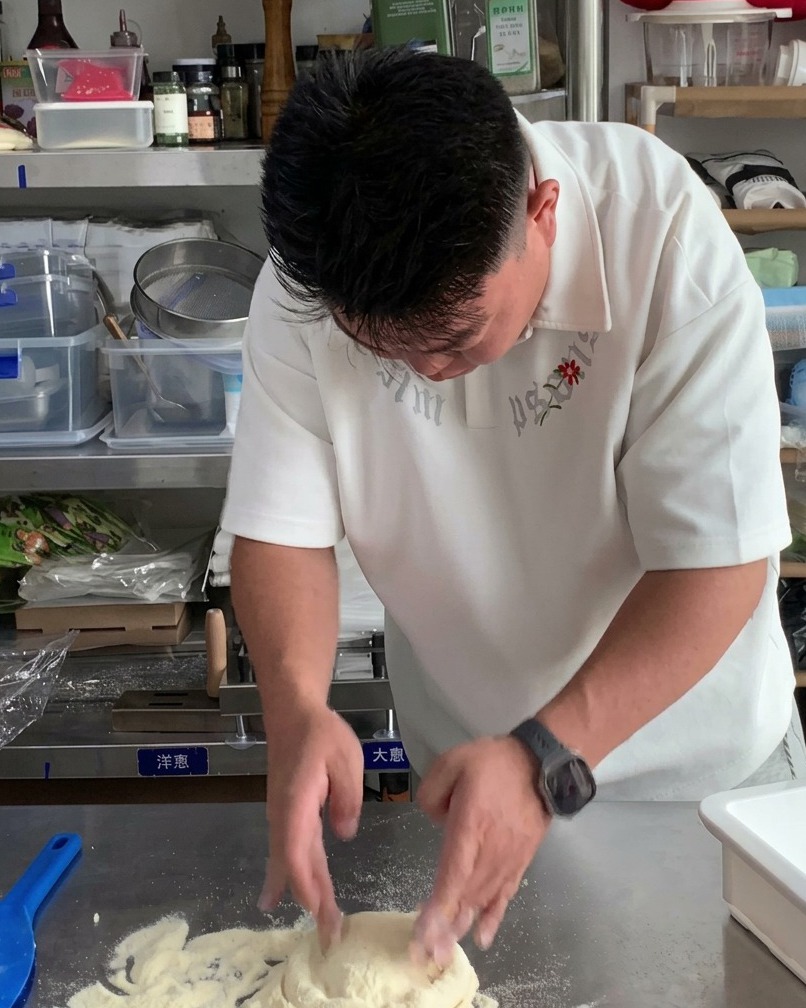
Using both hands, gently press down on the center of the dough ball and work outwards to flatten it into a thick, uniform circular disc. This helps define the crust edge.
Tip: Press from the center outward to ensure the air bubbles are pushed toward the crust rim. - 4Stretch the dough
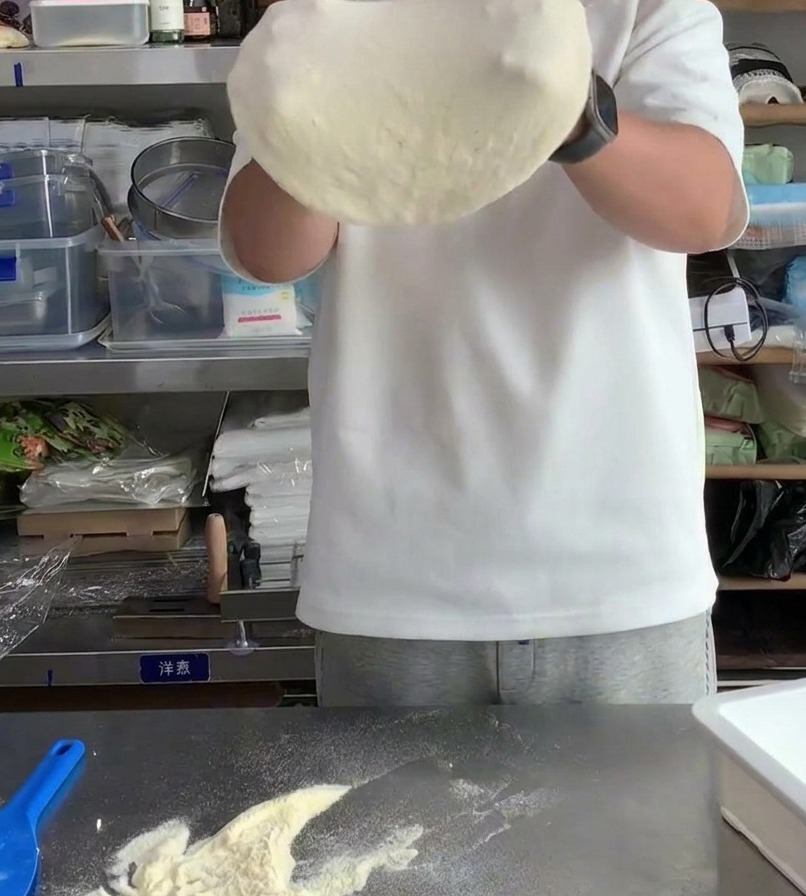
Carefully lift the dough and drape it over your knuckles, rotating it slowly to stretch it evenly to the desired size. Maintain a consistent thickness throughout the base.
Tip: Let gravity do the work; avoid pulling the dough too aggressively to prevent tearing. - 5Remove excess flour
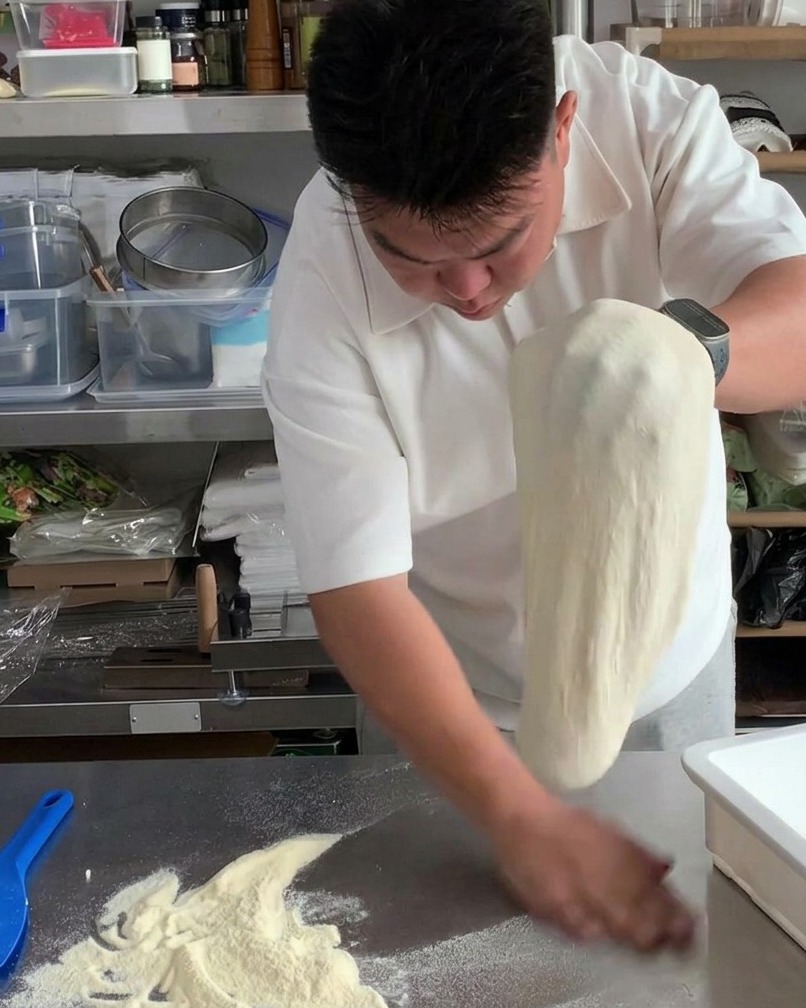
Gently slap the stretched dough back and forth between your hands. This motion helps to remove any excess dusting flour from the surface of the crust.
Tip: Clean surfaces ensure a better texture and prevent a powdery mouthfeel on the cooked pizza. - 6Add tomato sauce
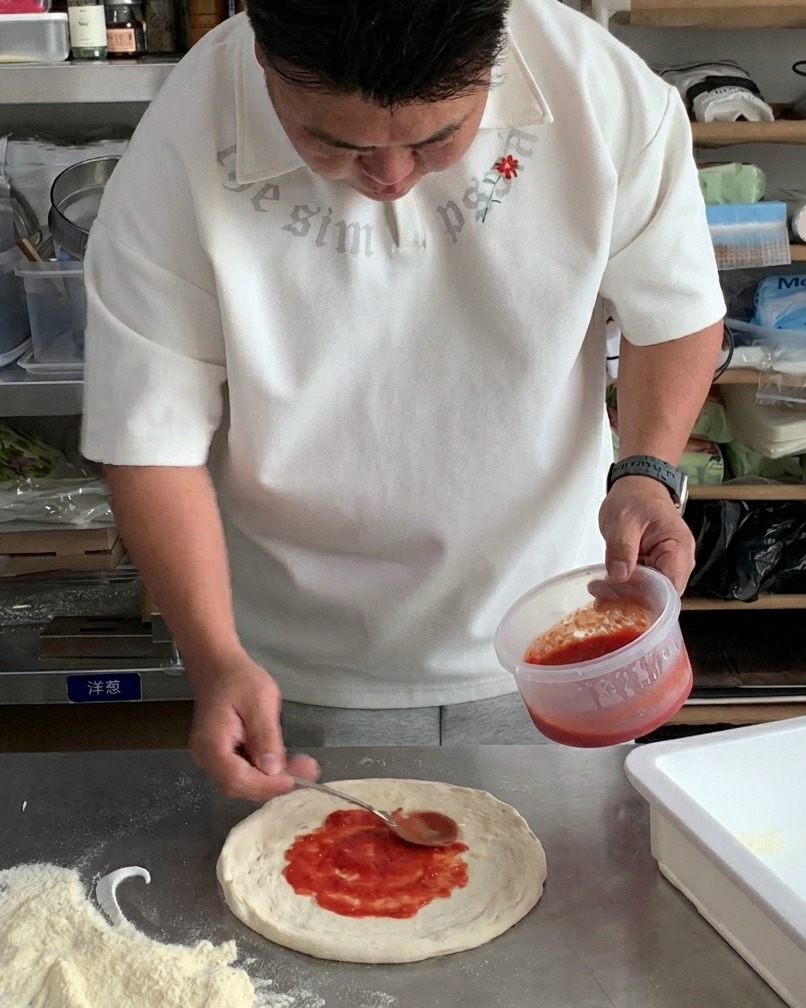
Using the back of a metal spoon, spread a thin, even layer of homemade tomato sauce over the center of the dough. Leave a small border around the edge for the crust.
Tip: Avoid using too much sauce, as it can make the center of the pizza soggy. - 7Add the mozzarella
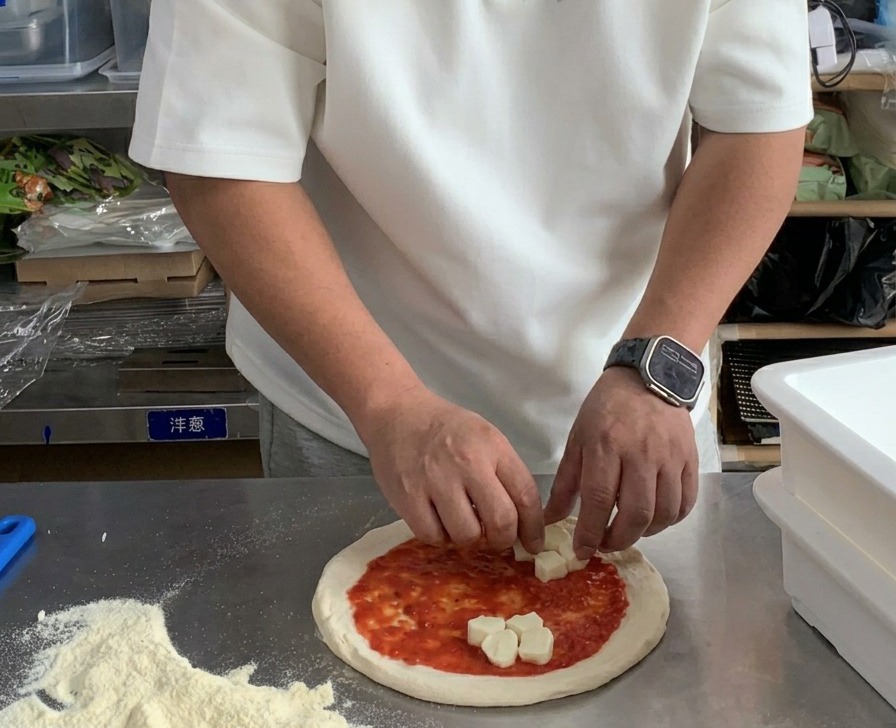
Carefully place the diced mozzarella cheese onto the tomato sauce base. Arrange the cheese cubes in small circular clusters to resemble the petals of a flower, ensuring an even distribution across the dough.
Tip: Leave some space between the clusters to allow the tomato sauce to show through and the cheese to spread evenly as it melts. - 8Transfer to the peel
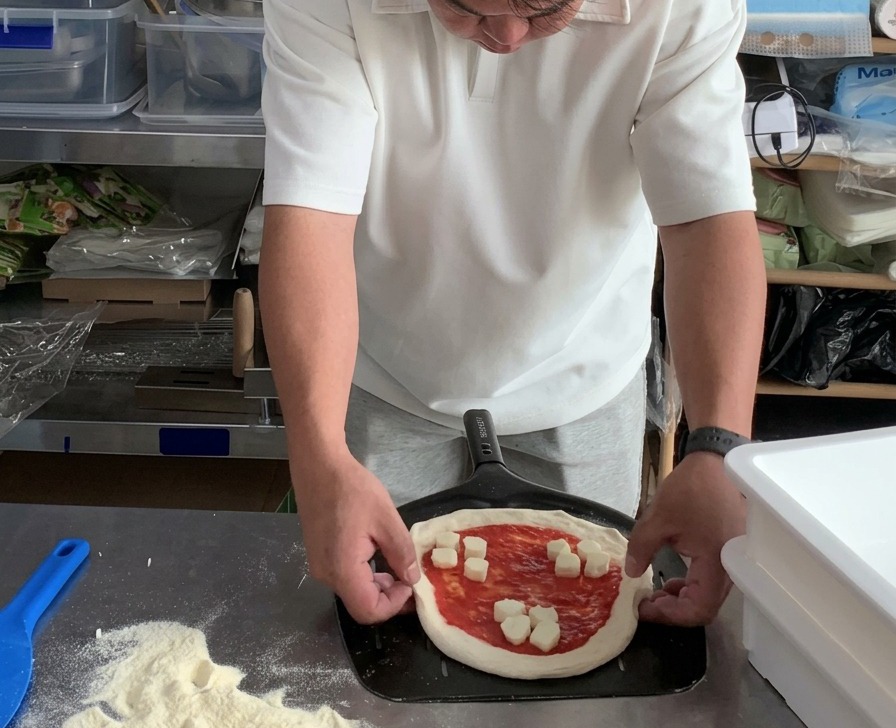
Carefully slide the unbaked pizza onto a dark, perforated metal pizza peel. Gently adjust the edges of the dough to restore its round shape and ensure it isnt sticking to the surface before transferring to the oven.
Tip: A light dusting of flour on the peel will help the pizza slide off smoothly into the oven without sticking. - 9Slide into the oven
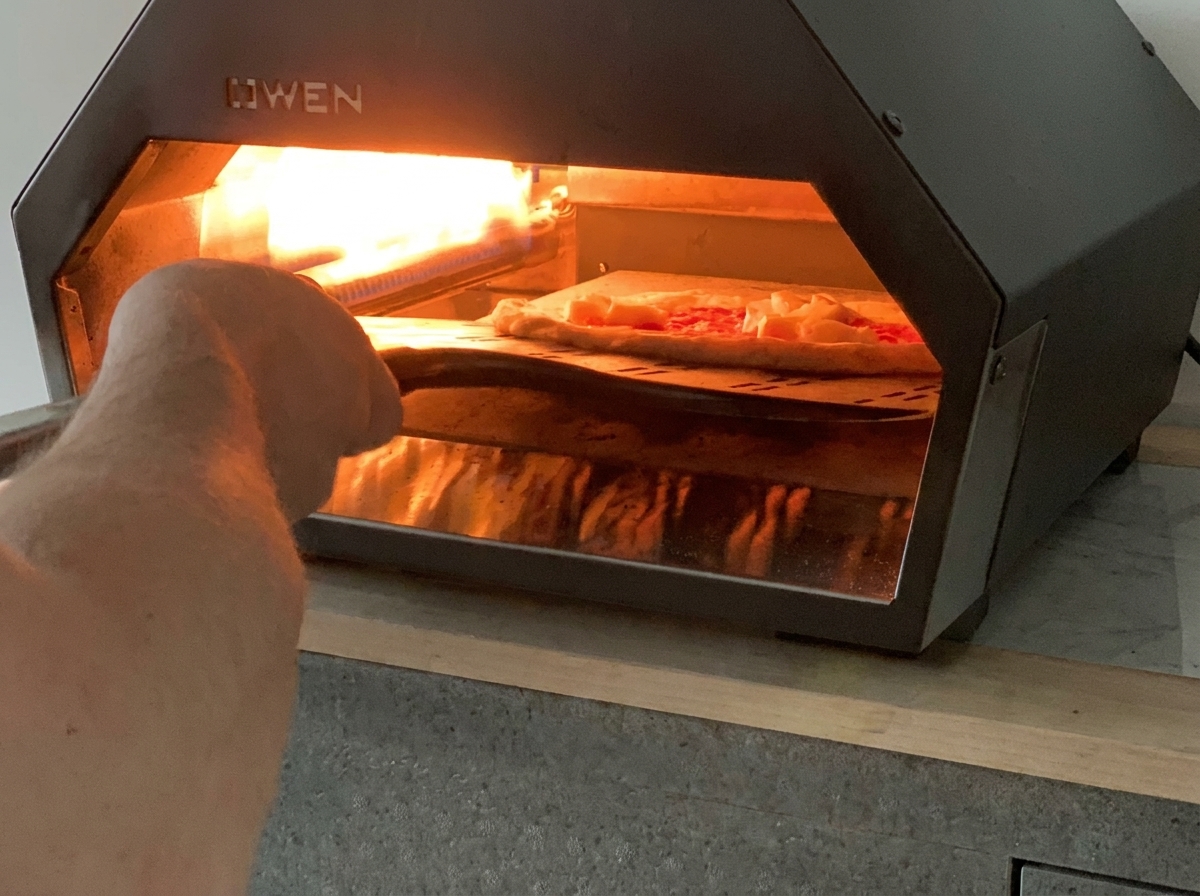
Using the pizza peel, confidently slide the prepared pizza into the lit gas pizza oven. Aim for the center of the baking stone to ensure even heat distribution from the open flame.
Tip: Use a swift, forward-and-back jerking motion to easily slide the pizza off the peel and onto the hot stone. - 10Rotate for even baking
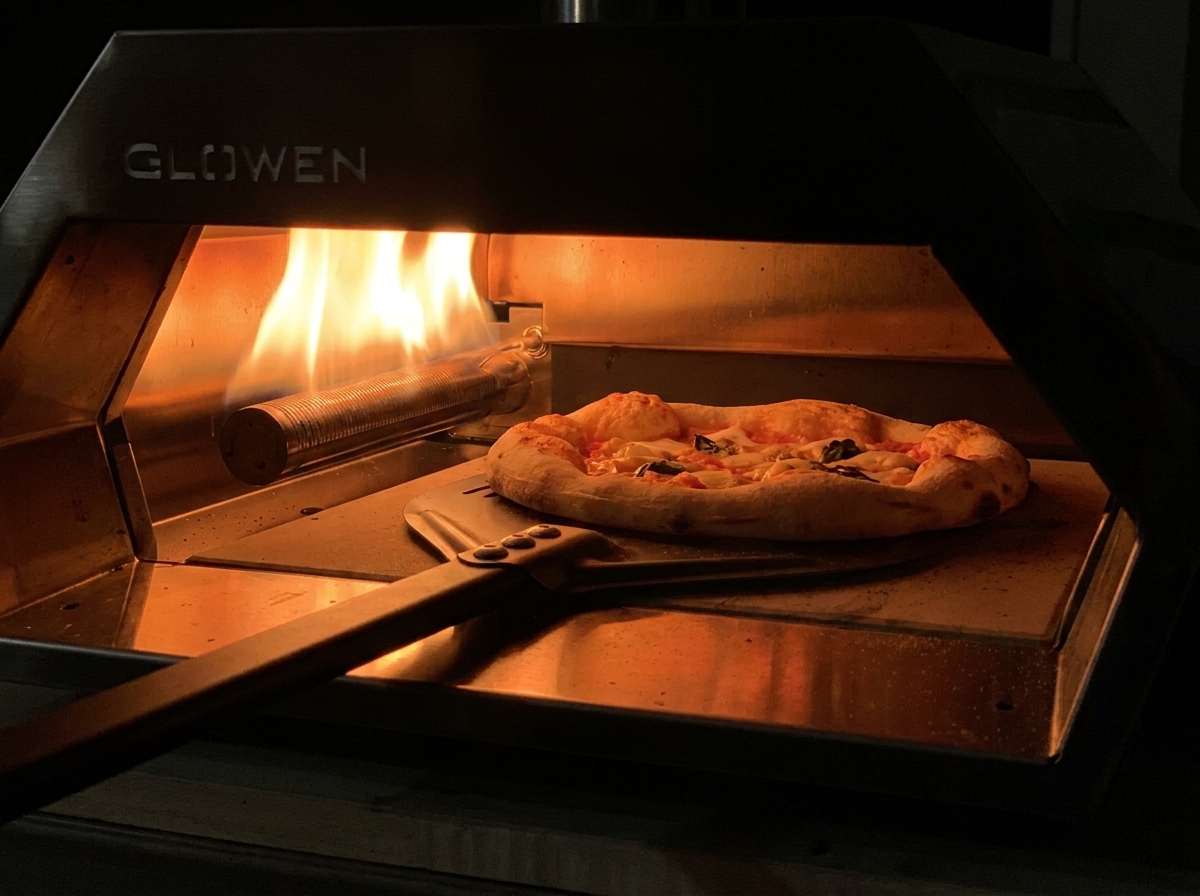
After a short duration, use the peel to gently rotate the partially cooked pizza inside the oven. Since the heat source is single-sided, rotating is crucial to ensure the crust colors evenly and develops beautiful leopard spots.
Tip: Keep a close eye on the crust nearest to the flame; it can burn in just a few seconds if not rotated frequently.