Freezer-Friendly Homemade Mini Pizzas
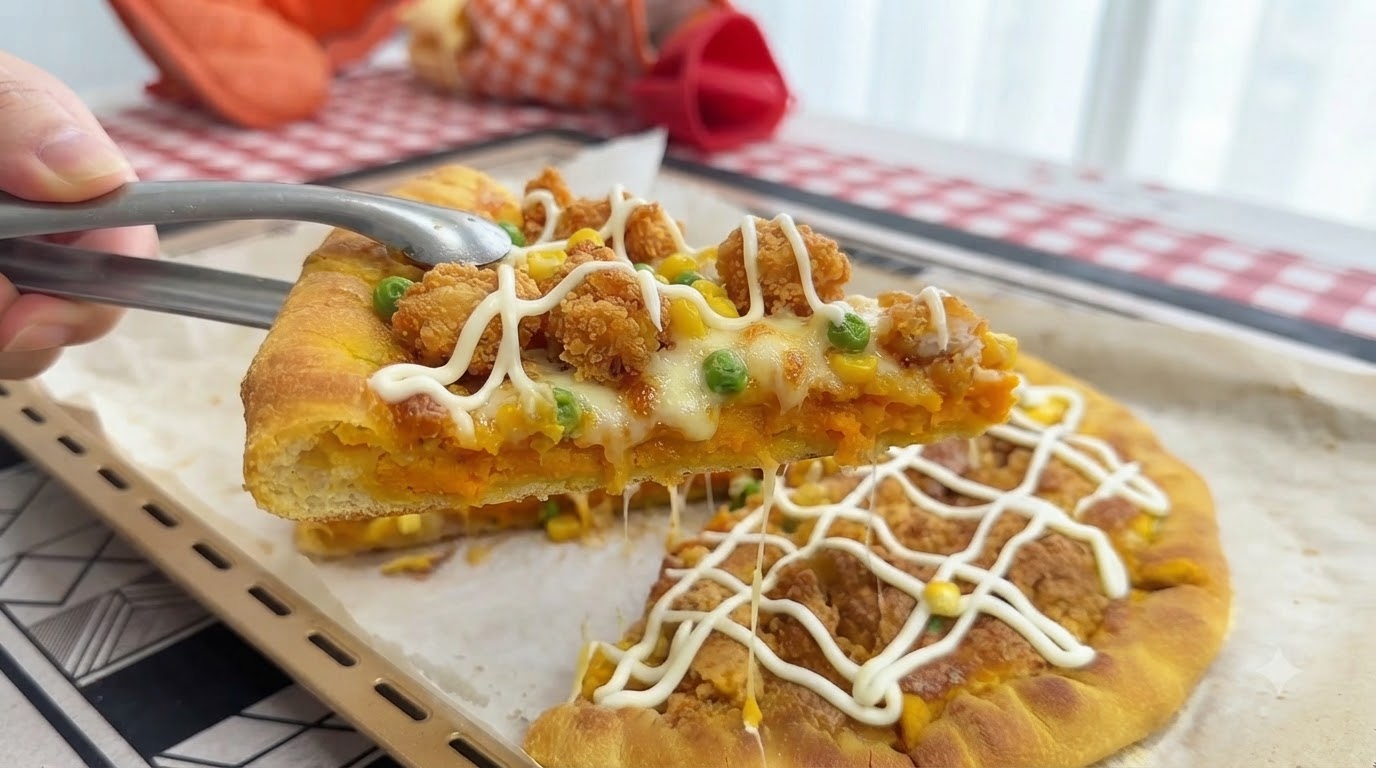
These convenient homemade mini pizzas feature a soft, airy crust topped with savory sausage, bell peppers, and melted mozzarella cheese. Perfect for meal prep and quick grab-and-go lunches!
Mini pizzas are the ultimate convenience food, combining the comforting joy of homemade dough with the practicality of meal prep. By pre-baking the individual crusts and freezing the fully assembled pizzas, you can easily enjoy a hot, freshly baked pizza anytime. This versatile recipe offers two classic flavor profiles: a vibrant sausage and bell pepper mix, and a savory-sweet beef and pineapple combination.

Ingredients
- 200 g high-gluten flour
- 50 g low-gluten flour
- 1 tbsp sugar
- 1 tsp yeast
- 2 tbsp corn oil
- 150 ml water
- 1 red bell pepper
- 1 yellow bell pepper
- 1 green bell pepper
- 200 g sausage
- 200 g beef, diced
- 1/2 cup tomato sauce
- 1/2 cup black pepper sauce
- 1 cup diced pineapple
- 300 g mozzarella cheese
- to taste salt and black pepper
Instructions
- 1Slice Bell Peppers
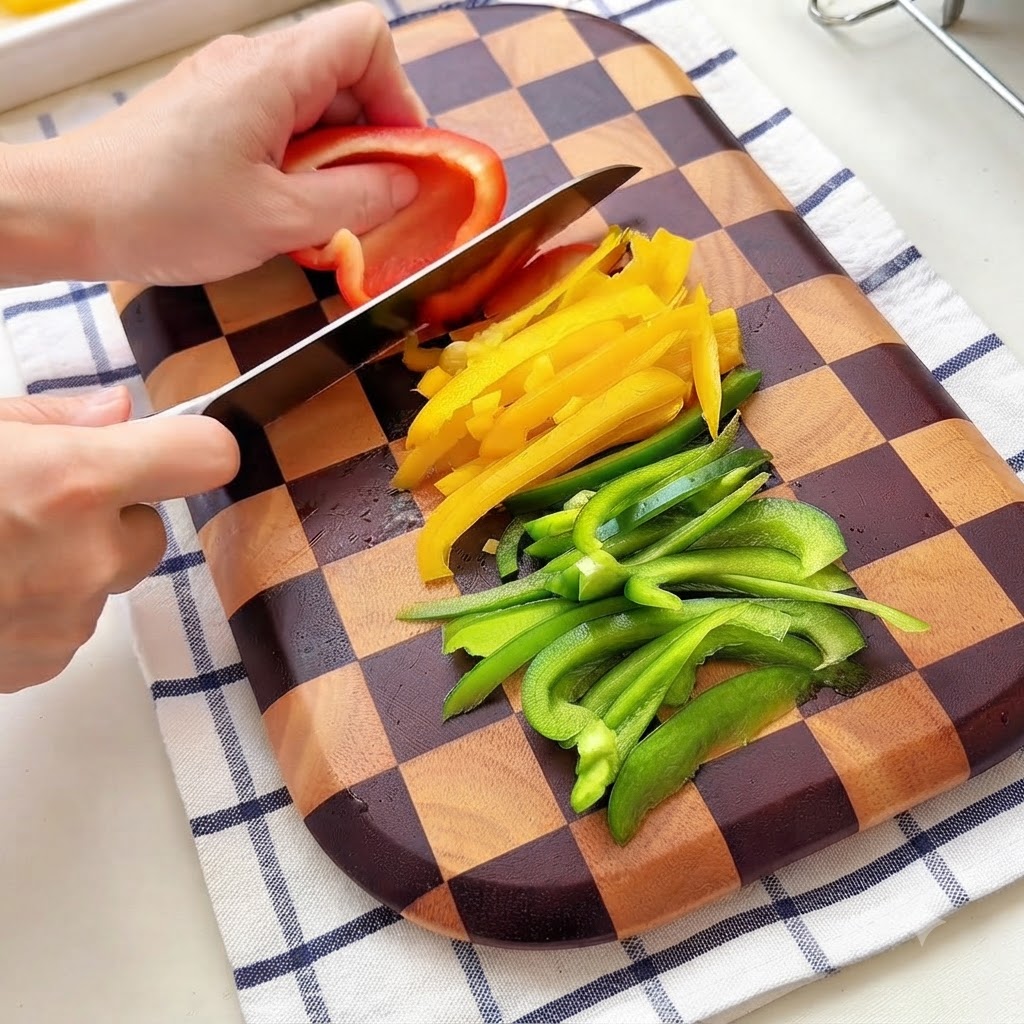
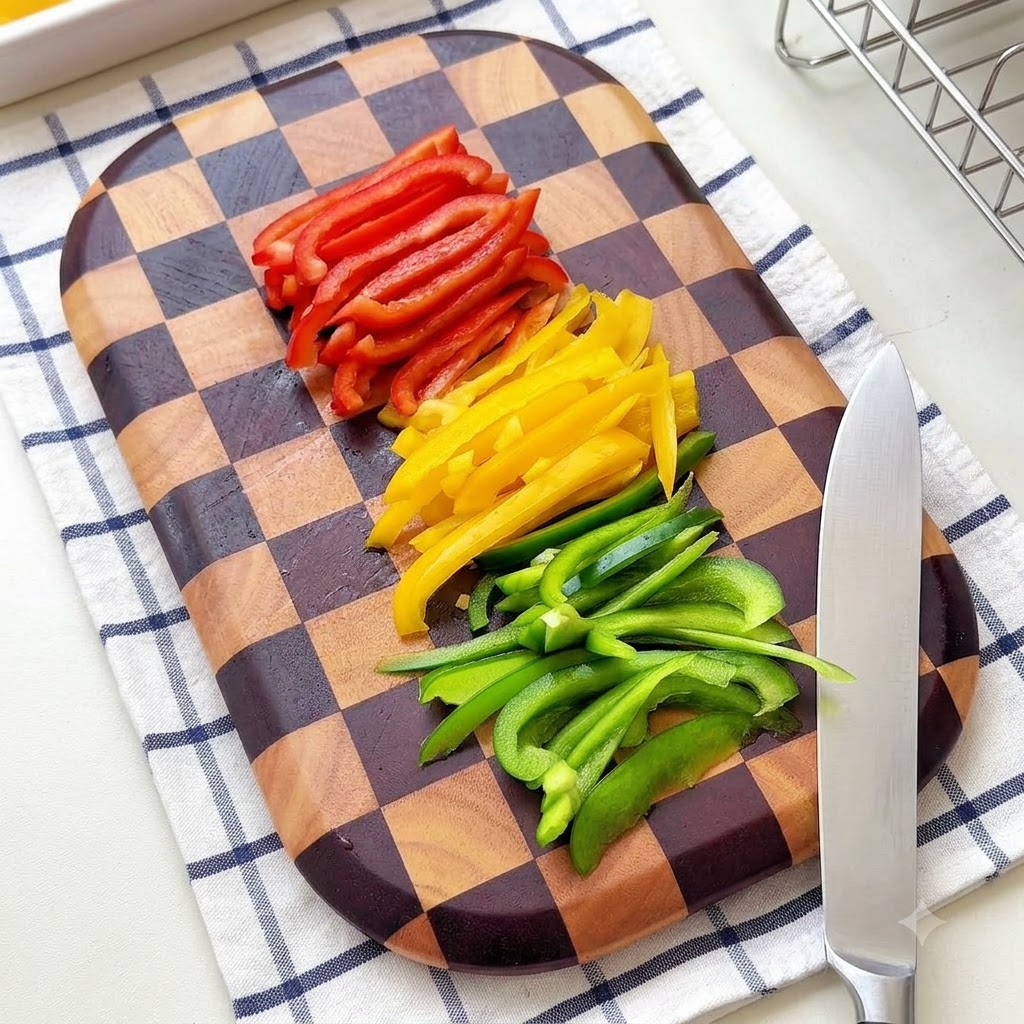
Take red, yellow, and green bell peppers, remove the cores, and slice them into thin strips on a checkered wooden cutting board.
Tip: Cut the bell peppers uniformly so they cook evenly and fit nicely on the mini pizzas. - 2Slice the Sausage
Take the sausage and slice it into neat rounds on the wooden cutting board.
Tip: Keep the slices consistent in thickness for even cooking. - 3Cut and Season Beef
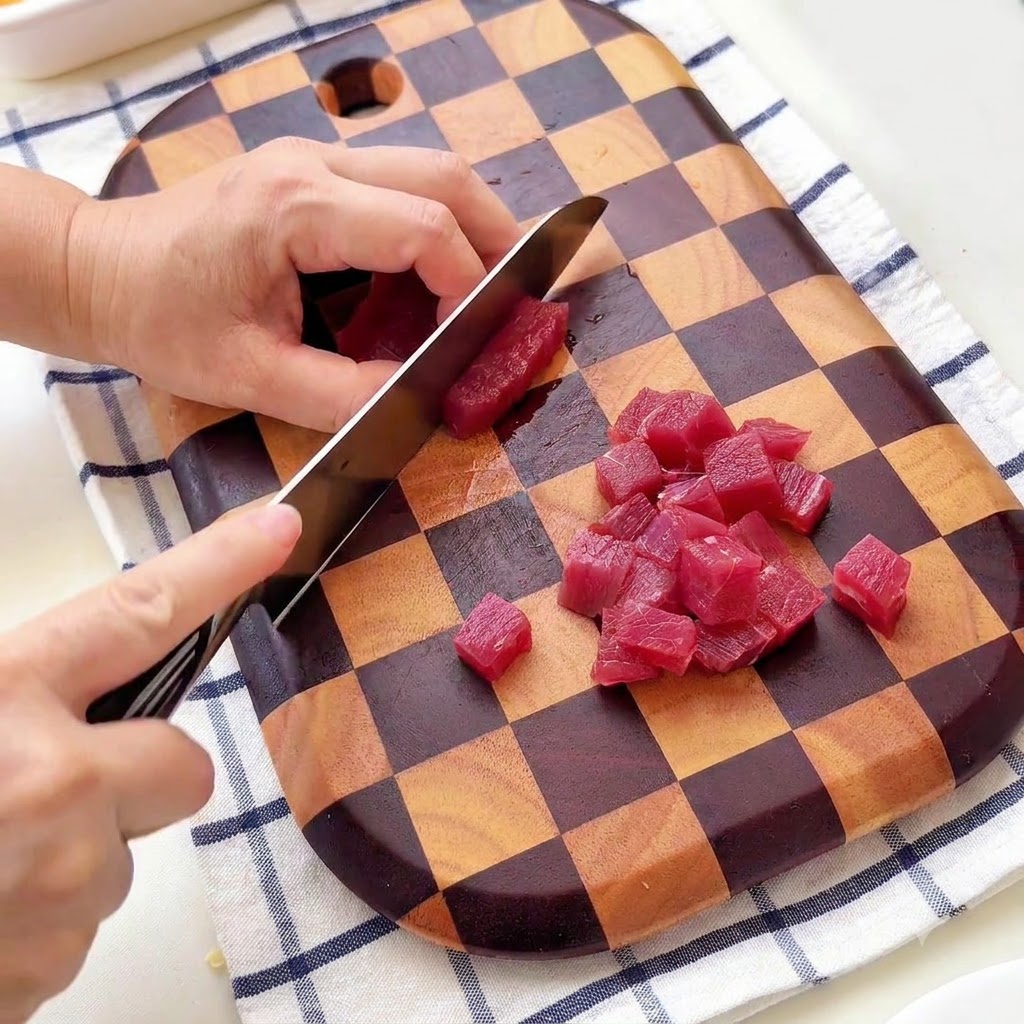
Cut the beef into small, uniform cubes, then place them in a white tray and season simply with black pepper and salt.
Tip: Cut the beef into bite-sized cubes so they fit well on top of the mini pizzas. - 4Fry Sausage Slices
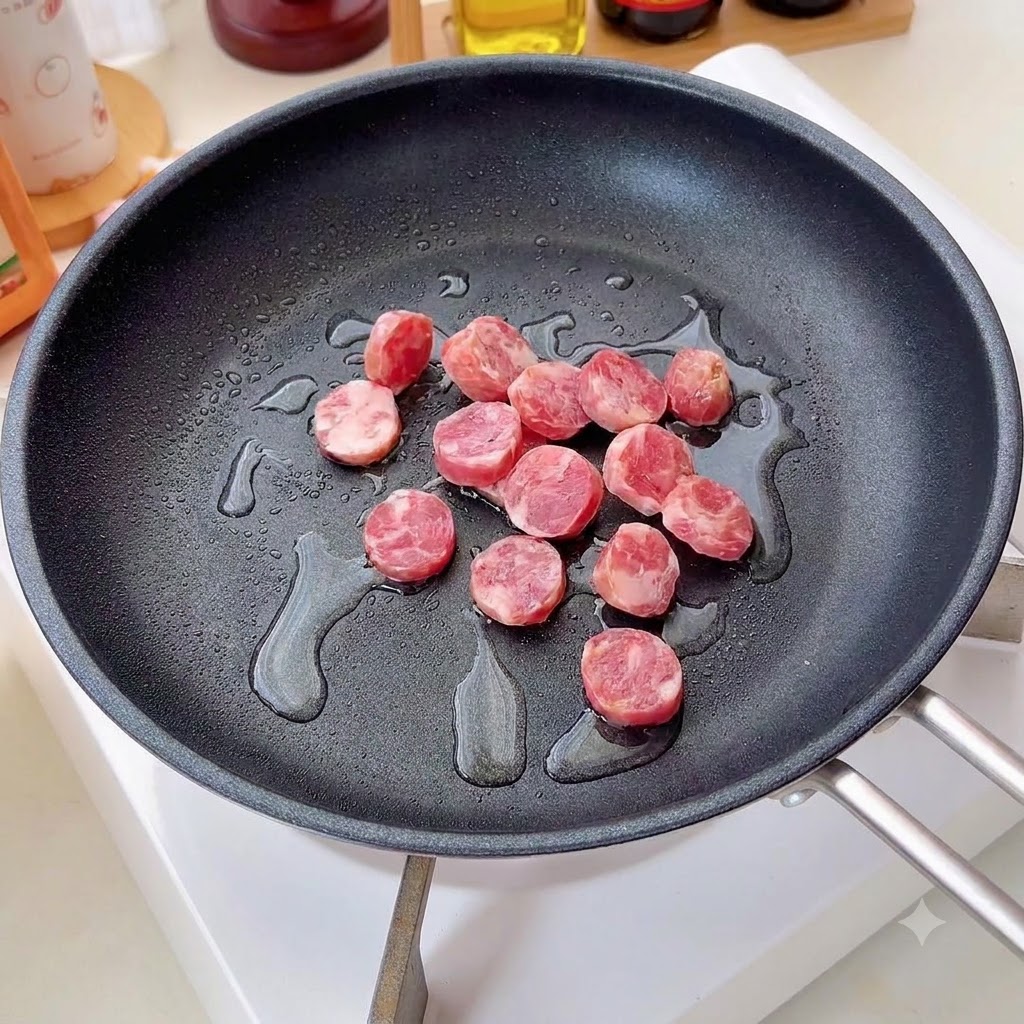
Heat a small amount of oil in a pan, add the sausage slices, and fry until fully cooked. Remove them from the pan and let them cool.
Tip: Do not overcrowd the pan to ensure the sausage slices brown evenly. - 5Stir-fry Beef Cubes
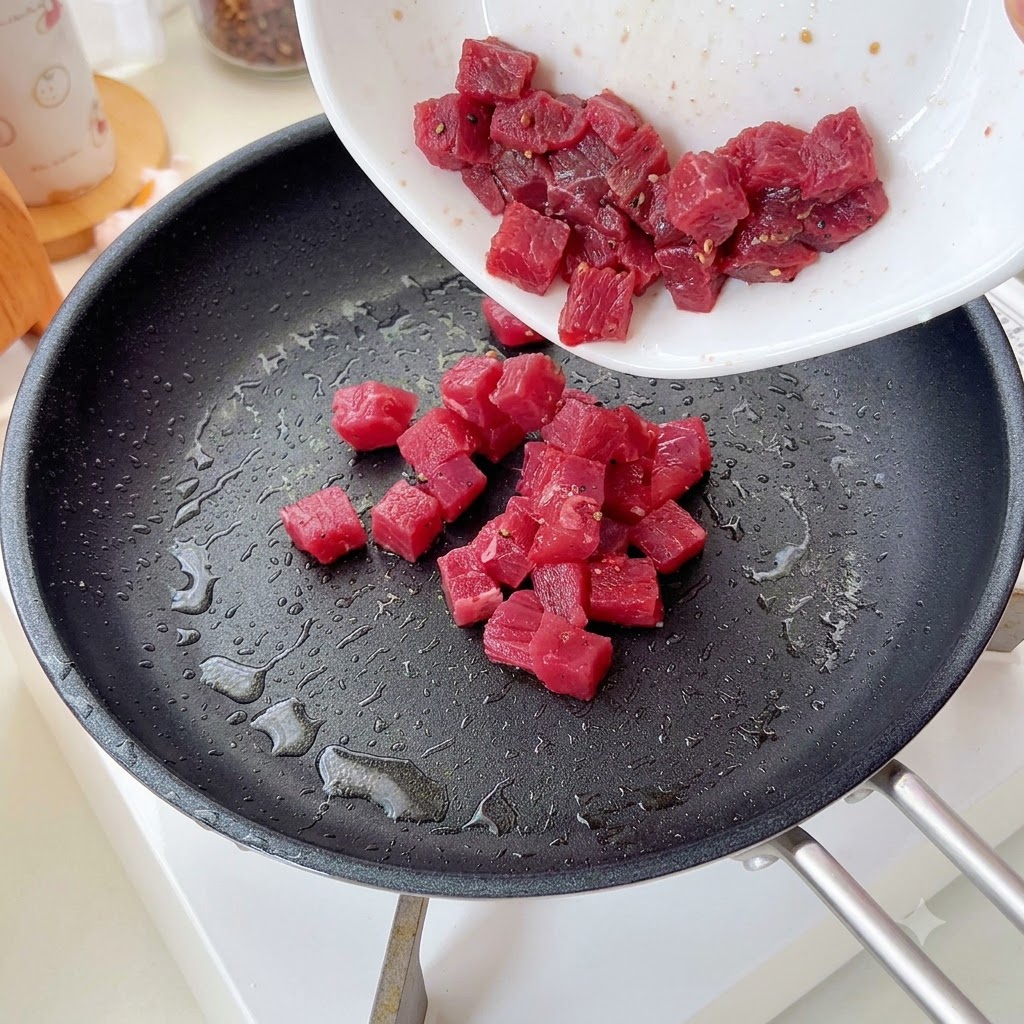
Place the seasoned beef cubes into the hot pan and stir-fry until they change color and are cooked through. Remove and transfer to a tray to cool.
Tip: Cook the beef over medium-high heat quickly to keep them tender and juicy. - 6Mix Dough Ingredients
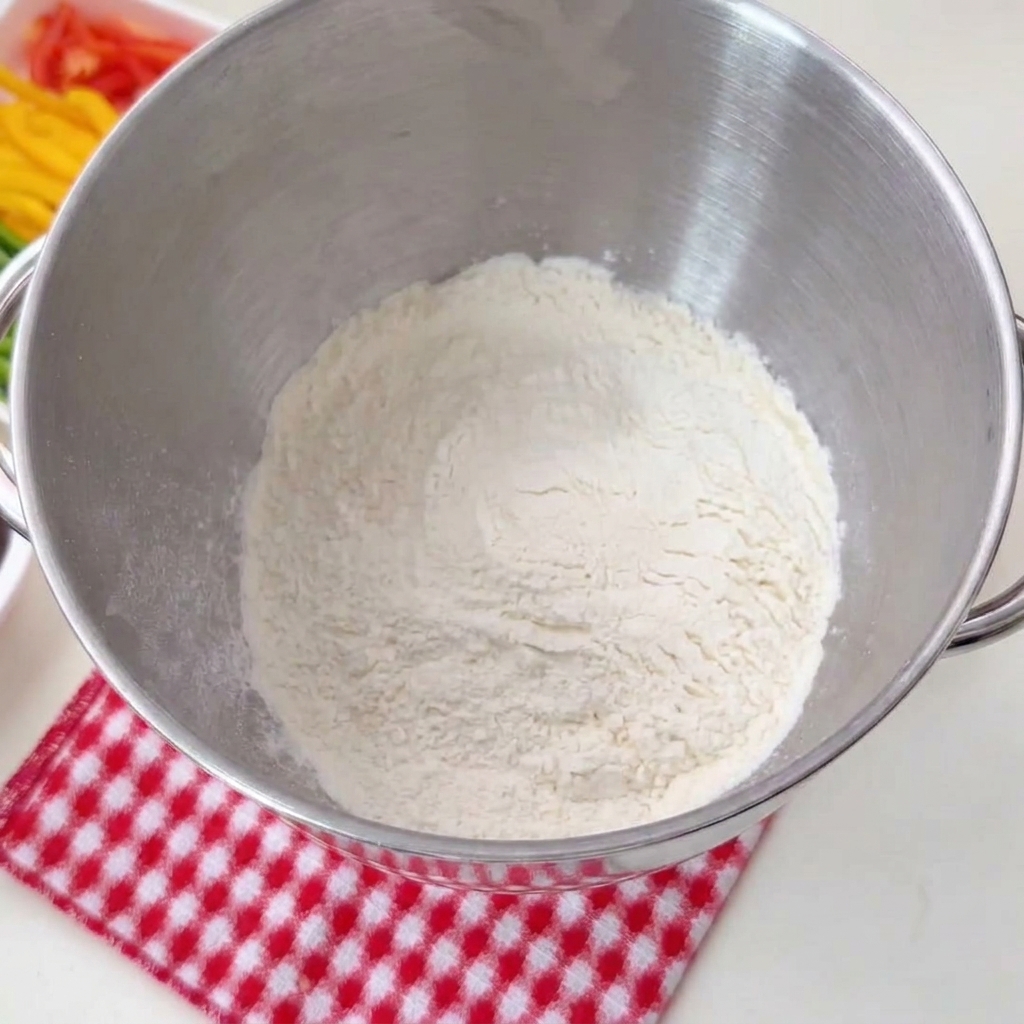
Combine high-gluten flour, low-gluten flour, sugar, yeast, corn oil, and water into the mixing bowl of a stand mixer.
Tip: Ensure the water is at room temperature so it does not kill the yeast activity. - 7Knead the Dough
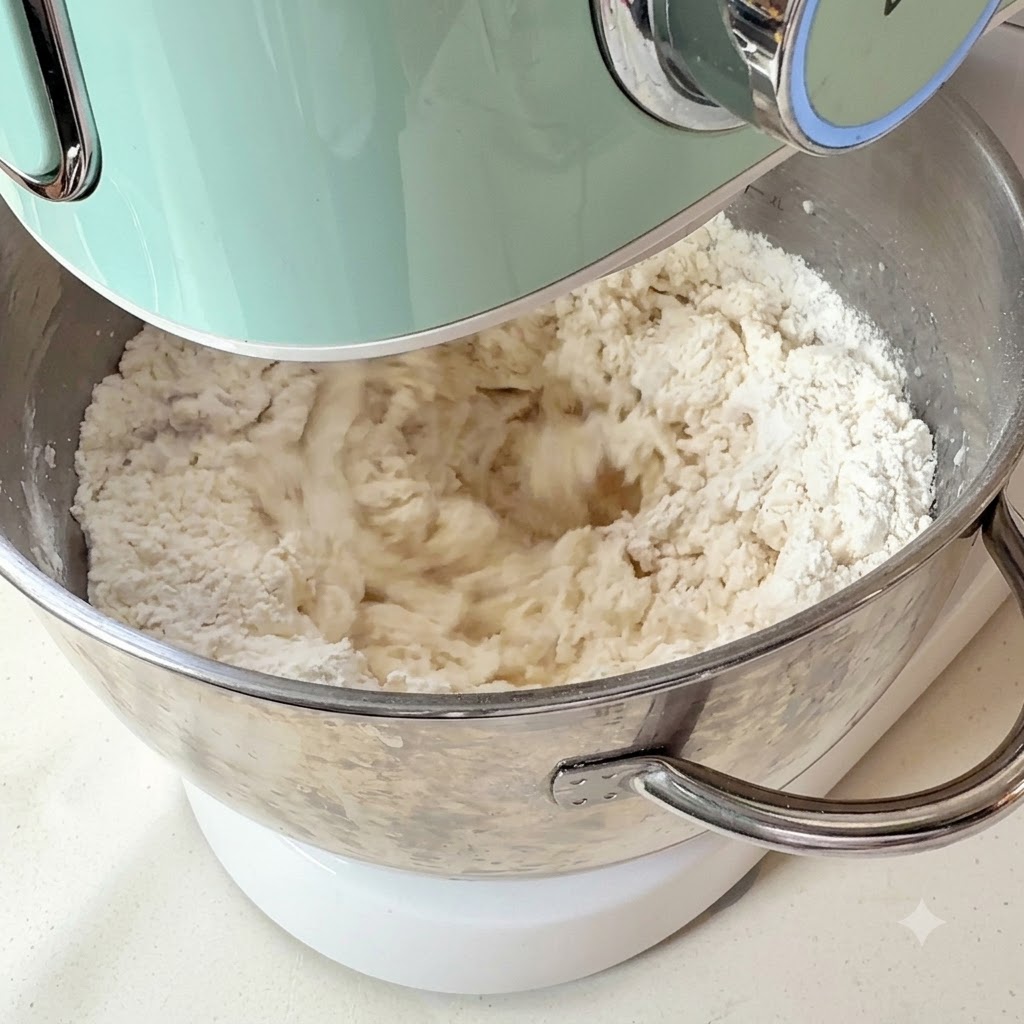
Turn on the stand mixer and knead the combined dry and wet ingredients until they form a smooth, elastic dough.
Tip: Make sure to measure the ingredients accurately for the proper dough consistency. - 8Divide and shape the dough
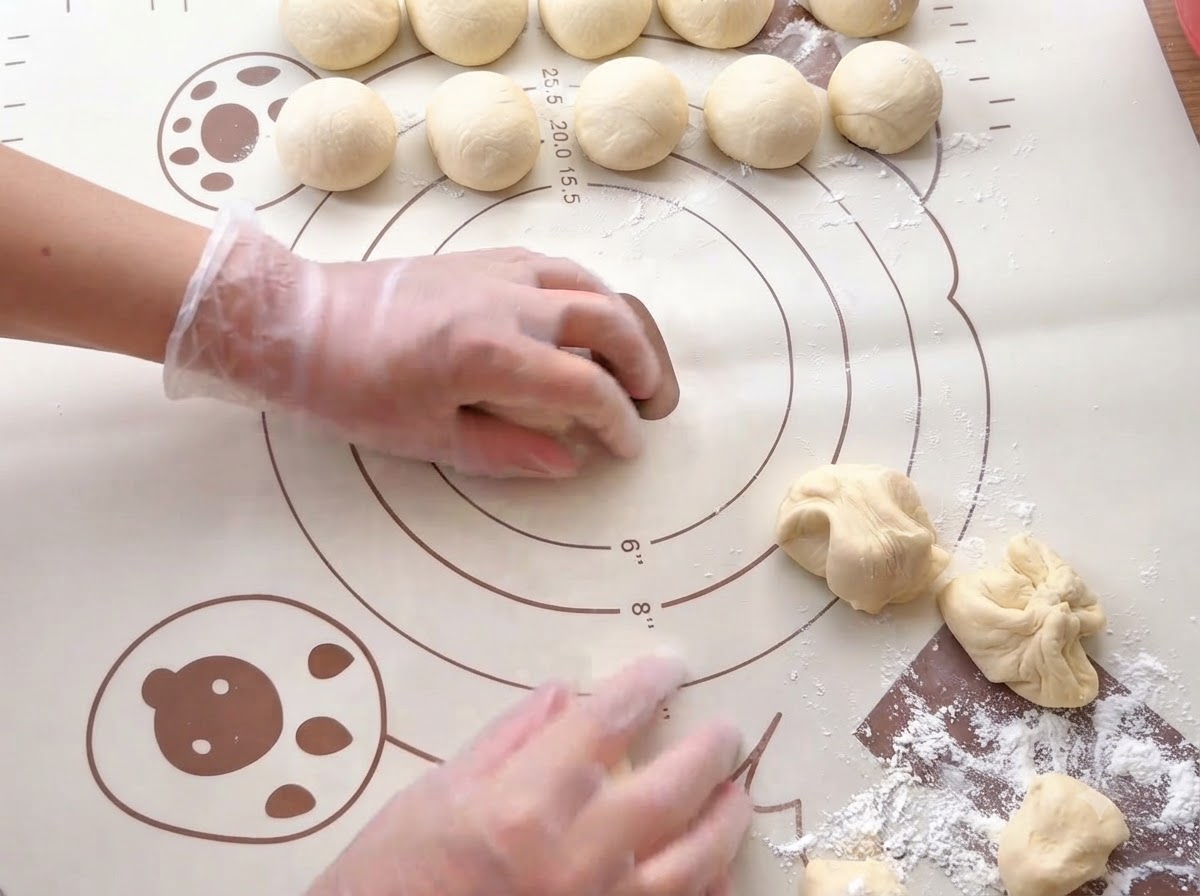
Transfer the smooth dough to a silicone mat. Divide the dough into 22 equal pieces, each weighing approximately 46 grams, and roll them into tight, smooth balls. Let the dough balls rest and proof for about 30 minutes.
Tip: Cover the dough balls with a damp cloth or plastic wrap while they proof to prevent the surface from drying out. - 9Shape the pizza crusts
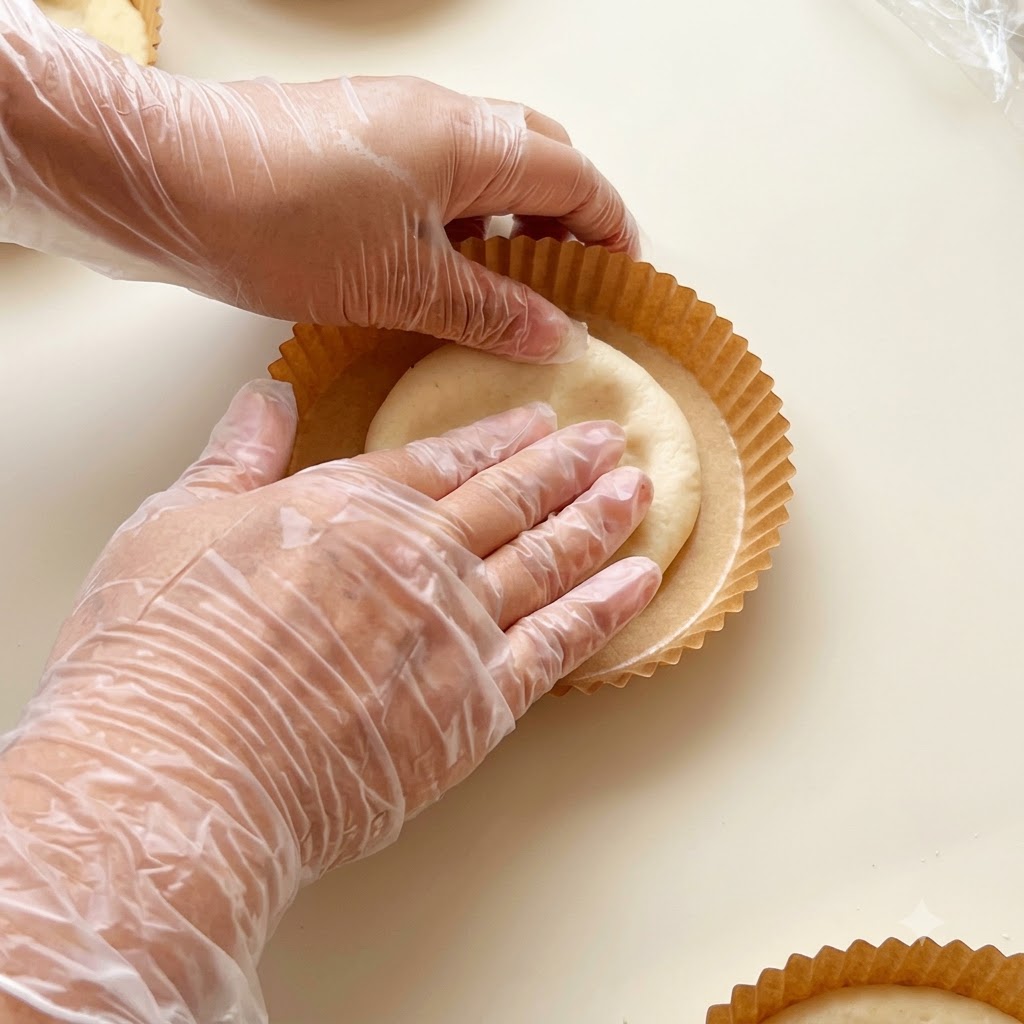
Place the rounded dough balls into individual paper molds and press outward from the center to the edges to form small pizza crust bases.
Tip: Keep an even thickness across the base so the crust bakes uniformly. - 10Dock the dough base
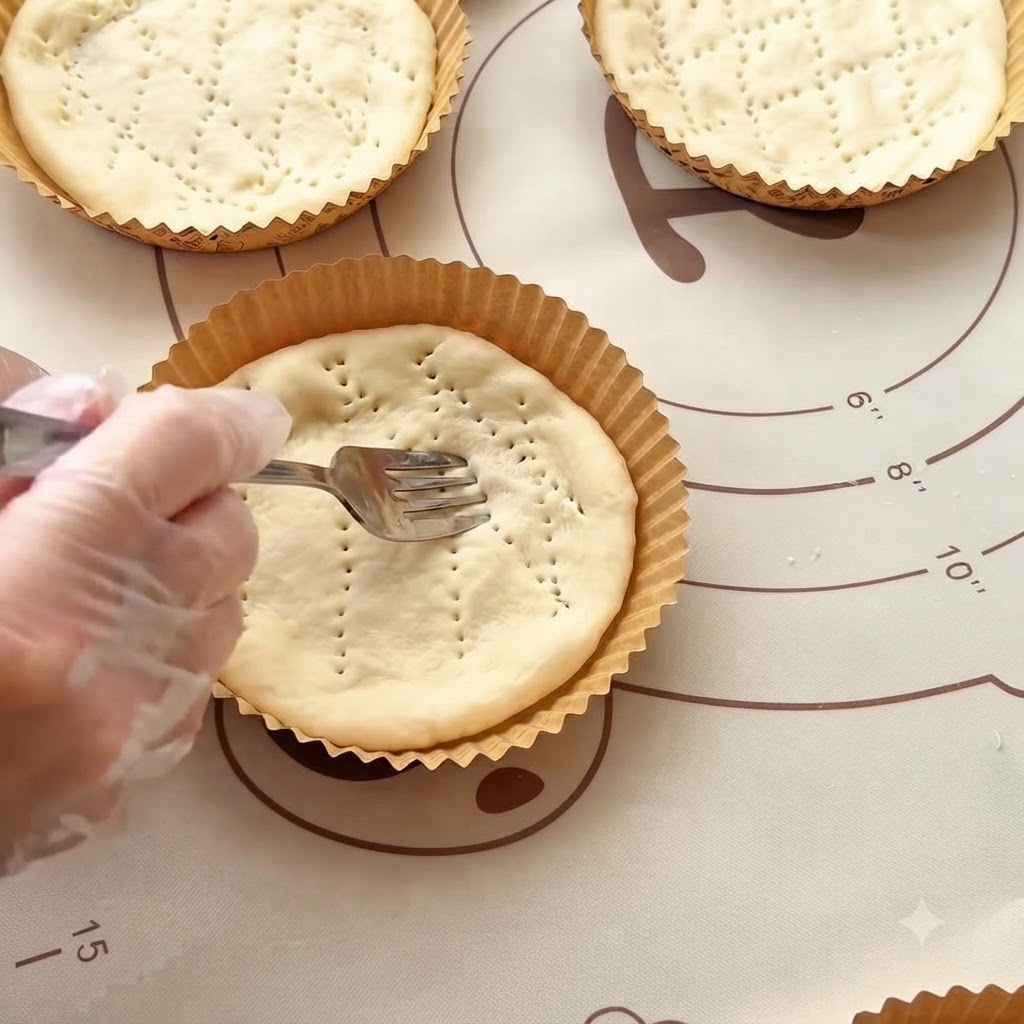
Use a fork to poke evenly spaced holes across the surface of the shaped dough base to prevent it from puffing up too much during baking.
Tip: Docking thoroughly ensures your mini pizza crusts bake flat and even. - 11Add tomato sauce
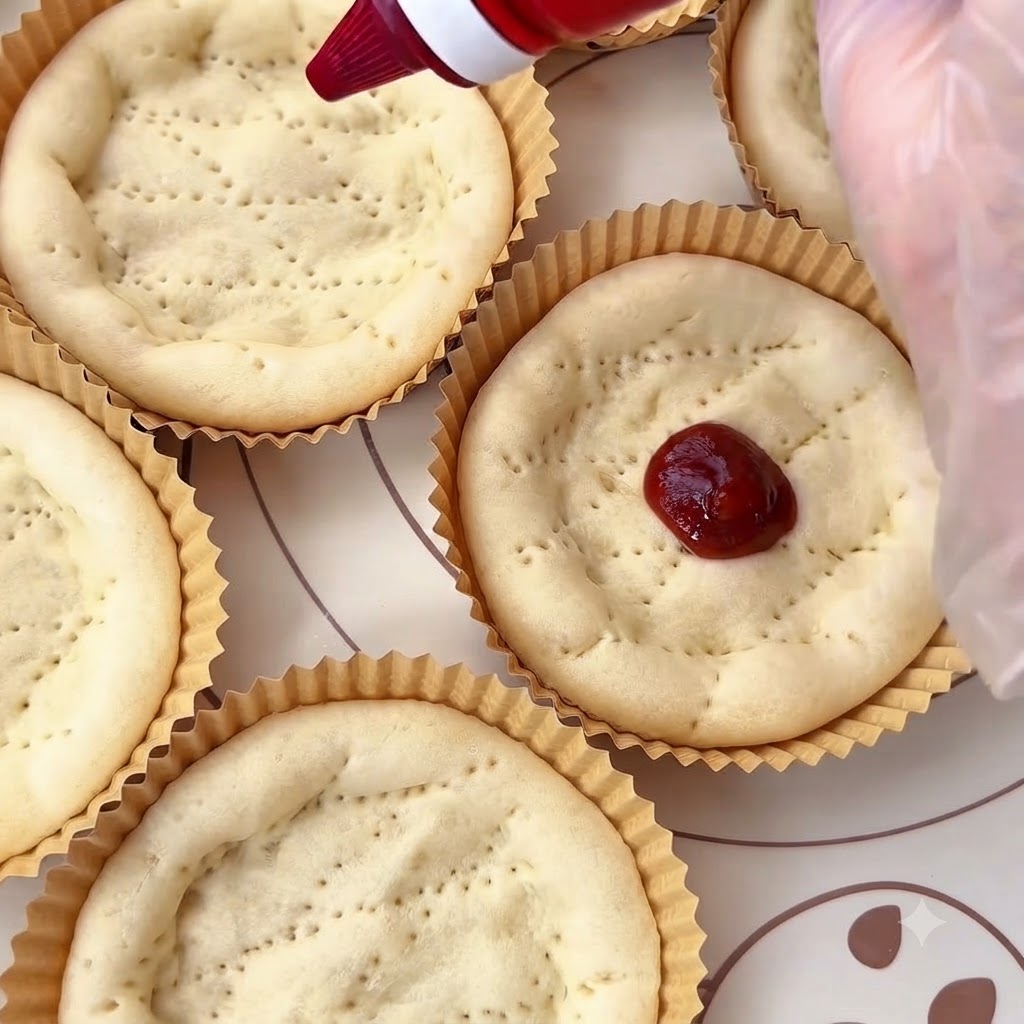
Squeeze tomato sauce directly onto the center of the pre-baked pizza crust and spread it evenly across the surface.
Tip: Leave a clean border around the edges for the crust rim.