Summer Arugula
Prosciutto Pizza
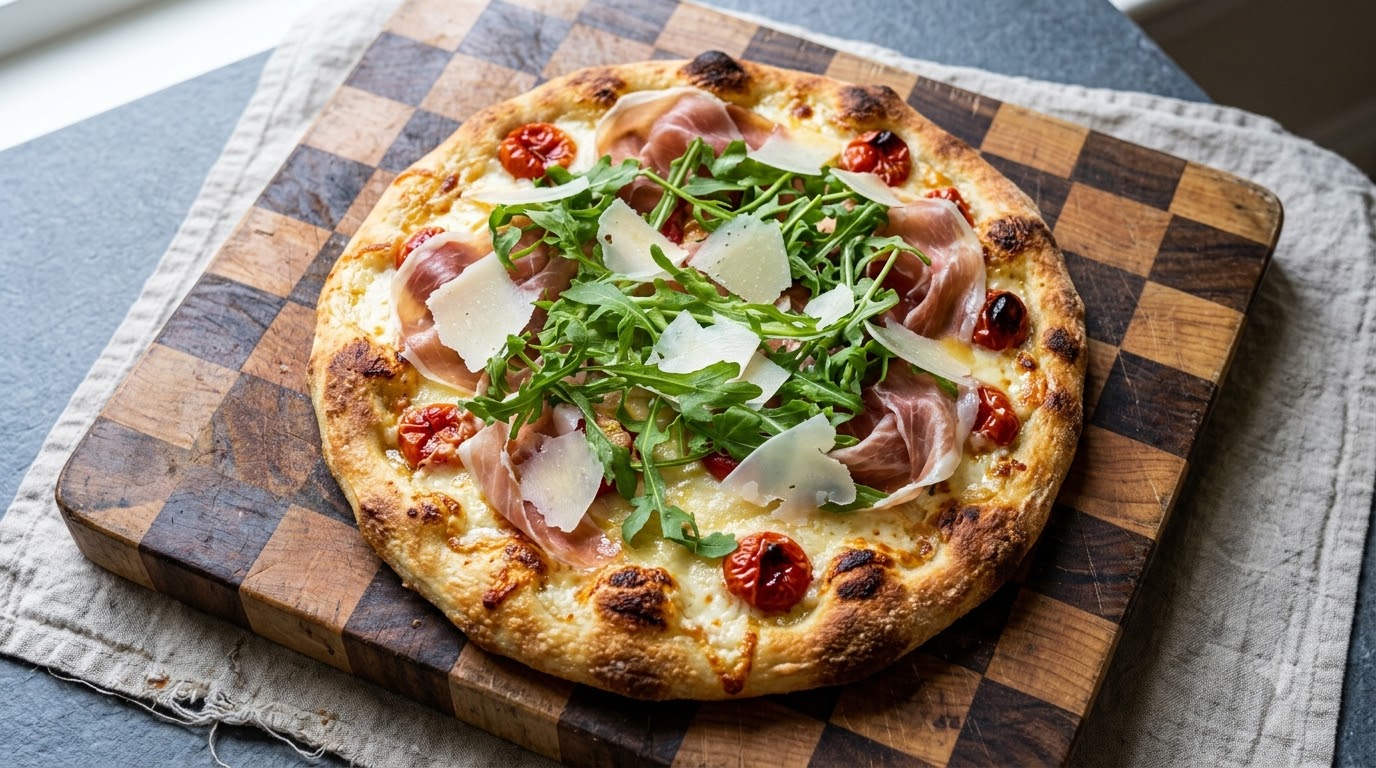
A vibrant summer Italian pizza featuring sweet cherry tomatoes, savory prosciutto, and refreshing arugula over melted mozzarella with a 70% hydration poolish crust.
This summer pizza captures the essence of Italian dining by combining a light, airy poolish crust with fresh, crisp toppings. The rich, melted mozzarella and savory cured prosciutto are brilliantly balanced by the peppery bite of fresh arugula and sweet roasted tomatoes. It is a refreshing departure from heavy winter pies and makes an ideal centerpiece for warm-weather gatherings.
Ingredients
- 505 g poolish
- 110 g flour
- 8 g salt
- 1 tbsp extra virgin olive oil
- 1 cup cherry tomatoes
- 150 g mozzarella cheese
- 50 g prosciutto
- 30 g arugula
- 30 g parmesan cheese
Instructions
- 1Add salt and flour to the poolish
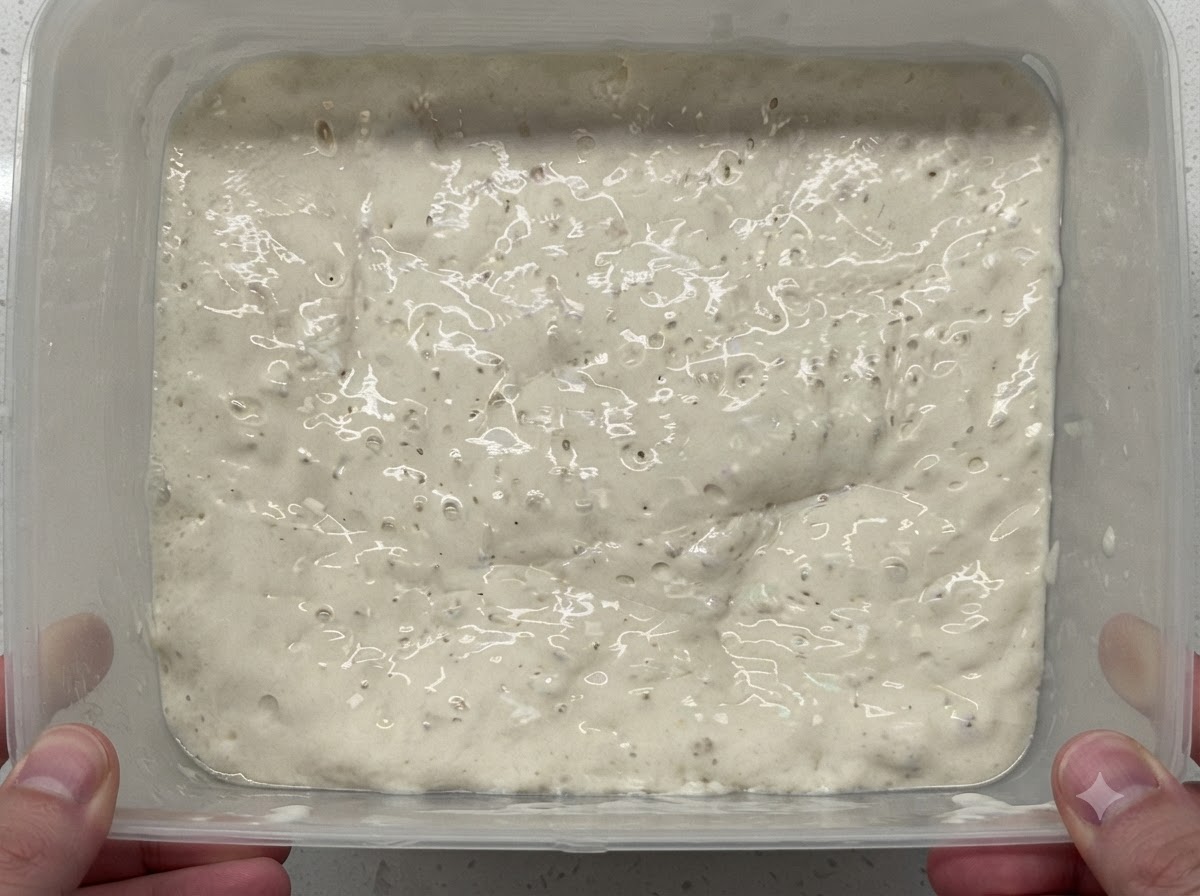
Add 8g of salt and 110g of flour into the container containing about 505g of poolish, then mix everything together until there is no dry flour remaining.
Tip: Make sure to incorporate all the dry flour evenly into the wet poolish mixture. - 2Mix the Poolish, Salt, and Flour
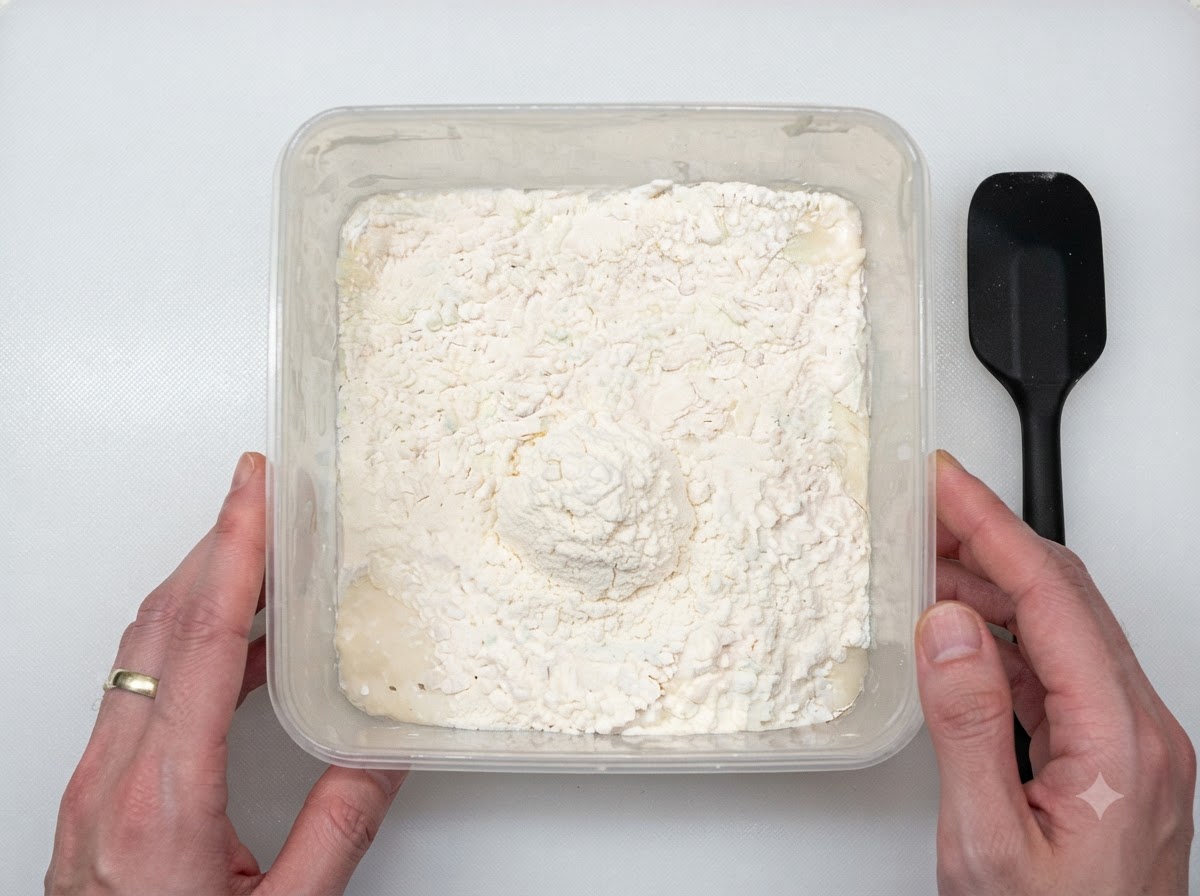
Add 8g of salt and 110g of flour directly into the container holding about 505g of poolish. Use a spatula to combine the ingredients thoroughly until no patches of dry flour remain visible.
Tip: Ensure the salt and flour are evenly distributed over the poolish before mixing to prevent pockets of unblended ingredients. - 3Transfer the Dough to a Board
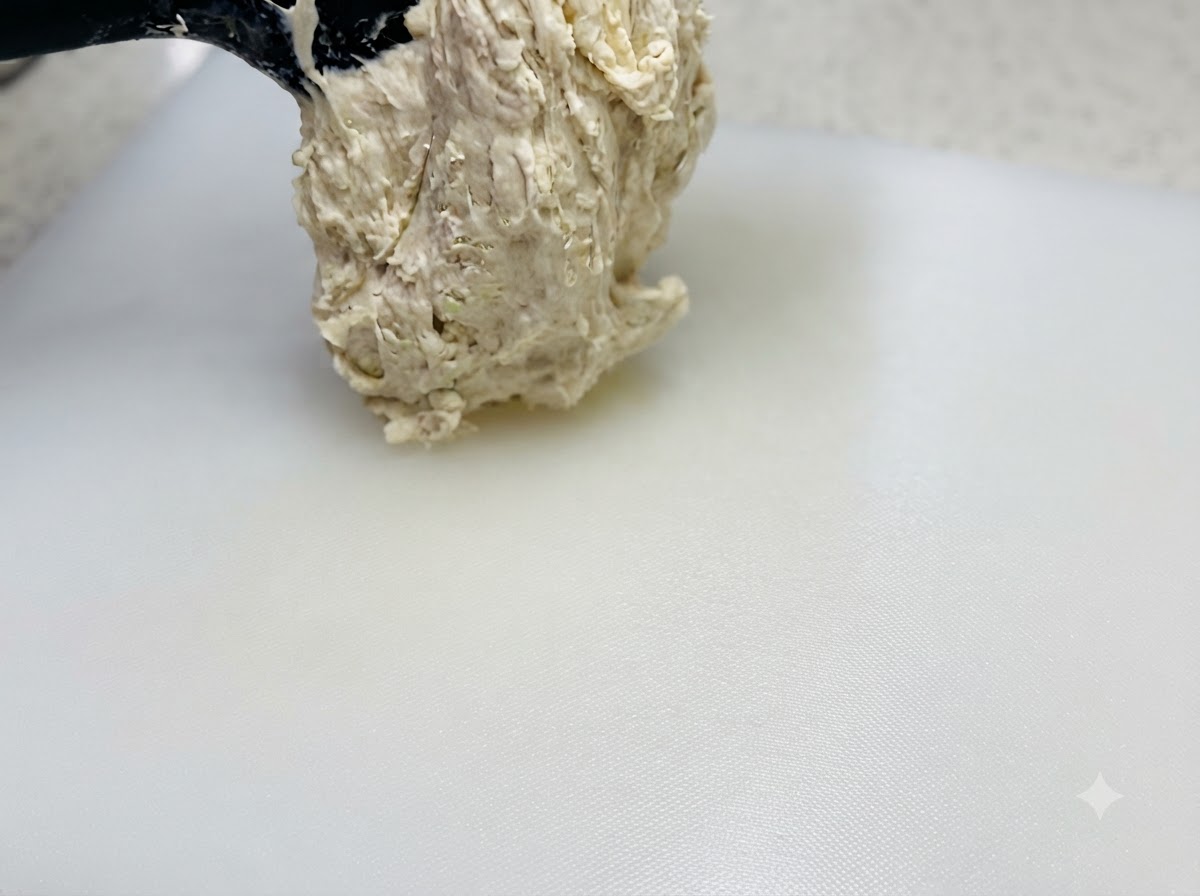
Spray oil onto the cutting board before transferring the dough. Because this is a high hydration 70% dough, oiling the surface is essential to prevent it from sticking aggressively while you work.
Tip: Always spray oil on your hands and working board when handling high-hydration doughs to maintain manageability. - 4Rest the Shaped Dough
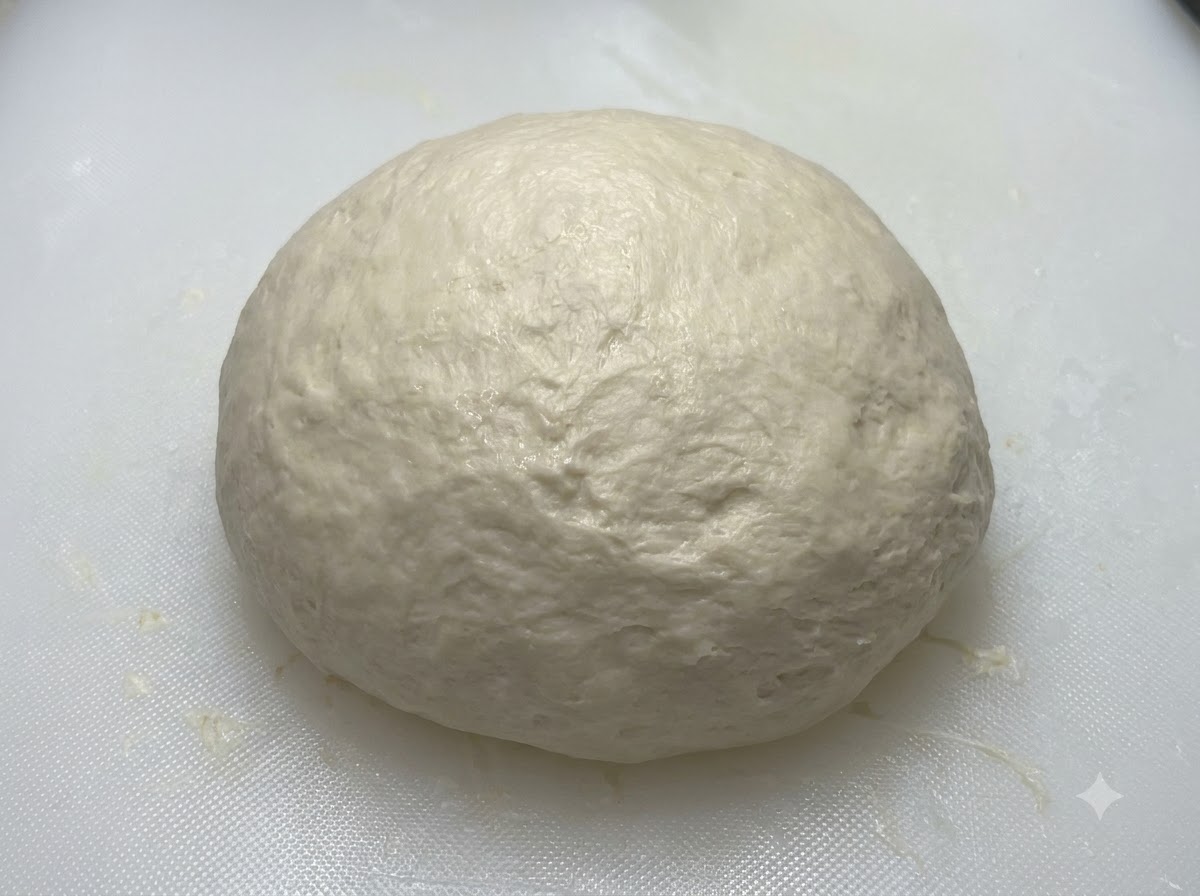
Shape the dough into a smooth ball on the oiled board, then cover it completely with a glass bowl. Let the dough rest undisturbed for 20 minutes to allow the gluten network to relax.
Tip: Covering the dough with an inverted bowl traps humidity and prevents the outer skin from drying out during the rest period. - 5Stretch and Rearrange the Dough
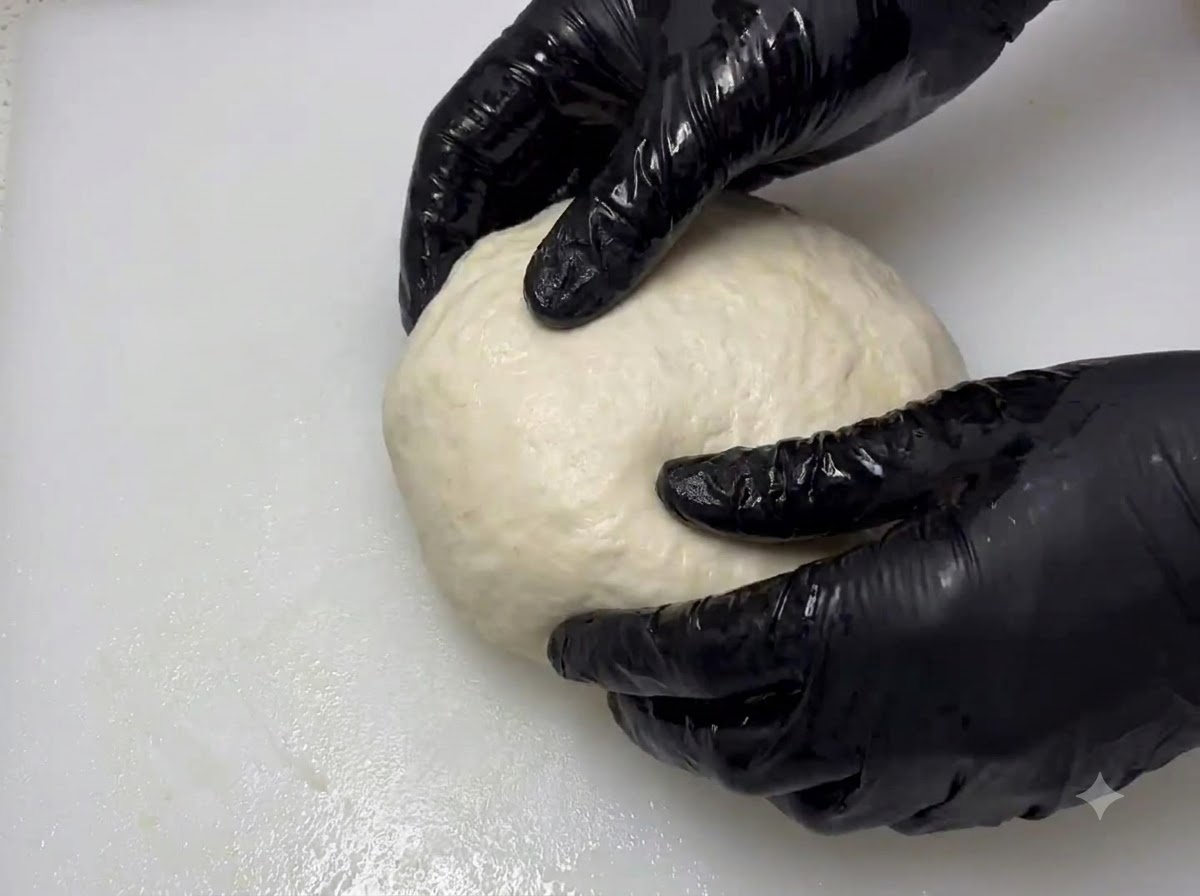
After the initial rest, uncover the dough and rearrange it by dragging and stretching it repeatedly across the board. This builds structural strength and elasticity in the sticky dough.
Tip: Wear oiled gloves to handle the sticky dough comfortably while performing the stretch and drag motions. - 6Proof in a Greased Bowl
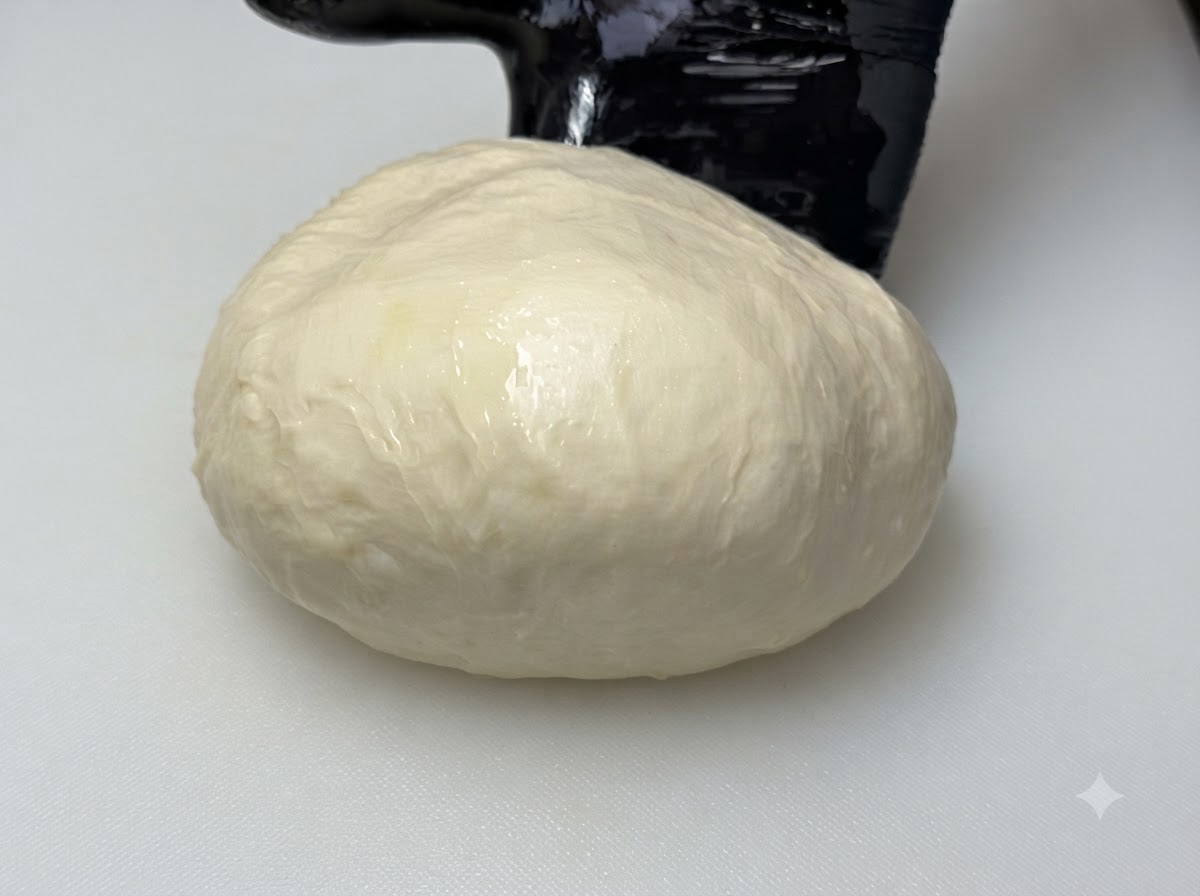
Grease a glass bowl using extra virgin olive oil, then place the reworked dough inside. Seal the bowl tightly and let the dough proof for one hour until it grows to about twice its original size.
Tip: Using extra virgin olive oil not only prevents sticking but also imparts a subtle, pleasant flavor to the dough during fermentation. - 7Cut the proofed dough in half
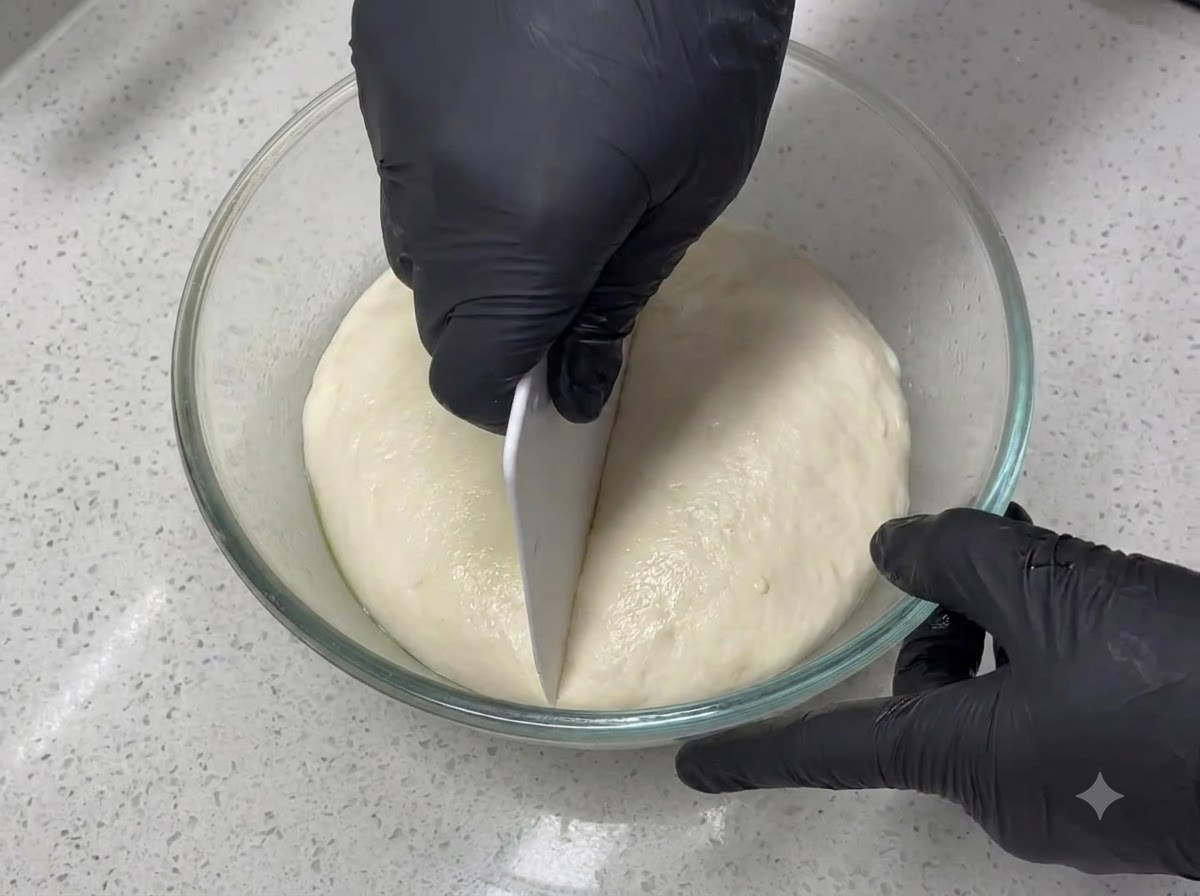
Take the dough that has doubled in size after its first rise and use a plastic dough cutter to cleanly slice it into two equal halves inside the bowl.
Tip: Use a flexible dough cutter coated with a little oil to avoid sticking to the hydrated dough. - 8Transfer dough to the baking sheet
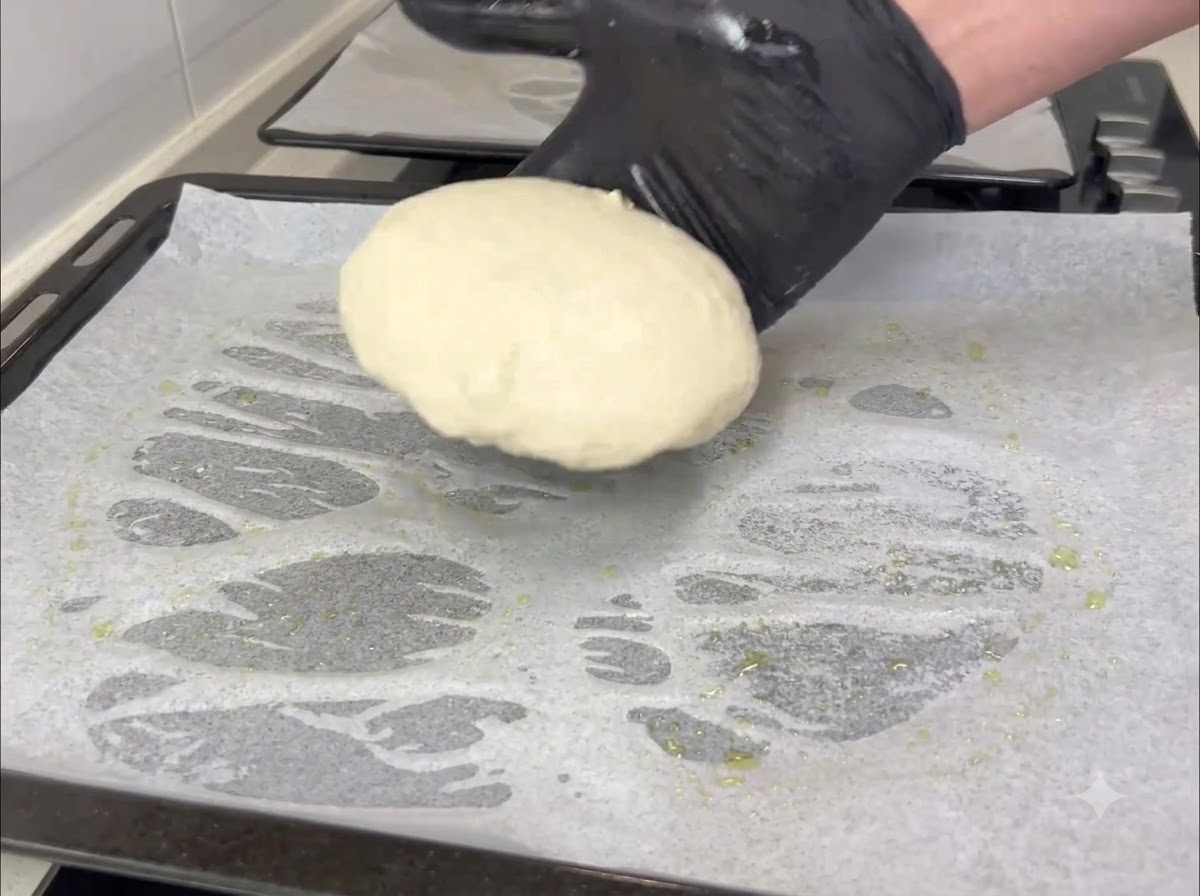
Carefully pick up one of the divided dough portions and place it onto a baking sheet lined with parchment paper that has been lightly greased with oil.
Tip: Handle the dough gently to avoid defusing the air bubbles trapped inside during proofing. - 9Flatten and shape the dough
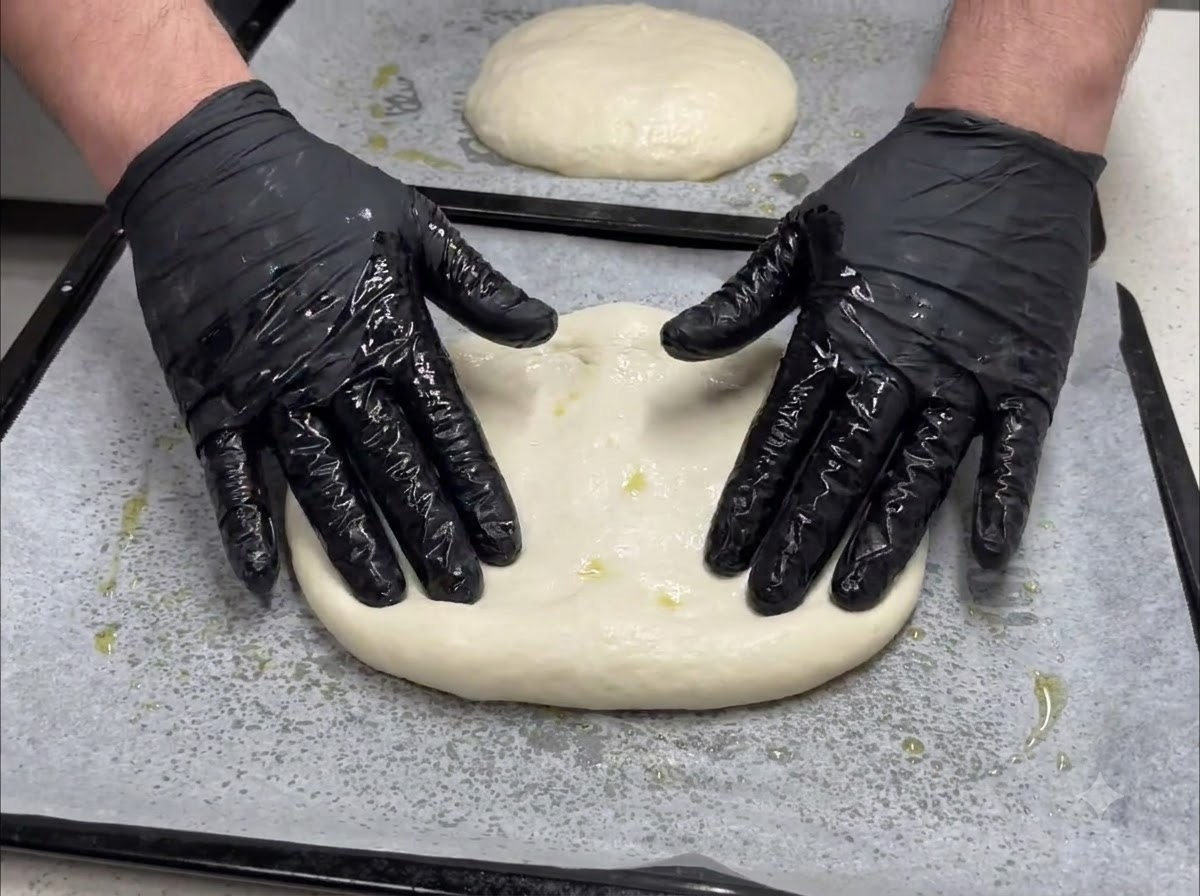
Use your gloved hands to gently press, flatten, and stretch the dough outward so that it conforms to the rectangular shape of the baking tray.
Tip: Spray oil on your hands or board if the 70 percent hydration dough feels too sticky to work with. - 10Top with cherry tomatoes
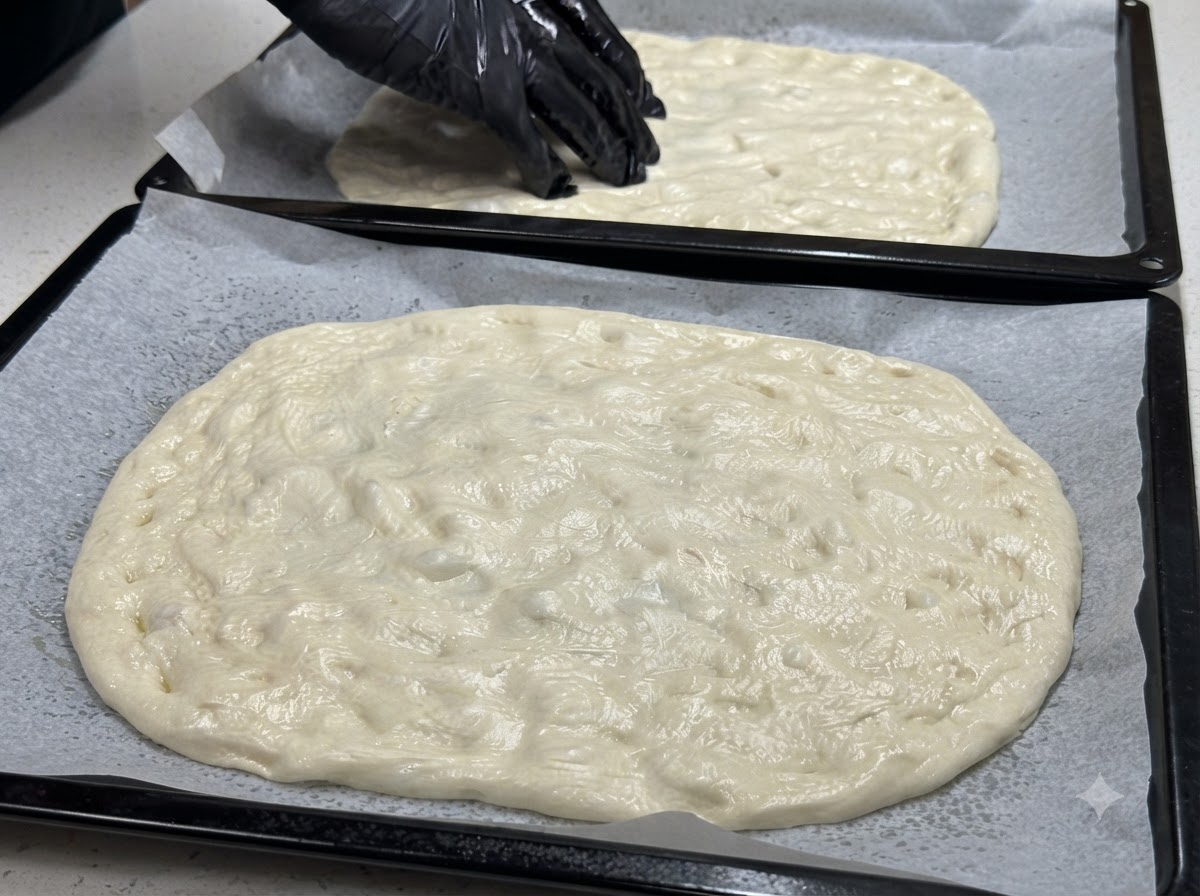
Take halved cherry tomatoes and arrange them evenly across the entire surface of the spread-out pizza dough.
Tip: Press the tomato halves slightly into the dough so they stay secure during the baking process. - 11Season with olive oil and salt
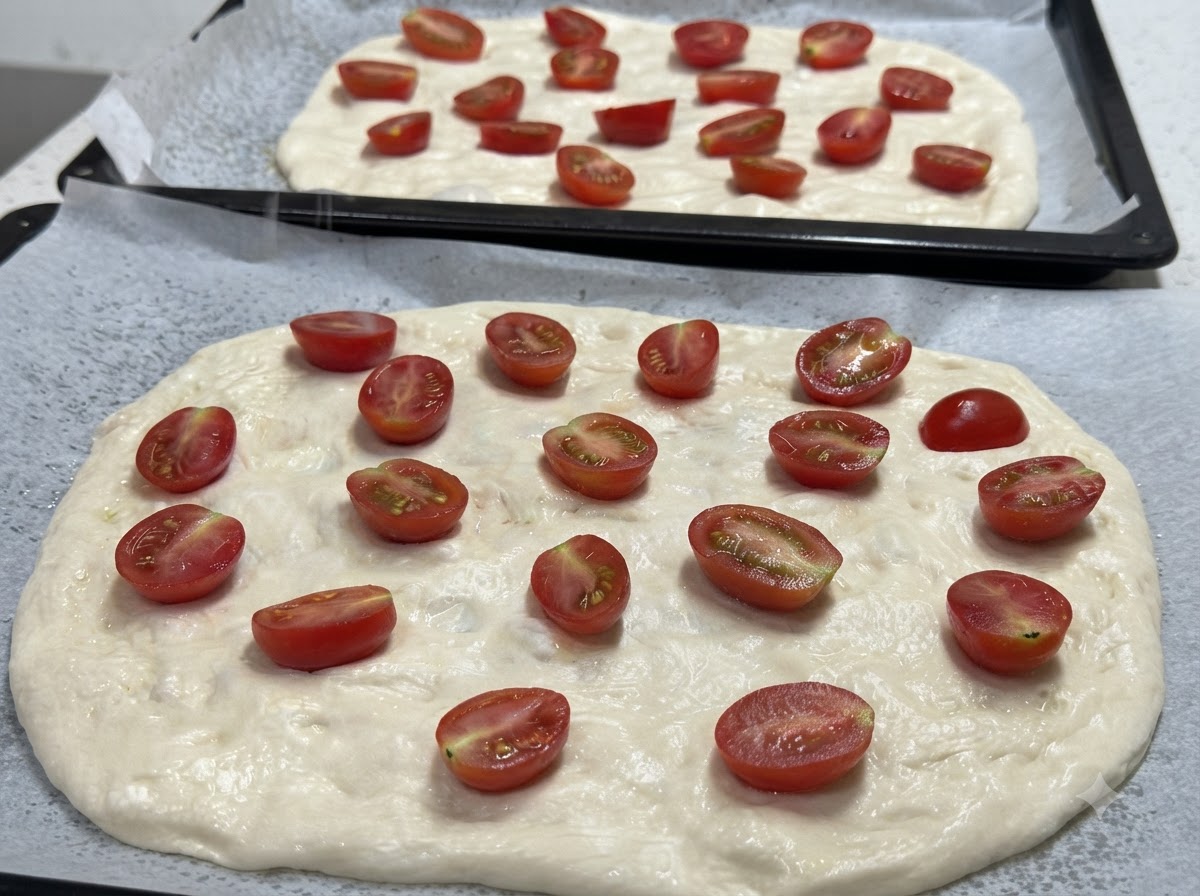
Sprinkle a pinch of salt and drizzle a tablespoon of olive oil evenly over the arranged cherry tomatoes and the exposed pizza dough.
Tip: Extra virgin olive oil enhances the Mediterranean flavor profile and helps crisp up the crust. - 12Bake the Pizza
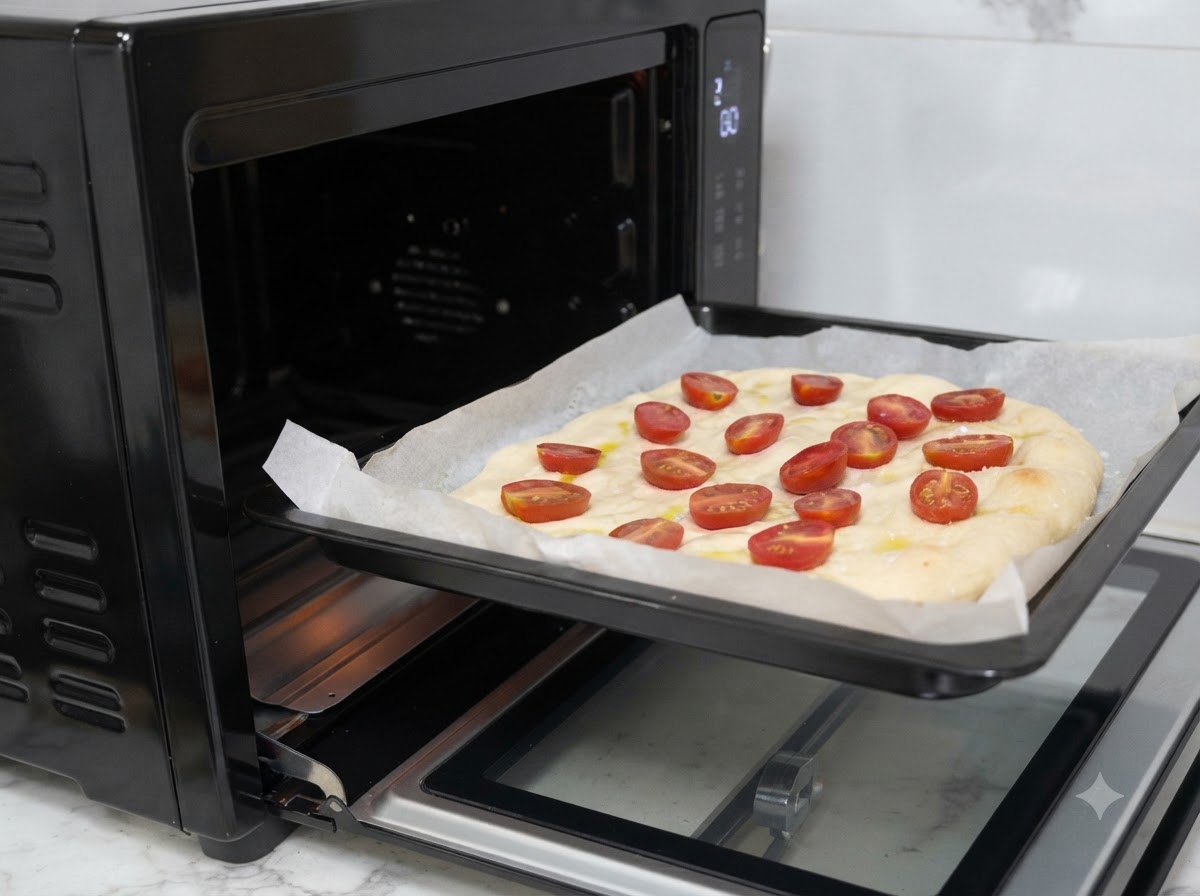
Place the baking tray with the prepared dough and sliced tomatoes into the preheated oven set to 230 degrees Celsius in bake mode. Bake for about 10 minutes to cook the crust and soften the tomatoes.
Tip: Make sure your oven is fully preheated to 230 degrees Celsius before putting the tray in to ensure a nice, even bake.