Classic Homemade Ham
Vegetable Pizza
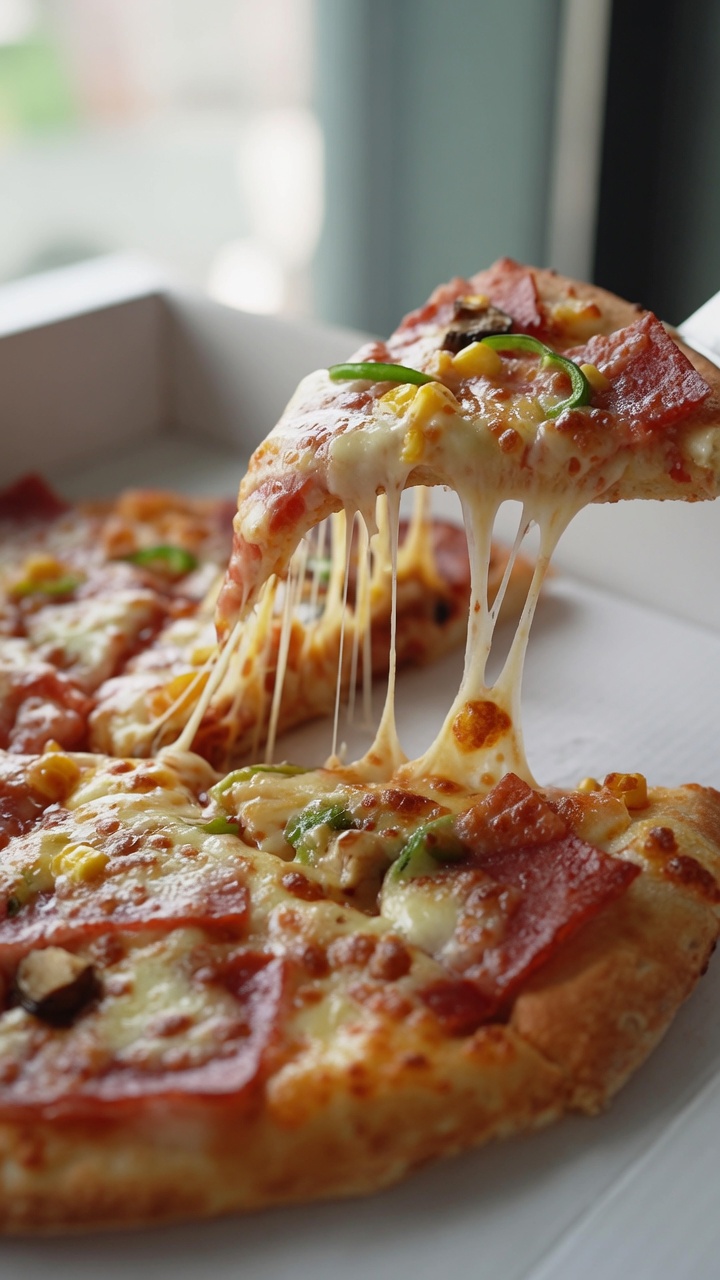
Master the art of the perfect pizza at home with this crispy-crust recipe. Featuring a generous helping of savory ham, sweet corn, and a signature cheese pull.
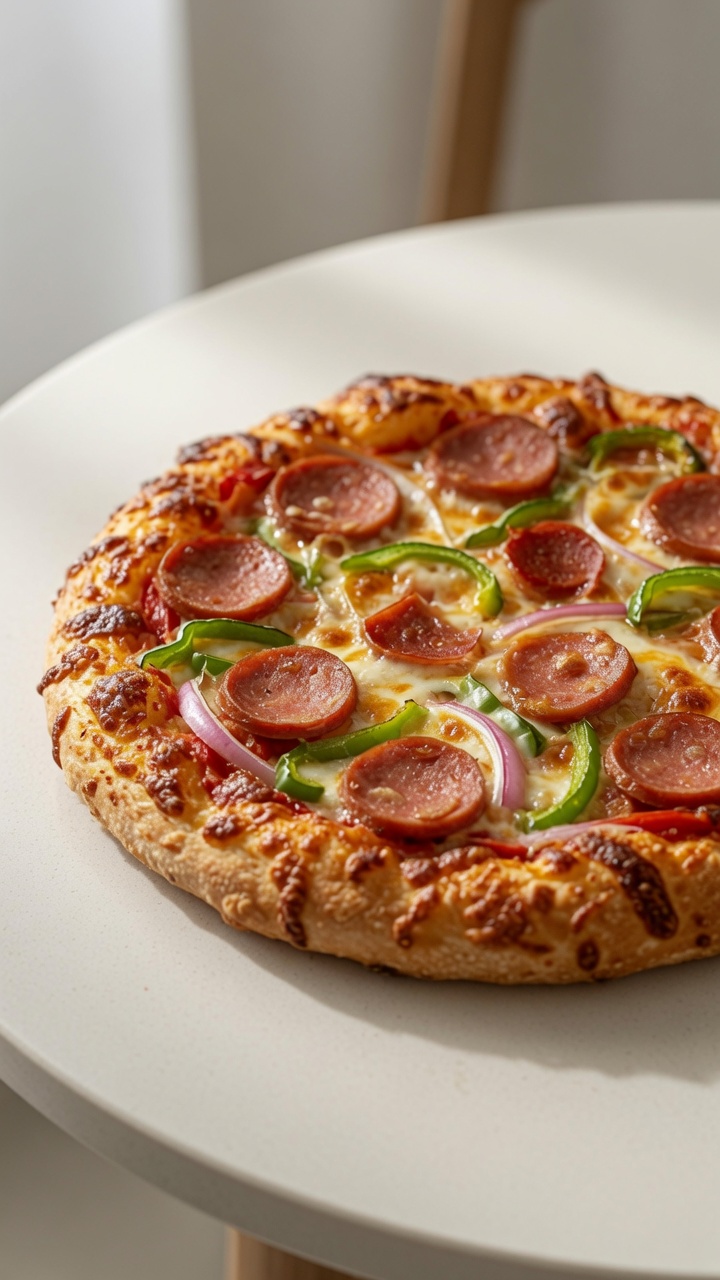
There is something undeniably satisfying about a homemade pizza that pulls apart with long, golden strands of melted cheese. This ham and vegetable version balances the savory richness of high-quality ham with the fresh crunch of bell peppers and the subtle sweetness of corn. It is the perfect centerpiece for a cozy evening or a casual gathering with friends.
Ingredients
- 500 g pizza dough
- 2 tbsp yellow cornmeal
- 150 ml pizza sauce
- 300 g mozzarella cheese
- 150 g ham
- 50 g corn kernels
- 50 g mushrooms
- 50 g green bell pepper
- 1 tbsp olive oil
Instructions
- 1Shape the pizza dough
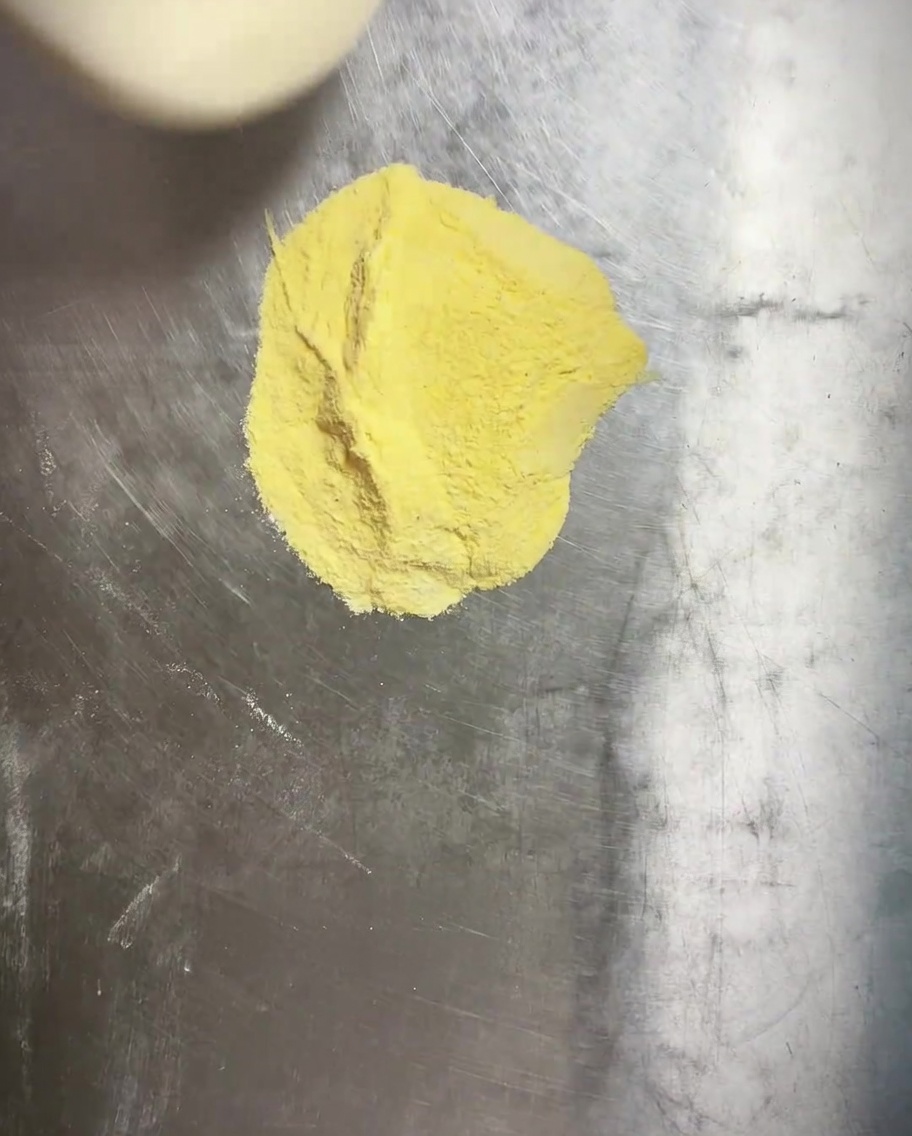
Place the proofed pizza dough into a round pizza pan that has been dusted with yellow cornmeal. Use your hands to press the dough outwards to fill the pan, ensuring you create a slightly raised edge along the perimeter to hold the toppings.
Tip: The cornmeal prevents sticking and adds a nice crunch to the bottom crust. - 2Deflate the dough center
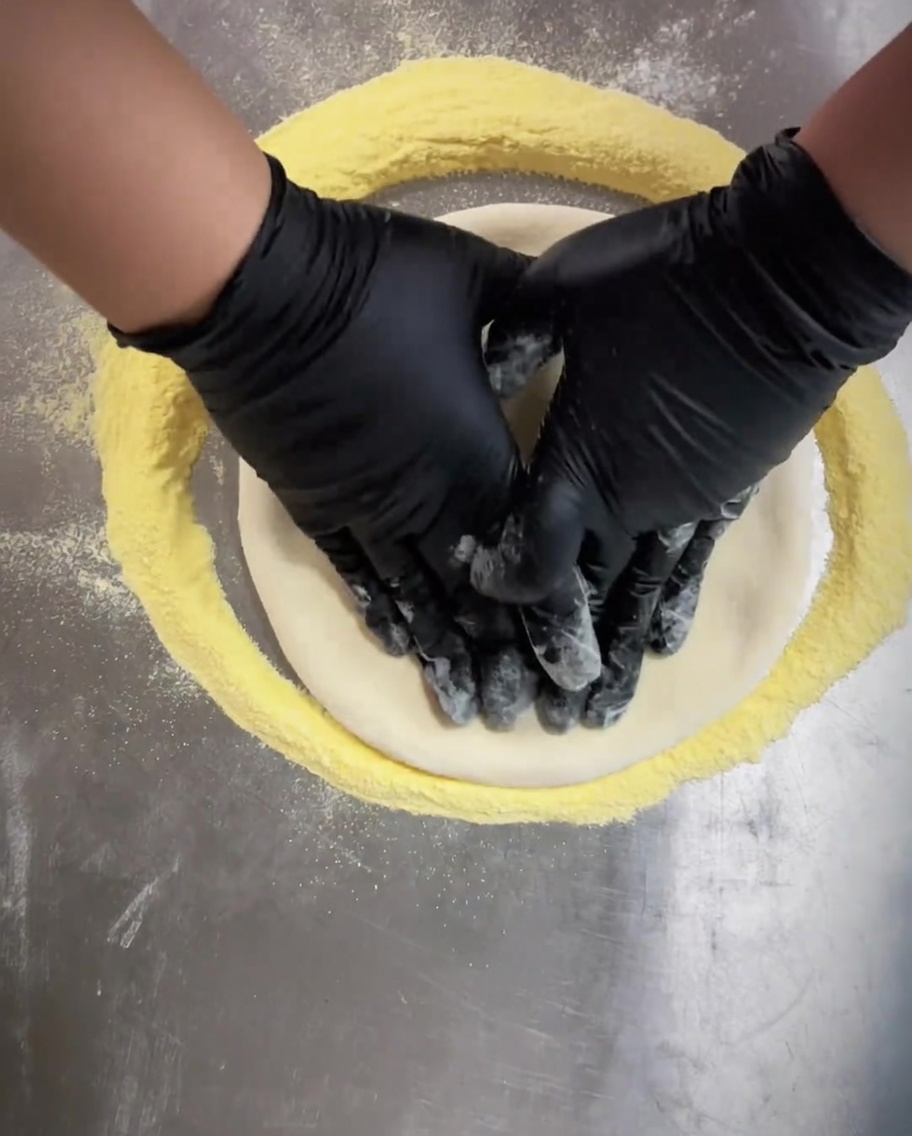
Using your fingertips, firmly press down into the center of the dough to deflate any large air bubbles. Continue pressing evenly across the middle section while keeping the edges intact for the crust.
Tip: Pressing the center helps the pizza maintain a uniform thickness during baking. - 3Dock the dough
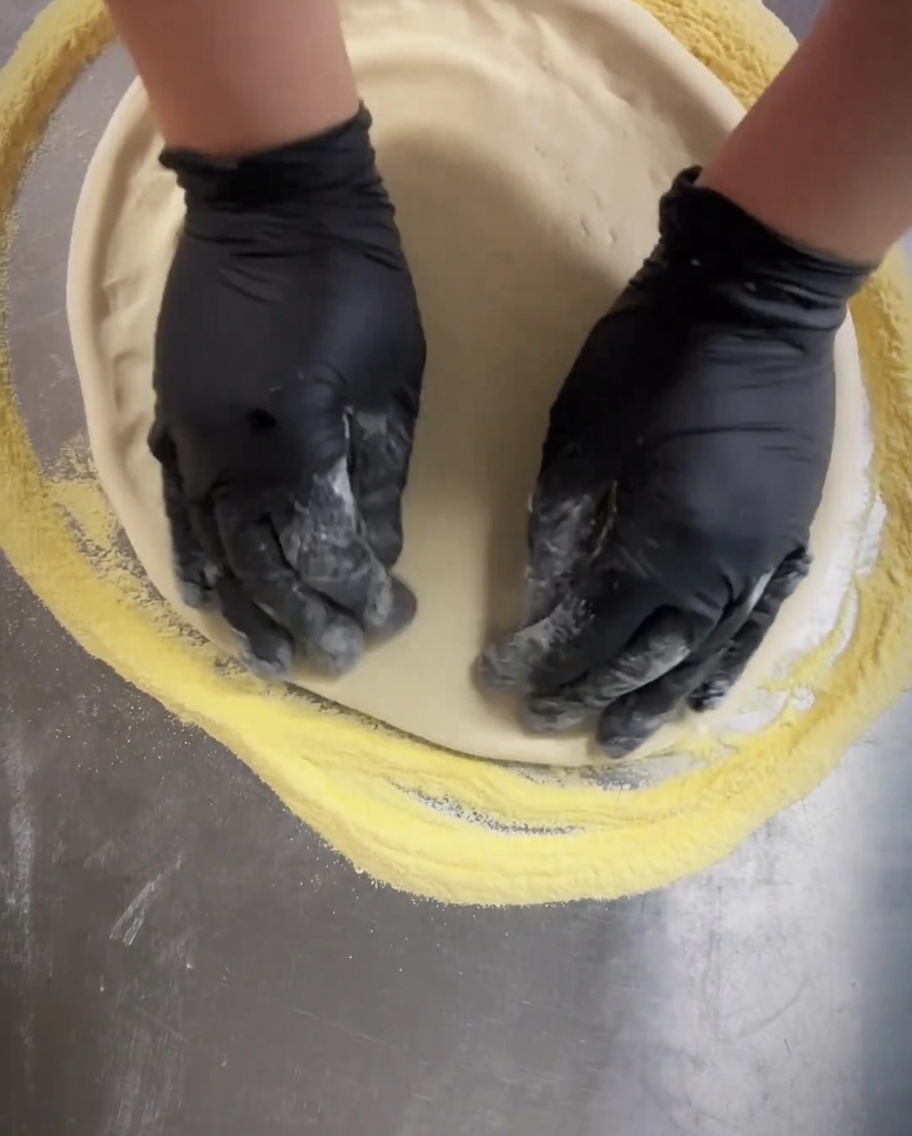
Take a dough docker tool and roll it across the surface of the flattened dough. This creates uniform holes that prevent the dough from rising unevenly or forming large bubbles while in the oven.
Tip: If you dont have a docker, you can achieve a similar result by pricking the dough thoroughly with a fork. - 4Brush with olive oil
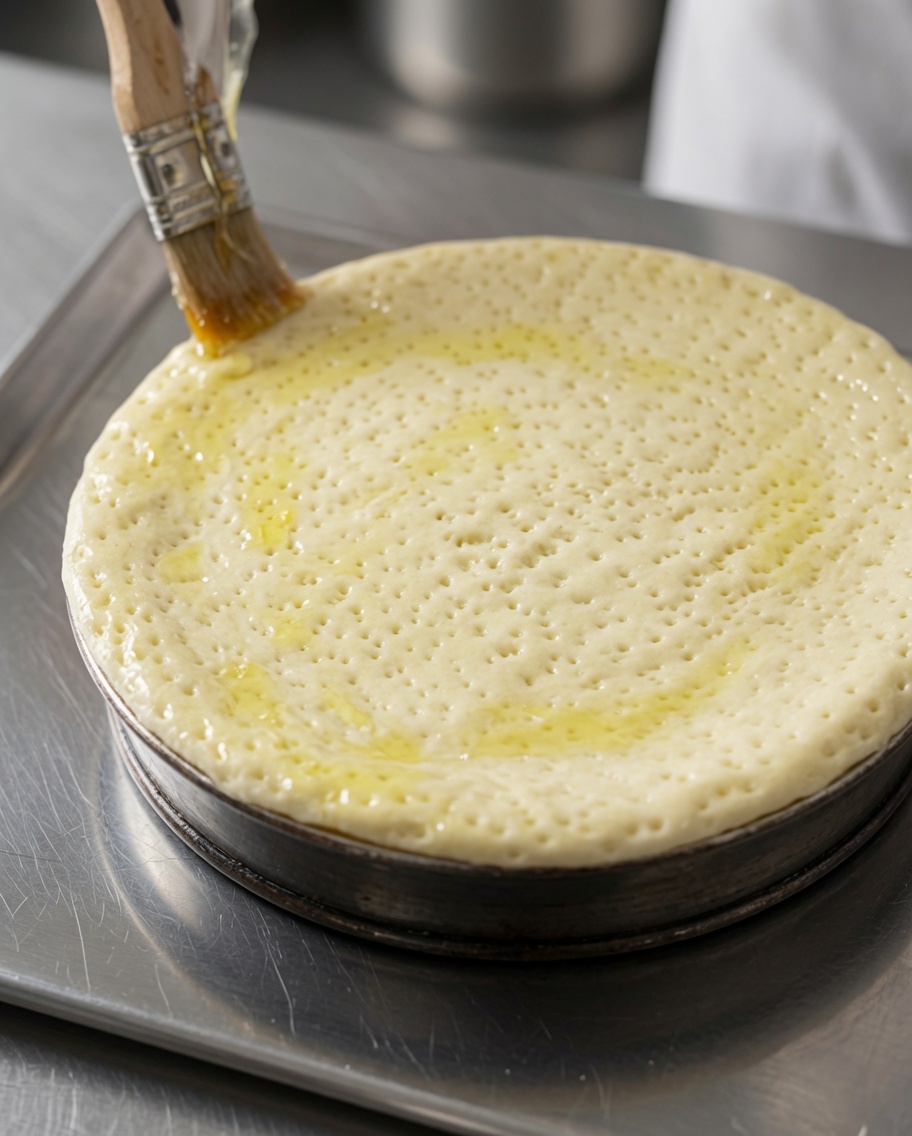
Using a pastry brush, apply a light, even layer of olive oil over the surface of the docked pizza dough. This adds flavor and helps create a golden, crispy texture when baked.
Tip: Ensure you brush all the way to the edges for a uniformly browned crust. - 5Add tomato sauce
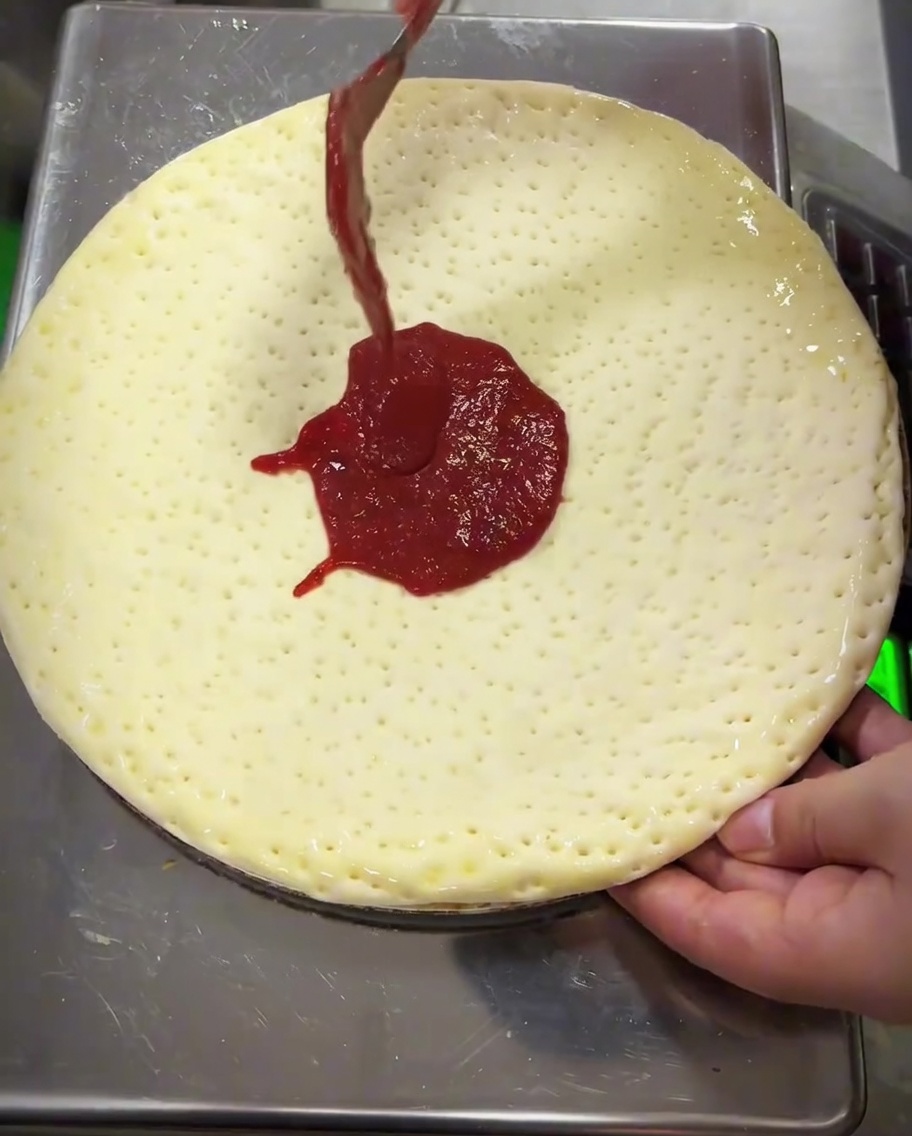
Pour a generous amount of tomato sauce onto the center of the dough. Use the back of a spoon to spread the sauce in a circular motion, leaving a clean border for the crust.
Tip: Avoid over-saucing the center, as this can make the crust soggy. - 6Add onion and cheese
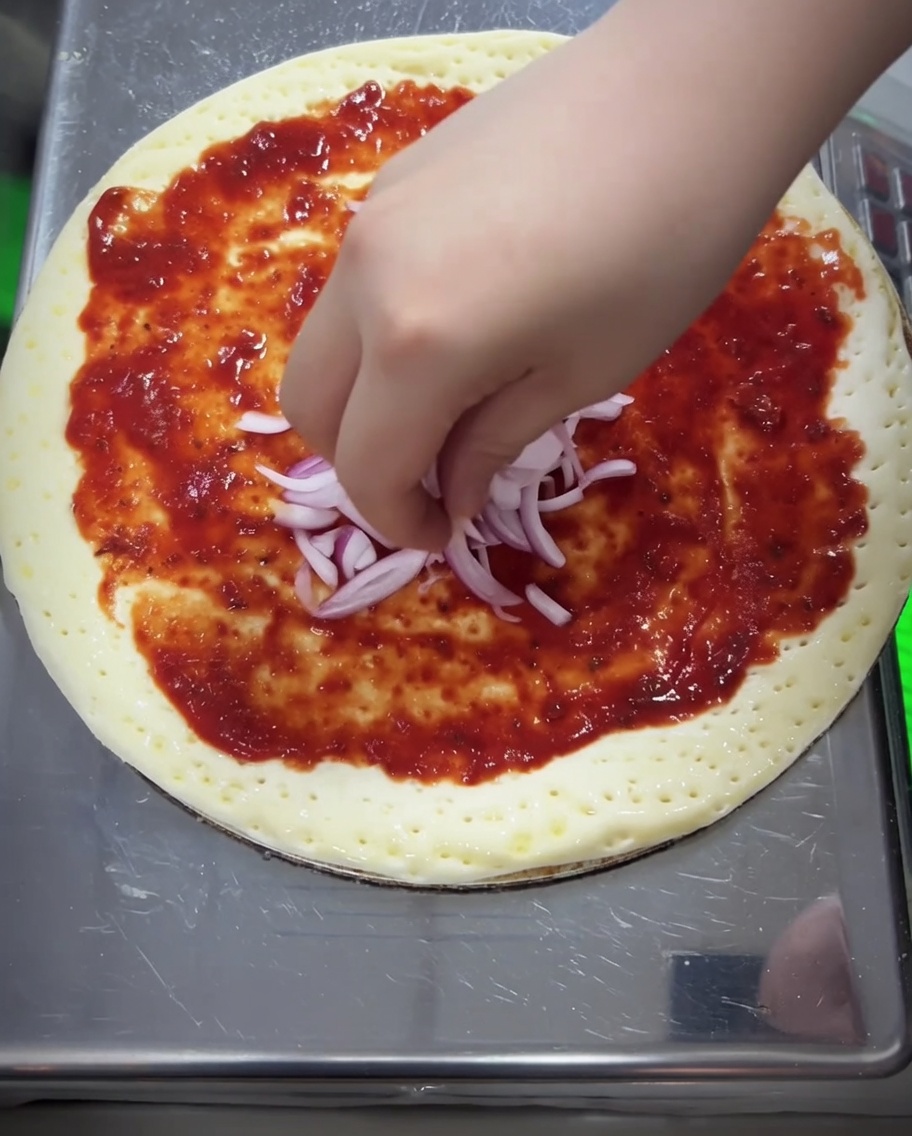
Evenly distribute a handful of chopped red onions over the tomato sauce. Follow this with a generous layer of shredded mozzarella cheese, covering the sauce and onions completely.
Tip: Shred your mozzarella from a block for better melting consistency. - 7Add Ham Slices
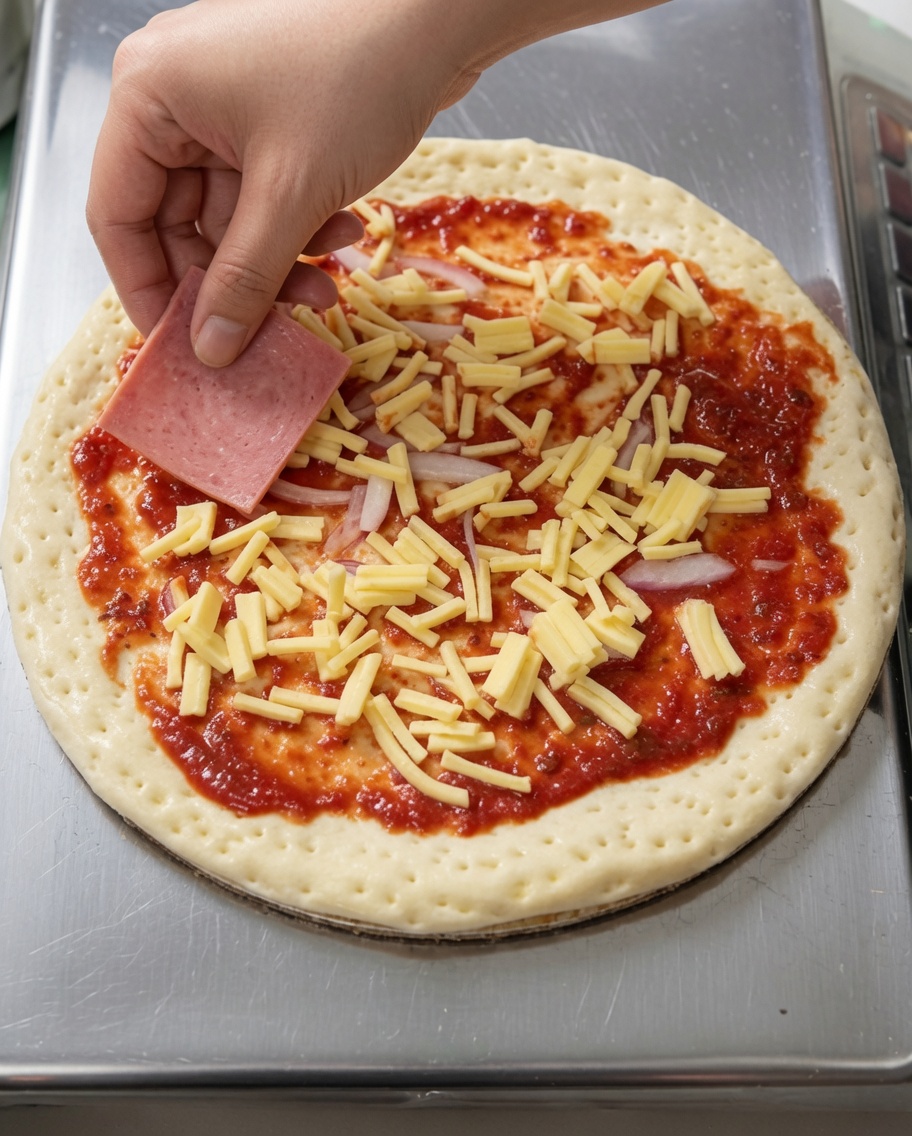
Place large, square-cut slices of ham evenly over the cheese and sauce layer on the pizza dough. Ensure the ham is spread out to cover the surface, providing a savory base for the toppings.
Tip: Use high-quality ham slices for the best flavor and texture. - 8Add Vegetable Toppings
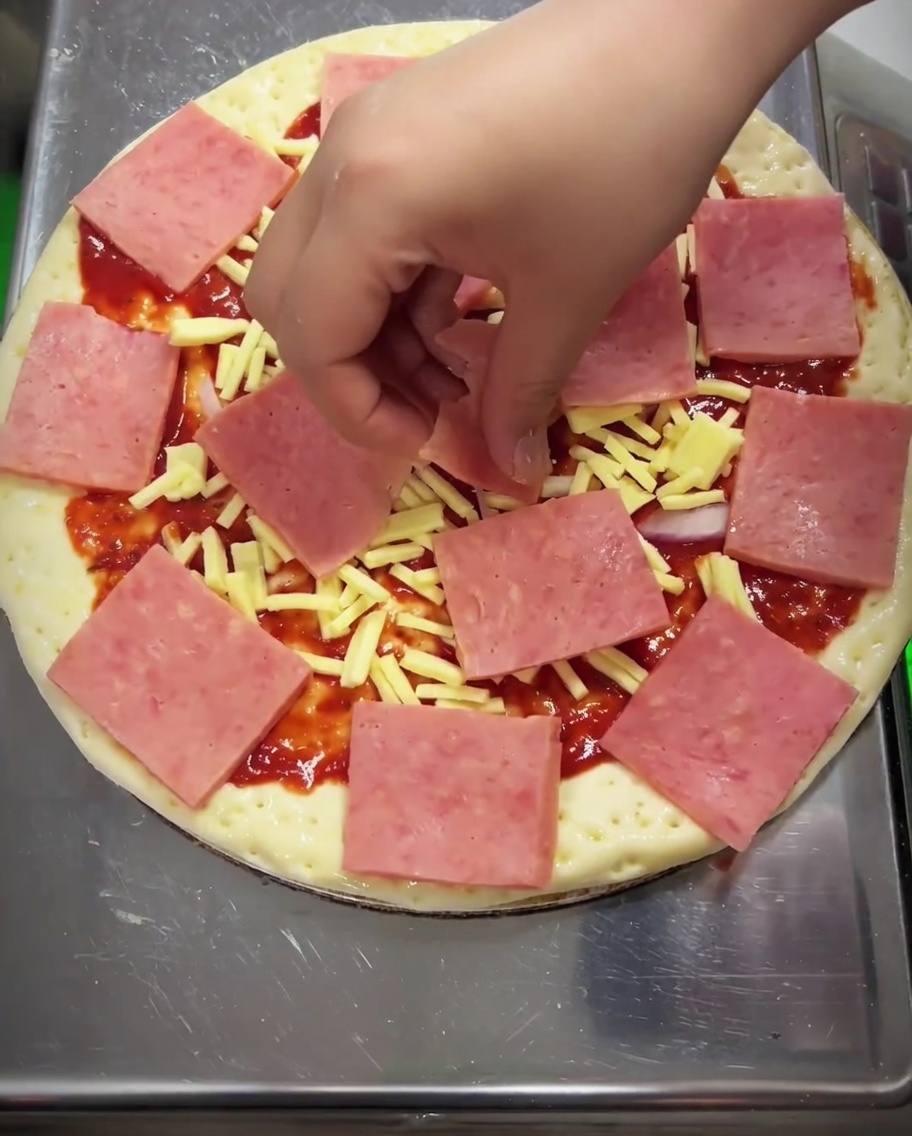
Distribute corn kernels, chopped mushrooms, and strips of green bell pepper over the layer of ham. These fresh vegetables add sweetness, earthiness, and a vibrant color to the pizza.
Tip: Pat the mushrooms dry before adding them to prevent the pizza from becoming soggy during baking. - 9Add Final Cheese Layer
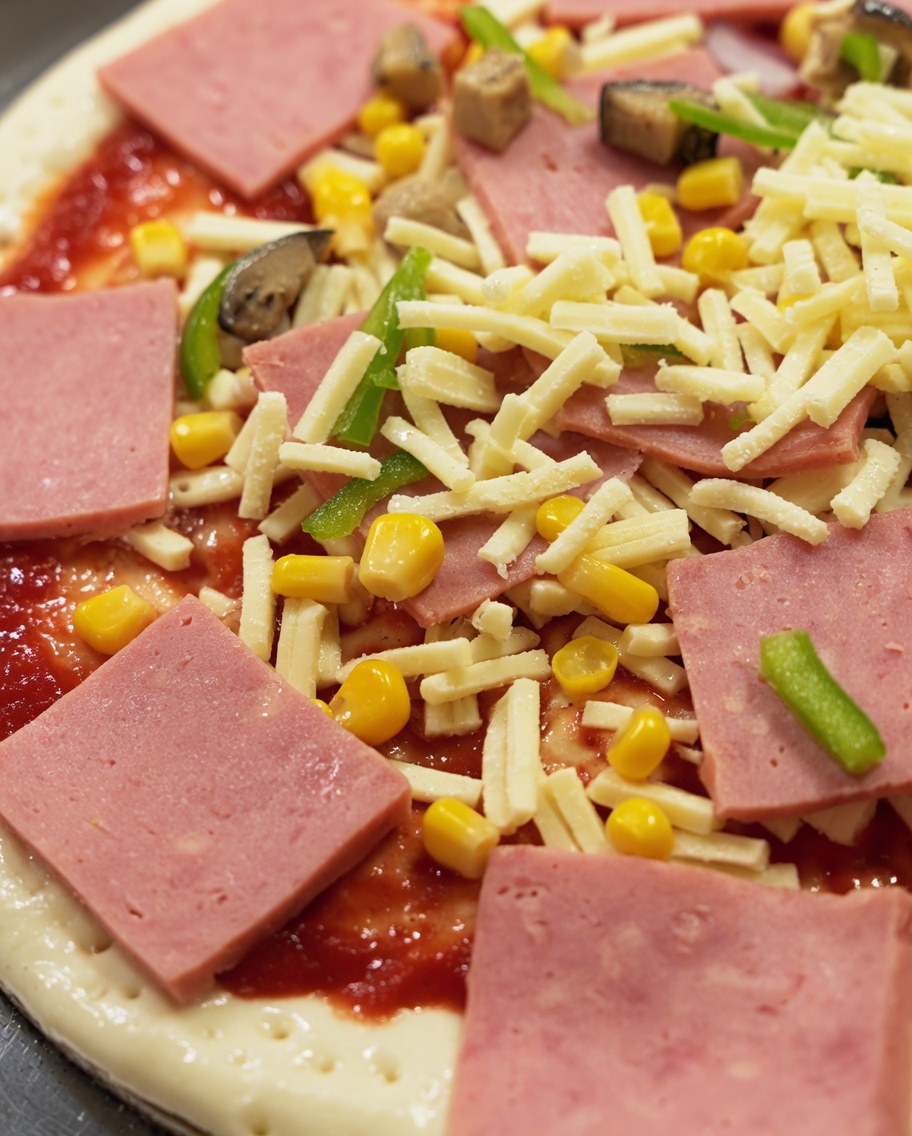
Spread a generous amount of shredded mozzarella cheese over all the toppings. This final layer helps bind the ingredients together and creates the signature melty, stretchy cheese texture when baked.
Tip: For the best cheese pull, use fresh mozzarella that you shred yourself. - 10Bake the Pizza
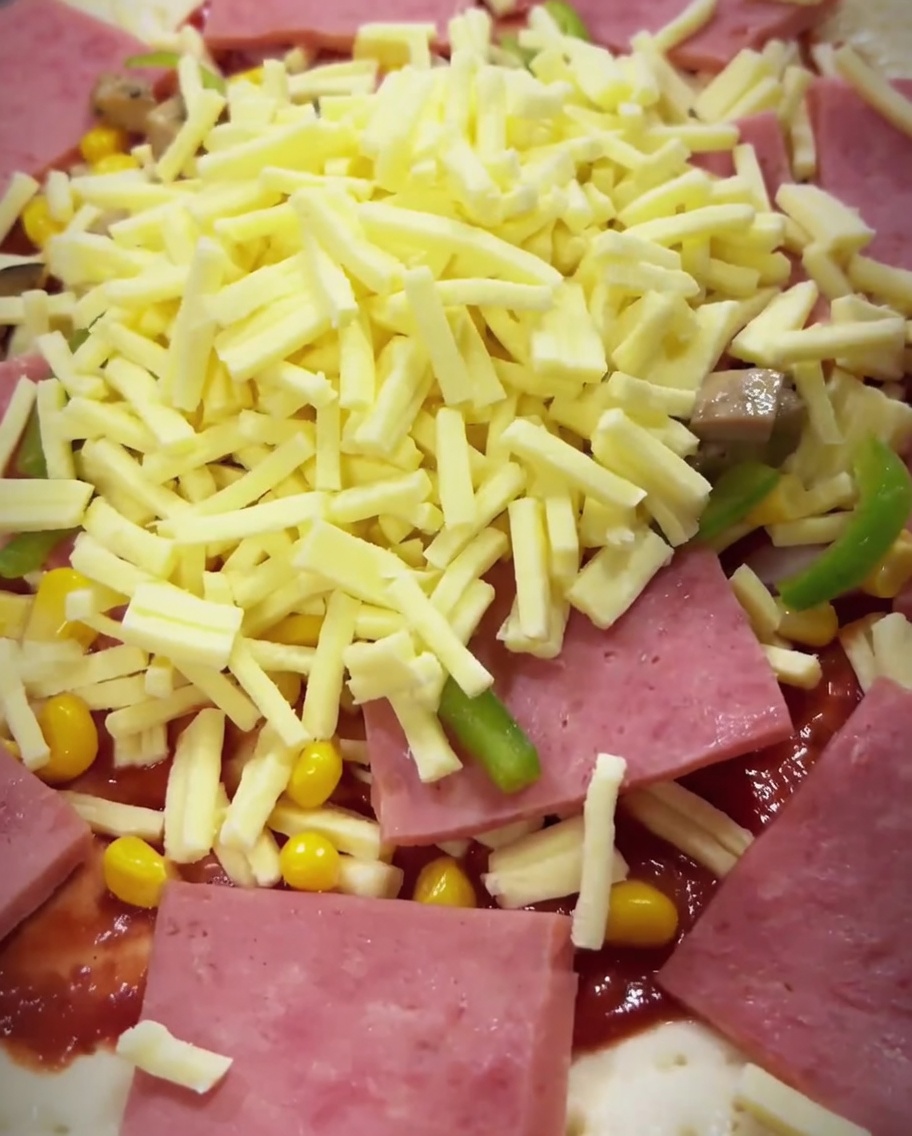
Carefully slide the fully assembled pizza into a preheated oven. Bake until the crust is golden brown and the cheese is melted, bubbly, and slightly browned on top.
Tip: Keep an eye on the oven during the last few minutes of baking to achieve the perfect level of golden crispness.