Homemade Hand-Pulled Noodles (Lamen)
Master the art of chewy, silky hand-pulled noodles with just flour, water, and salt—no professional training required for these versatile lamen.
Hand-pulled noodles, or lamen, are the soul of many Asian noodle dishes, prized for their unique elastic texture and rustic charm. Unlike machine-pressed varieties, these noodles rely on the natural development of gluten through strategic resting and kneading phases. This traditional method transforms humble pantry staples into a smooth, extensible dough that can be stretched into any thickness, from broad ribbons to delicate strands.
Ingredients
- 500 g all-purpose flour
- 260 g cold water
- 3 g salt
- to taste extra flour for dusting
Instructions
- 1Combine flour and water
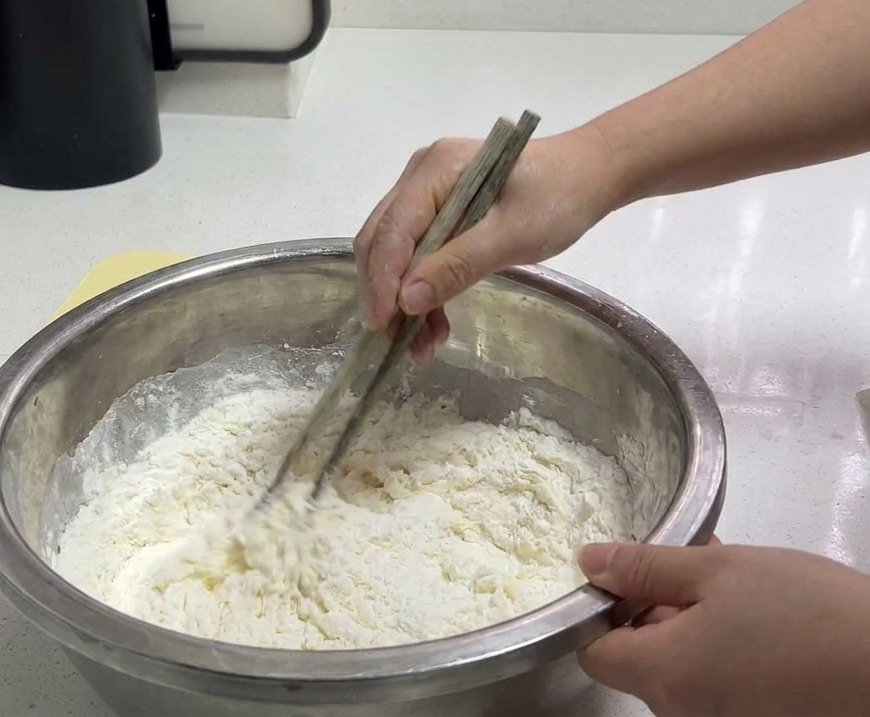
Gradually add cold water into the bowl containing the flour and salt. Use a pair of chopsticks to stir the mixture continuously as you pour. This process helps the flour hydrate evenly and form small dough clumps, which makes the initial kneading much easier and prevents large dry pockets.
Tip: Using cold water is key for this recipe as it helps control the gluten development, ensuring the noodles remain chewy and easy to pull later on. - 2First knead of the dough
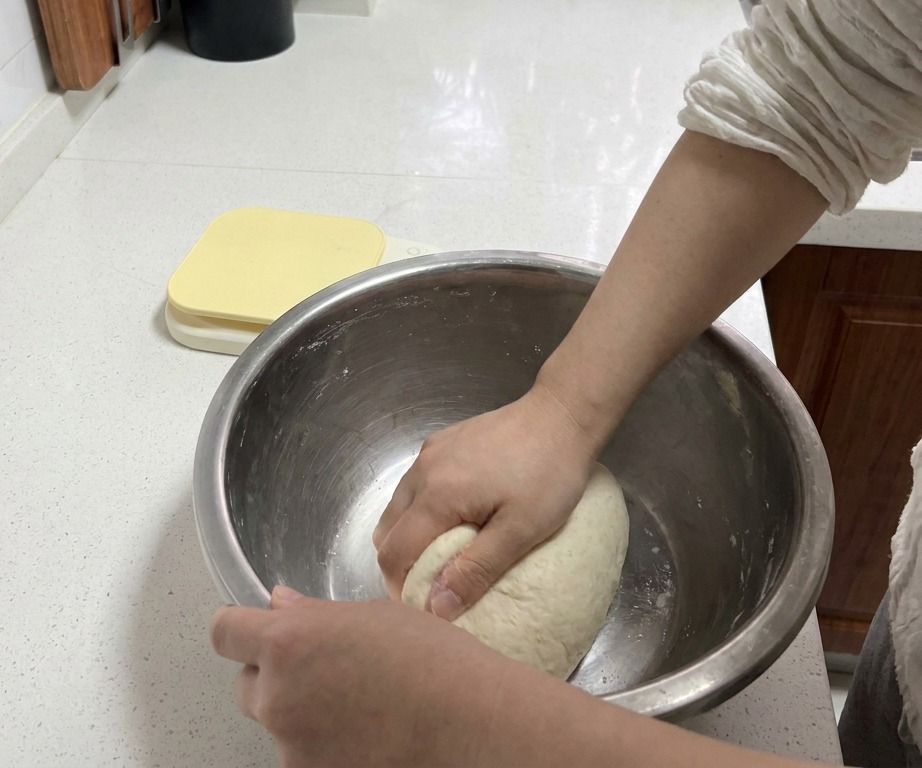
Once the flour has clumped together, begin kneading the mixture by hand directly inside the bowl. Work the dough until all the loose flour is incorporated and it forms a solid, slightly rough-surfaced ball. Stop kneading once the dough no longer sticks to your hands or the sides of the bowl.
Tip: Dont worry if the dough looks a bit lumpy at this stage; it will become much smoother after the resting period. - 3Allow the dough to rest
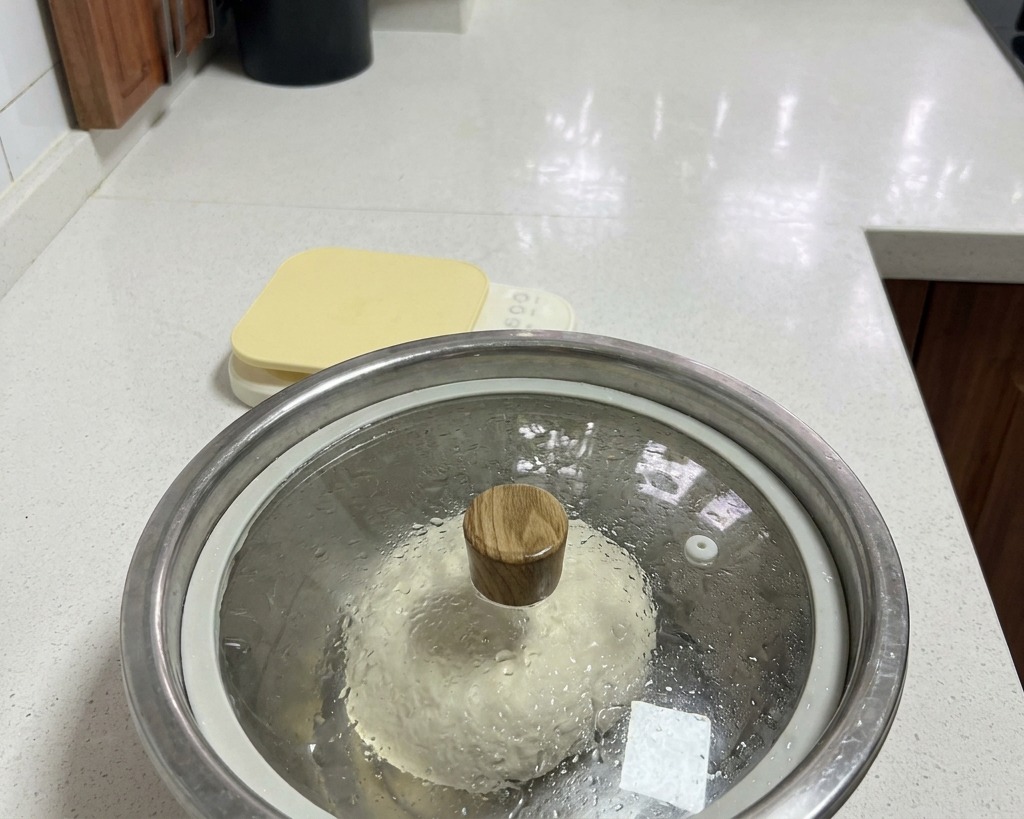
Cover the mixing bowl with a lid and let the dough rest for 10 to 30 minutes. This resting phase is essential as it allows the gluten to relax and the flour to fully absorb the moisture, which significantly improves the doughs extensibility for the next round of kneading.
Tip: If you dont have a lid that fits perfectly, you can use plastic wrap to ensure the dough doesnt dry out and form a hard skin. - 4Second knead for smoothness
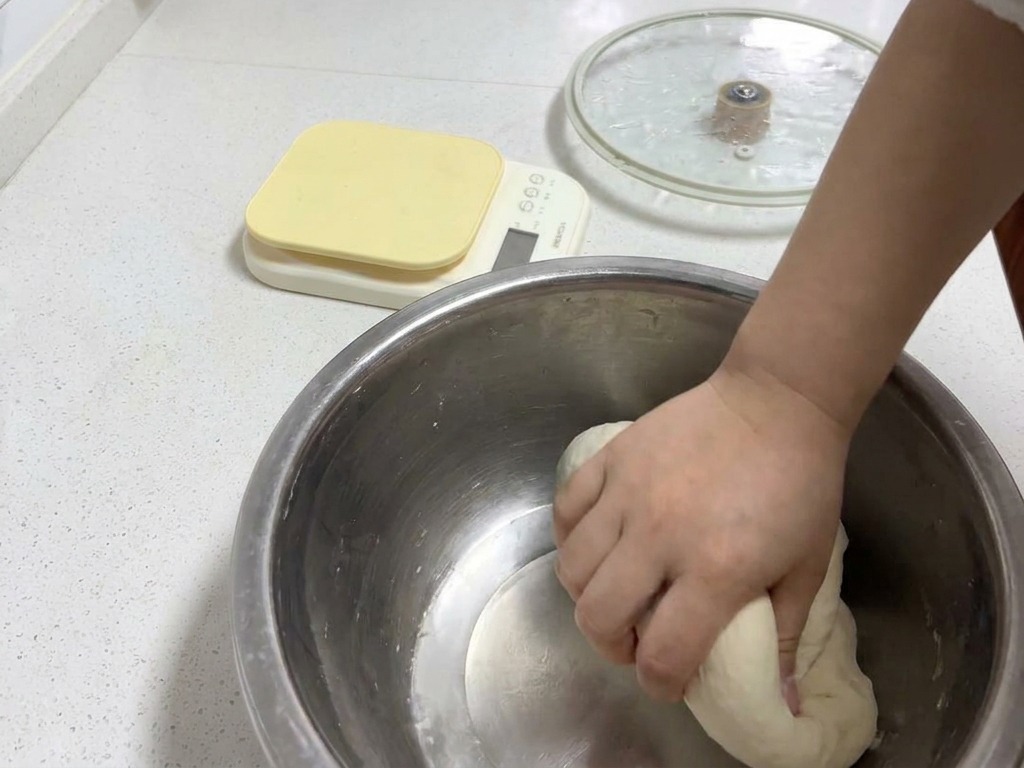
Remove the lid and knead the dough for a second time. You will notice that the dough has become much more pliable and stretchy after resting. Continue kneading until the surface is delicate, smooth, and has a consistent texture throughout.
Tip: Kneading until smooth is vital; any lumps left in the dough now will cause the noodles to break or have a rough texture when they are pulled later. - 5Check dough elasticity
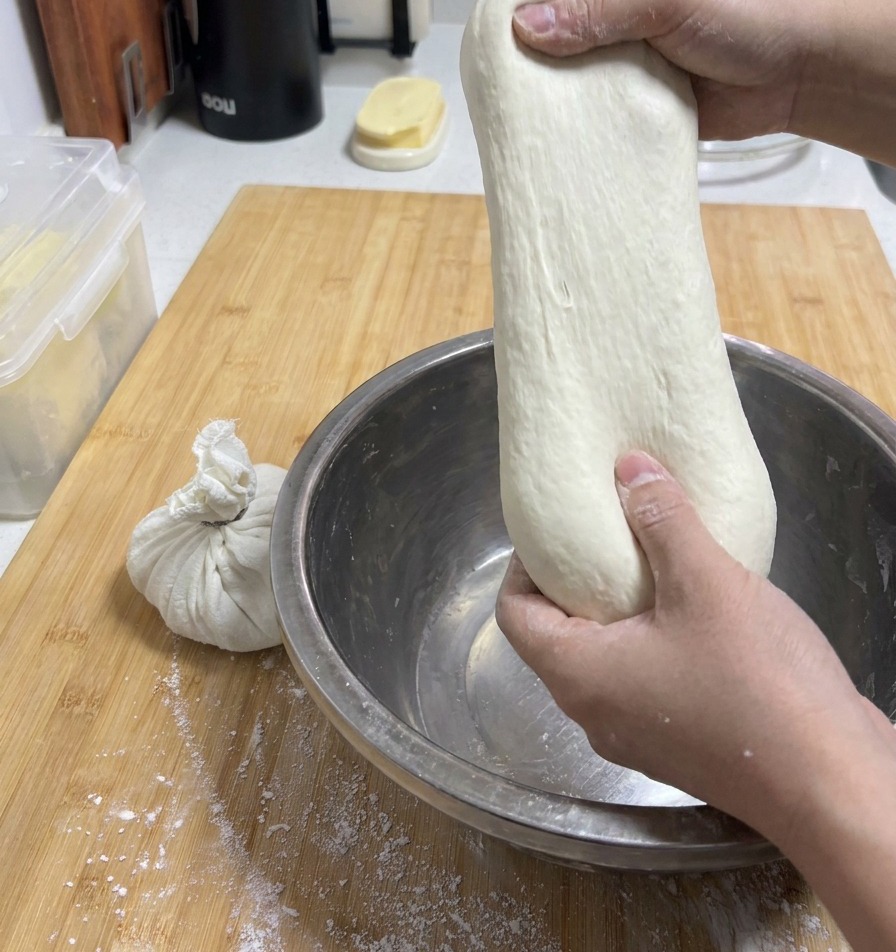
After the second rest, the doughs elasticity will be very strong. Knead it briefly until it is completely smooth and delicate. To test the consistency, pull a section of the dough upward; it should stretch easily and smoothly without breaking, indicating that the gluten is well-developed.
Tip: If the dough feels tight or snaps when pulled, let it rest for another 10 minutes. The key to successful pulled noodles is mastering this consistency. - 6Roll out the dough sheet

Lightly sprinkle flour on your work surface to prevent sticking. Use a wooden rolling pin to flatten the dough ball into a large, uniform sheet approximately 0.5 centimeters thick. Aim for an even thickness across the entire sheet for consistent noodles.
Tip: Dont press too hard; use steady, even pressure with the rolling pin to avoid tearing the dough. - 7Final rest for the dough
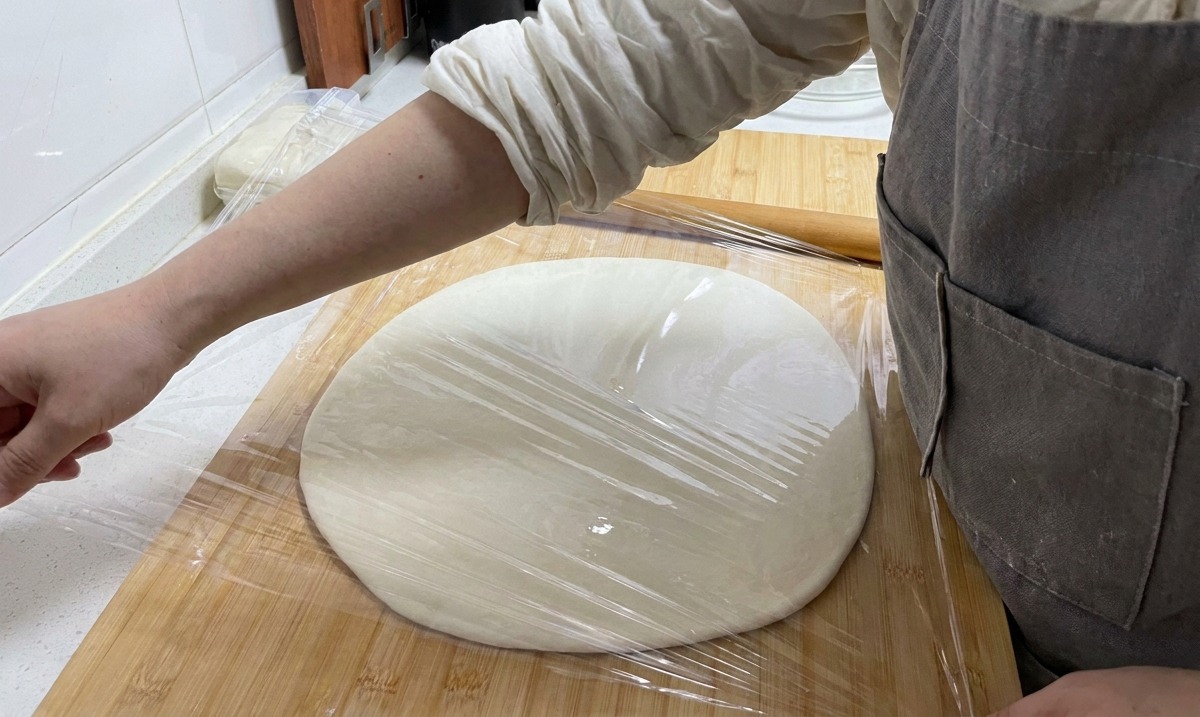
Carefully cover the entire rolled-out dough sheet with clear plastic wrap. Allow it to rest for a final 10 to 15 minutes. This last resting stage relaxes the gluten one more time, making the strips much easier to pull without resistance.
Tip: Make sure the plastic wrap is airtight against the dough to prevent the surface from drying out and becoming rough. - 8Dust the surface with flour
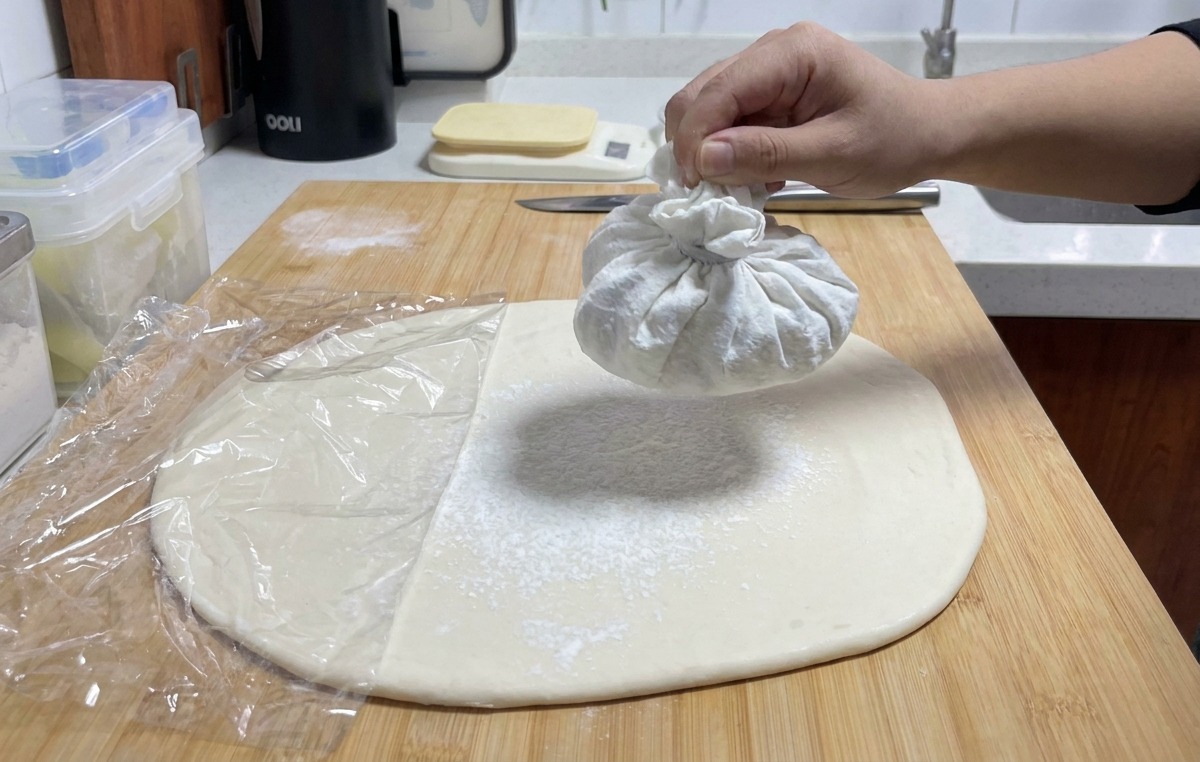
Remove the plastic wrap and use a small cloth bag filled with flour to dust the top of the dough sheet. Apply a thin, even layer across the entire surface. This dry flour prevents the cut strips from sticking back together.
Tip: If you dont have a cloth bag, a fine-mesh sieve works just as well to get a perfectly even coating. - 9Cut the dough into strips
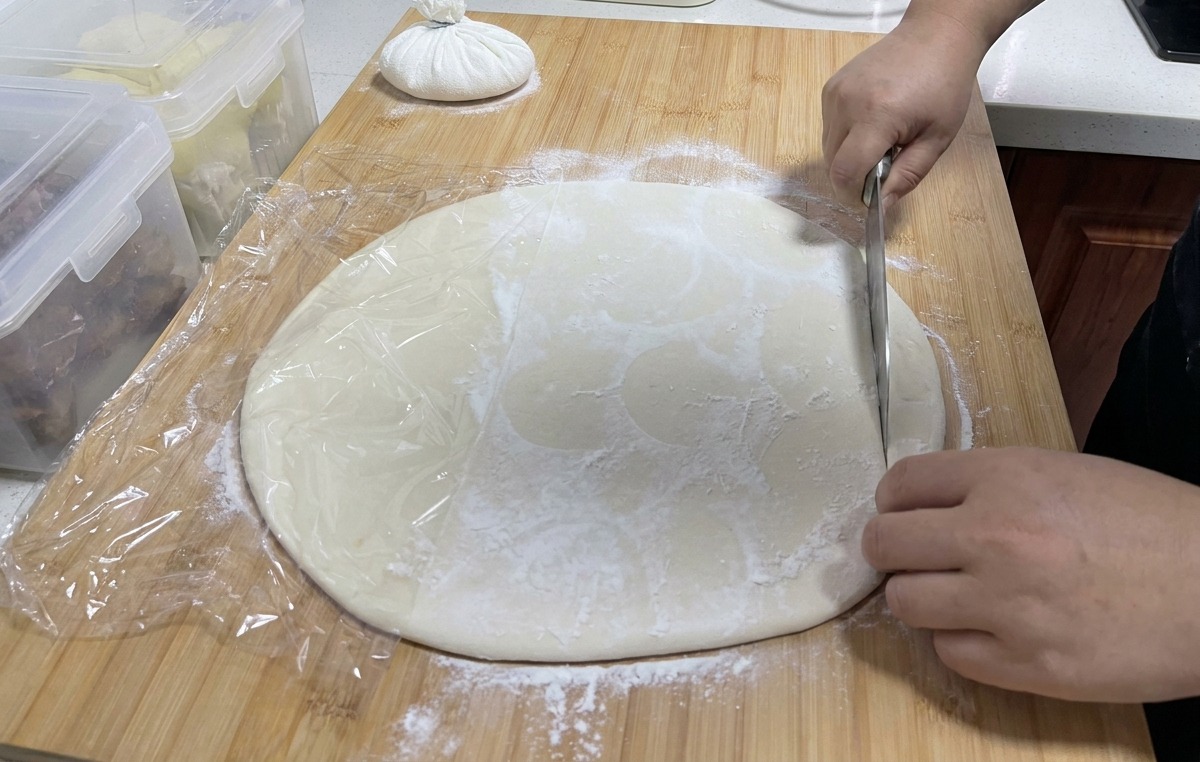
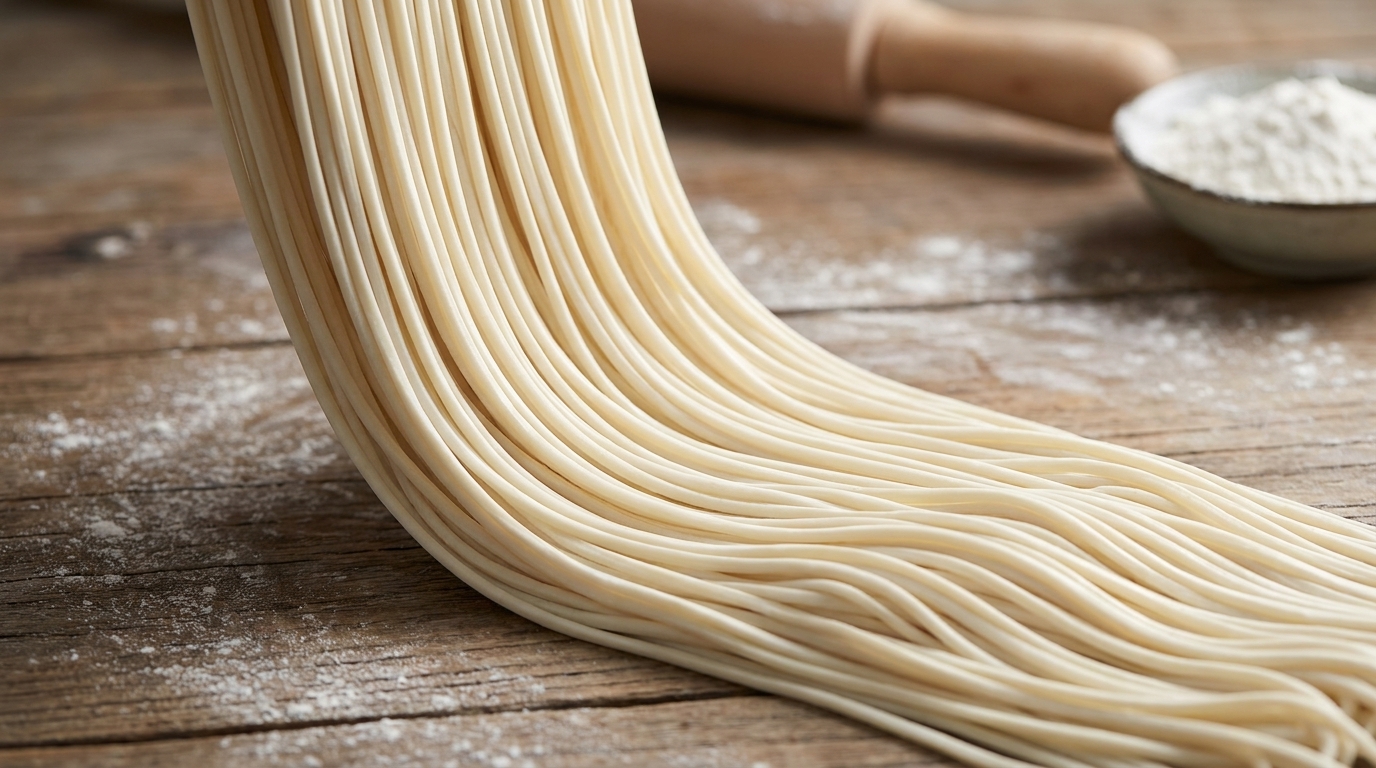
Using a sharp kitchen knife, cut the floured dough sheet into long, uniform strips. You can adjust the width based on your preference: wider for flat noodles or narrower for rounder, thinner noodles.
Tip: Use a clean, downward slicing motion rather than sawing to ensure the edges of the strips remain smooth and distinct. - 10Pull and stretch the noodles
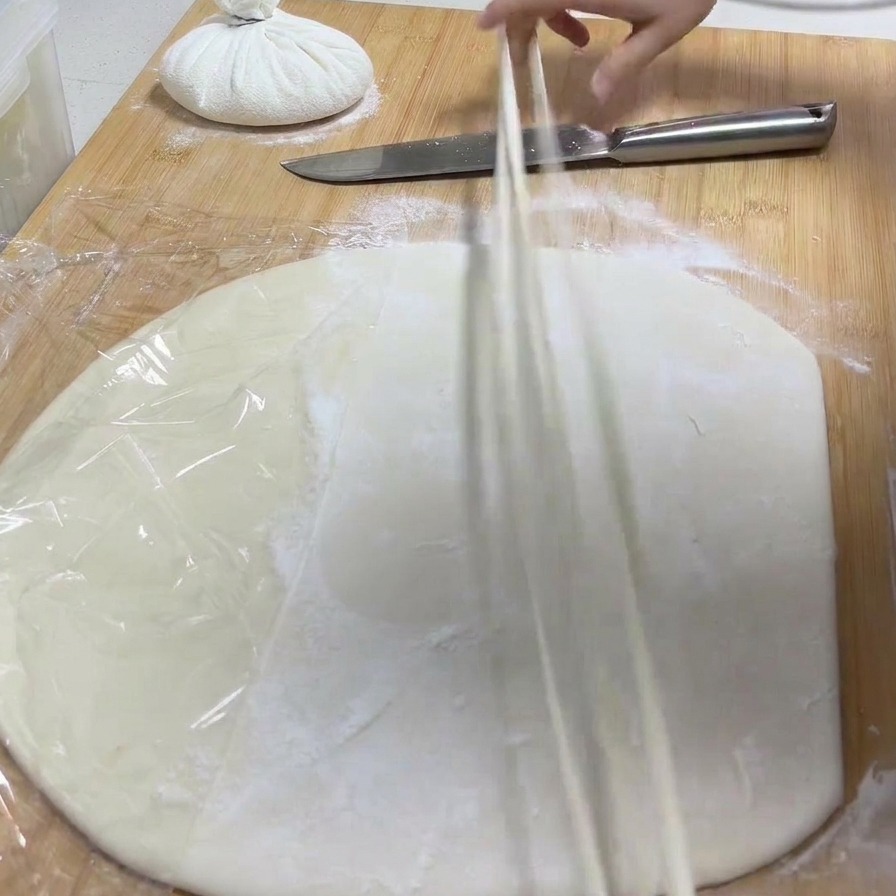
Pick up a single strip of dough and pull it outward directly after cutting. The well-prepared dough will stretch smoothly and thin out into a fresh noodle. Repeat this process for each strip to create your hand-pulled noodles.
Tip: Pull the noodles right before you are ready to drop them into the pot; hand-pulled noodles are best when cooked immediately while fresh.