Traditional Homemade Hand-Pulled Noodles (Lamian)
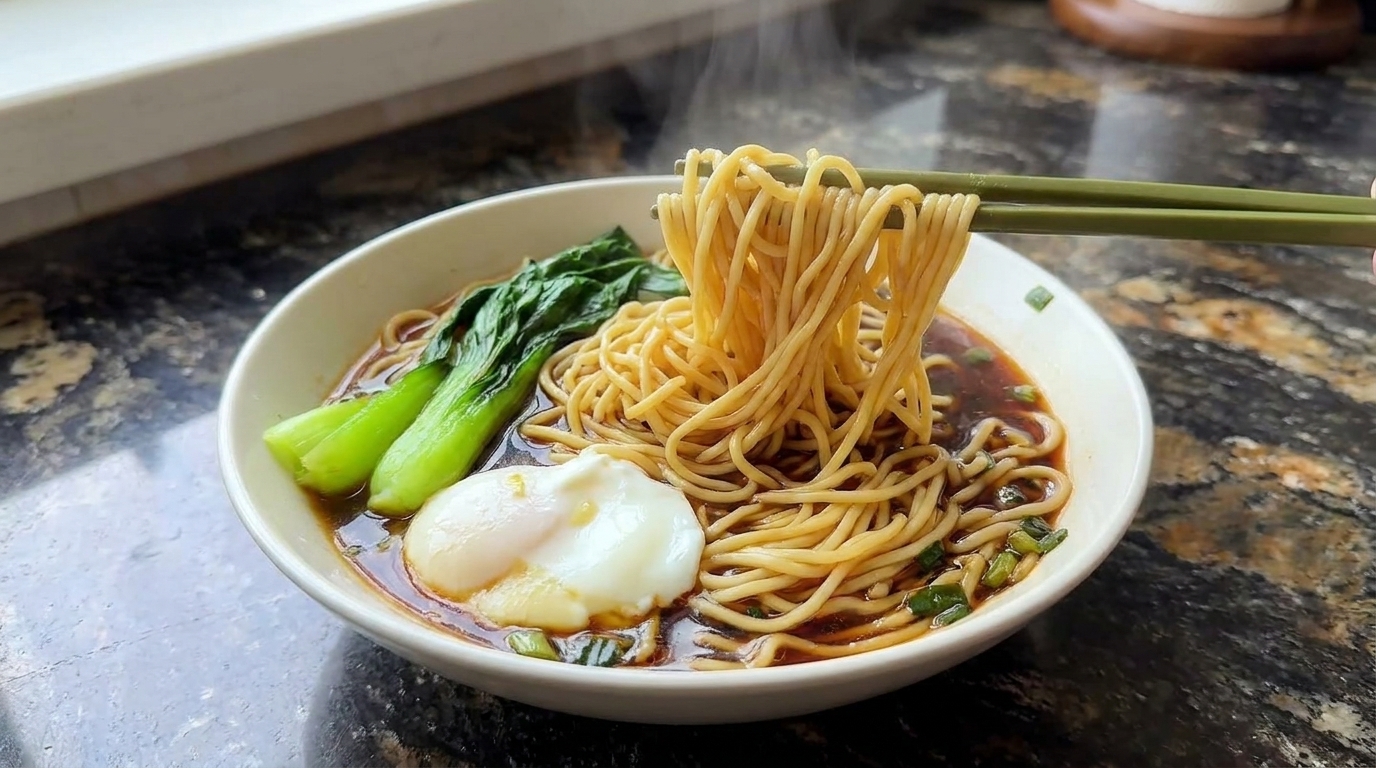
Master the art of authentic hand-pulled noodles at home with this step-by-step guide. Achieve perfect, bouncy elasticity using simple ingredients and traditional kneading techniques.
Hand-pulled noodles, or Lamian, are a testament to the beauty of simple ingredients transformed by patience and technique. This method relies on developing a strong gluten network through repeated cycles of kneading and resting, rather than relying on chemical improvers. While the process requires time, the result is a superior, chewy, and elastic noodle that far surpasses store-bought alternatives.
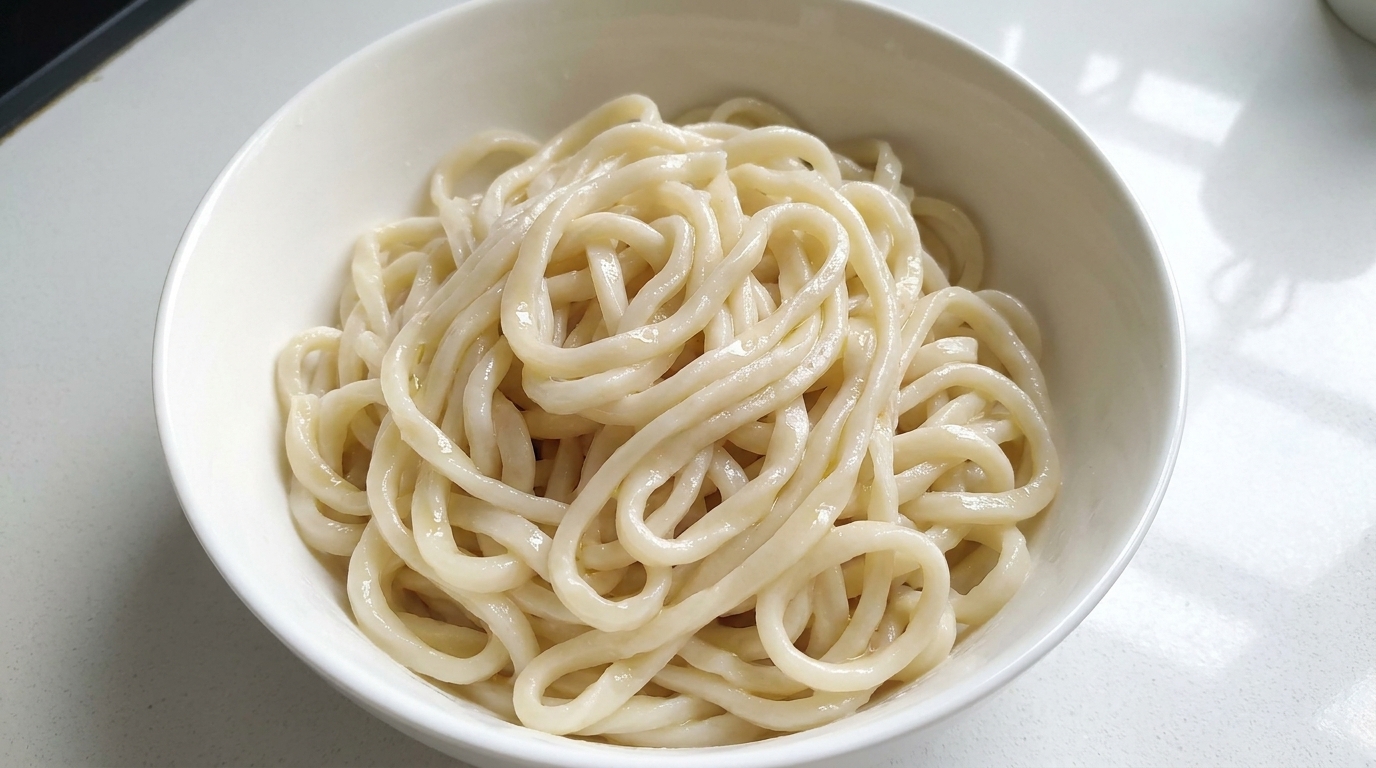
Ingredients
- 200 g all-purpose flour
- 100 g water
- 1.5 g salt
- to taste cooking oil
Instructions
- 1Add water to the flour well
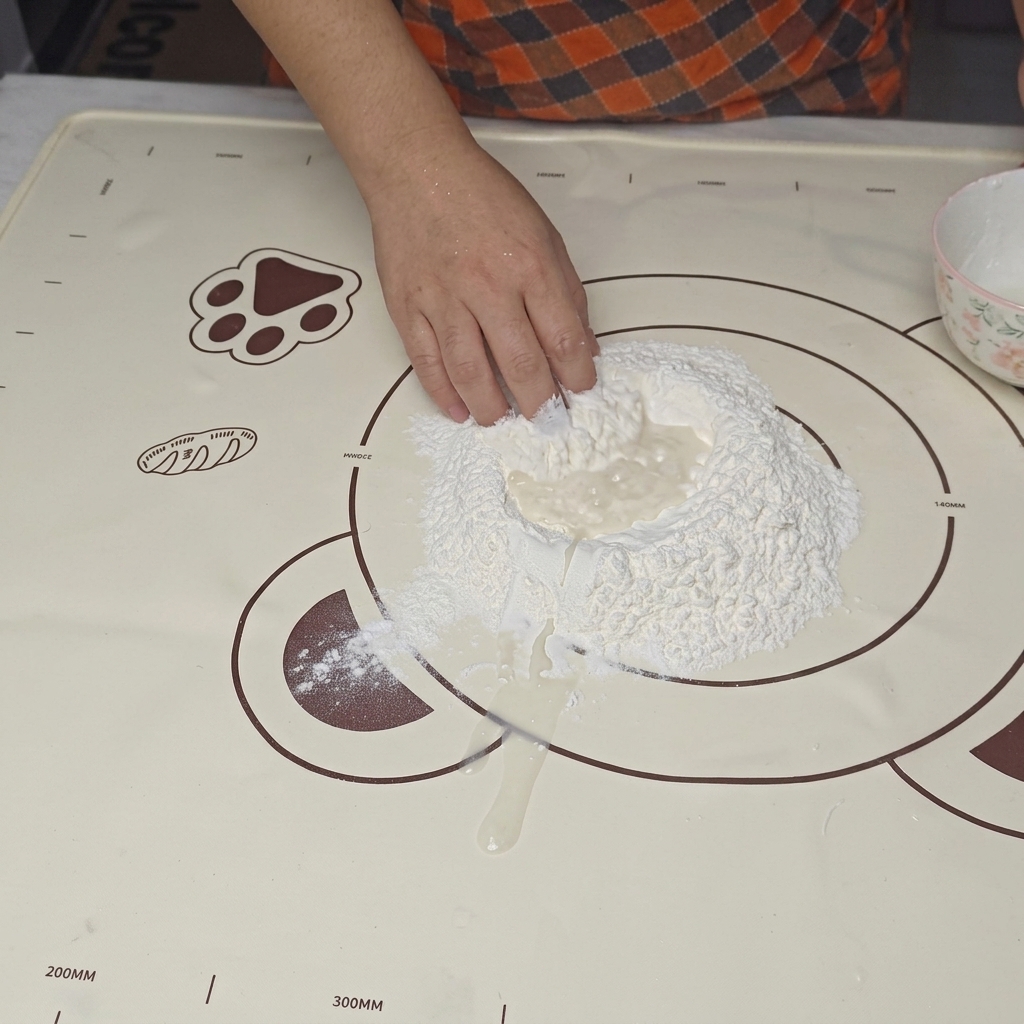
Form a well in the center of the flour pile and pour in the water. Use your fingers to gently mix the water into the inner walls of the flour, keeping the liquid contained within the center.
Tip: Add the water in three separate batches rather than all at once to ensure the flour hydrates evenly. - 2Mix the dough
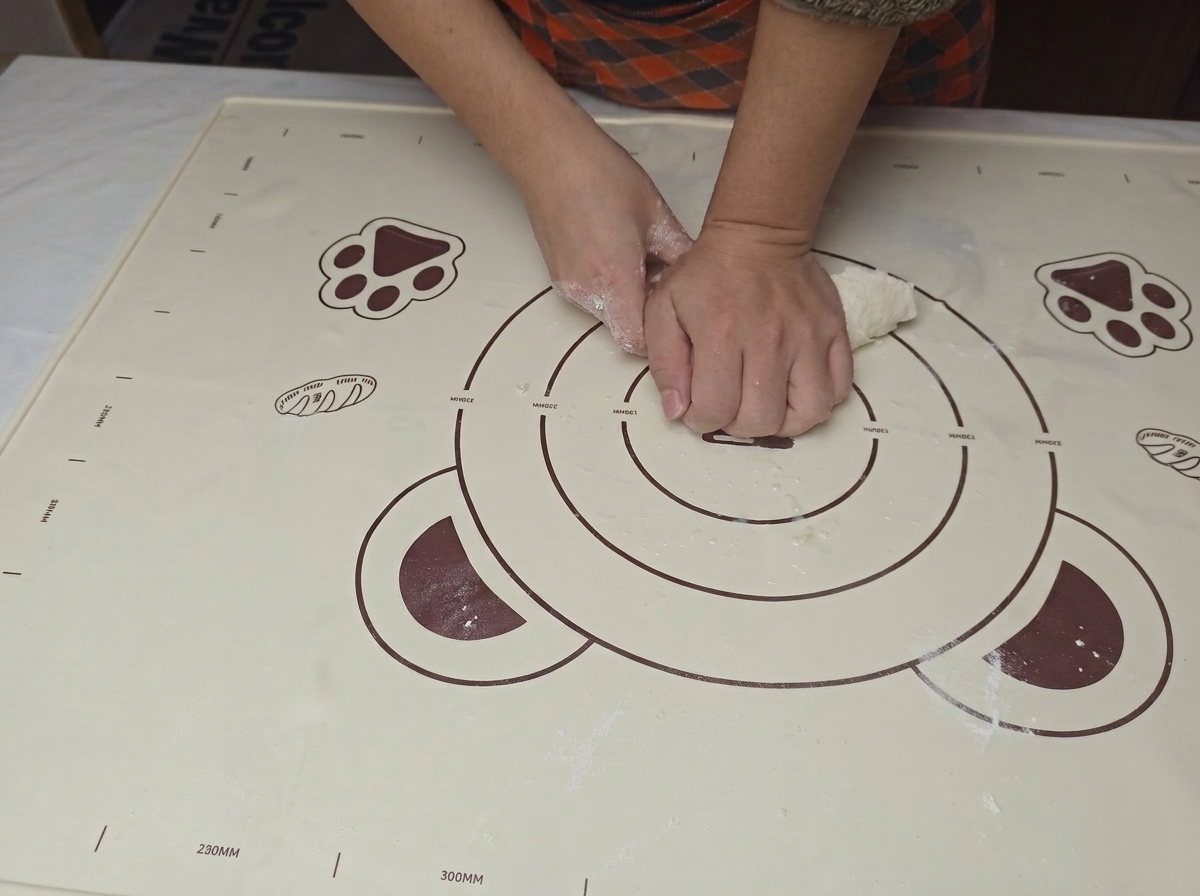
Combine 200 grams of flour and 1.5 grams of salt in a bowl. Gradually add 100 grams of water in three separate batches, mixing by hand each time until the mixture forms shaggy, consistent dough flakes.
Tip: Adding water in batches ensures even hydration and prevents the dough from becoming too sticky. - 3Form and press the dough
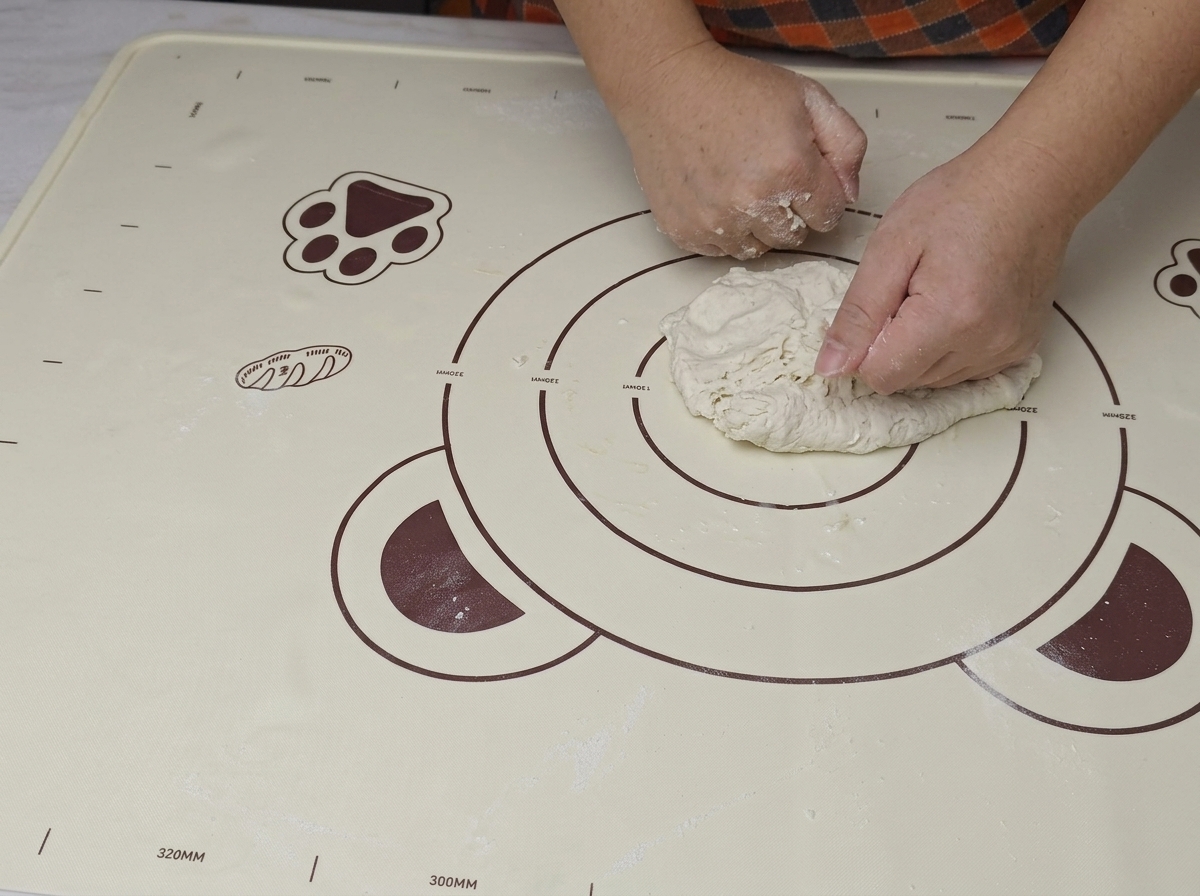
Once the mixture has formed into shaggy flakes, gather them together to form a rough dough ball. Use both hands to press and fold the dough firmly to begin developing the gluten structure.
Tip: The dough will look rough and shaggy at this stage. After pressing it together, let it rest for 40 minutes before kneading further. - 4Knead to develop gluten
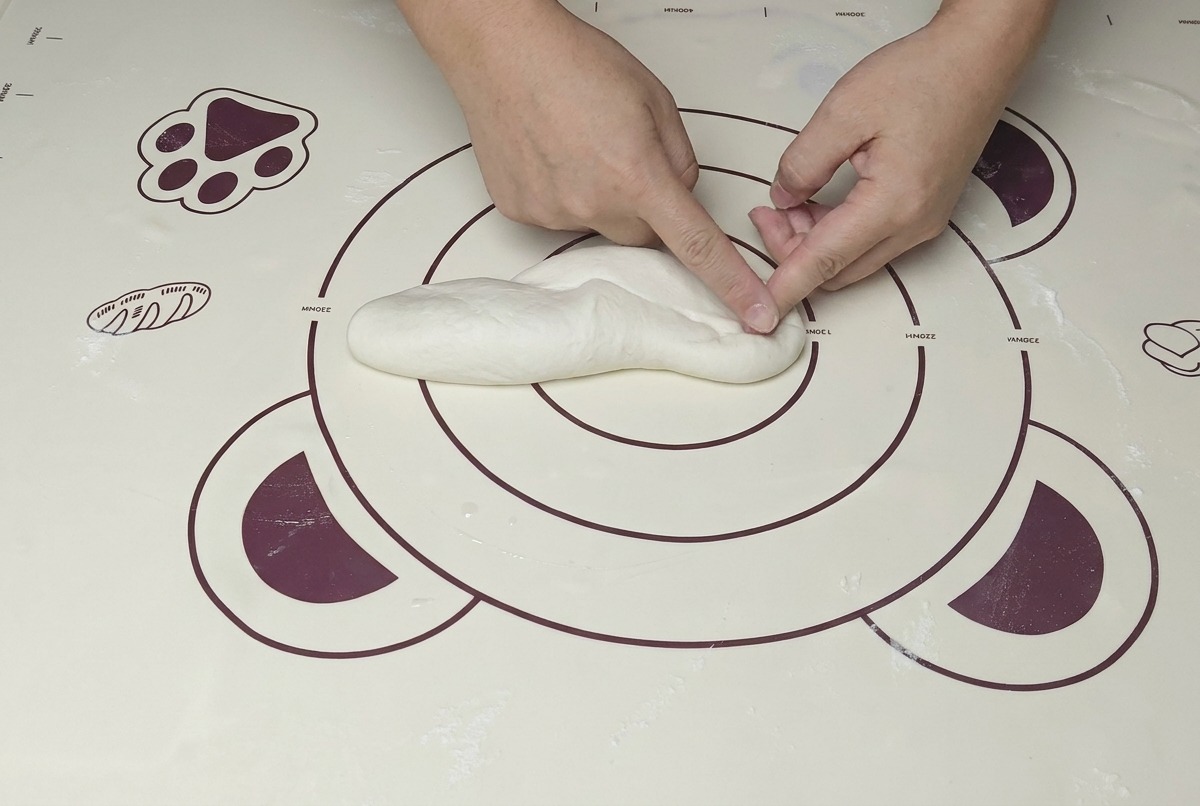
After the initial rest, knead the dough firmly by pushing against the gluten network with the heel of your hand. Rather than kneading randomly, use a methodical pushing process. To develop maximum elasticity, repeat a cycle of brief kneading followed by resting three separate times.
Tip: Focus on consistent, firm pressure to properly develop the gluten structure across all three kneading cycles. - 5Roll the dough into a log
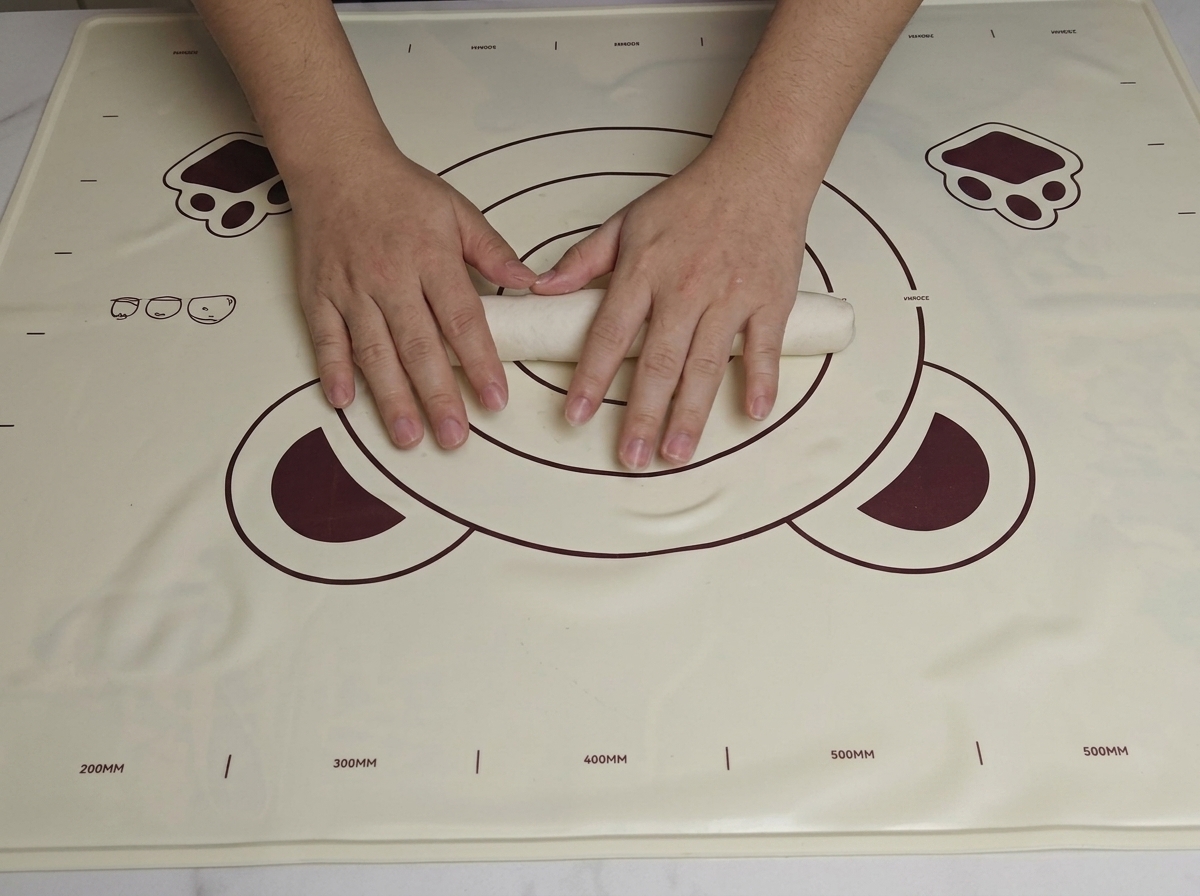
After the dough has been kneaded and rested three times, it will be smooth and elastic. Use both hands to roll the dough out on the mat, shaping it into a long, thick cylindrical log.
Tip: Ensure the thickness of the log is relatively even so your portioned pieces will be consistent in size. - 6Portion the dough
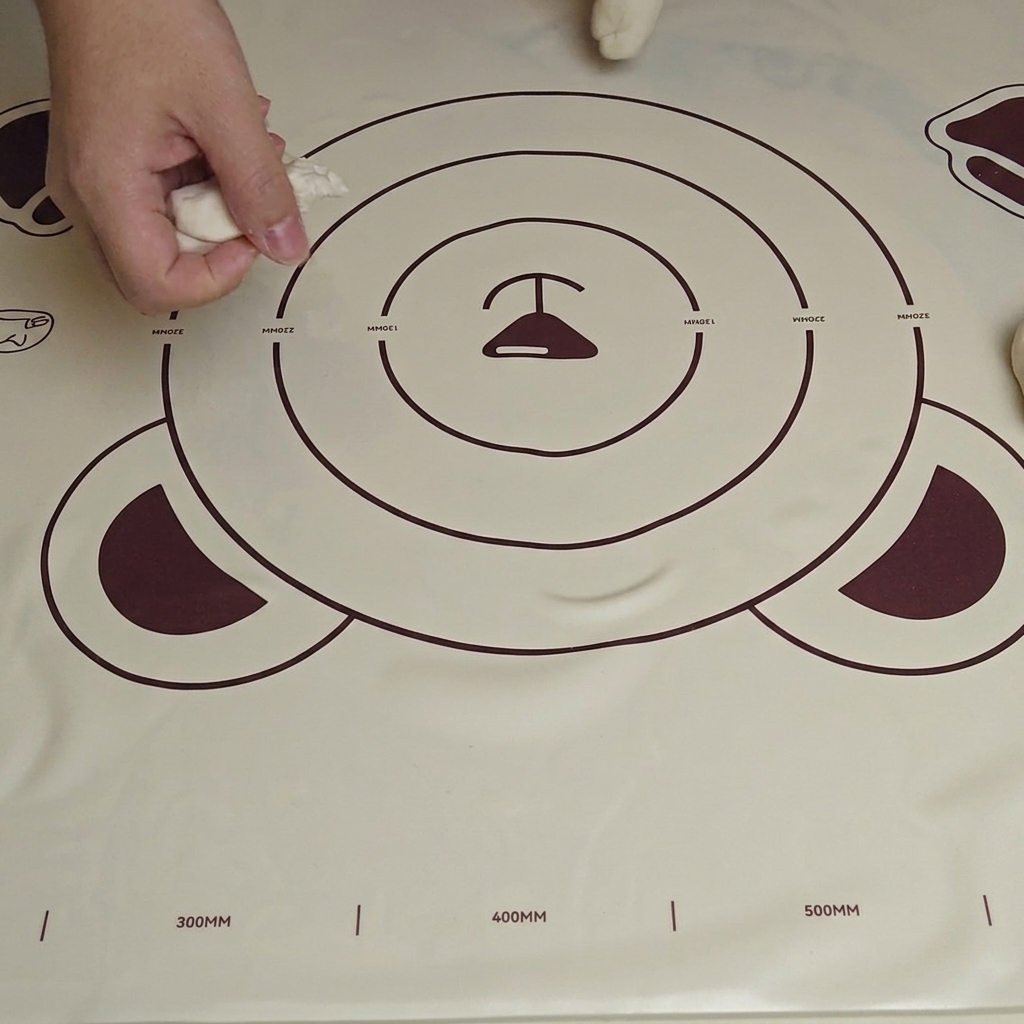
Take the thick dough log and tear it by hand into smaller, equally sized portions. These pieces will then be rolled out into shorter strips, brushed with oil, and rested before pulling.
Tip: Tearing the dough by hand rather than cutting it is a traditional technique used for hand-pulled noodles. - 7Form dough strips
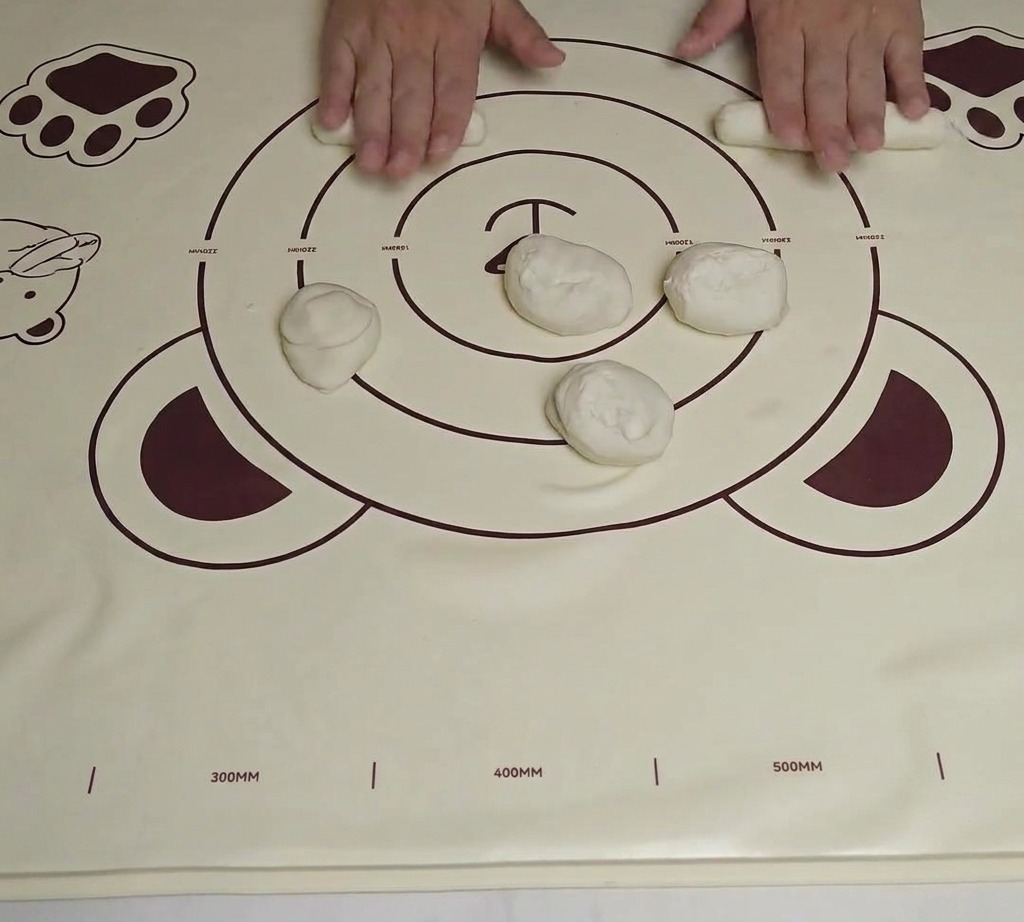
After resting the dough three times and kneading it three times, roll it into a thick log. Tear the log into equally sized portions and roll each portion into a short, thick strip.
Tip: Keep the portions uniform in size to ensure the final noodles have a consistent thickness. - 8Oil the dough strips
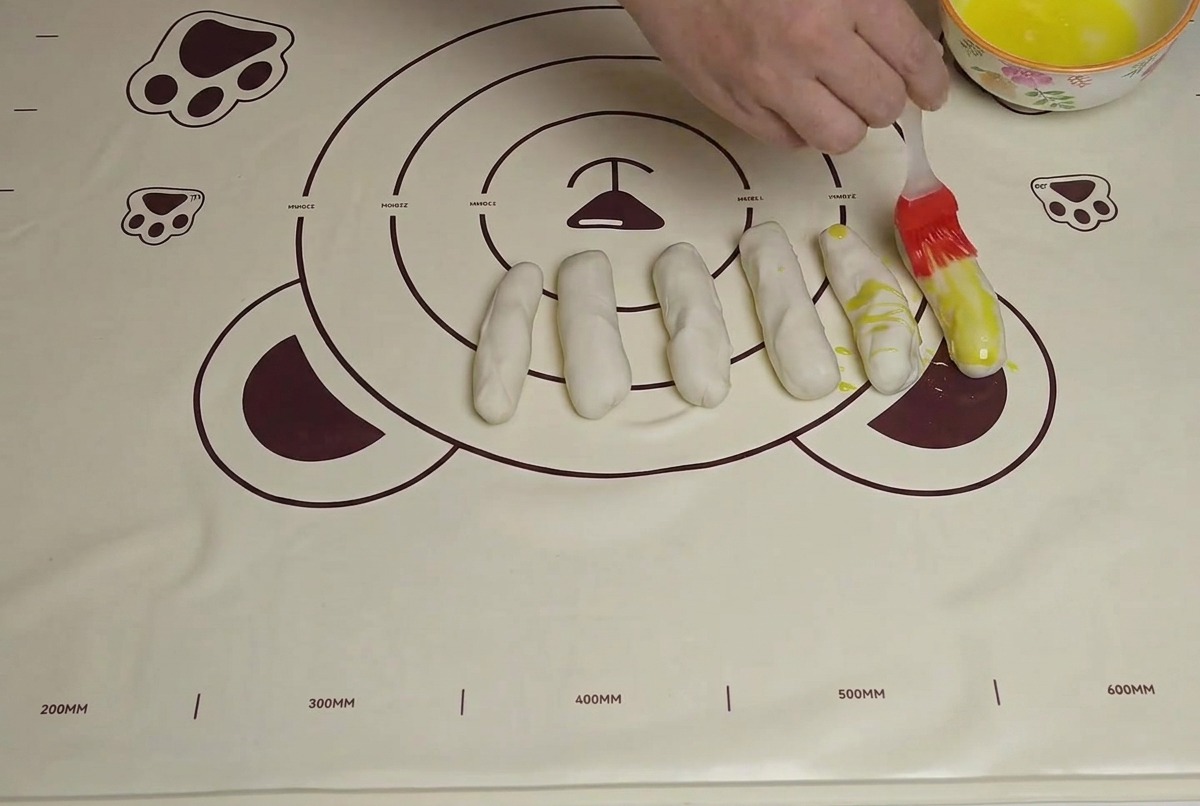
Brush each short dough strip thoroughly with oil. This coating prevents the dough from drying out while it rests, keeping it supple for the final pulling process.
Tip: Ensure the entire surface of each strip is coated evenly with oil. - 9Lengthen the dough
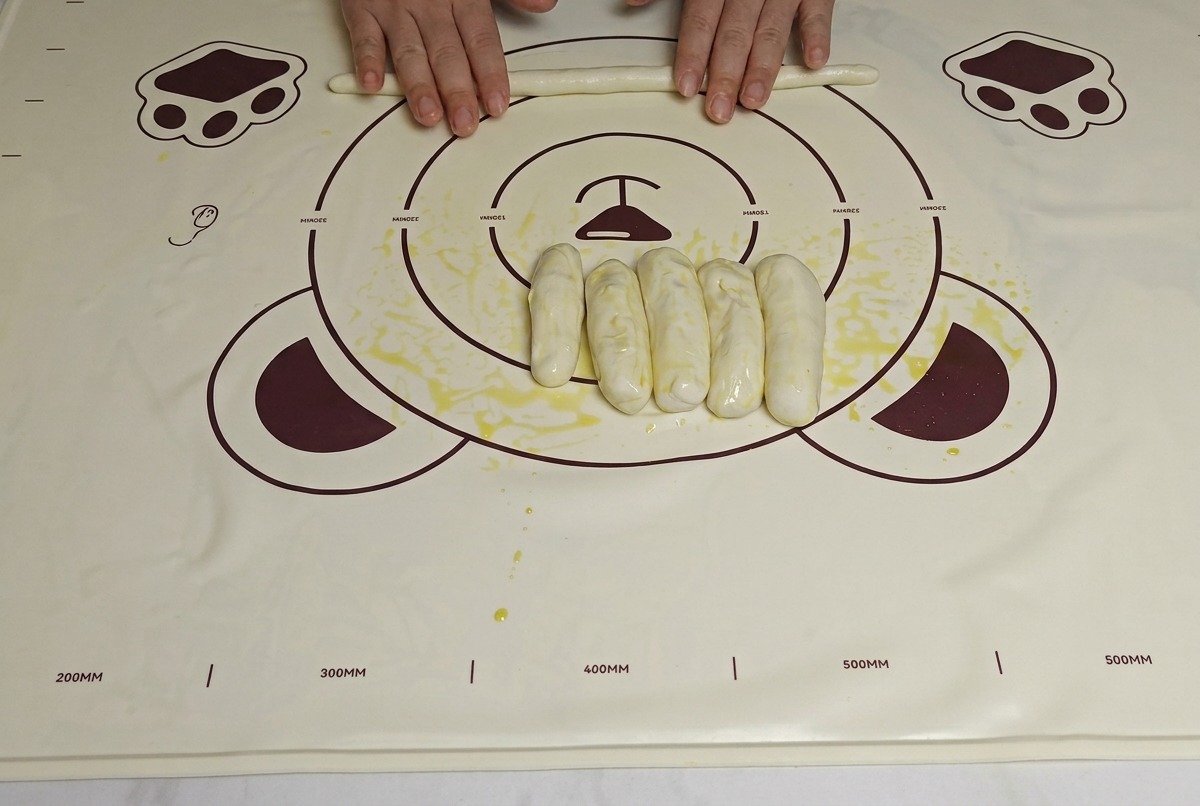
Take the oiled dough strips and roll them out further into longer, thinner ropes. This gradually stretches the dough and prepares it for the final pull.
Tip: Roll gently to avoid breaking the dough as it elongates. - 10Final rest
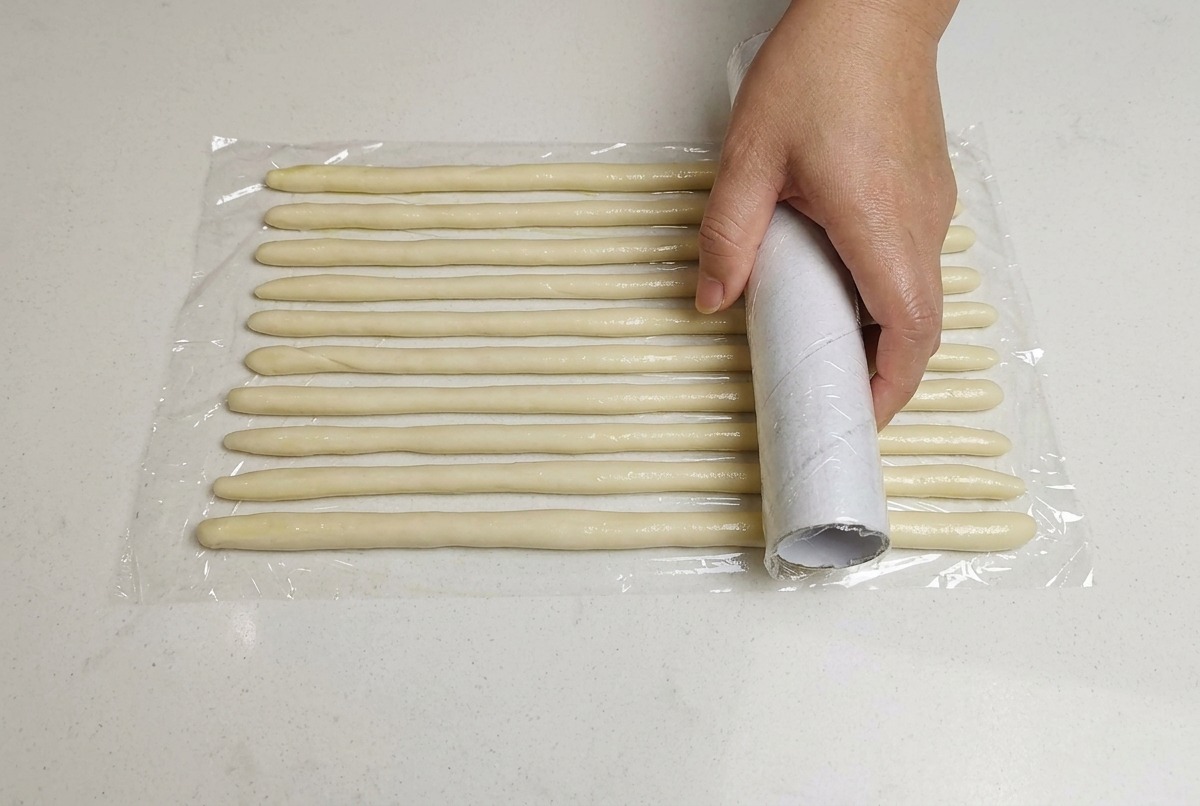
Cover the elongated dough ropes neatly with a sheet of plastic wrap. Allow them to rest for one hour; this final rest is crucial to make the dough relaxed and easy to pull.
Tip: Make sure the plastic wrap covers the dough completely to prevent any crust from forming. - 11Stretch the dough
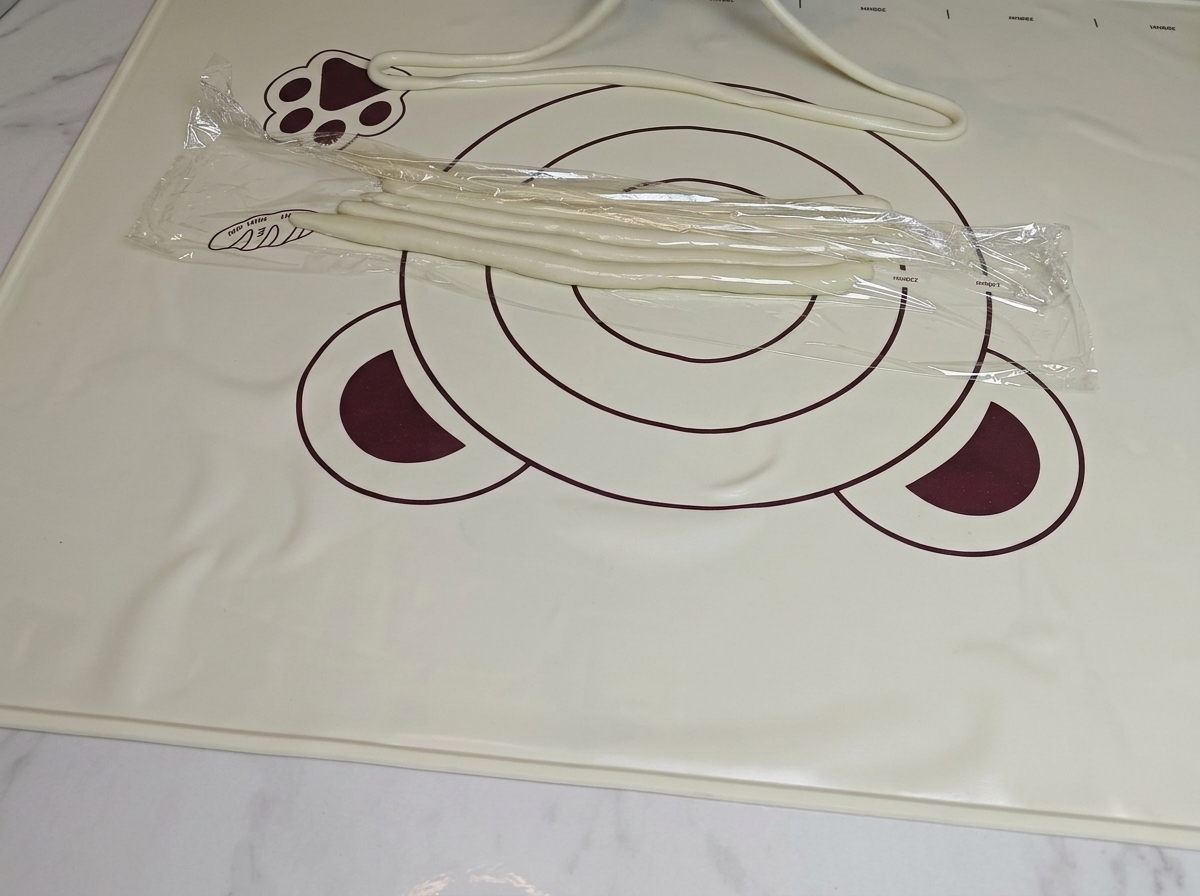
Take a rested dough strip and begin pulling and stretching it evenly with both hands. Maintain a consistent motion, moving your hands along the length of the dough to achieve an even thickness throughout the entire strand.
Tip: Keep your movements smooth and steady to prevent the dough from snapping. - 12Fold and stretch
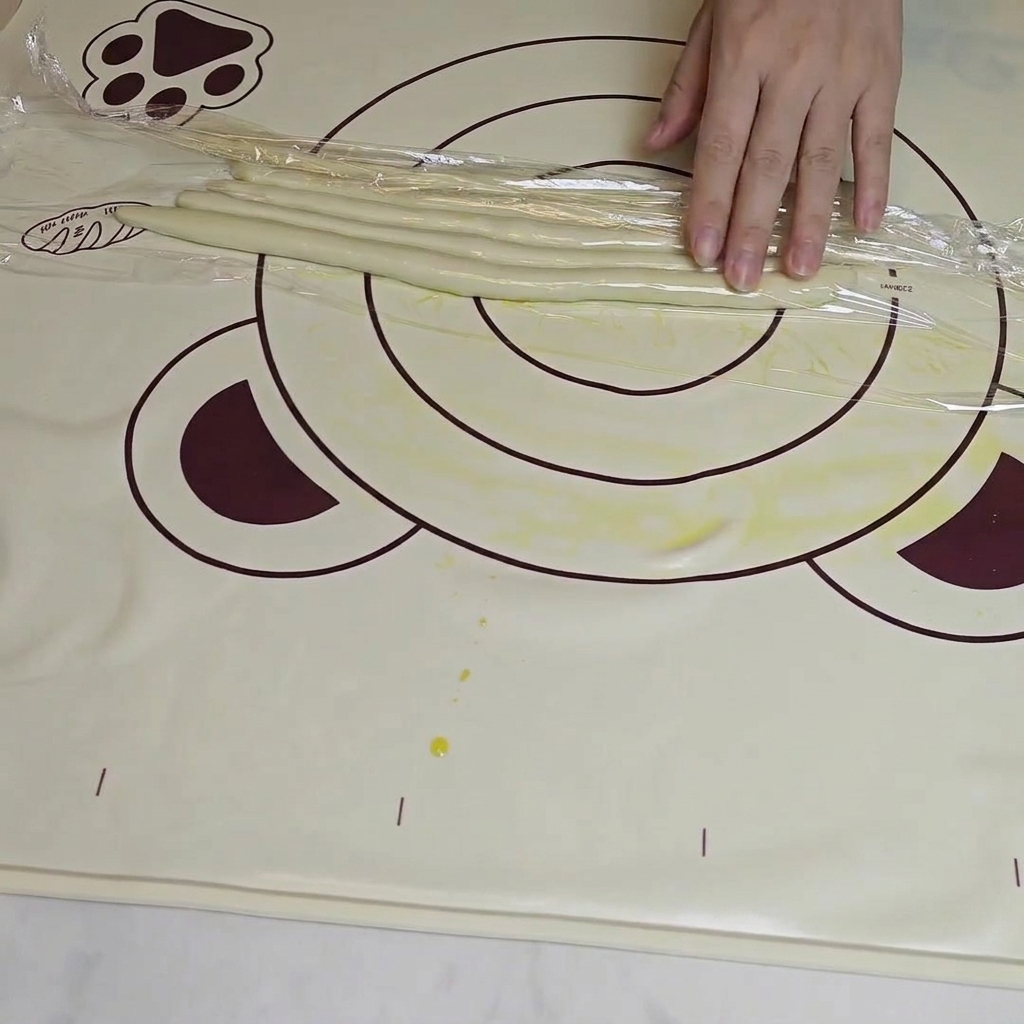
Once the initial stretch is complete, fold the dough strand and continue to stretch it repeatedly. This process builds the necessary tension and length for hand-pulled noodles, transforming the dough into thin, uniform strands.
Tip: If the dough feels like it is resisting, let it rest for a few minutes before continuing to stretch.