Classic Korean Kimchi Fried Rice (Kimchi Bokkeumbap)
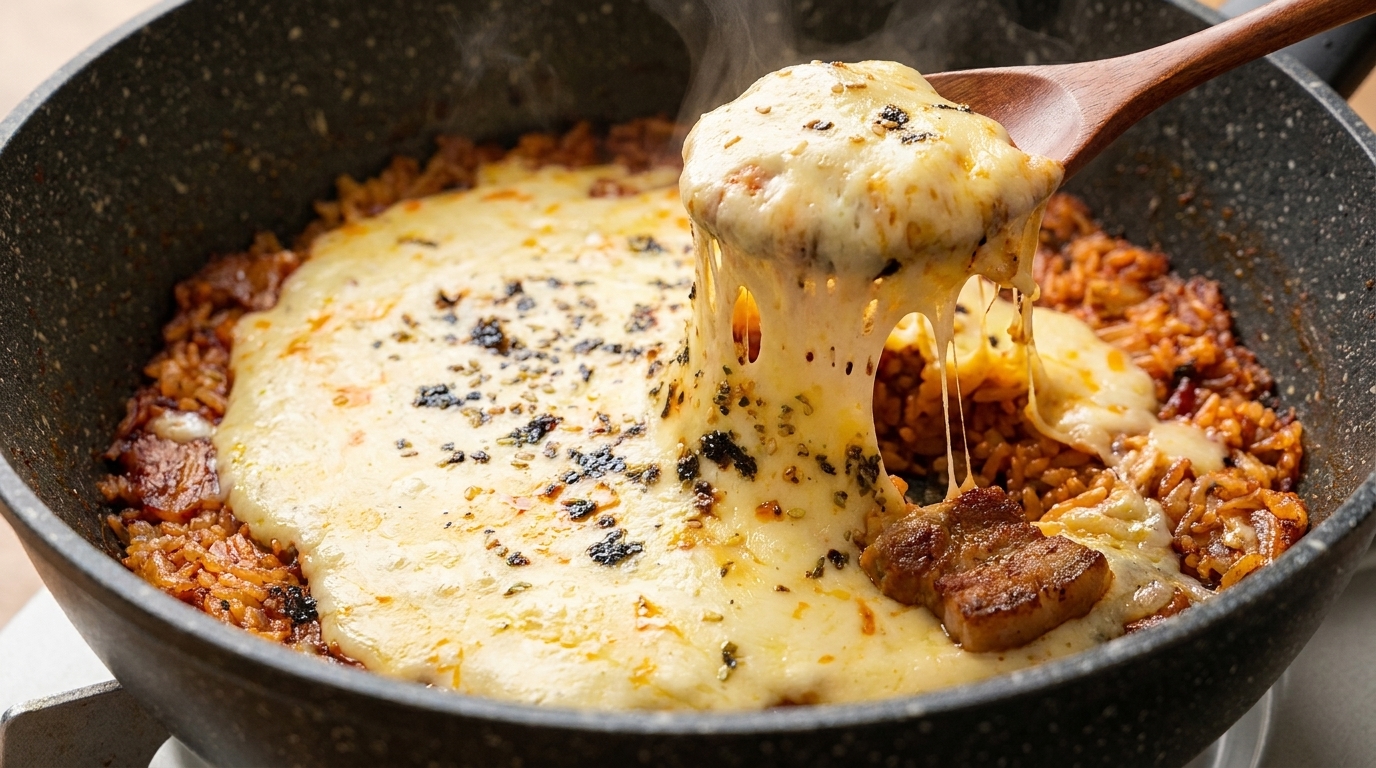
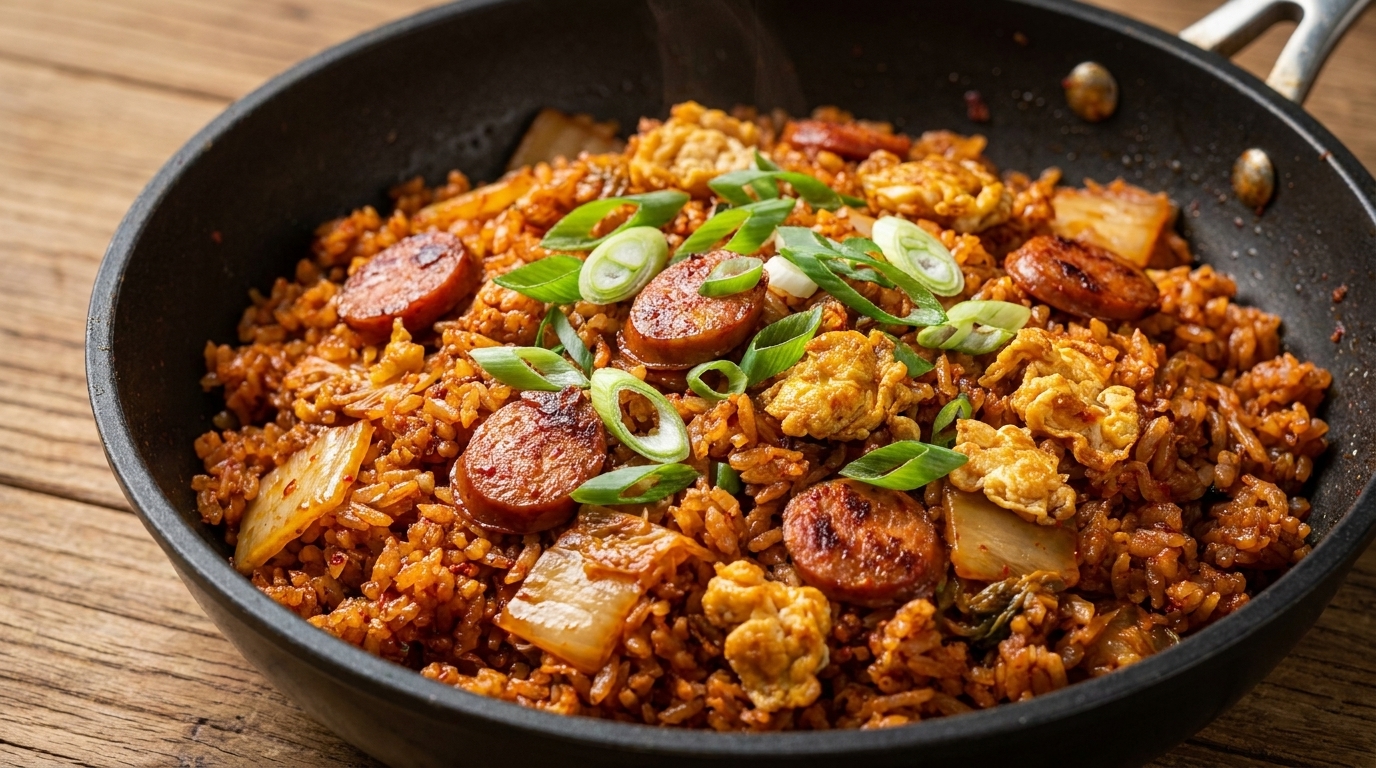
Master the ultimate Korean comfort food at home with this foolproof Kimchi Fried Rice. Aged, sour kimchi and a secret touch of mayonnaise create a perfectly balanced, rich, and intensely savory dish.
Kimchi fried rice, or kimchi bokkeumbap, is a beloved staple in Korean households, transforming everyday ingredients into something spectacular. The true secret to its depth lies in using well-aged, sour kimchi, which provides the necessary acidity and complex fermentation notes. Adding a touch of mayonnaise and doenjang (soybean paste) elevates the dish, giving it a rich, umami-packed restaurant quality that is both deeply comforting and intensely flavorful.
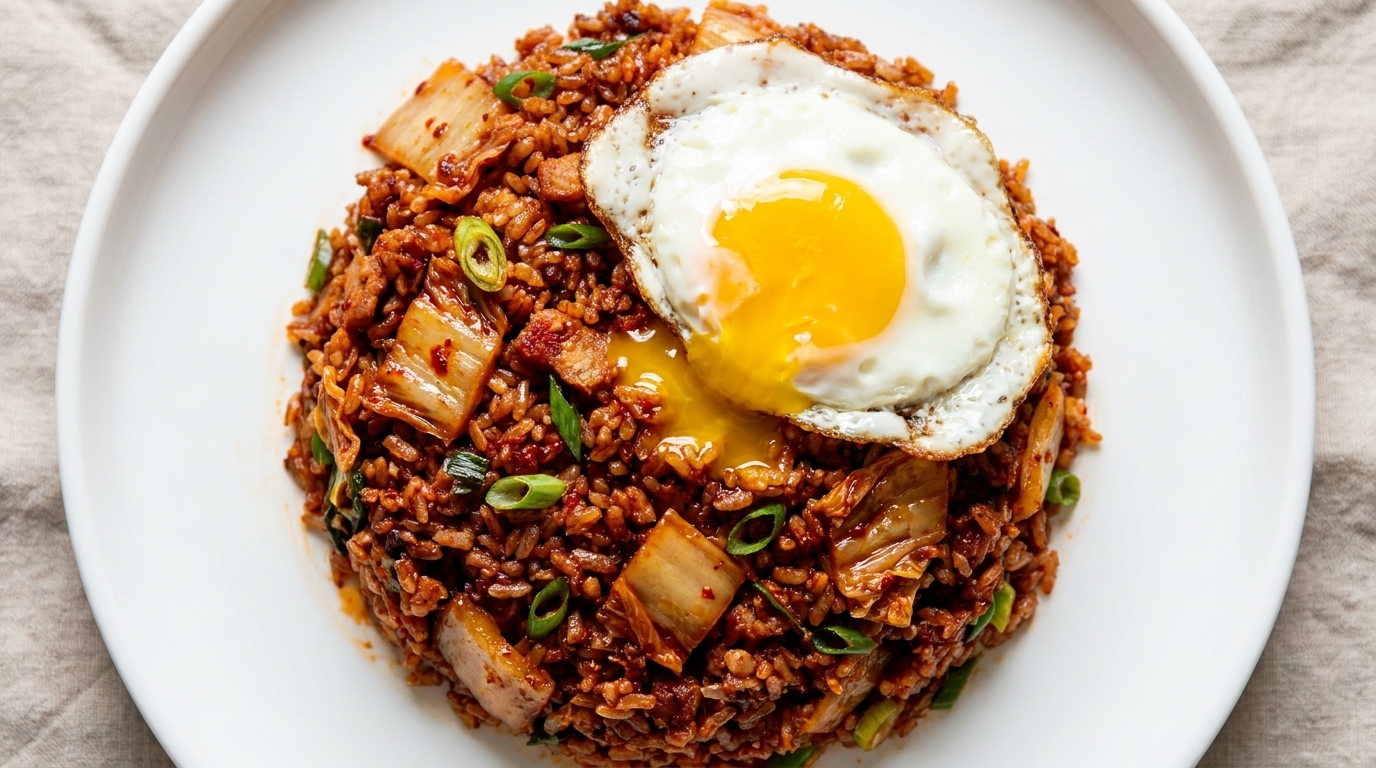
Ingredients
- 200 g aged sour kimchi
- 400 g cooked white rice
- 1 tbsp soy sauce
- 1 tbsp Korean chili powder
- 2 tbsp sesame oil
- 1 tbsp sugar
- 1/3 tbsp soybean paste
- 1 tbsp mayonnaise
- 2 tbsp fresh green onions
- 3 tbsp cooking oil
- 1 whole egg
Instructions
- 1Prepare the kimchi
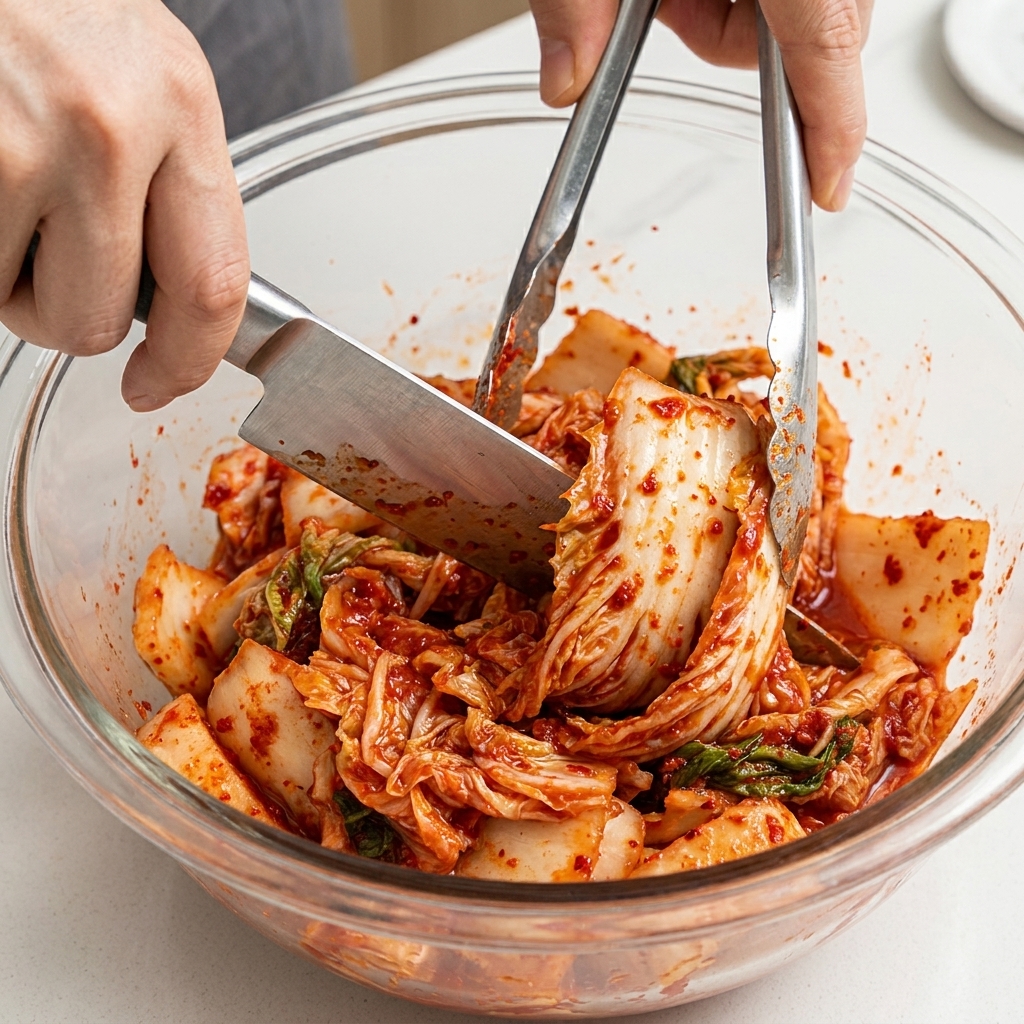
Take 200 grams of aged, sour kimchi and place it into a glass mixing bowl. Use clean kitchen scissors to snip the kimchi into bite-sized pieces directly in the bowl, avoiding the need for a cutting board.
Tip: Always use well-aged, sour kimchi for the best flavor; fresh kimchi will not provide the necessary depth for this fried rice. - 2Season the kimchi
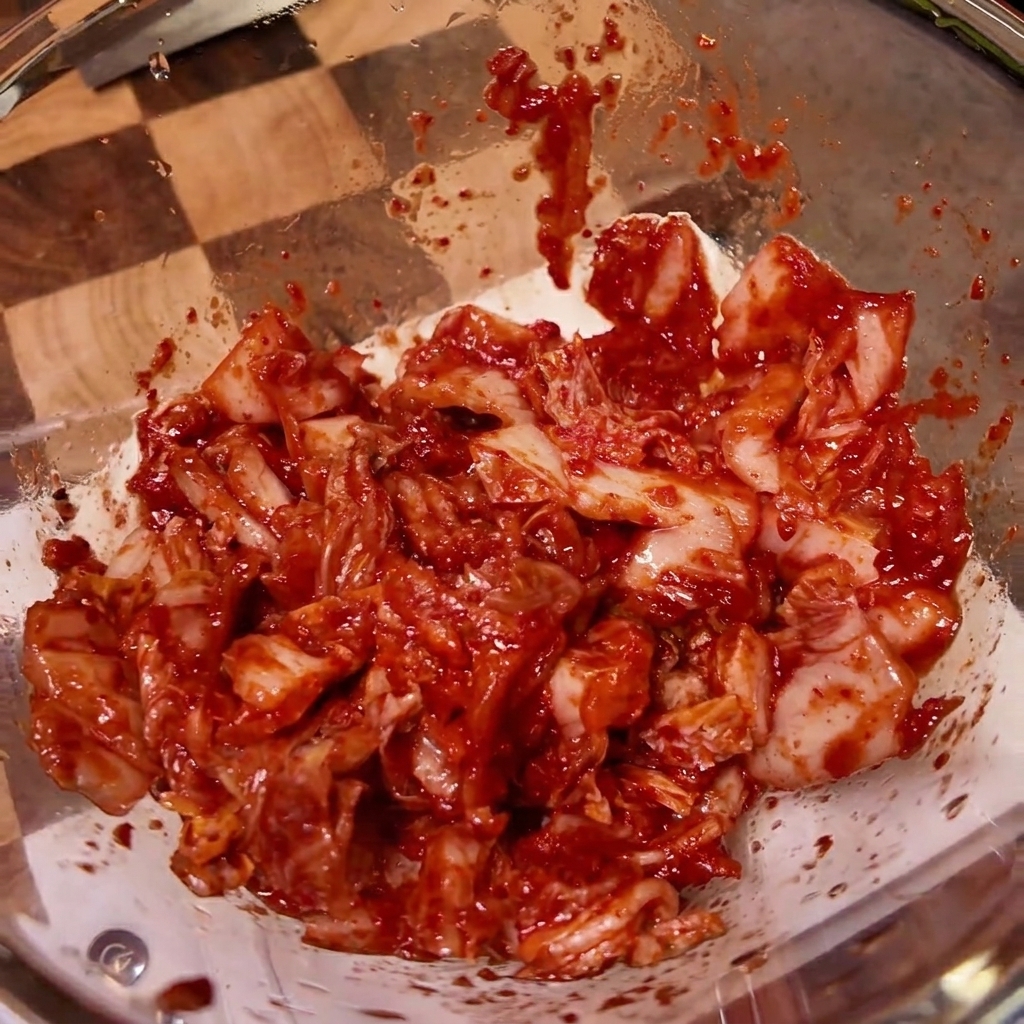
Add one spoonful of soy sauce, one spoonful of Korean chili powder, two spoonfuls of sesame oil, one spoonful of sugar, one-third of a spoonful of soybean paste (doenjang), and one spoonful of mayonnaise directly onto the kimchi in the bowl.
Tip: Adding mayonnaise is a secret trick that makes the fried rice richer and balances the acidity of the kimchi. - 3Mix the seasoning
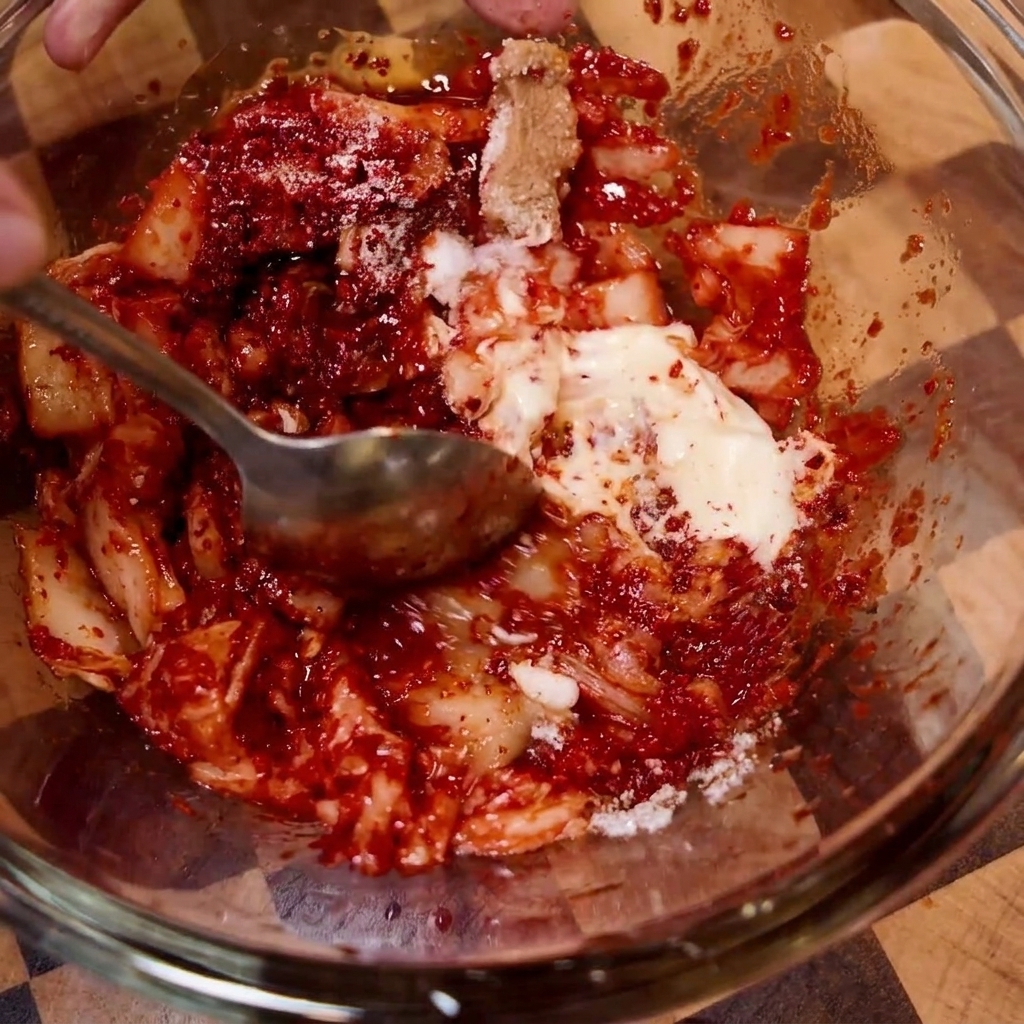
Use a spoon to thoroughly mix the kimchi with all the added seasonings until every piece is evenly coated. This seasoned mixture is sufficient for 400 grams of cooked rice.
Tip: You can prepare this kimchi base in advance and store it in the refrigerator to make cooking your fried rice much faster later. - 4Prepare green onions
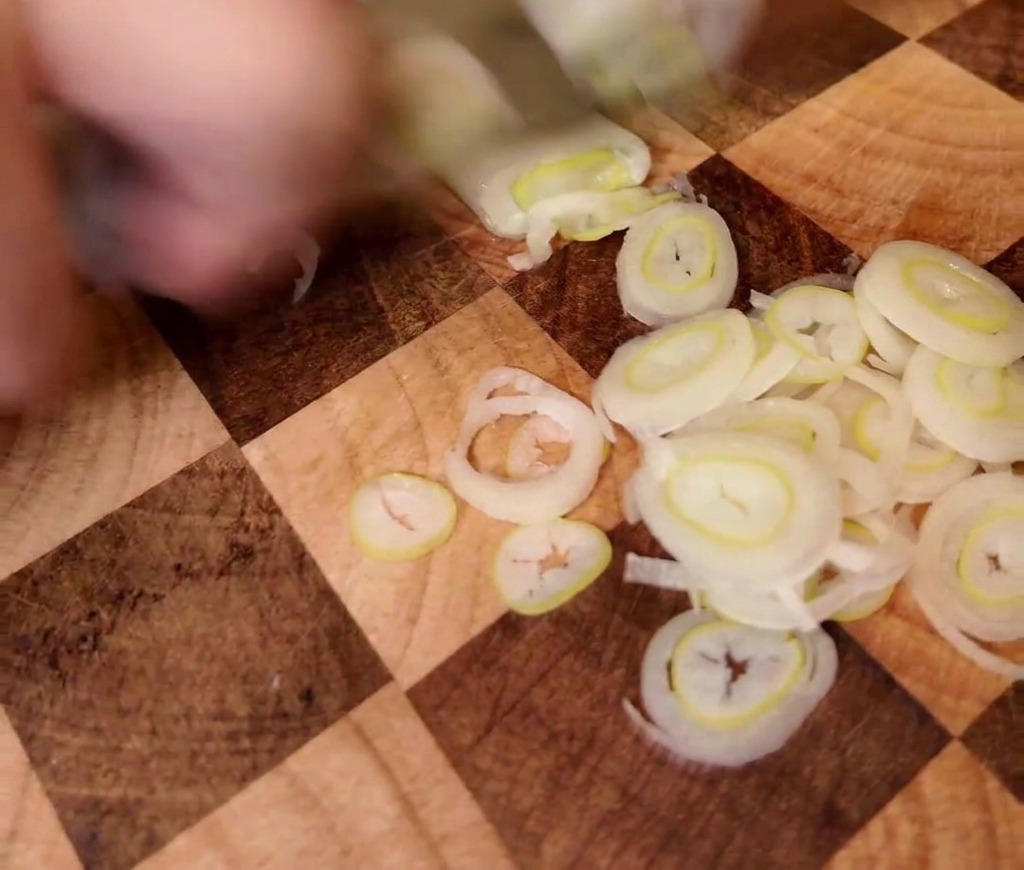
Finely chop fresh green onions on a wooden cutting board using a sharp knife. You will need about two spoonfuls of chopped green onions for the stir-frying process.
Tip: Keep the green onion pieces uniform in size so they cook evenly when added to the hot oil. - 5Sauté the aromatics
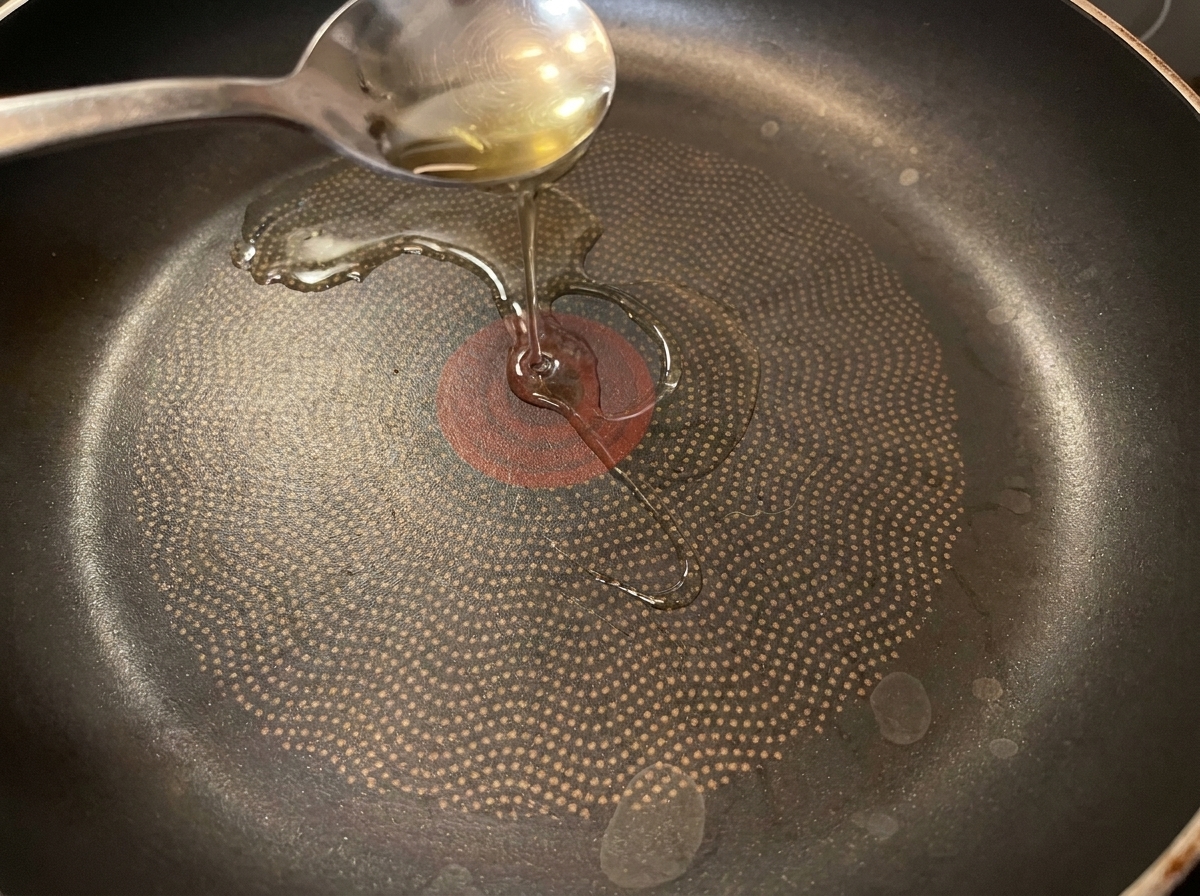
Heat three spoonfuls of oil in a frying pan over medium-high heat. Add two spoonfuls of the chopped green onions, sauté briefly until fragrant, then add the prepared seasoned kimchi mixture into the pan.
Tip: Make sure the pan is hot before adding the green onions to ensure they release their aroma quickly. - 6Sauté the kimchi
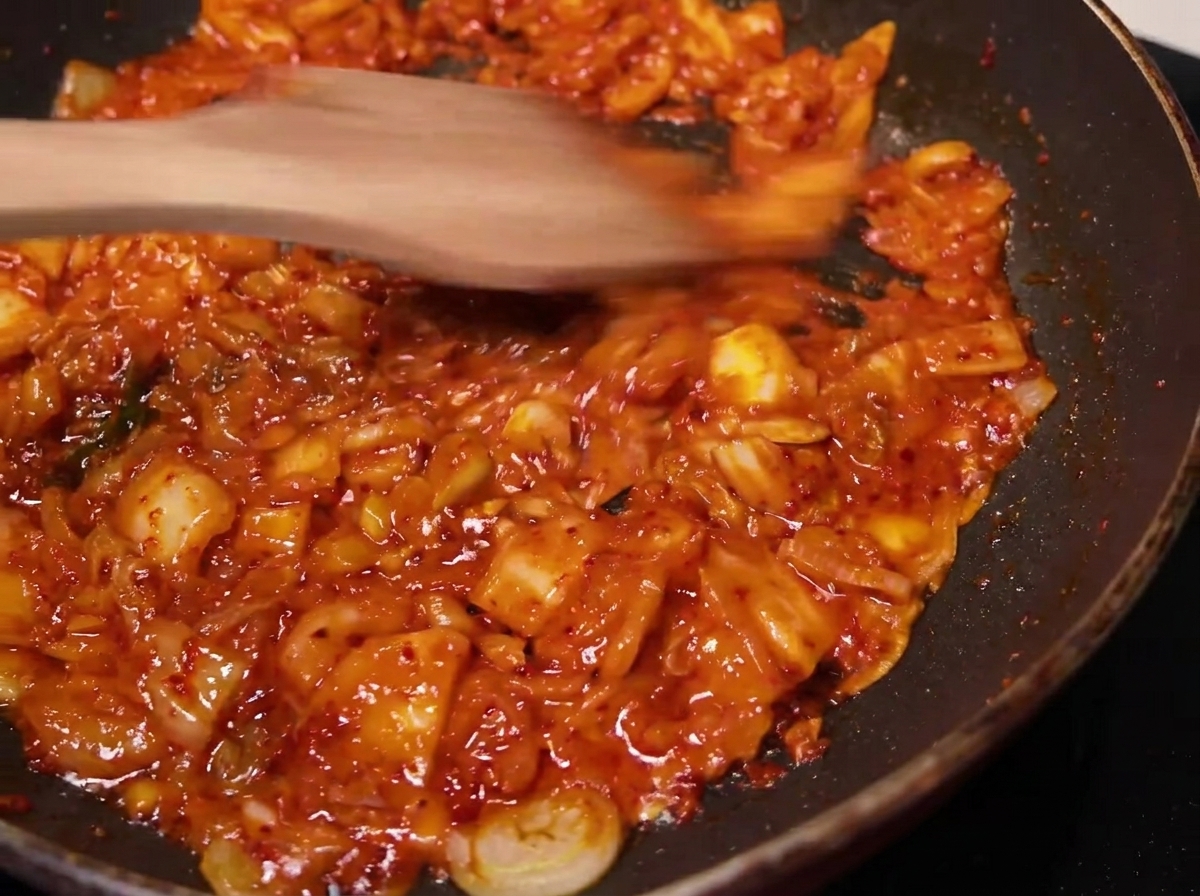
Use a wooden spatula to stir-fry the kimchi mixture in the pan for approximately one minute. This step helps to caramelize the seasonings and soften the kimchi further before adding the rice.
Tip: Stir continuously to prevent the soybean paste and sugar in the mixture from burning on the bottom of the pan. - 7Add rice to the pan
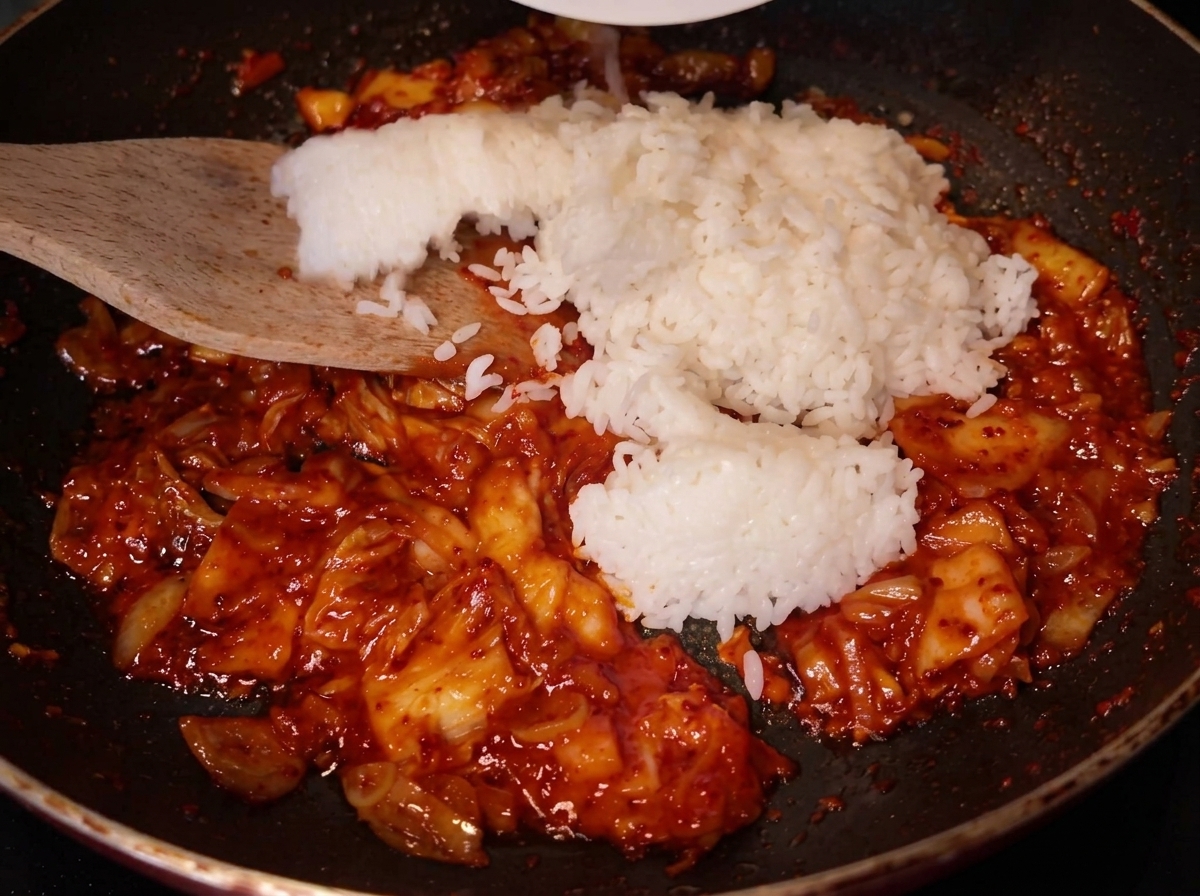
Add 400 grams of cooked white rice to the pan containing the sautéed kimchi mixture. Ensure the rice is evenly distributed for better incorporation.
Tip: Using day-old cold rice is ideal for fried rice as it separates more easily and holds its texture better during stir-frying. - 8Stir-fry until combined
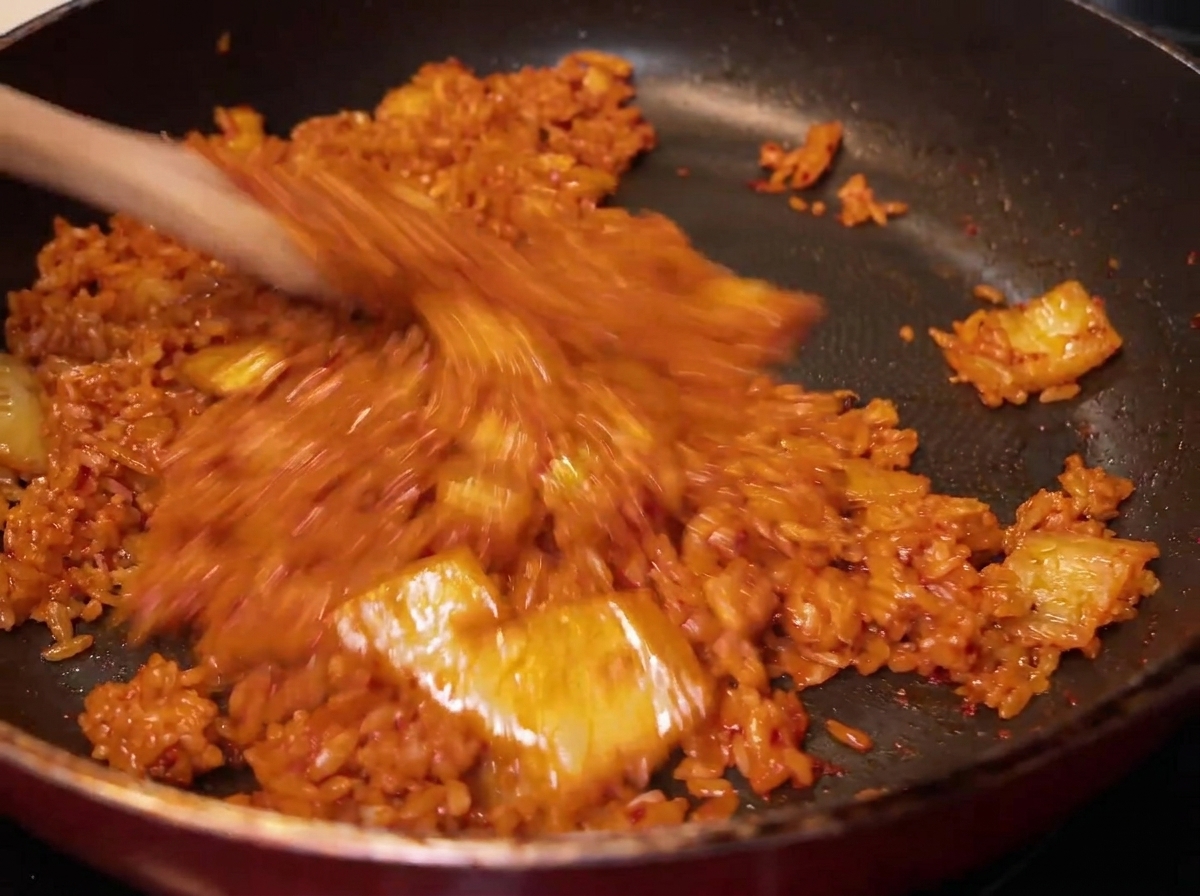
Use a wooden spatula to stir-fry the rice and the seasoned kimchi mixture together. Continue cooking over medium-high heat, mixing thoroughly until every grain of rice is evenly coated with the vibrant red kimchi sauce.
Tip: Keep the heat consistent to ensure the rice absorbs the flavors of the kimchi seasoning without becoming mushy.