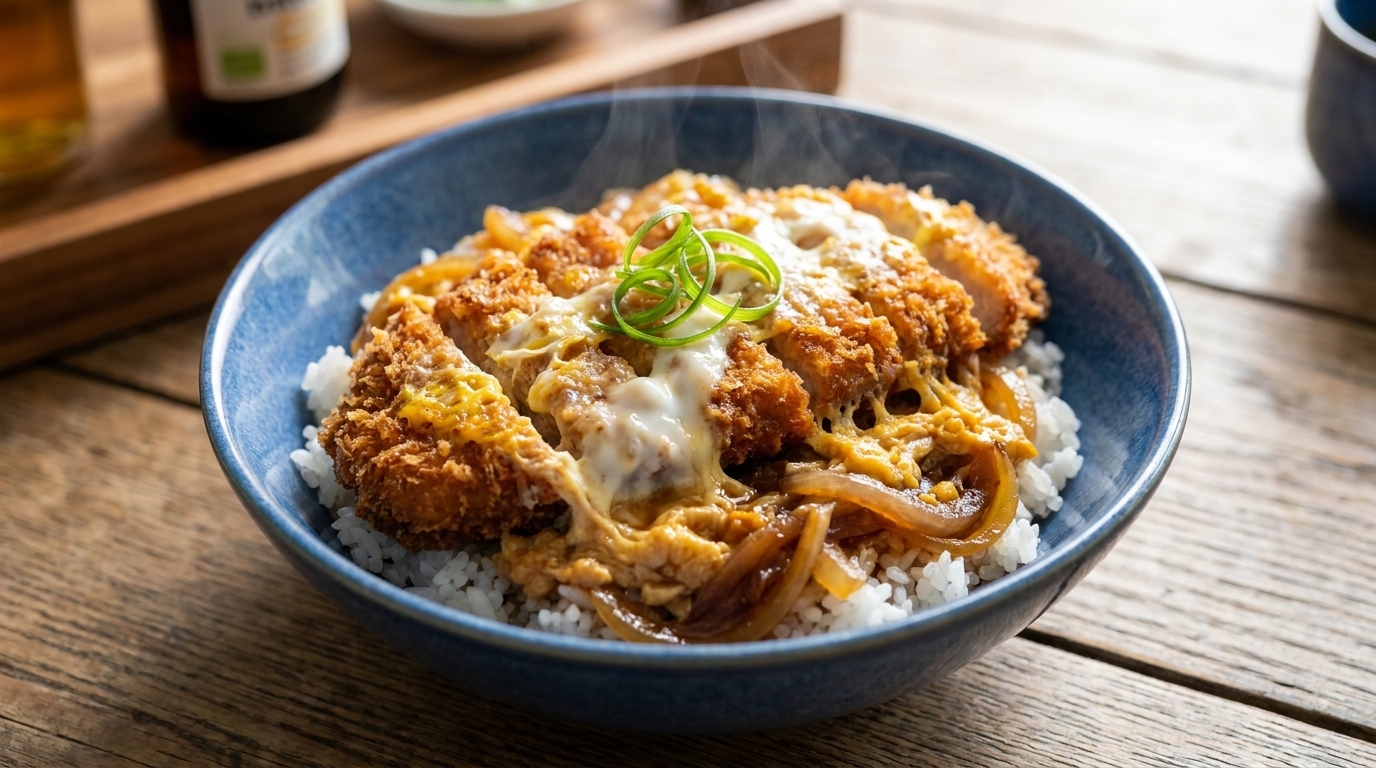
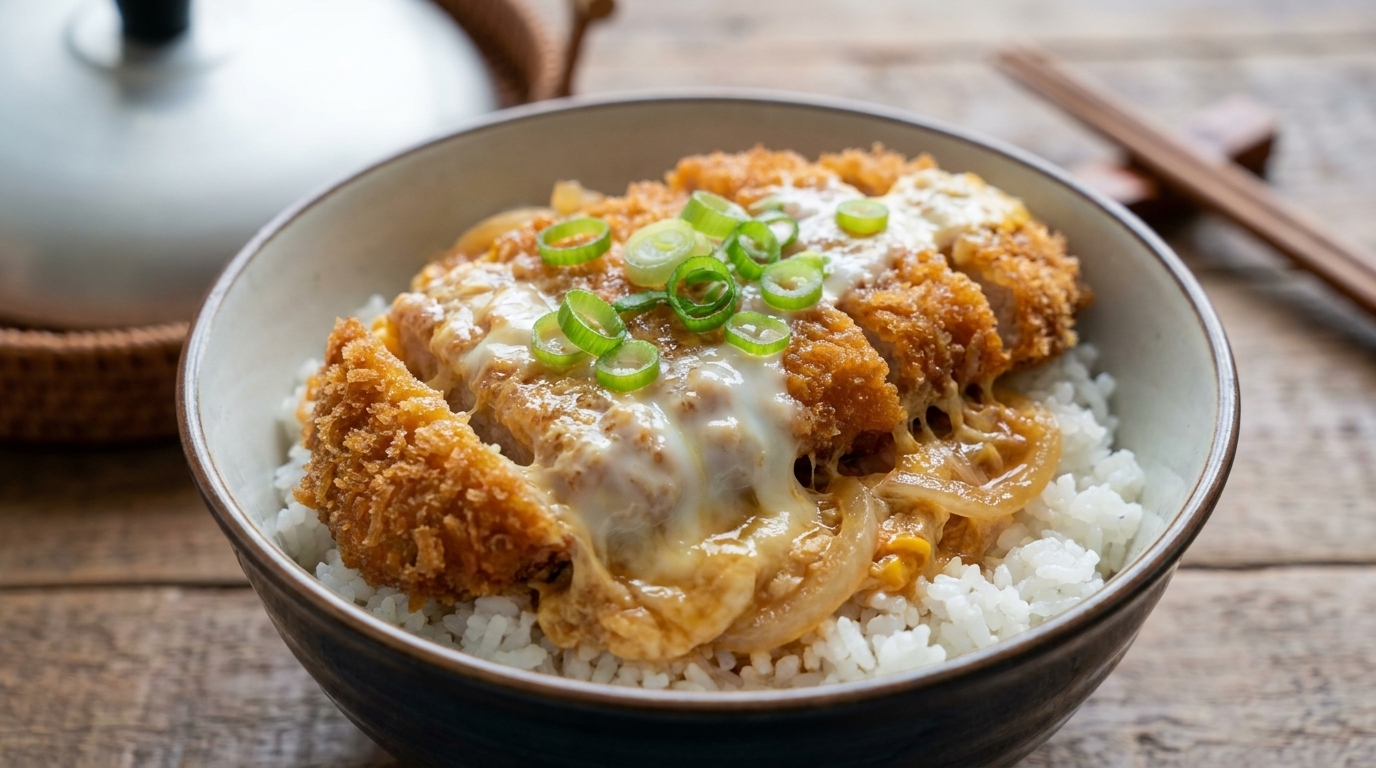
Crispy Tonkatsu Pork Cutlet
Savory Sauce
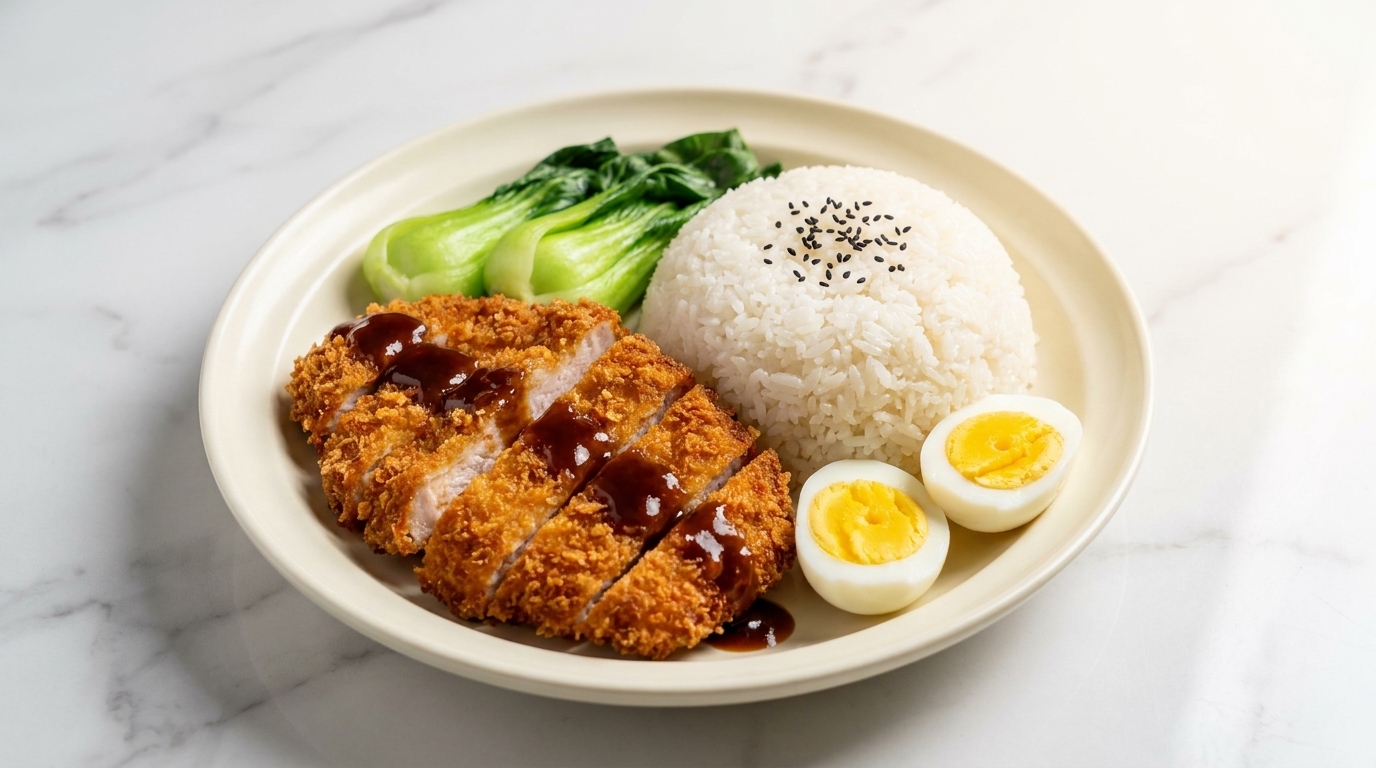
Master the art of the perfect Japanese pork cutlet—ultra-crunchy panko crust on the outside and tender, juicy loin on the inside, finished with a glossy homemade glaze.
Tonkatsu is a cornerstone of Japanese comfort food, evolving from Western-inspired beginnings into a beloved domestic staple. The secret to its signature texture lies in the double-frying technique and the use of the back of a knife to tenderize the meat, ensuring every bite is both succulent and shatteringly crisp.
Ingredients
- 500 g pork loin
- 2 stalks scallions
- 1 tbsp light soy sauce
- 1 tbsp cooking wine
- 1 tsp black pepper
- 12 cup starch
- 2 large eggs
- 1 cup panko breadcrumbs
- 500 ml vegetable oil
- 1 tbsp oyster sauce
- 2 tbsp ketchup
- 1 tsp sugar
- to taste salt
- optional black sesame seeds
- optional bok choy
Instructions
- 1Slice the pork loin
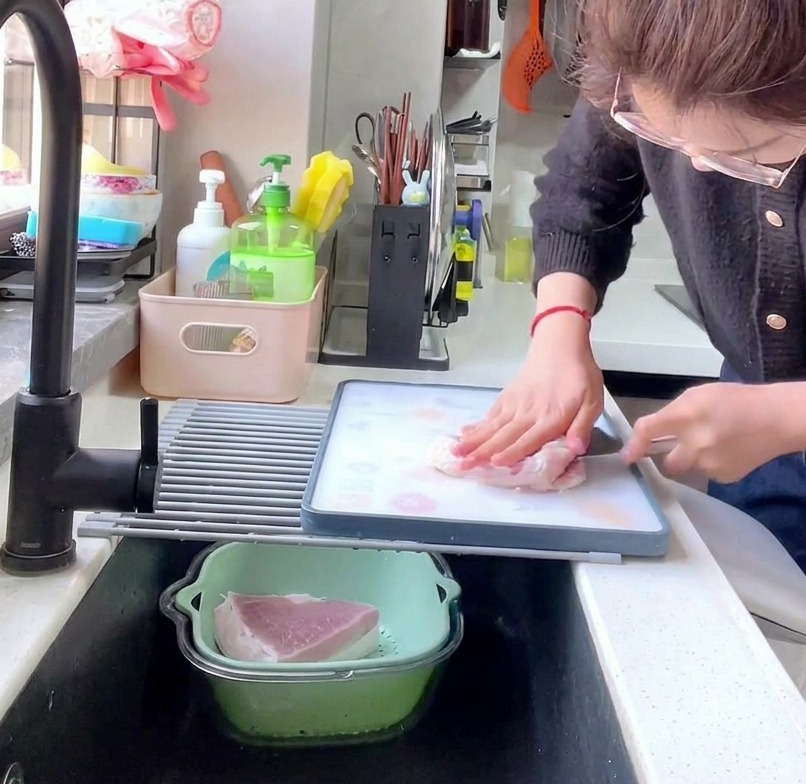
Begin by cutting the pork loin into thick slices of approximately 1cm. Uniform slicing ensures that each piece of meat cooks at the same rate. Using a heavy cleaver provides the necessary weight for clean, straight cuts through the dense loin.
Tip: For easier slicing, place the pork in the freezer for about 20 minutes beforehand to firm up the meat. - 2Tenderize with the knife back
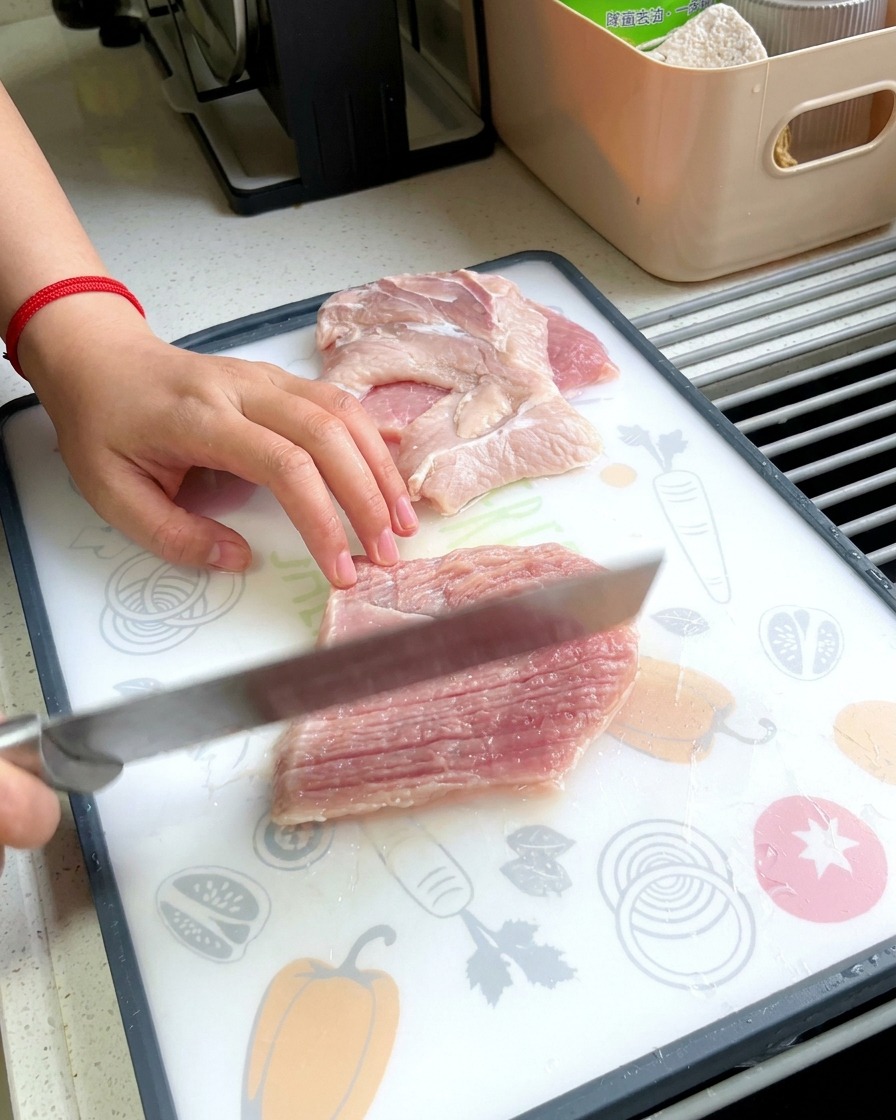
Use the back of your knife to gently pound both sides of the pork slices in a crisscross pattern. This process breaks down the tough muscle fibers and connective tissue, making the meat significantly more tender after frying.
Tip: Avoid using the sharp edge of the blade; you want to indent the meat to soften it, not cut all the way through. - 3Combine marinade ingredients
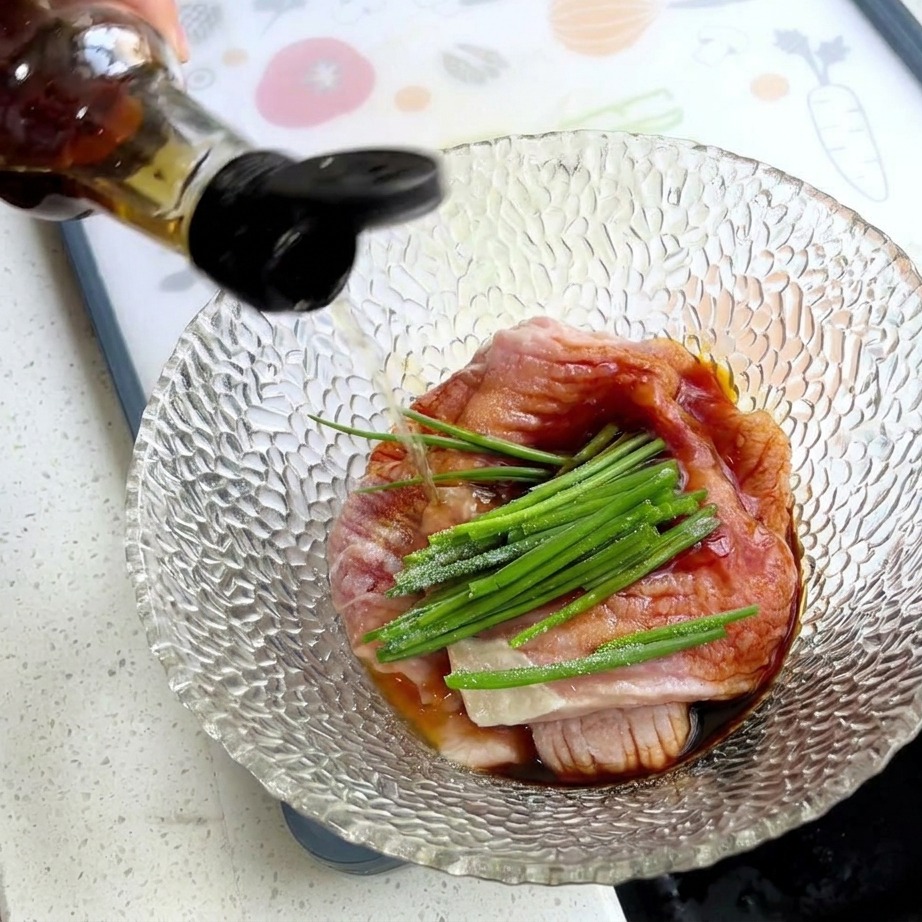
Place the tenderized pork slices into a glass bowl. Add fresh scallions, a pinch of salt, light soy sauce, and a spoonful of starch. These ingredients form the base of the marinade, providing savory flavor and helping to lock in moisture.
Tip: Adding the starch directly to the marinade helps create a thin protective layer that keeps the meat juicy during high-heat frying. - 4Marinate the meat
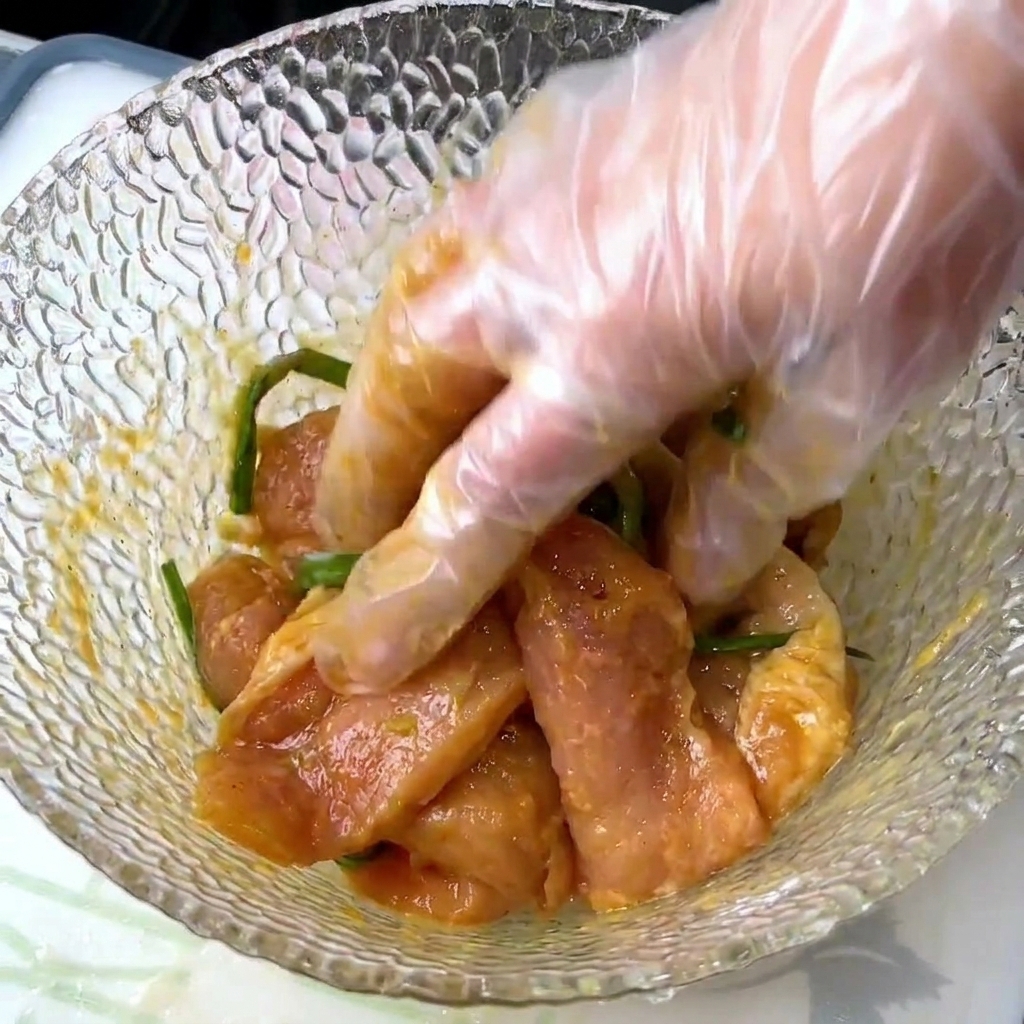
Thoroughly mix the pork slices with the seasonings by hand, ensuring every piece is evenly coated. Once combined, set the bowl aside and let the meat marinate for 30 minutes to allow the flavors to fully penetrate the fibers.
Tip: Massage the meat for about a minute while mixing; this helps the marinade absorb faster and further softens the texture. - 5Dredge in starch
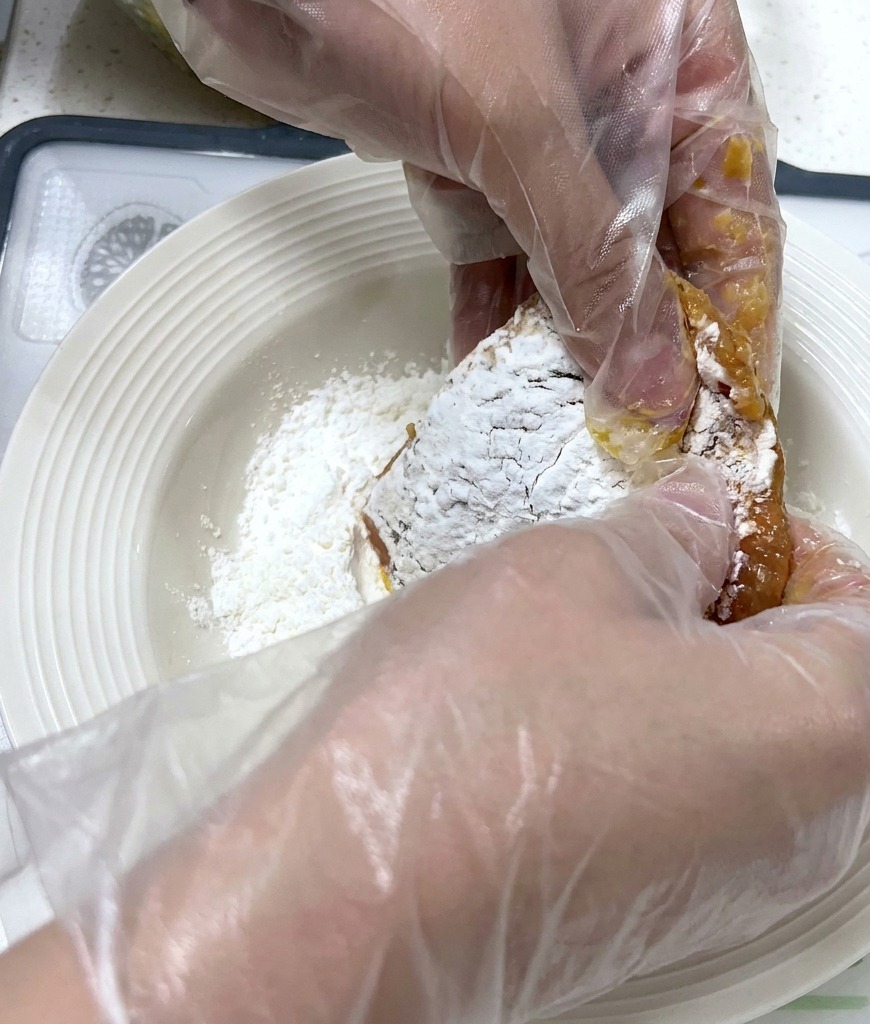
Take a marinated pork slice and press it firmly into a plate of dry starch. Coat both sides thoroughly and shake off any excess. This initial dry layer creates a smooth surface for the egg wash to cling to.
Tip: Ensure the meat is not dripping wet with marinade before dredging, as too much moisture will cause the starch to clump. - 6Dip in egg wash
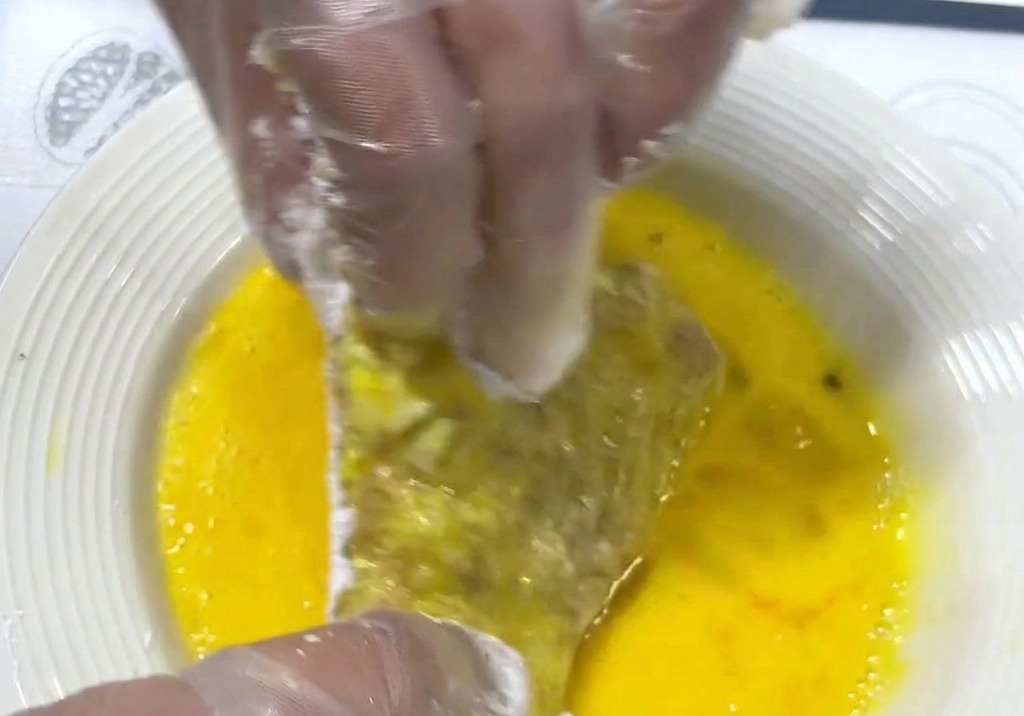
Submerge the floured pork cutlet into a dish of well-beaten egg wash. Turn the meat to ensure a complete and even coating. The egg acts as a binder that will secure the breadcrumbs in the following step.
Tip: Use your wet hand for this step and keep your dry hand for the starch and breadcrumbs to avoid creating a mess on your fingers. - 7Coat with breadcrumbs
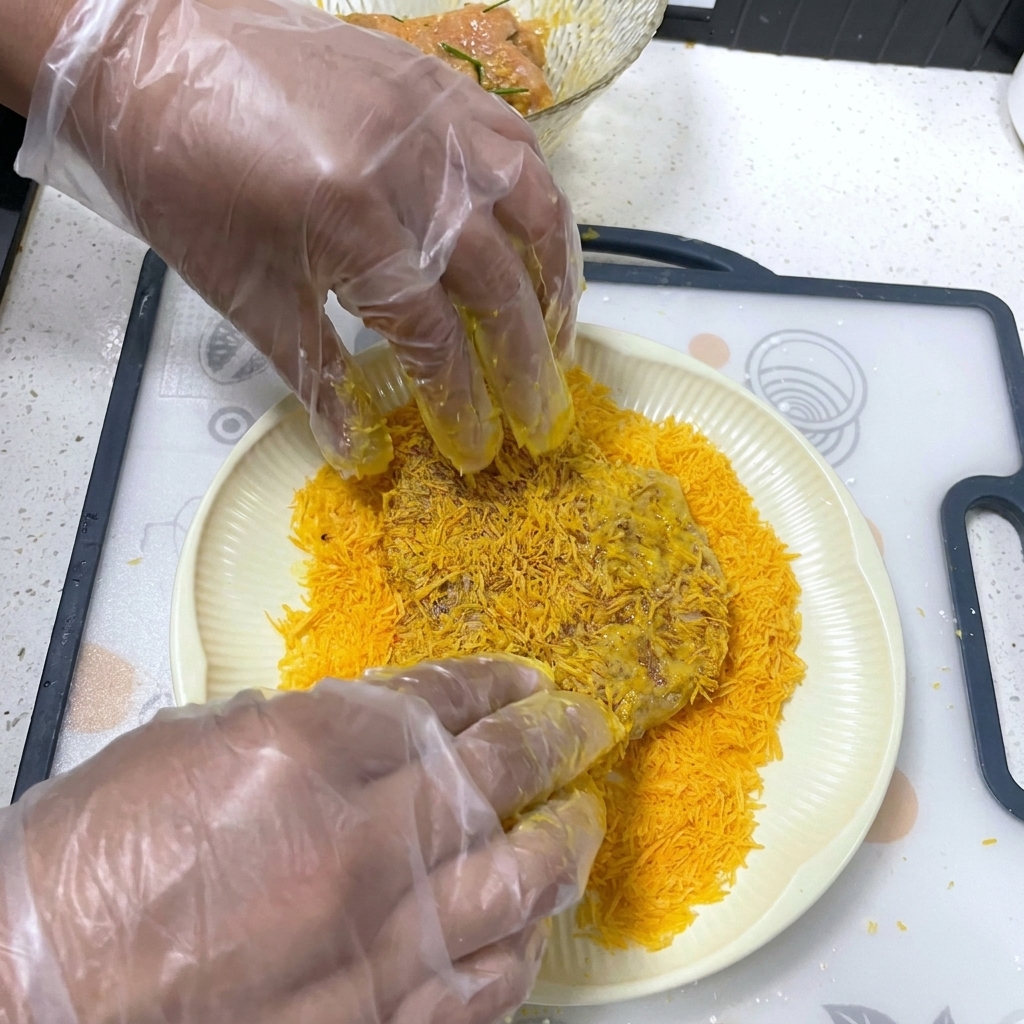
Place the marinated and egg-washed pork loin into a plate filled with yellow breadcrumbs. Press down firmly to ensure the breadcrumbs adhere well and cover the entire surface of the meat for a consistent, crispy texture after frying.
Tip: Press the breadcrumbs into the meat with your palms to make sure they stay attached during the frying process. - 8First fry the cutlet
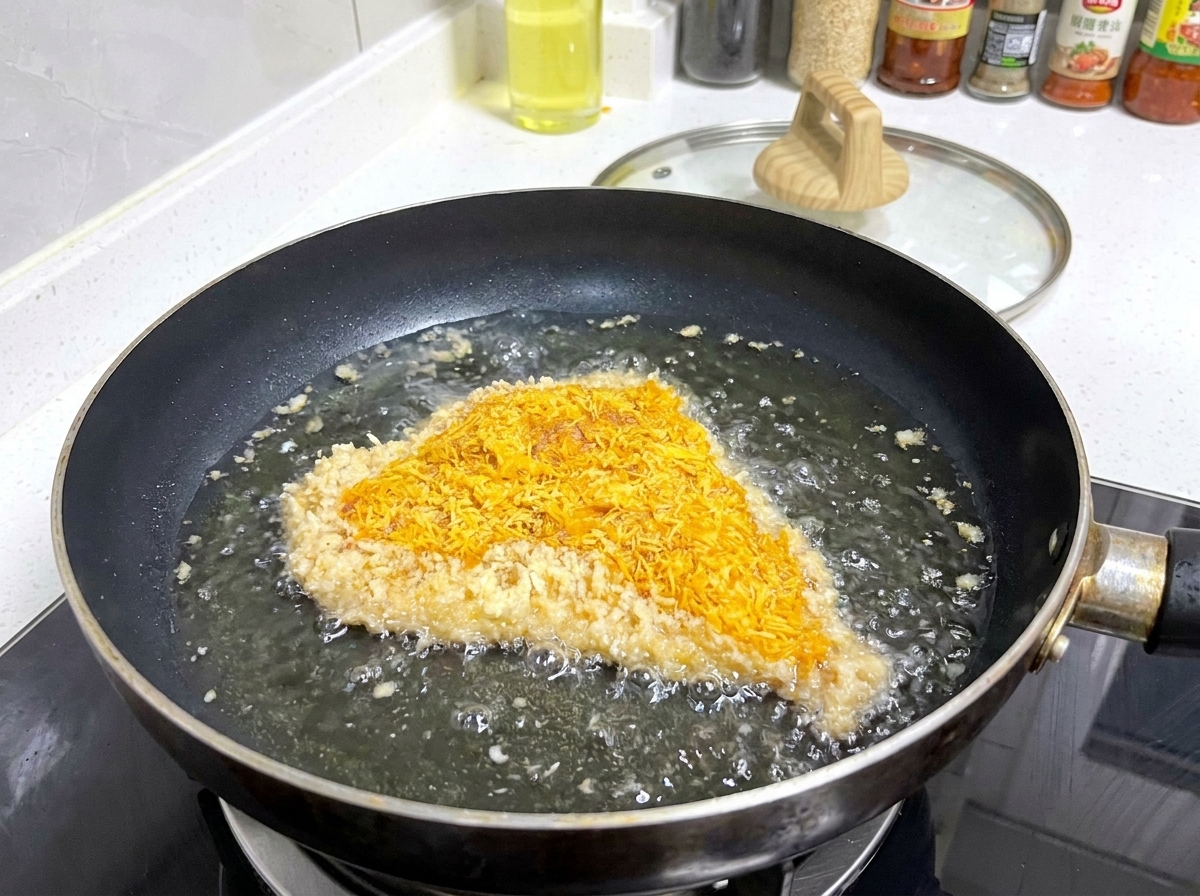
Heat oil to approximately 60% heat (around 160°C to 170°C) and carefully place the breaded pork into the pan. Fry over low to medium heat until the exterior turns a light golden brown and the meat is cooked through.
Tip: Dont overcrowd the pan; frying one piece at a time helps maintain a consistent oil temperature. - 9Double fry for crispiness
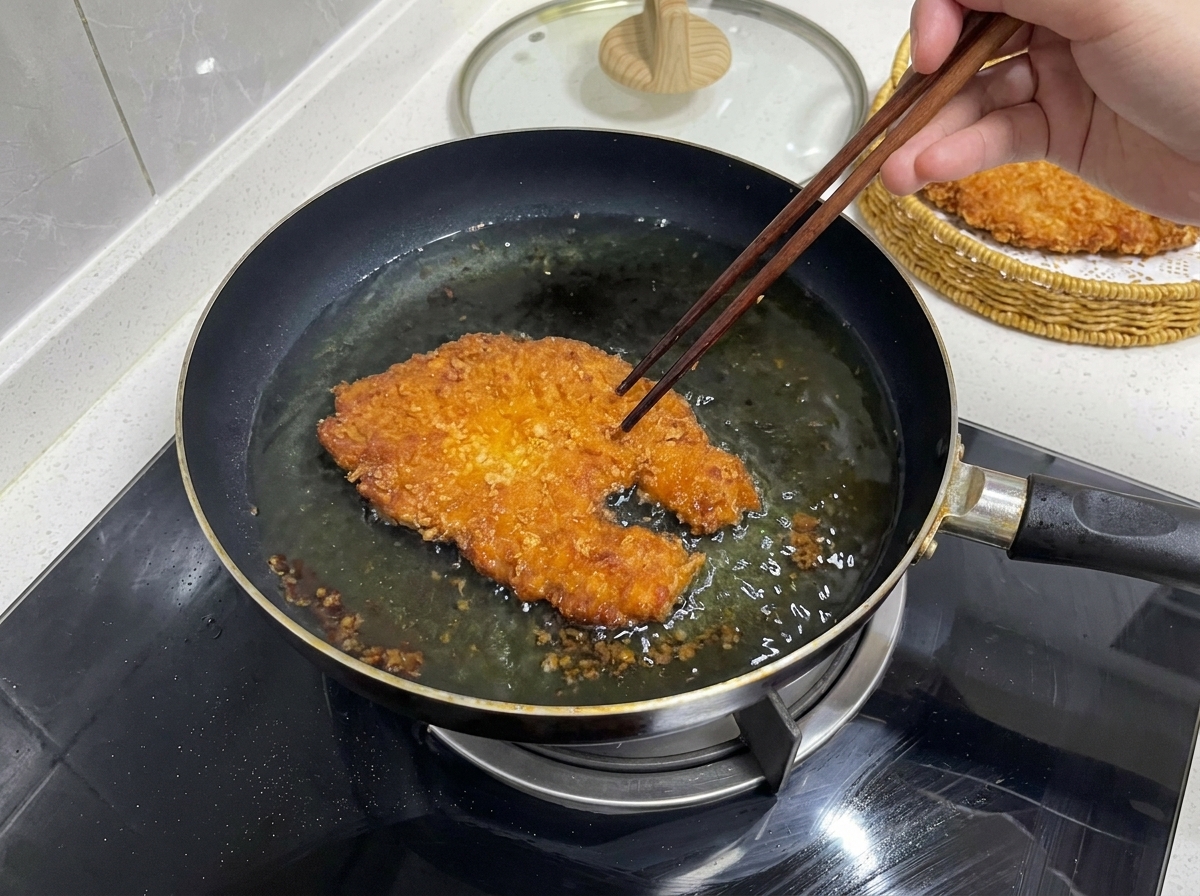
Remove the cutlet briefly and increase the oil temperature. Return the pork to the pan for a quick second fry. This process draws out excess oil and creates a significantly crunchier, deep golden brown crust.
Tip: The second fry should be very quick—just long enough to darken the color and crisp the outside without burning.